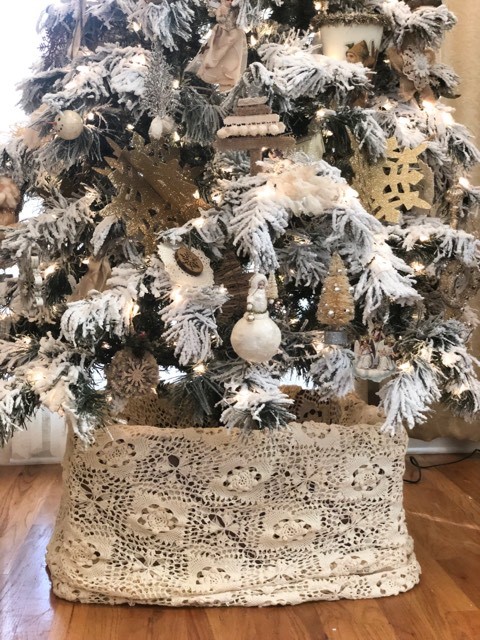
I know we all like to put a tree skirt around the bottom of our Christmas tree but you all need to give this a try. This quick and simple DIY not only gilded the base of my tree but adds a statement to my tree.
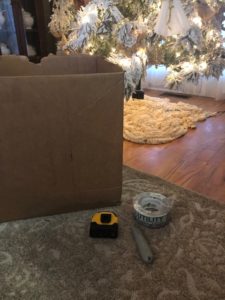
The supplies you will need are:
1. A cardboard box
2. Box cutter
3. Duct tape
4. Material to cover your box ( I am using a crochet bedspread from my local thrift store)
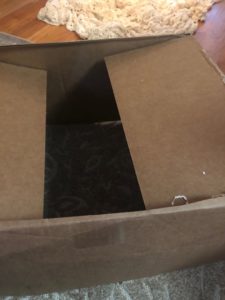
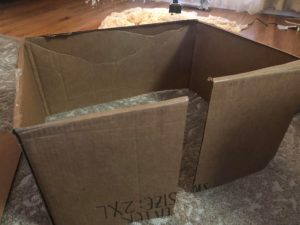
I then cut a slit down the center back of my box. We cut the slit so that we can slid the box around the bottom base of the tree.
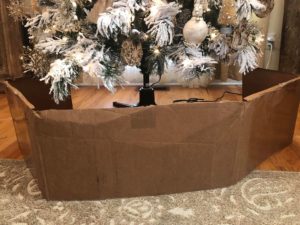
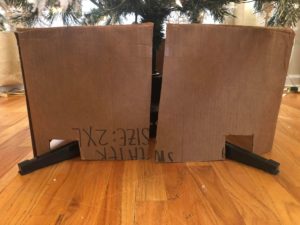
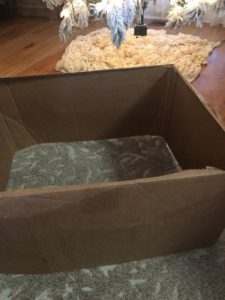
My box was not big enough to hide all four legs of the base of my tree. I made sure to hide the legs in front of the tree and then I cut openings in the back side of the box for the legs to stick out.
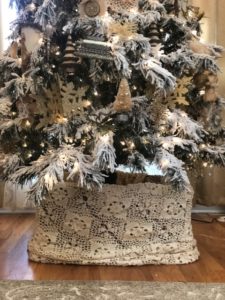

I added duct tape to the back slit so the box stays in place. Once your box is in place you then drape your material over the sides of the box.
The box around the tree 🌲, Love it , definitely going to do that next year 👍💡🌲🎄
Annie
I am making a box skirt for my tree tonight. Love the idea–so easy.
Wondered about those pesky legs. Never thought about cutting holes in the back! Thanks I’ll have to try!
This is a great idea I love it thank you for sharing
So glad I found your site
Hi Barb straight up love the things that you do.
Doing this.
Love your ideas, sending picture of my village I did useing doilies and lace for snow and I love it❤️
Love it I haven’t done a box yet like I want we have a new much narrower tree this year and I’m trying to decide where all the presents are going
Barb, you are an amazing women. I never met anyone that can can come up with different ideals as fast as you can. Love all your crafts your clothes and jewery. I will be ordering your long dangling earrings. Cant wait till your next video. Merry Christmas and God bless you.
I used an old veggie crate that I had. I cut the bottom and the back off, so it left only three sides. Then I took 3 of the boards cut from the back of the crate and nailed them on the openings in the front.
Beautiful you inspire me so much thank you