I love Halloween and I love decorating for it. The stores are starting to put out a lot of their Halloween decor right now. I recently found some fun battery operated witch hat lights and a fun container of witch boots in Home Goods. After looking at a few of my recent finds I think I can easily create a fun and unique witch tree.
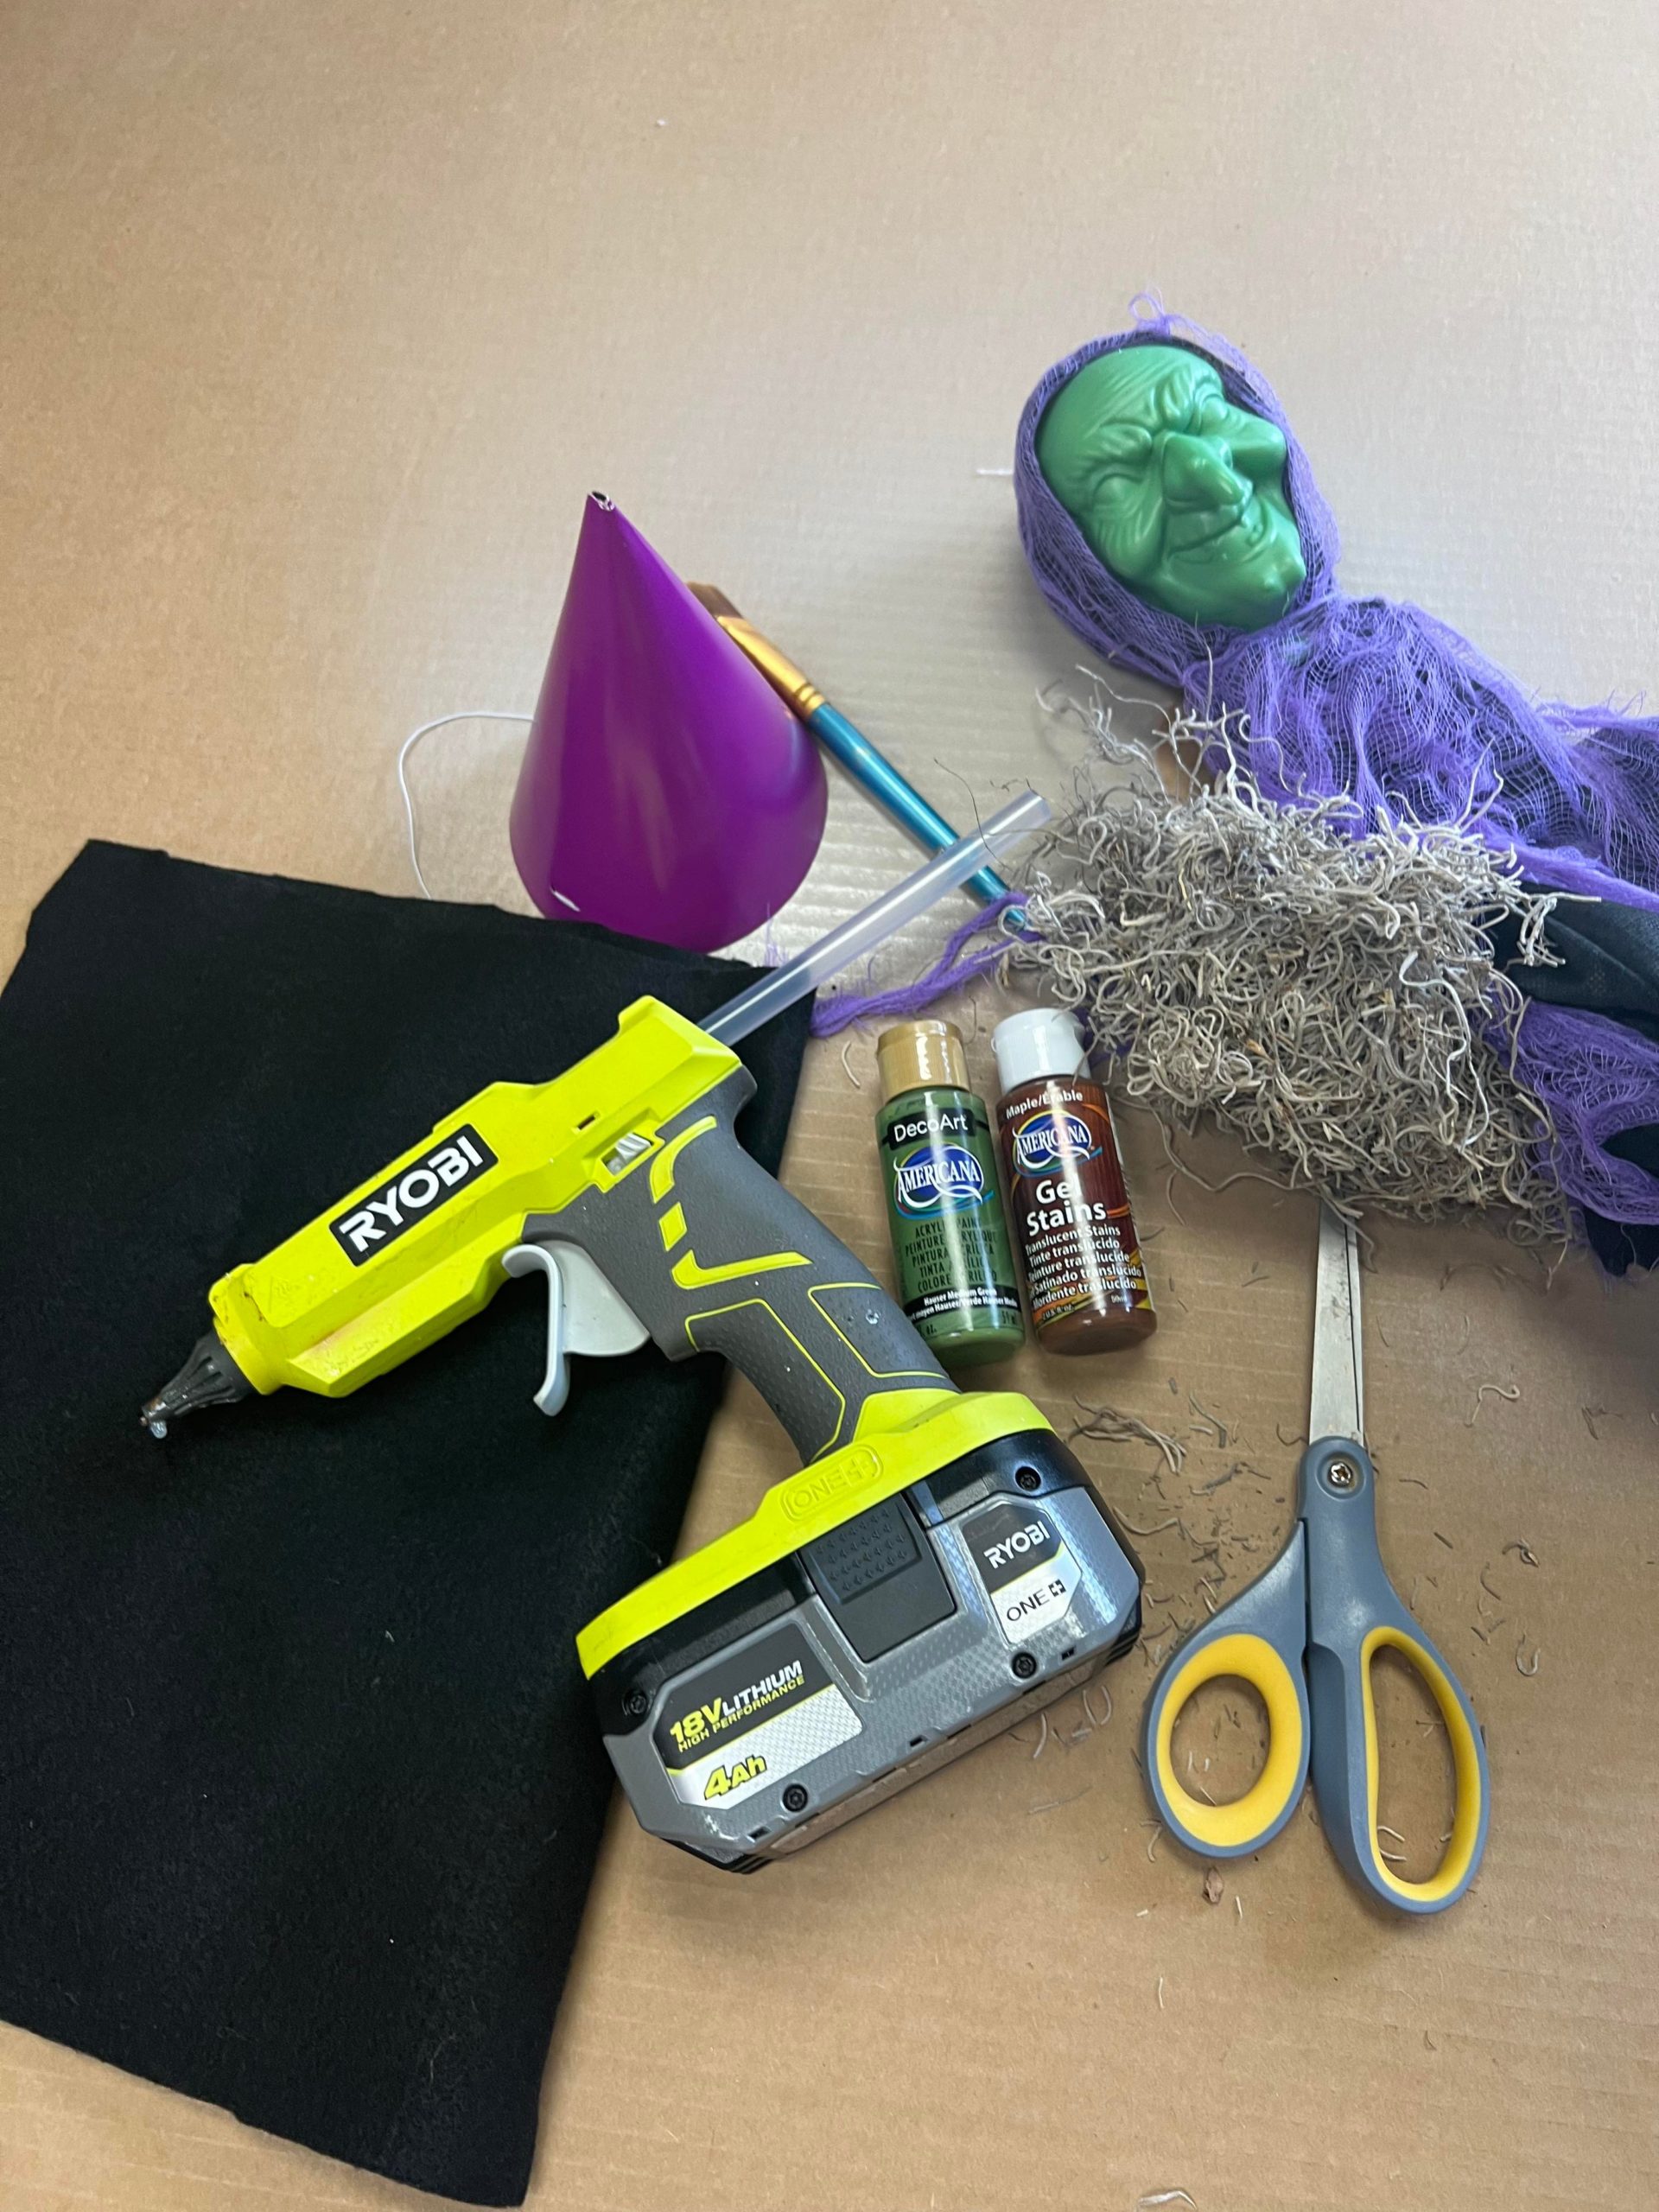
The supplies that I will be using with the witch boot container and lights are:
1. One witch from the Dollar Tree
2. Hot glue
3. Felt
4. Small paper birthday hat
5. Scissors
6. Spanish moss
7. Maple colored Gel Stain by DecoArt
8. DecoArt Americana acrylic paint ( color Hauser Medium Green)
9. Paint brush
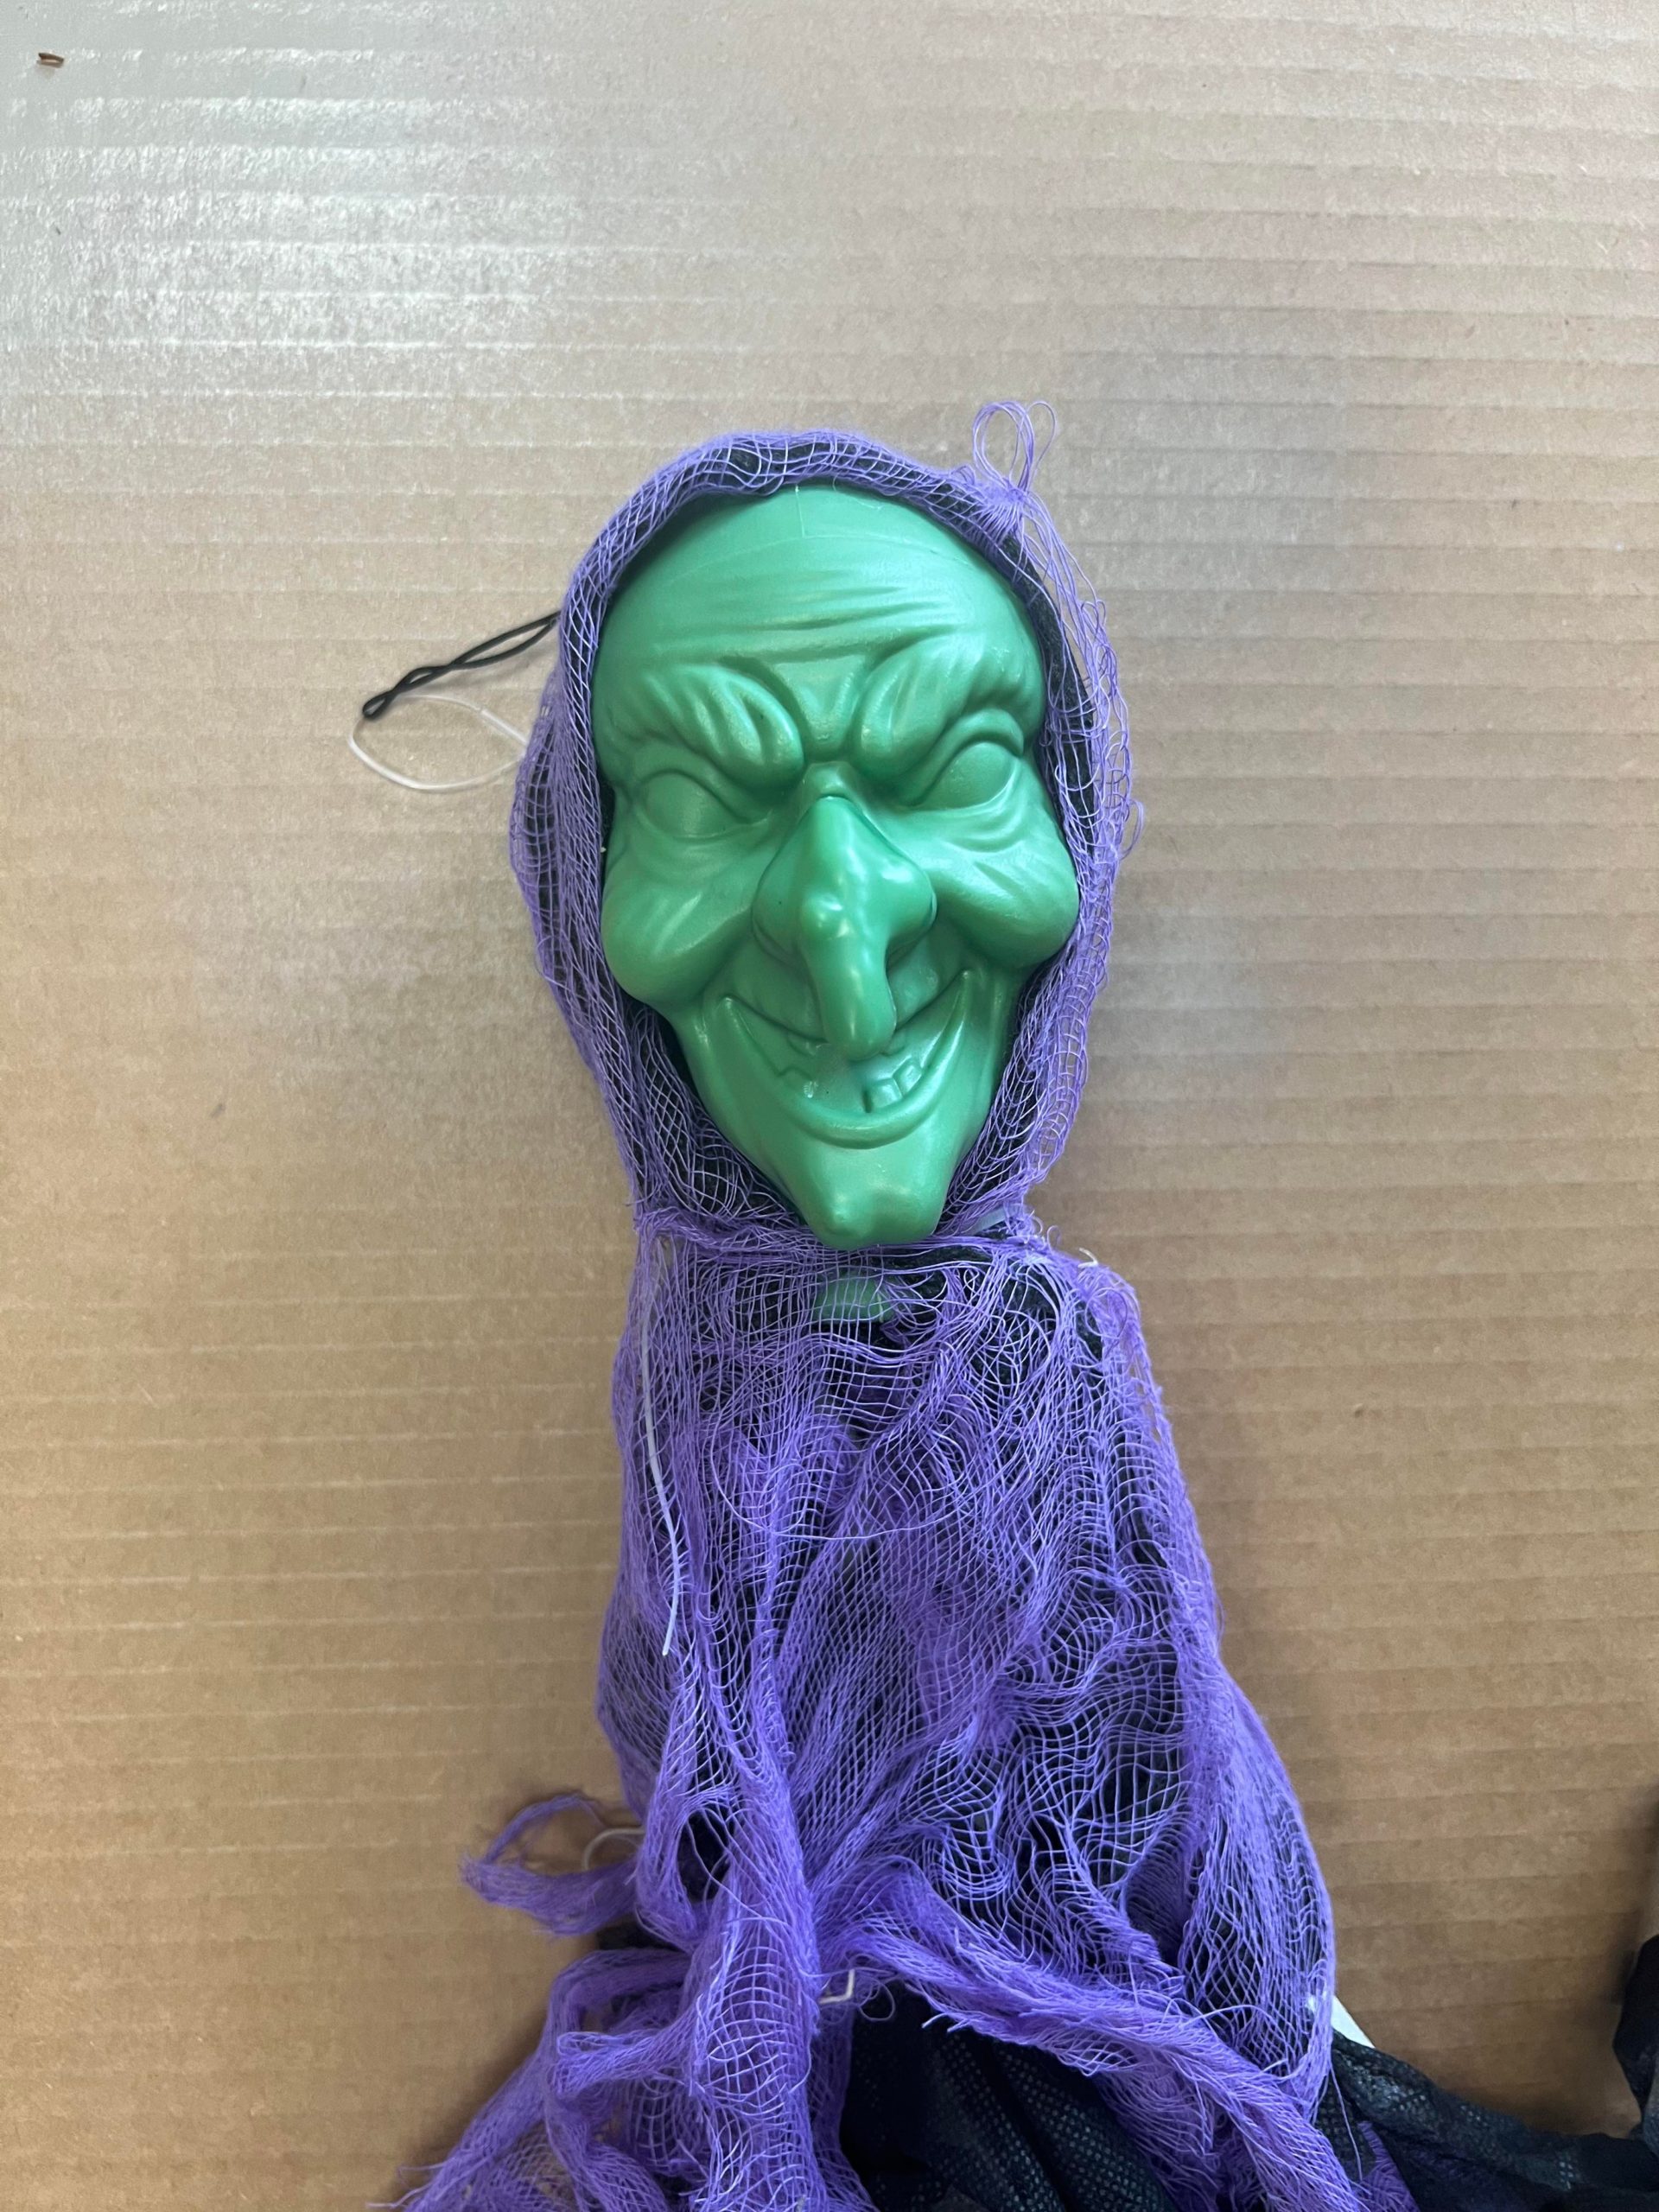
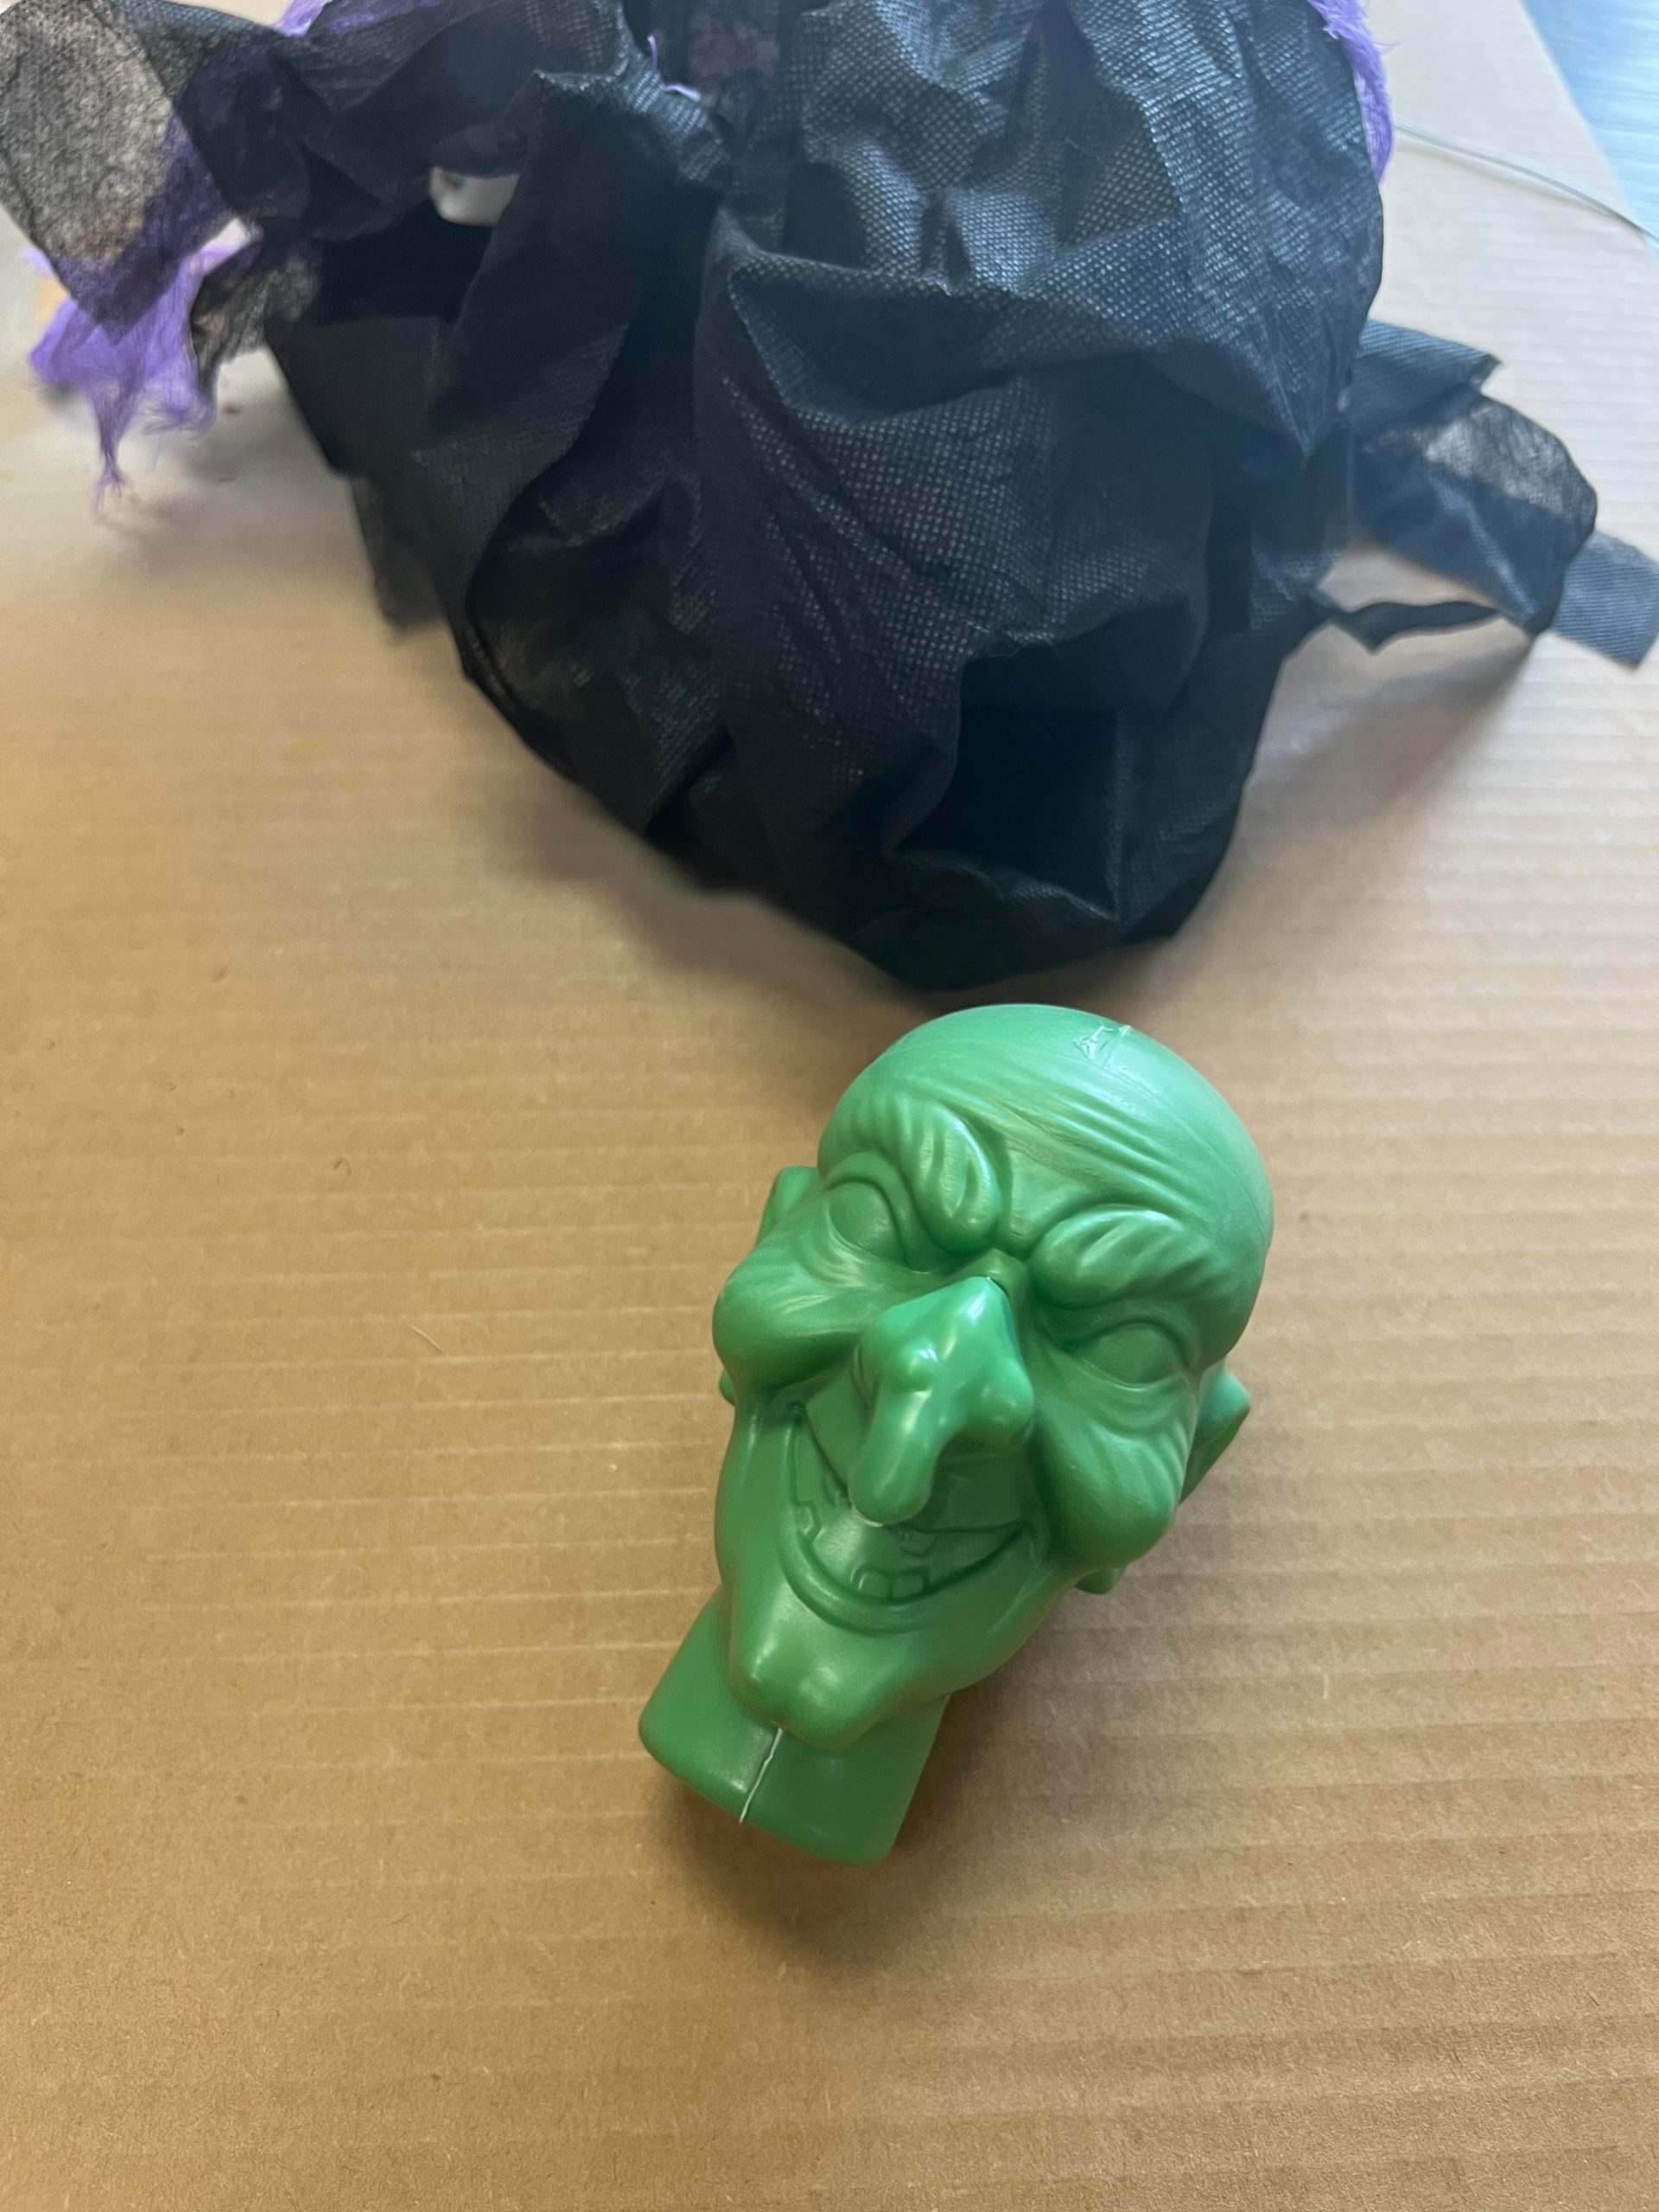
You will want to remove the material and arms from the Dollar Tree witch head.
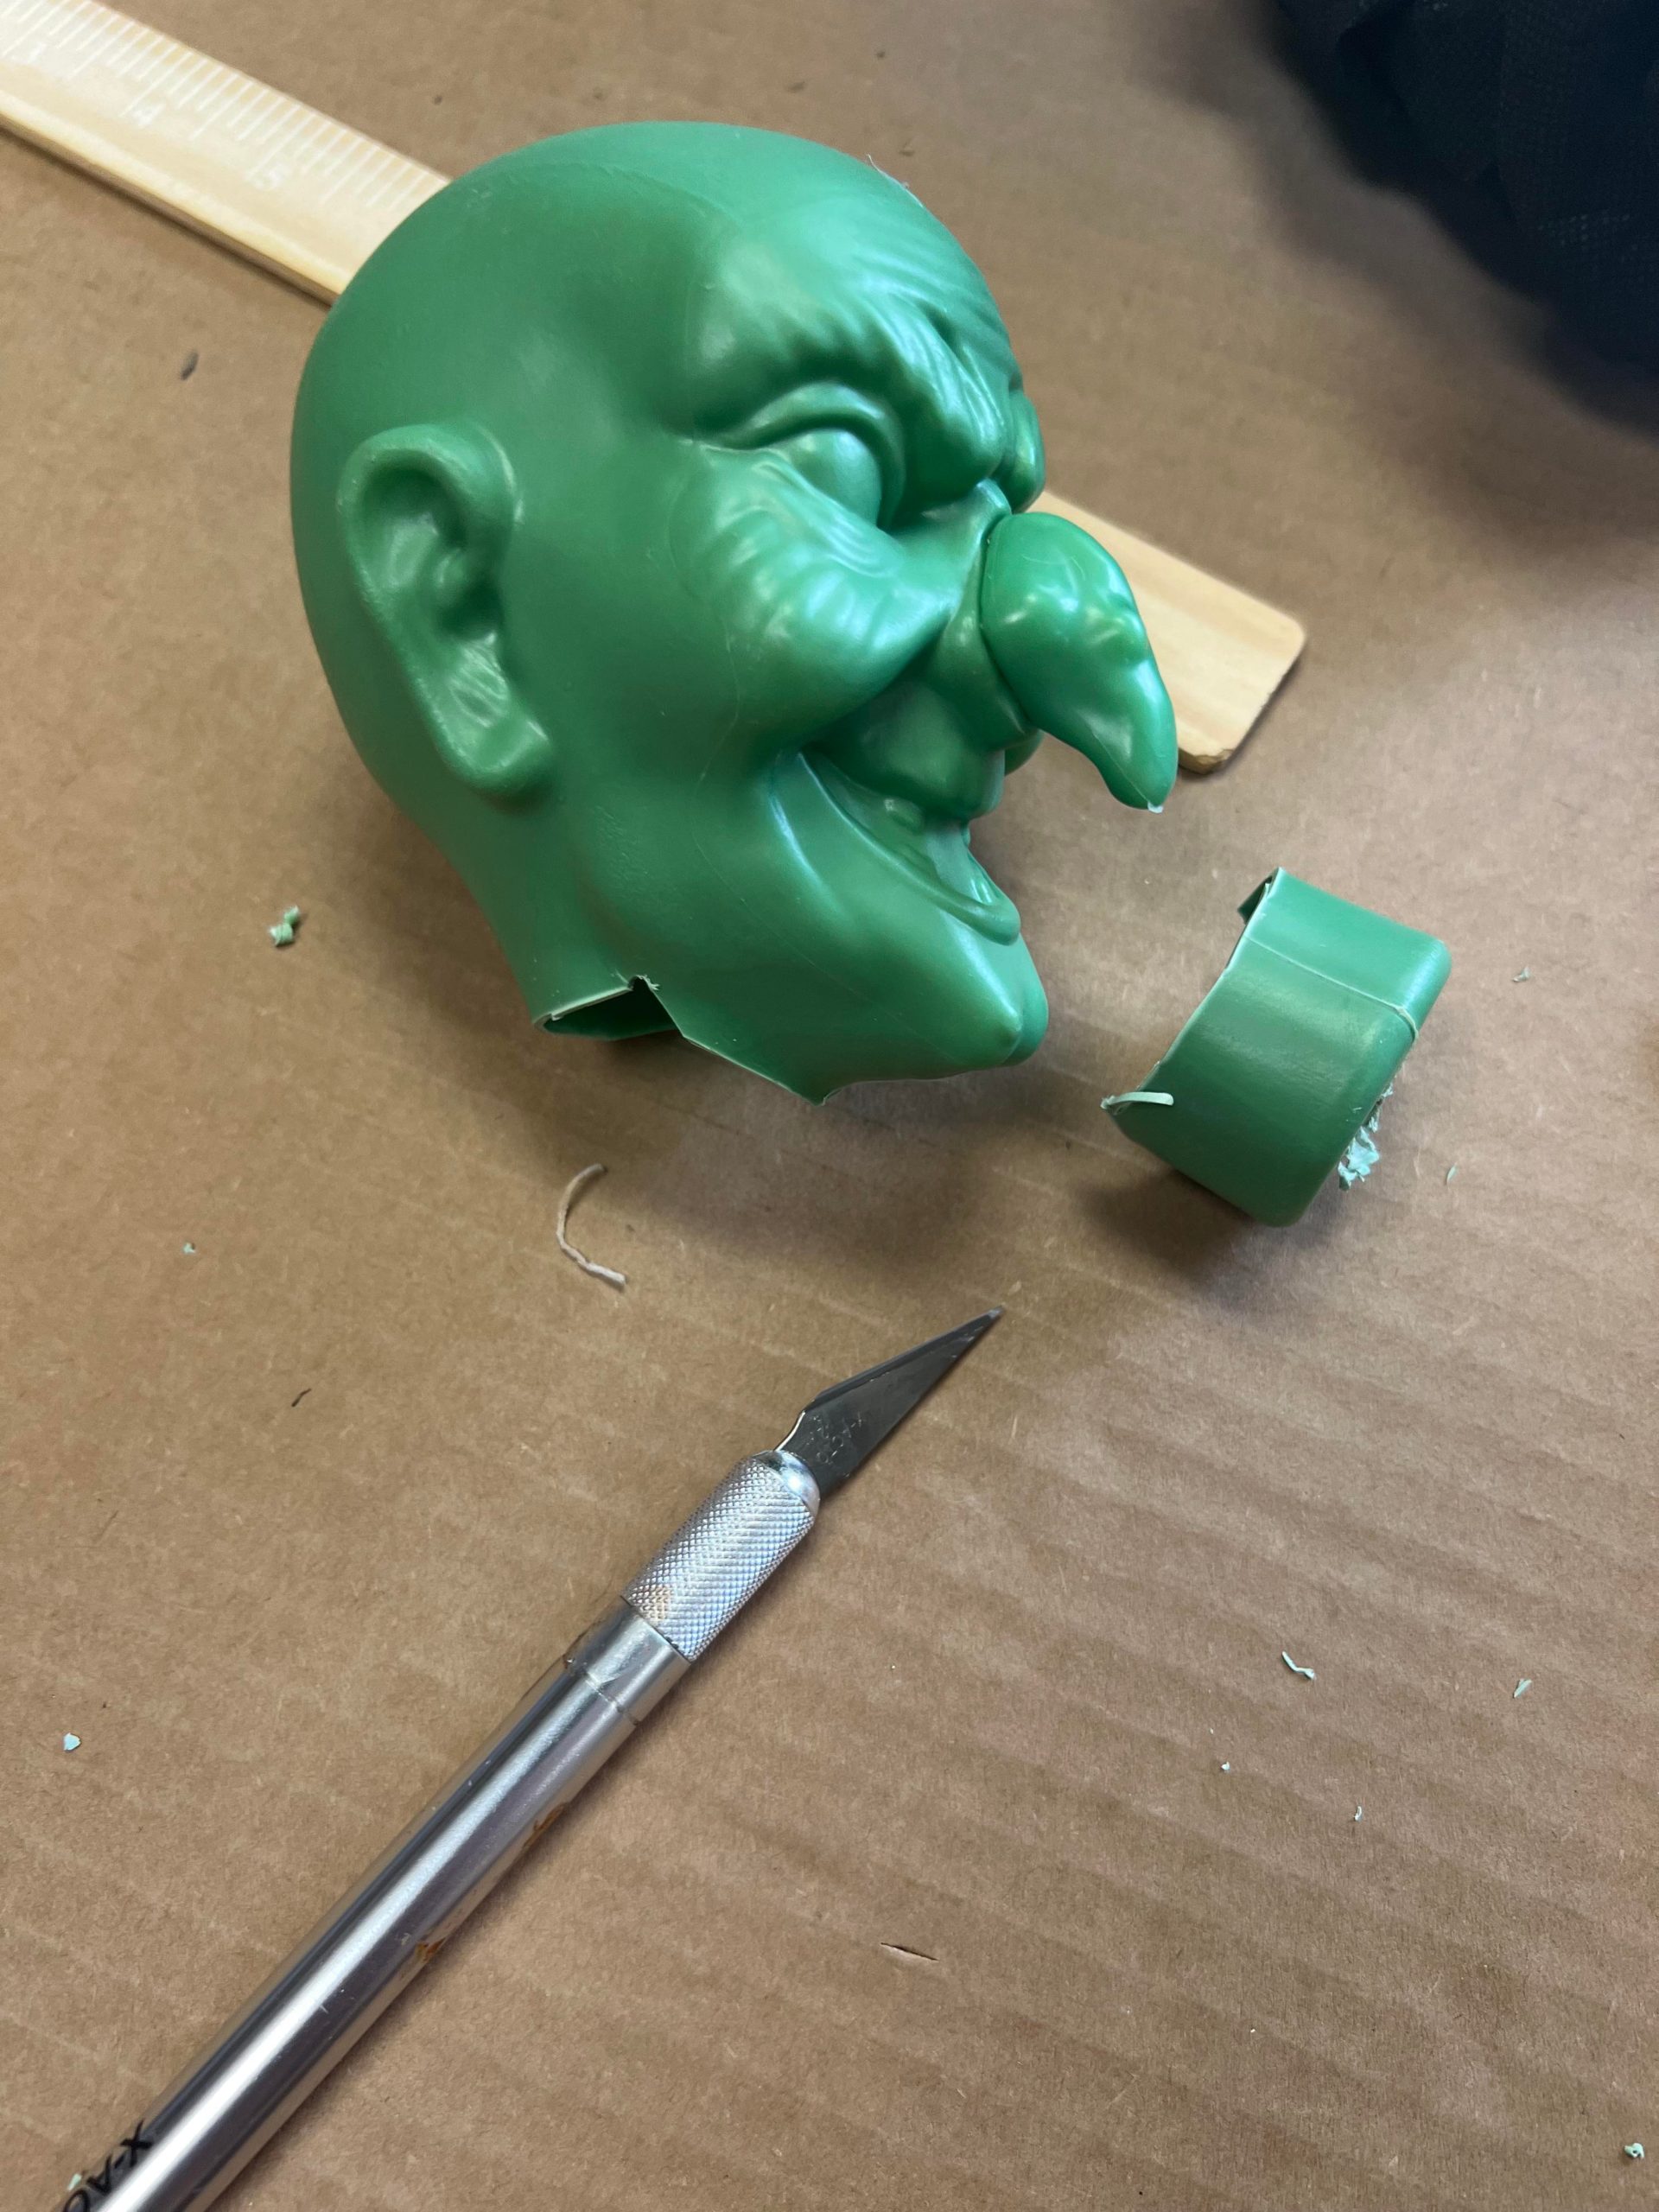
I cut the bottom area of the witch head off.
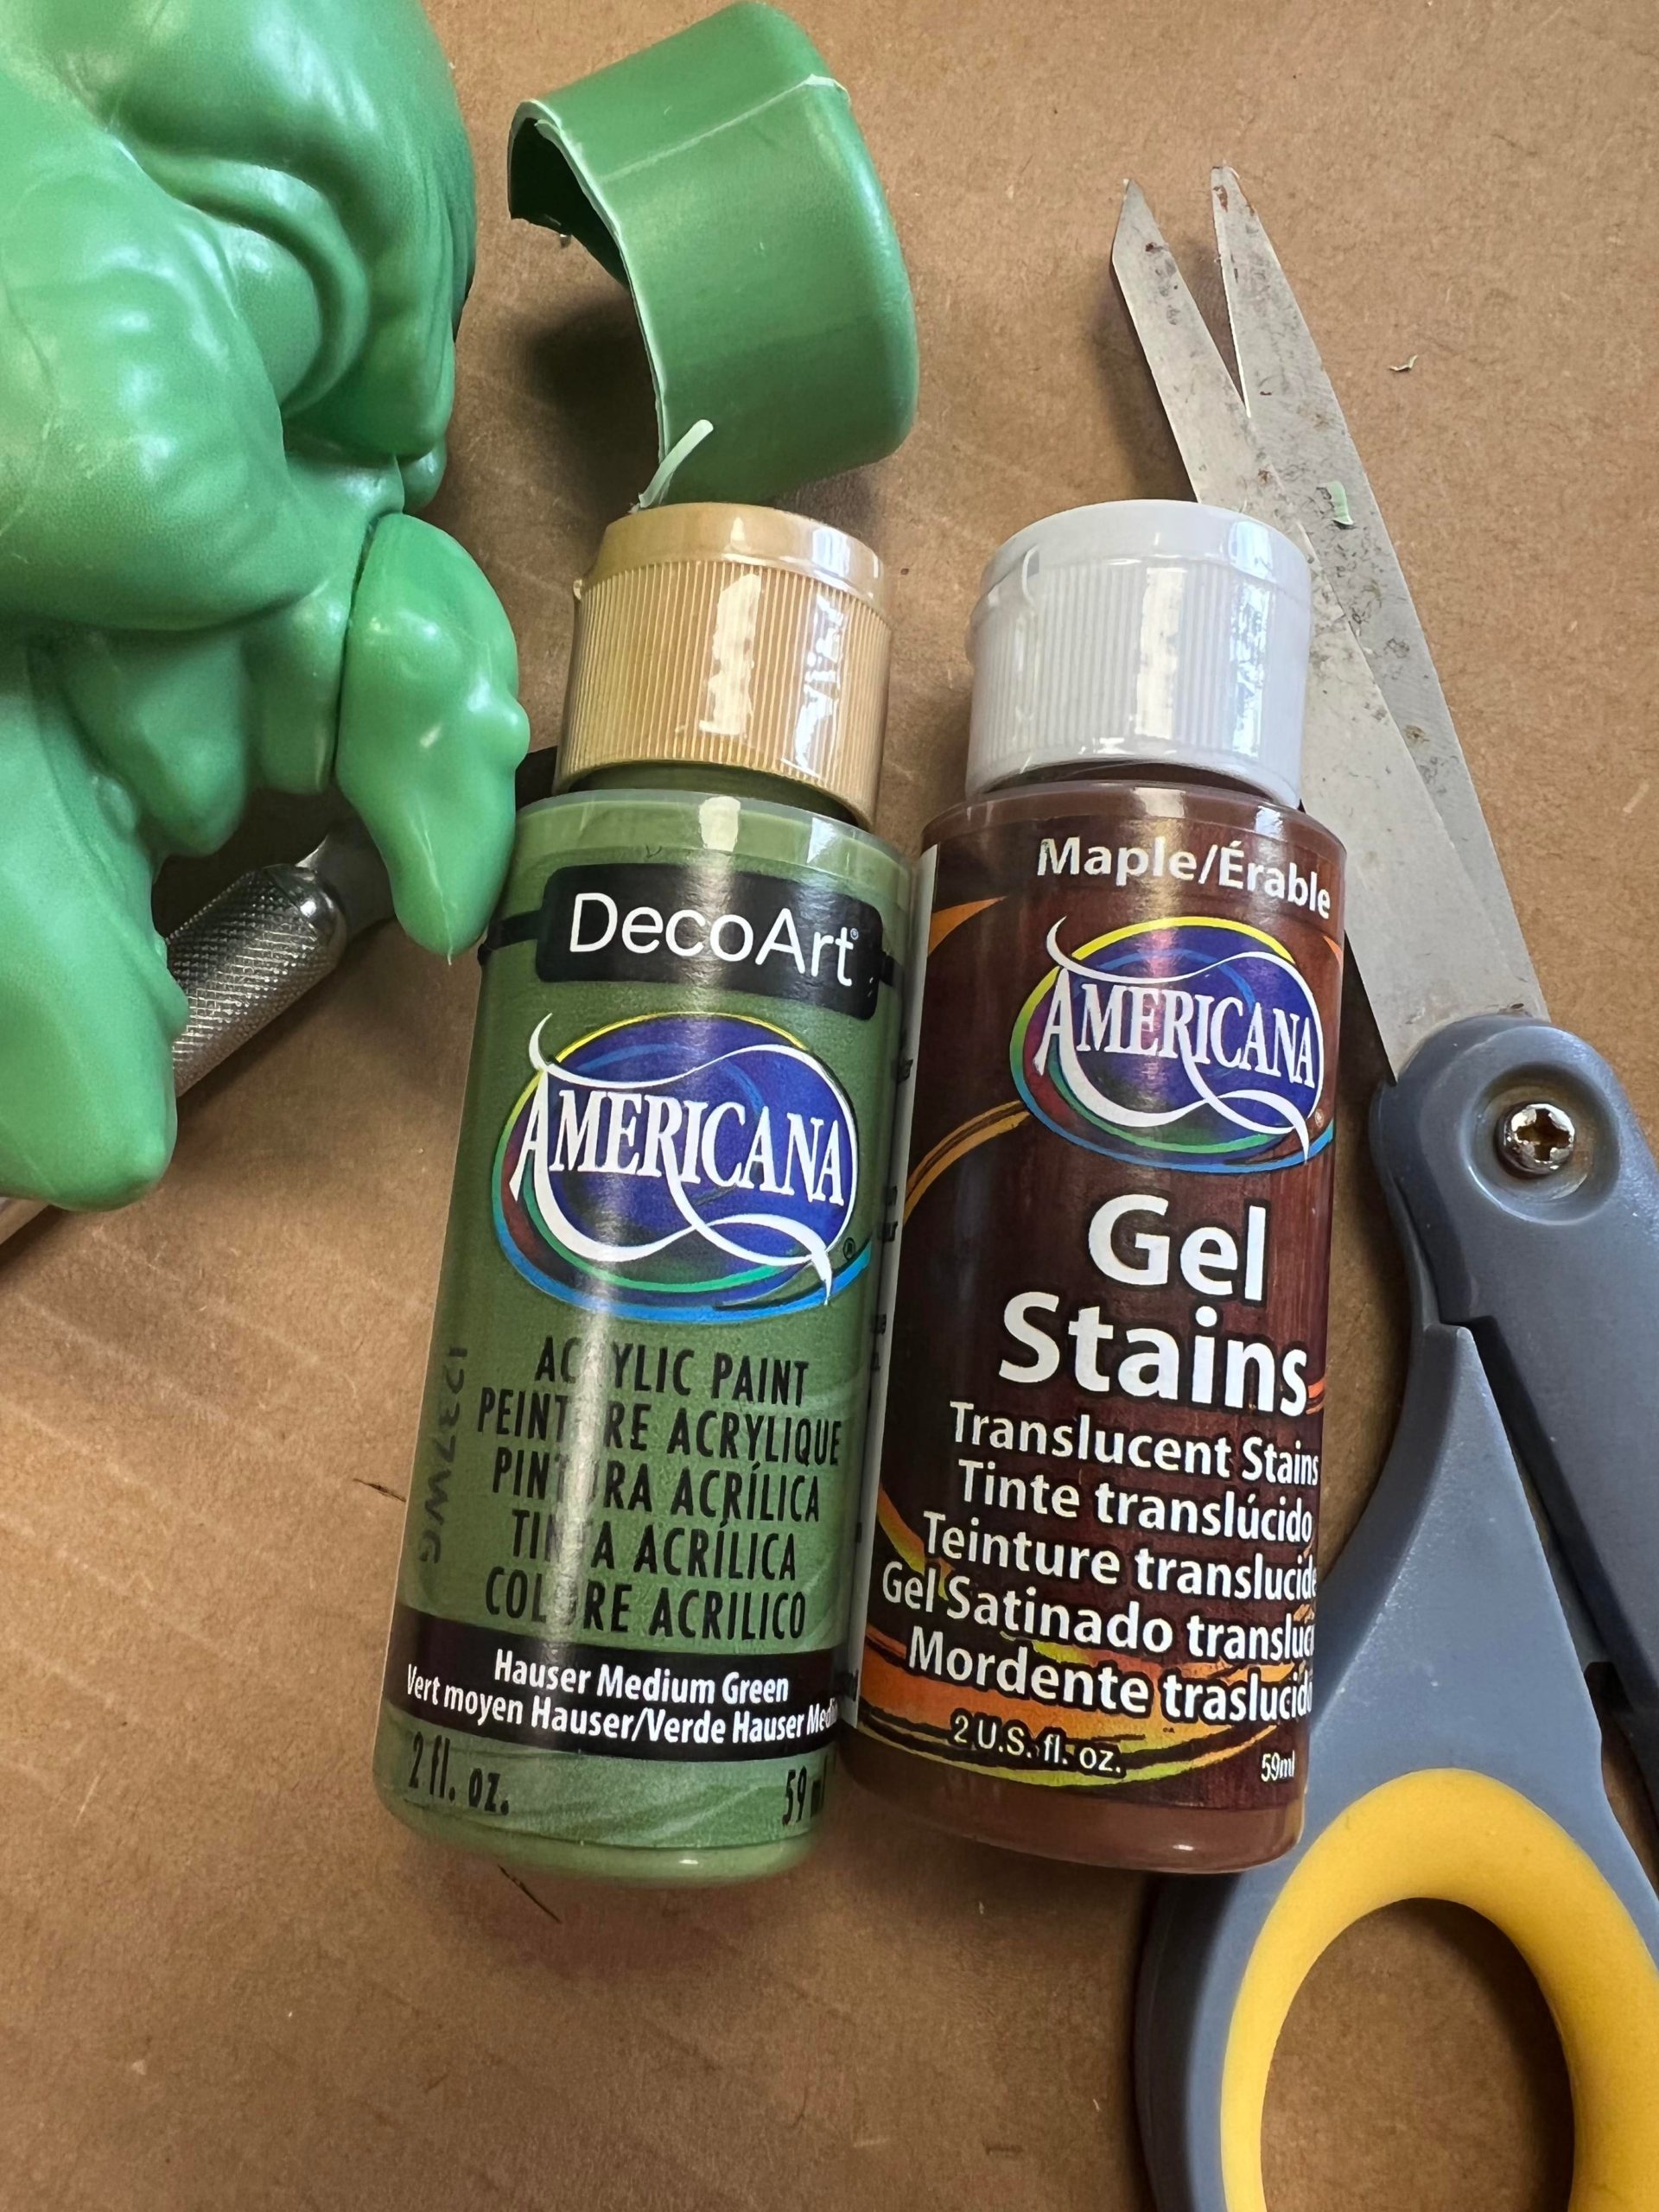
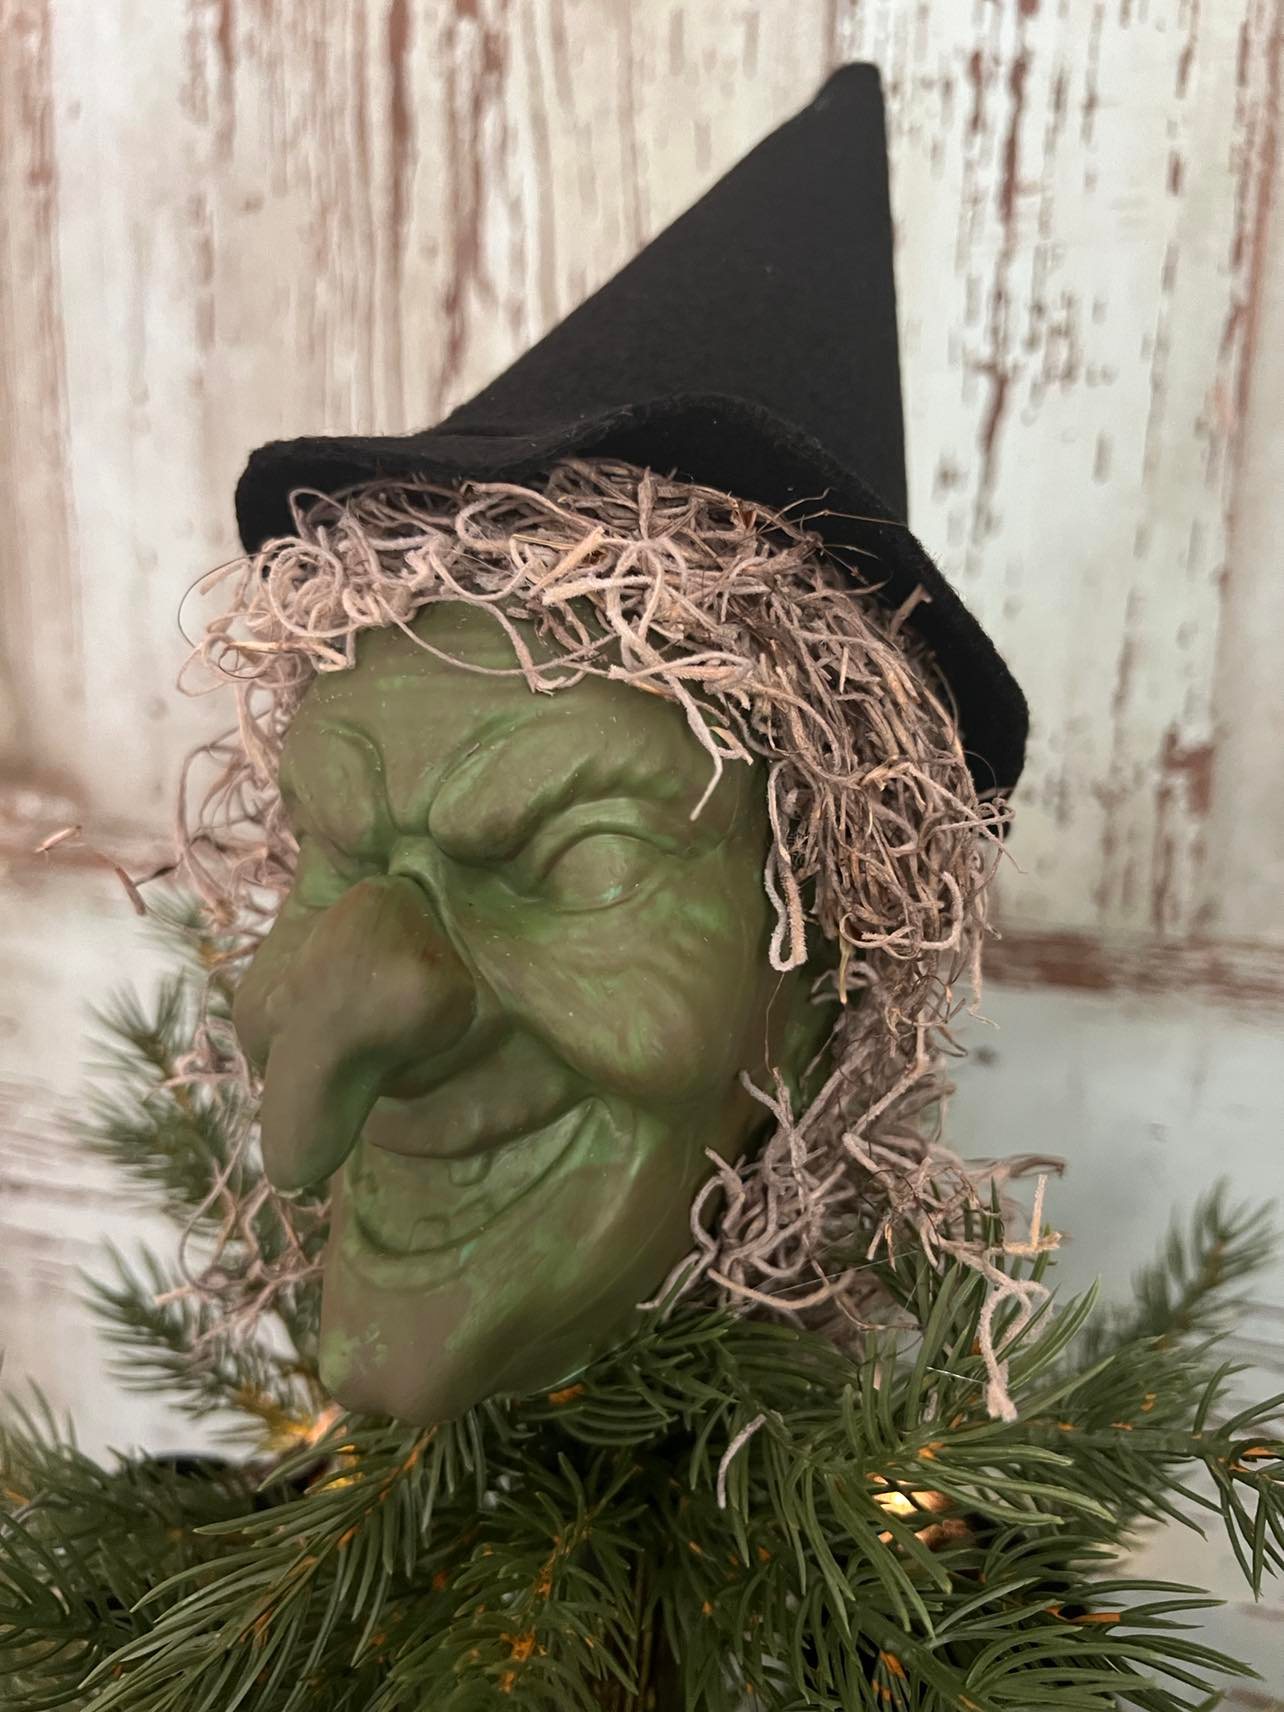
I painted the witch head with the Hauser Medium Green and then added some of the gel stain.
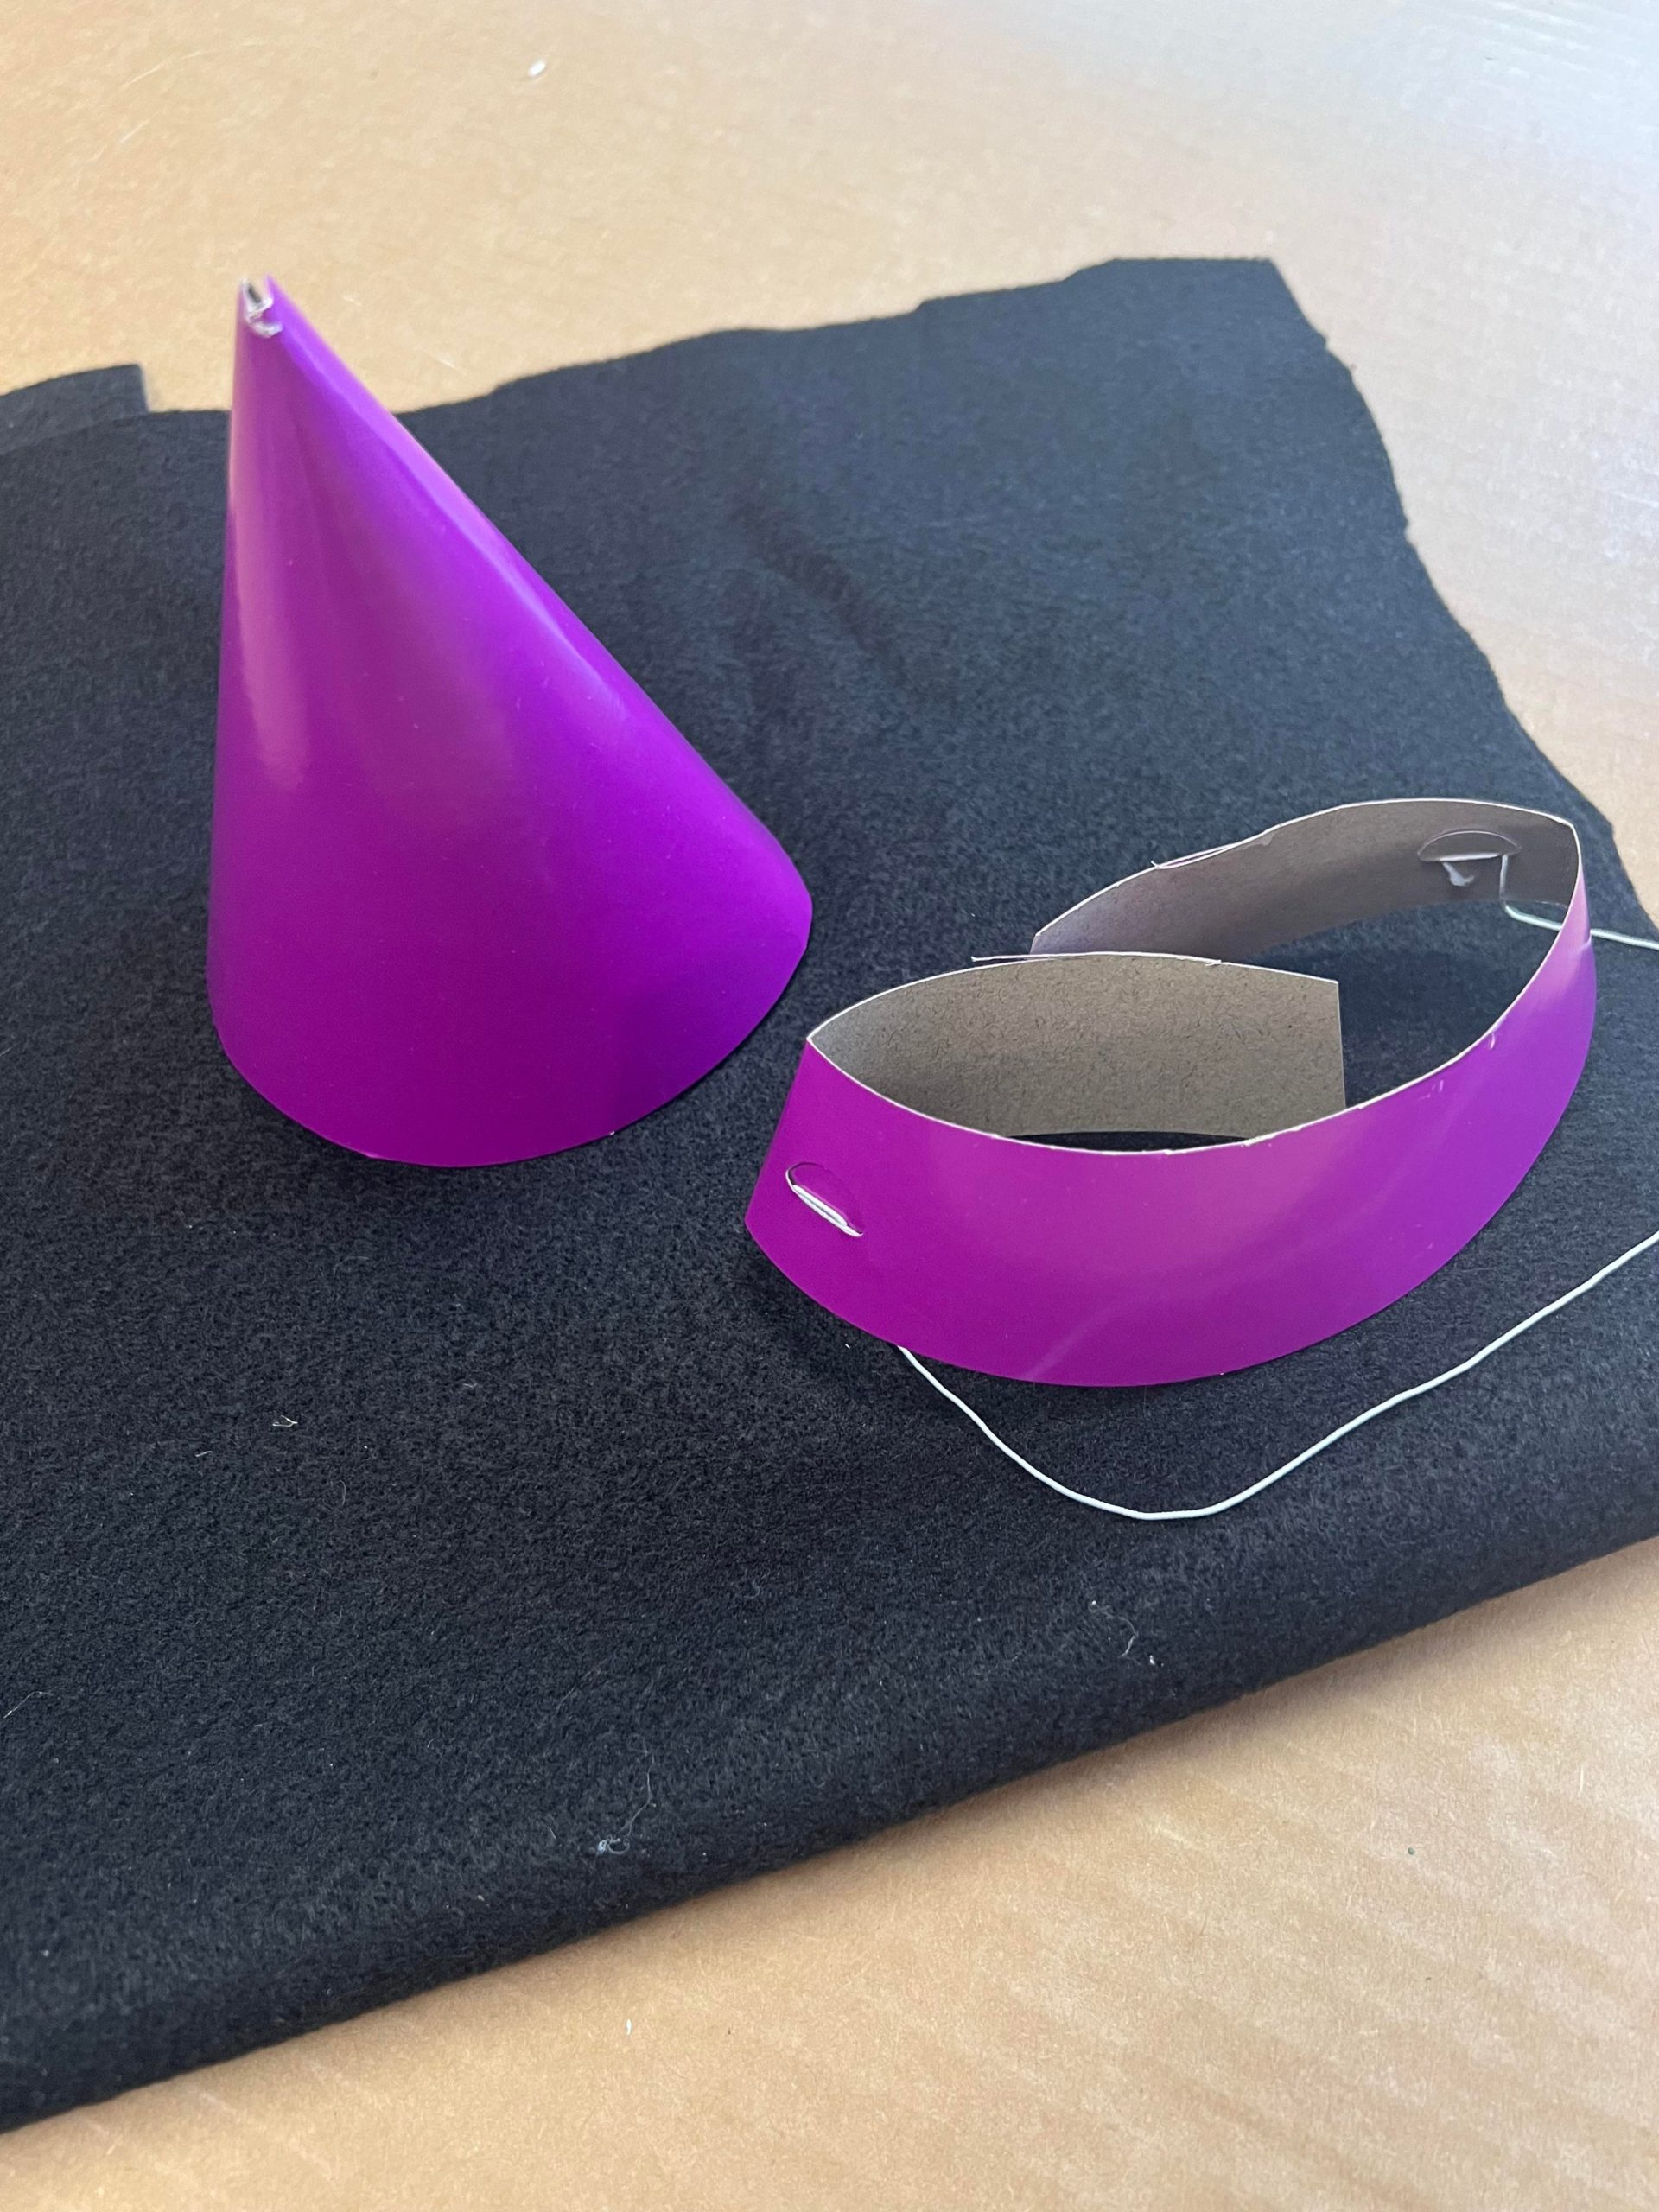
I cut the bottom part of the birthday hat off as shown in photo above.
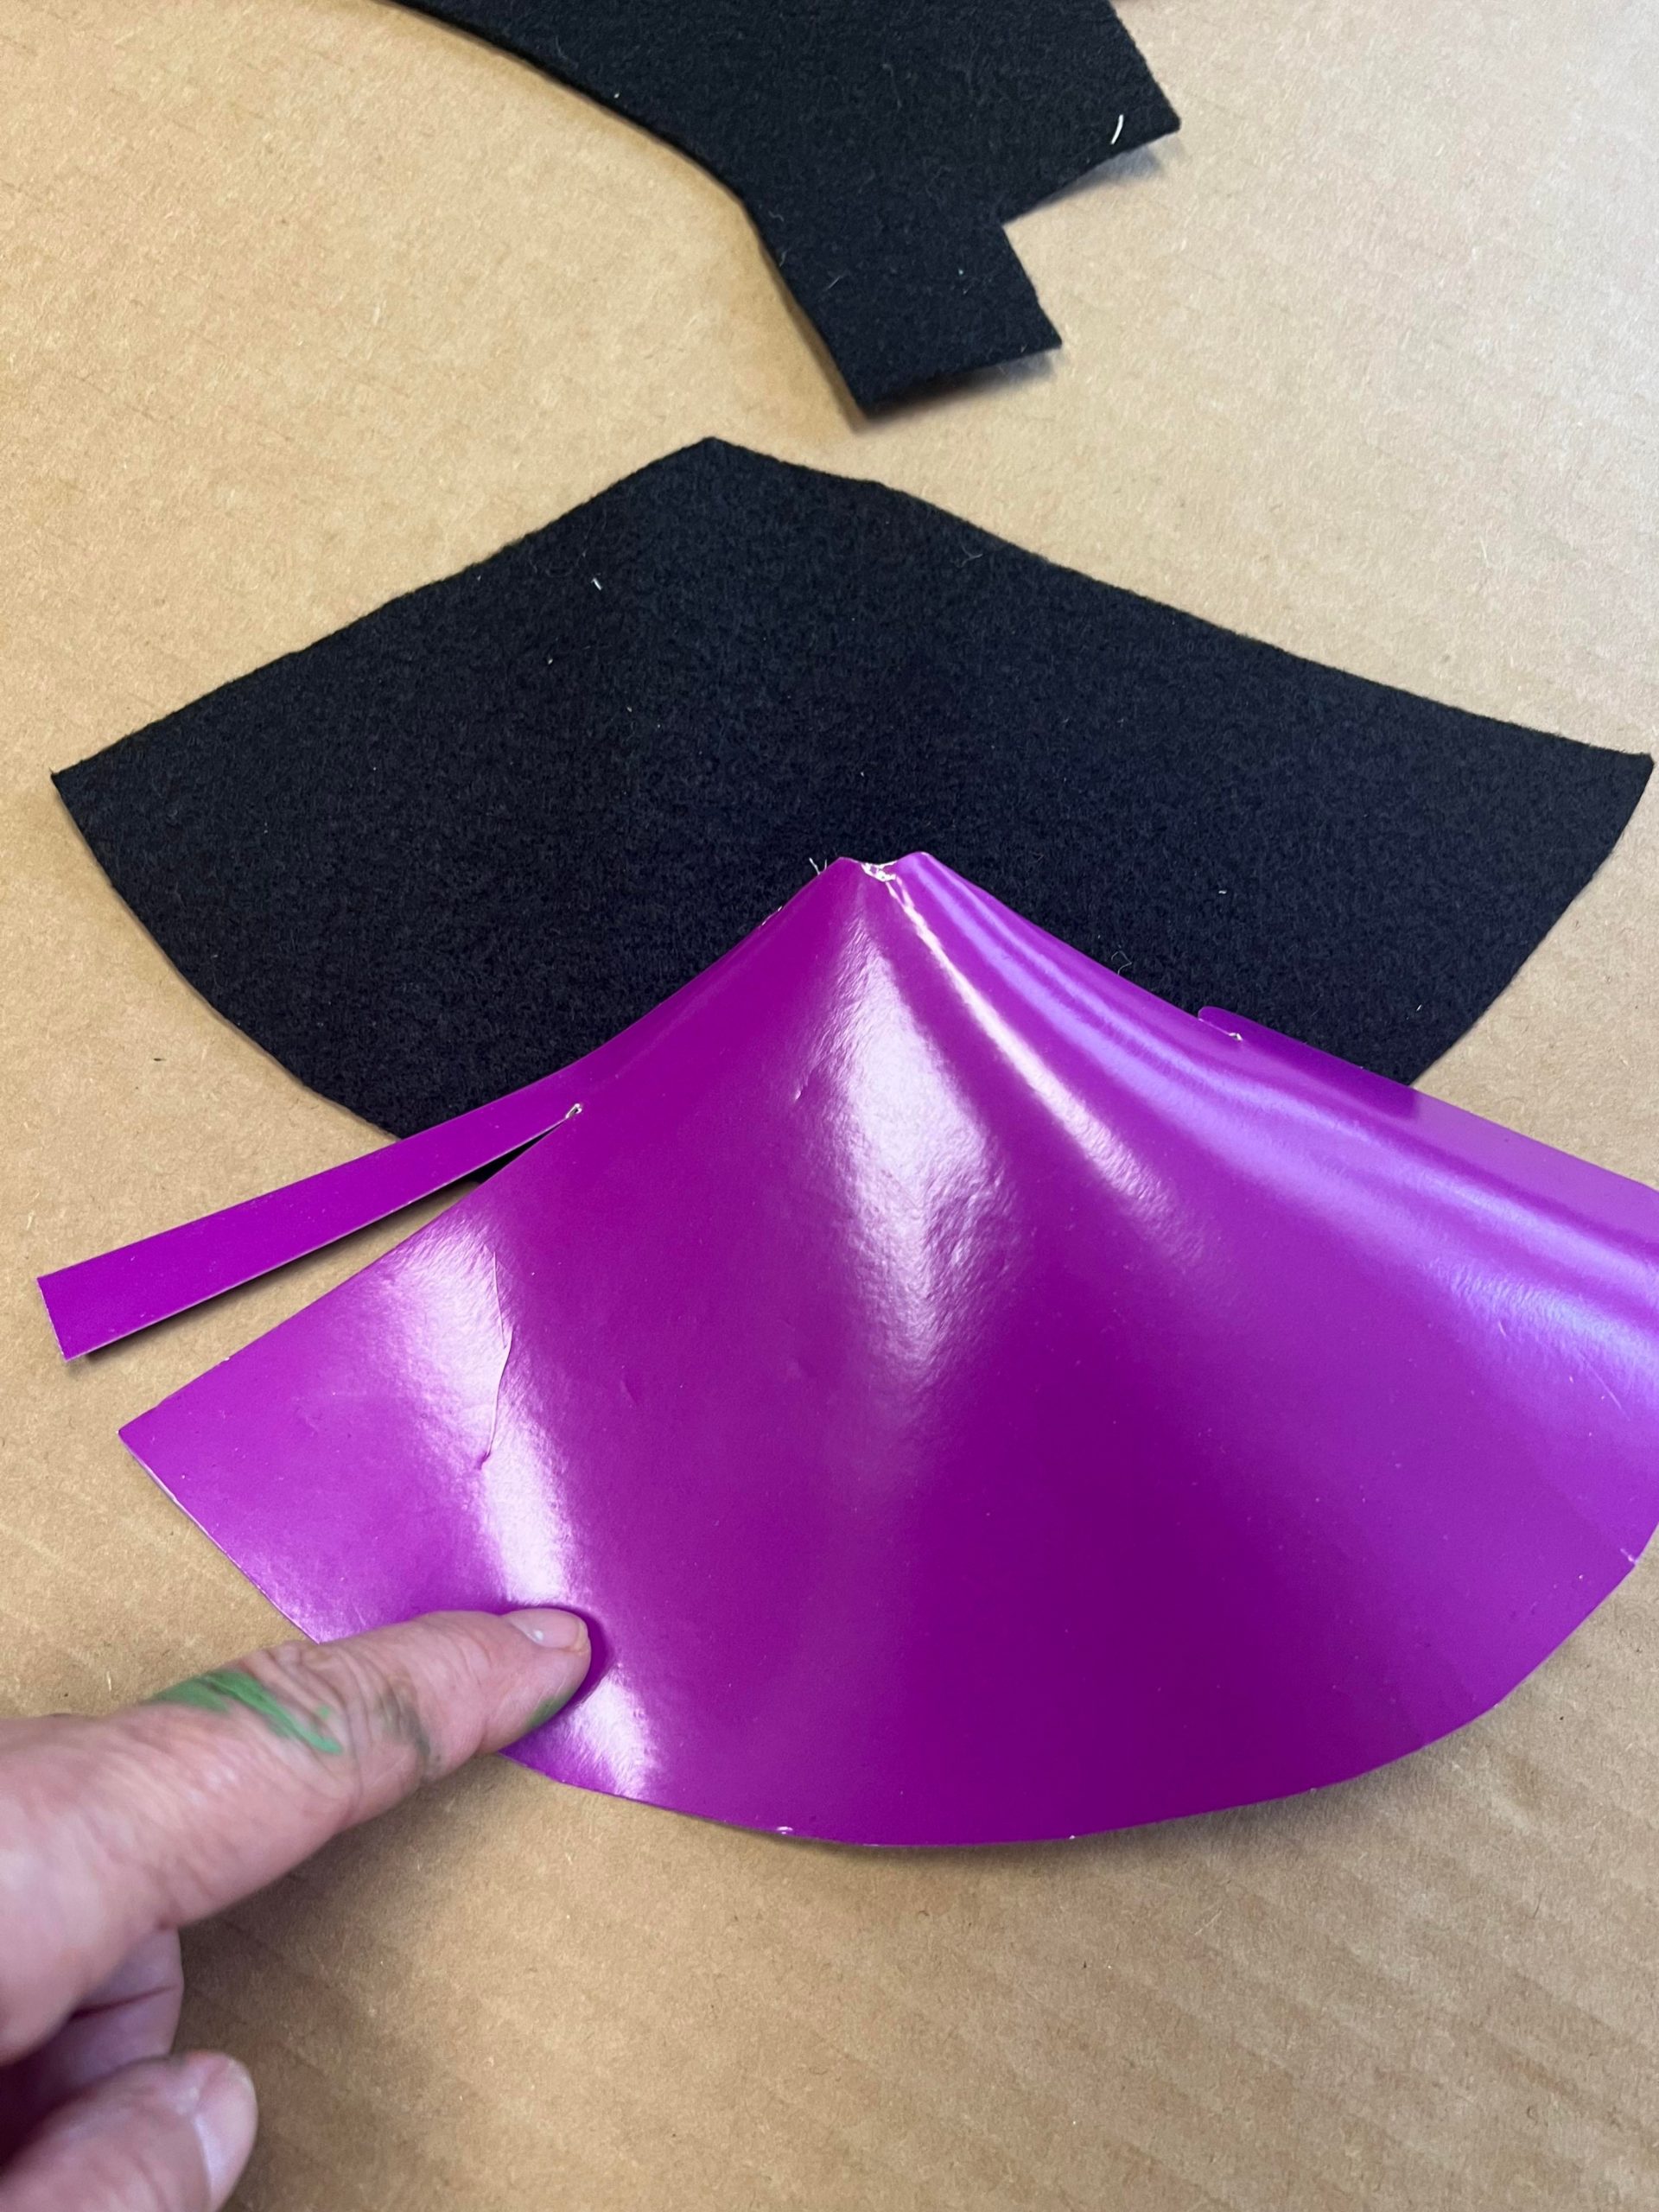
I opened the top part of the hat and traced it onto the felt. You will cut the felt out and glue it to the hat.
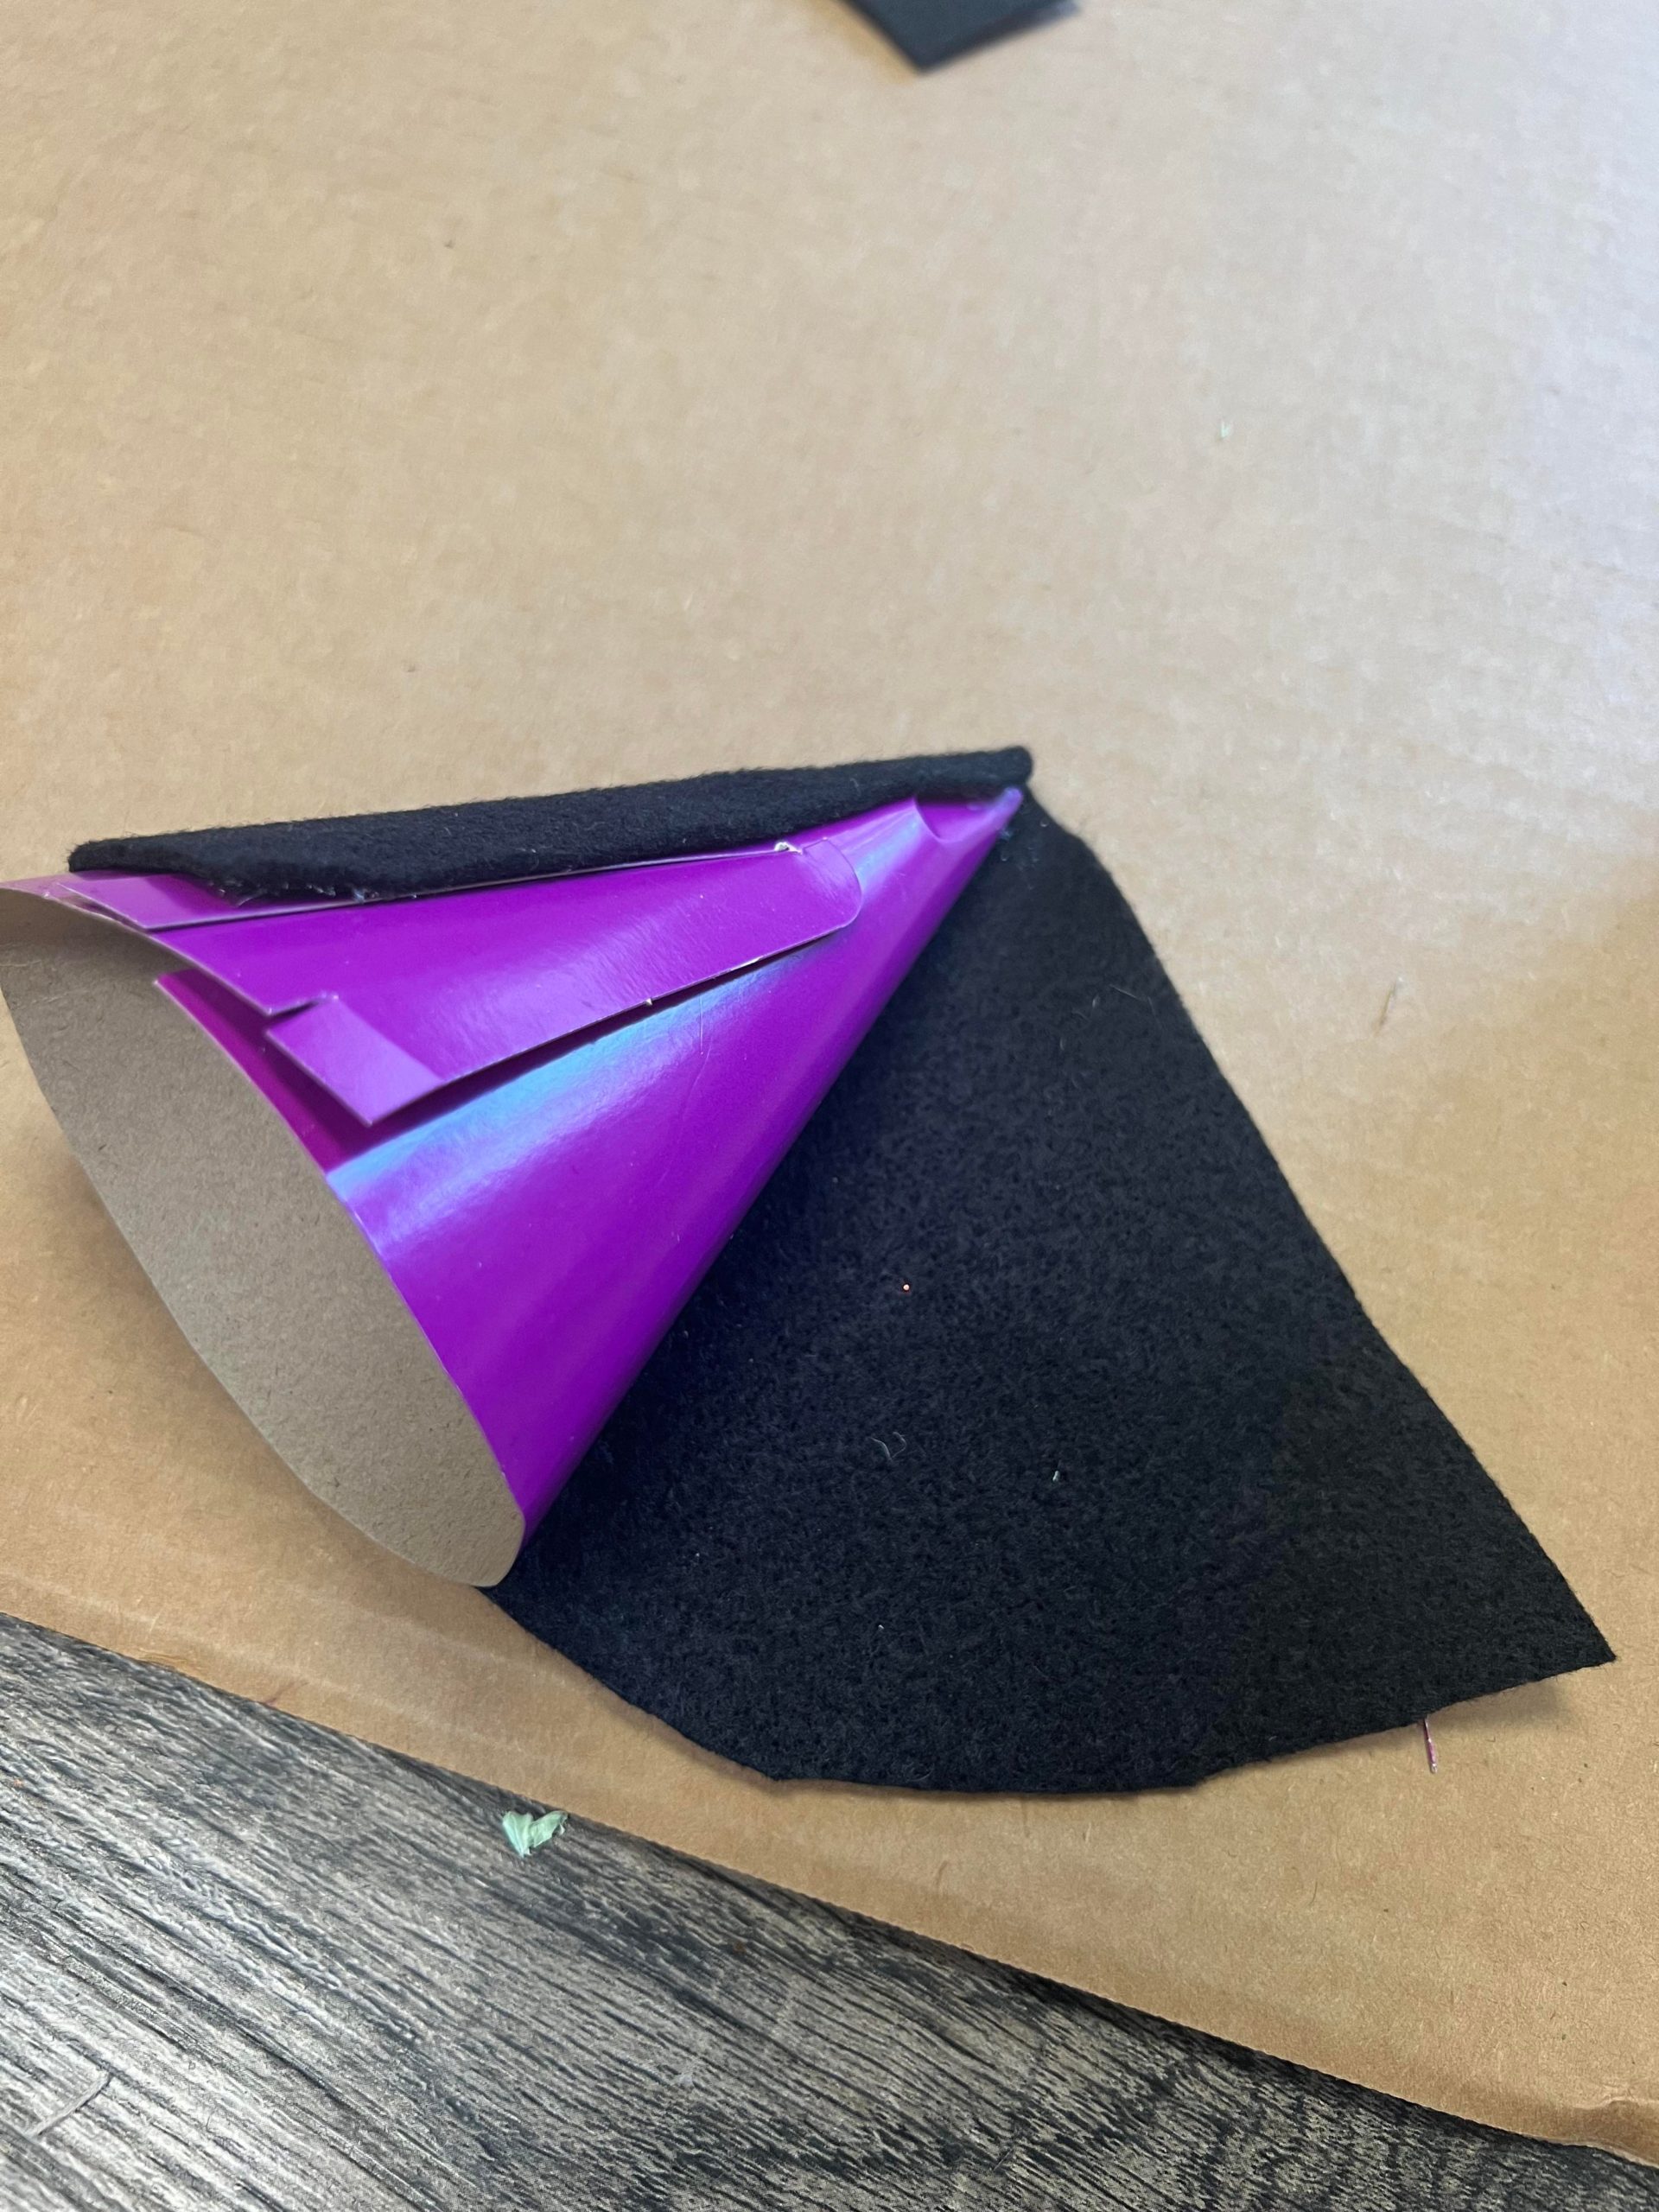
Once you have the top part of the hat formed you will cut out a circle for the bottom part of the hat.
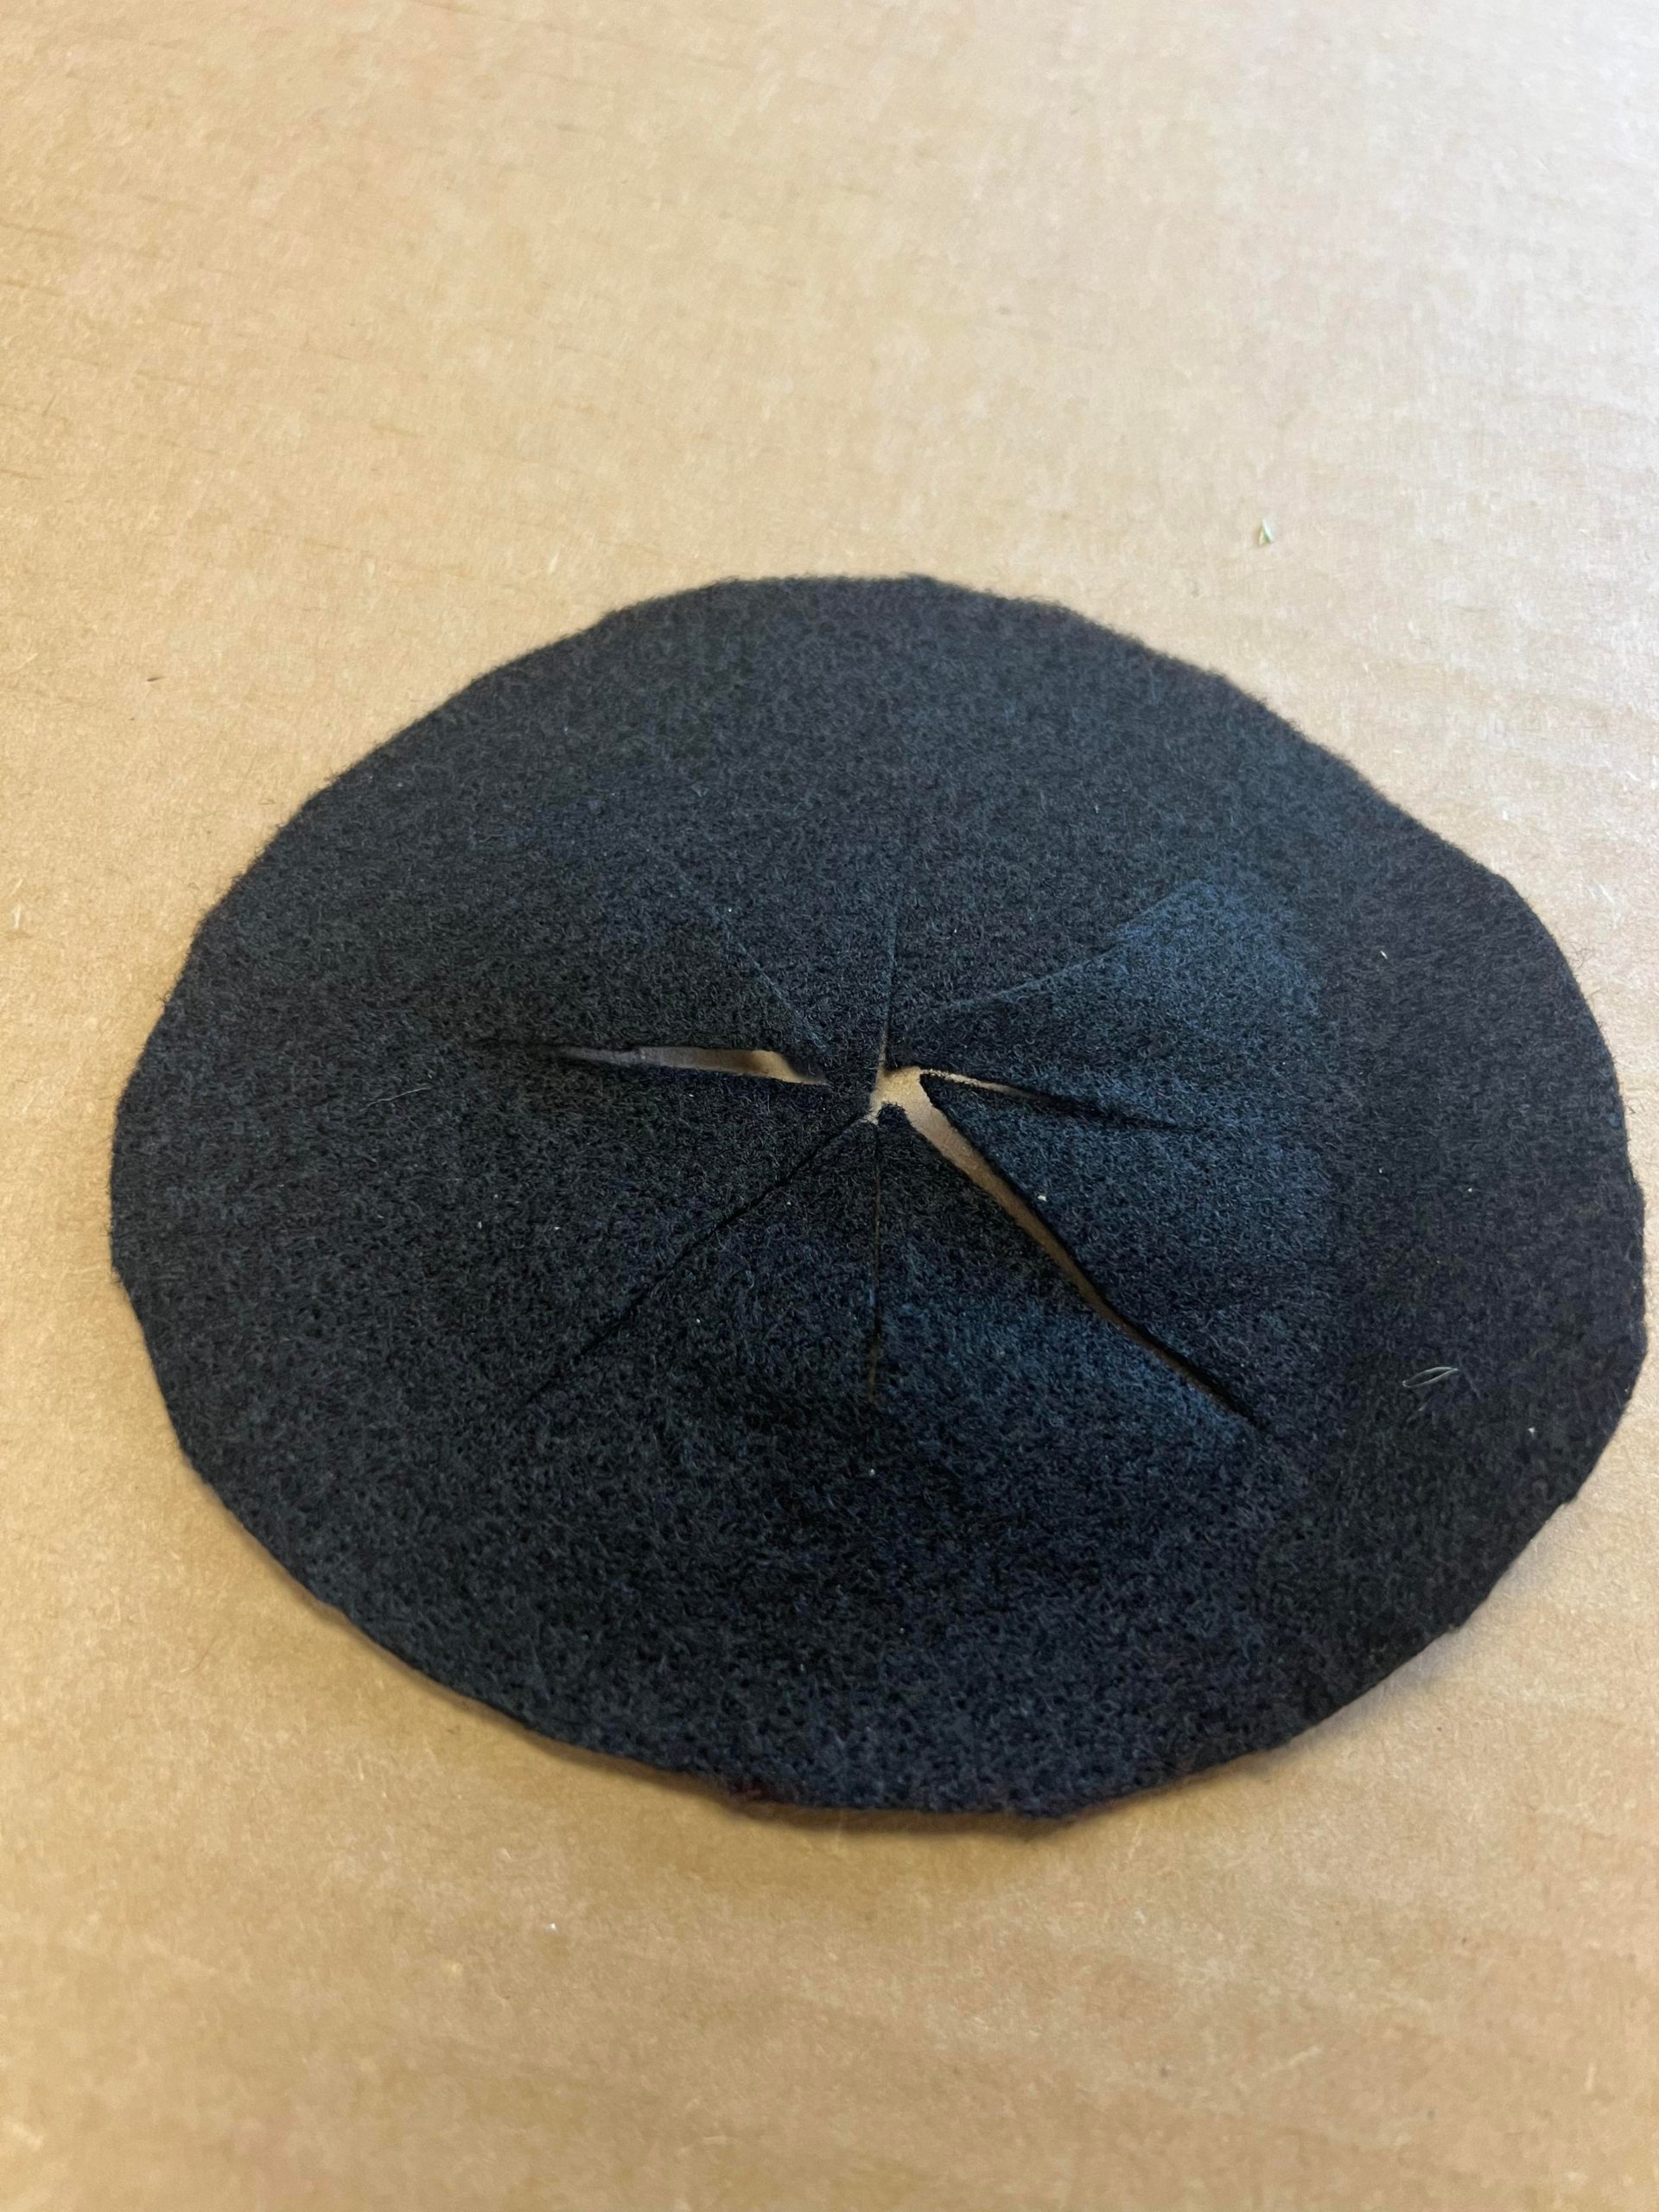
Once you have the circle cut out you will cut slits into the center as shown in photo above.

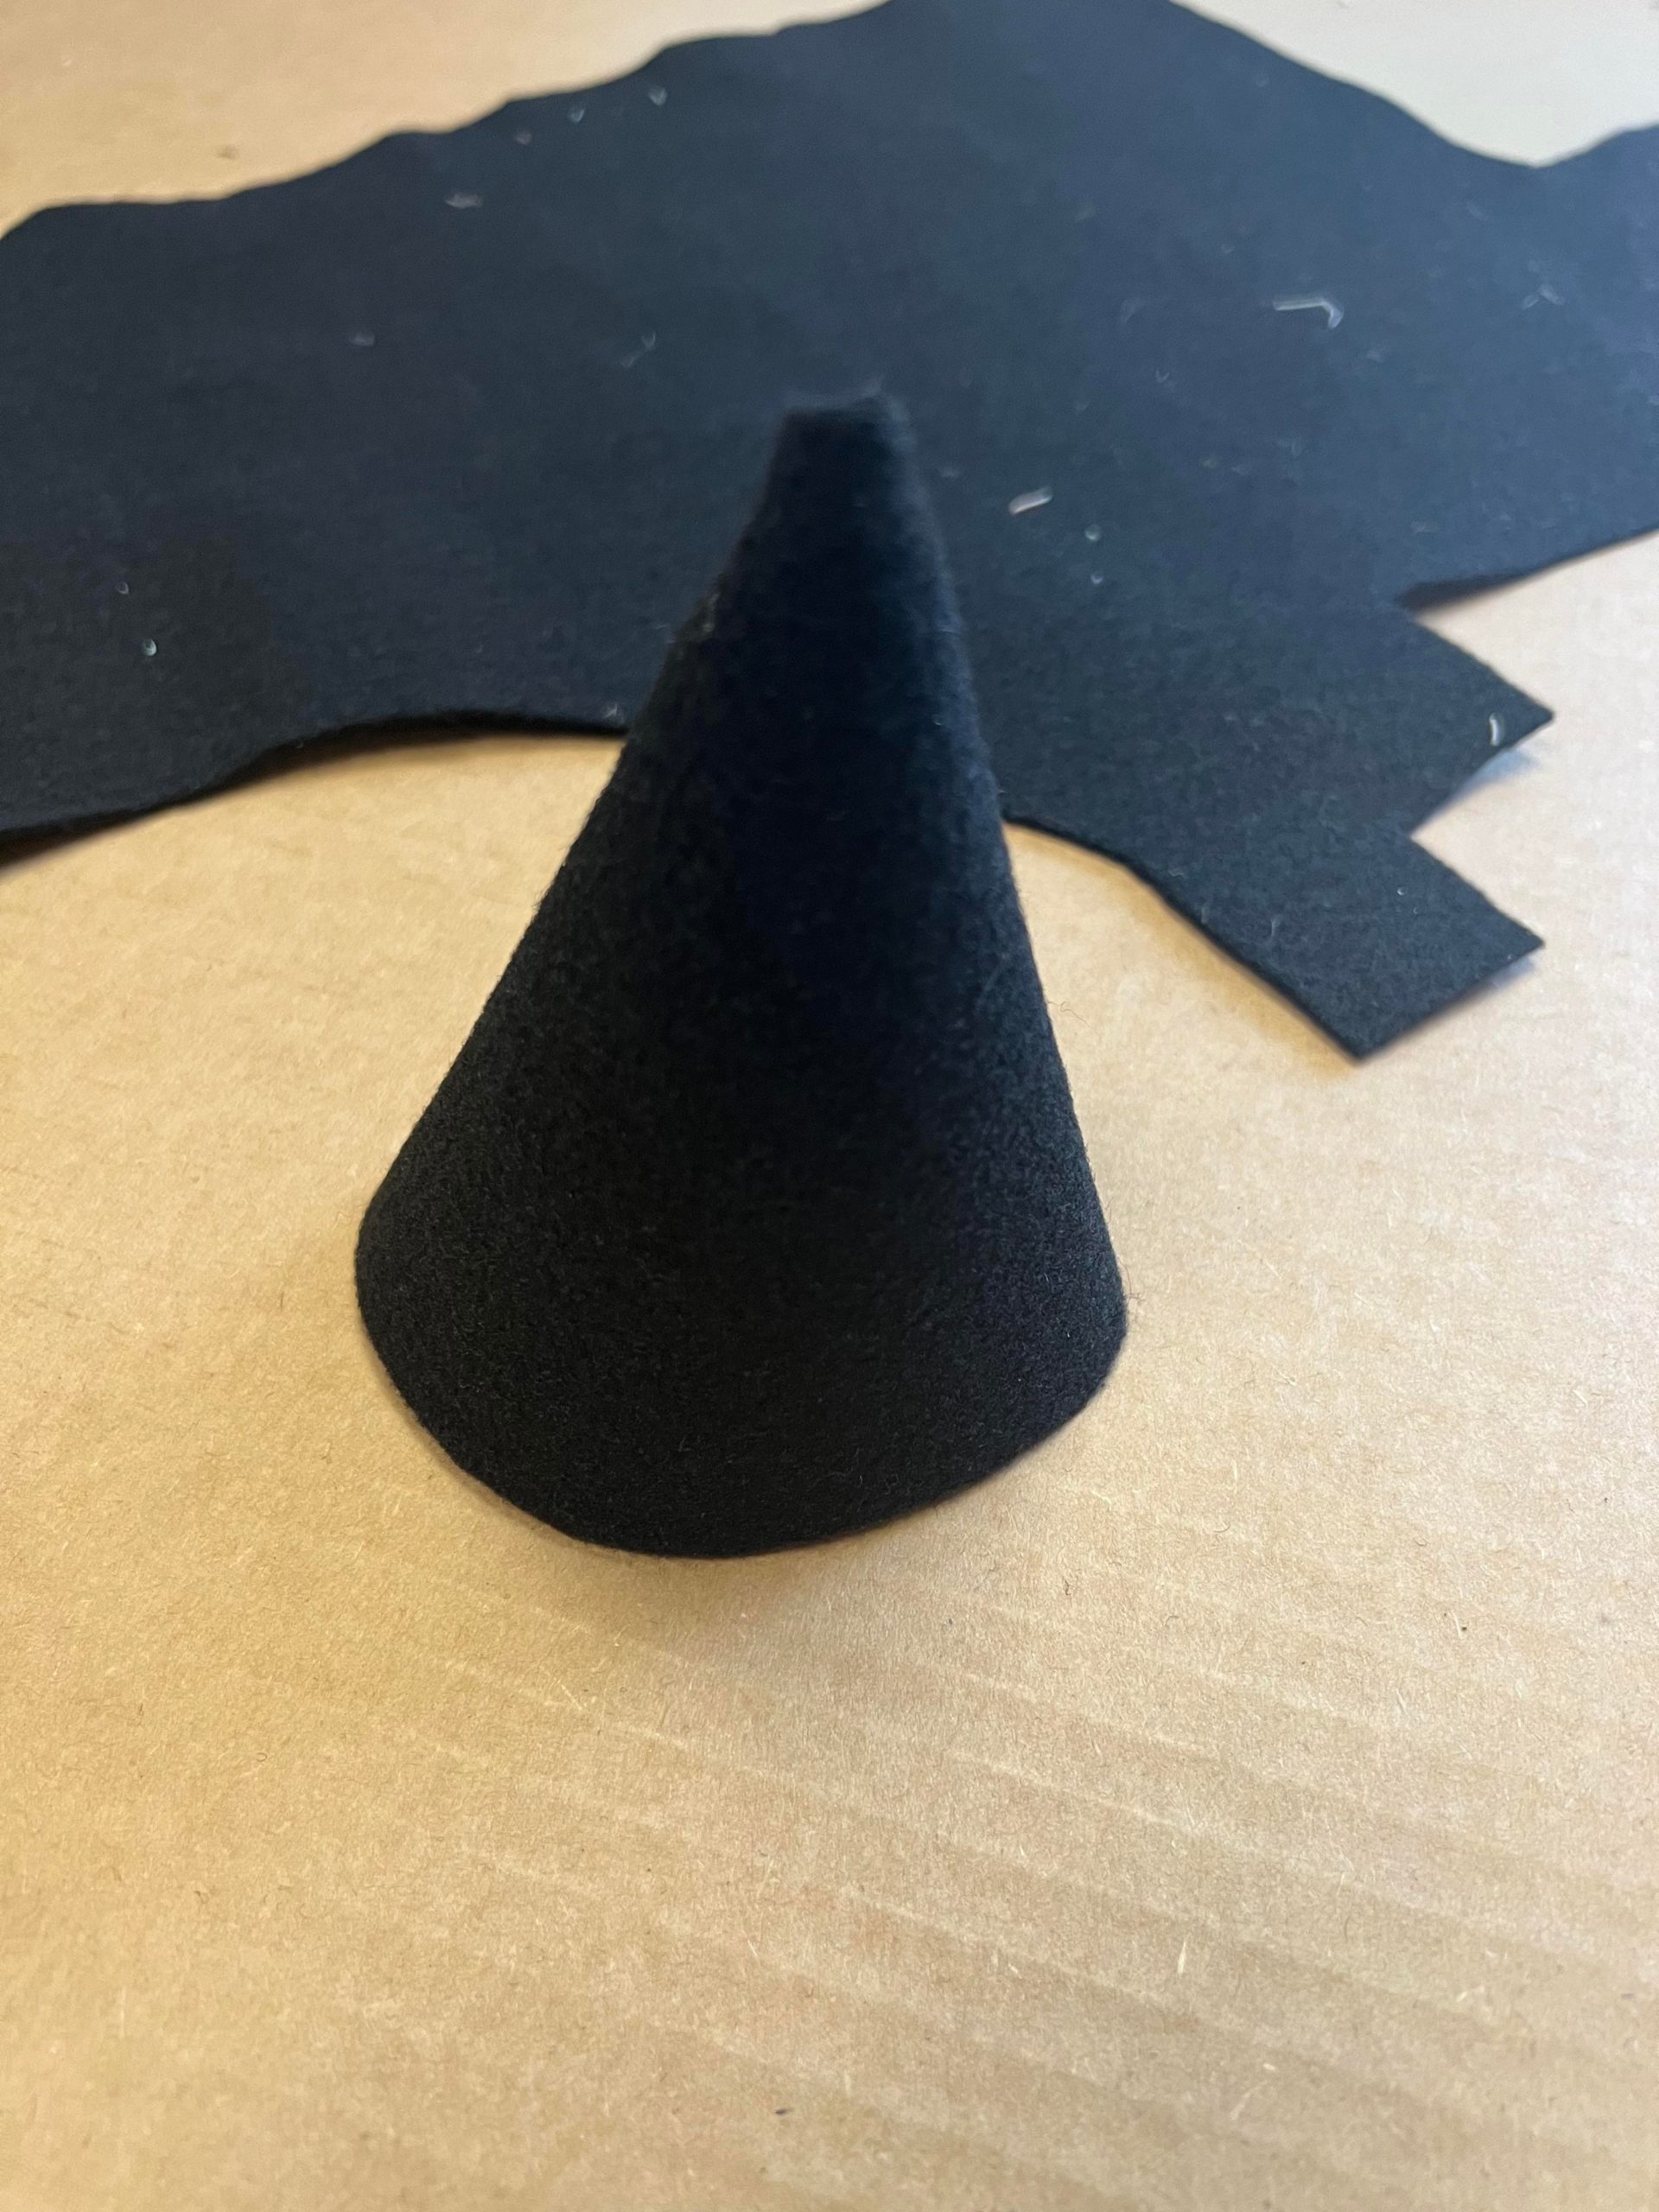
You will glue the slit sections up into the hat.

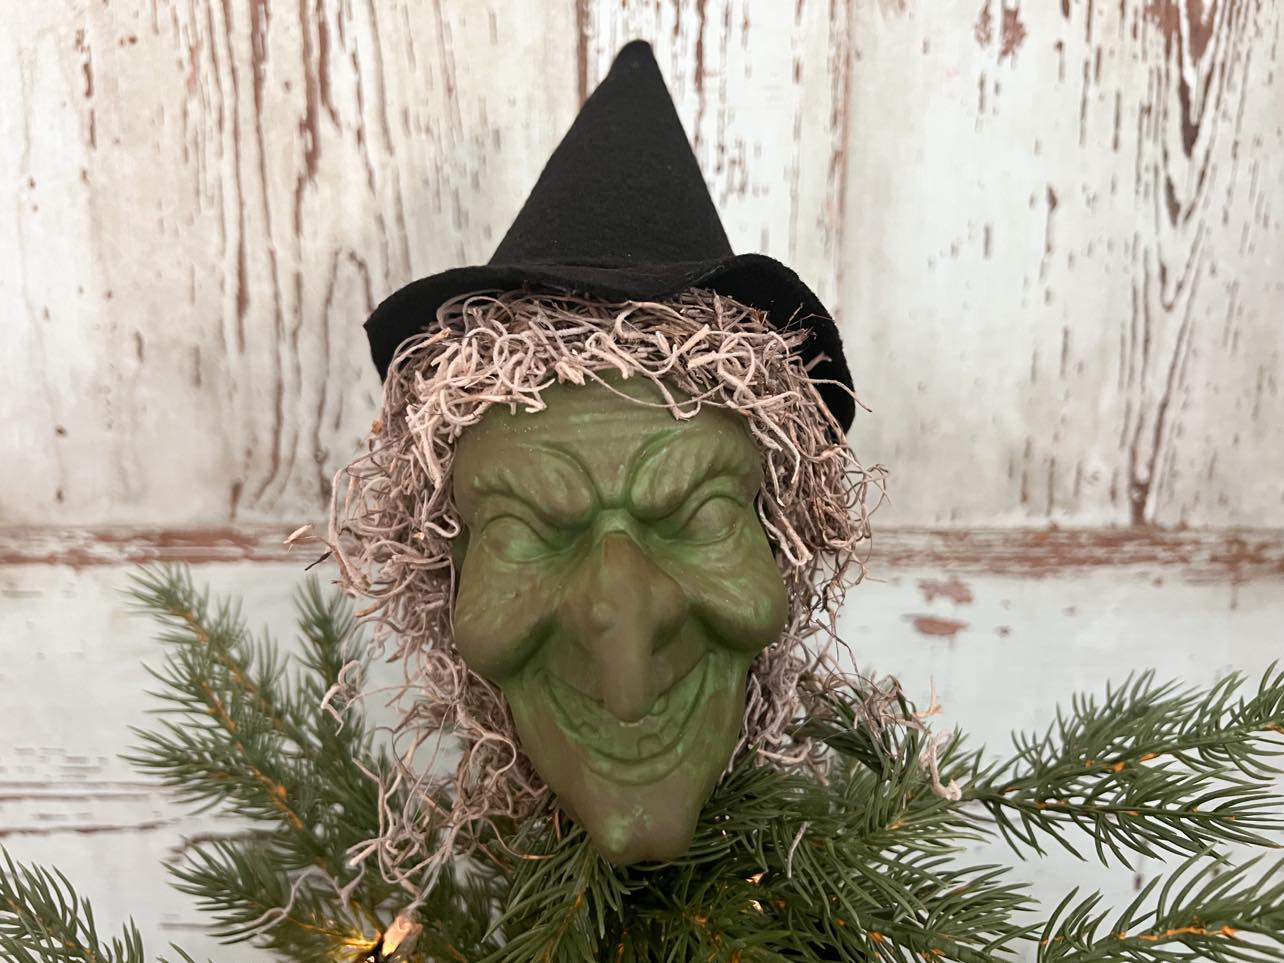
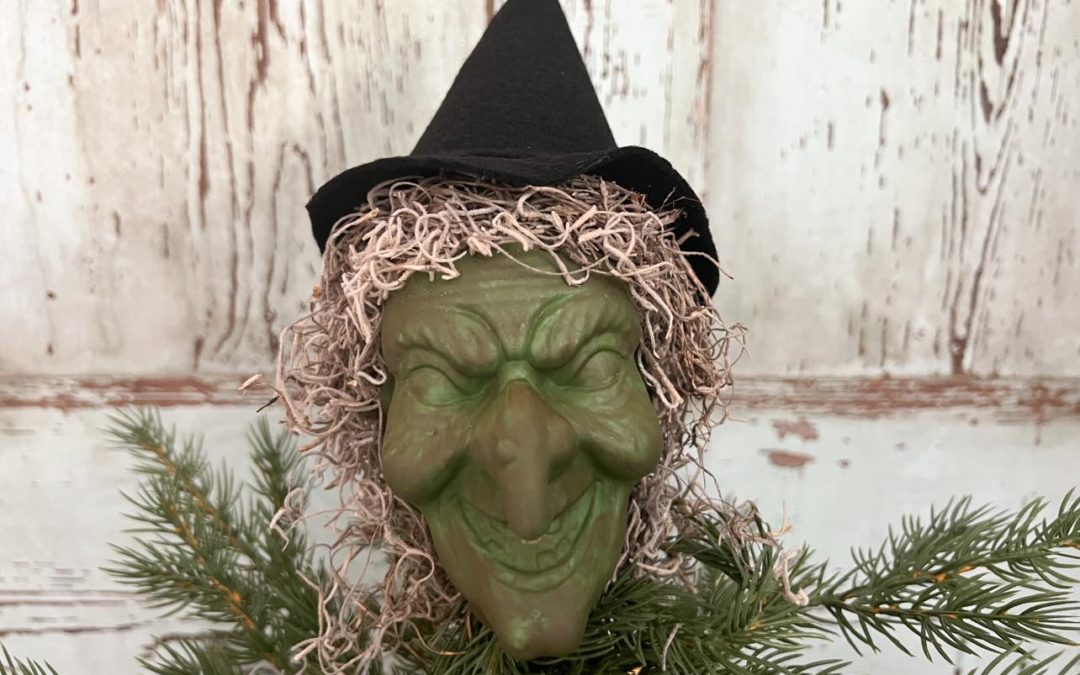
I glued some of the Spanish moss onto the witch head as shown in photo above.
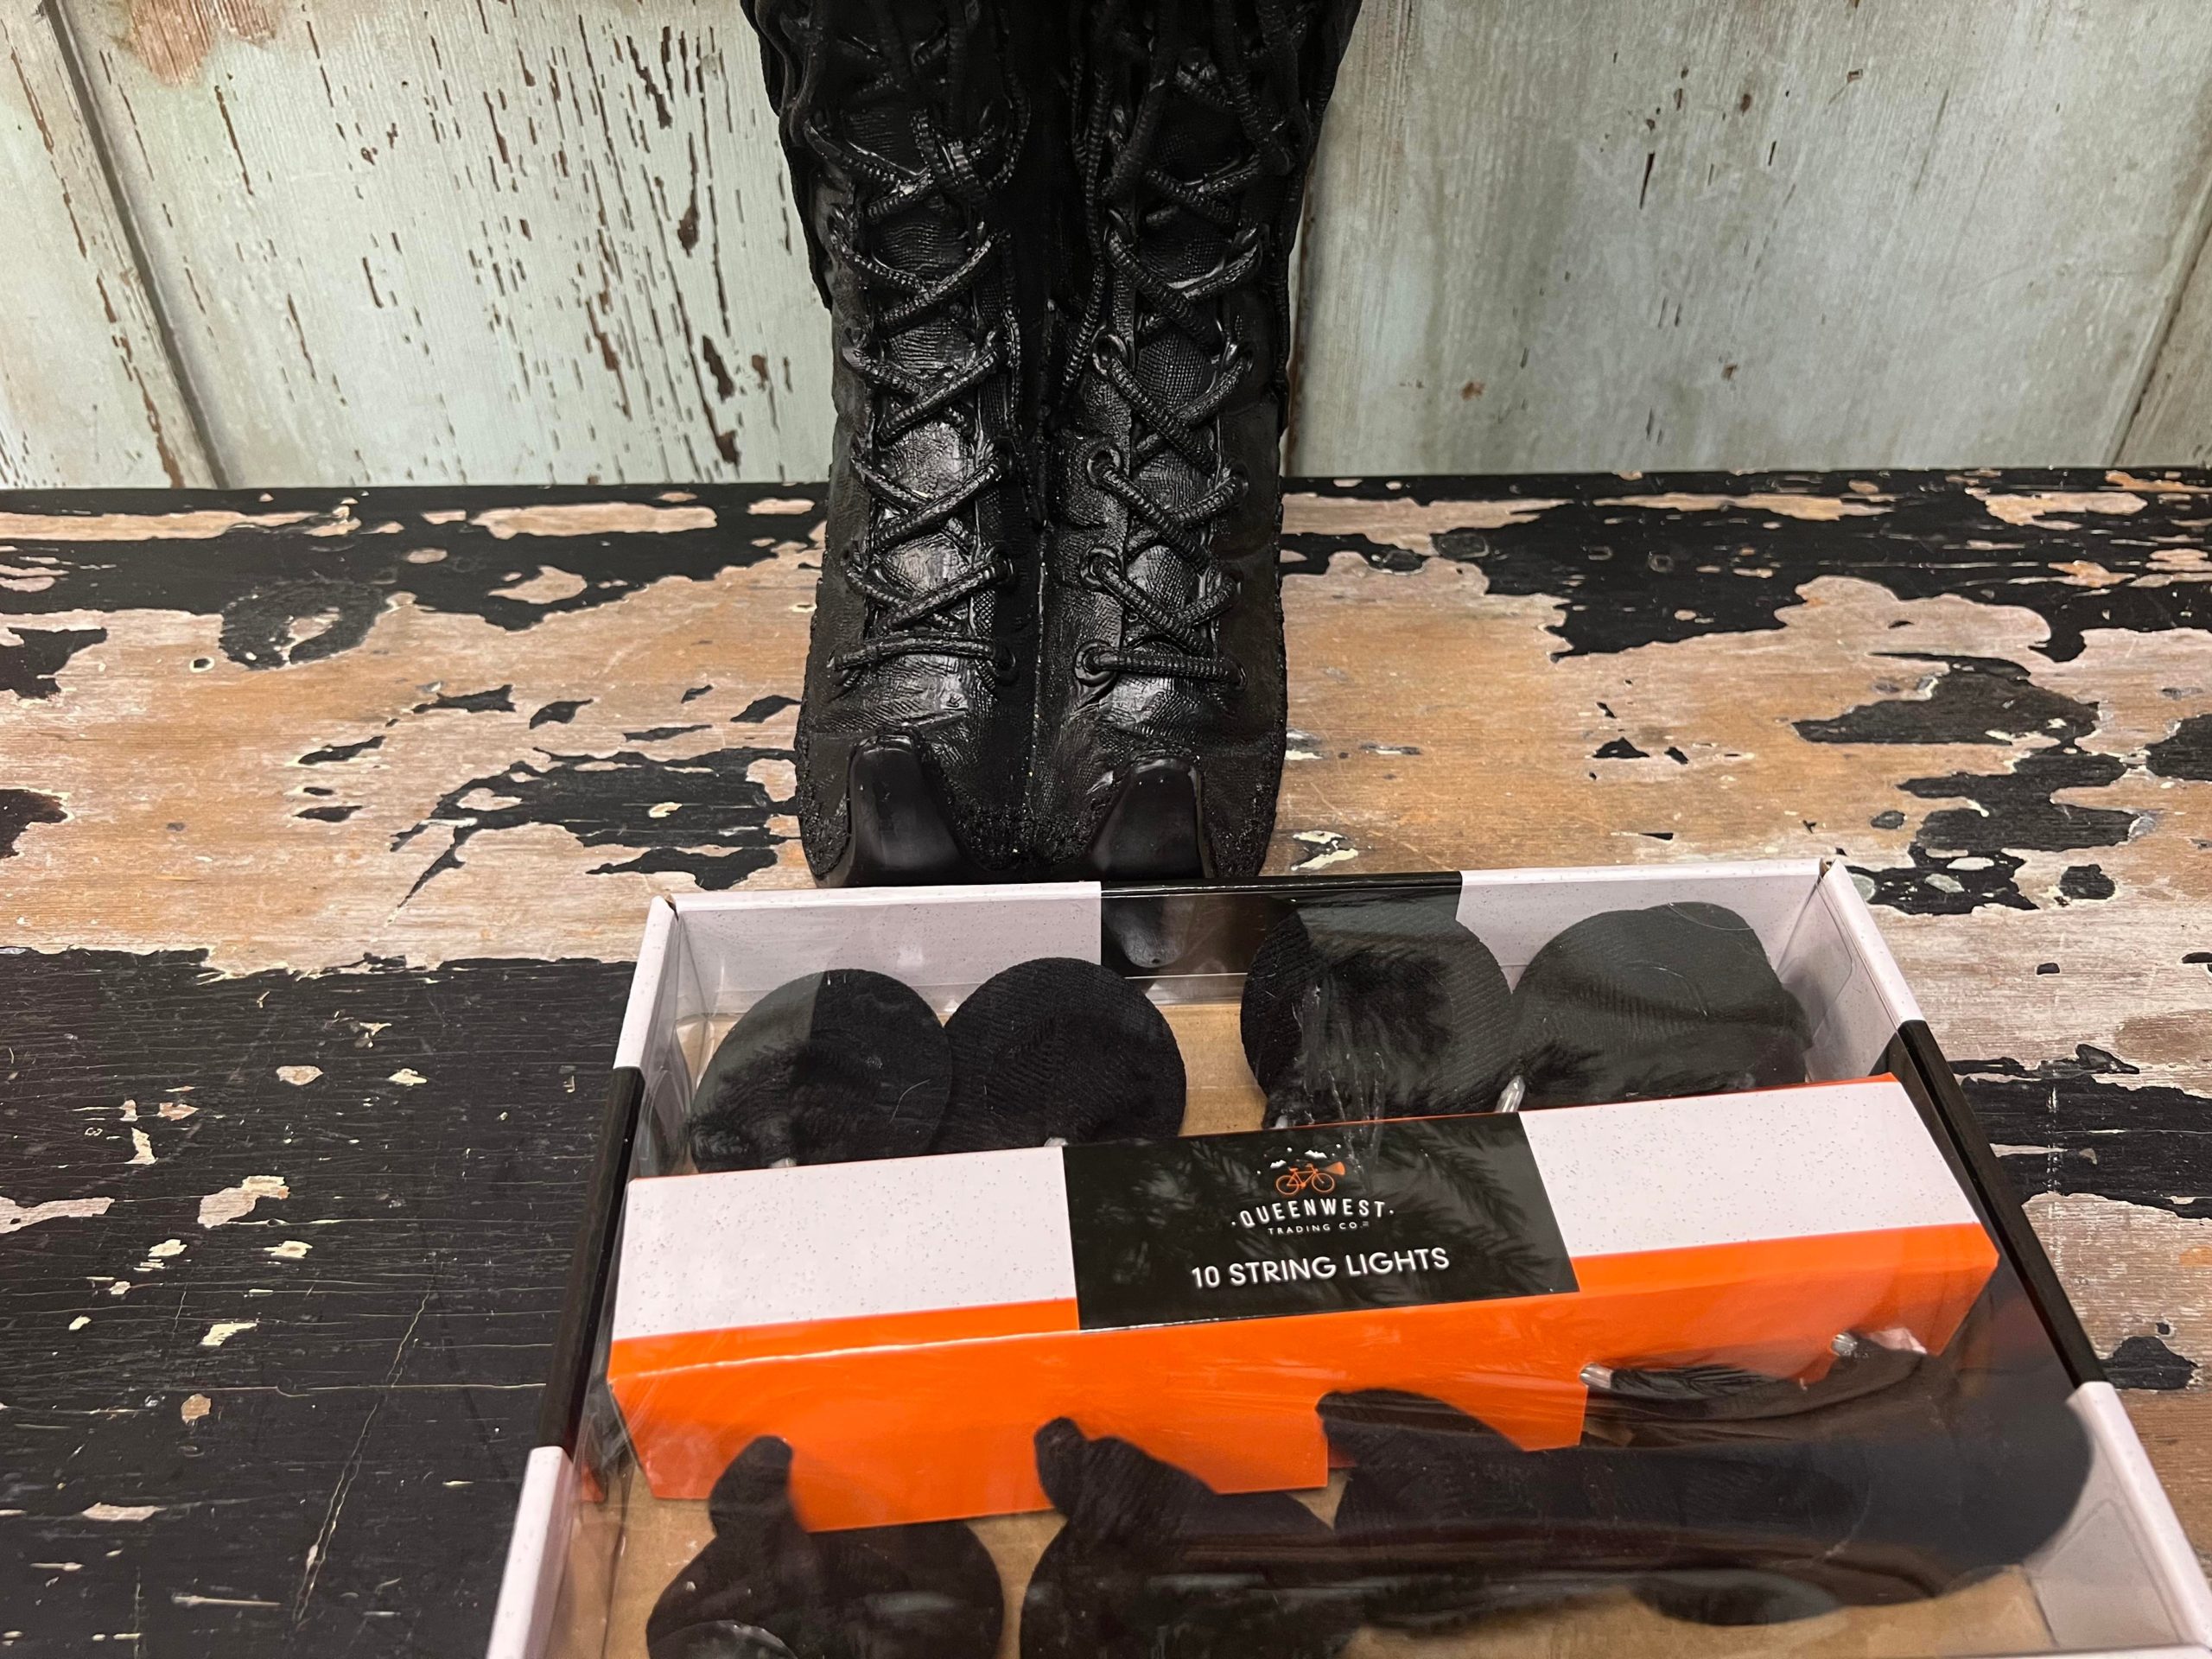
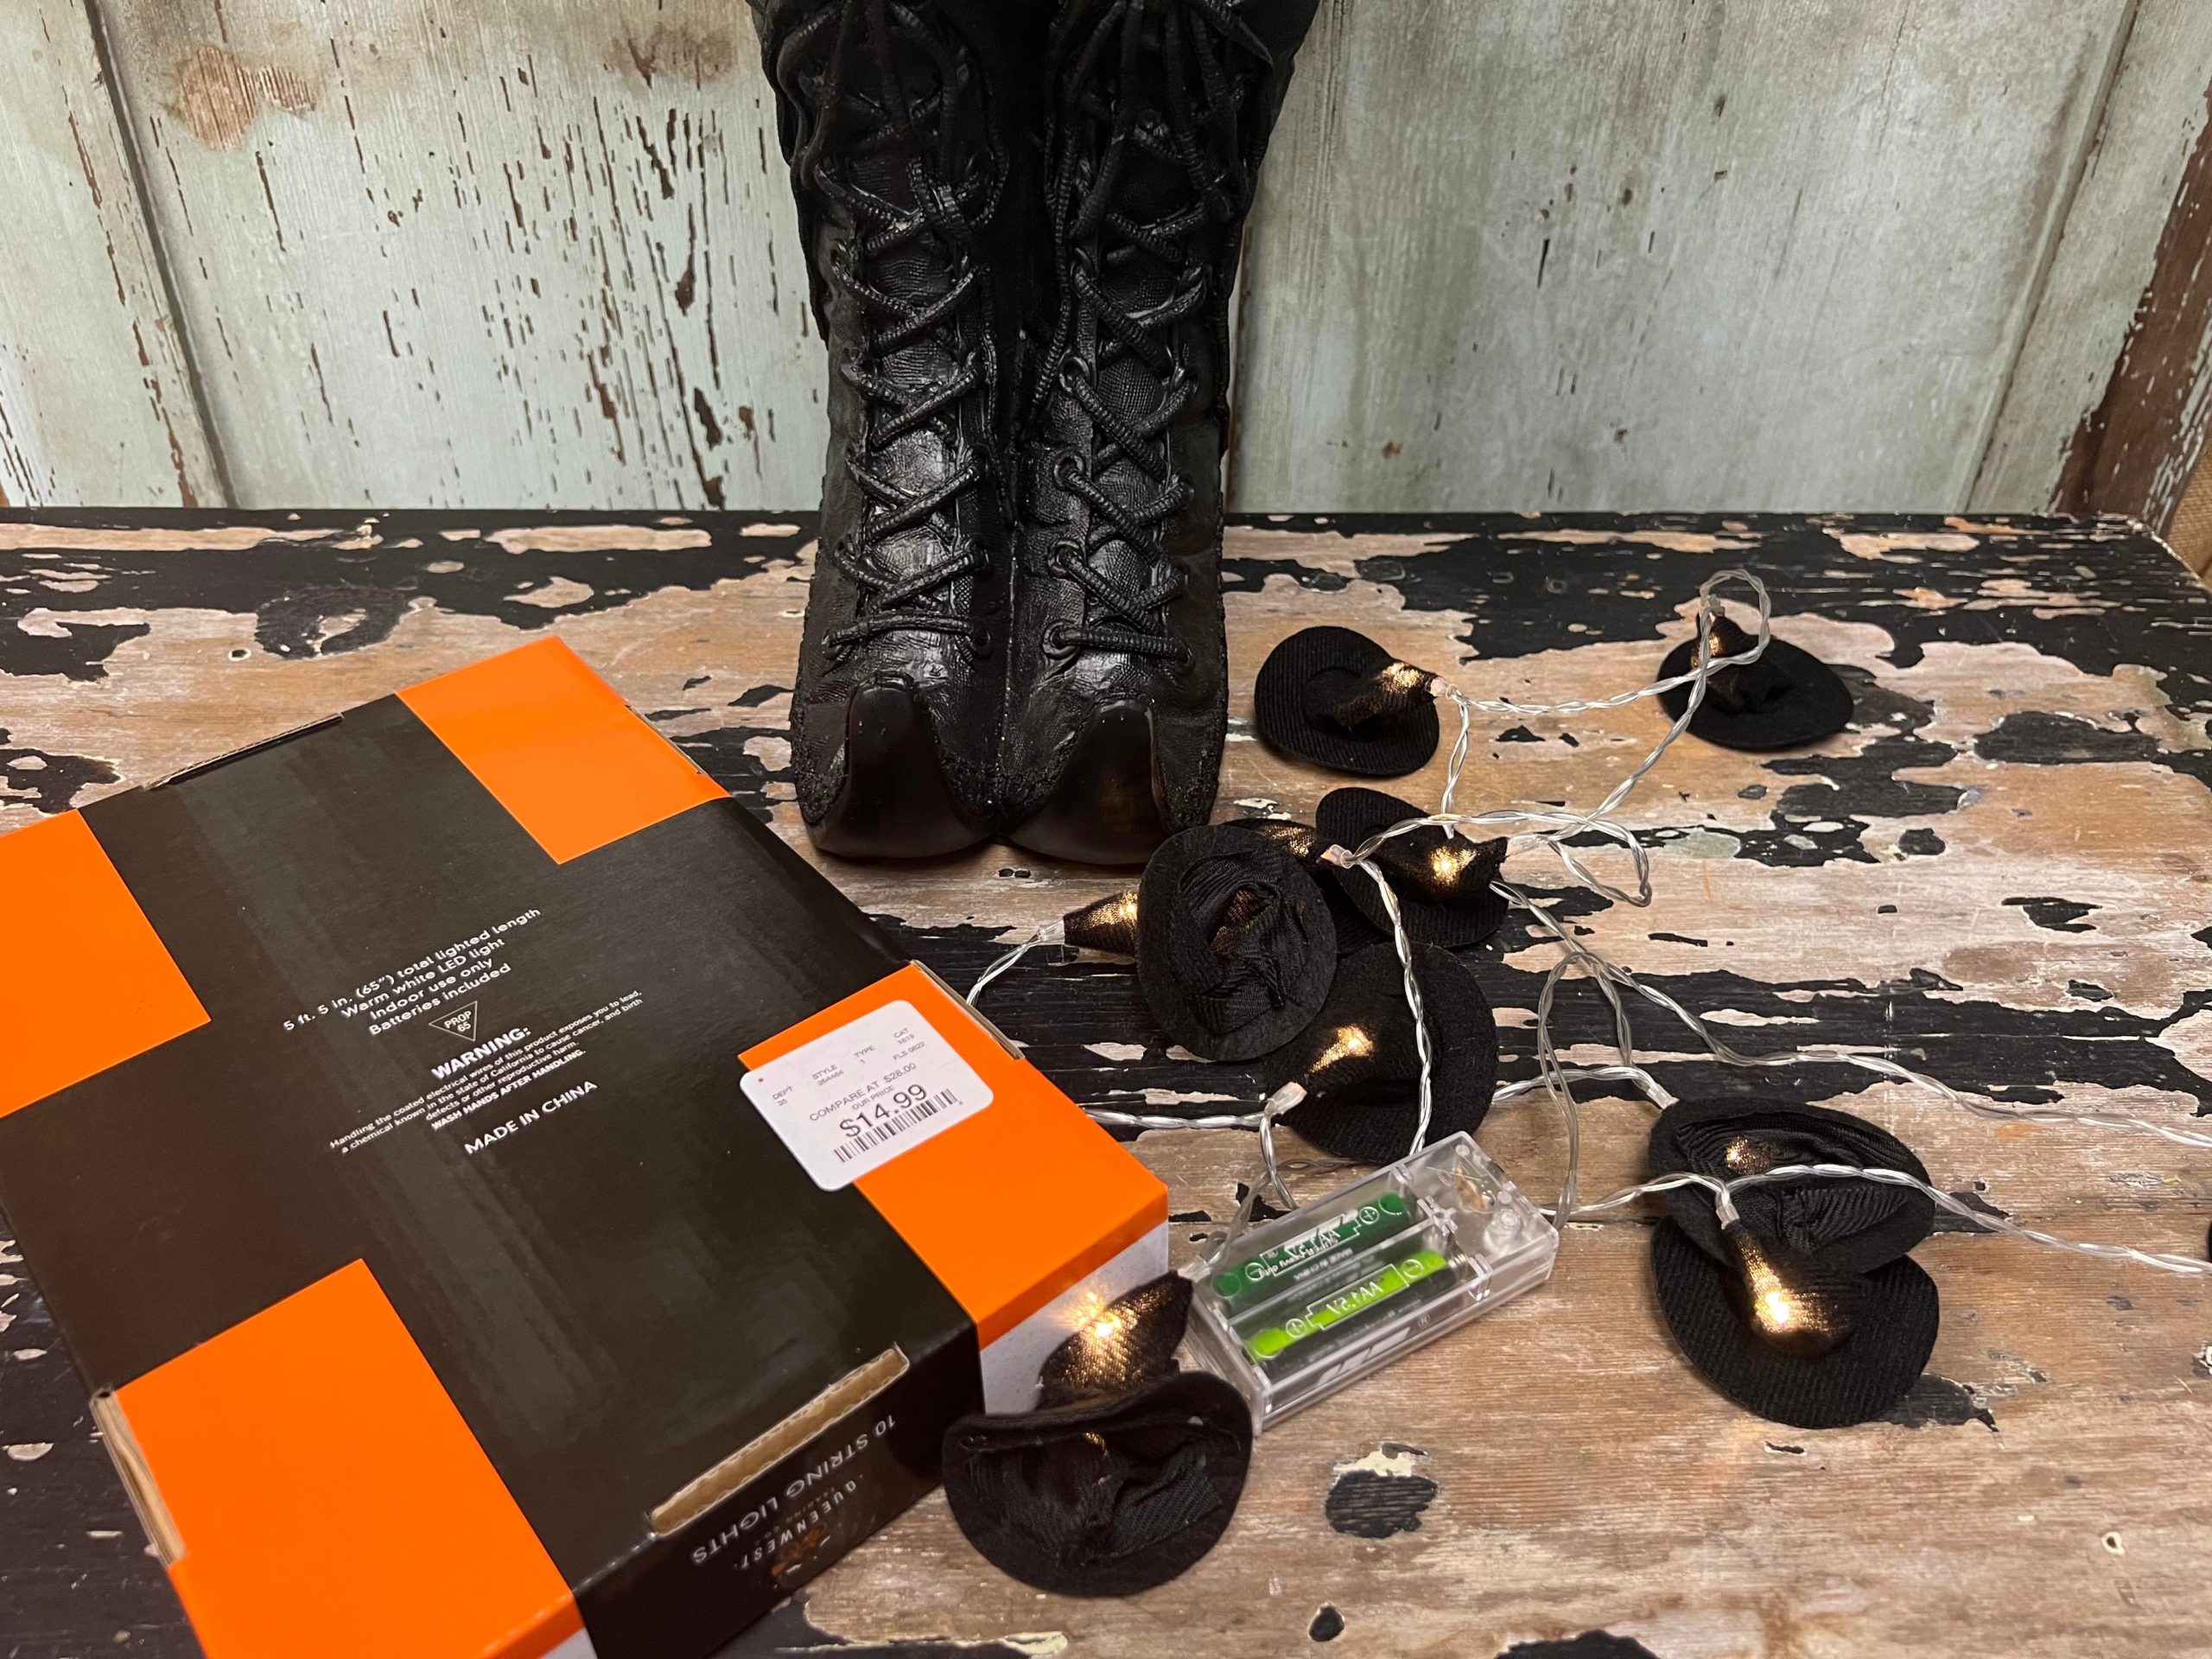
I placed a tree into the witch boots container and added the battery operated lights.
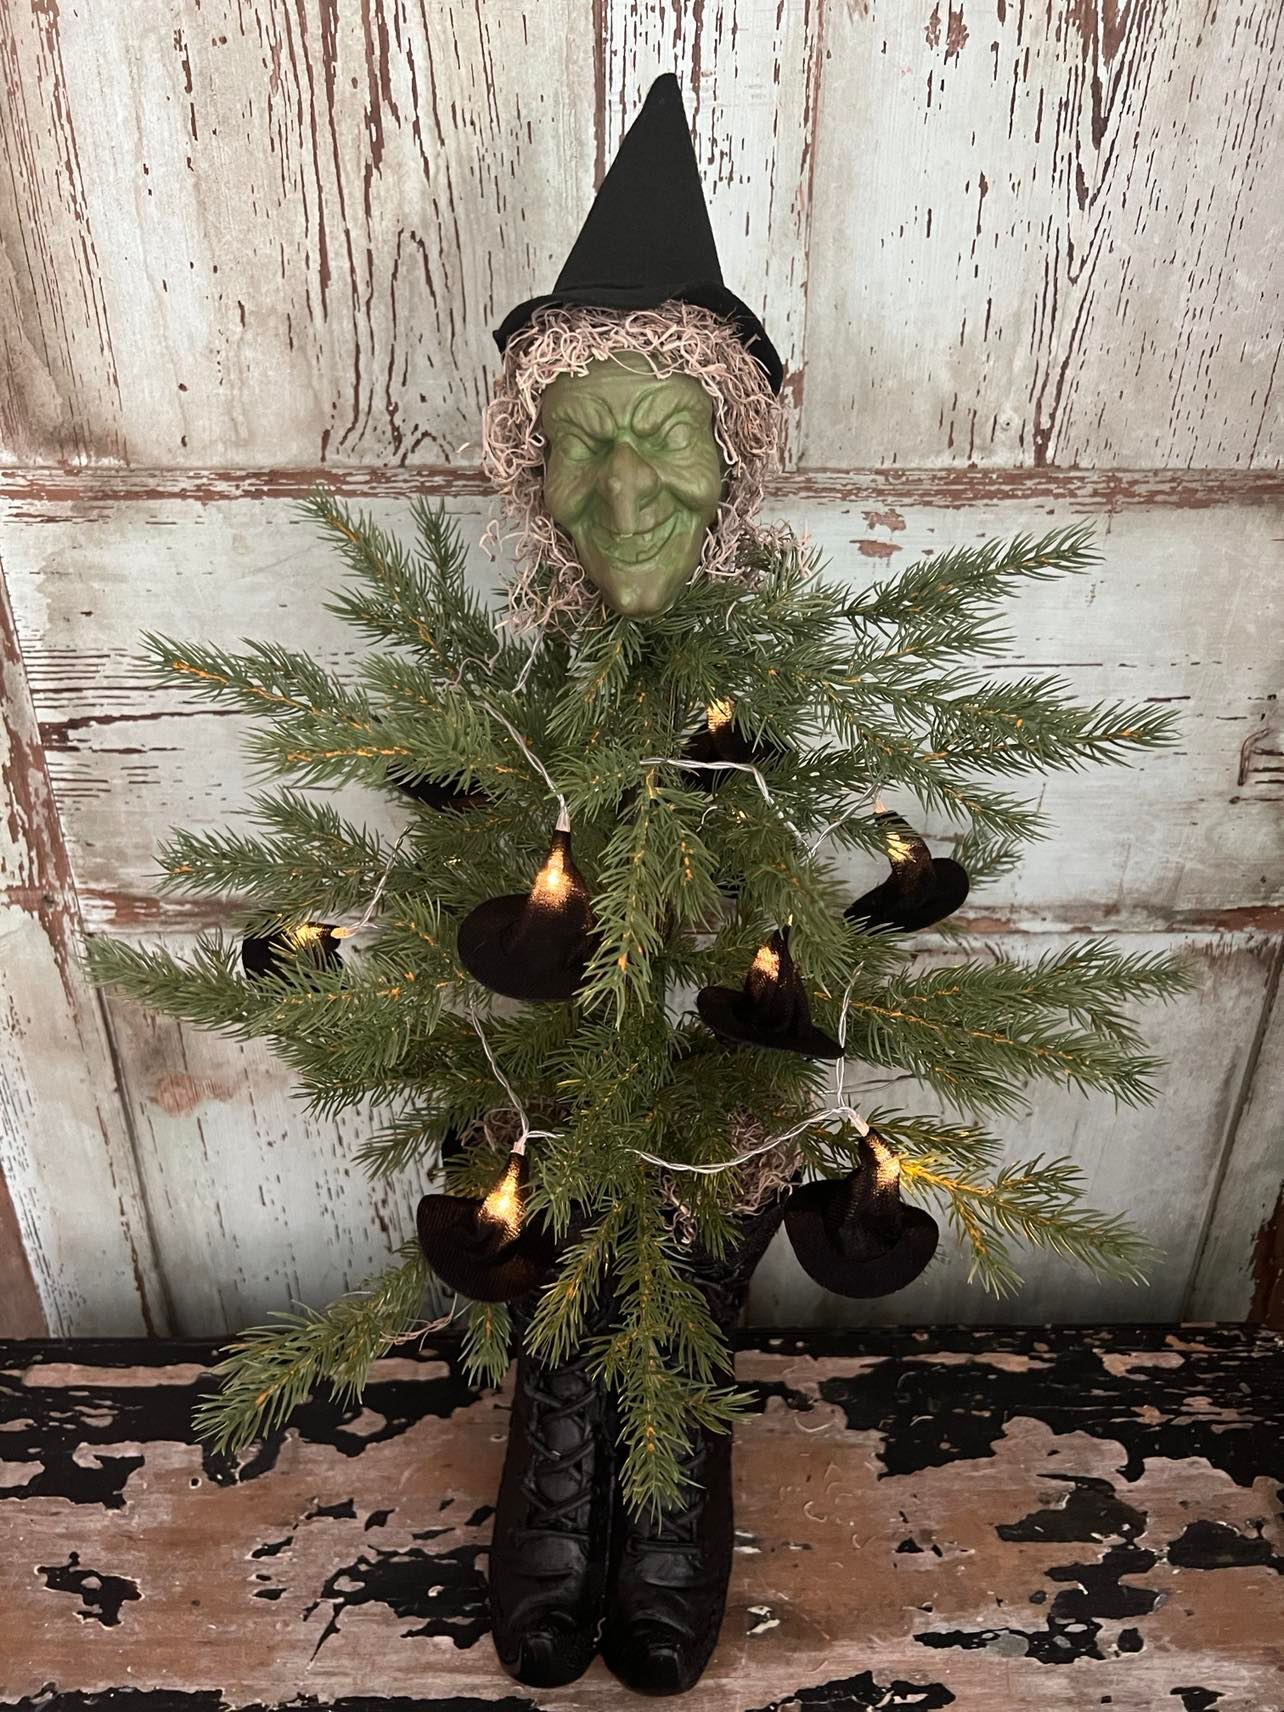
I added the witch head to the top and now we have a fun witch tree.
This tree was so easy to create and I hope this will inspire you to make a few fun Halloween trees.