I seem to always be looking for some type of box or container to put a tree in. We get a lot of boxes here at The Shabby Tree and I knew there had to be a way to turn a cardboard box into a creative wooden box. I looked in Home Depot and decided that wooden shims could be used to create a fun and unique wooden box.
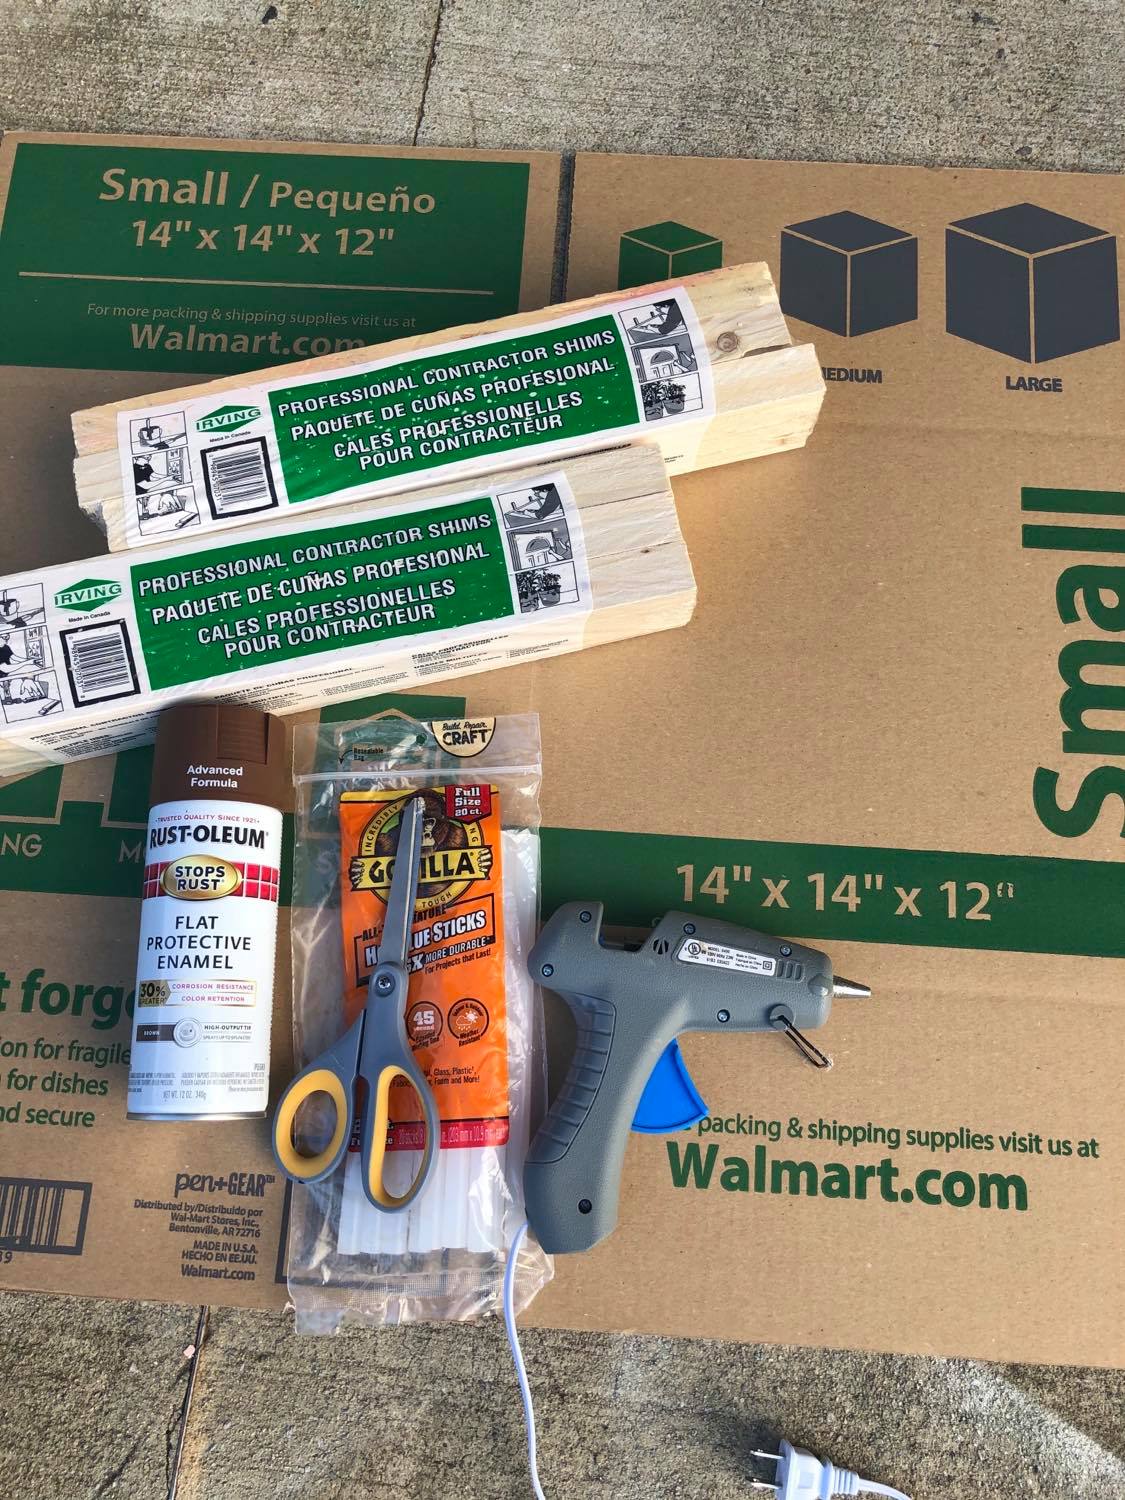
The supplies you will need are:
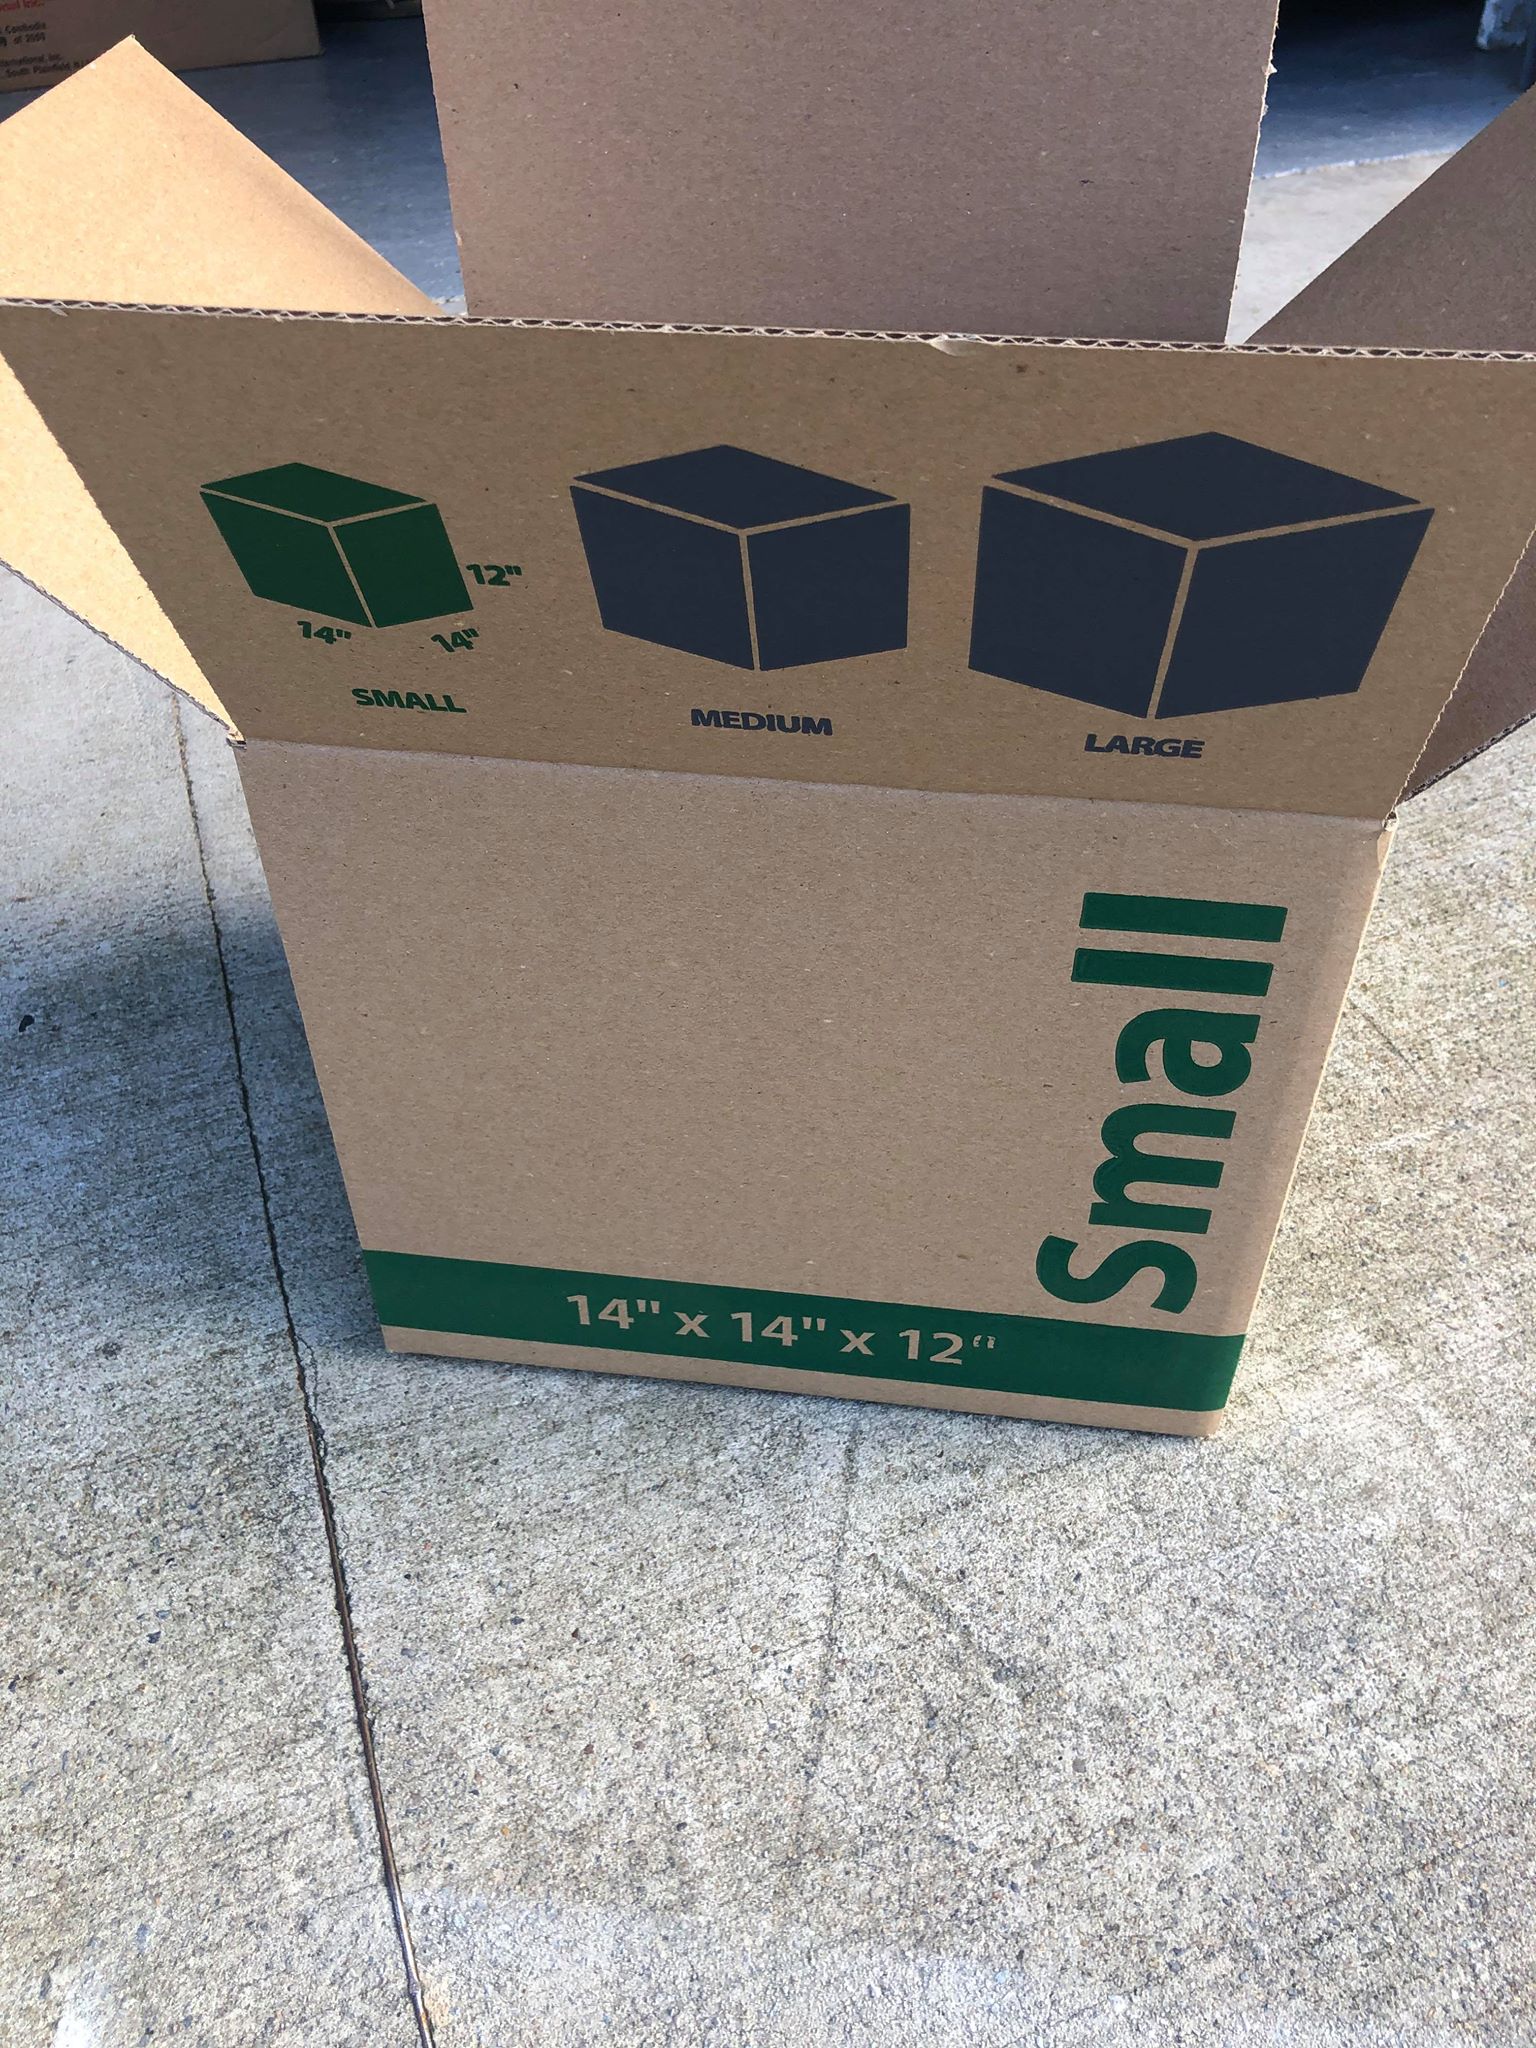
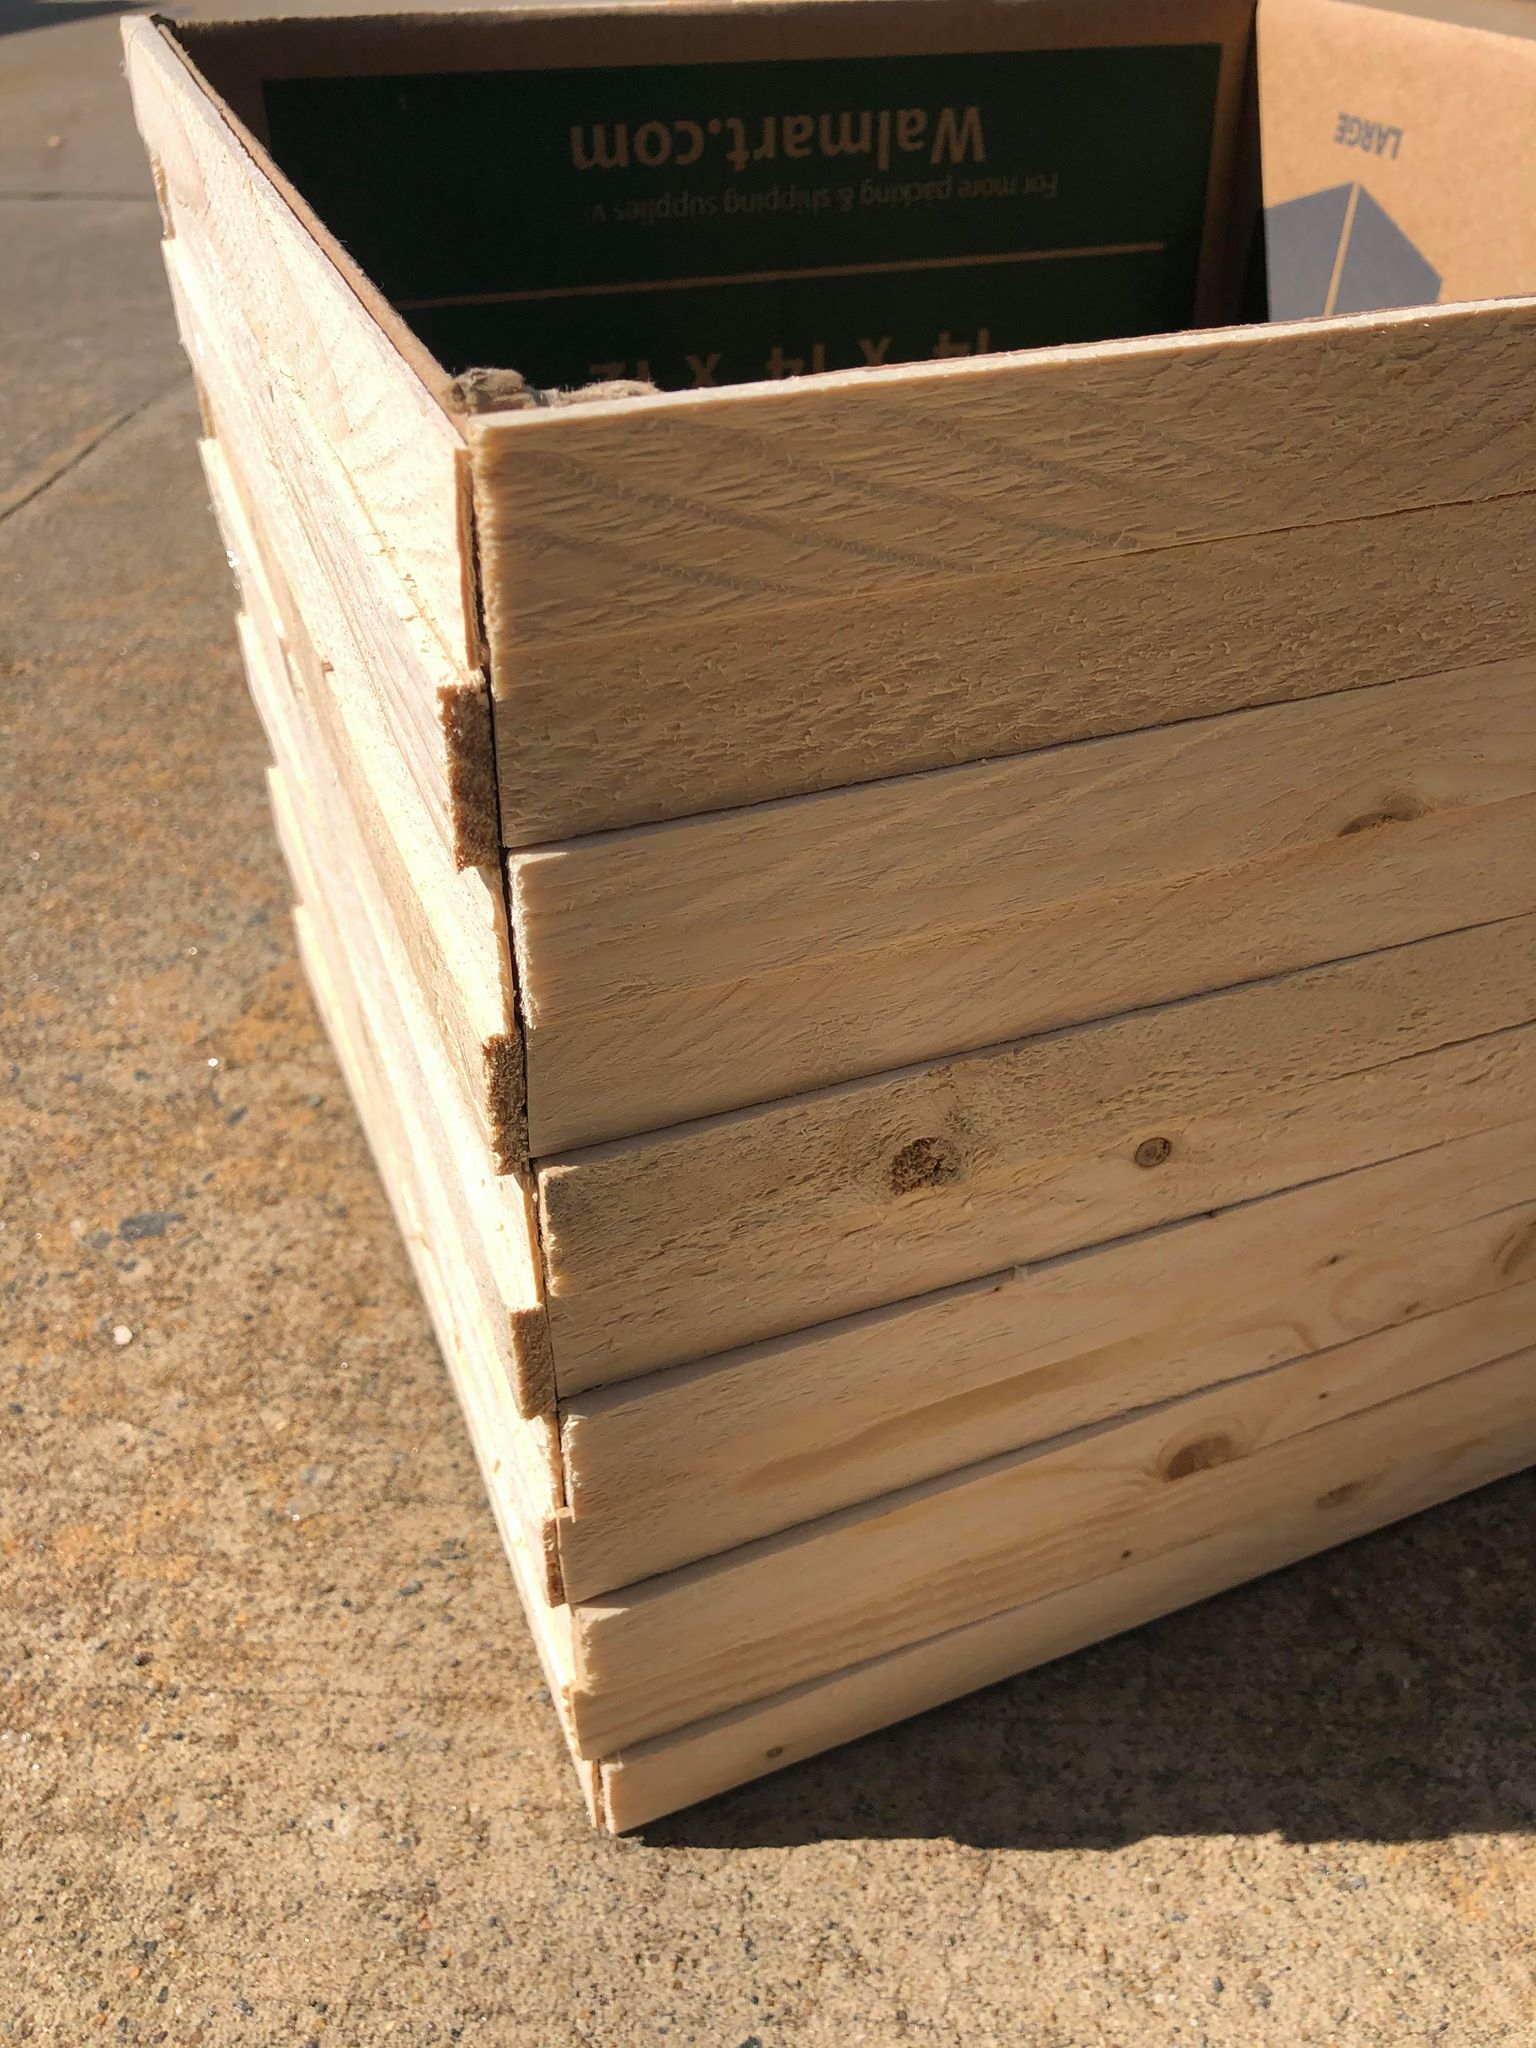
1. Cardboard box (the box I’m using is from Walmart and it measures 14”x14”x12”)
2. Wooden shims (I purchased mine from Home Depot)
3. Glue gun and glue sticks
4. Scissors
5. Spray paint (optional)
The first thing is to get your box.

You will want to measure the shim stick to fit the size of your box. I cut my shims as I go. I love using shims because you can cut them with a pair of basic scissors.
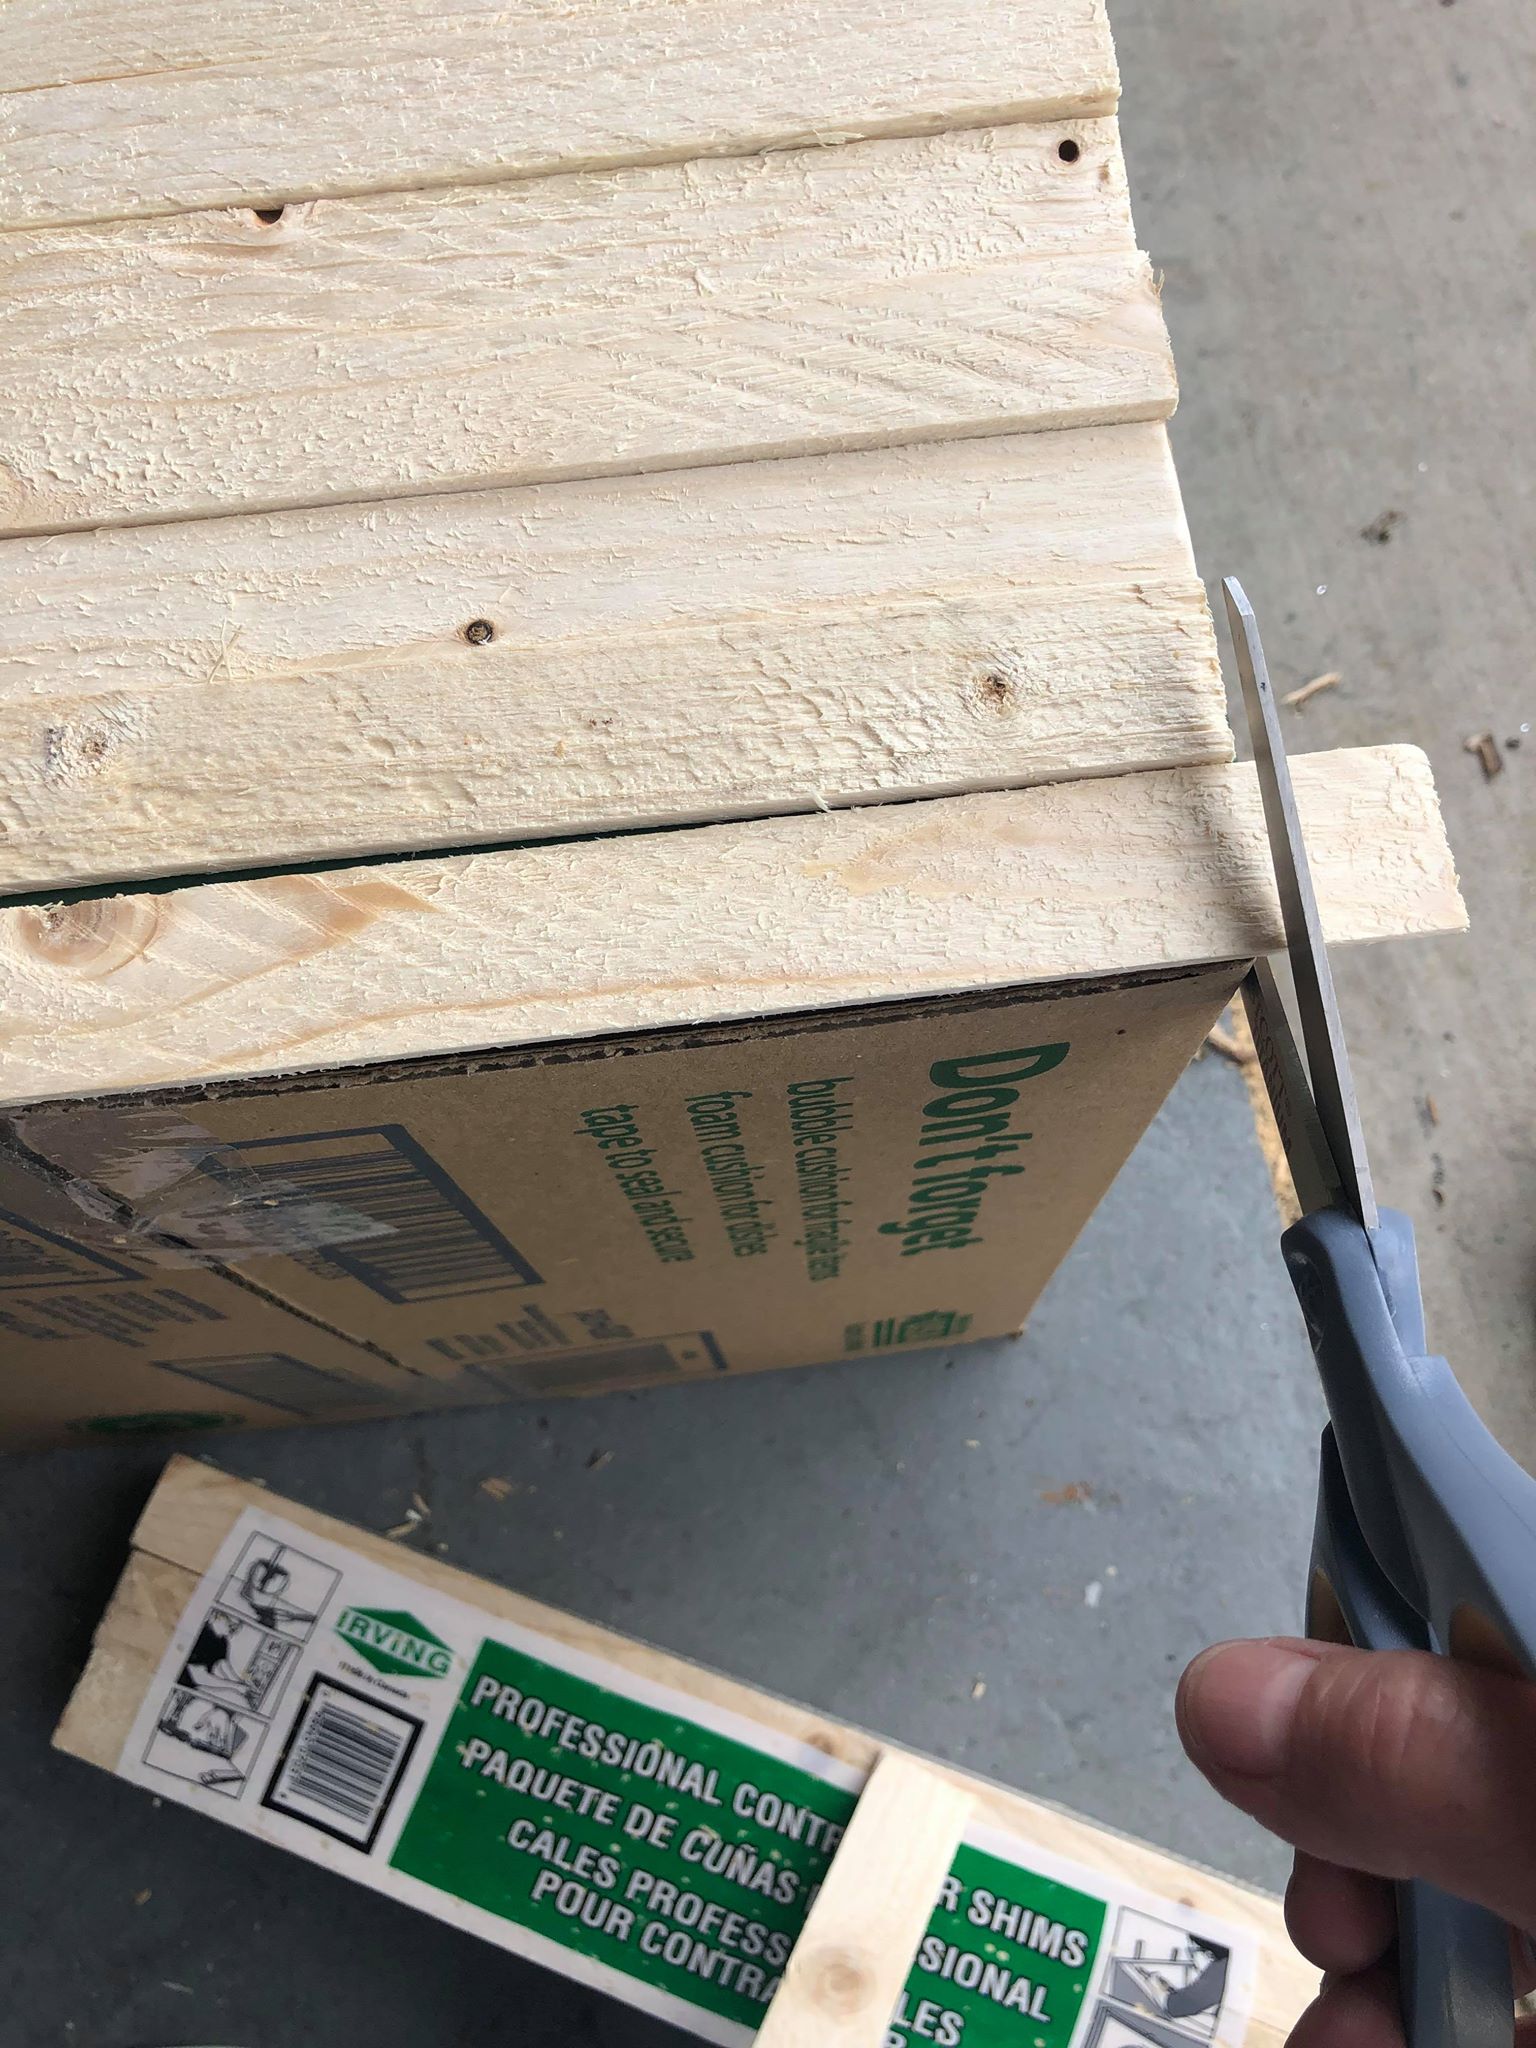
Sims will be thicker on one end and go thinner on the the other end. You will want to cut the shim at the the thinner end.
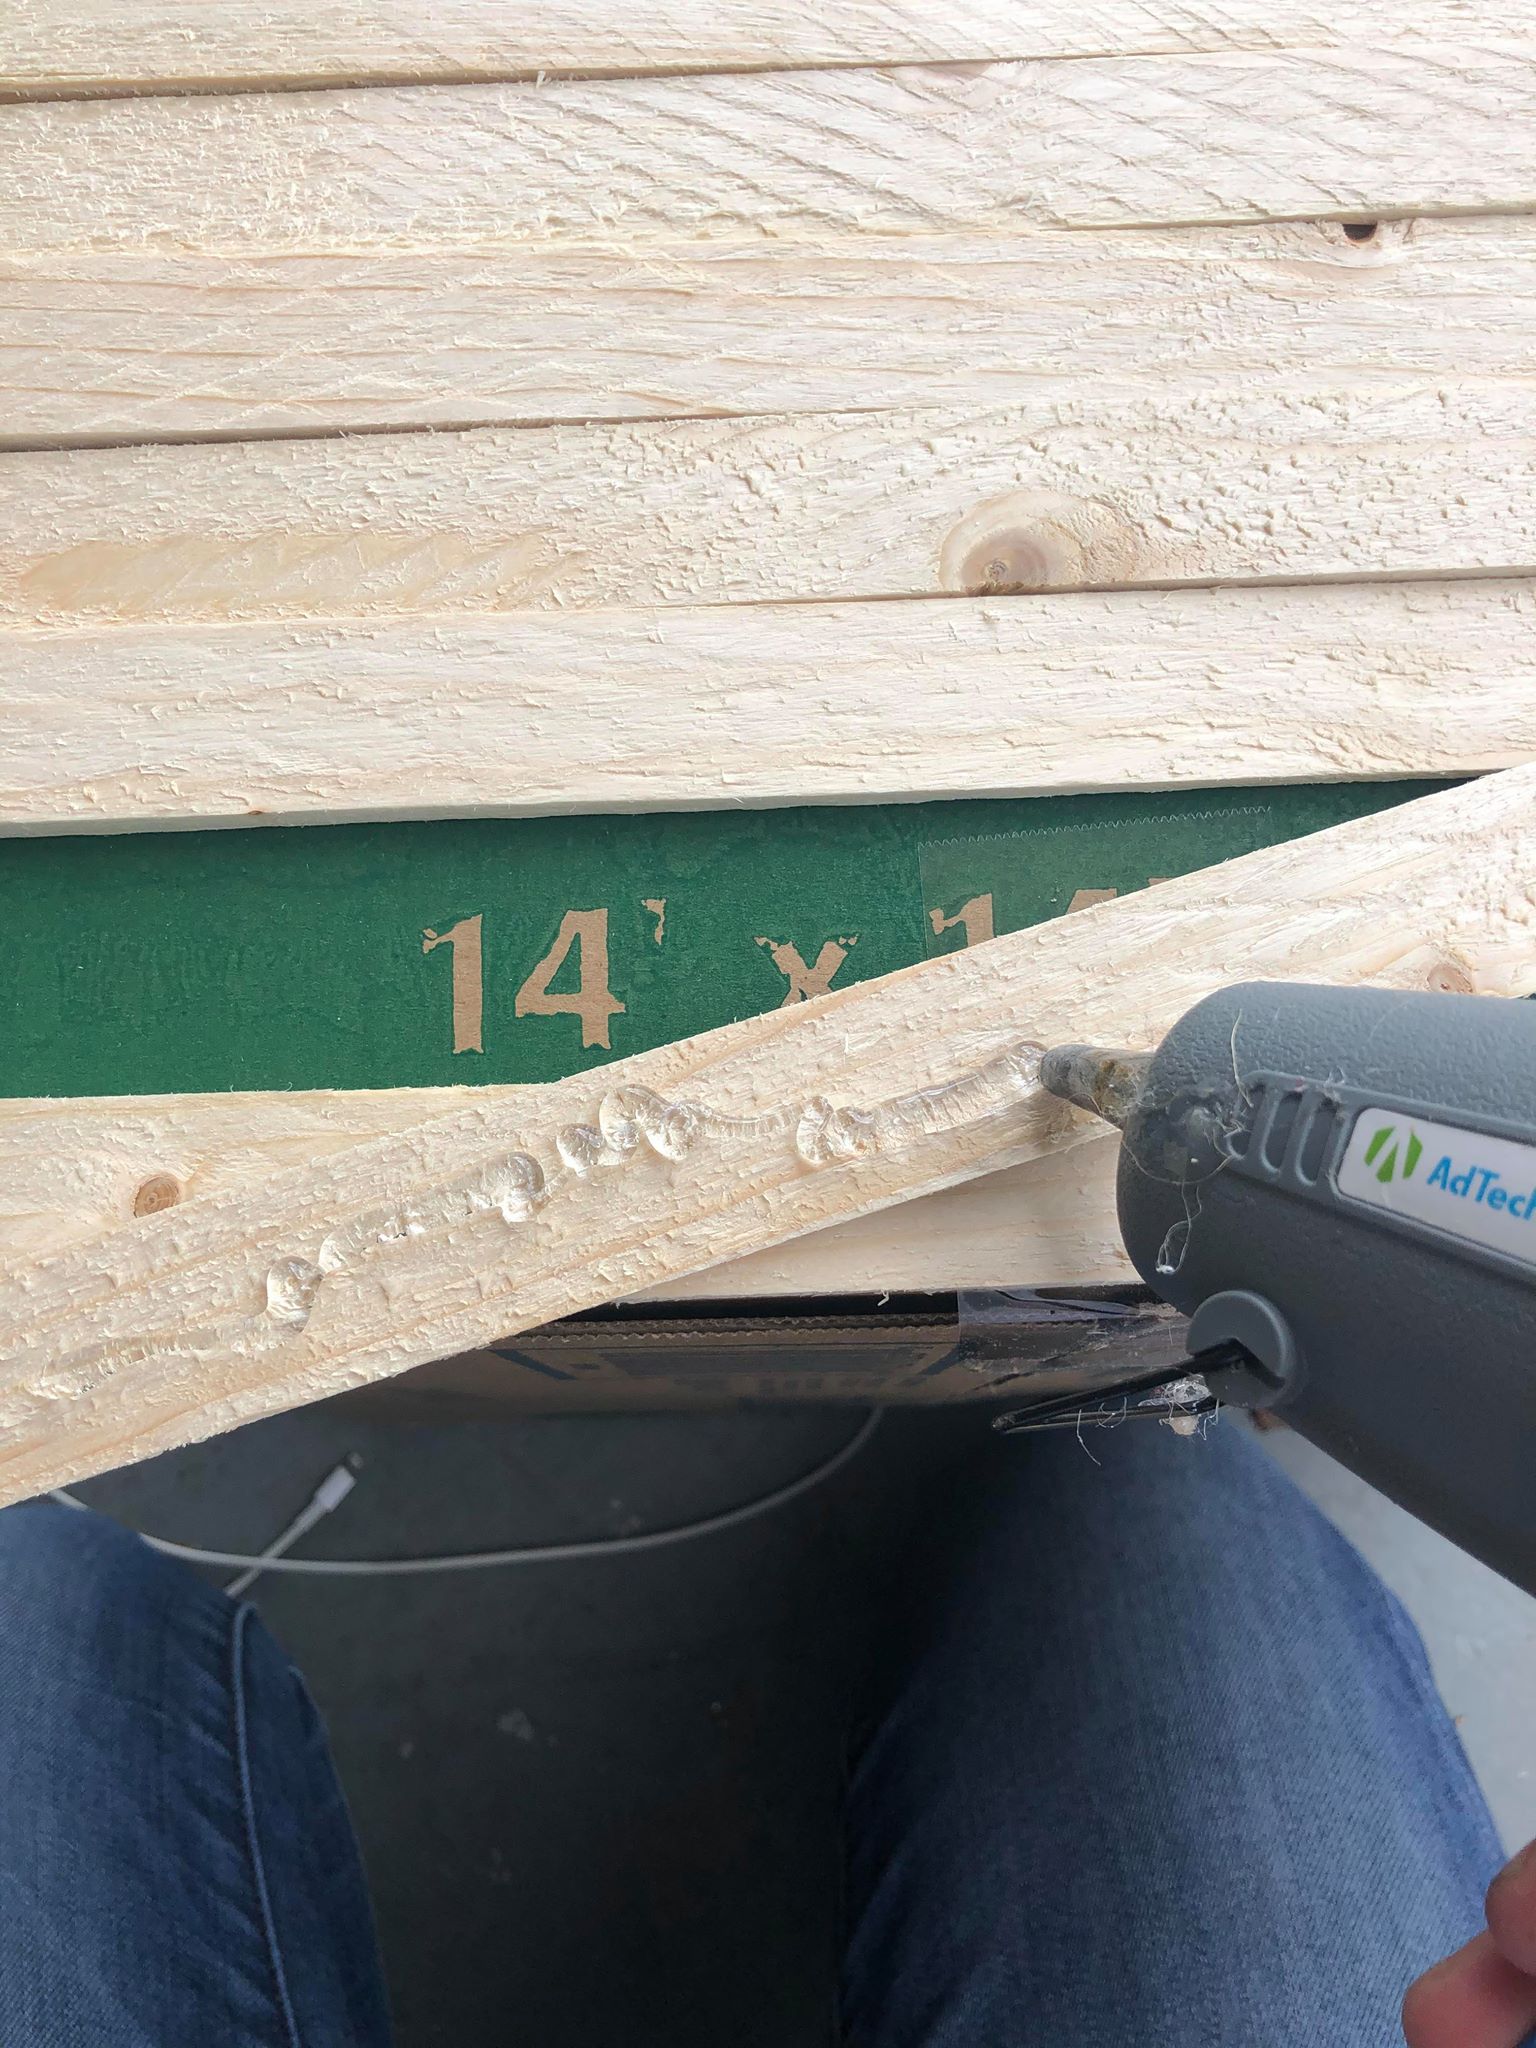
You will add hot glue to the back side of the shim and then place onto your cardboard box.
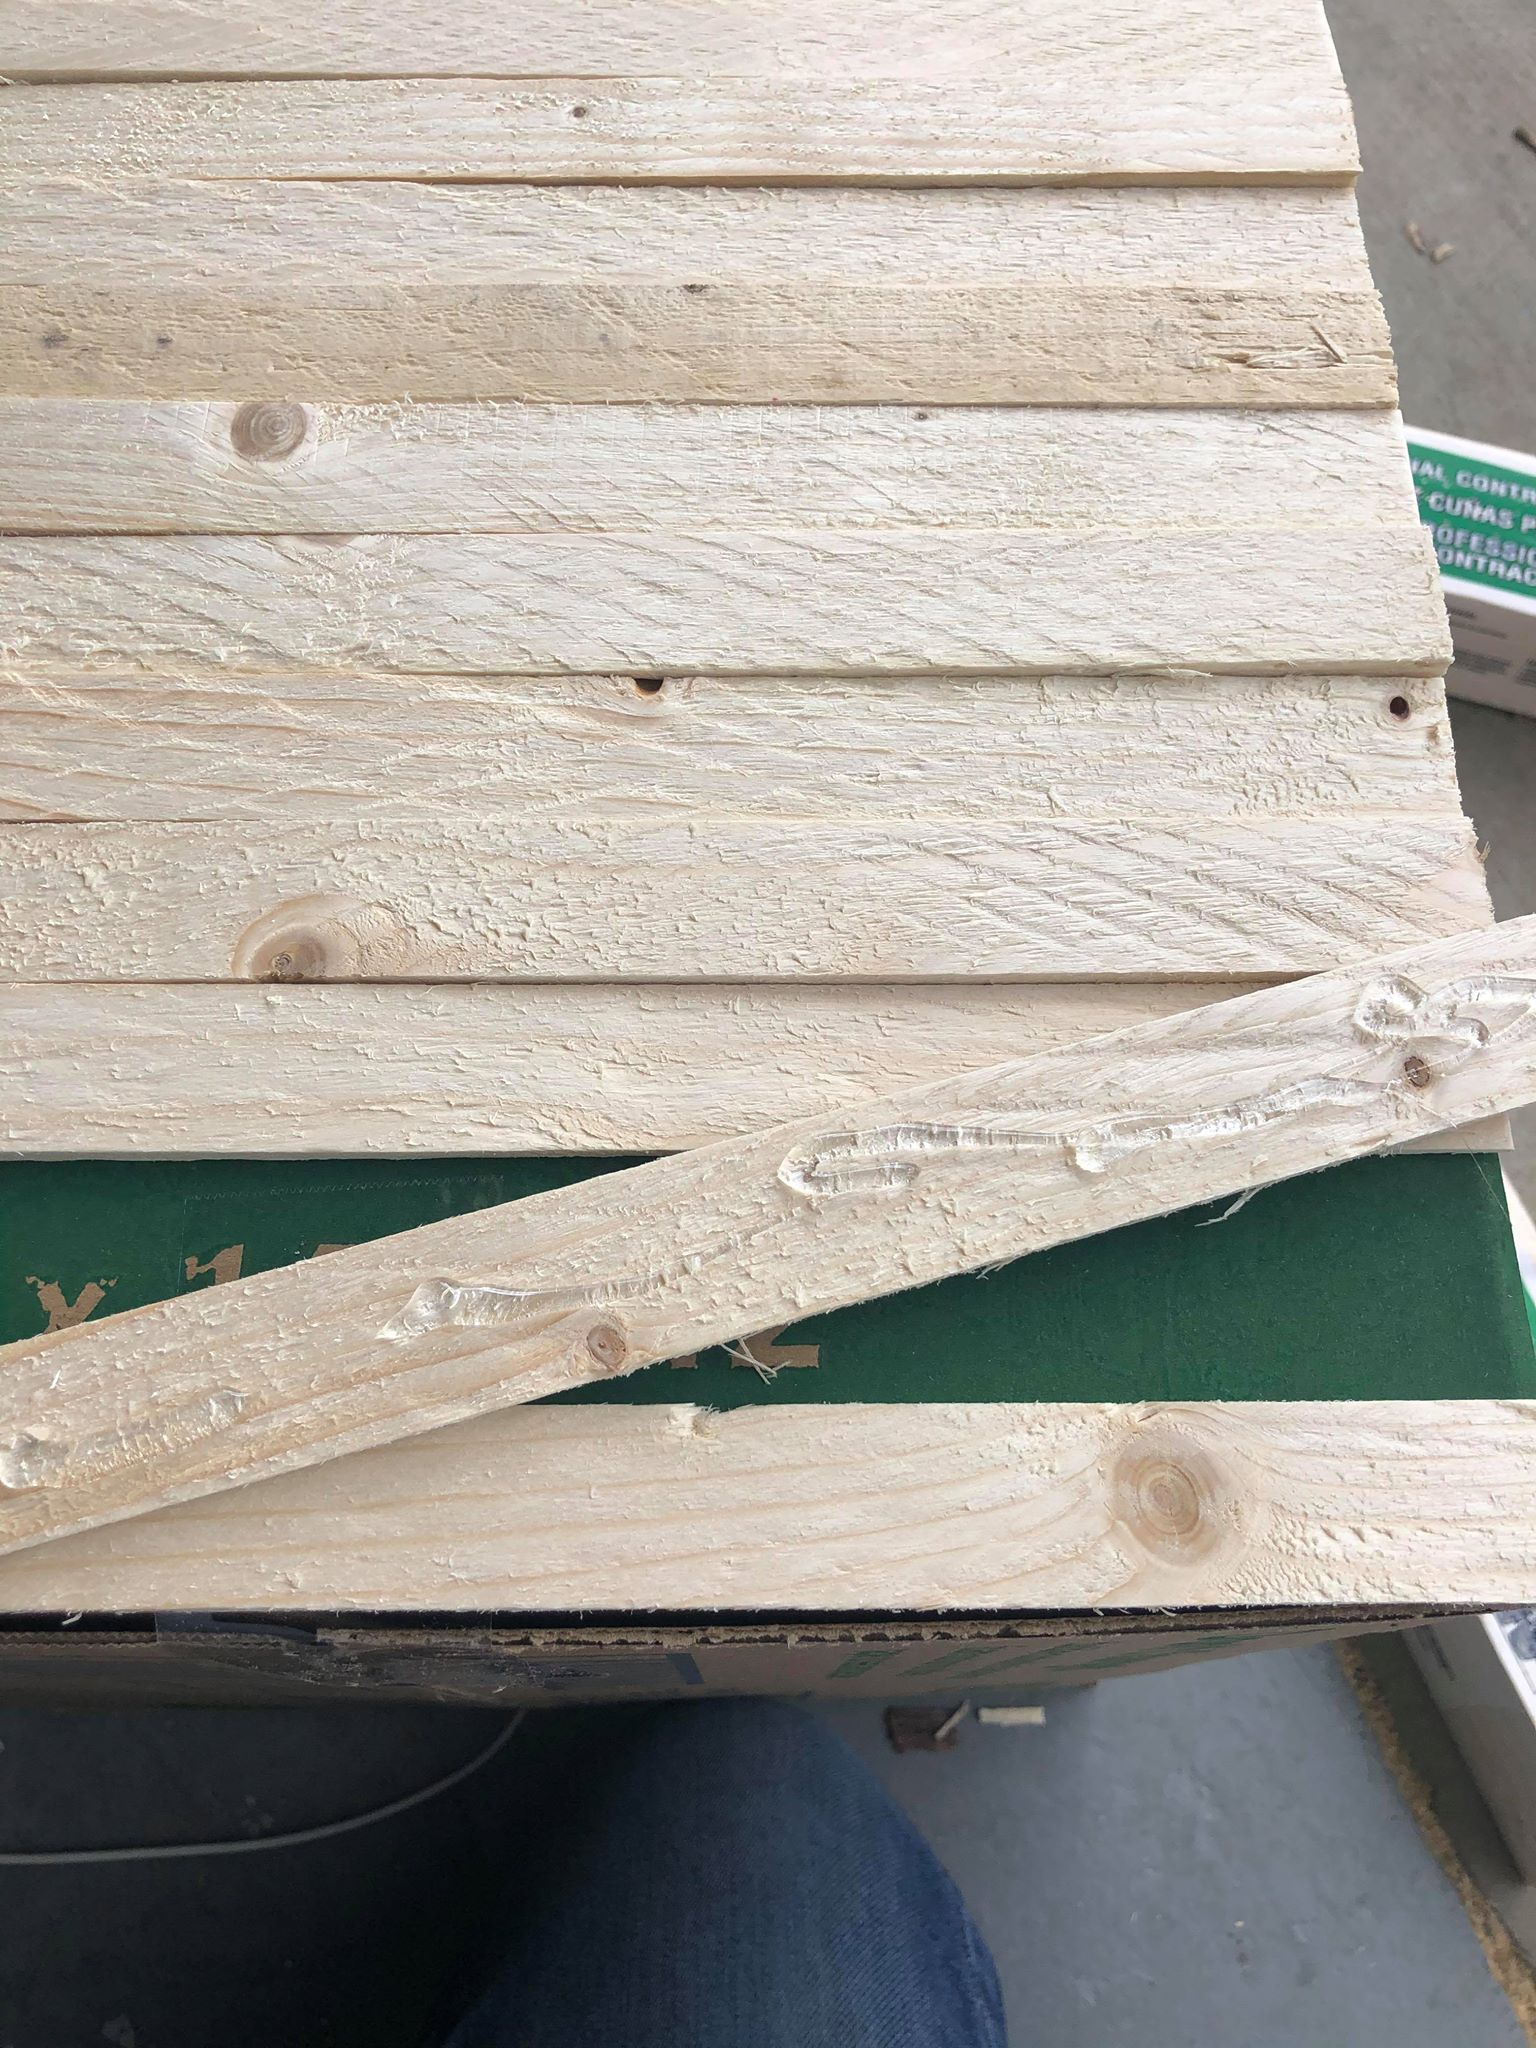
It is very important to alternate the direction of your shims. You will want to have your thicker end on left side and your next shim you wi want the thinner piece of the left side. This is what is going to make your box all balance out and have a beautiful look.
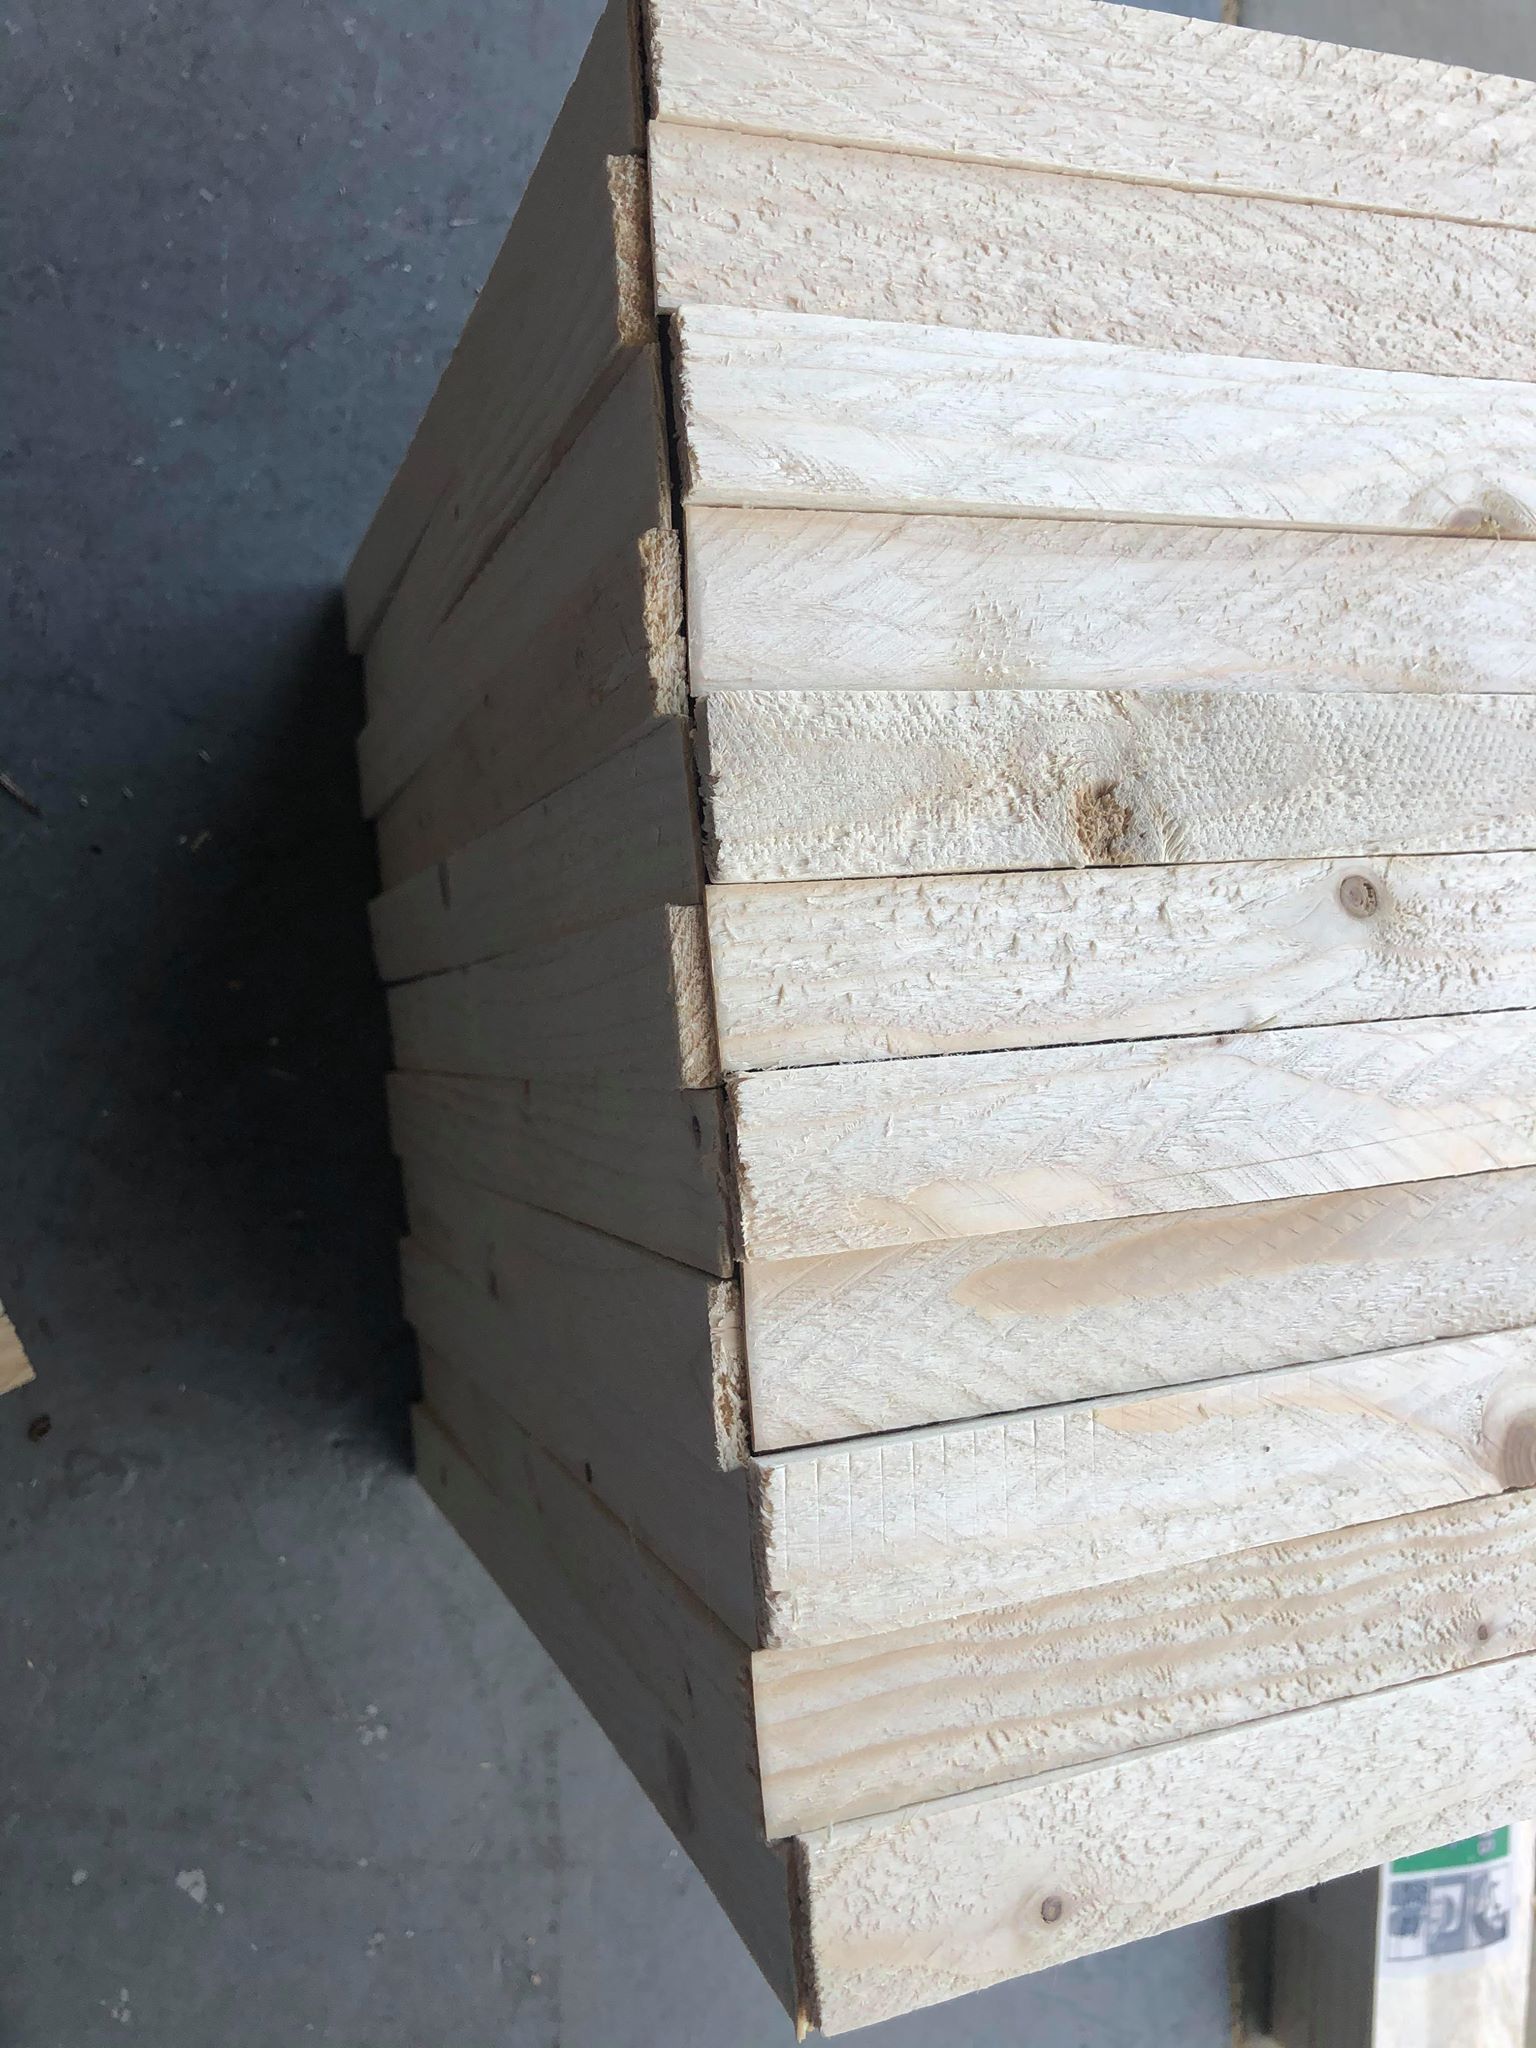
When you continue to the next side of the box you will want to be sure to alternate the shims where the meet each other.
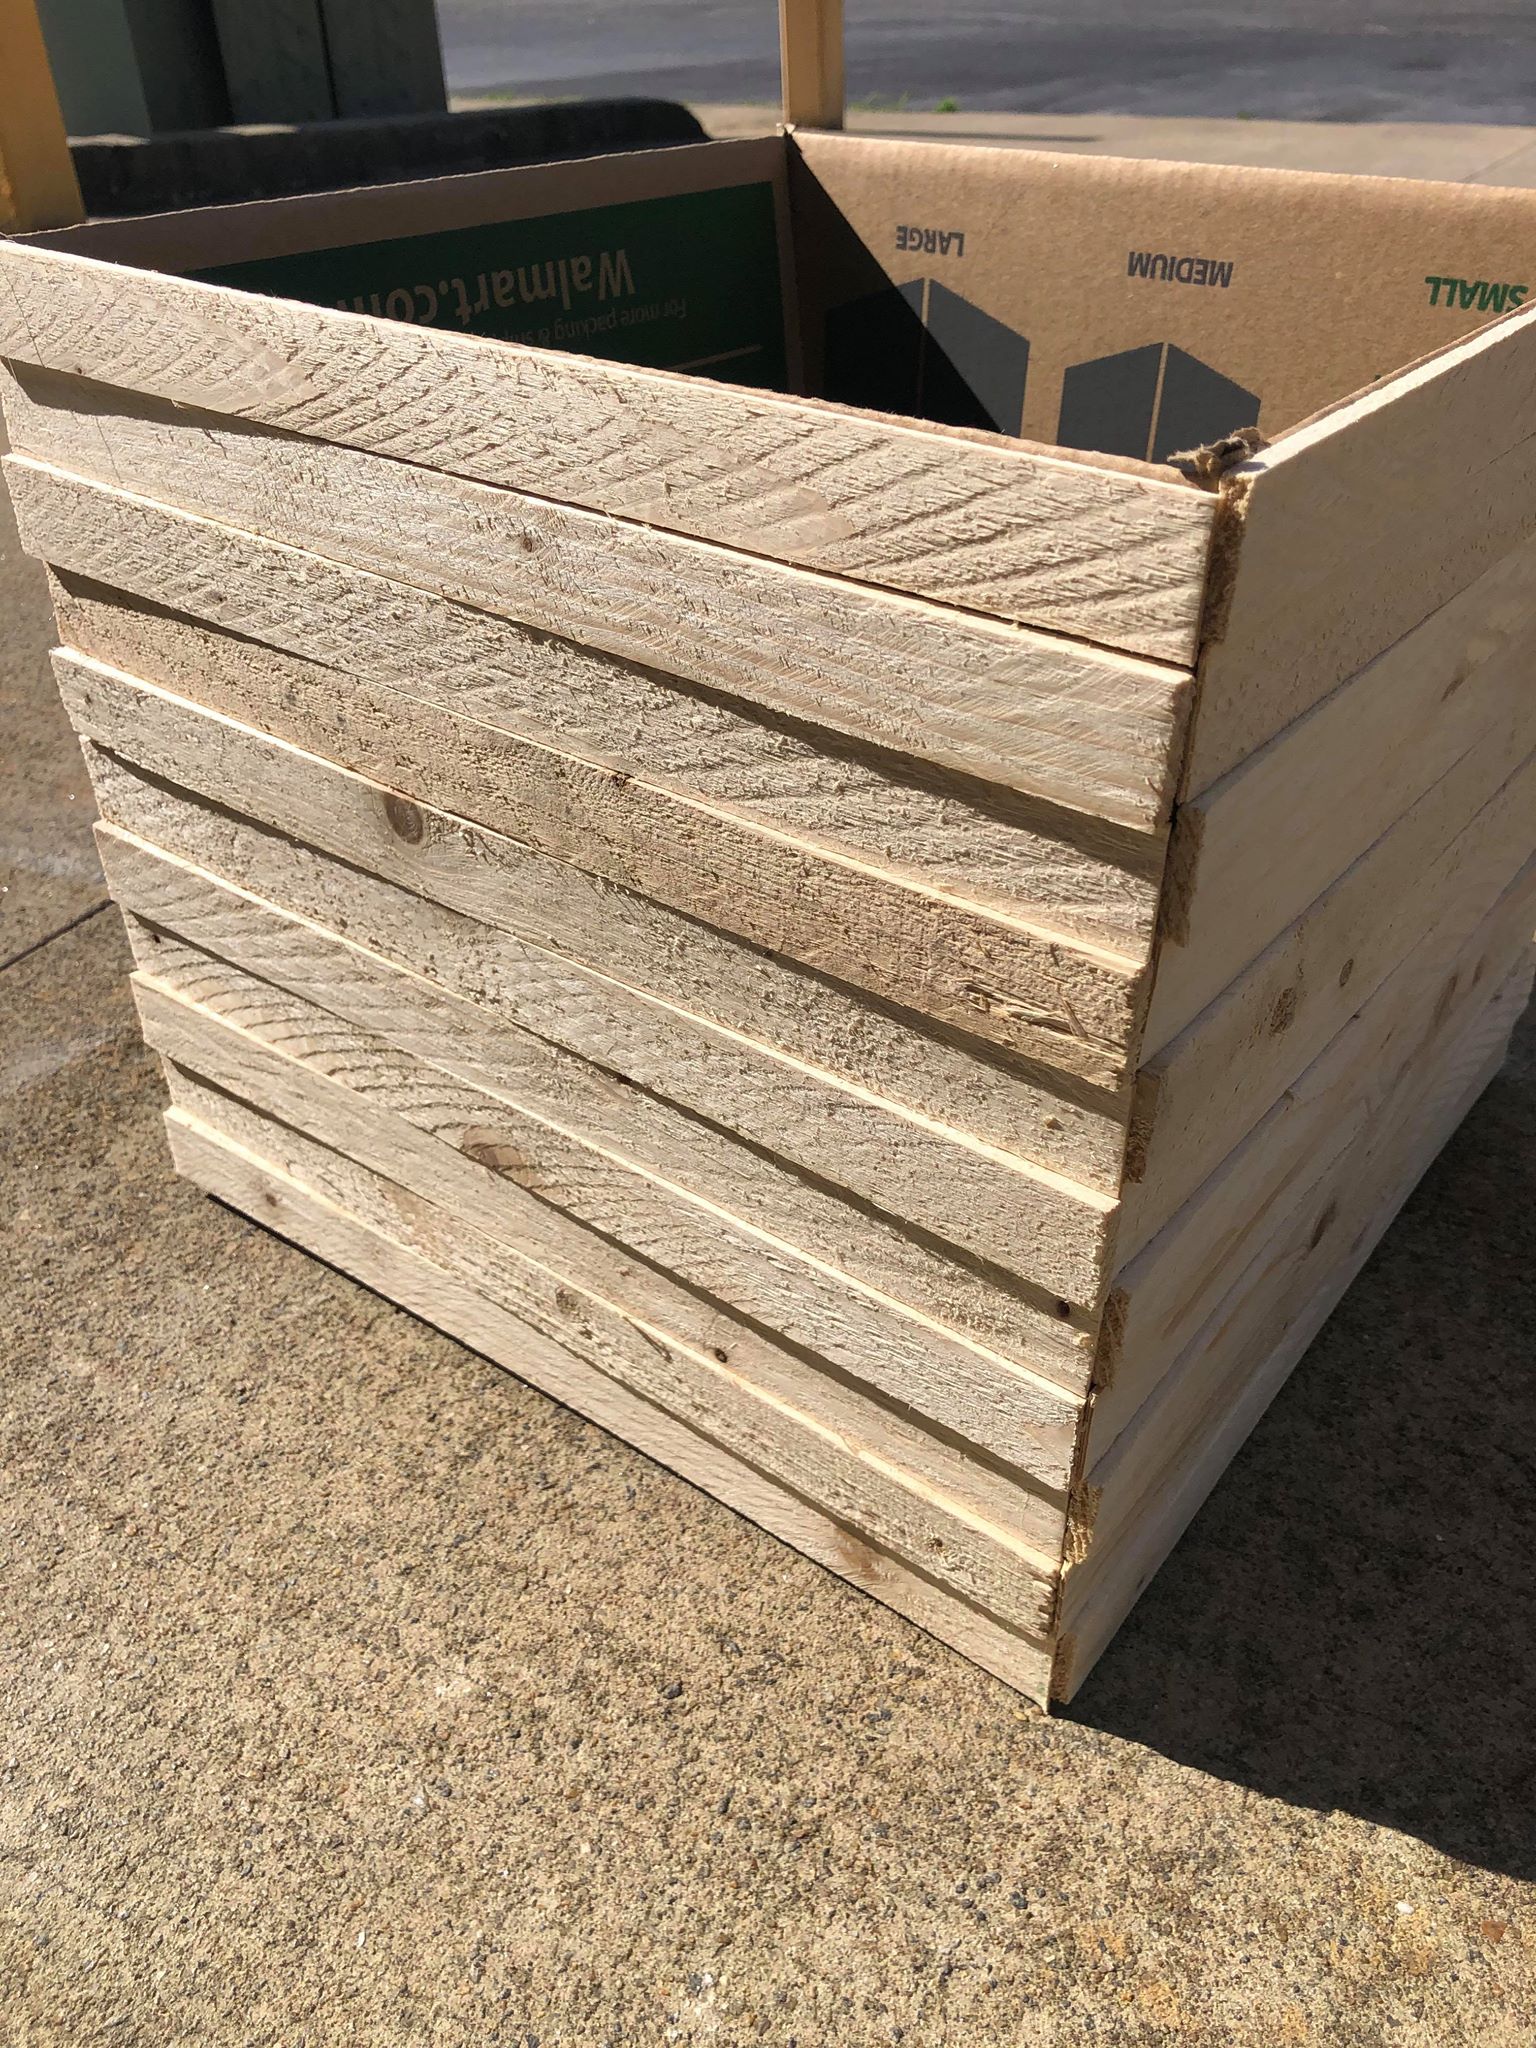
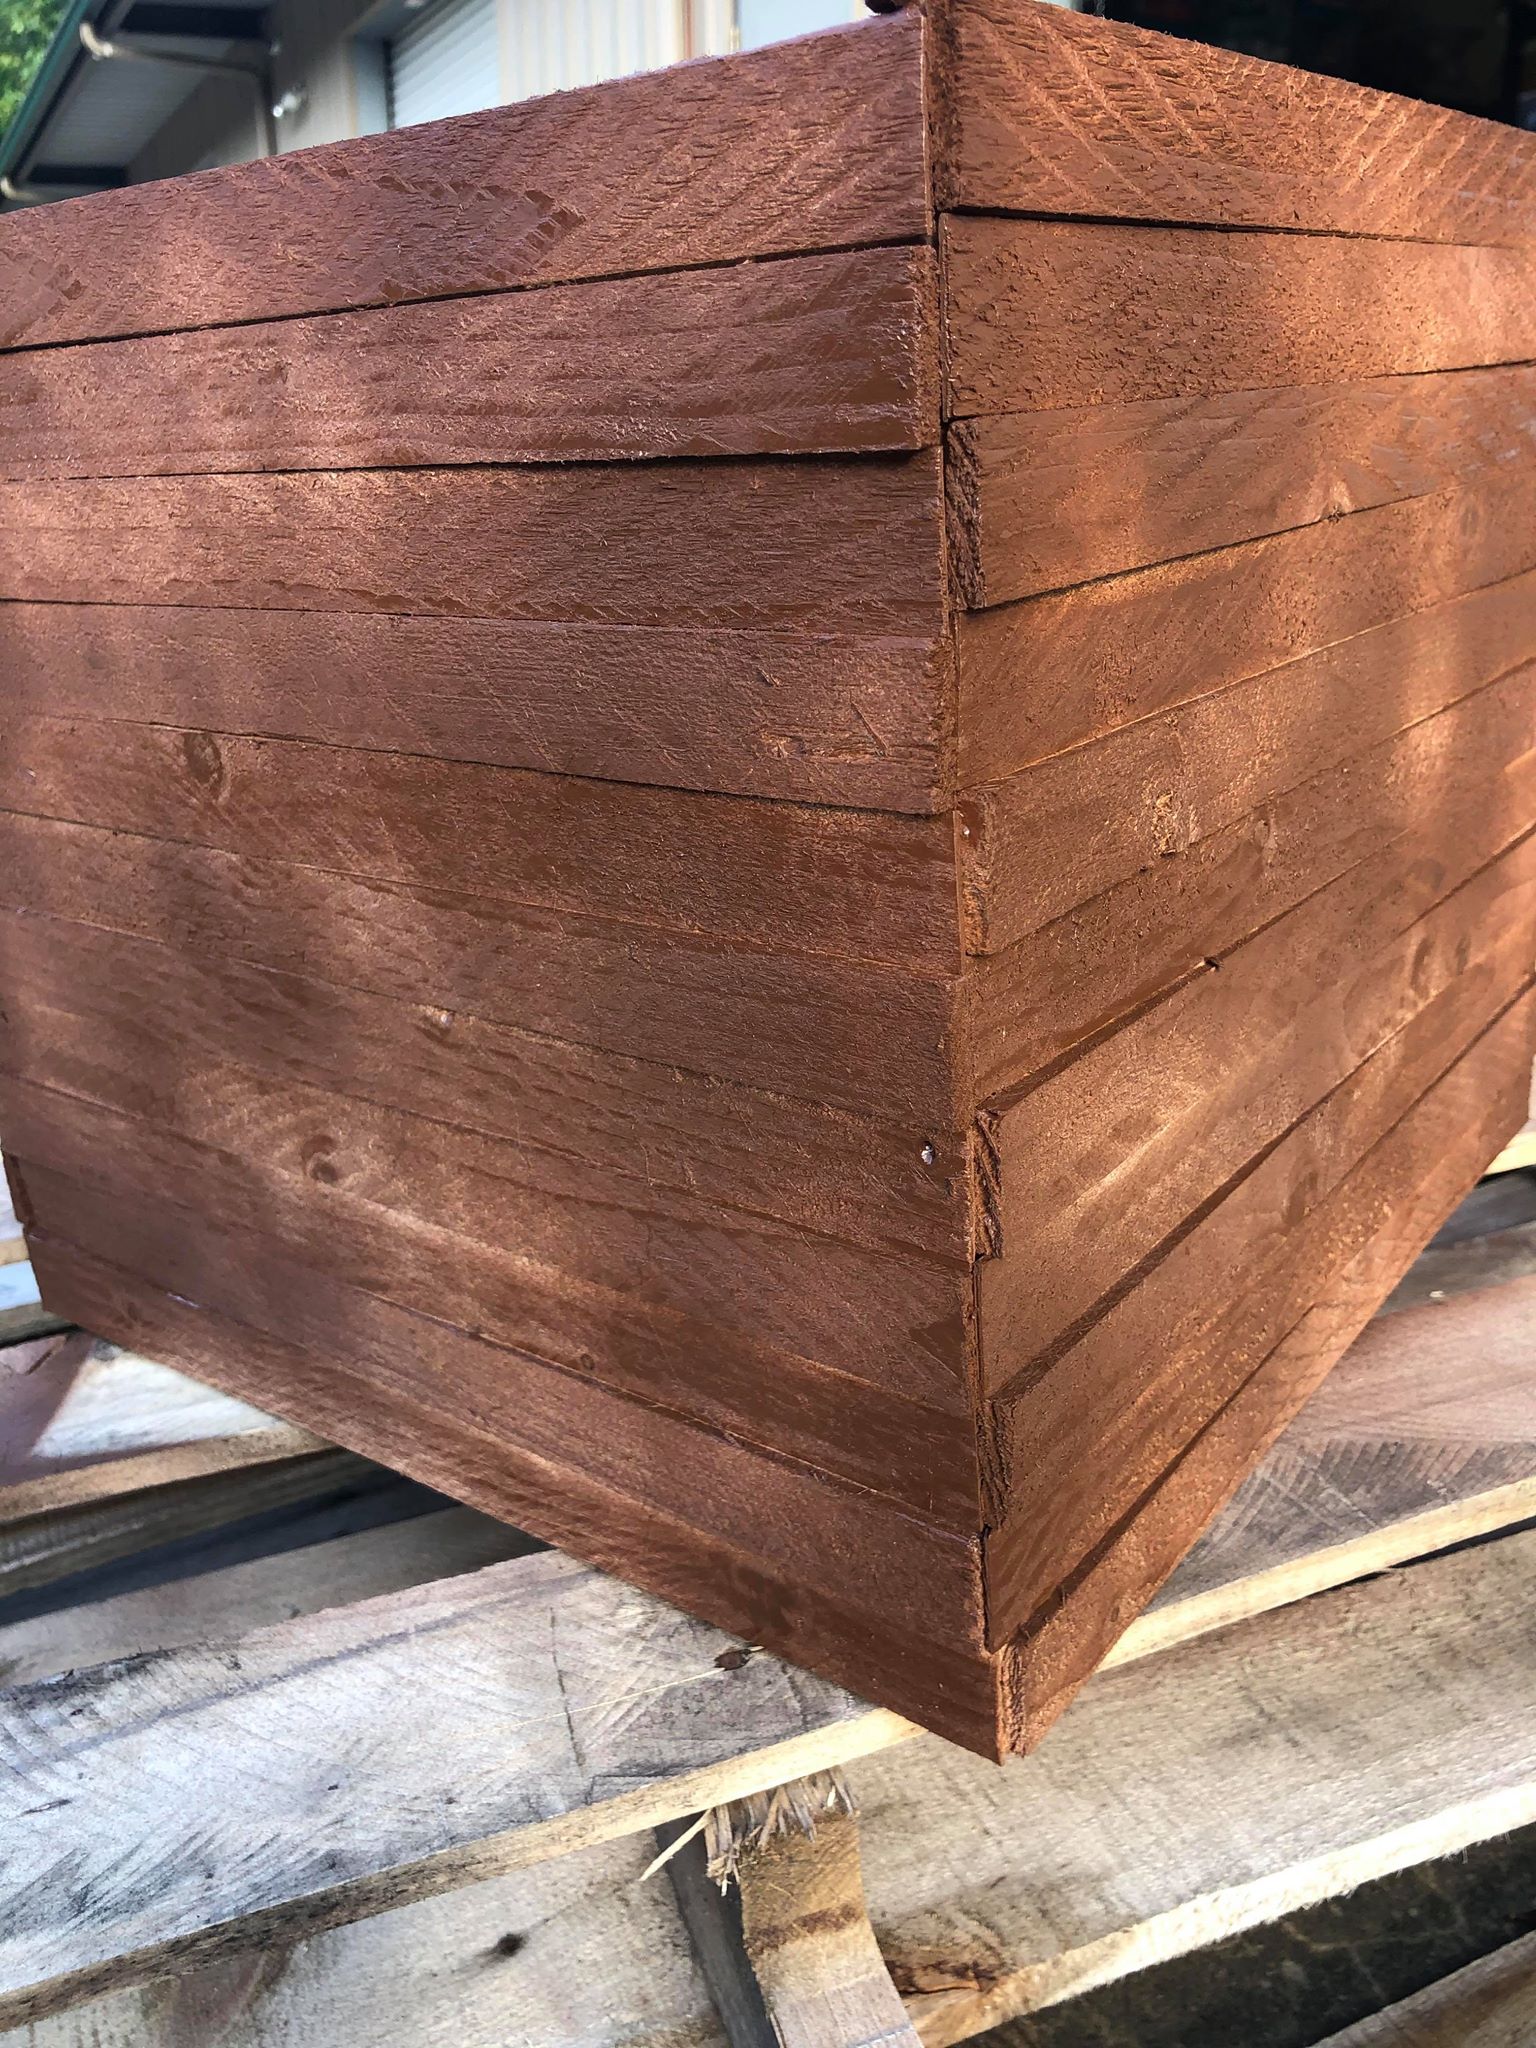
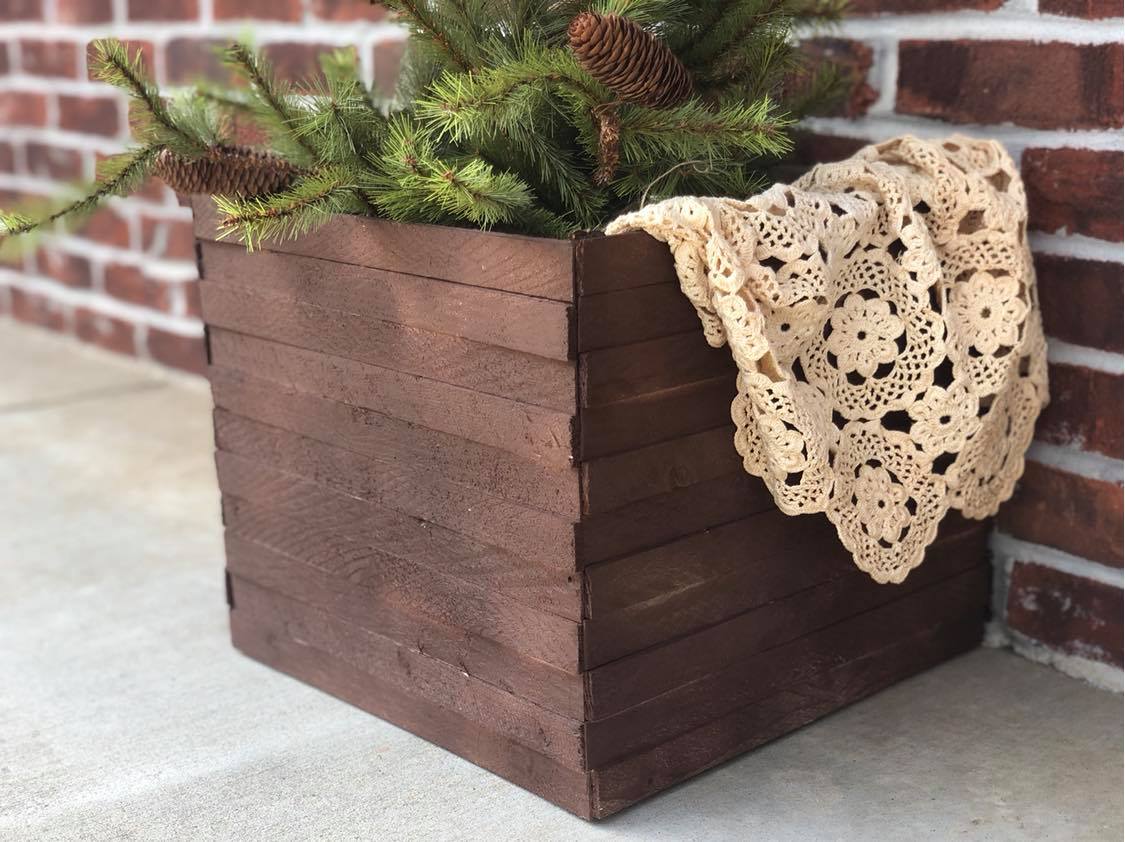
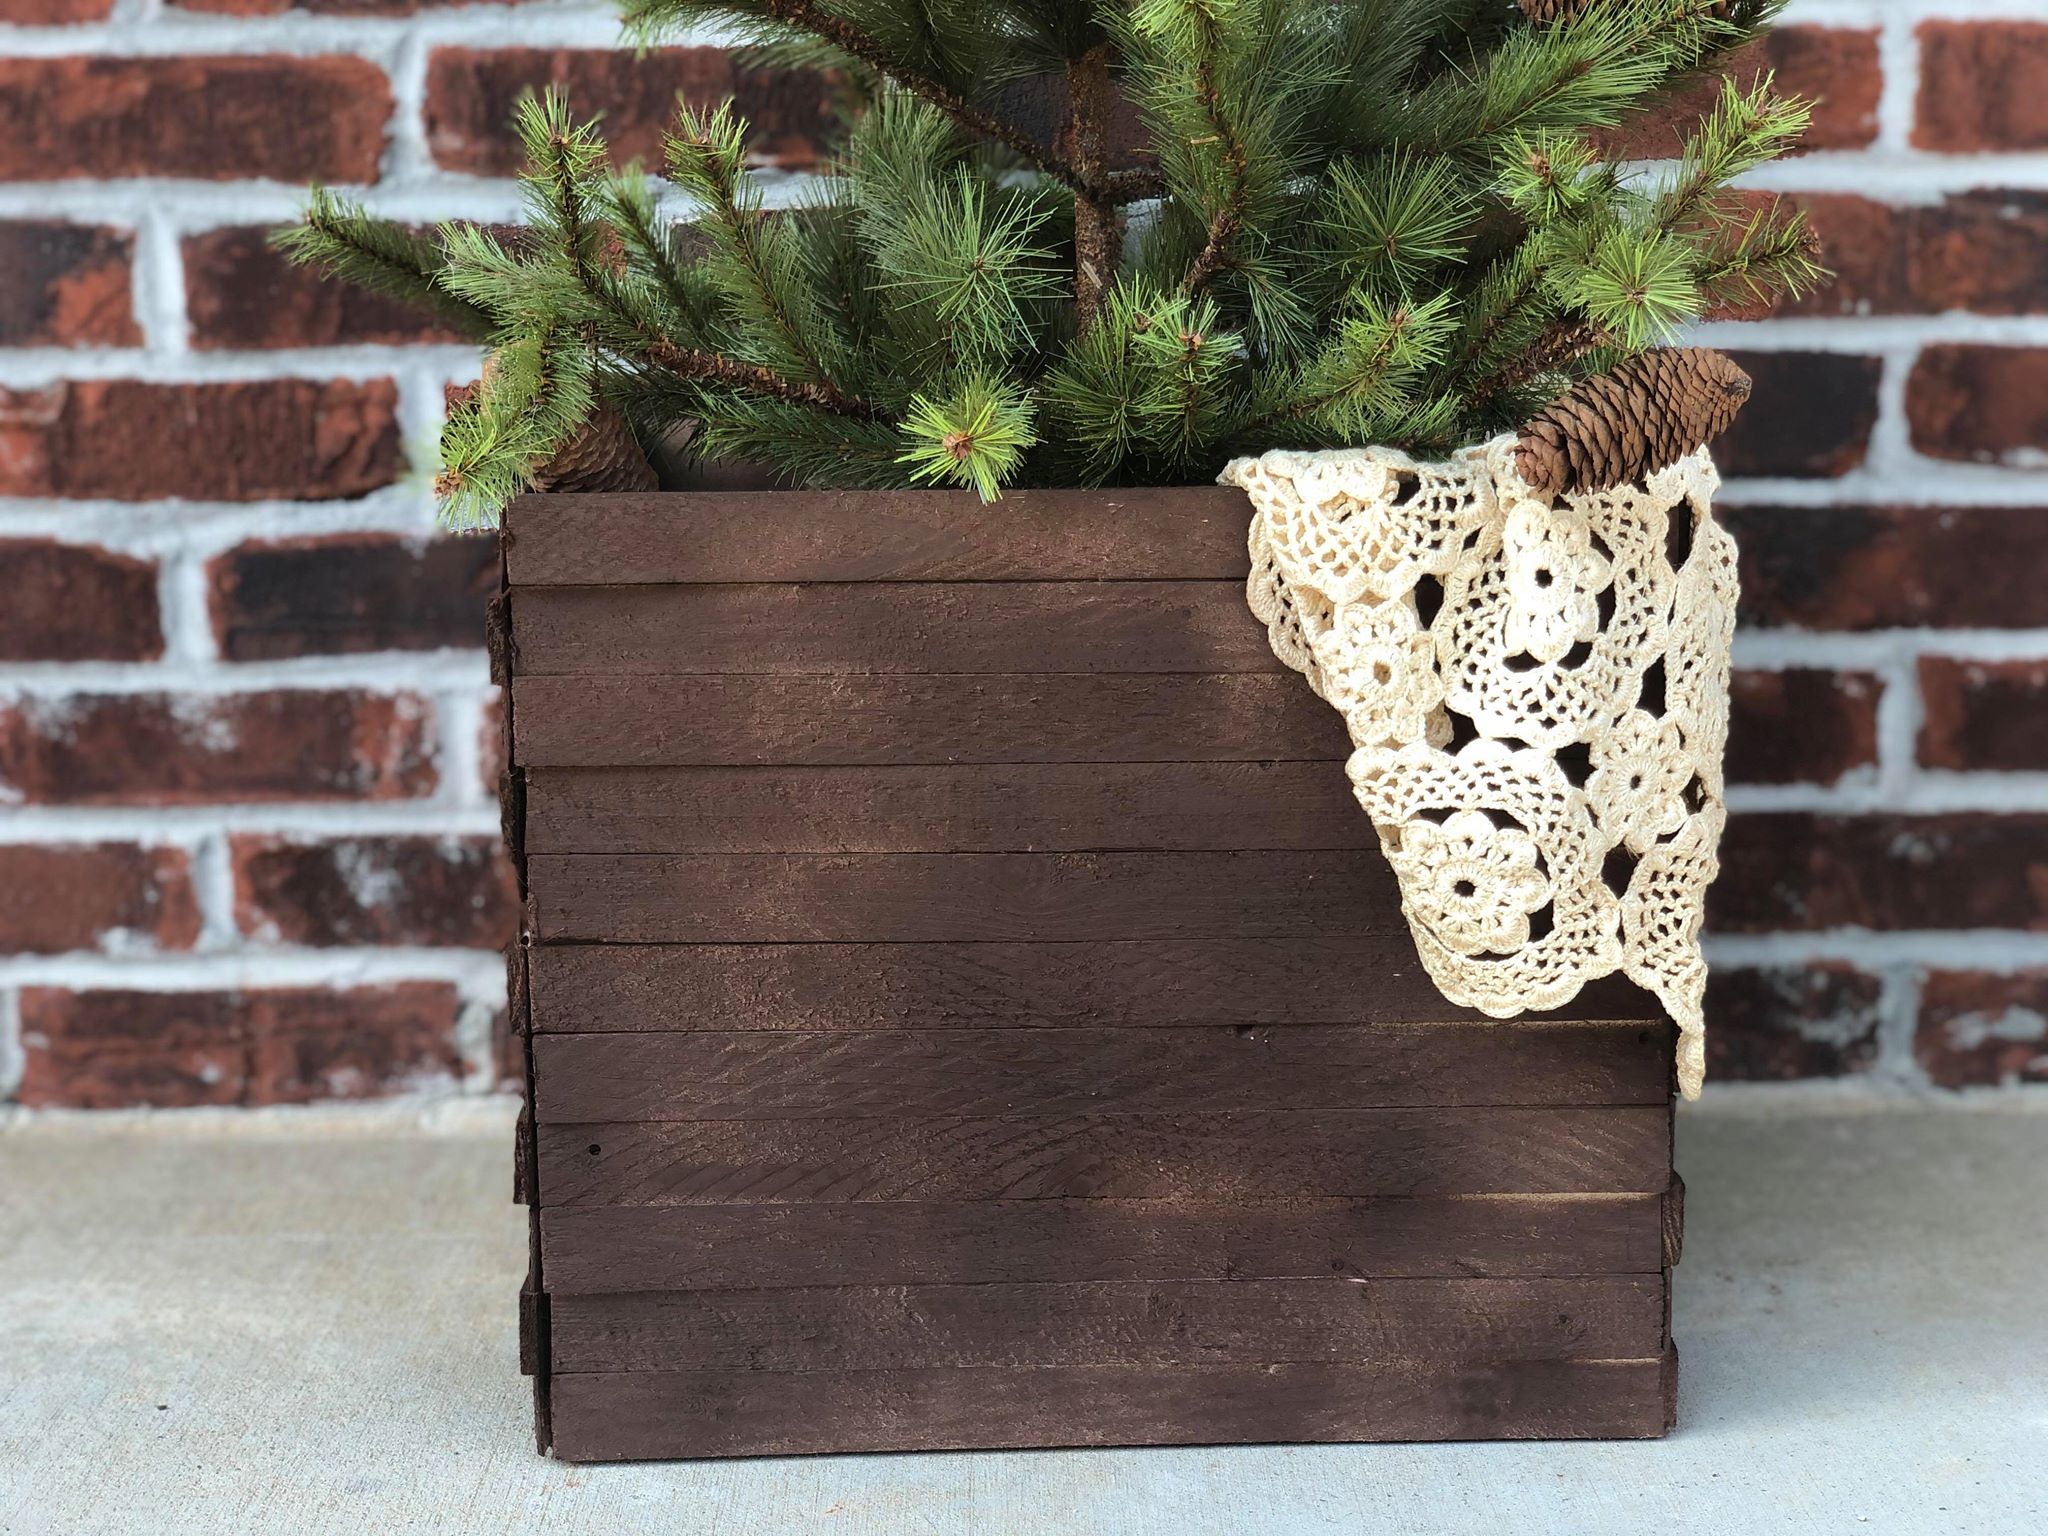
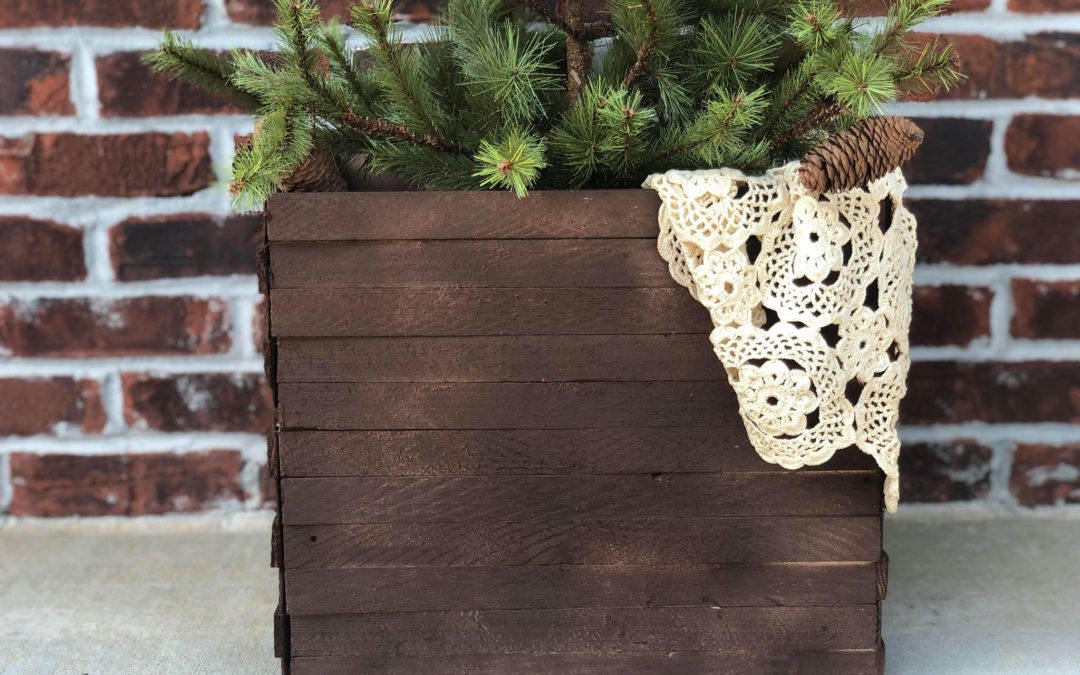
Once your box is complete you can decorate it or paint it.
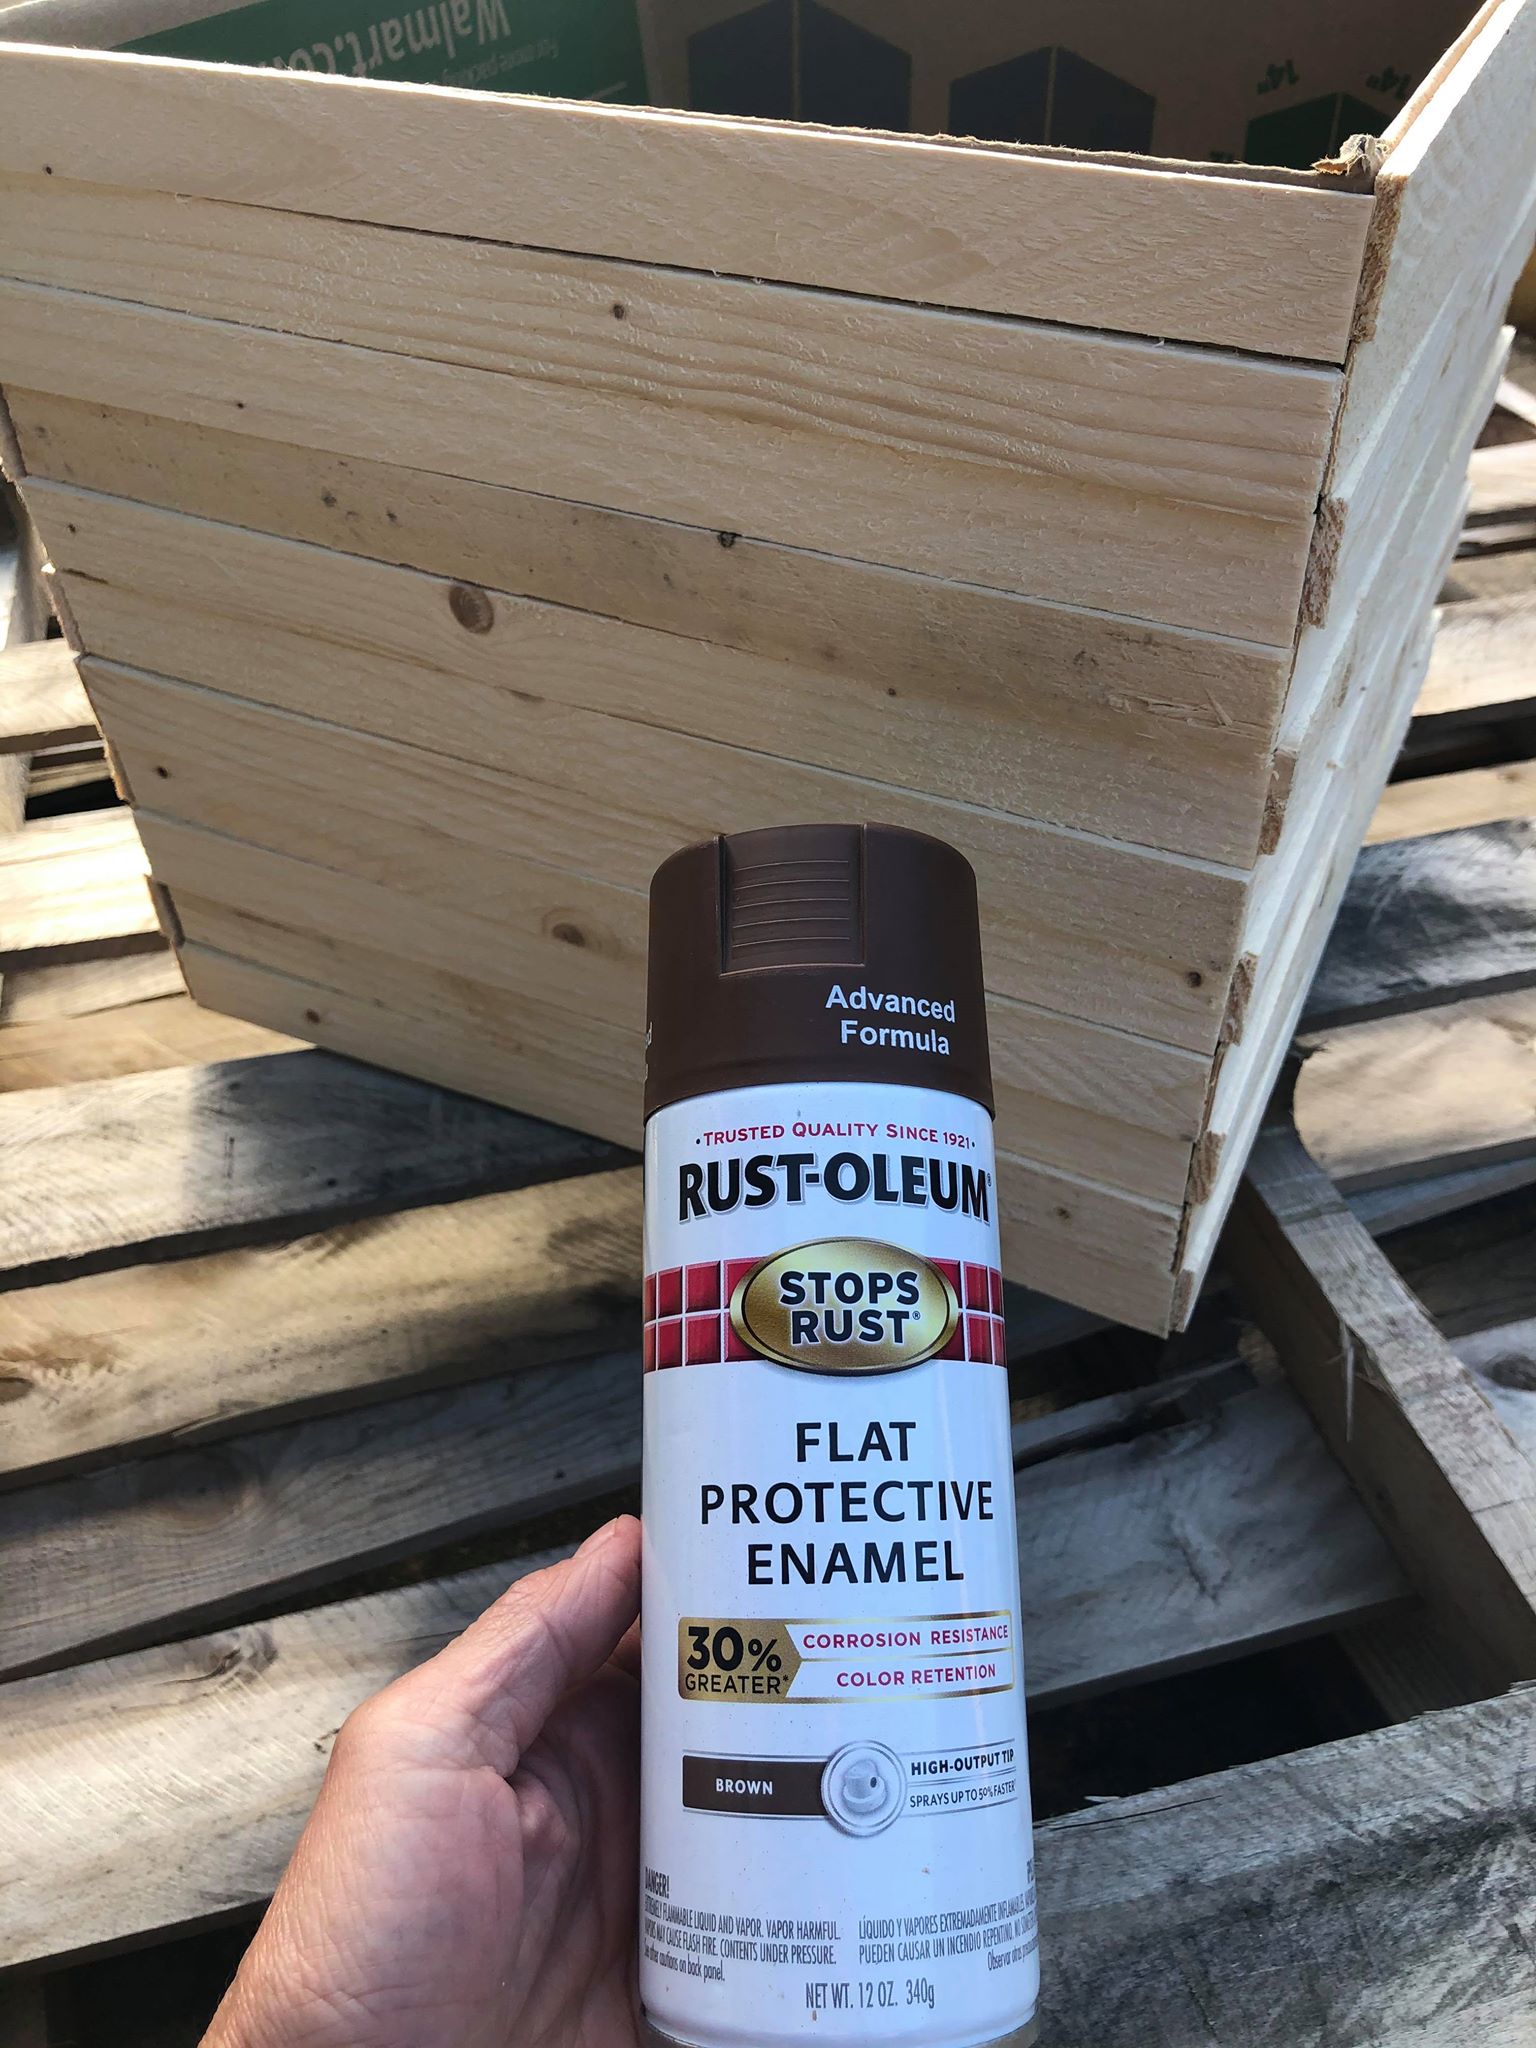
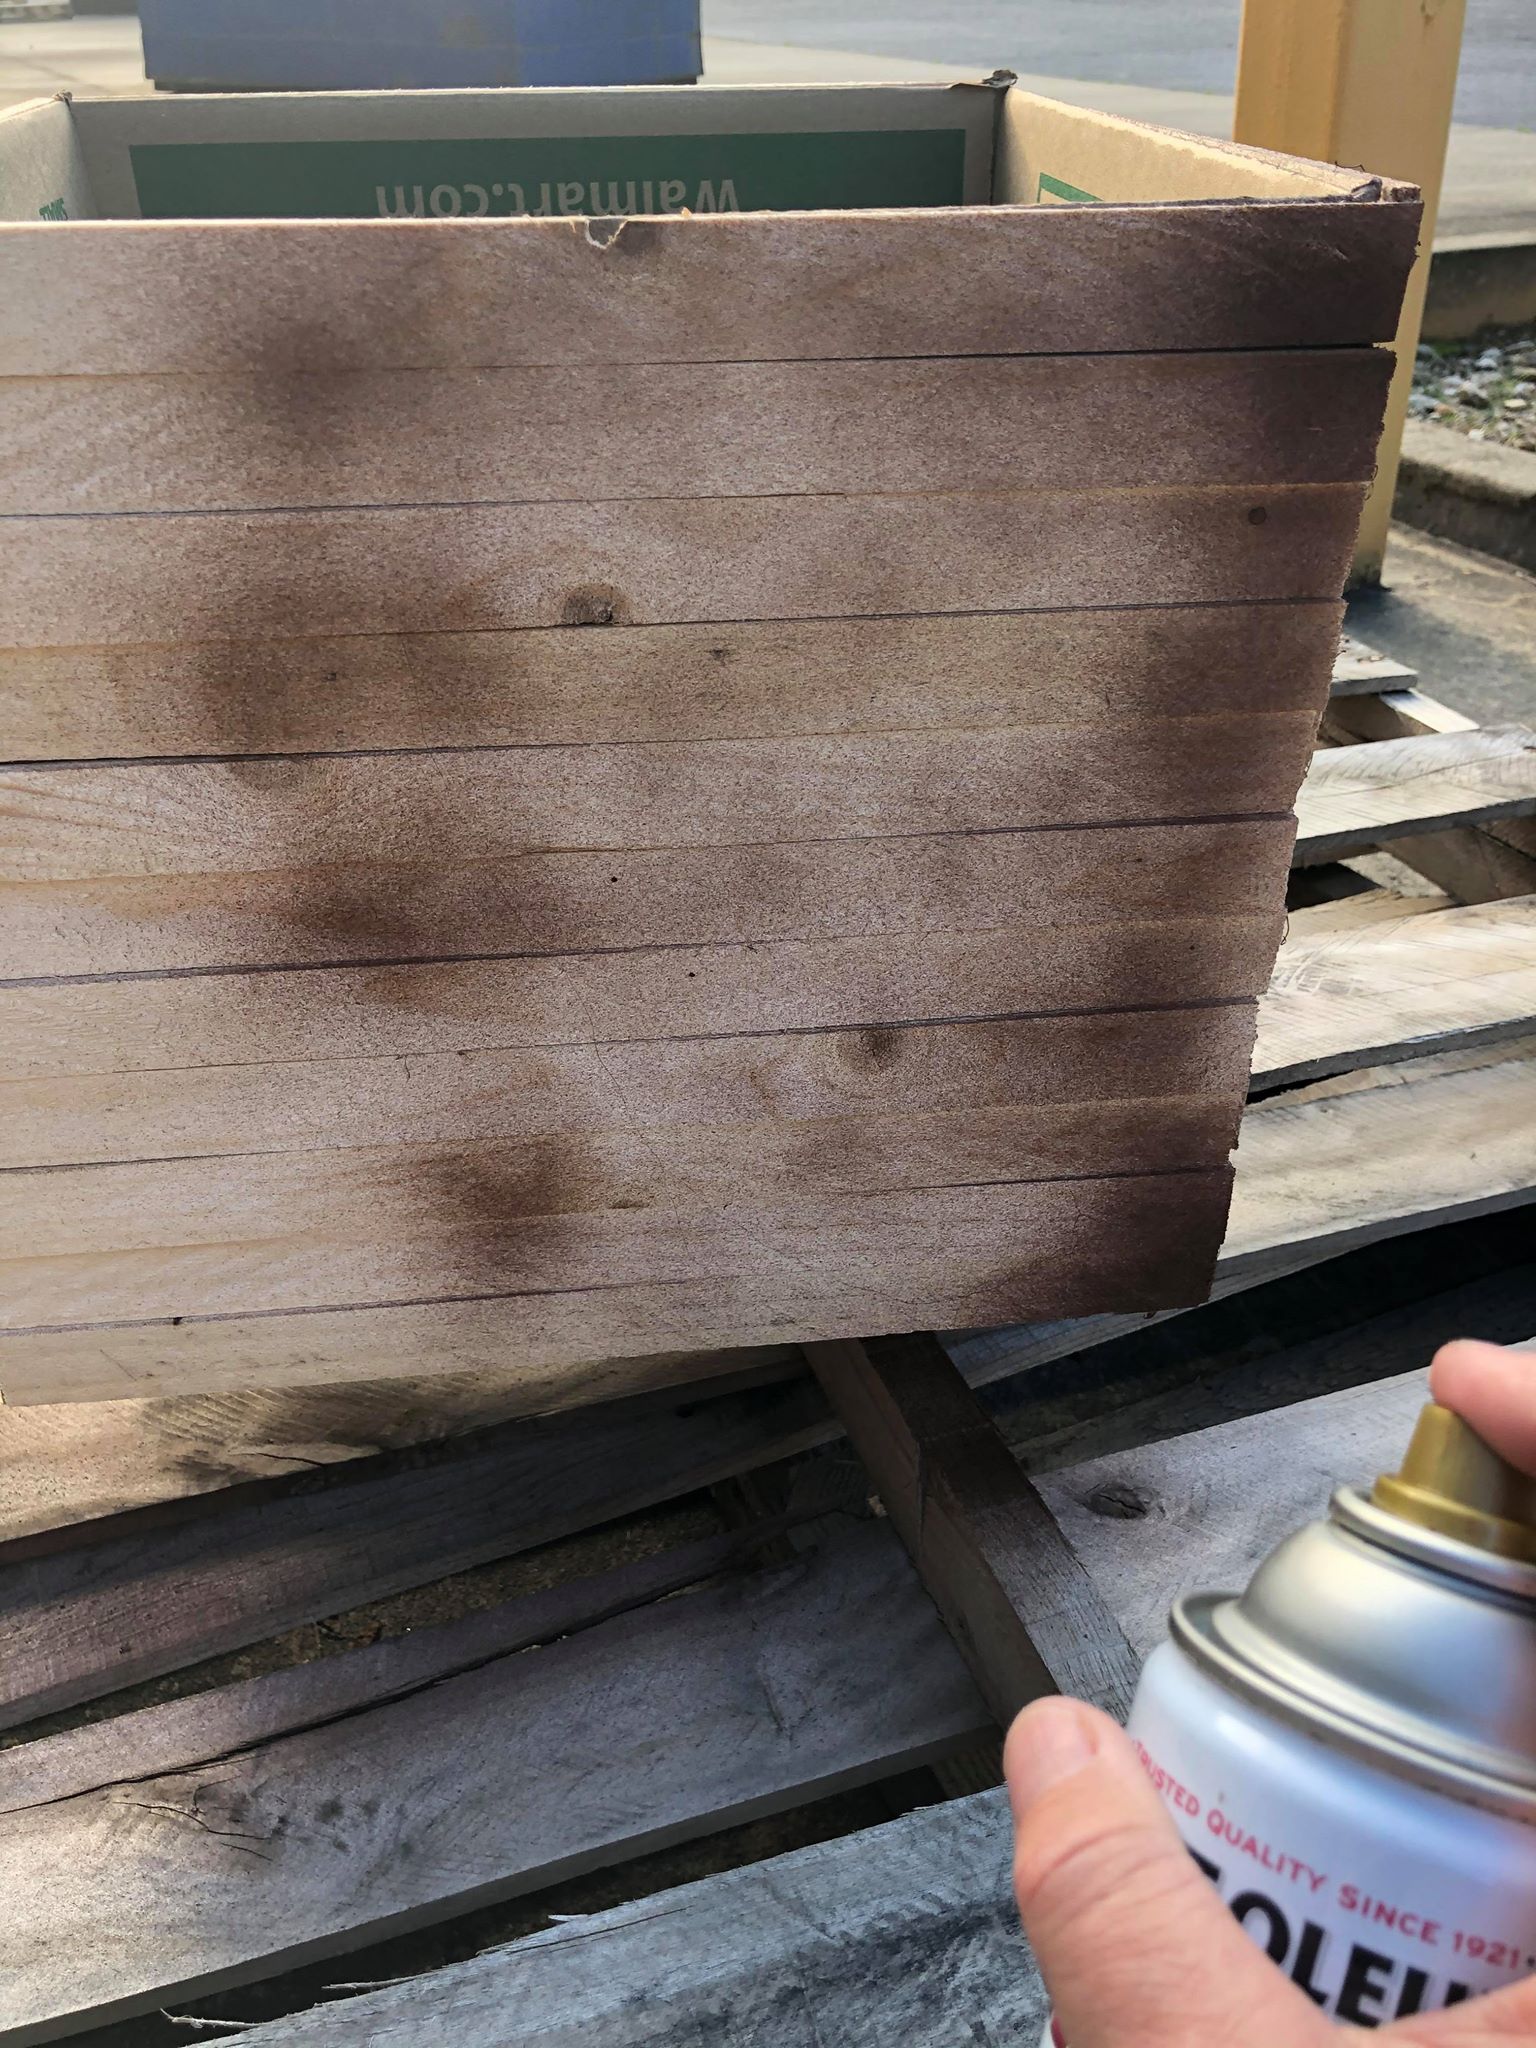
I am spray painting my box. I’m using a brown spray paint and I will lightly spray paint it so that it will have a rough antique look to it.