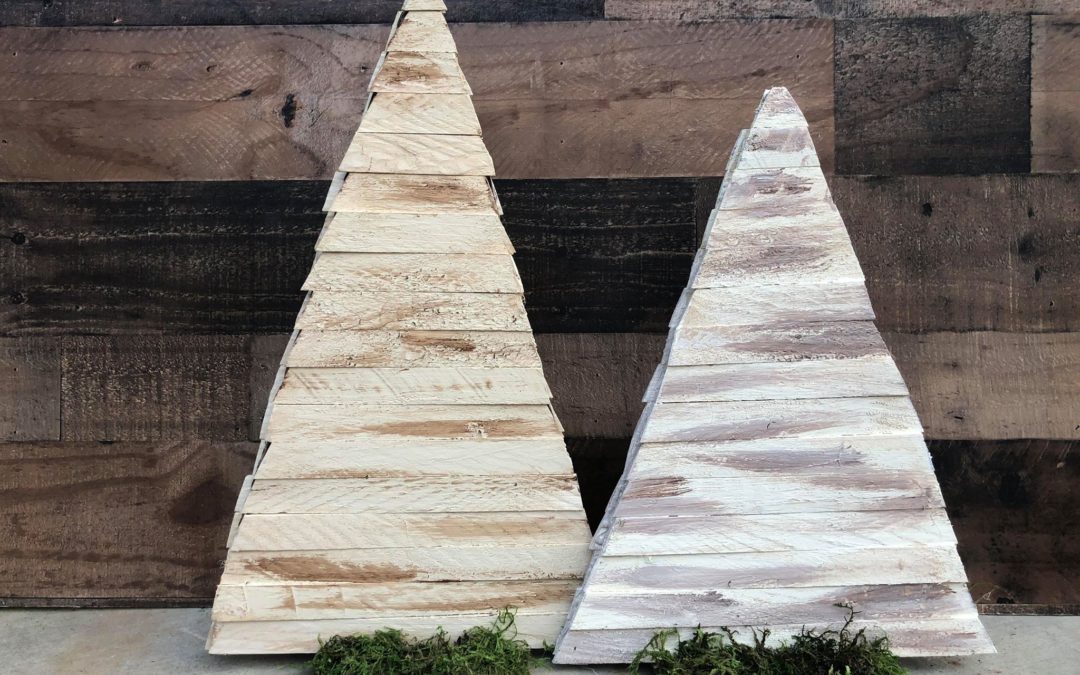
I keep a variety of trees up in my house all year long. I knew I wanted to come up with a way to make a small wooden pallet like tree. I don’t want to use any type of saw so I thought I would try using wooden shims. We recently made an amazing wooden shim box so I knew we can easily cut the shims. I was out shopping in the Dollar Tree and saw a metal paper towel holder that got my mind thinking. The metal paper towel holder will make a great stand for our wooden shim tree.
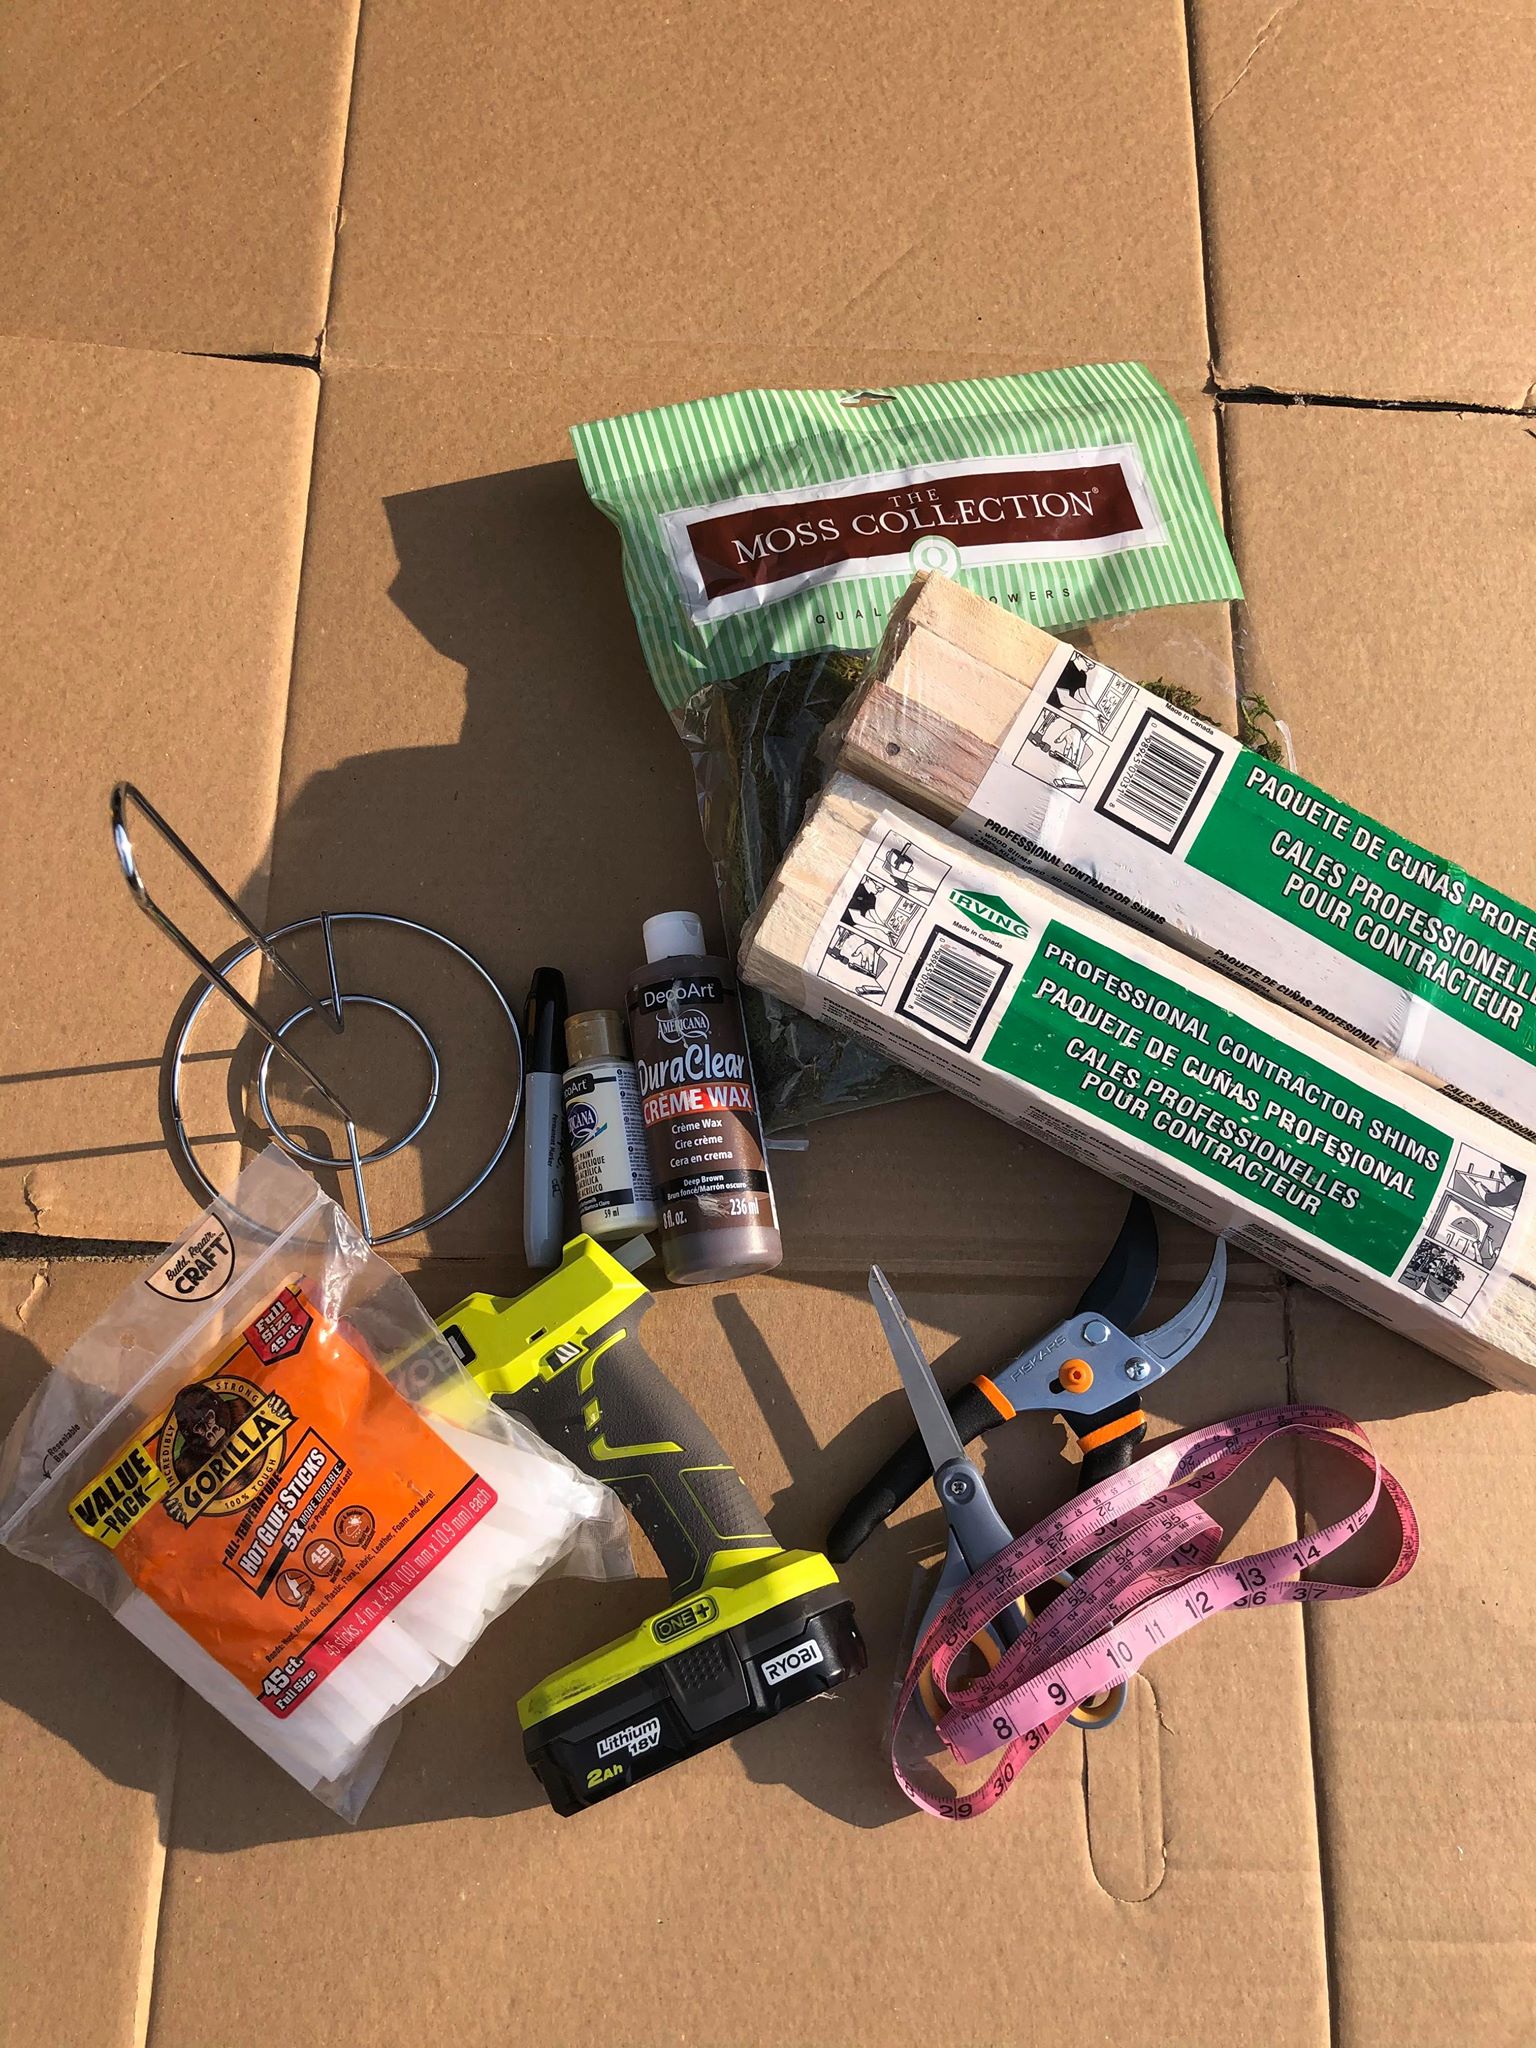
The supplies you will need are:
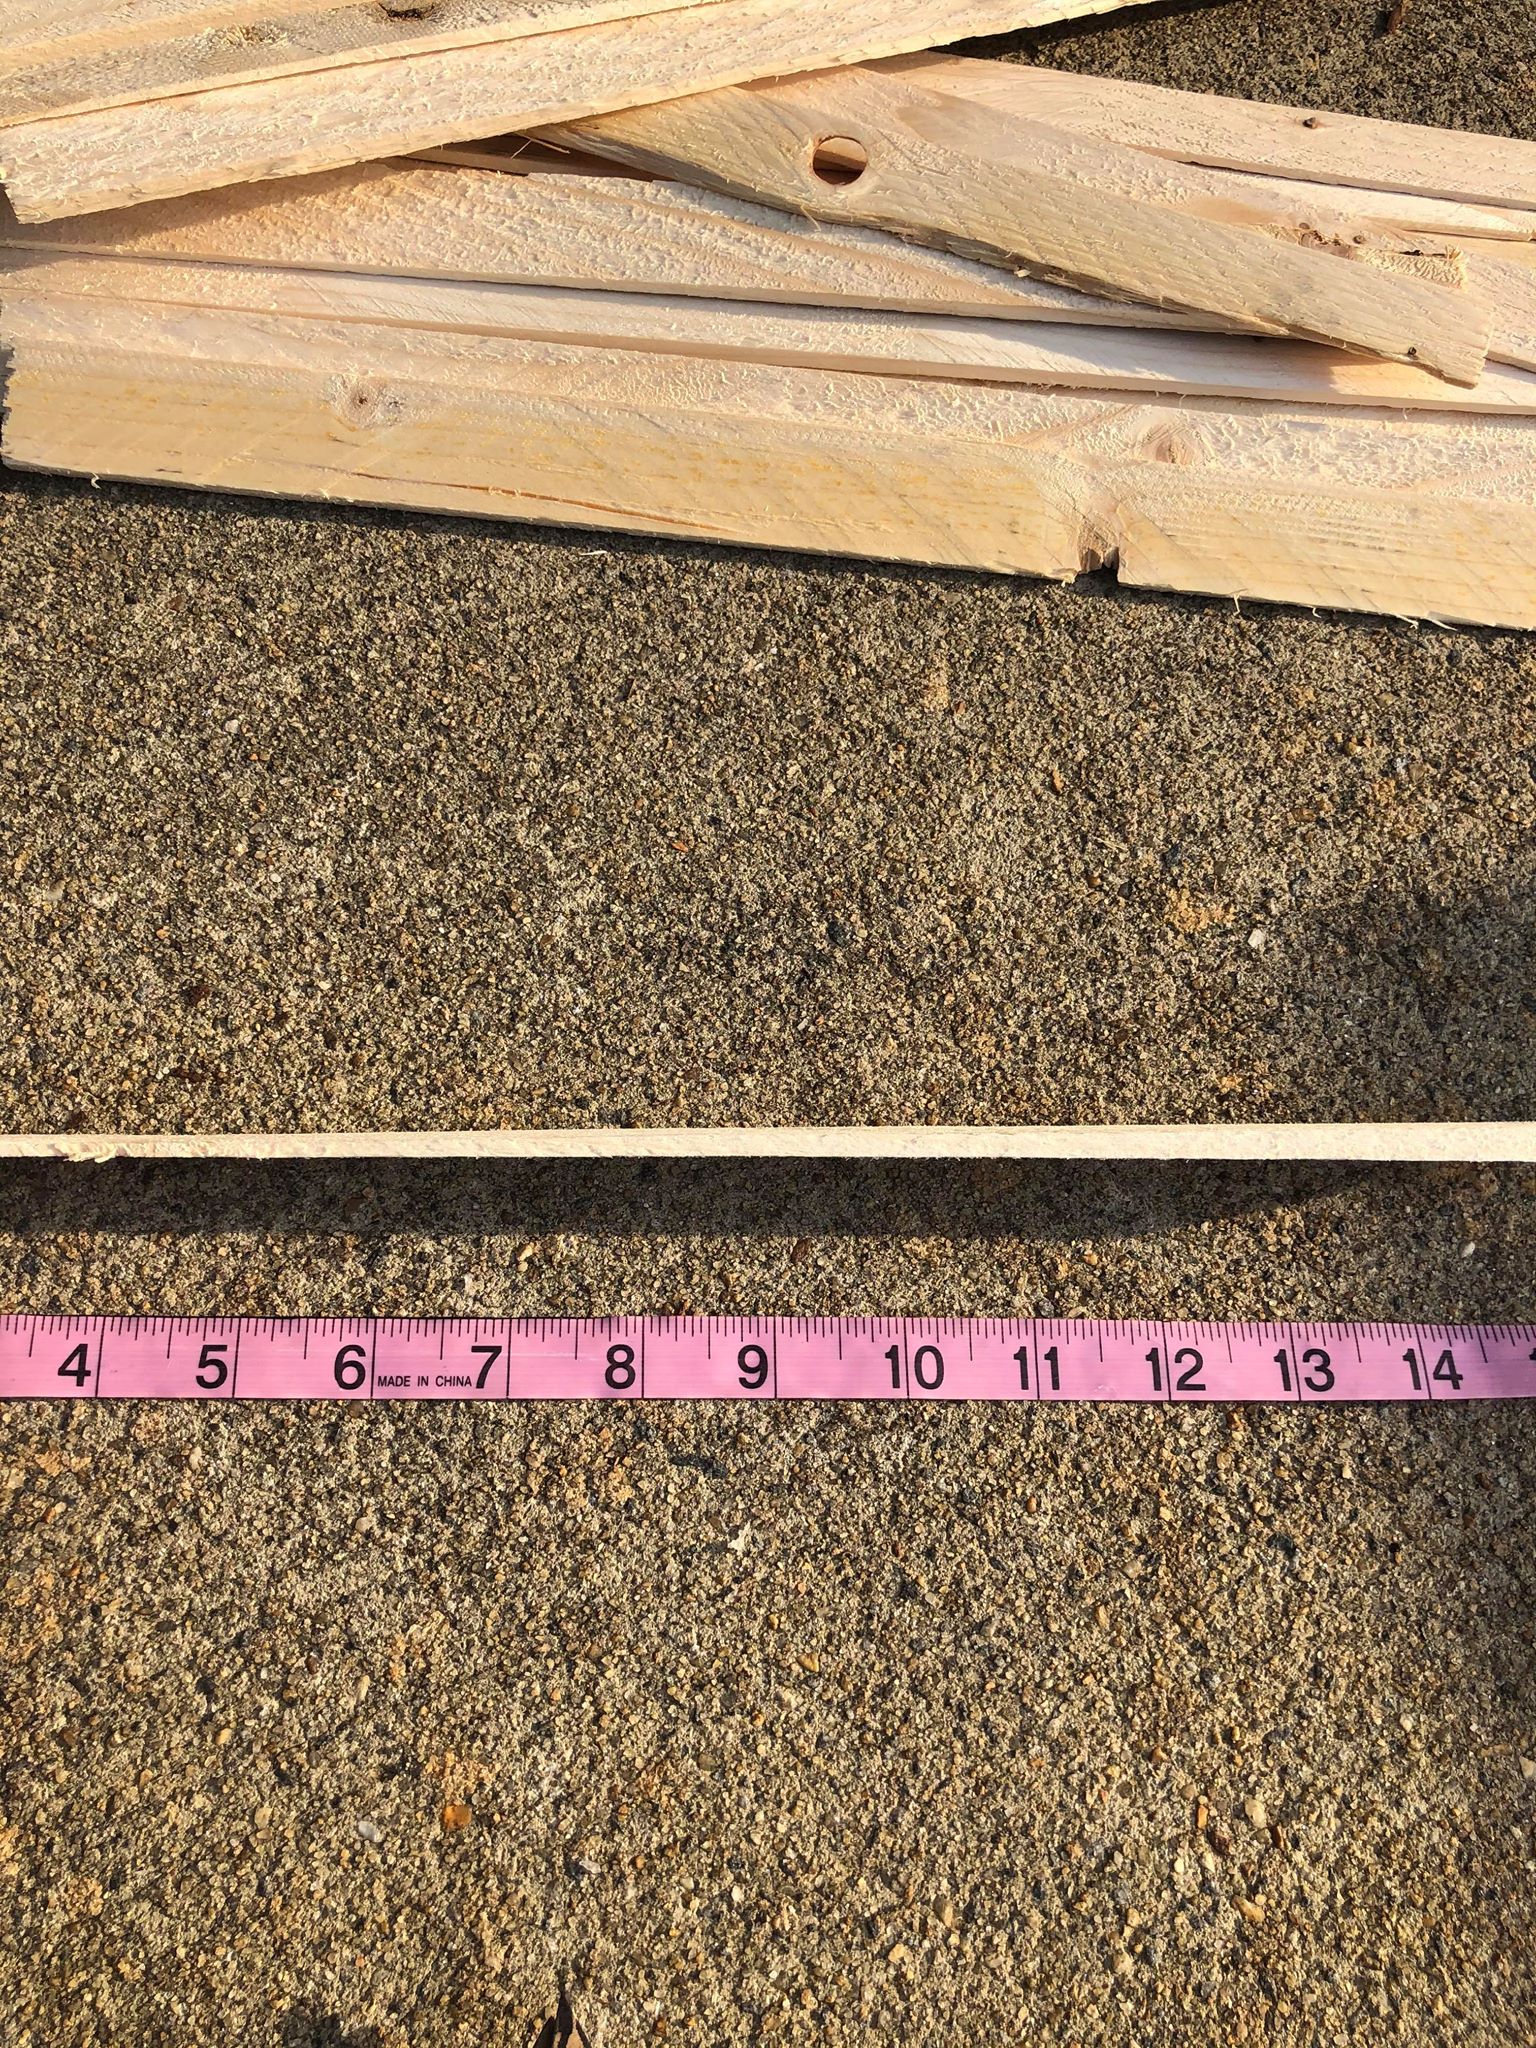
1. Wooden shims (I bought mine in Home Depot)
2. Metal paper towel holder (I bought this one in the Dollar Tree)
3. Glue (I’m using gorilla glue sticks)
4. Tape measure
5. Moss
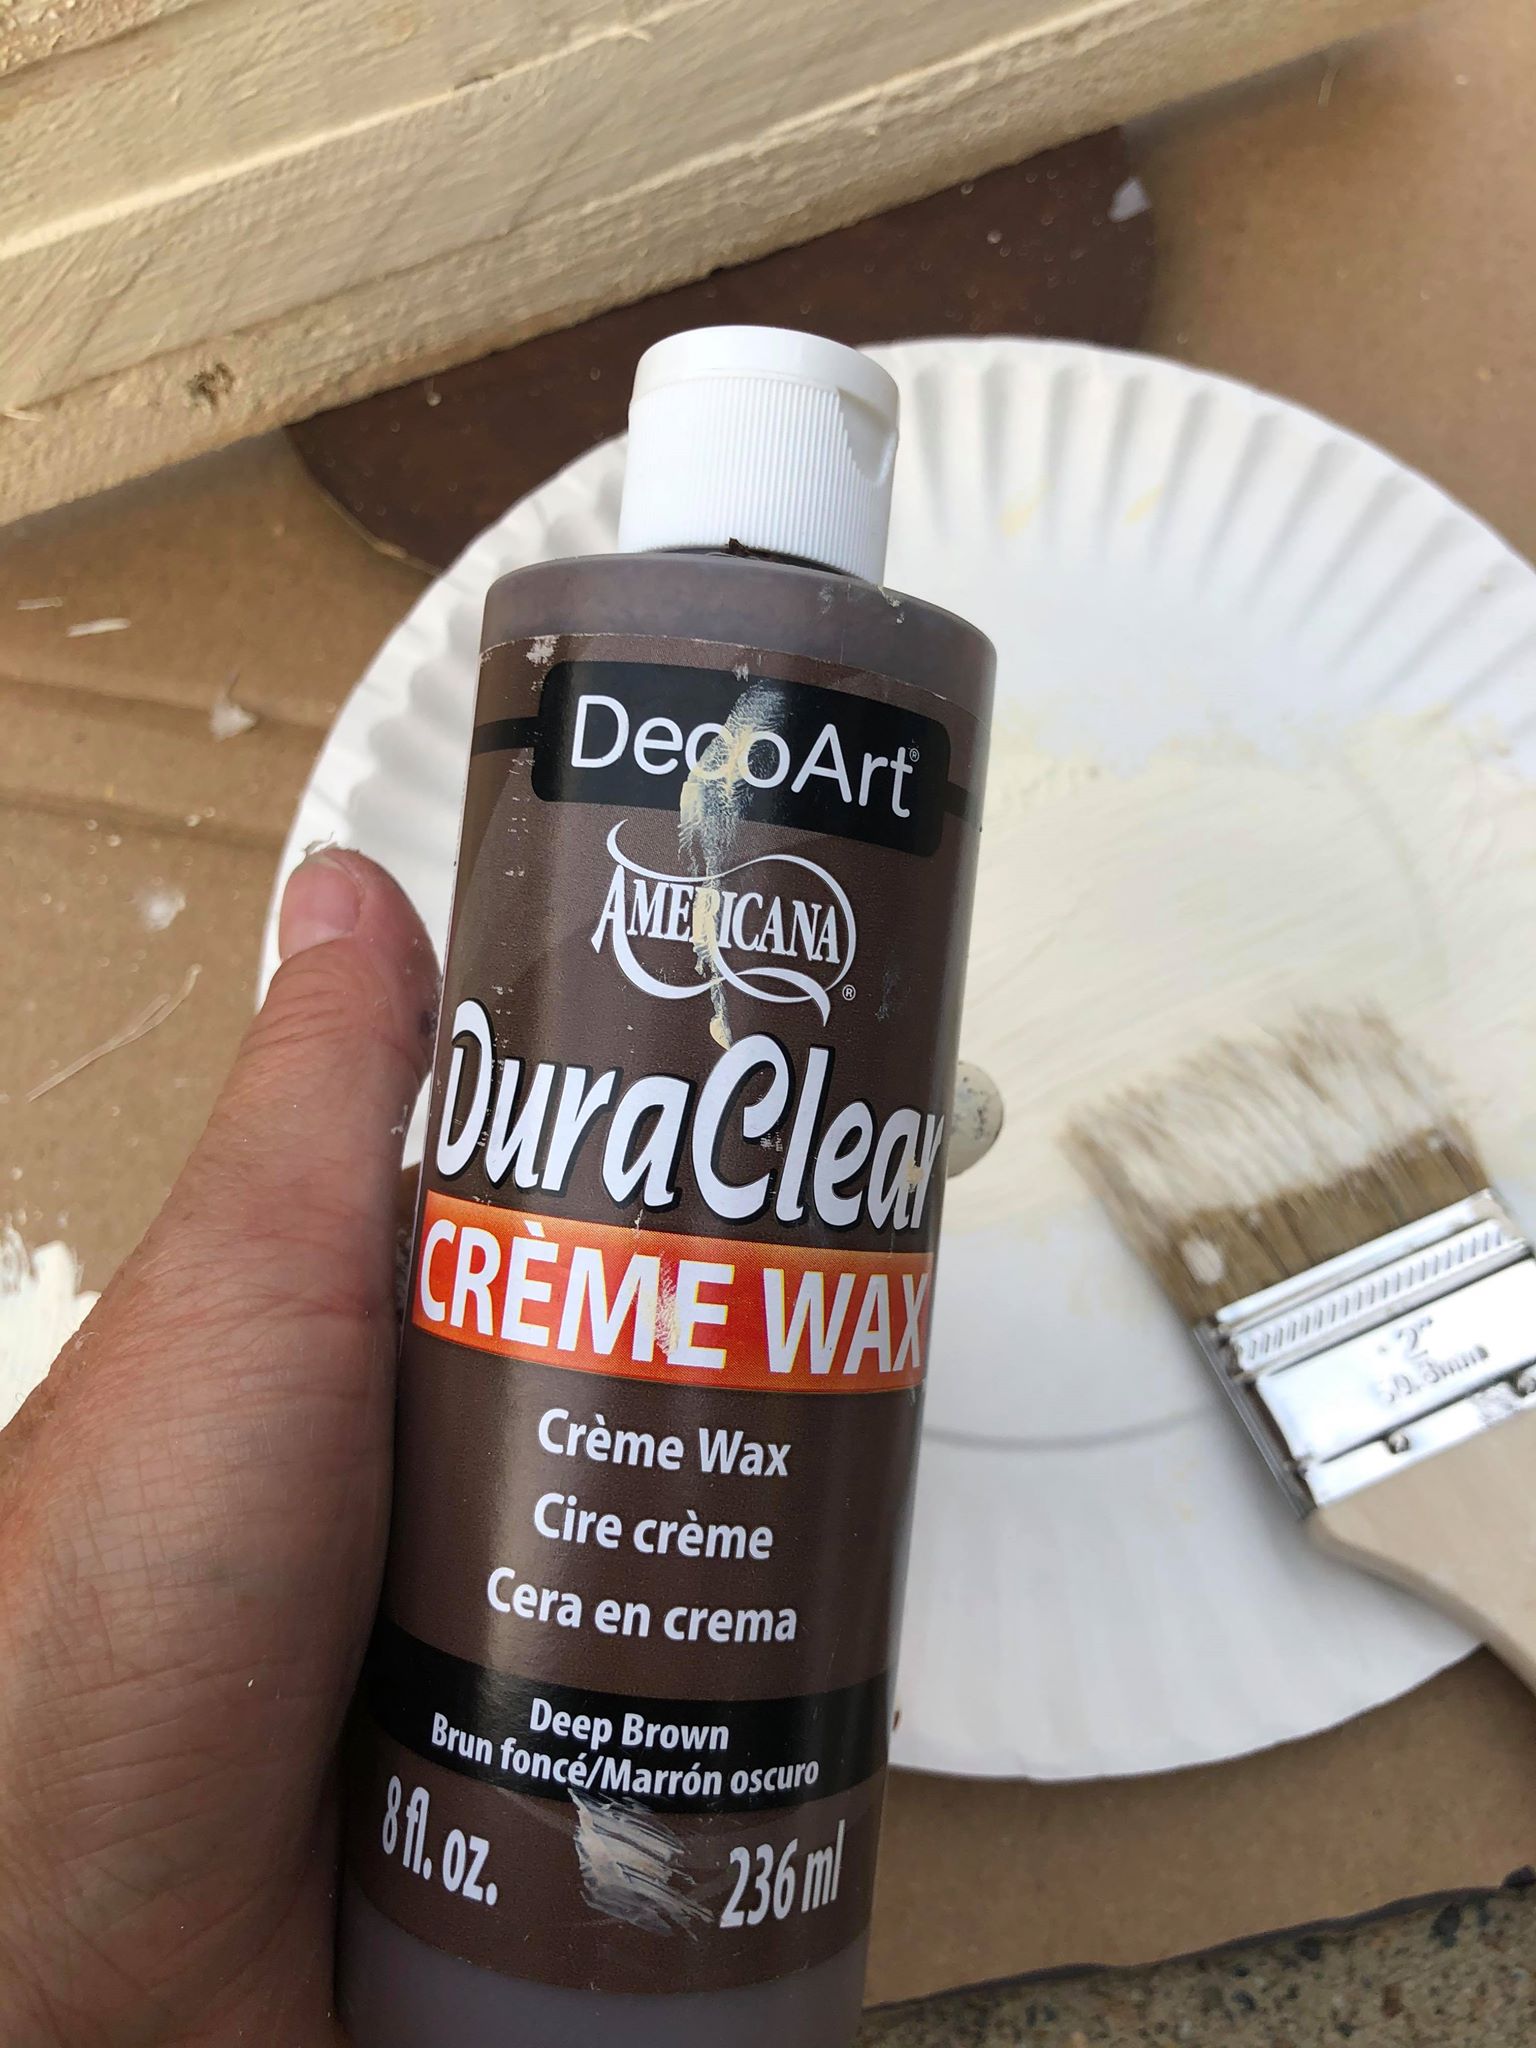
6. Paint (I’m using a light buttermilk and a deep brown wax)
7. Marker
8. Pruning shears
9. Cardboard
10. Scissors

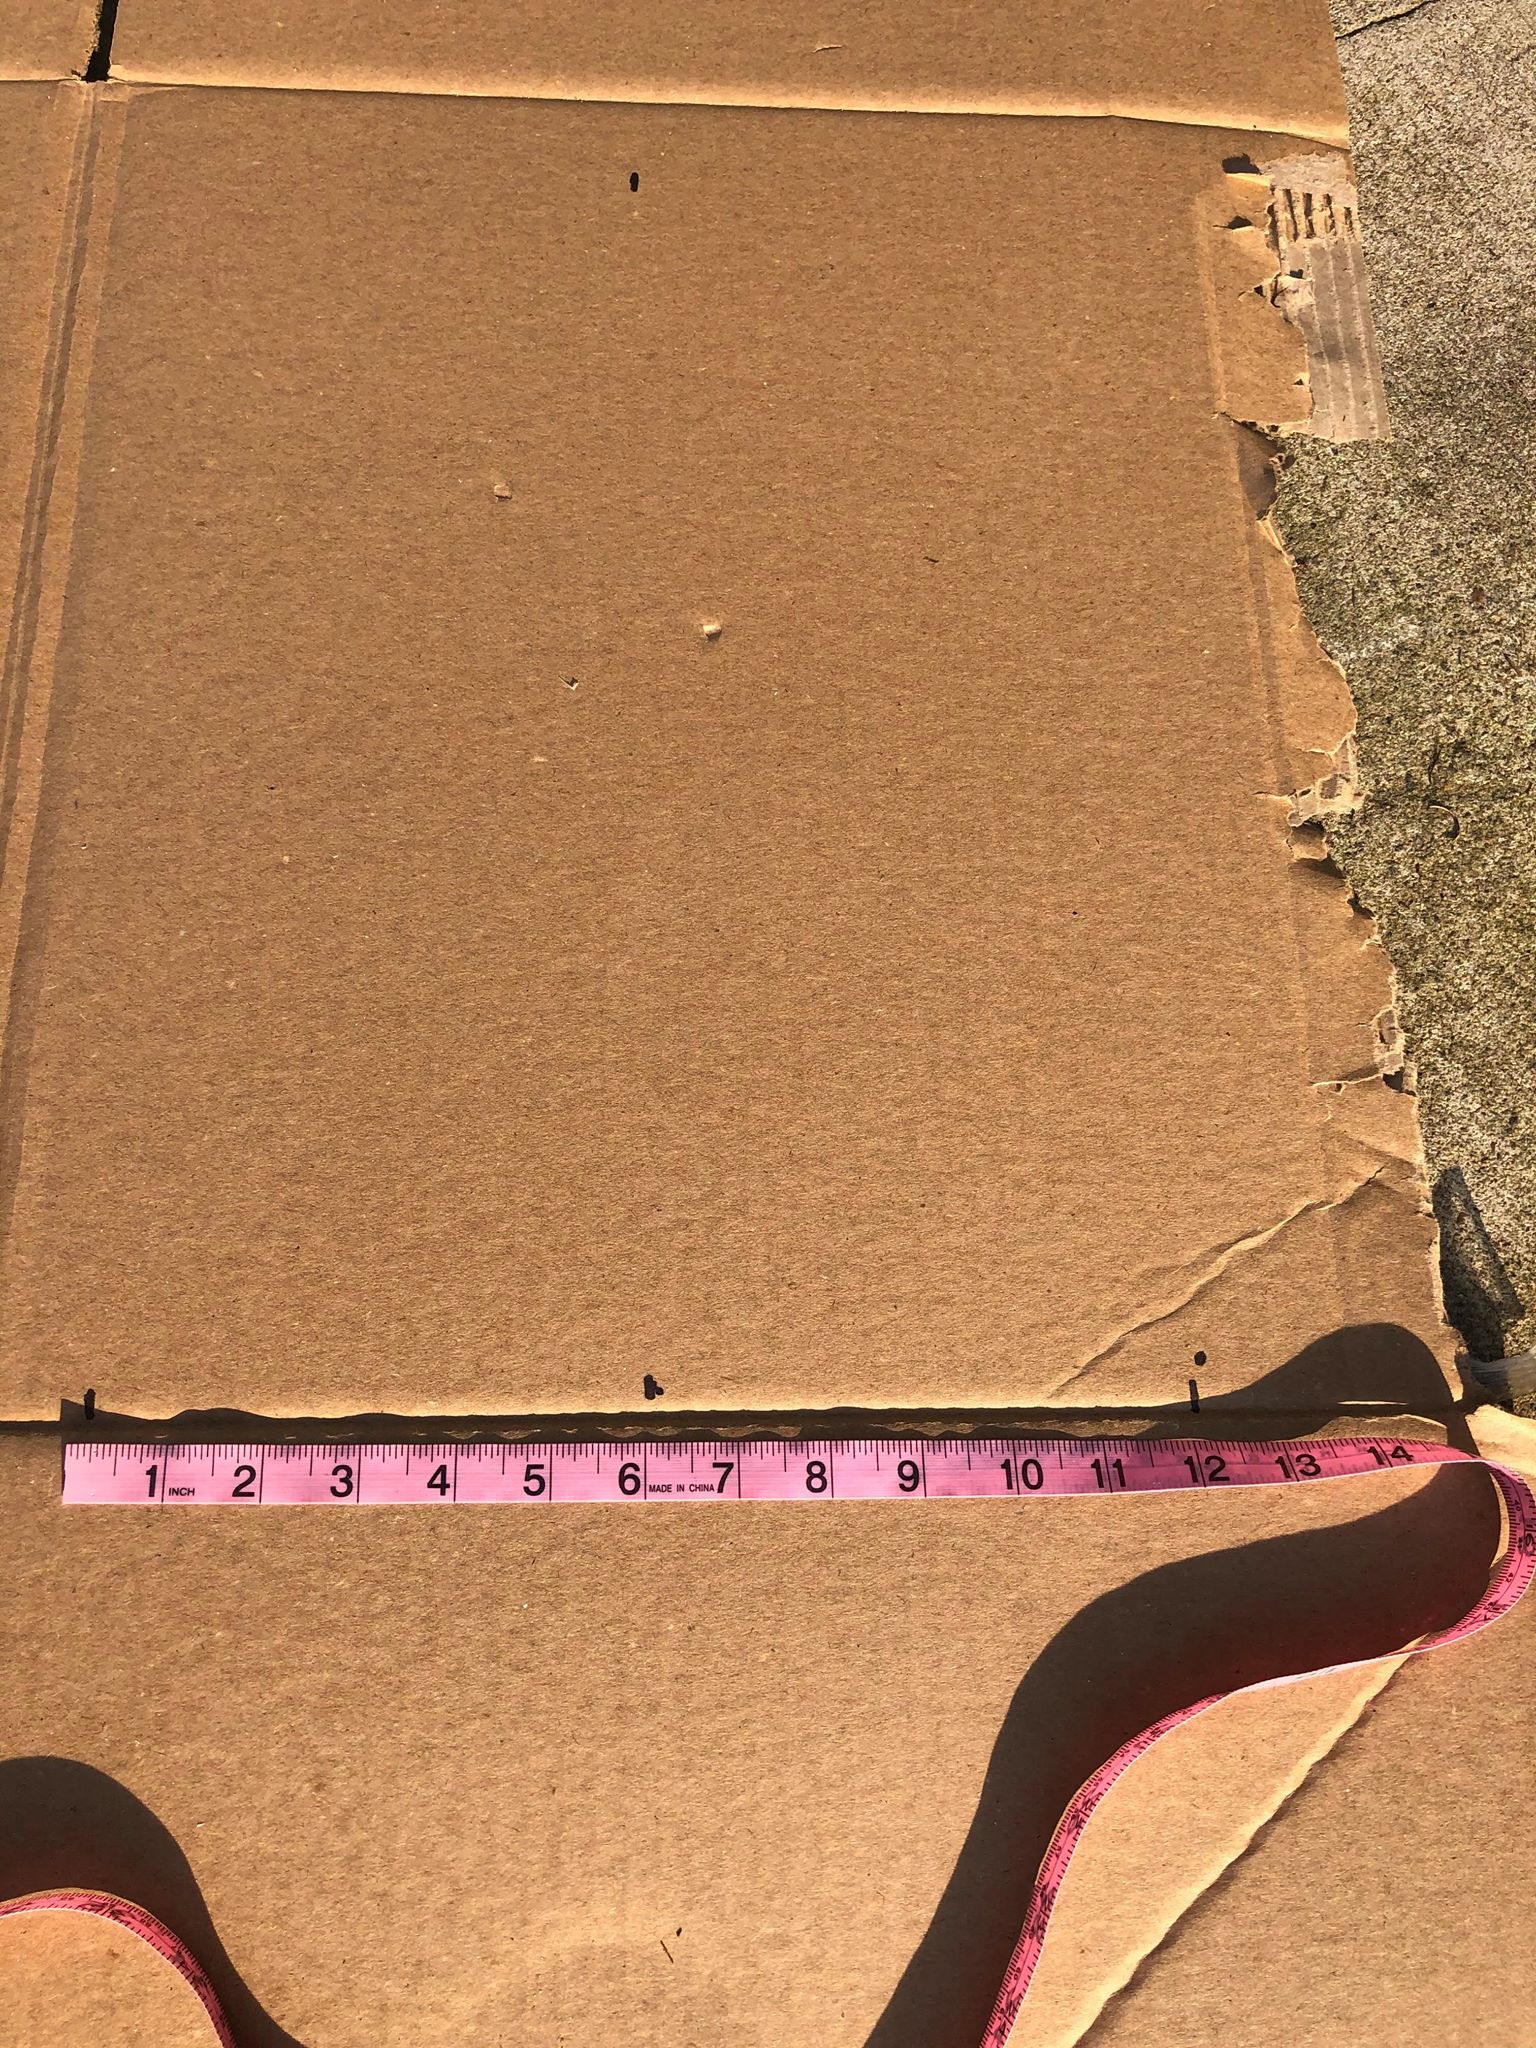
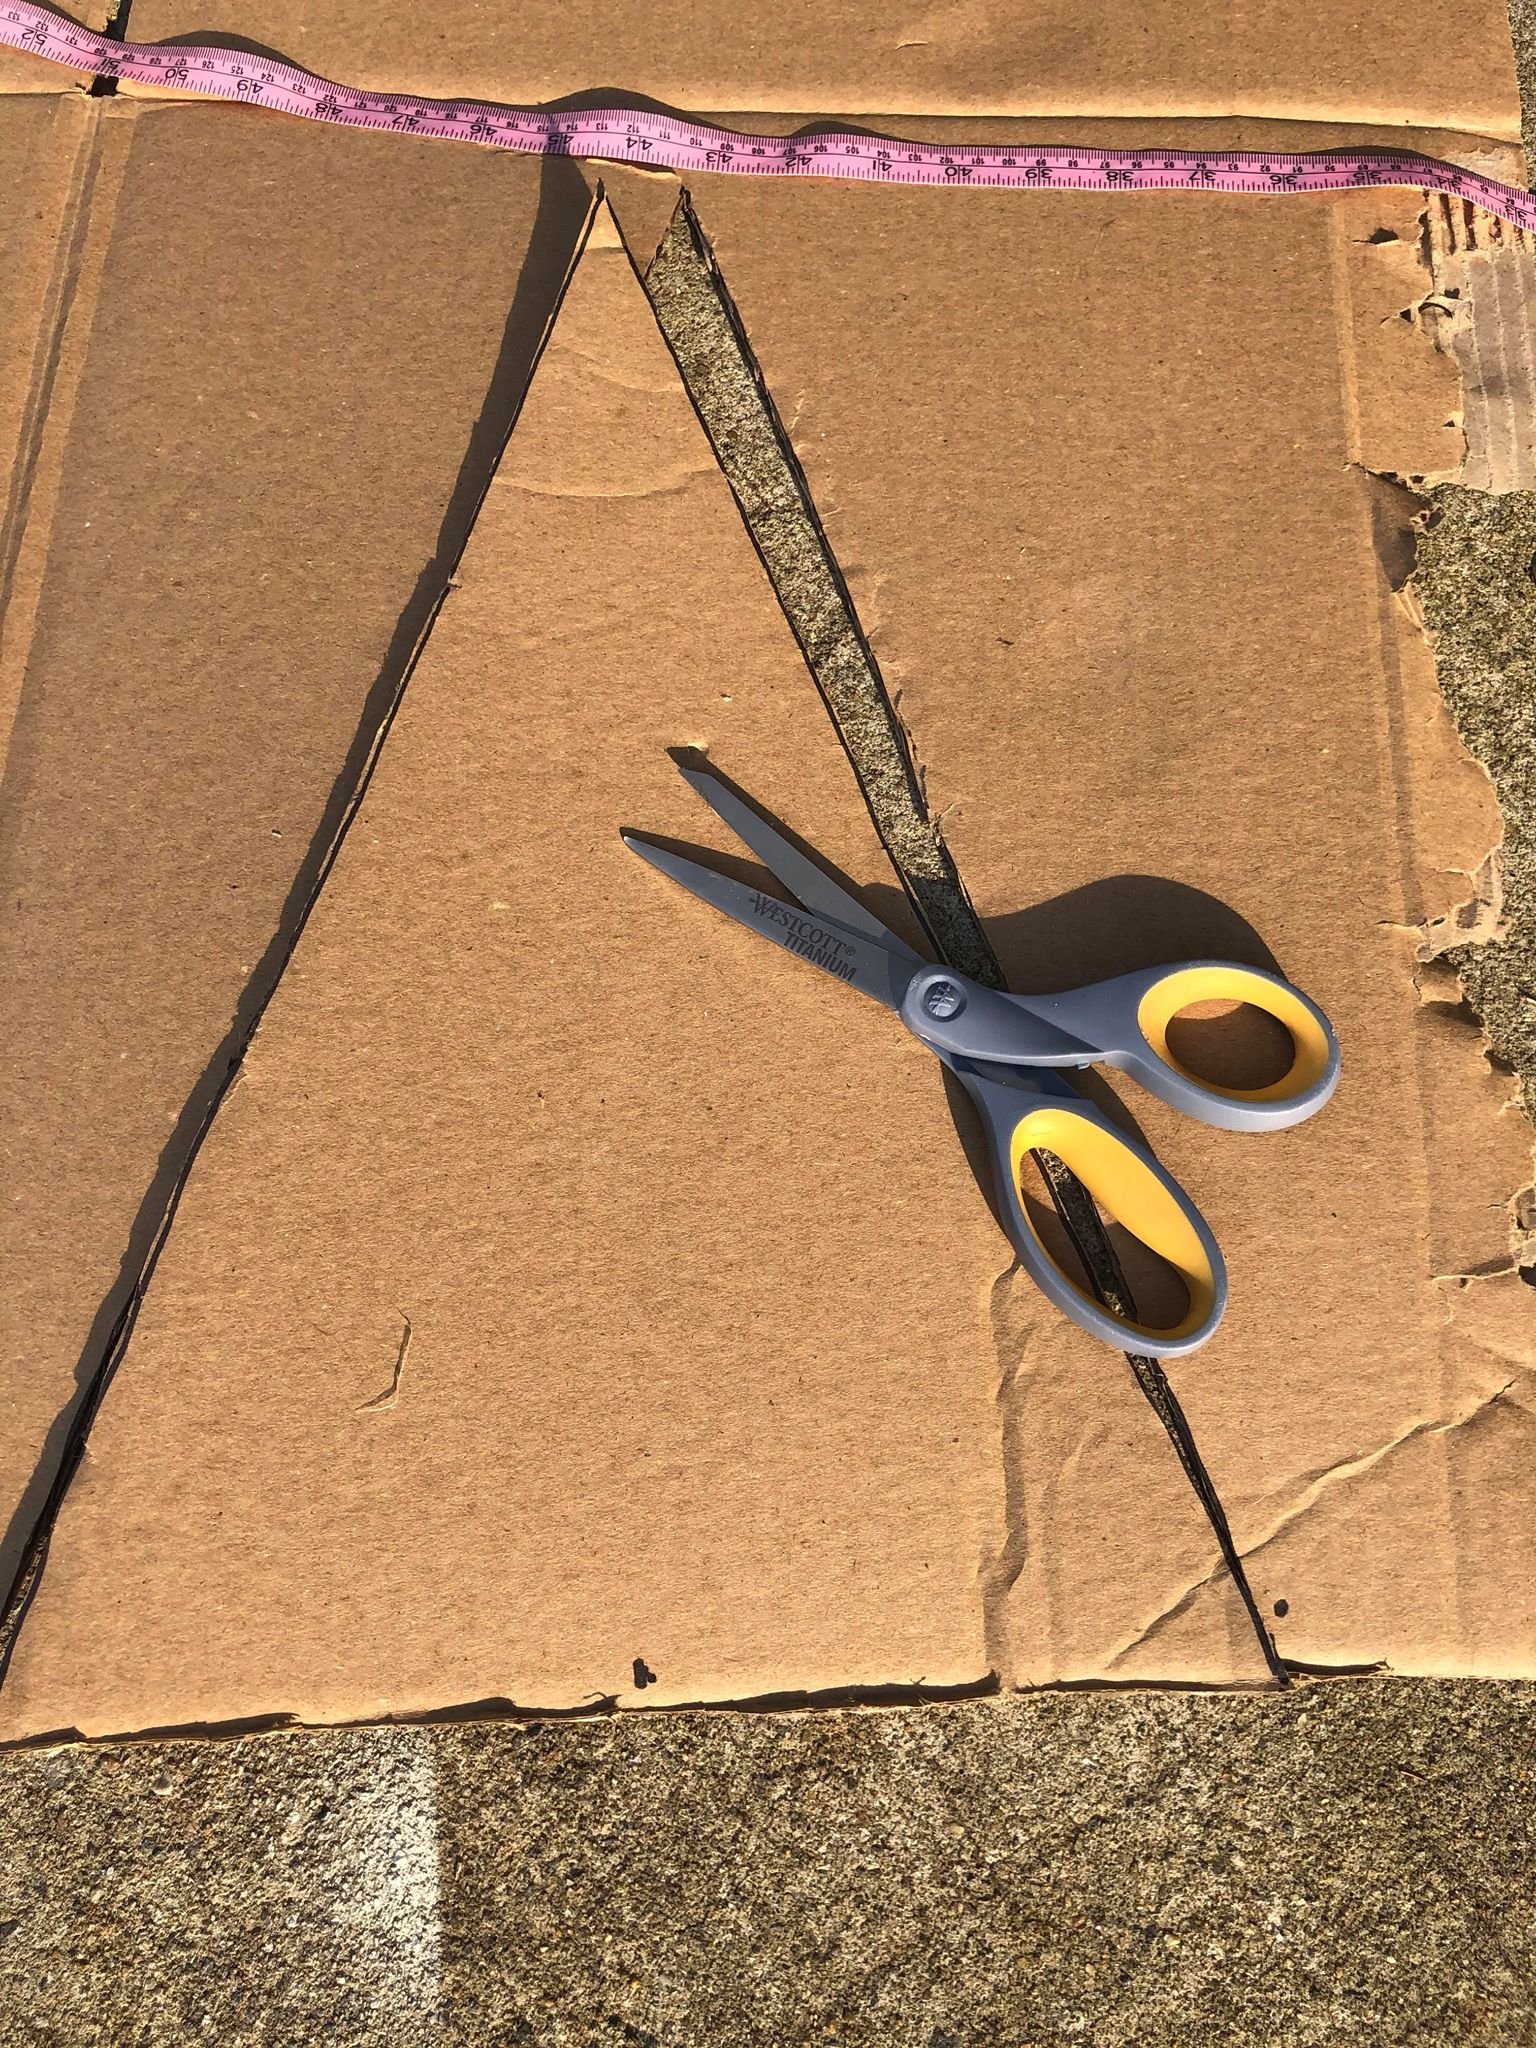
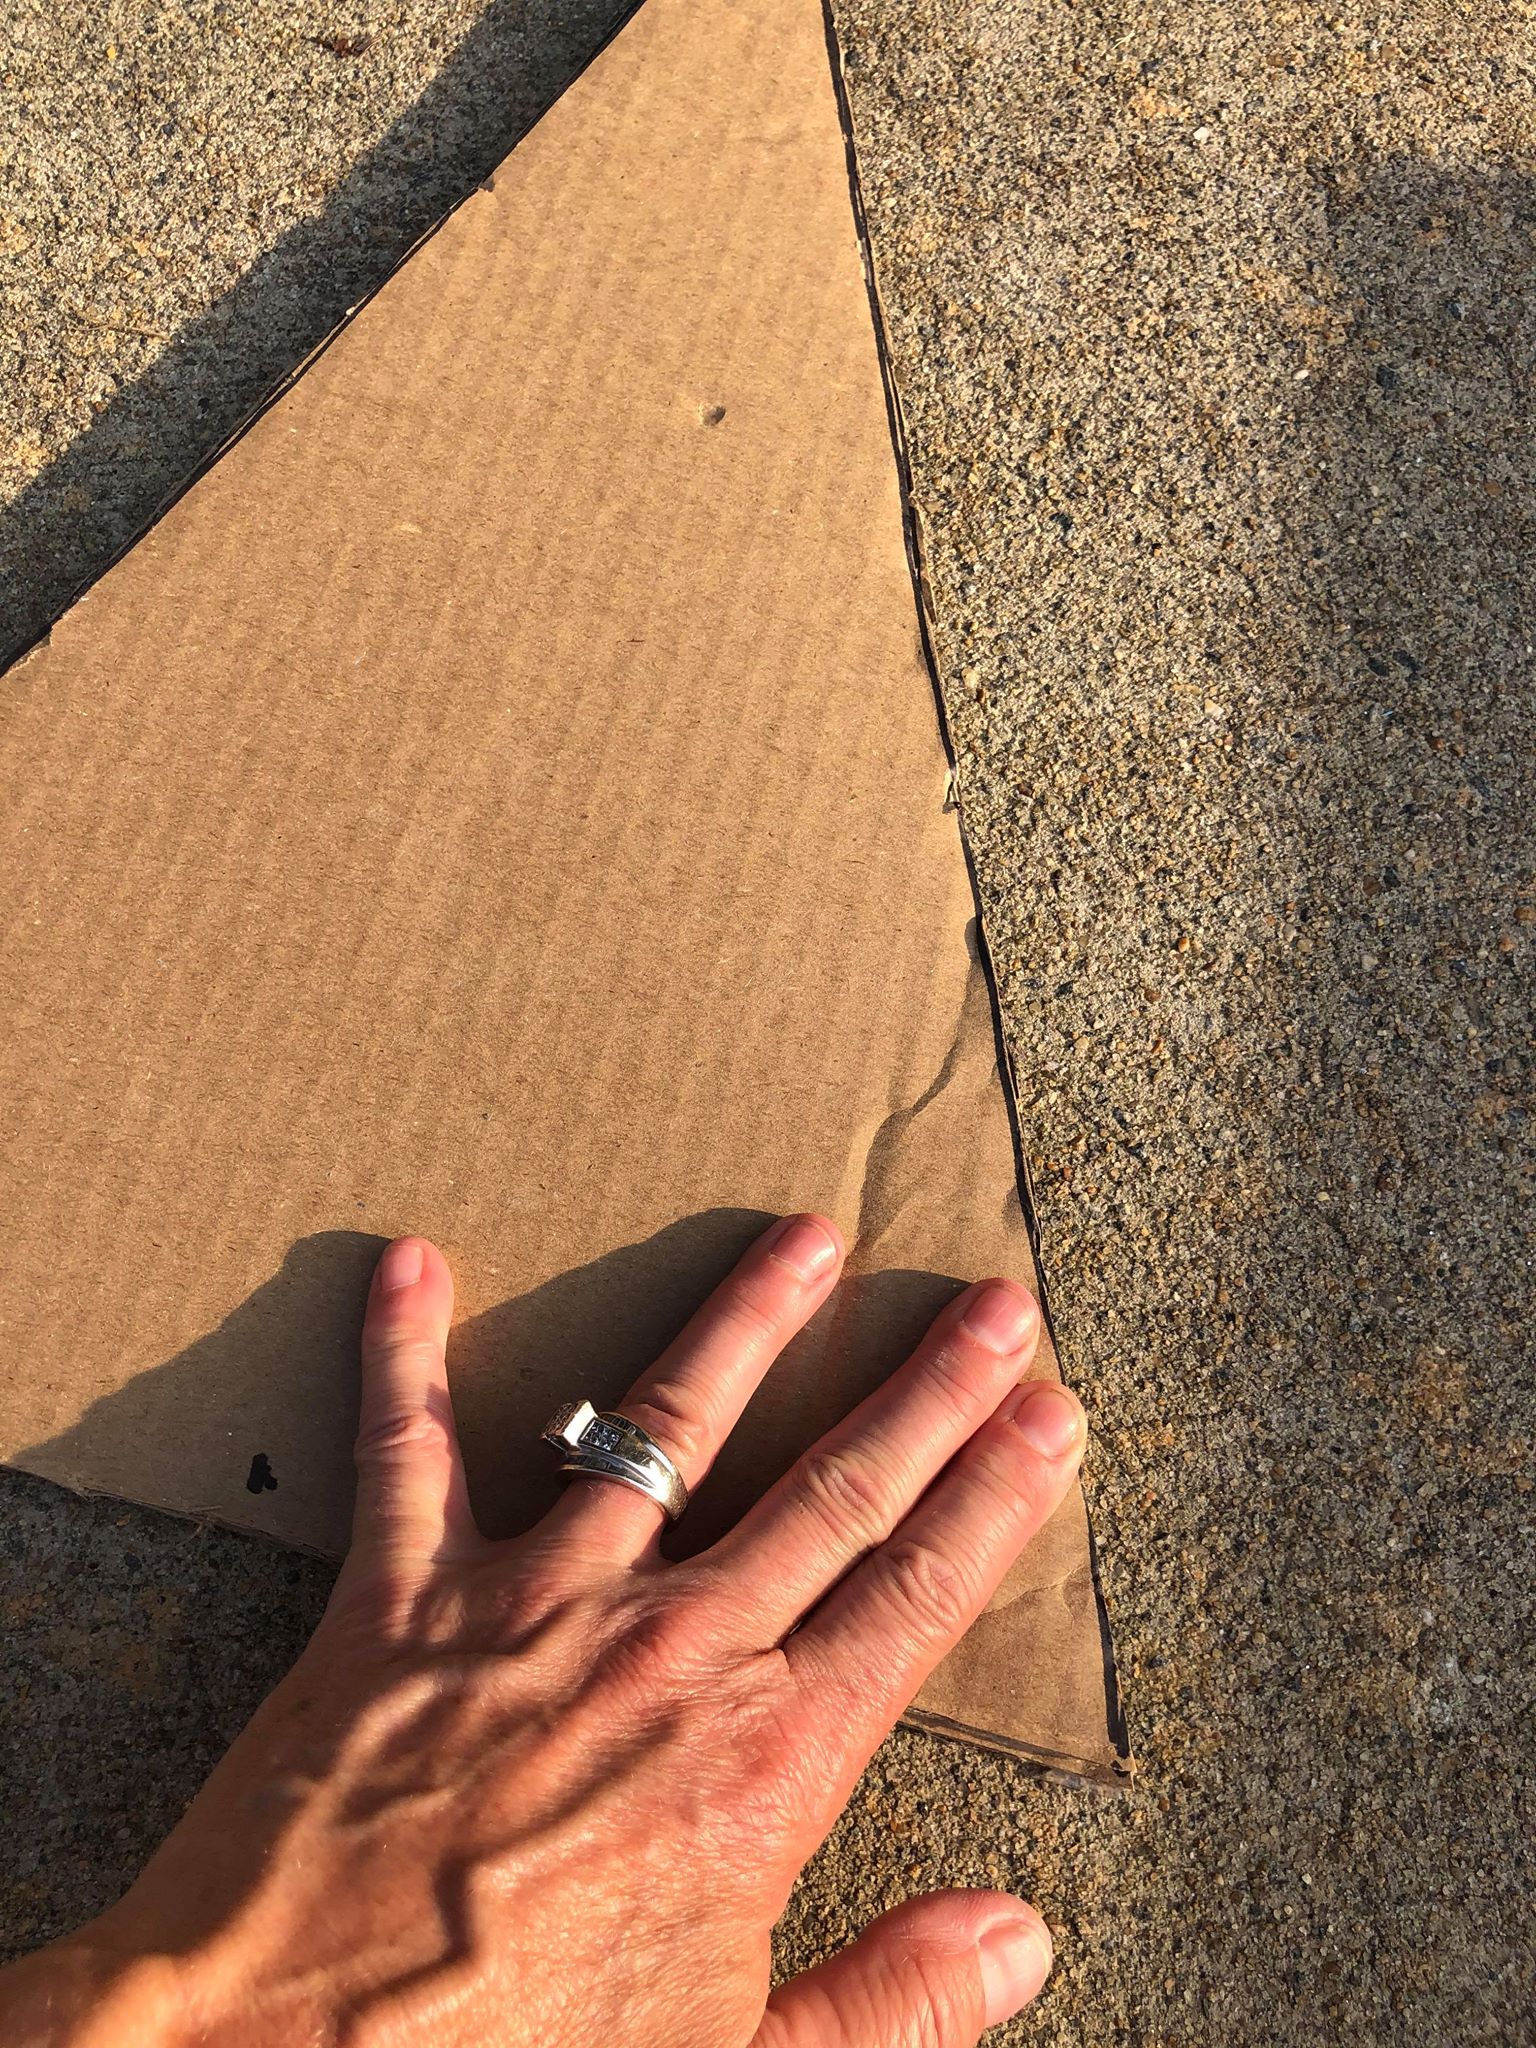
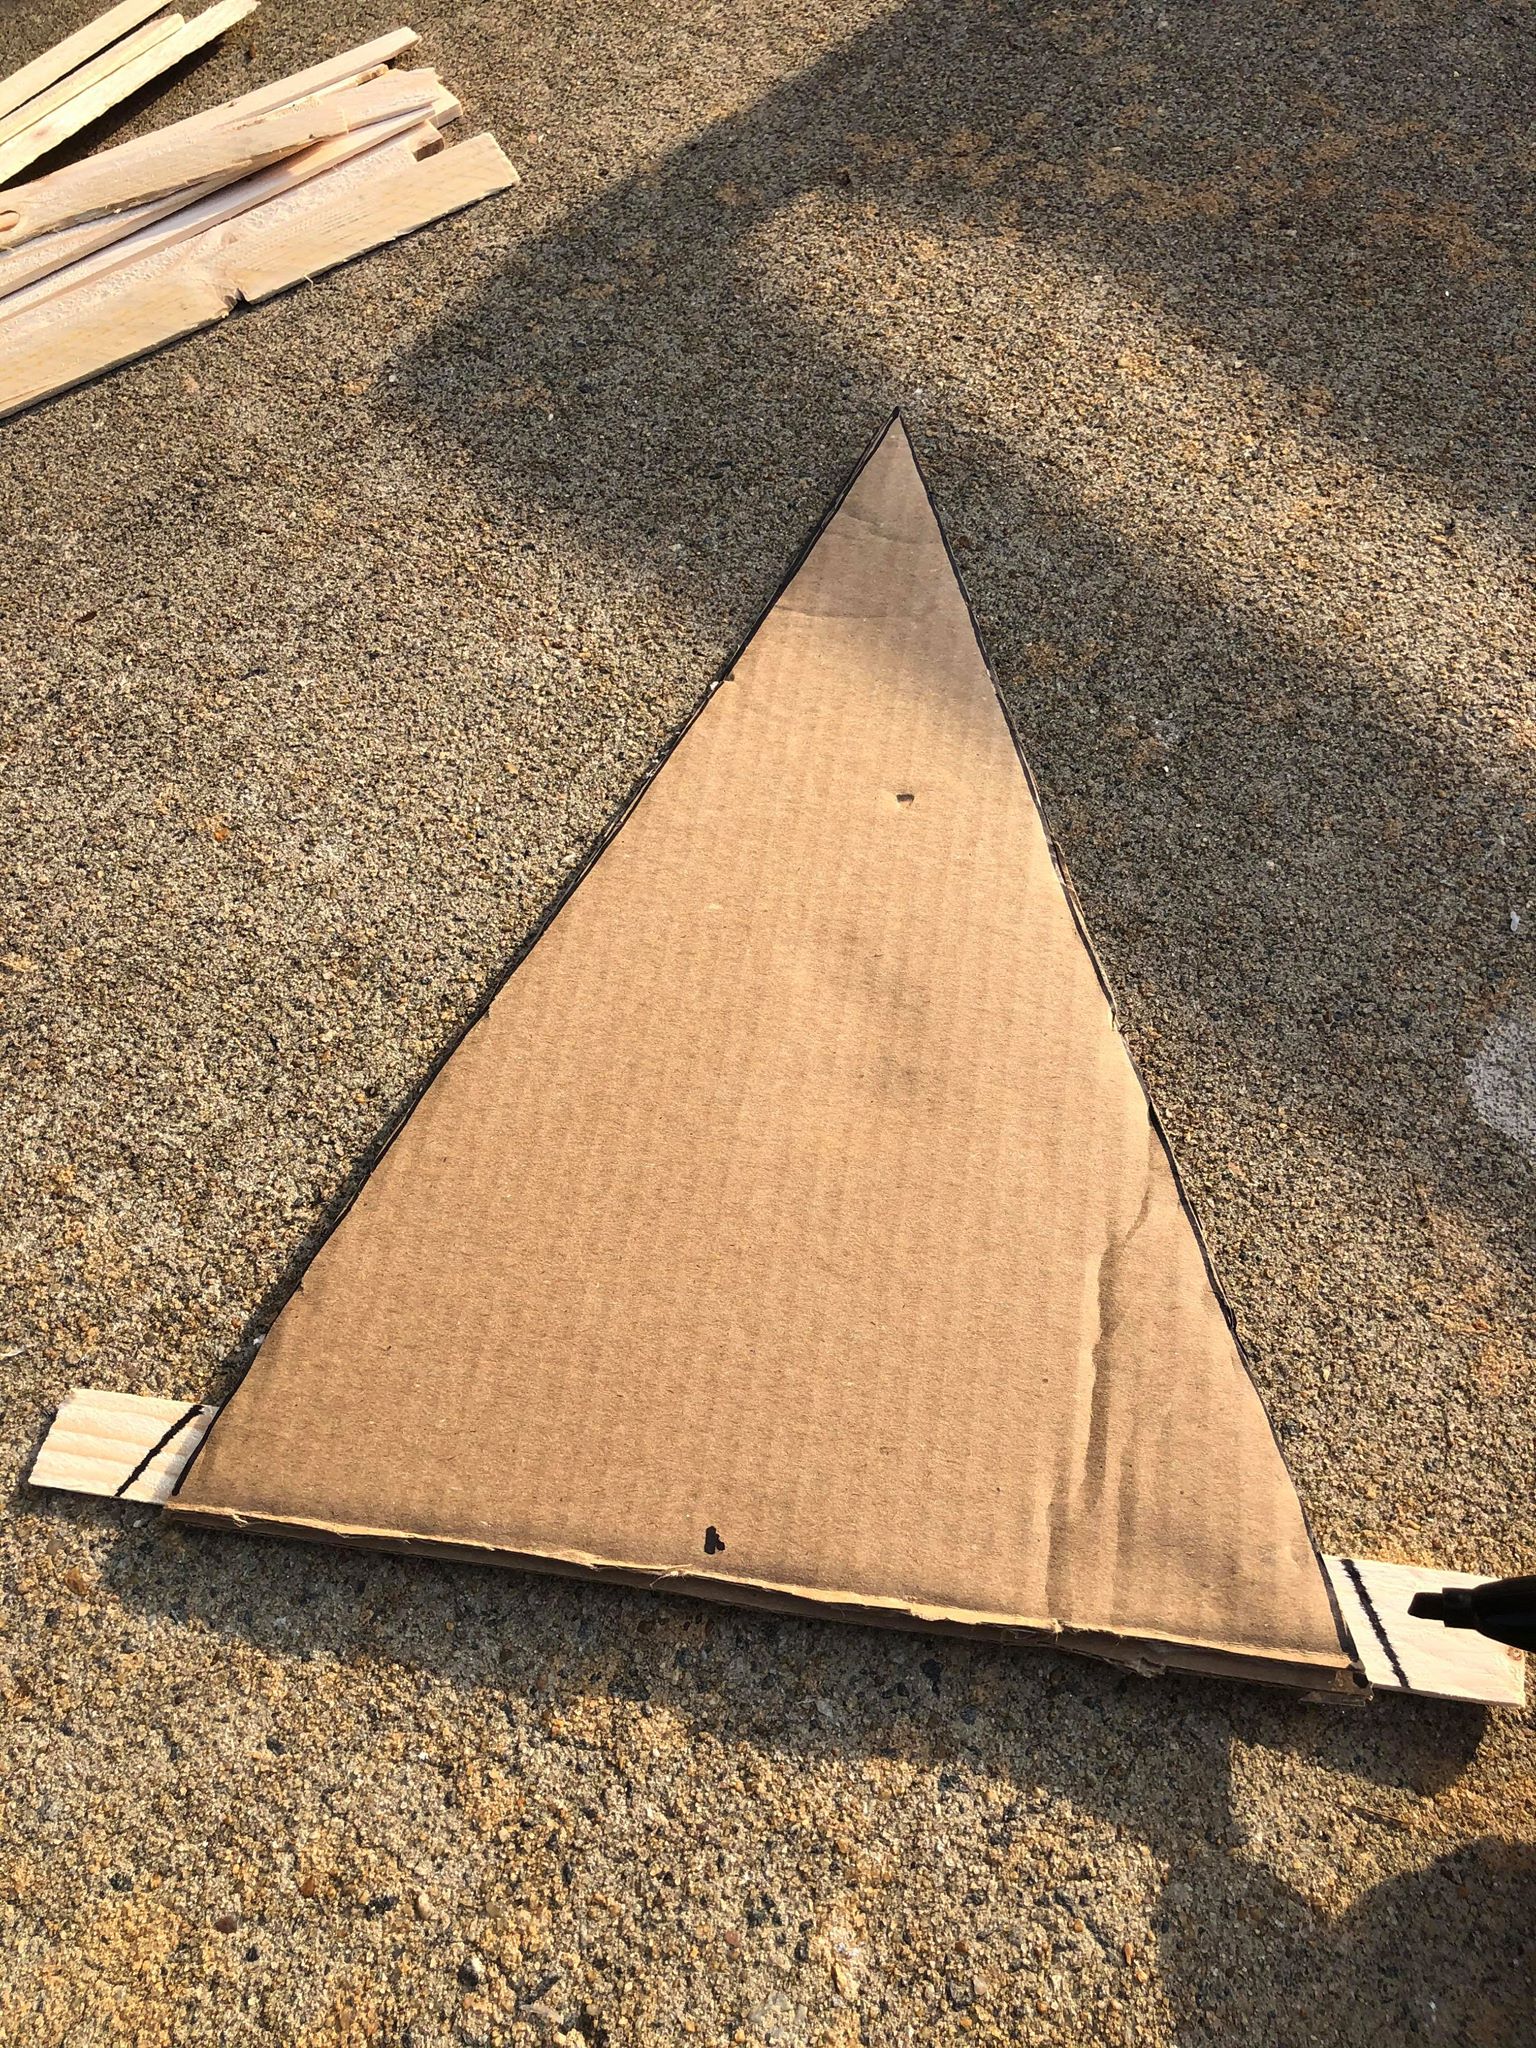
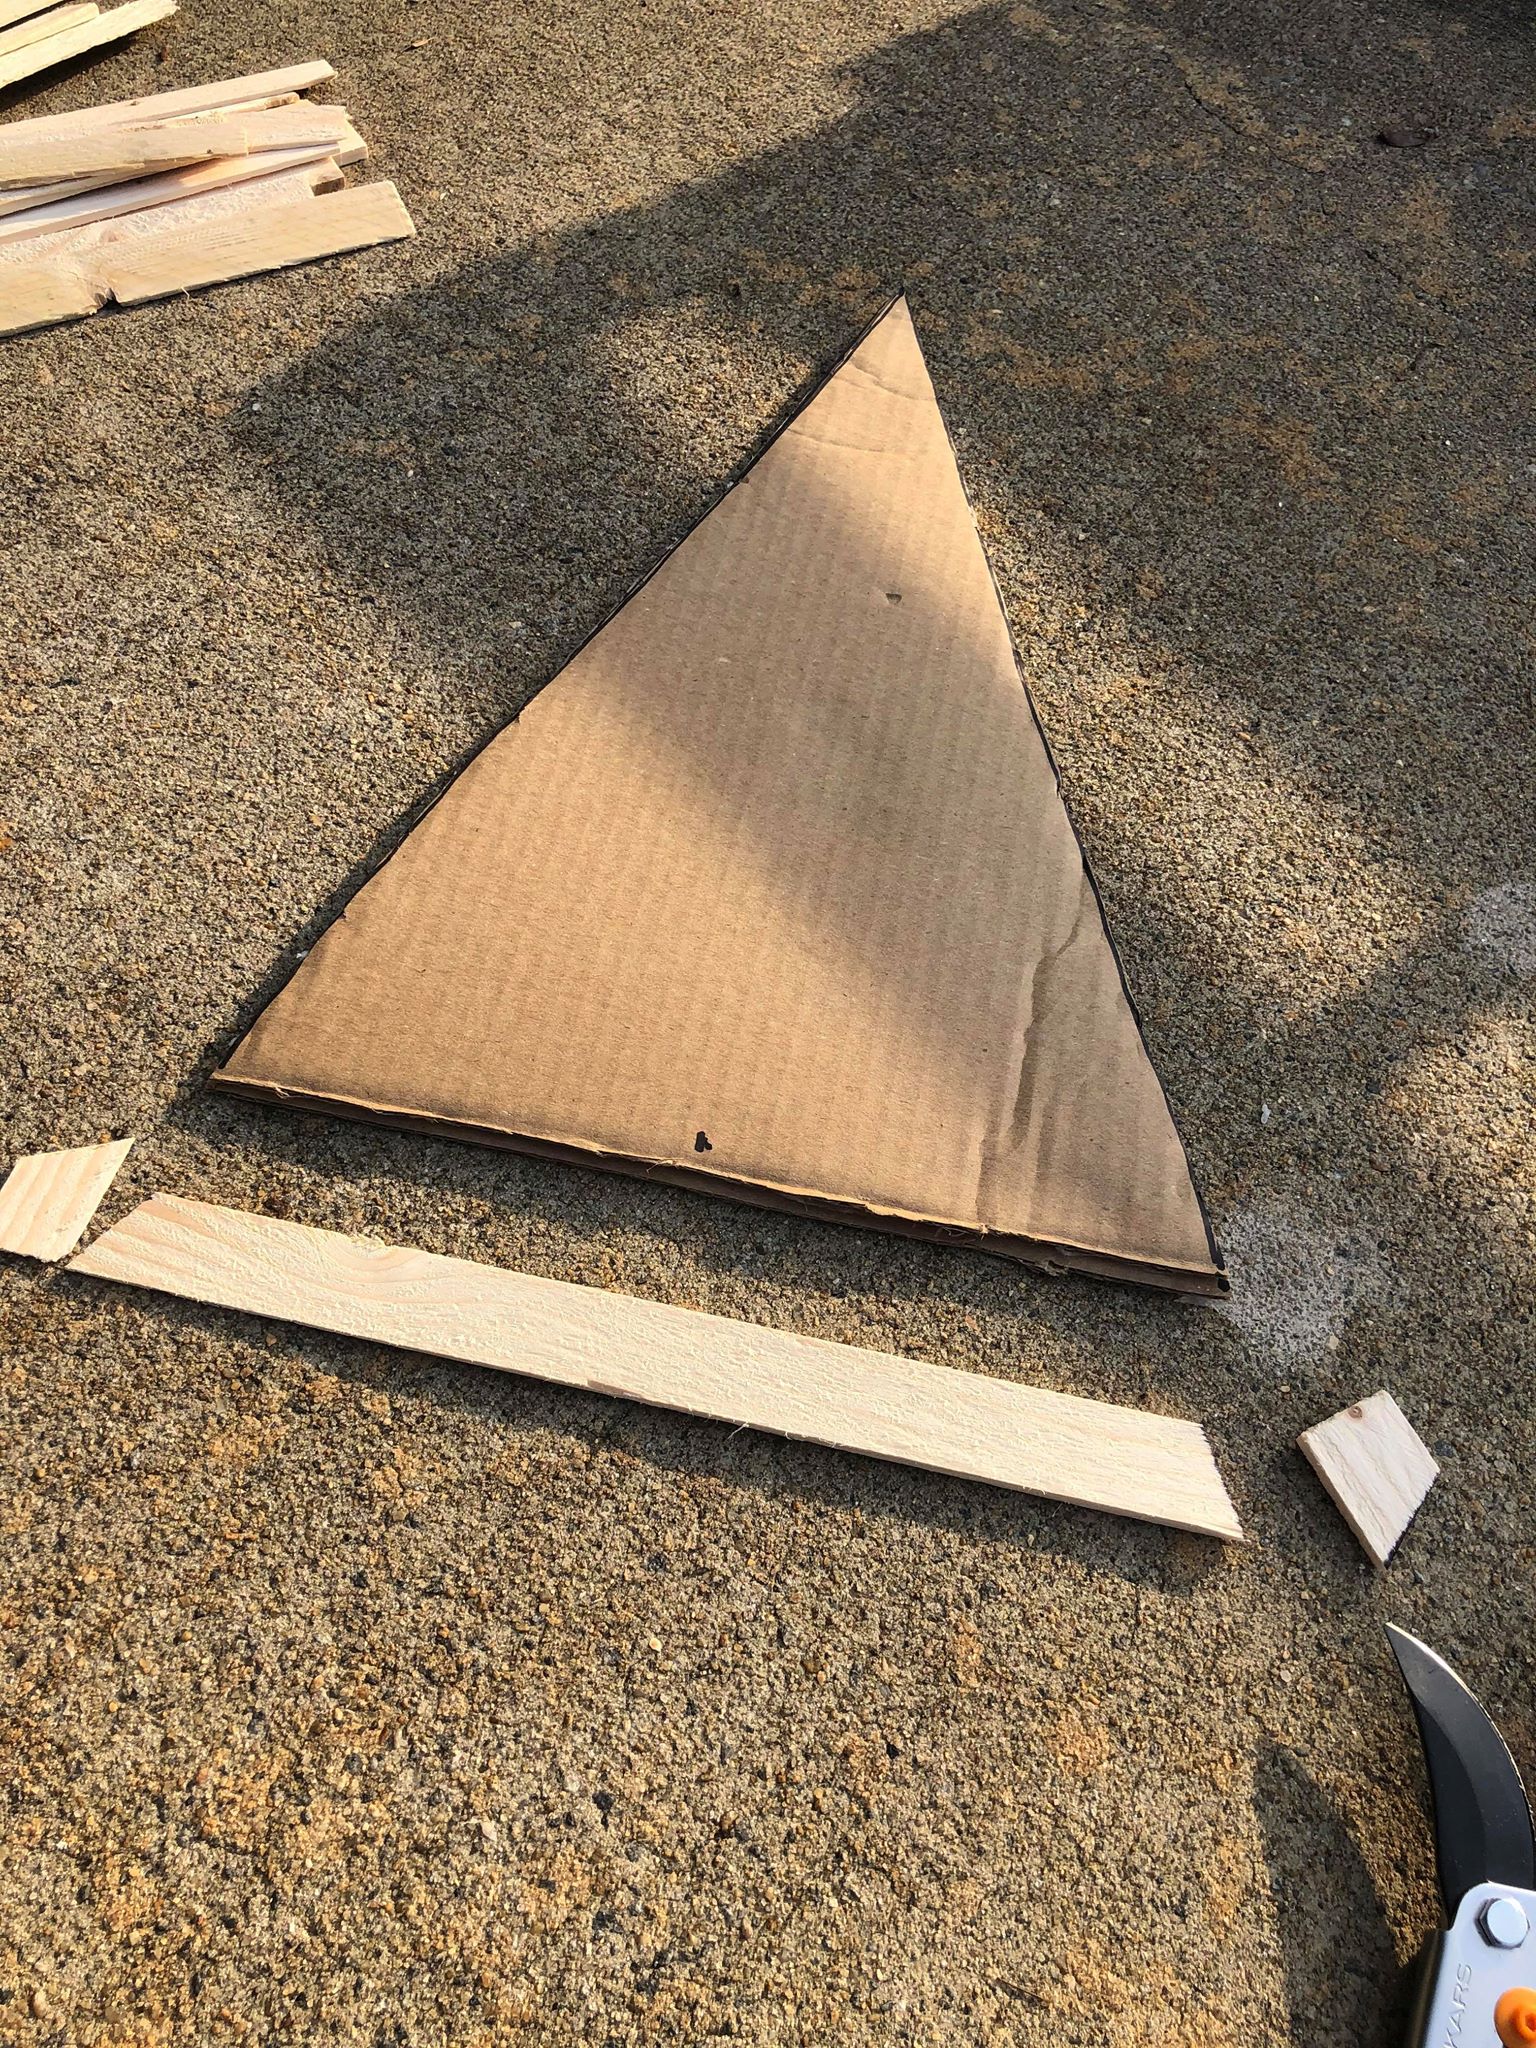
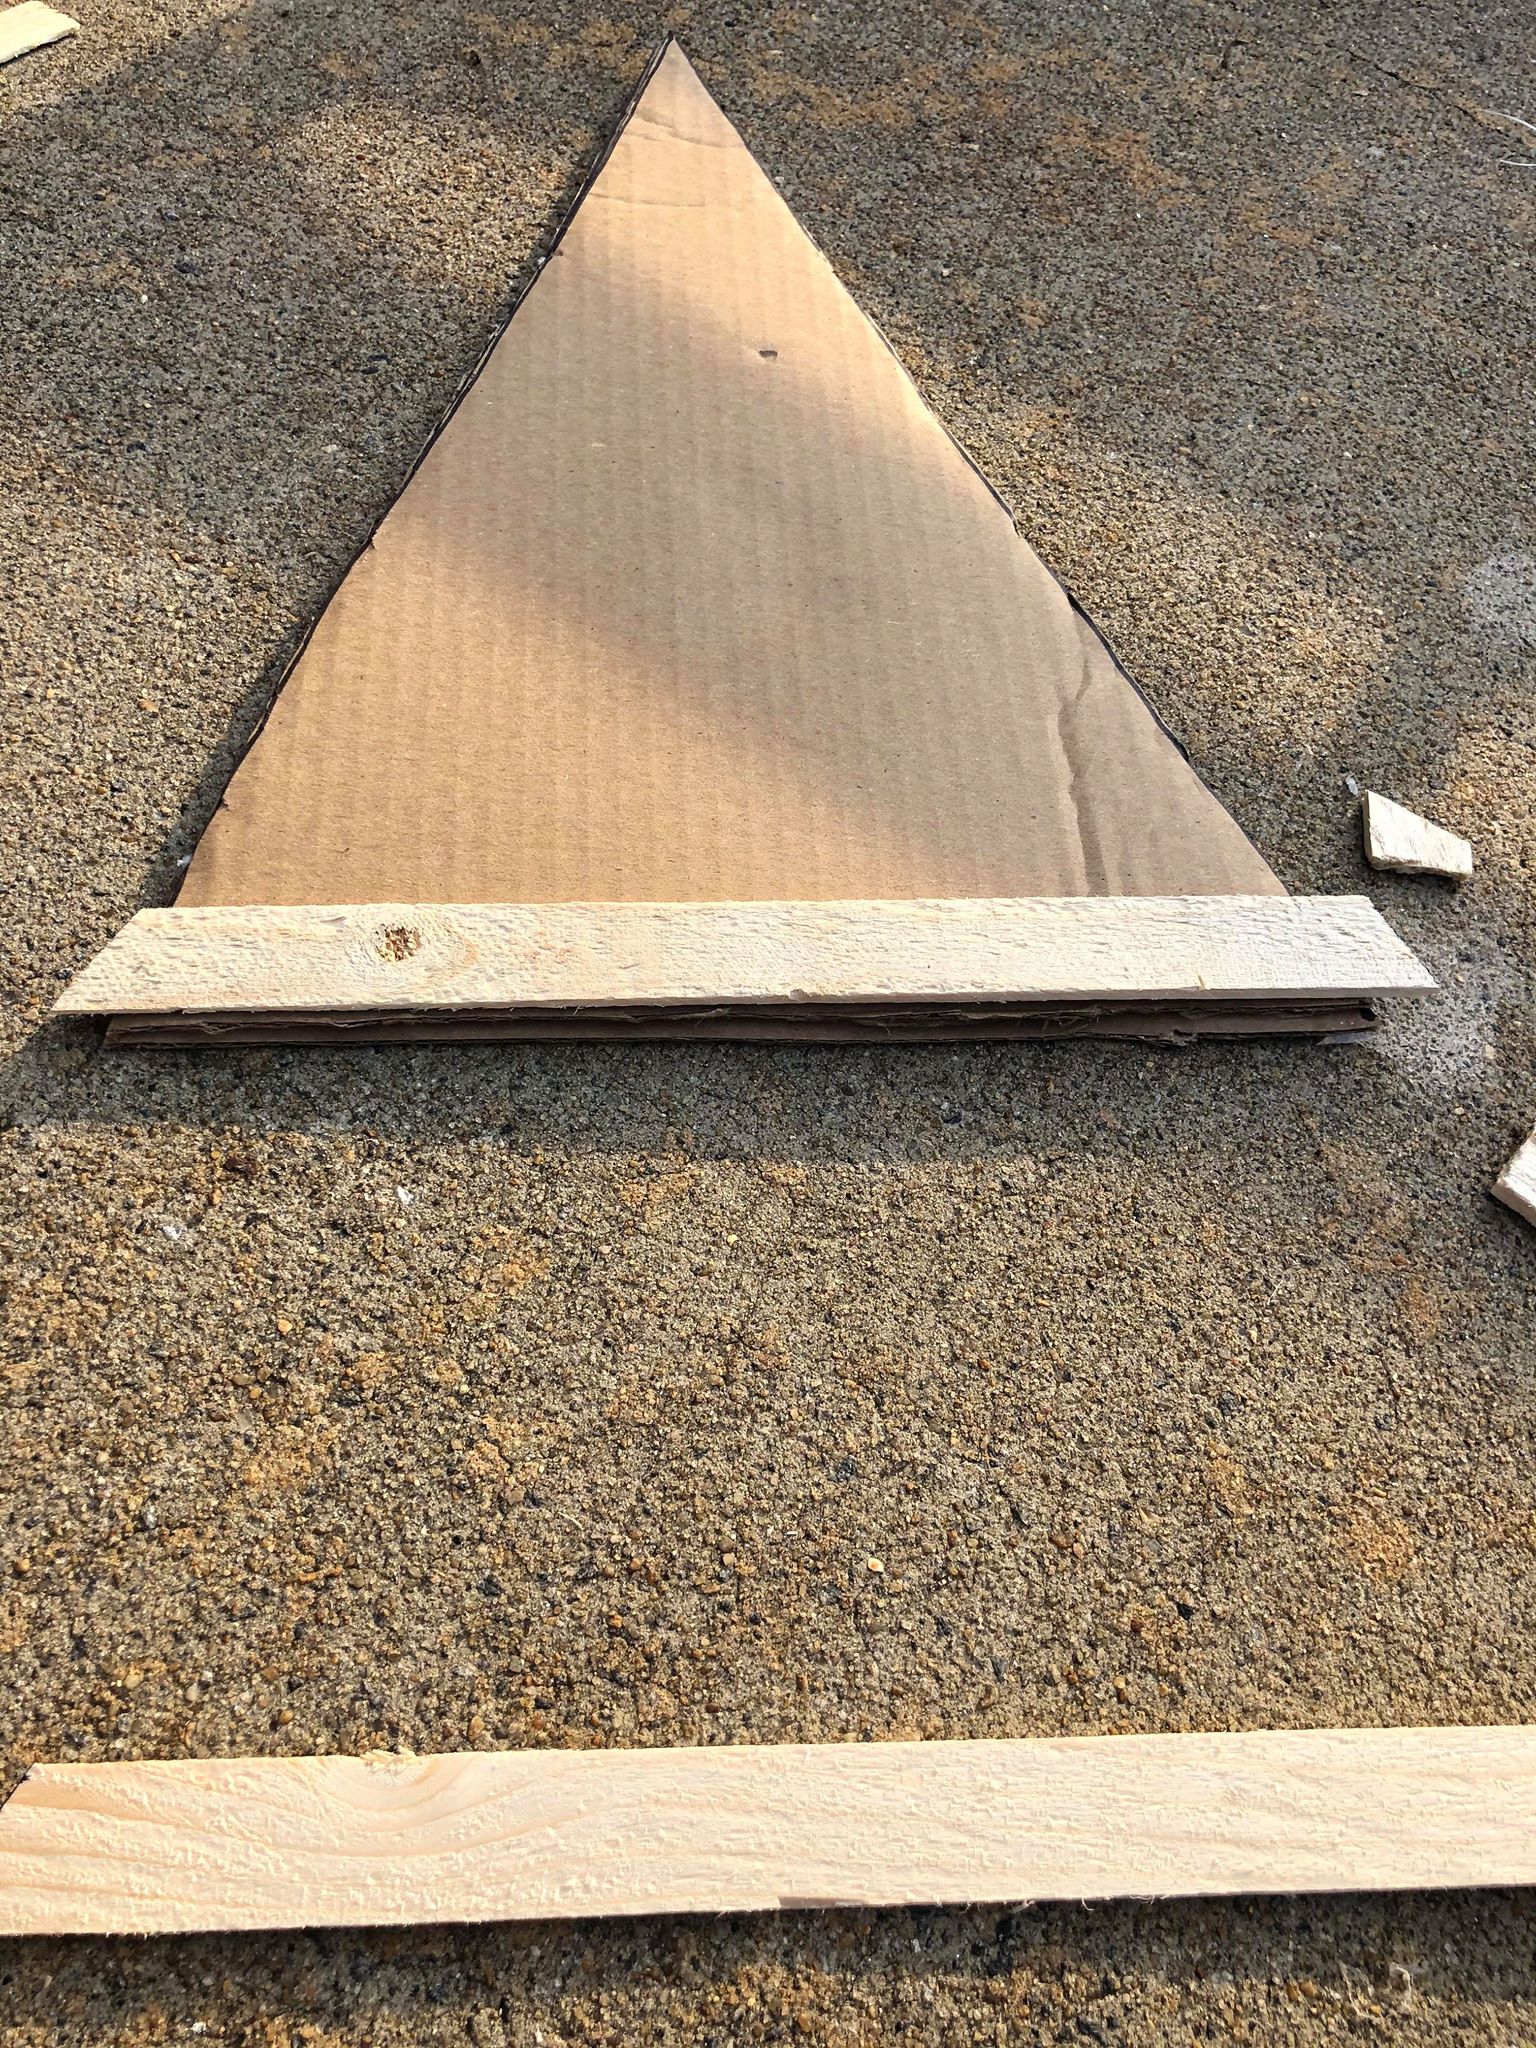
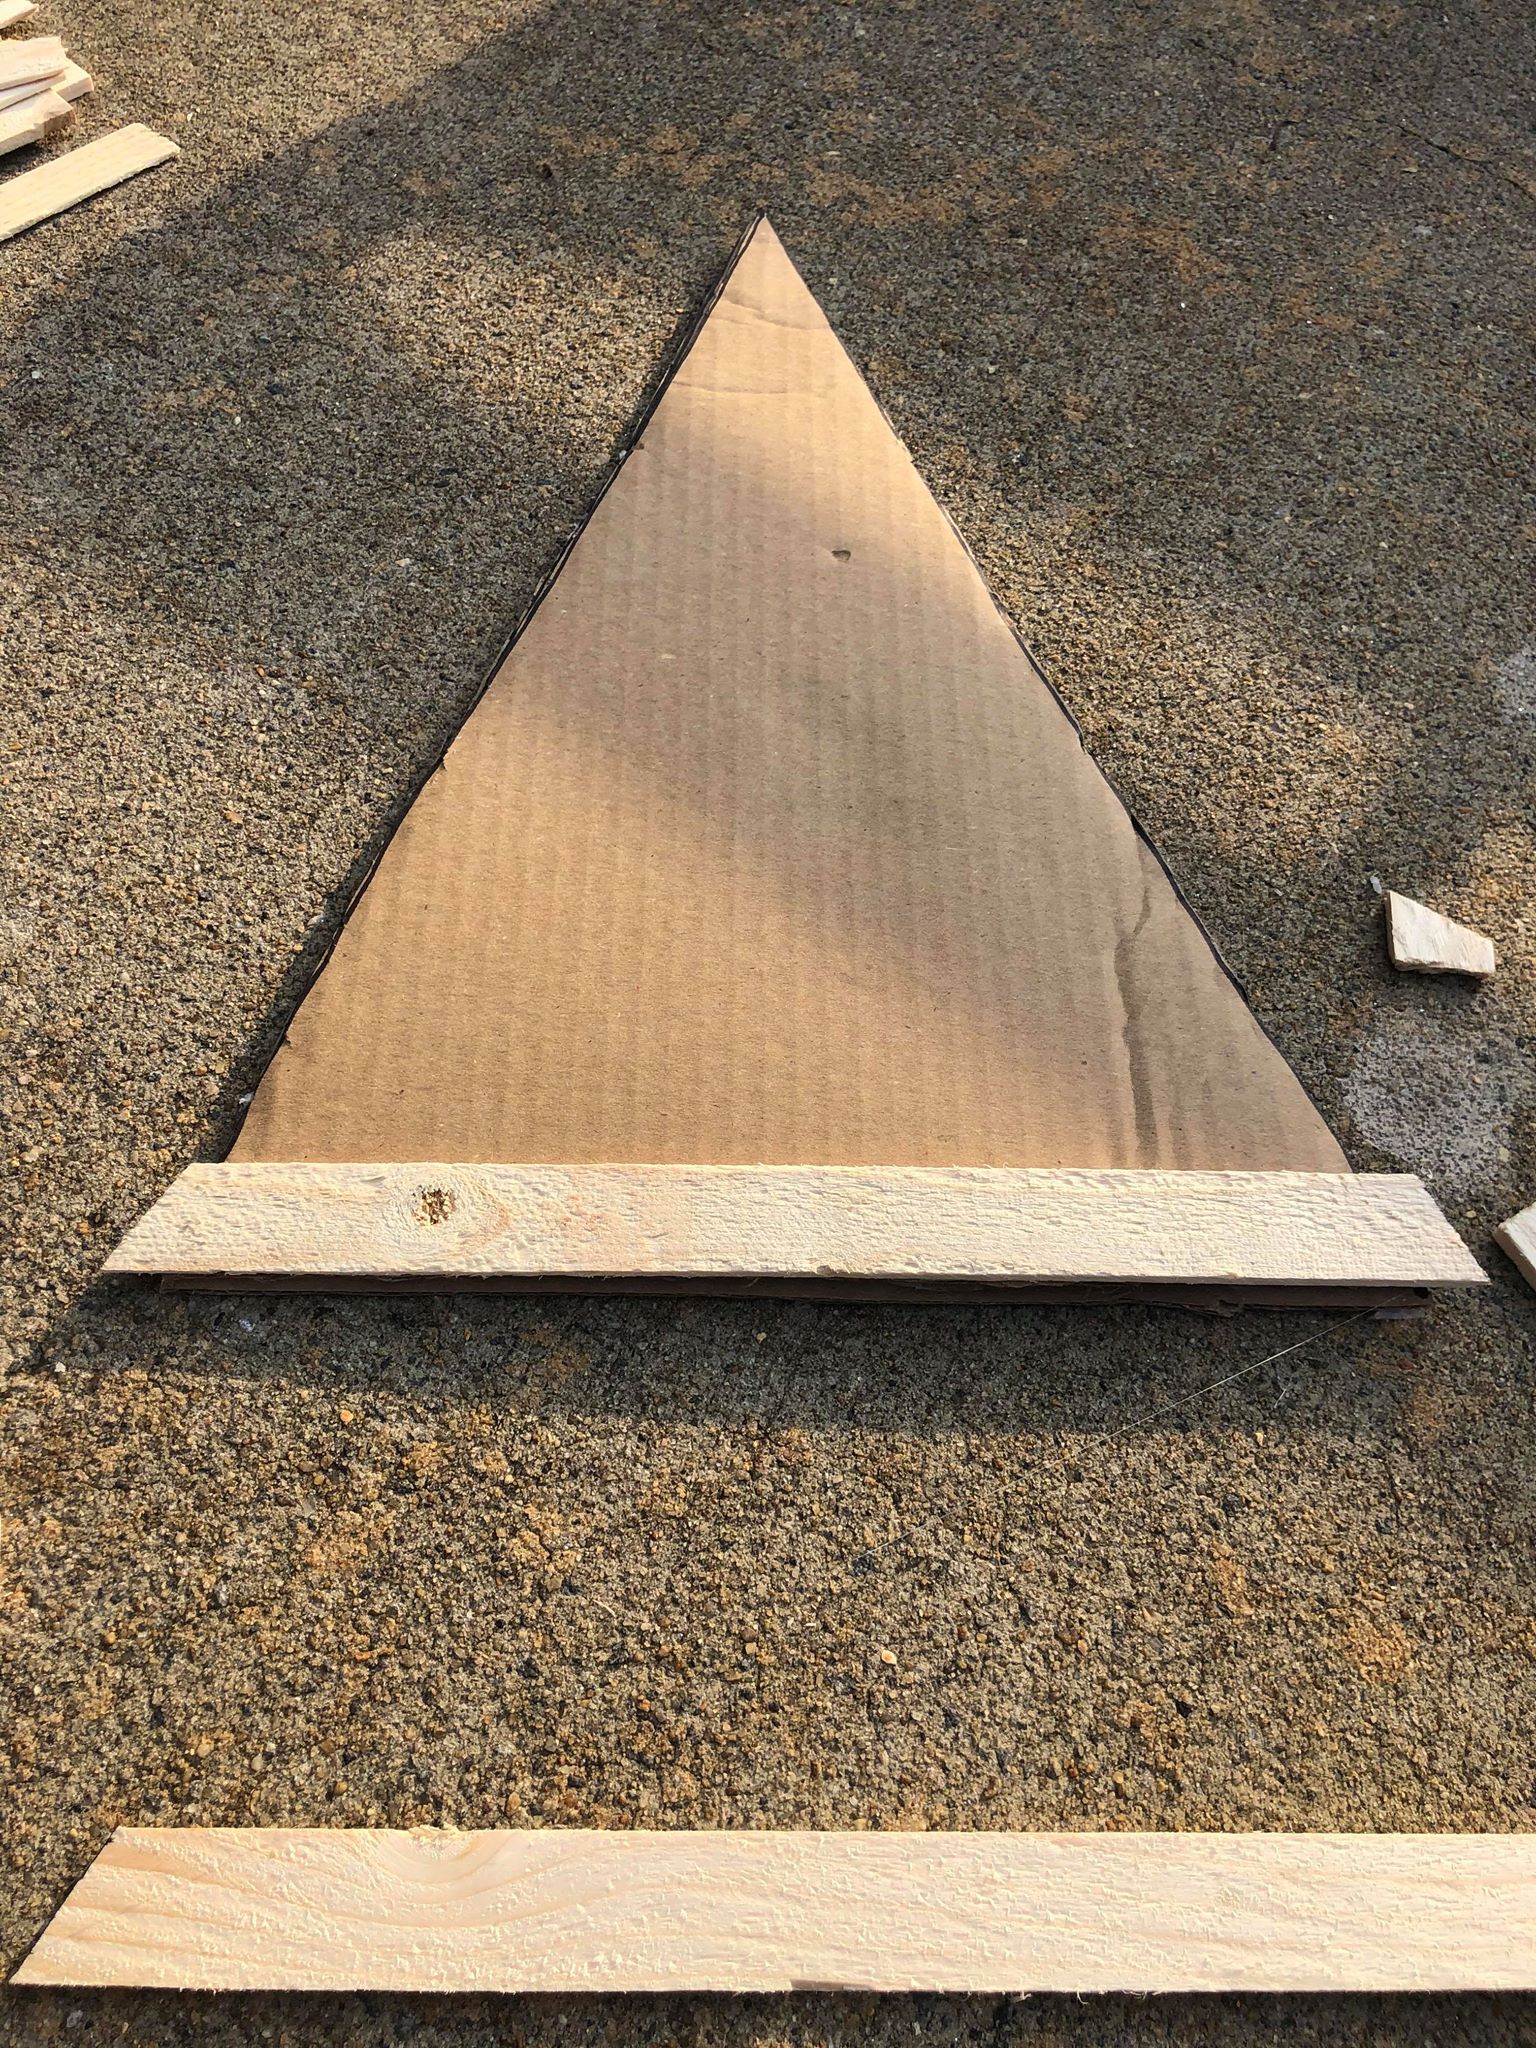
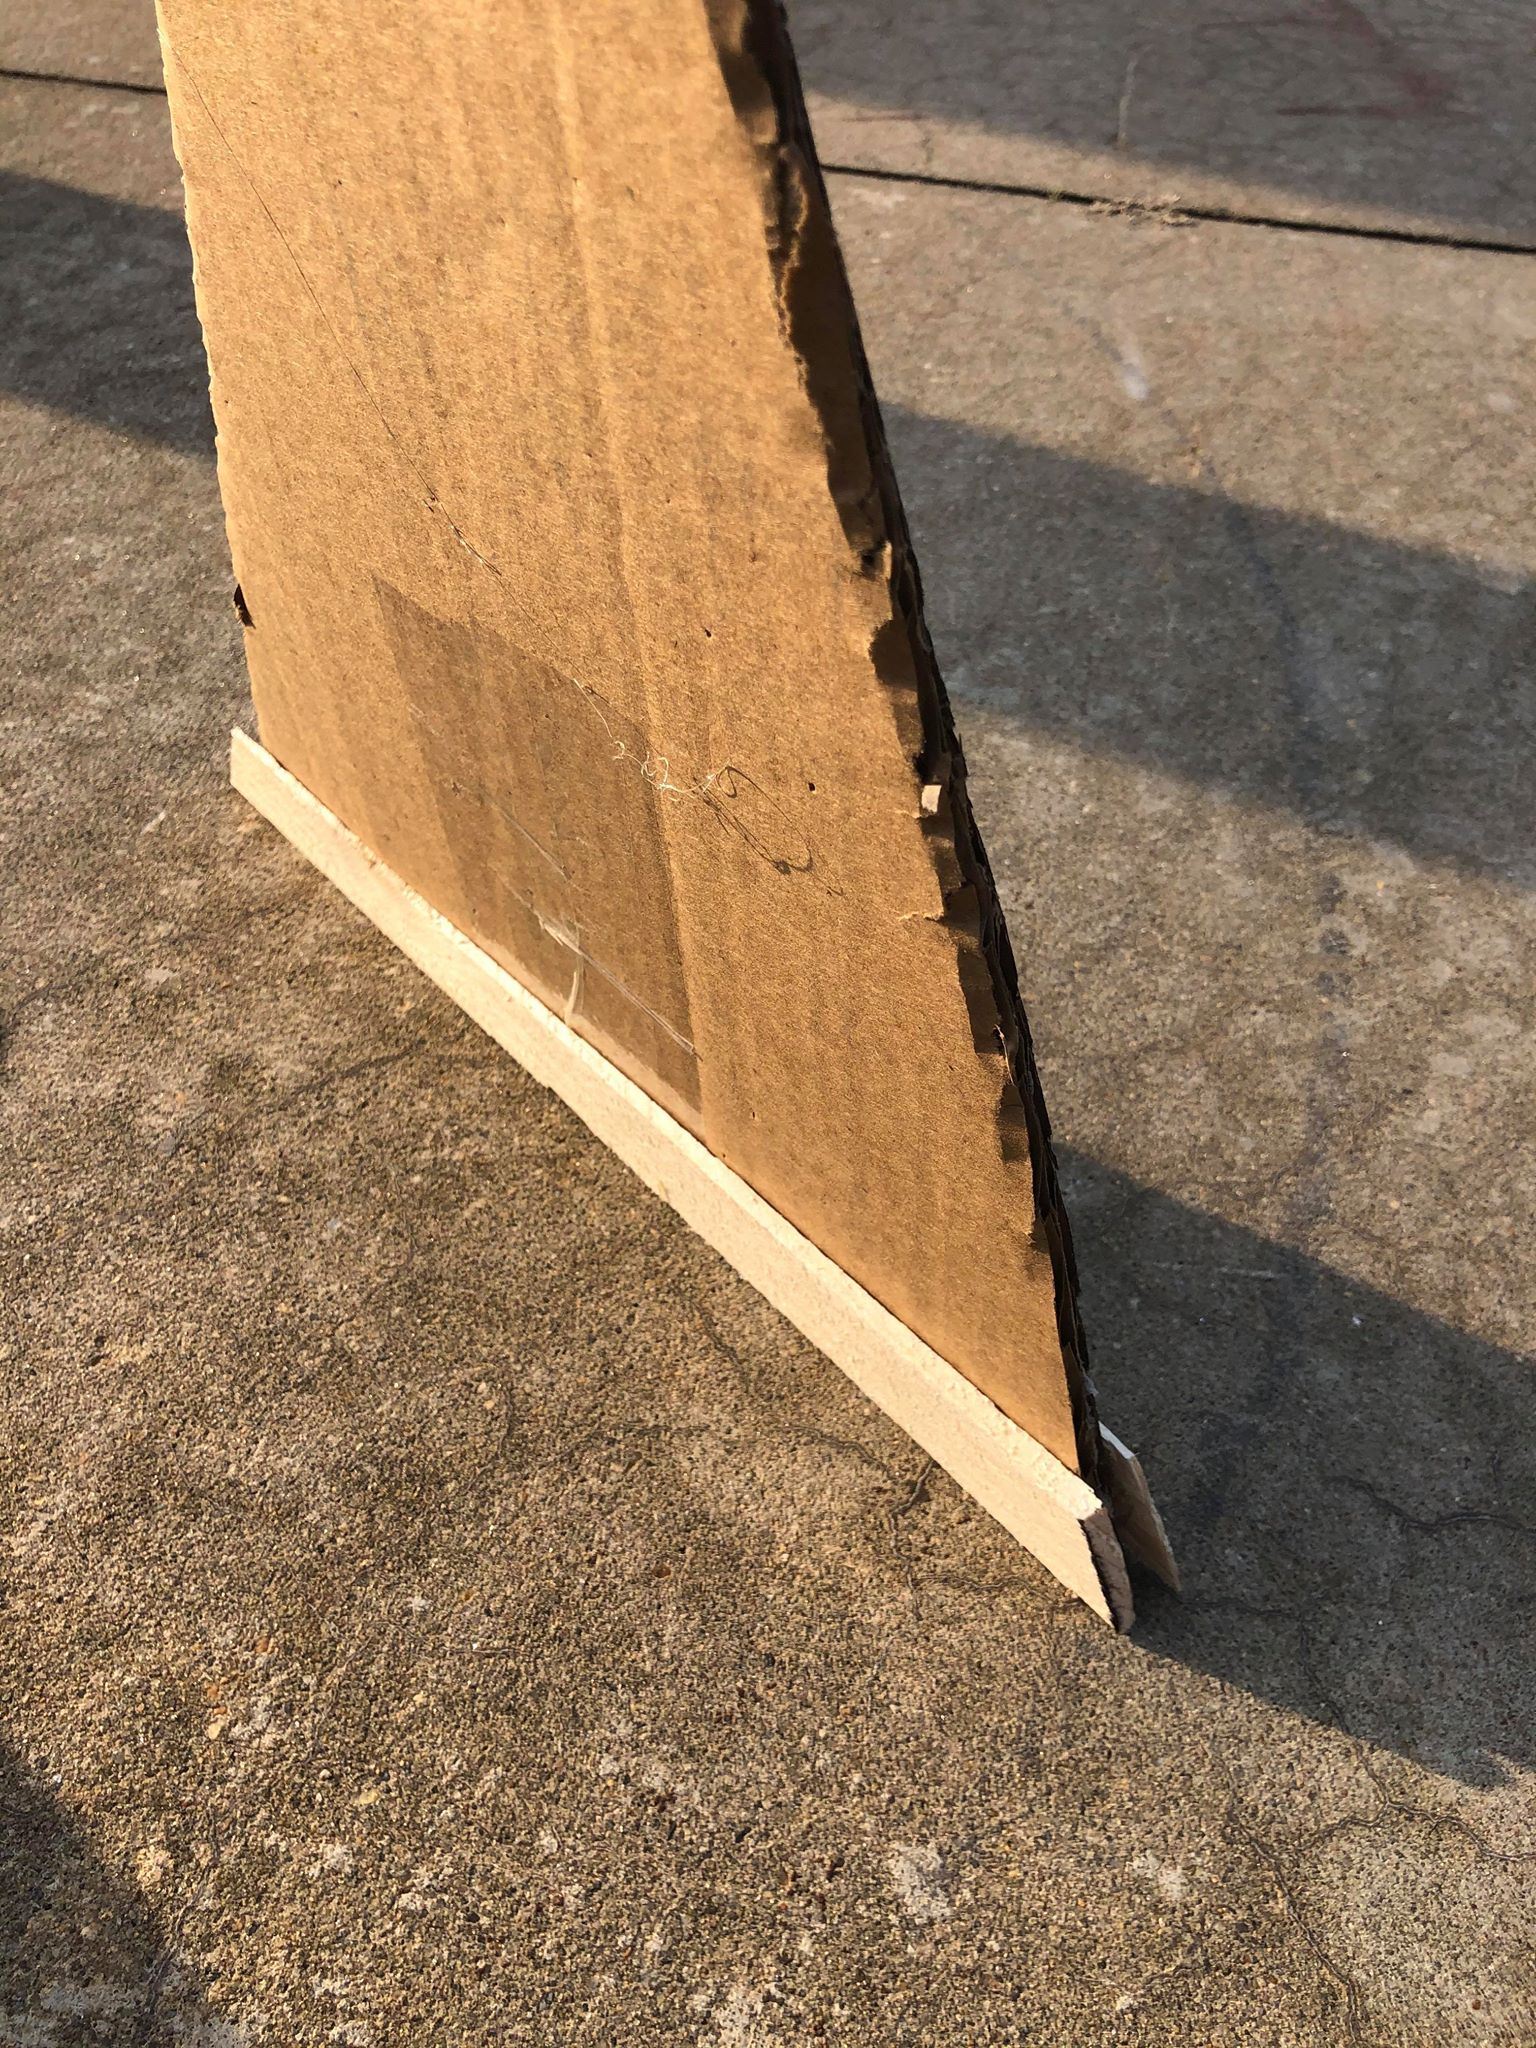
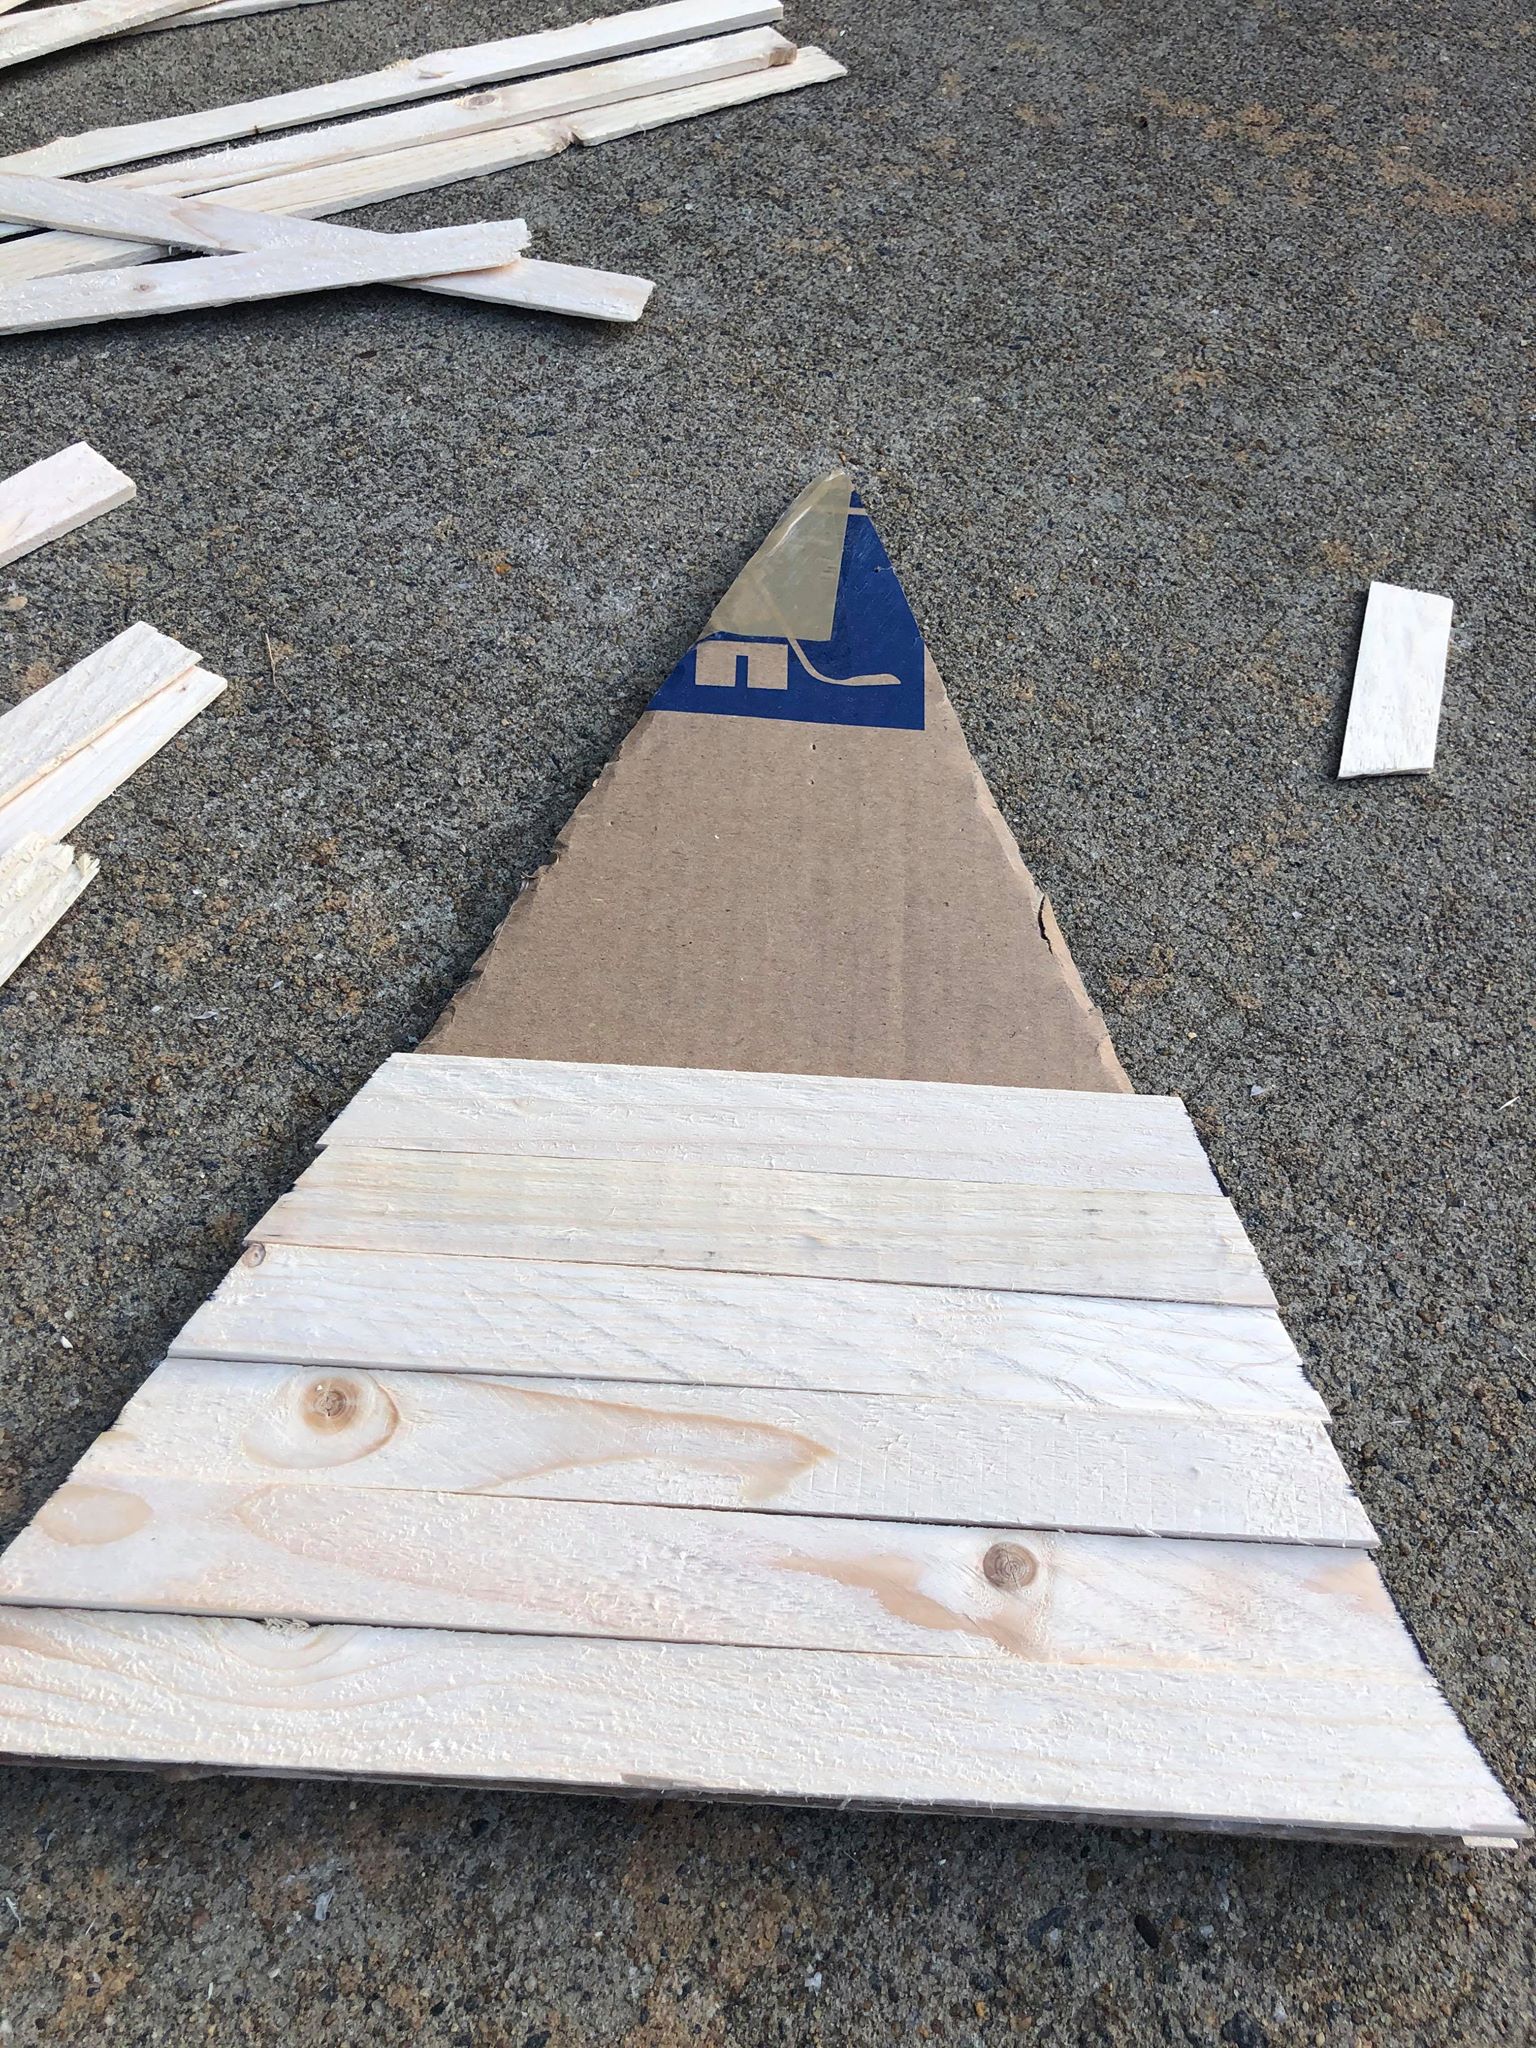
The first step is to cut out your tree . I am using a cardboard box and I will be cutting out 2 triangles. The bottom of my triangle is 12 inches wide.
You will need to find the center and make the point of your triangle.
My center is at 6 inches. My sides will be 18 inches long.
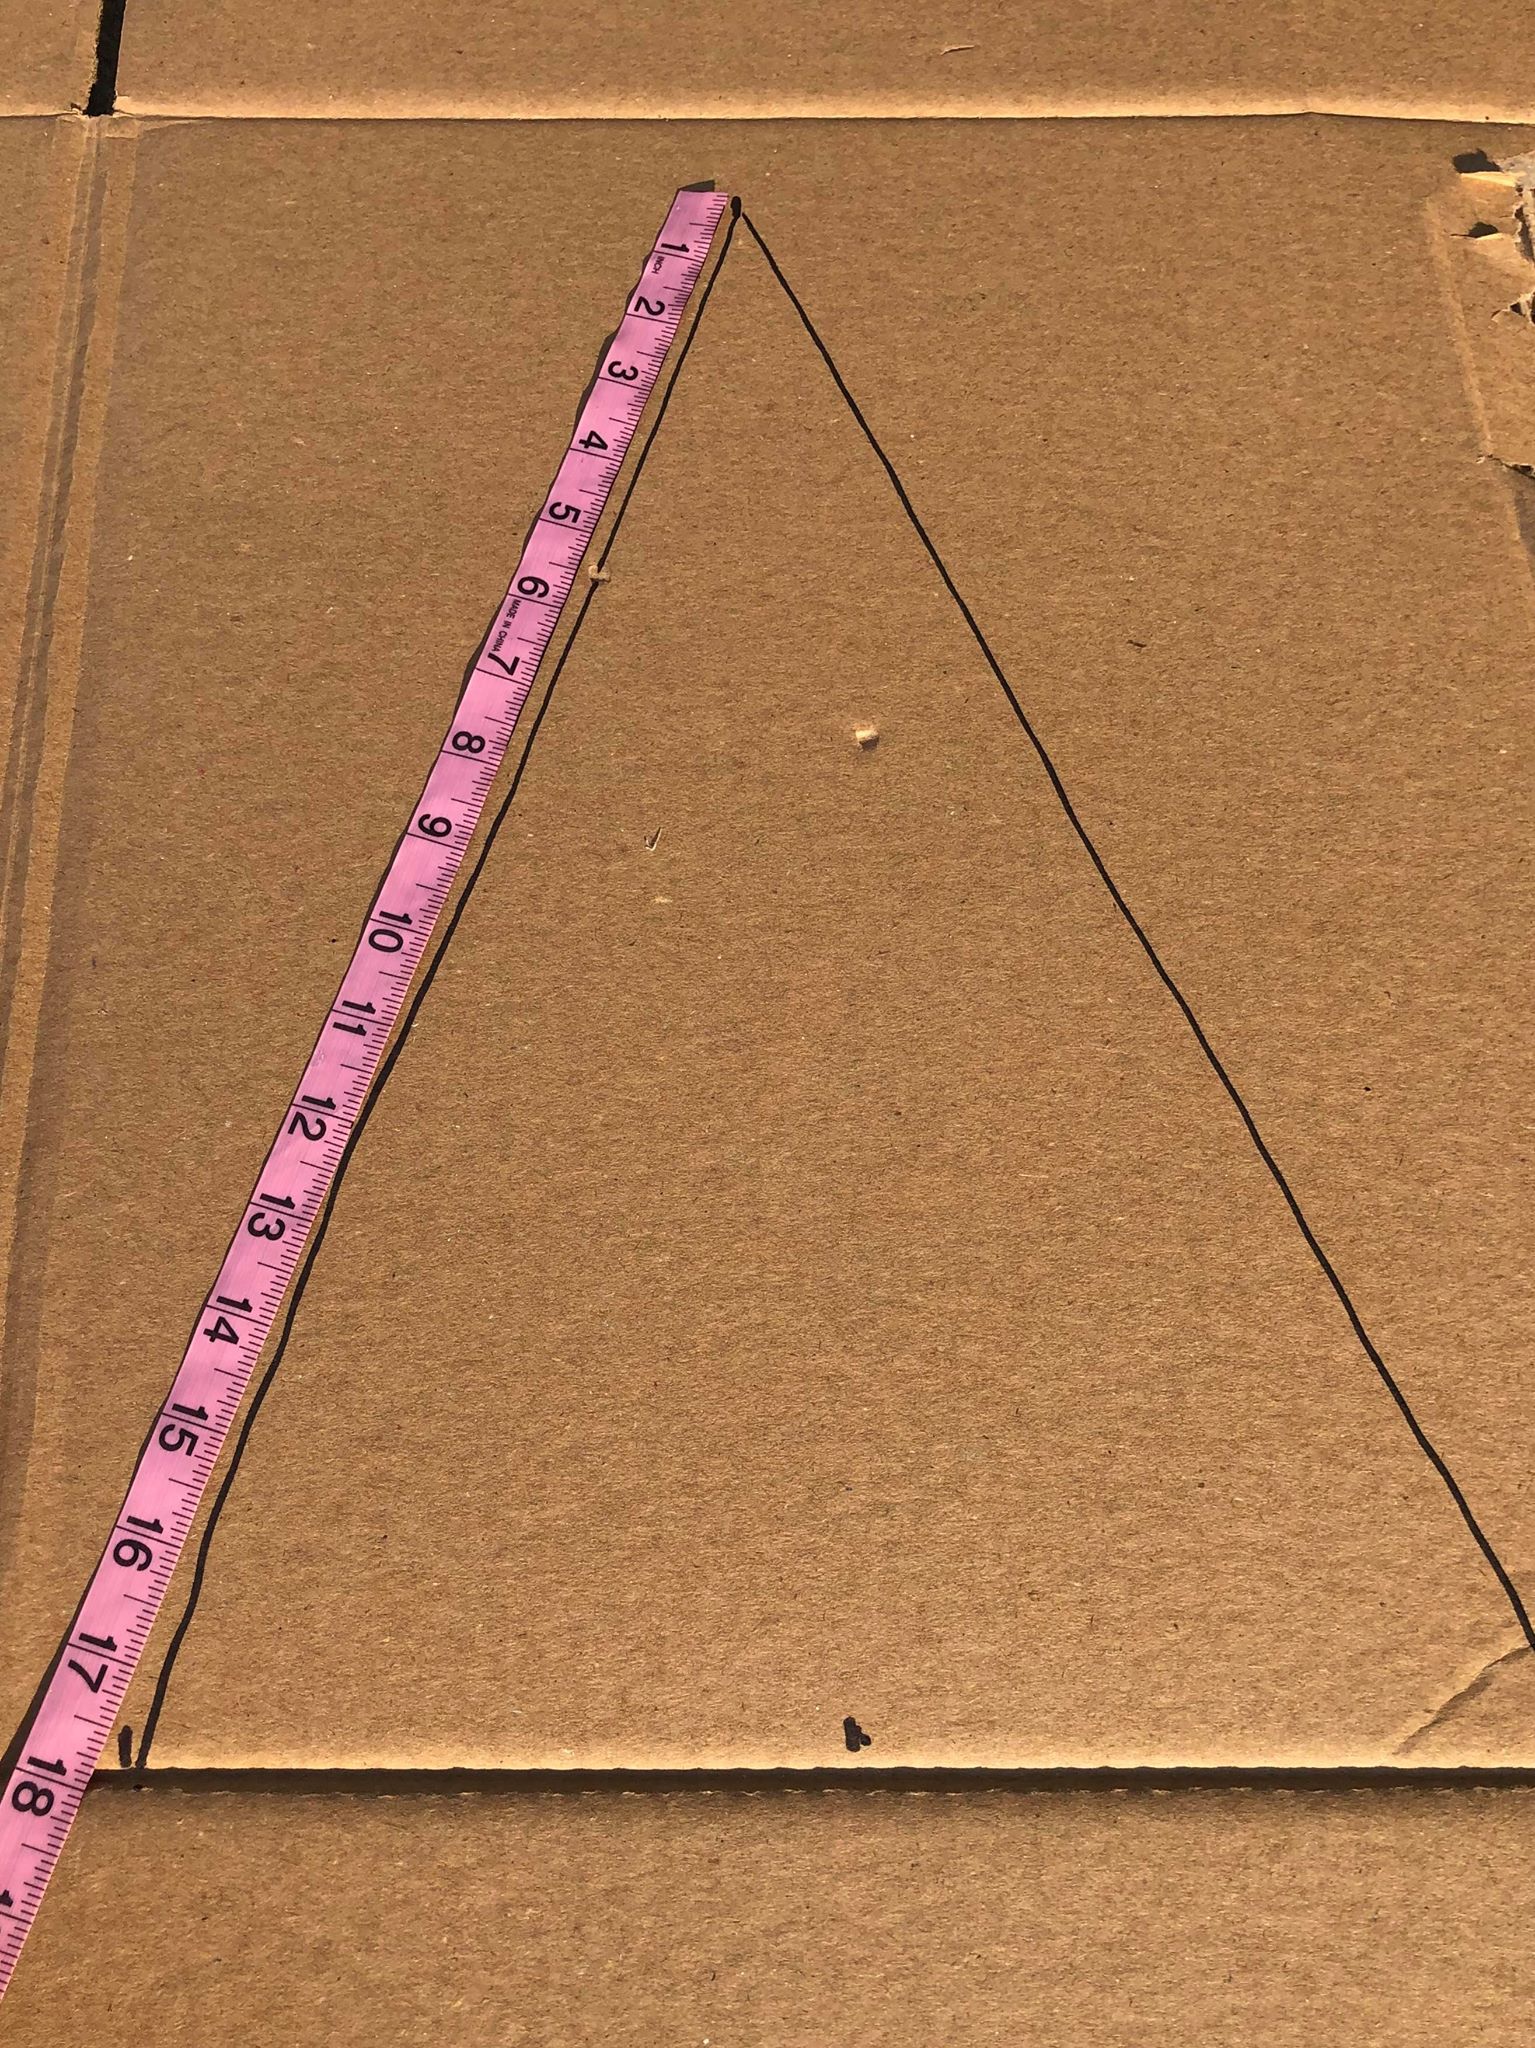
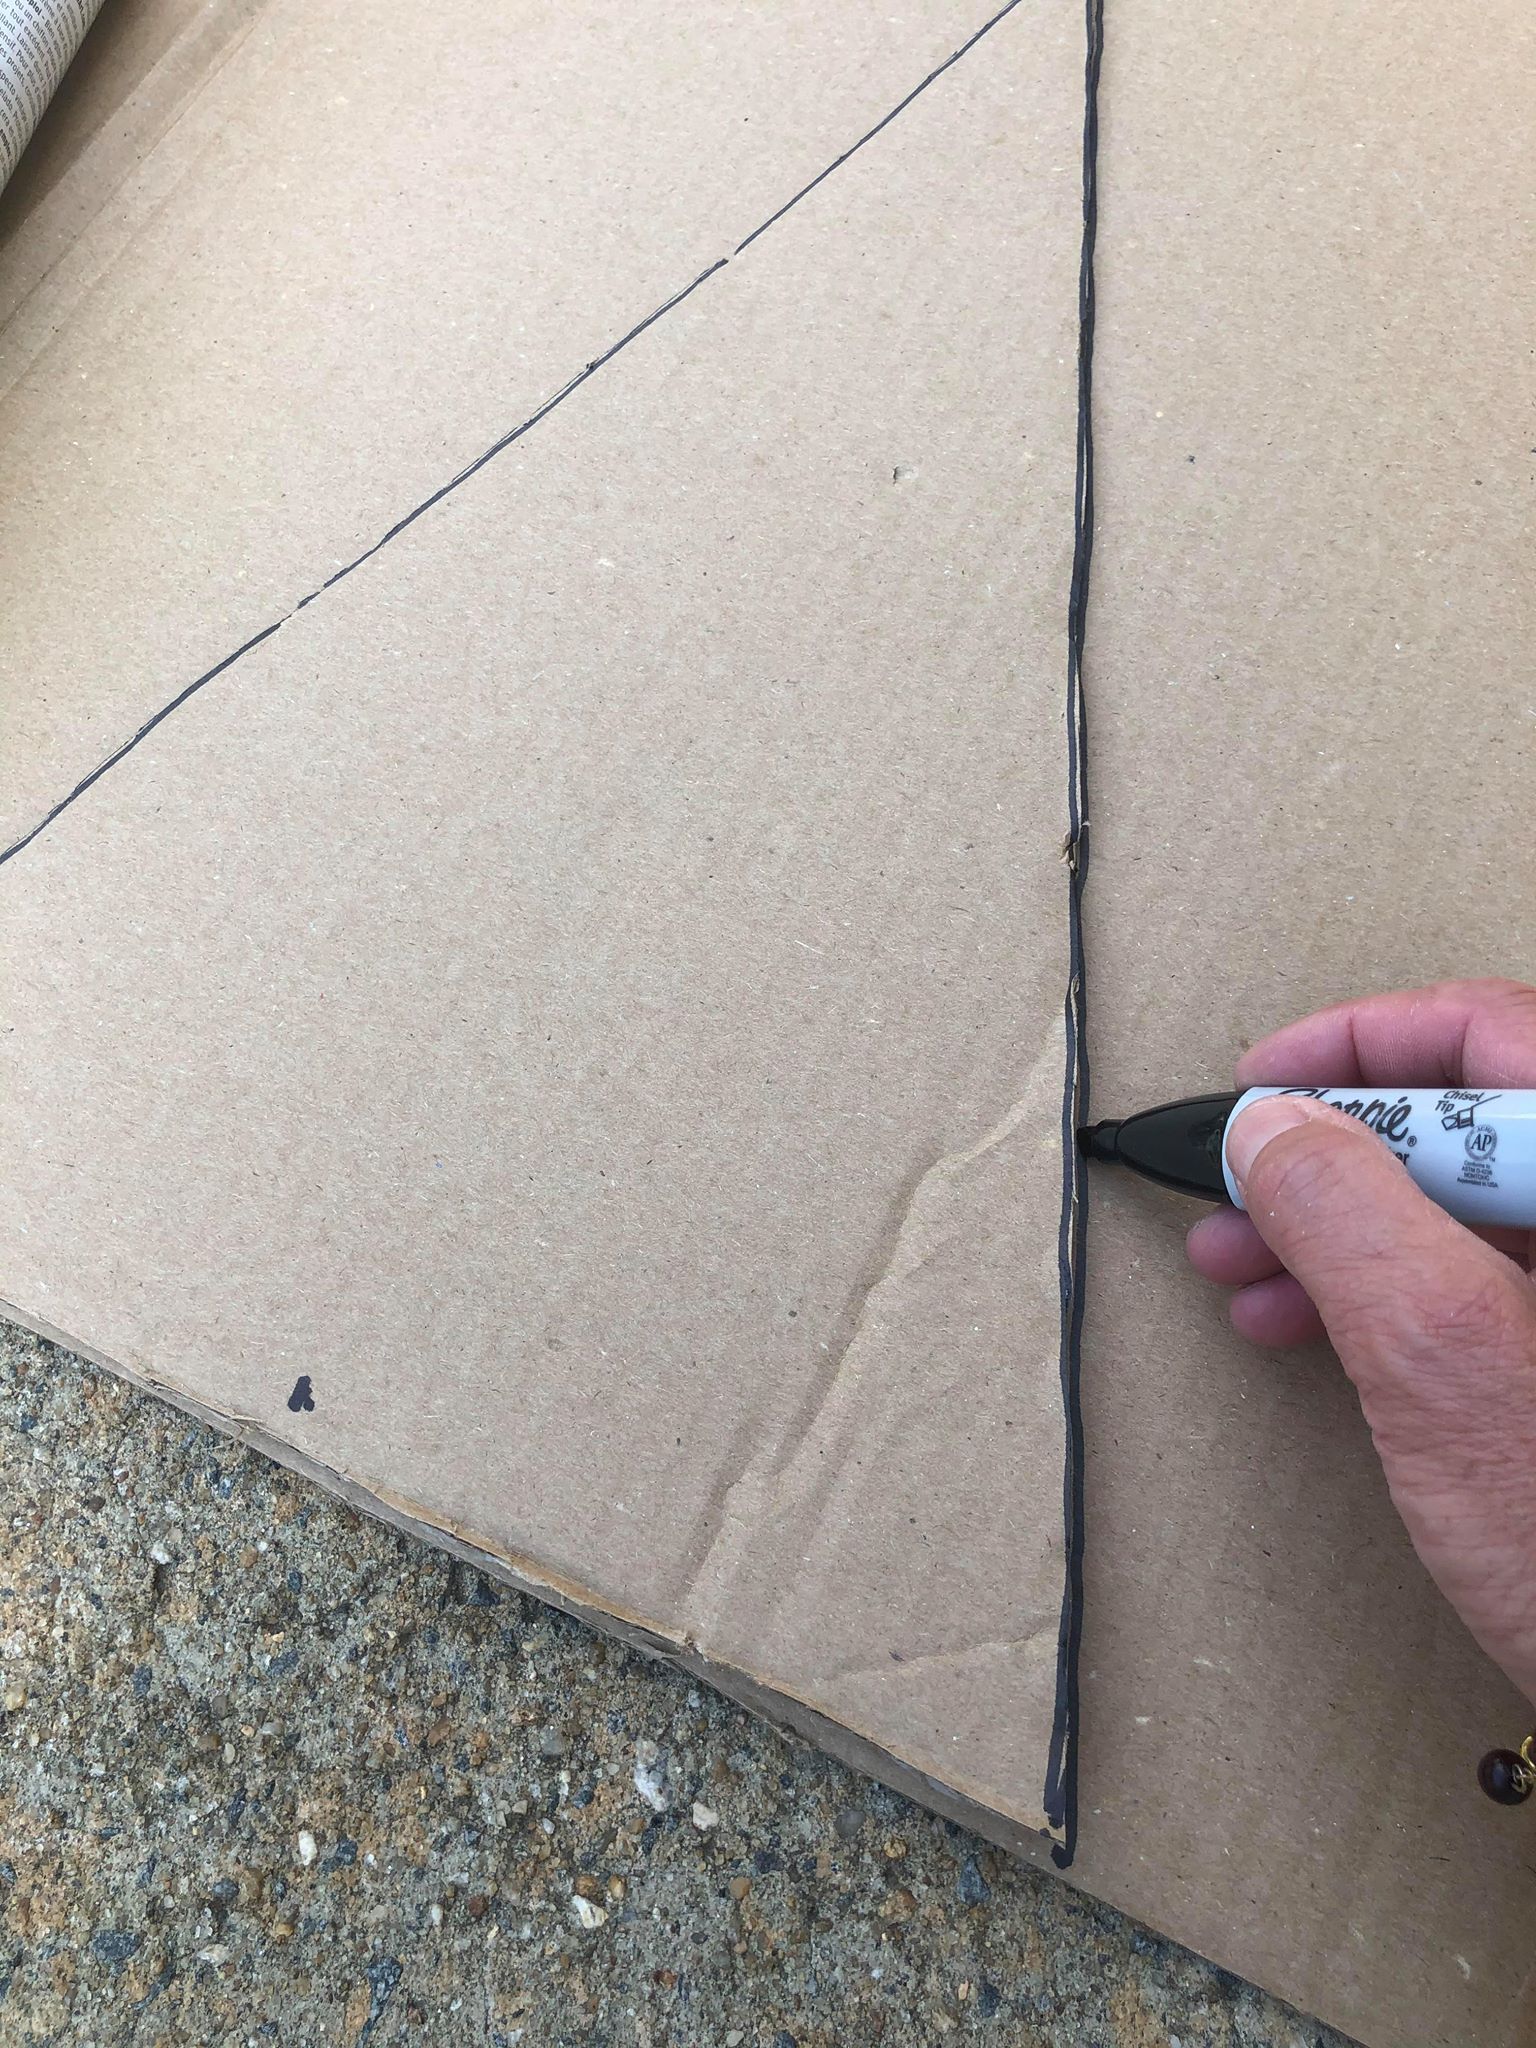
Once you have your triangle drawn you will need to cut it out.
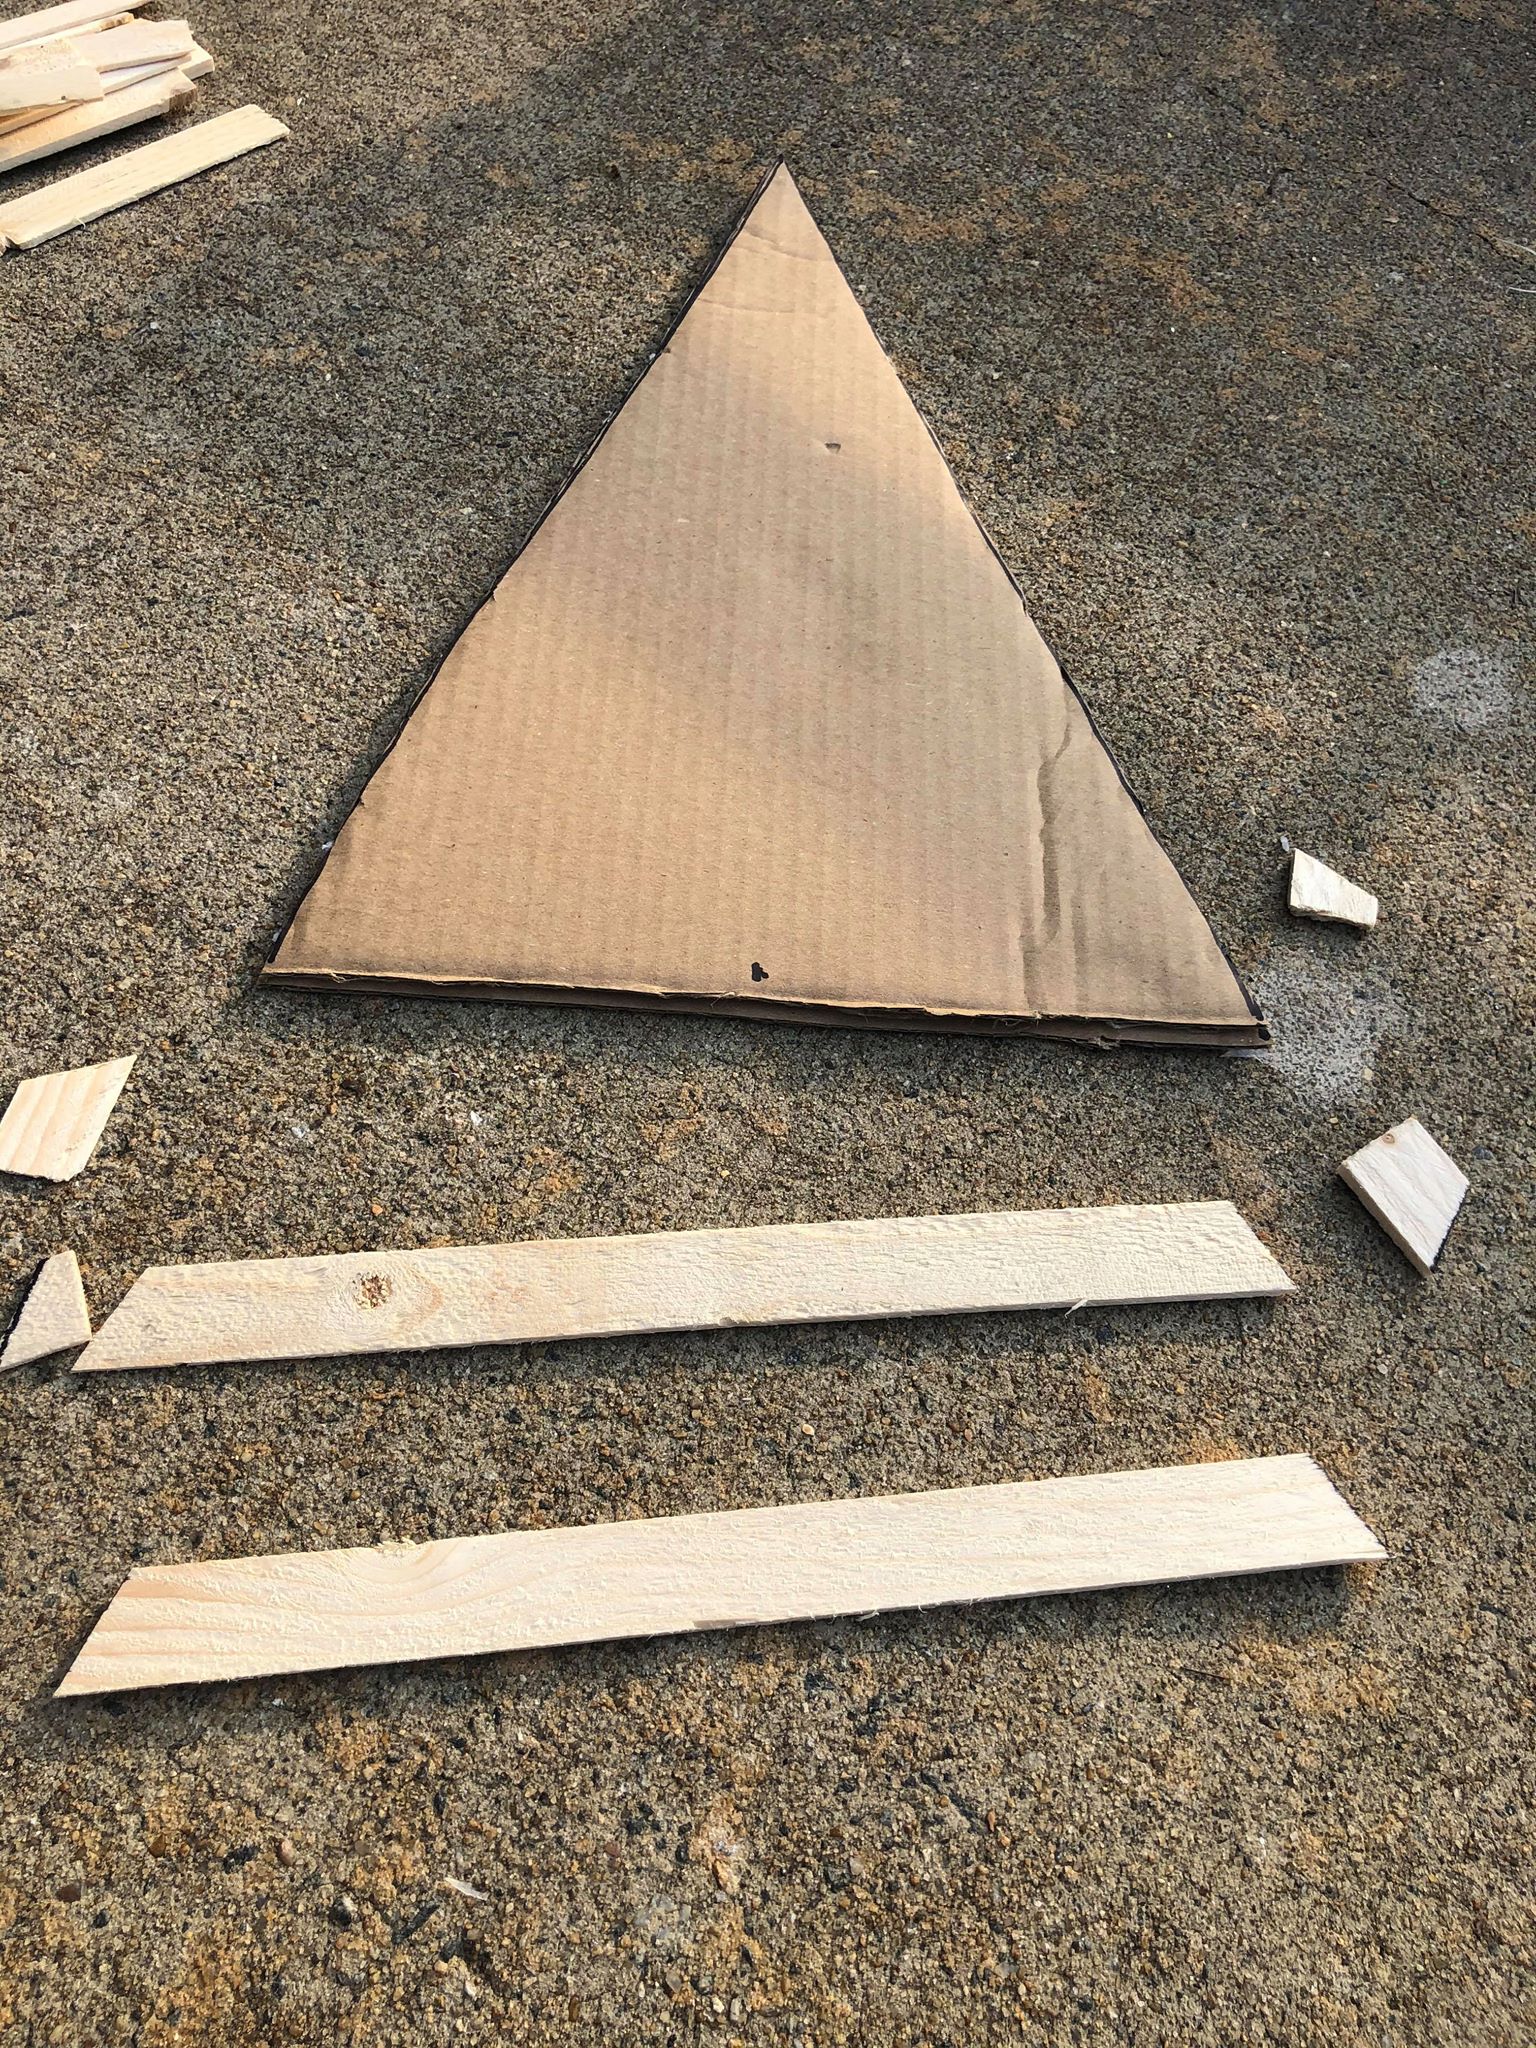
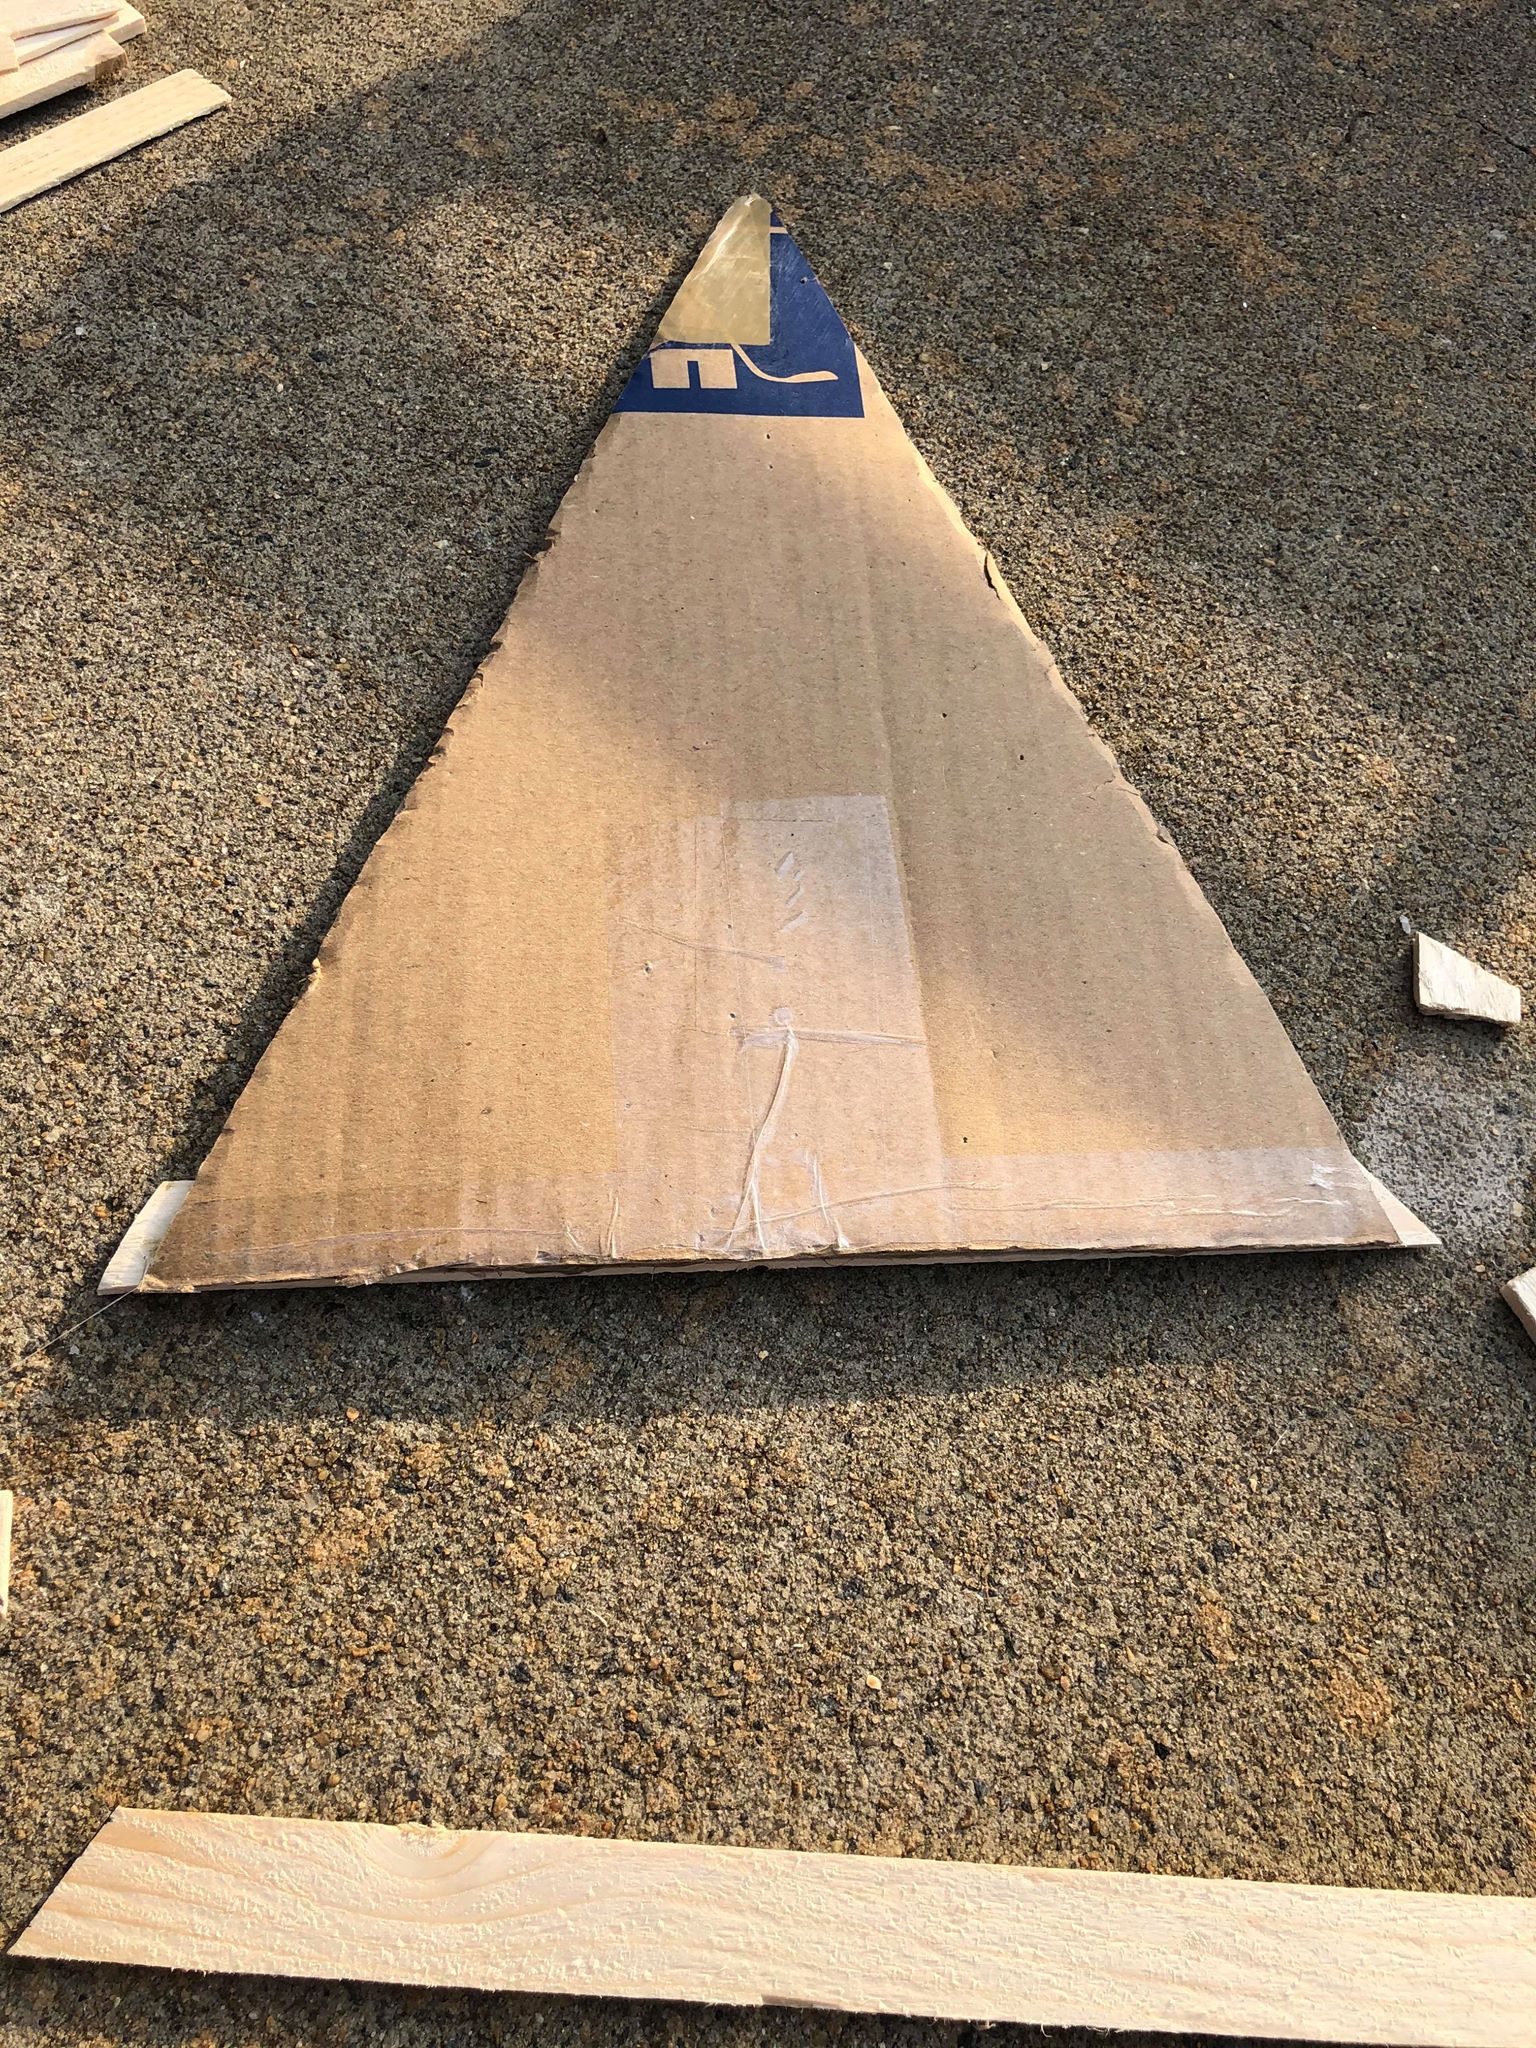
You then need to trace this triangle and cut out a second triangle.
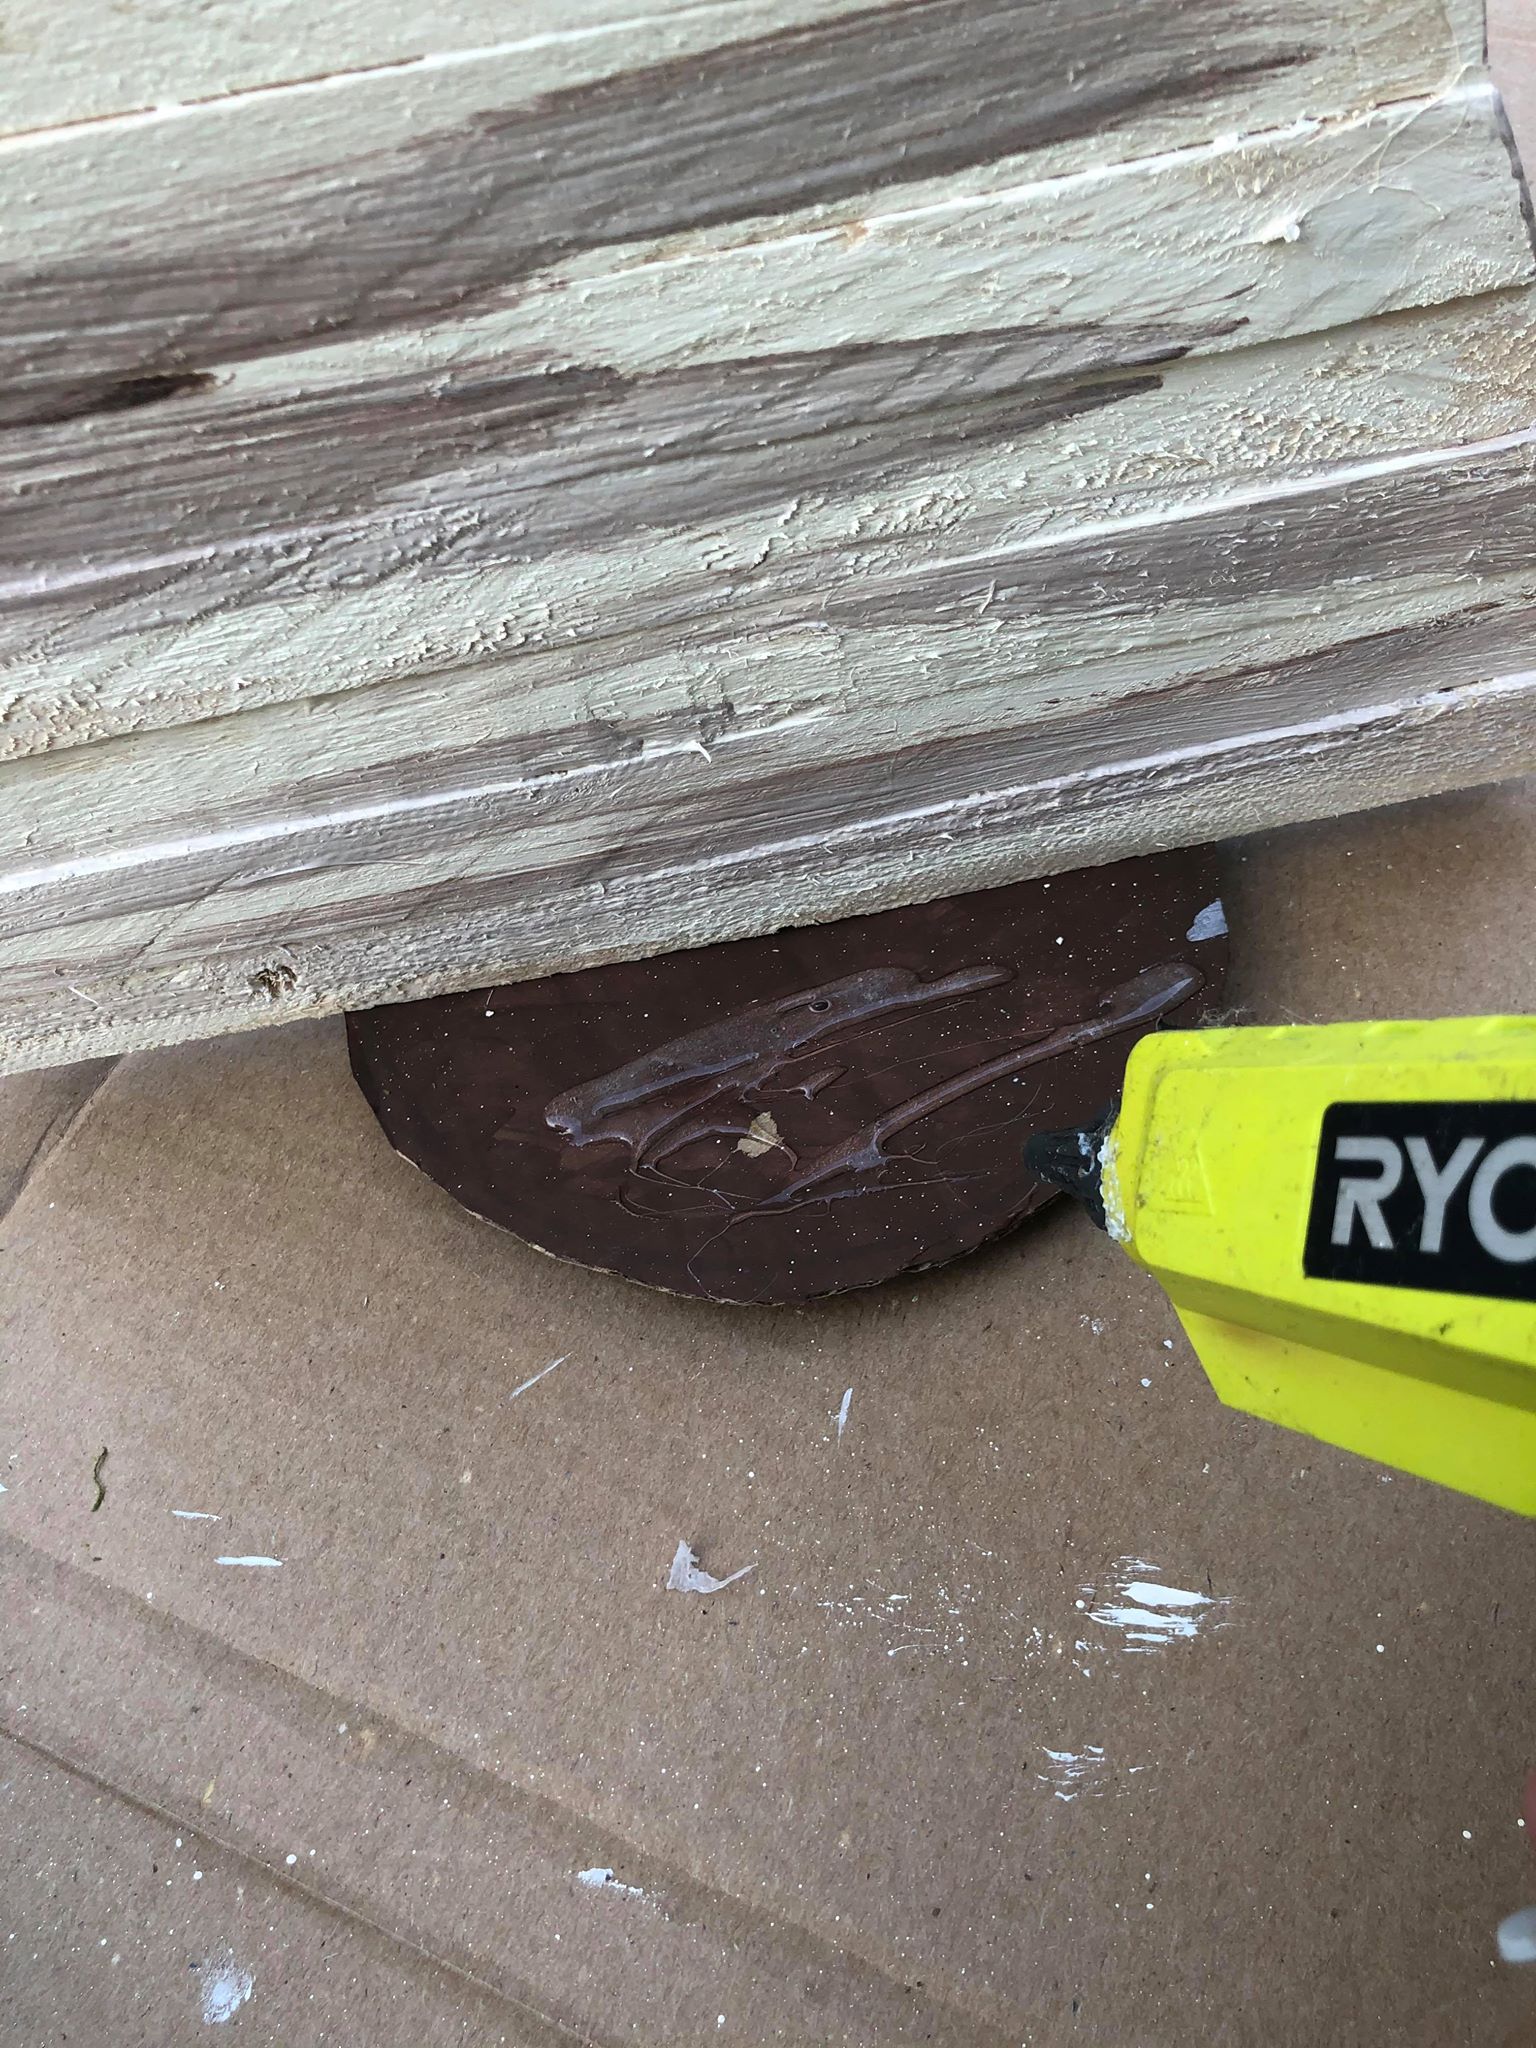
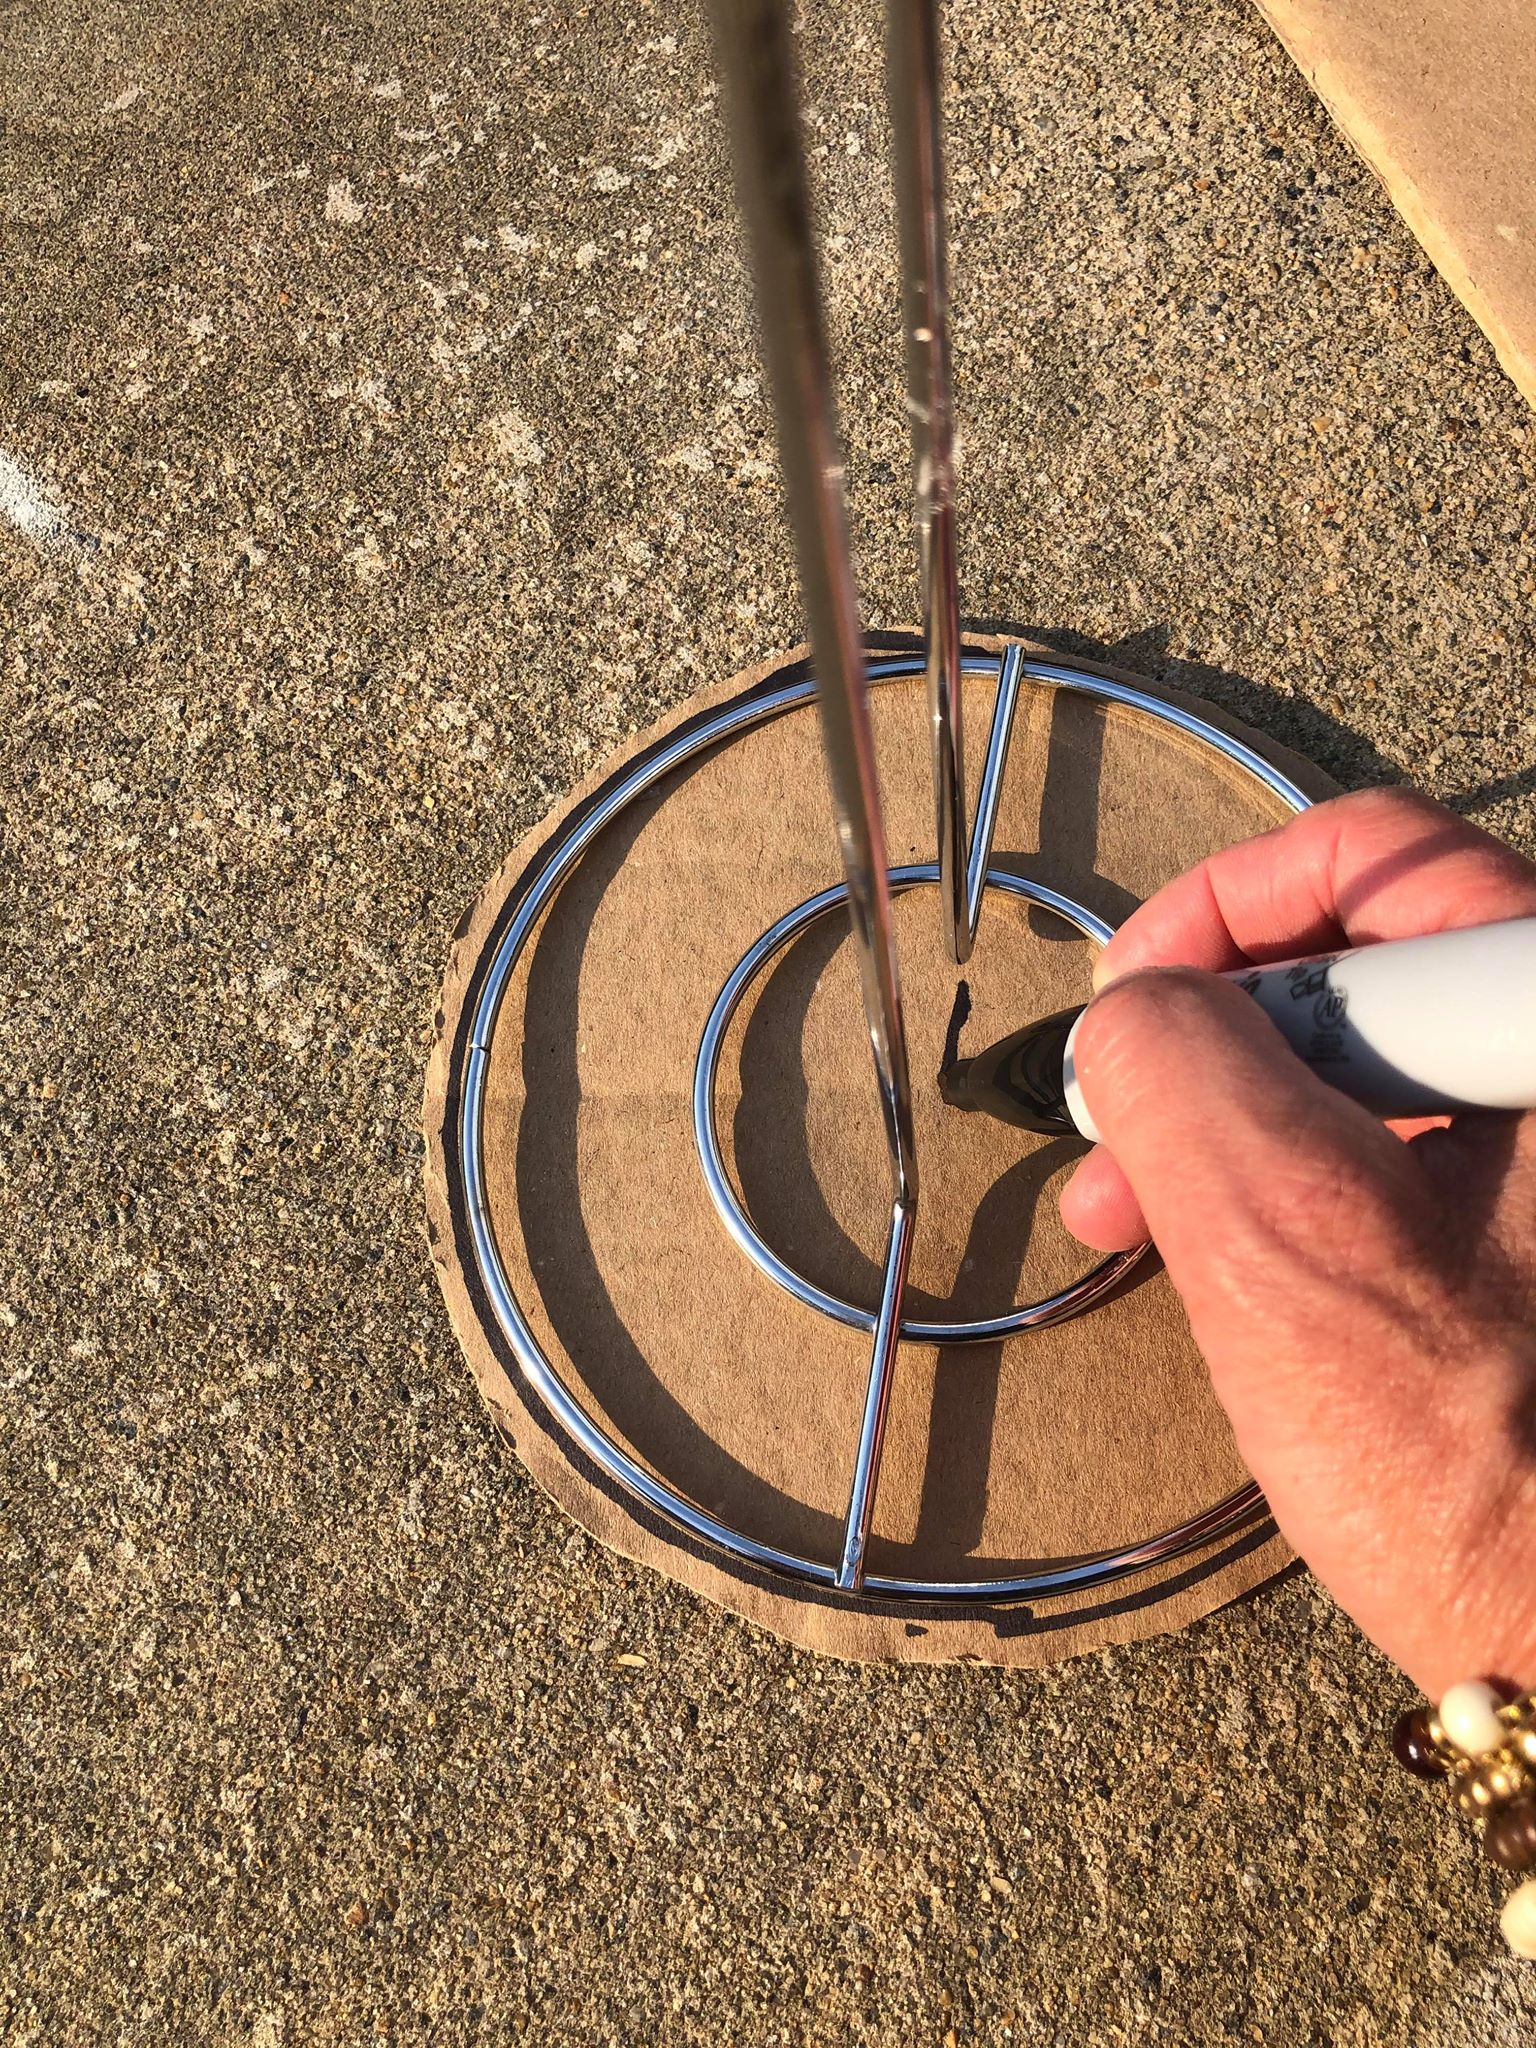
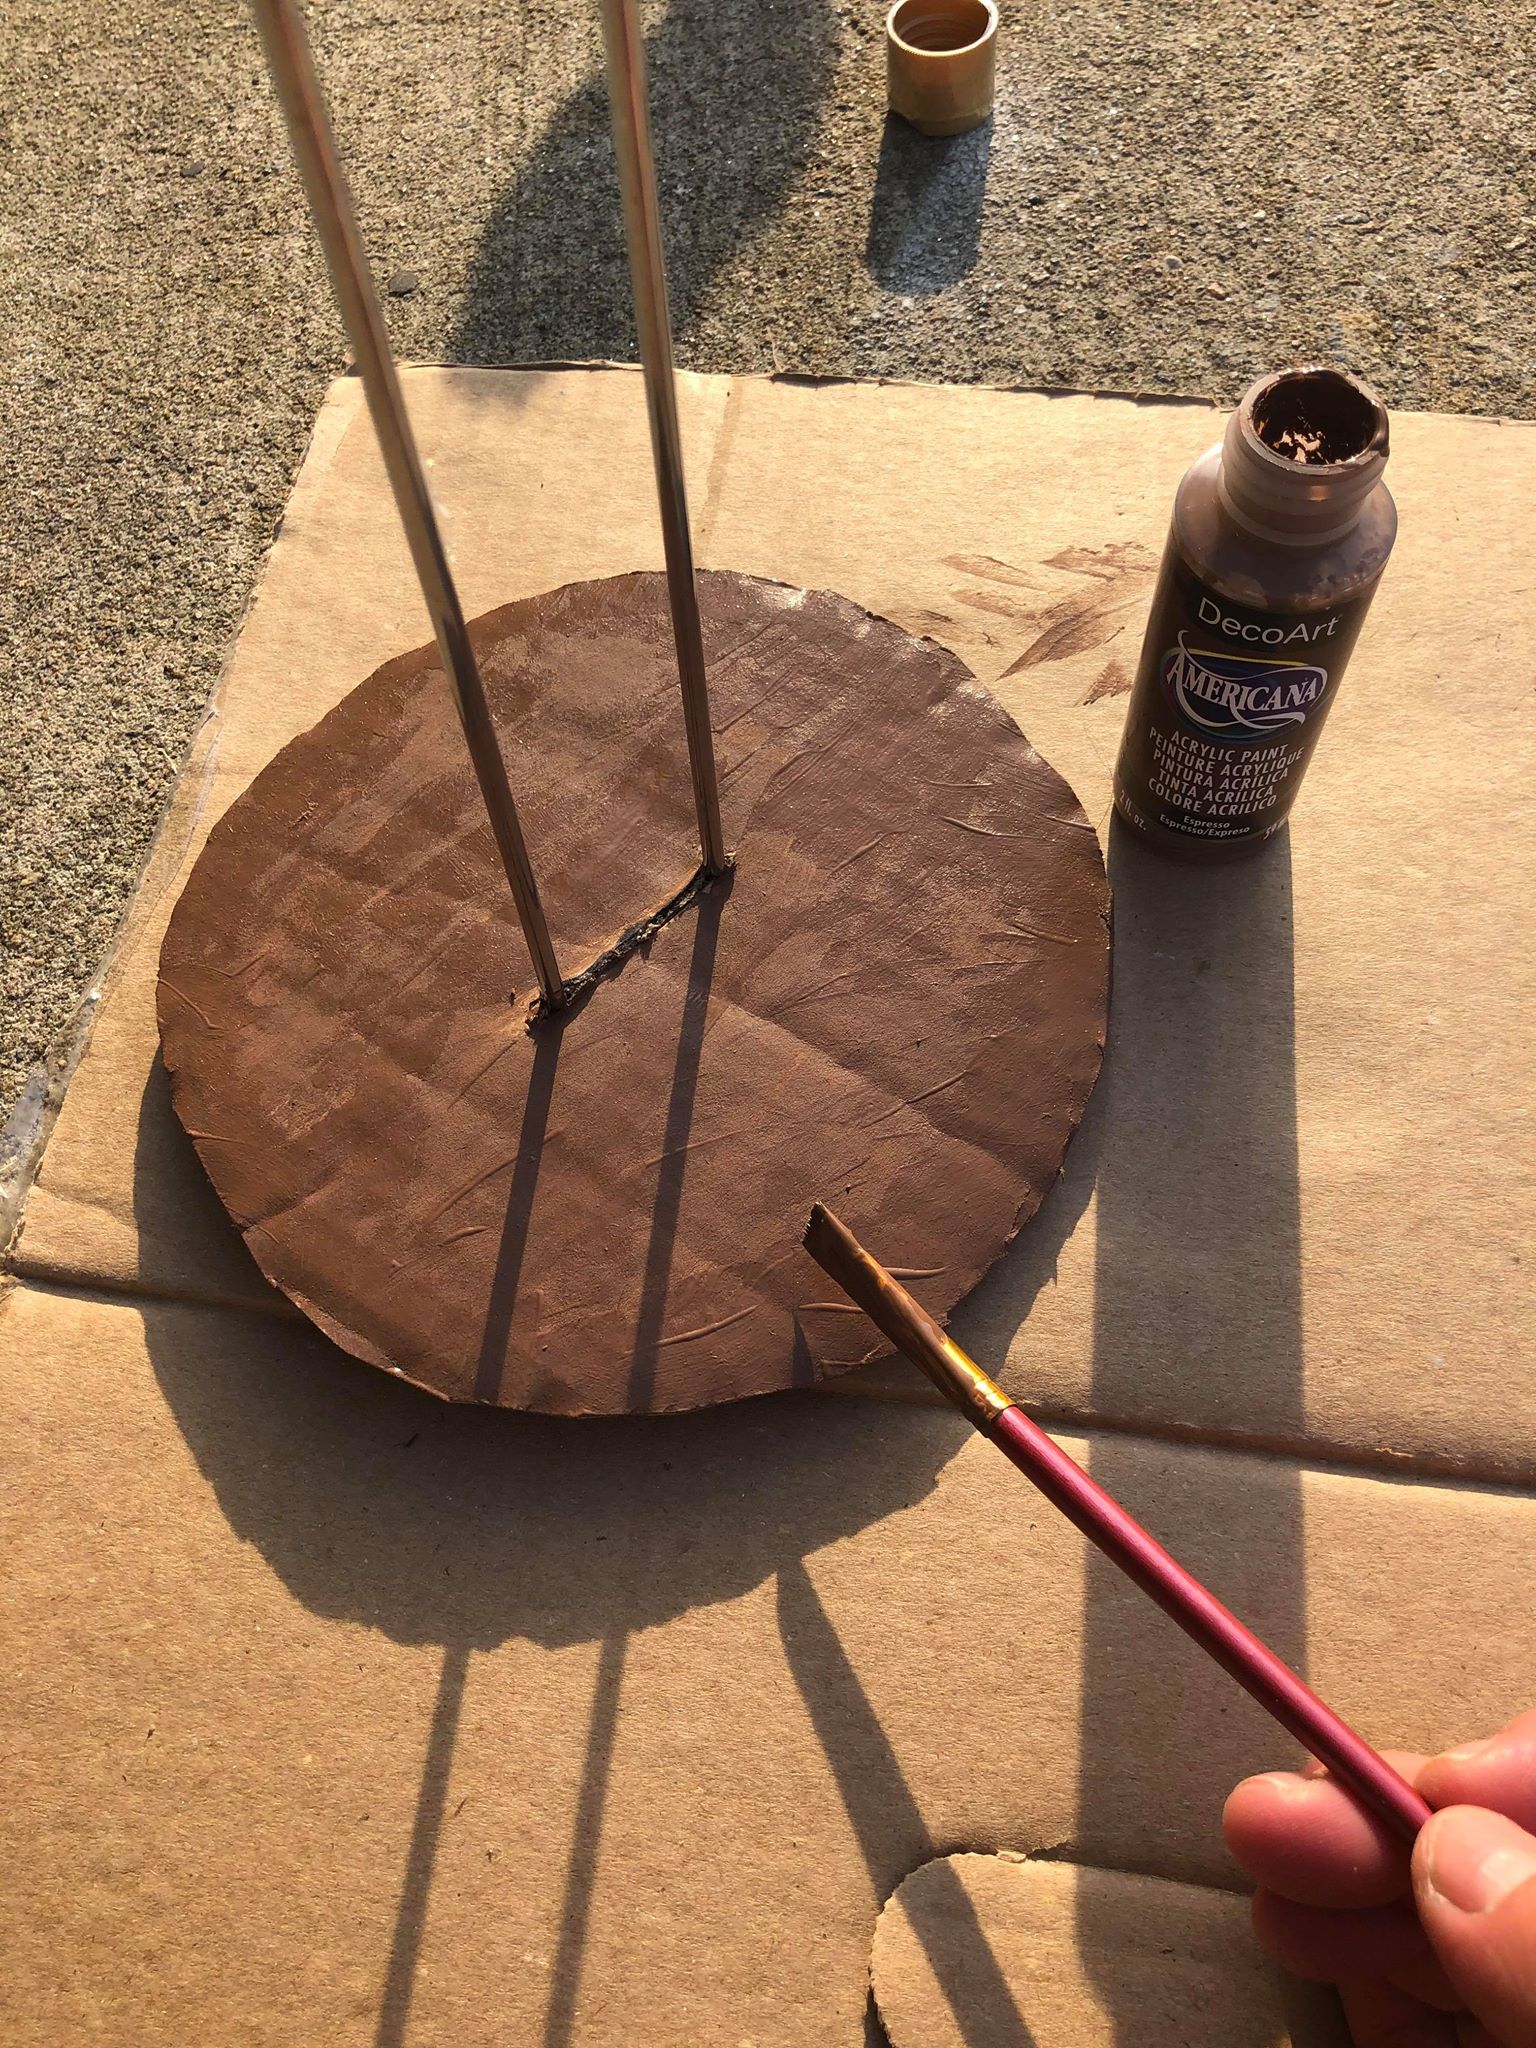
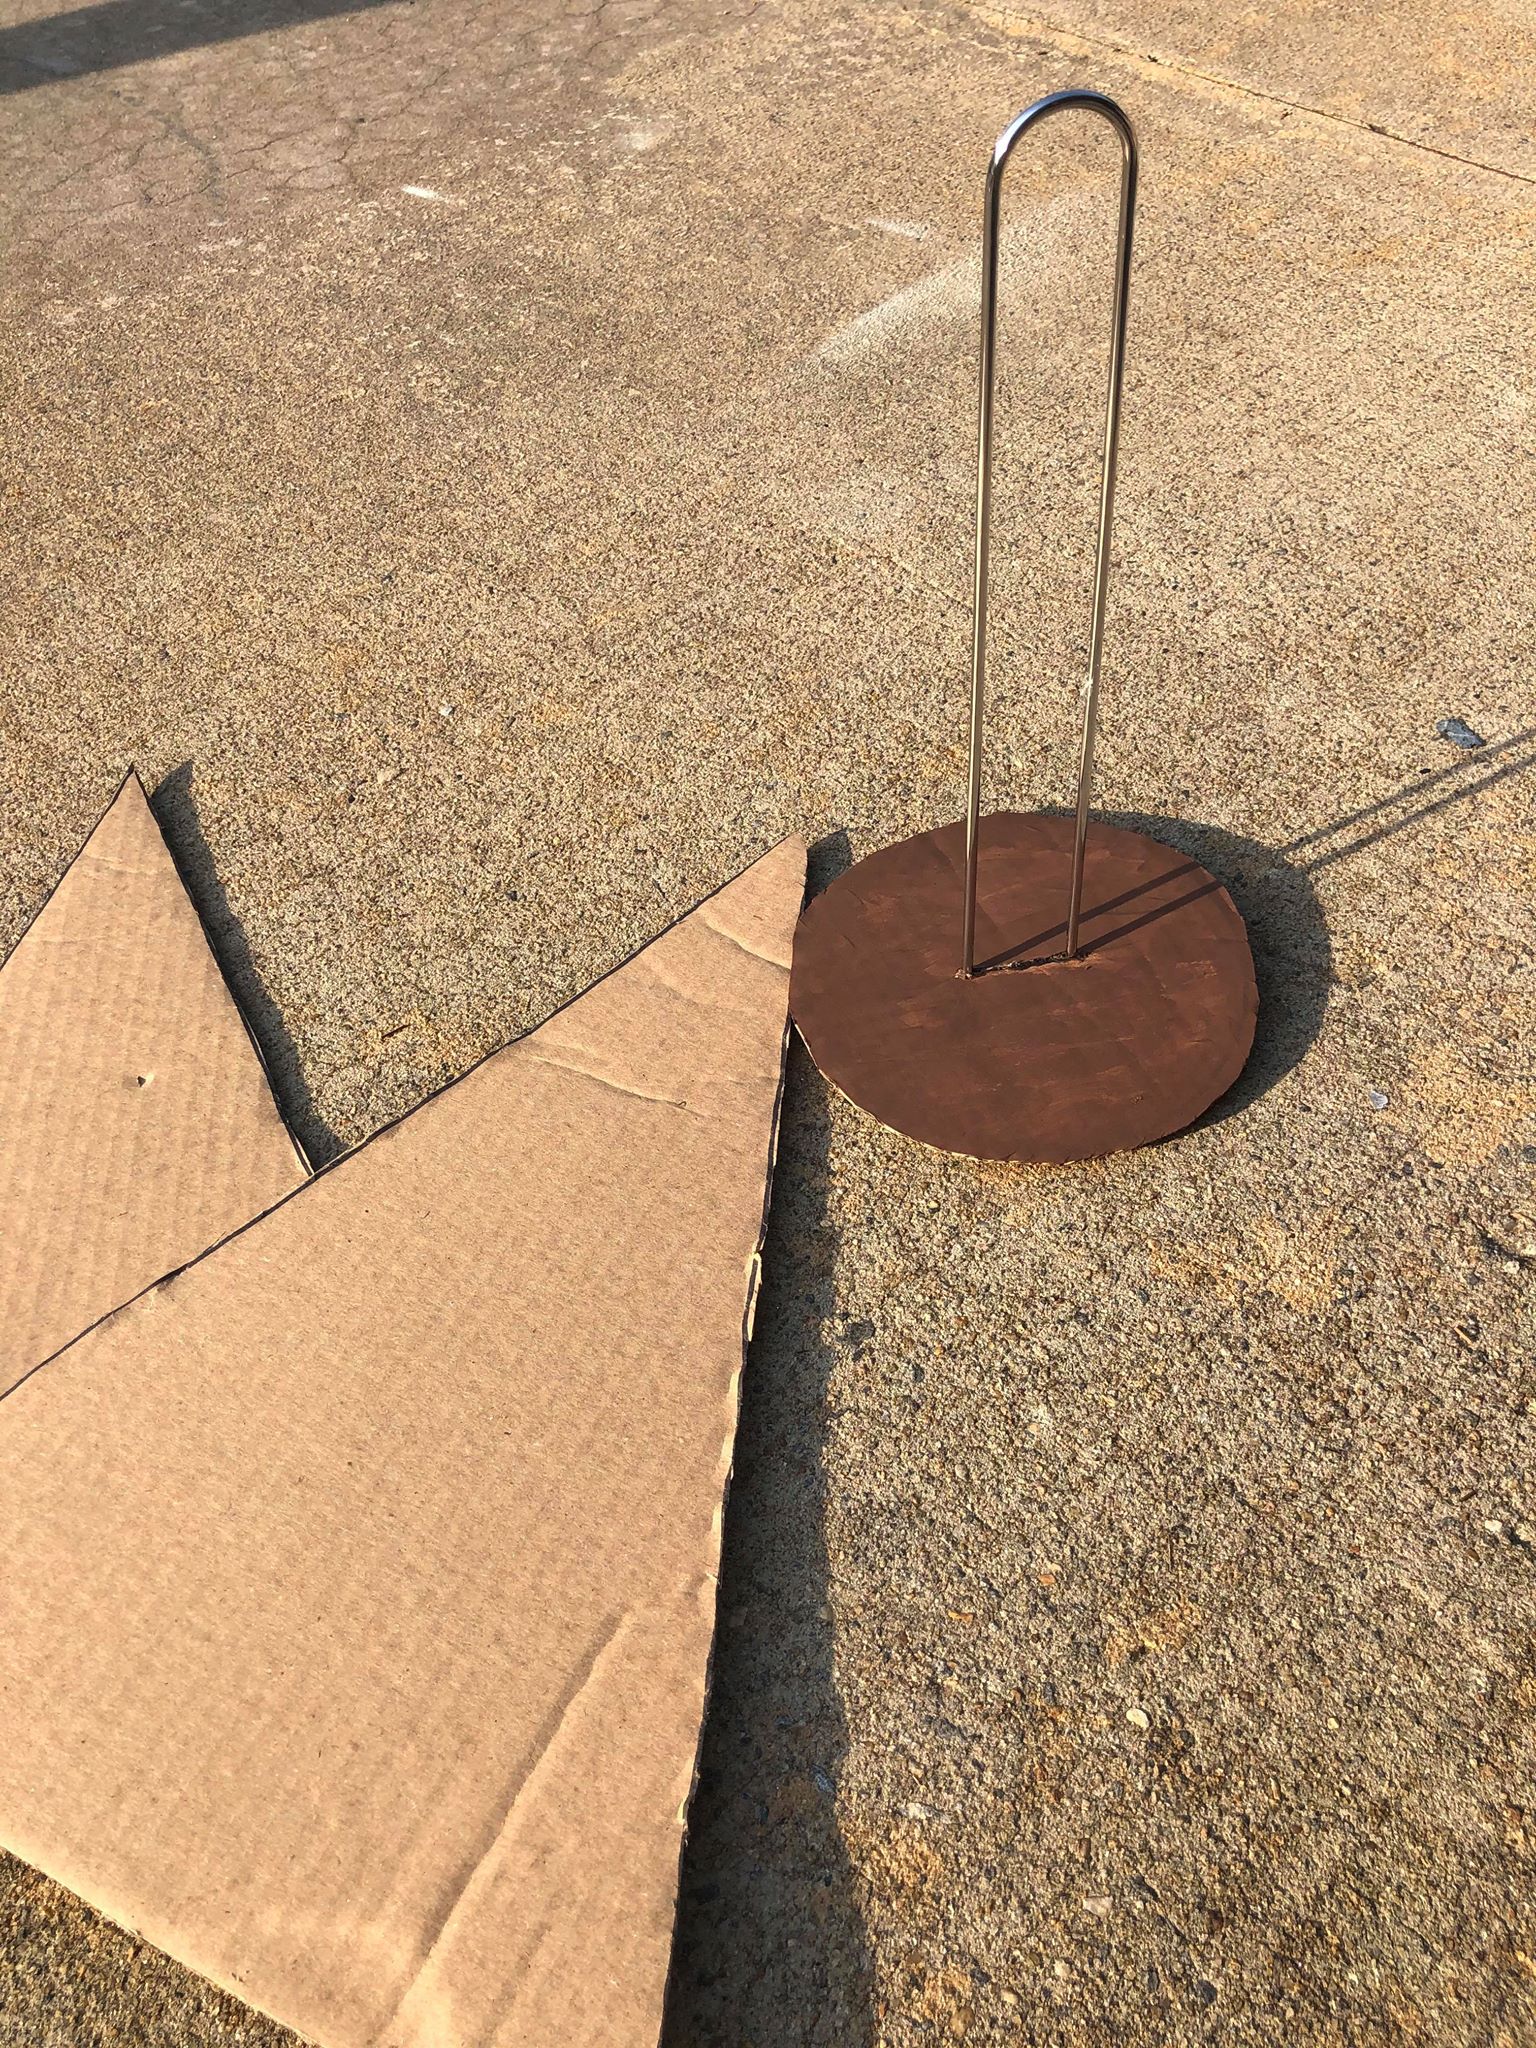
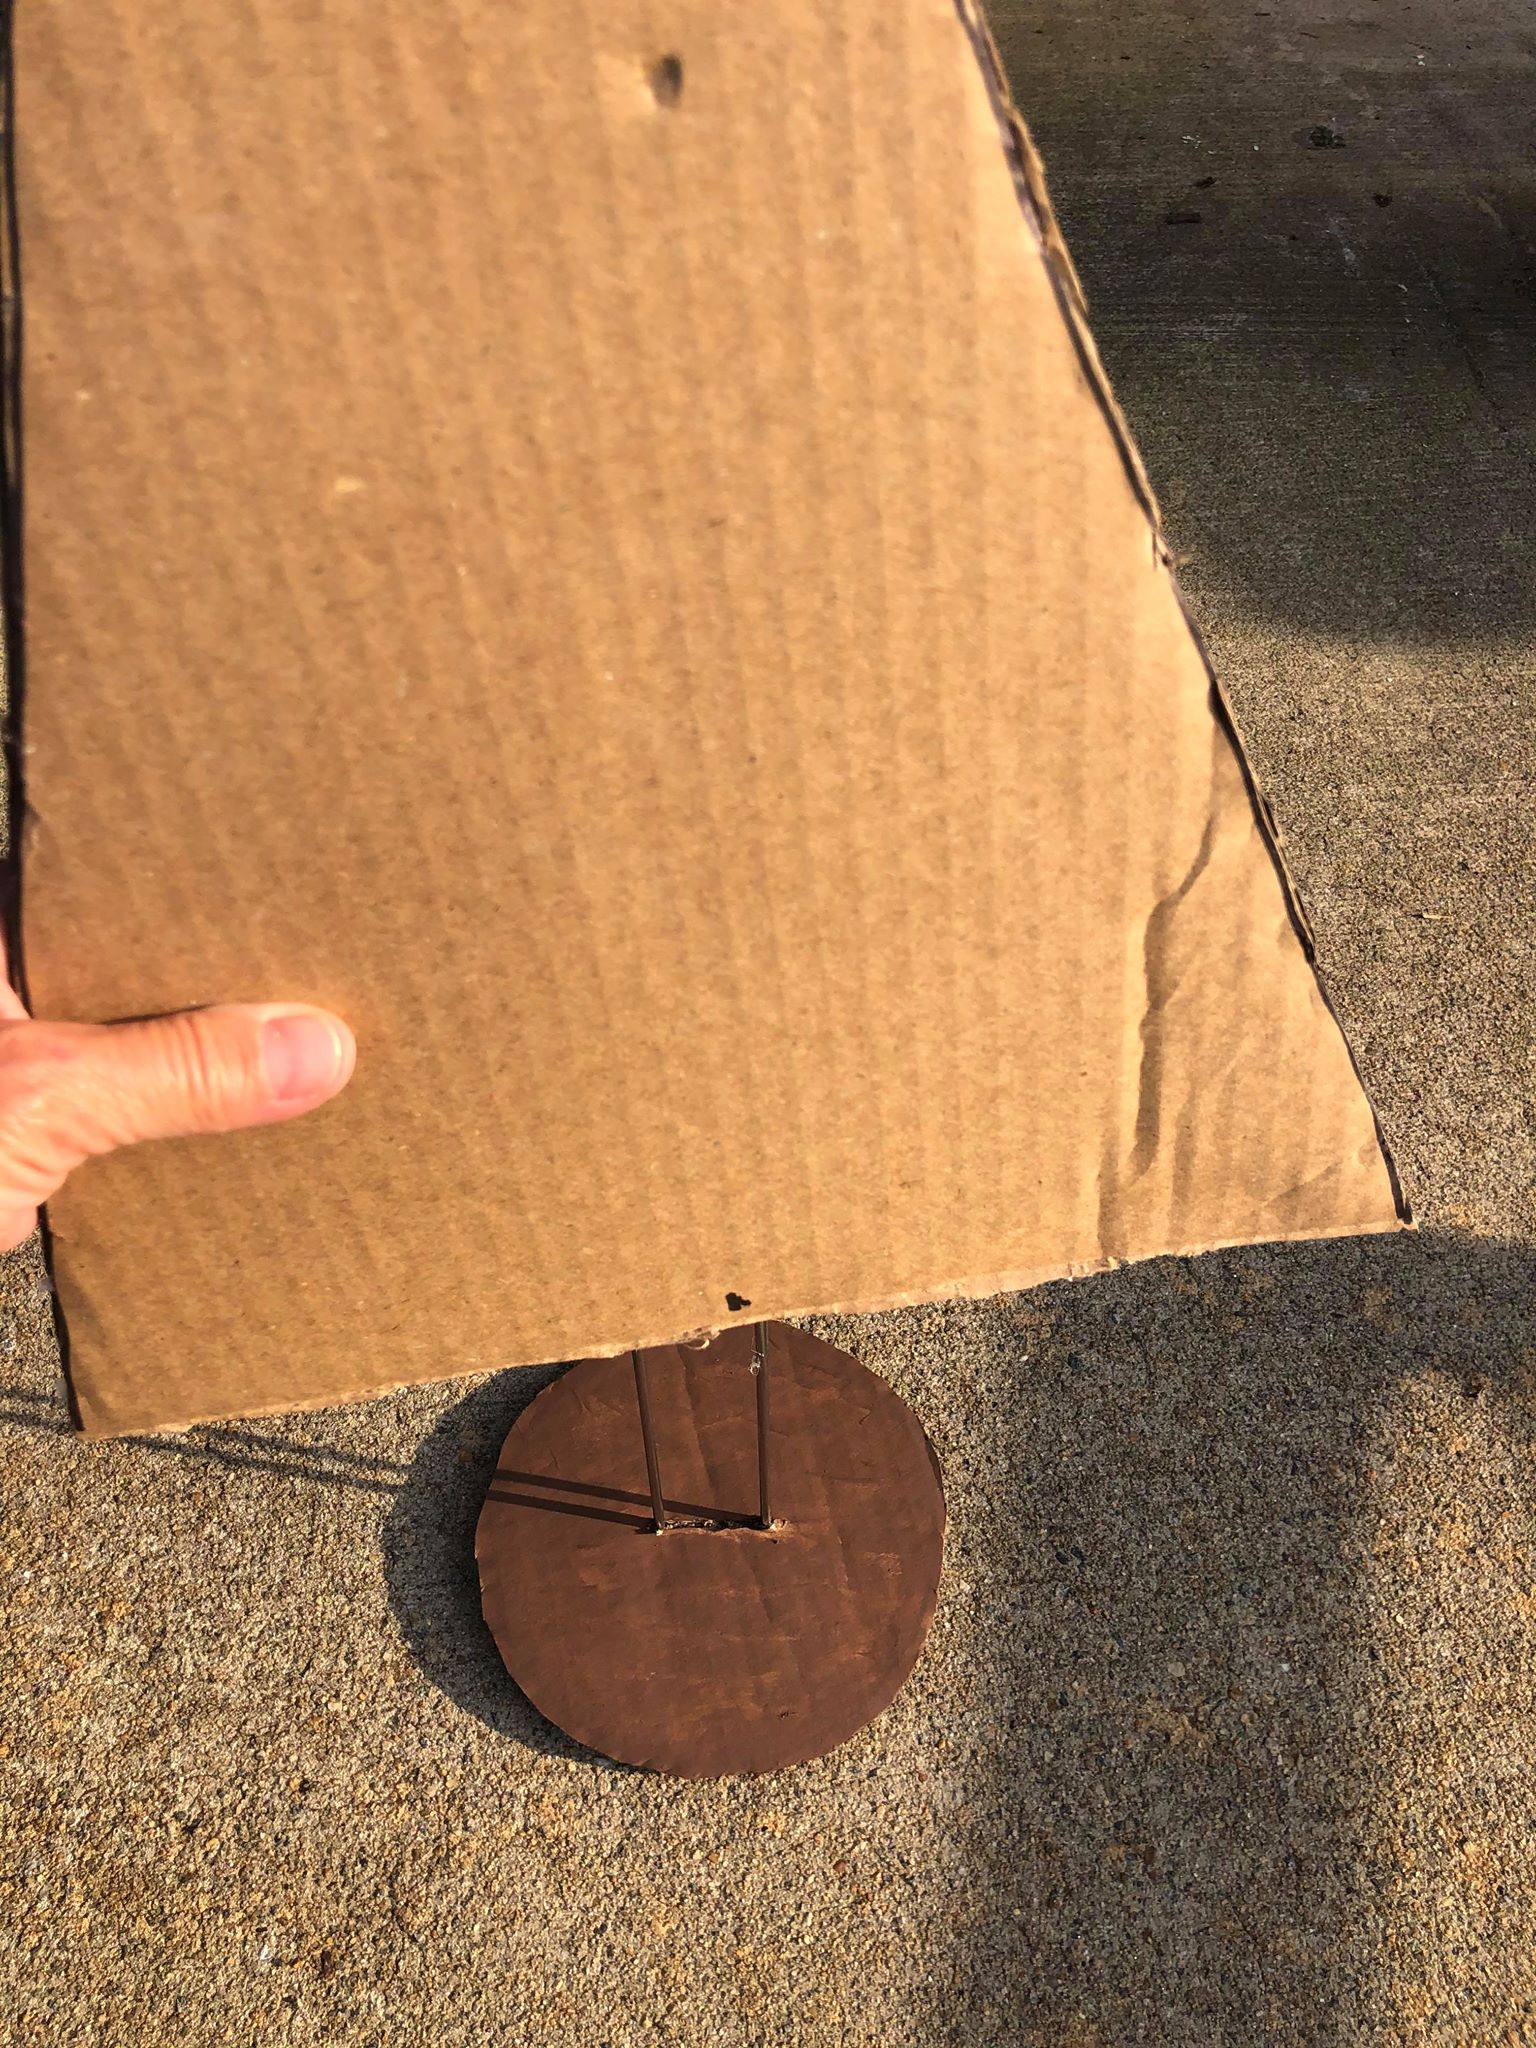
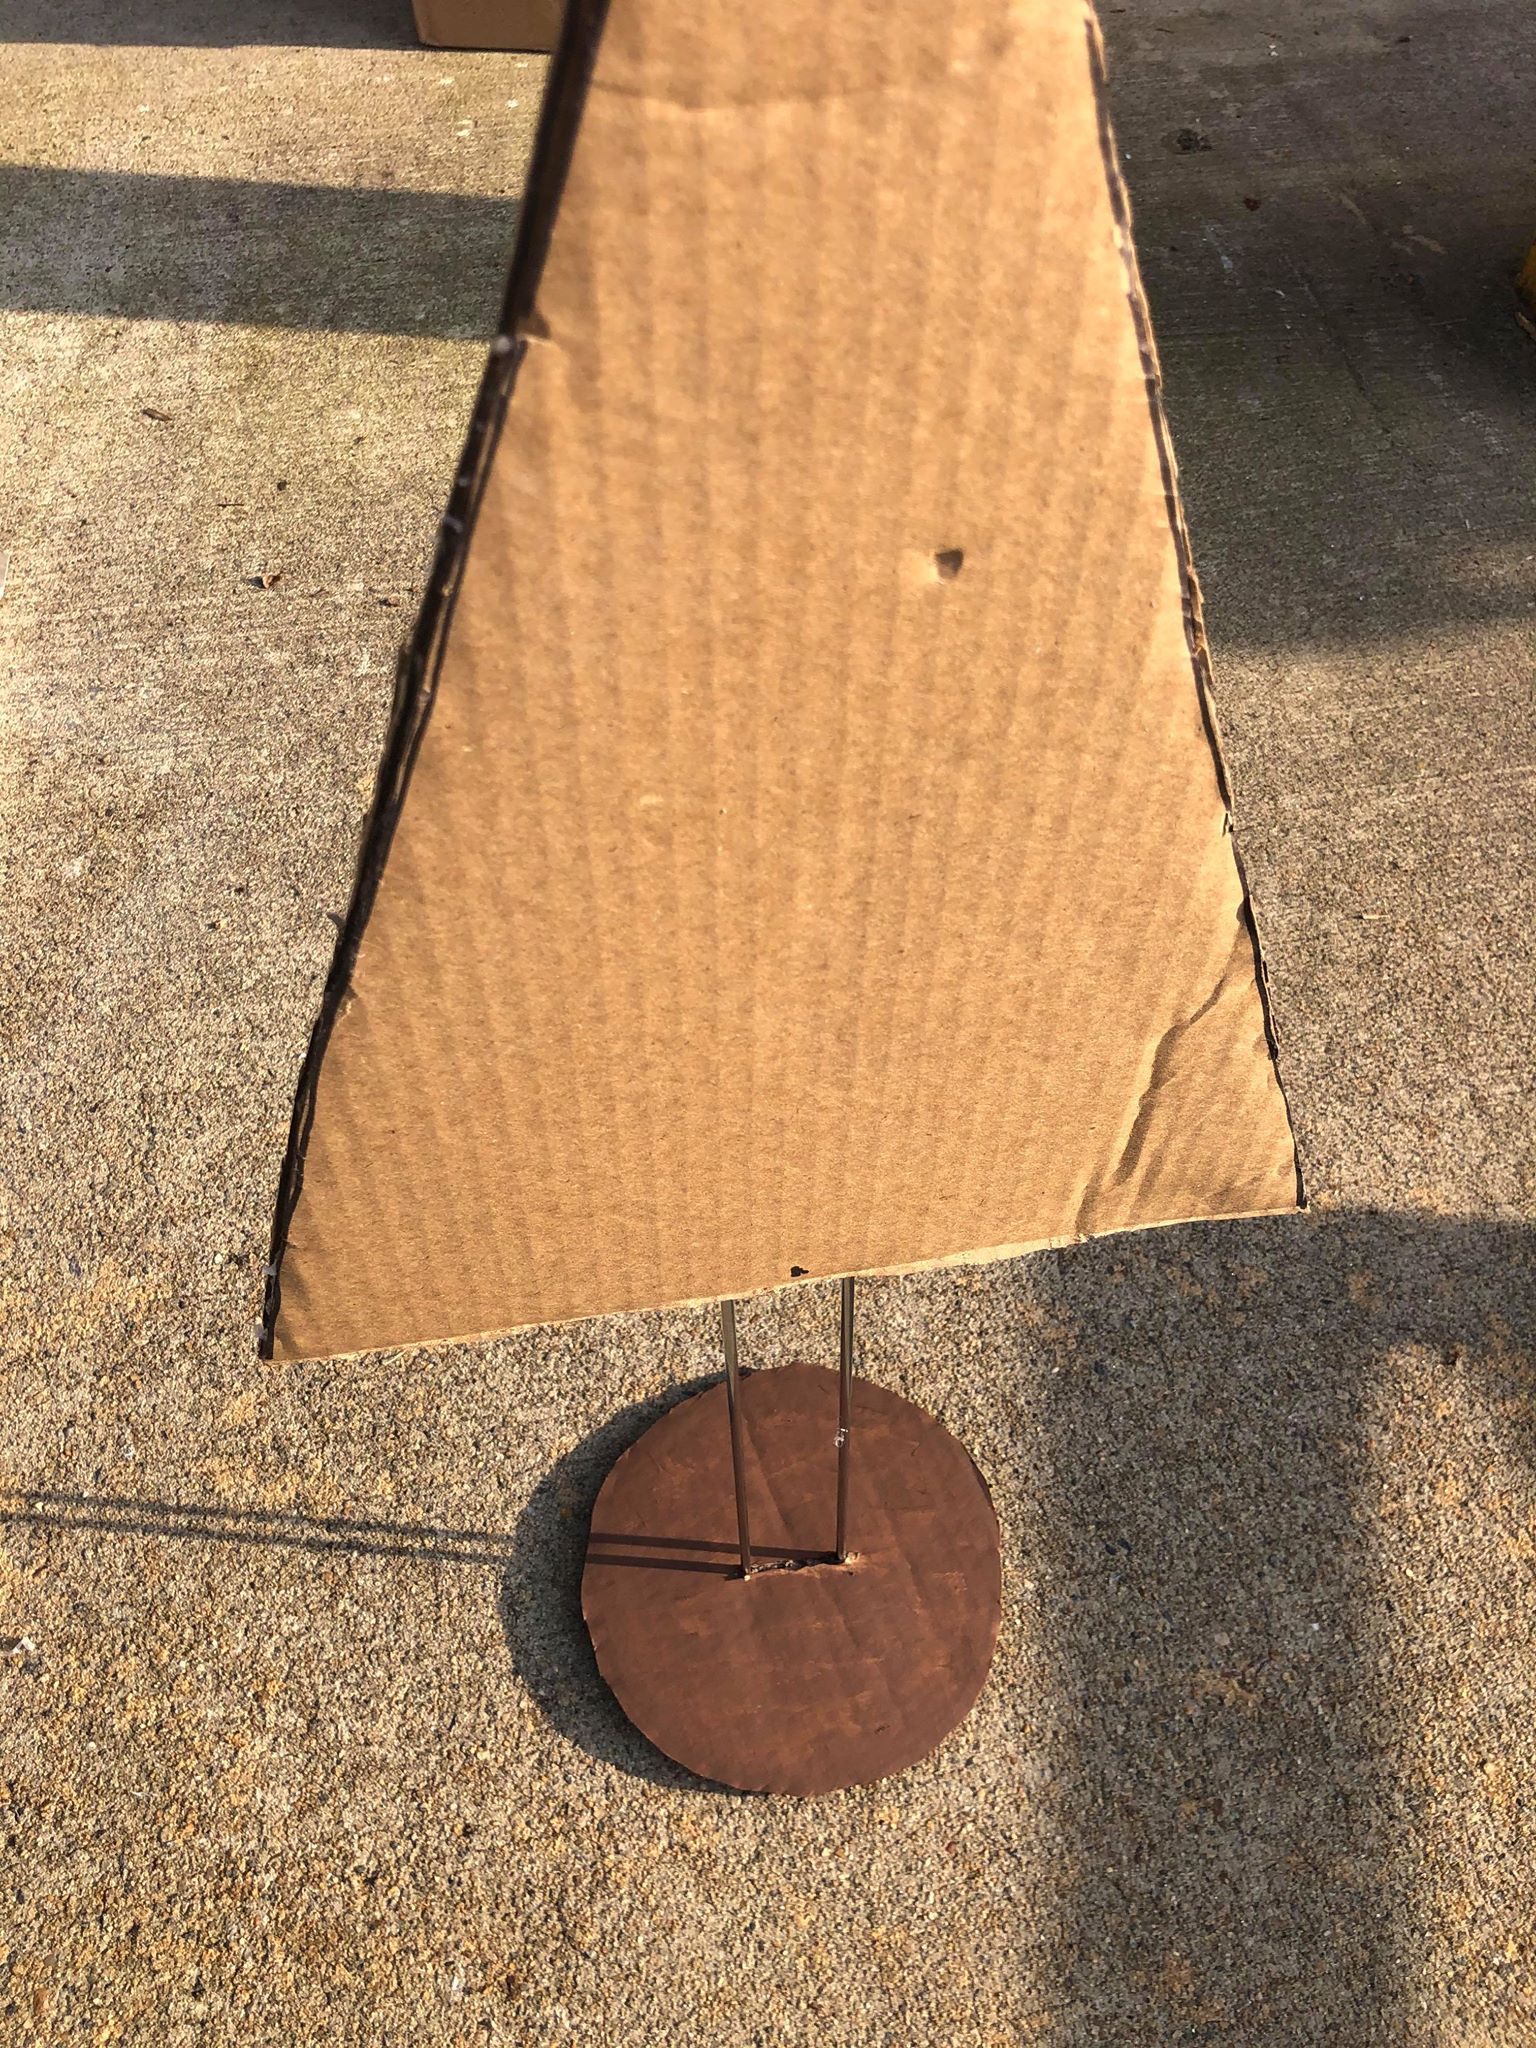
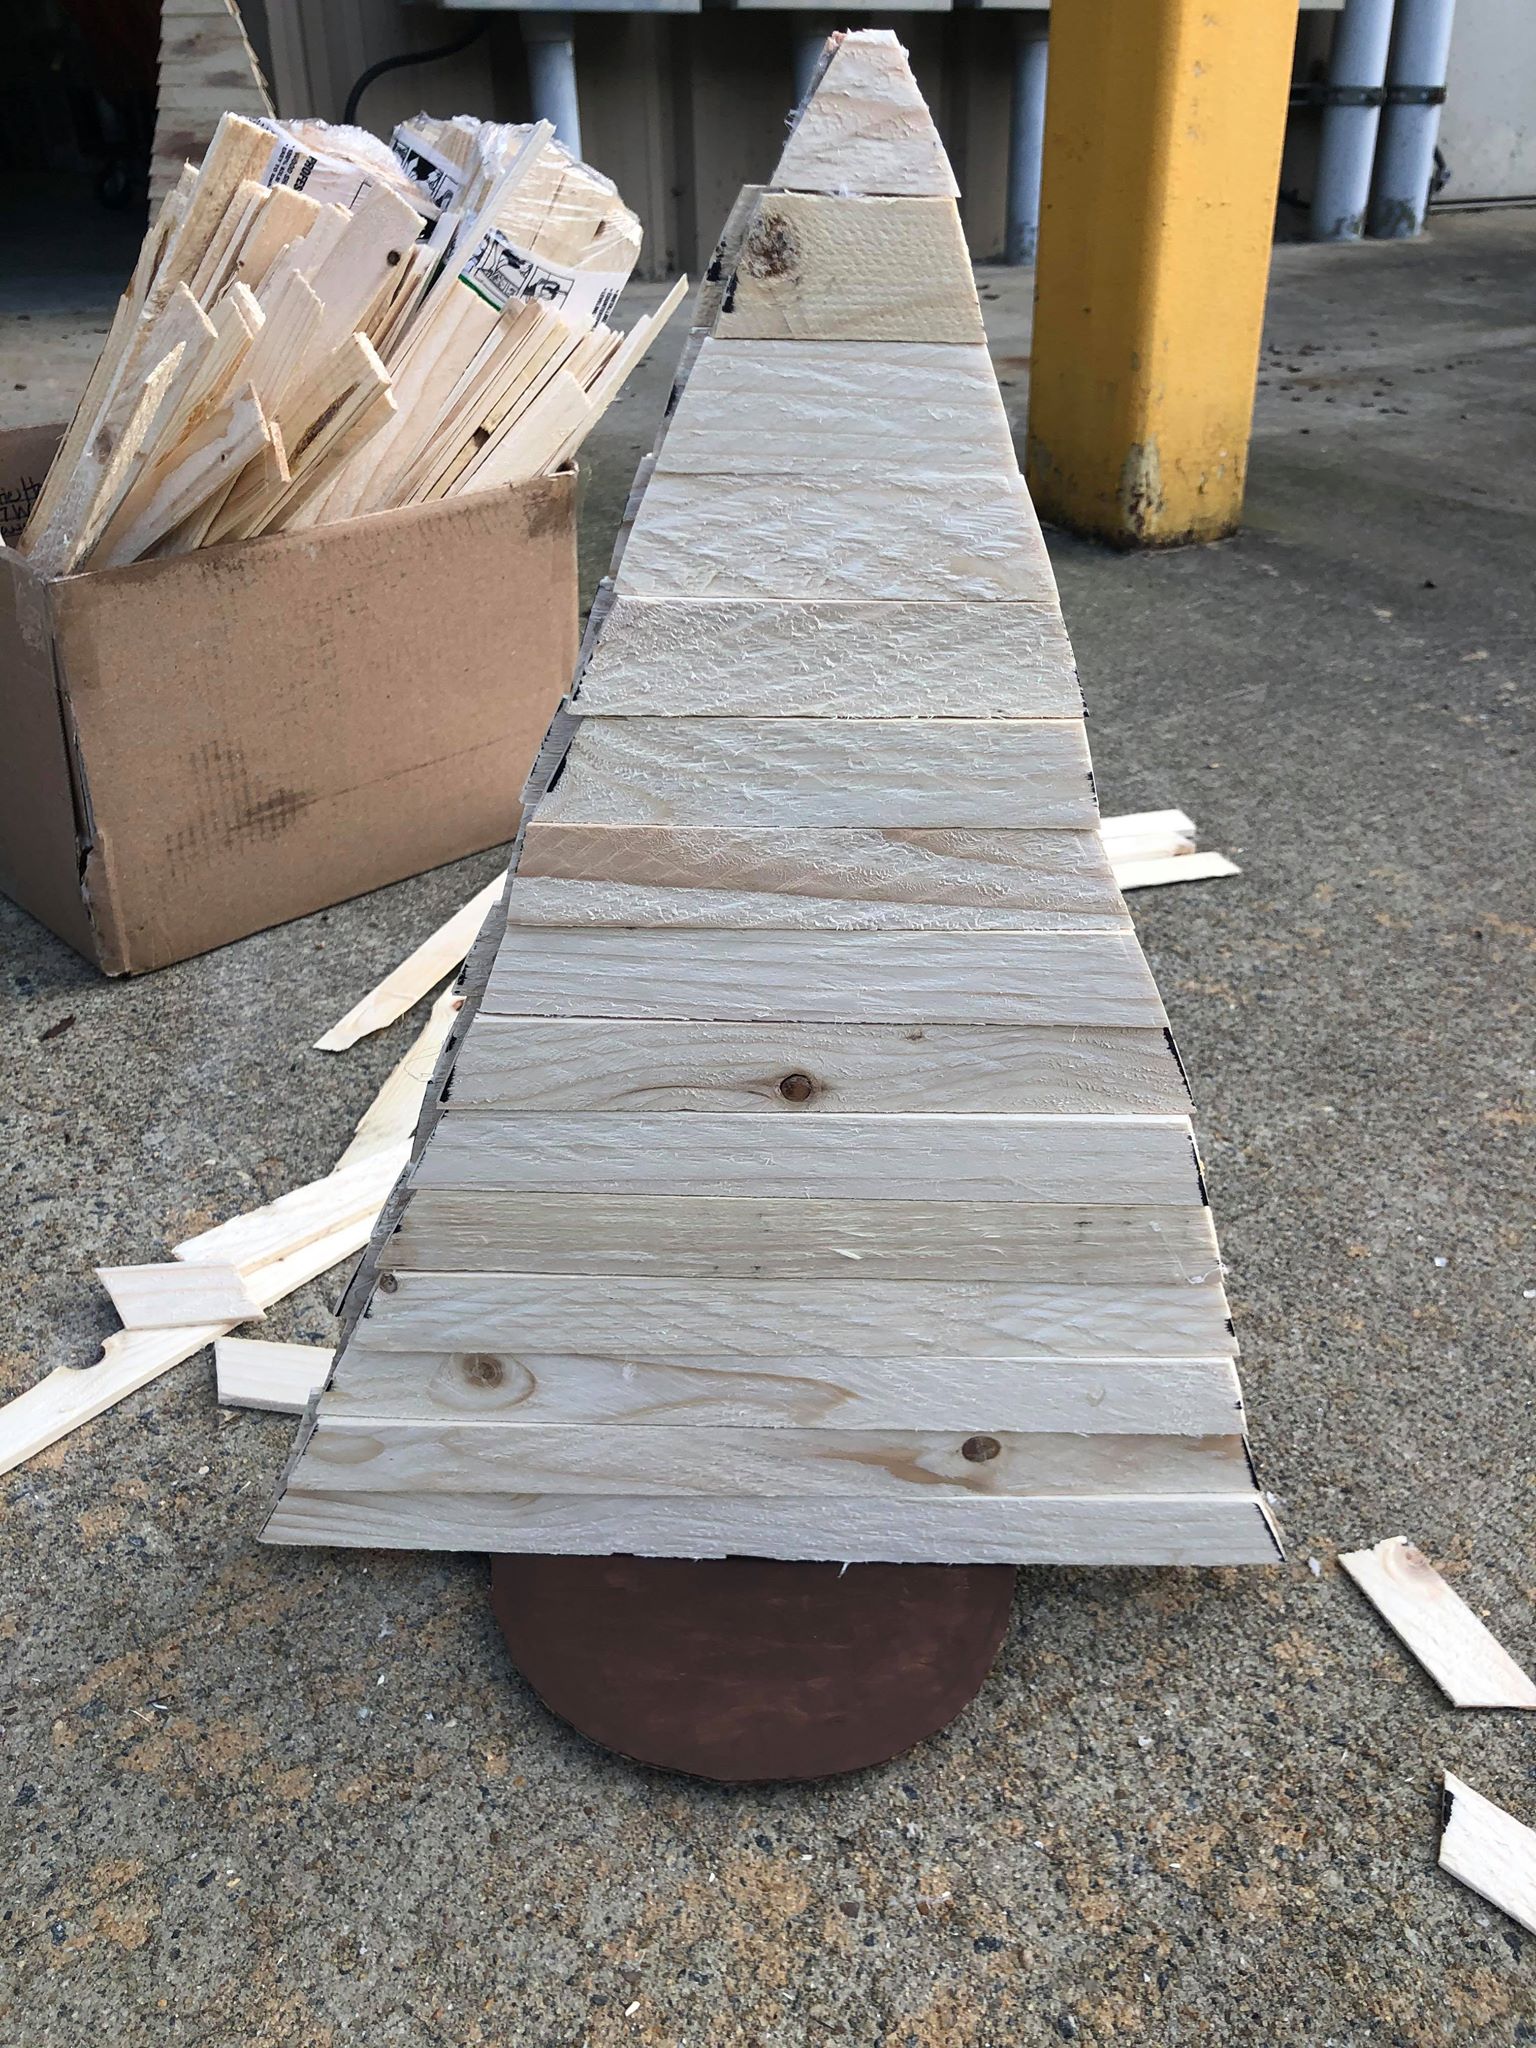
Now you need to trace the bottom part of the metal paper towel holder.

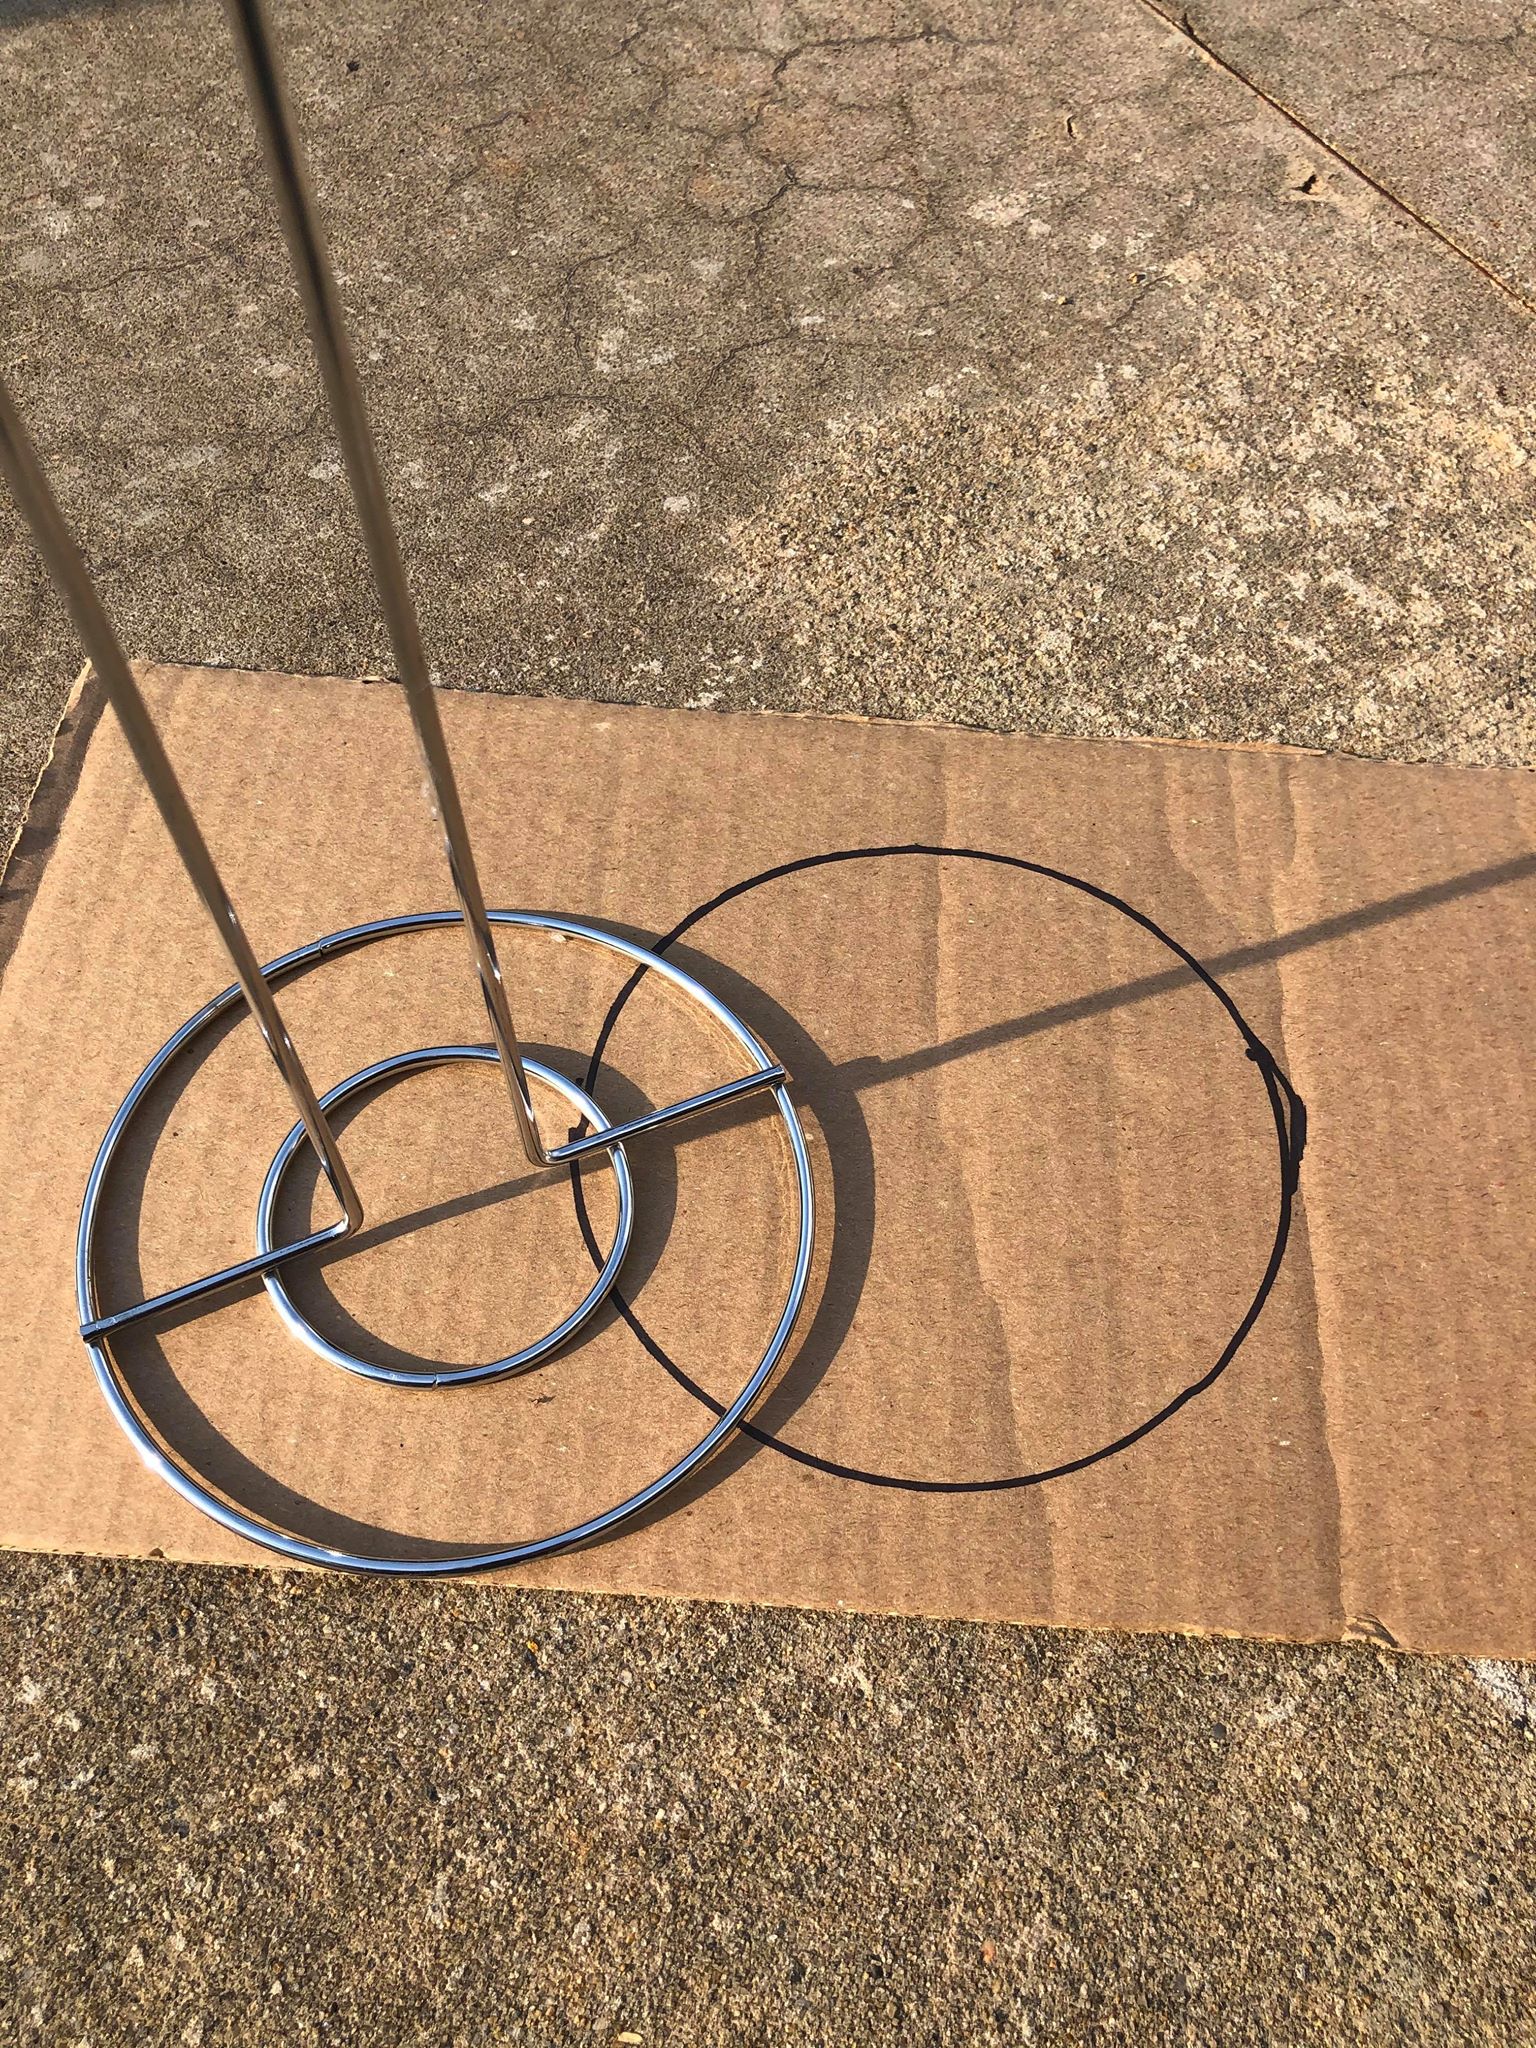
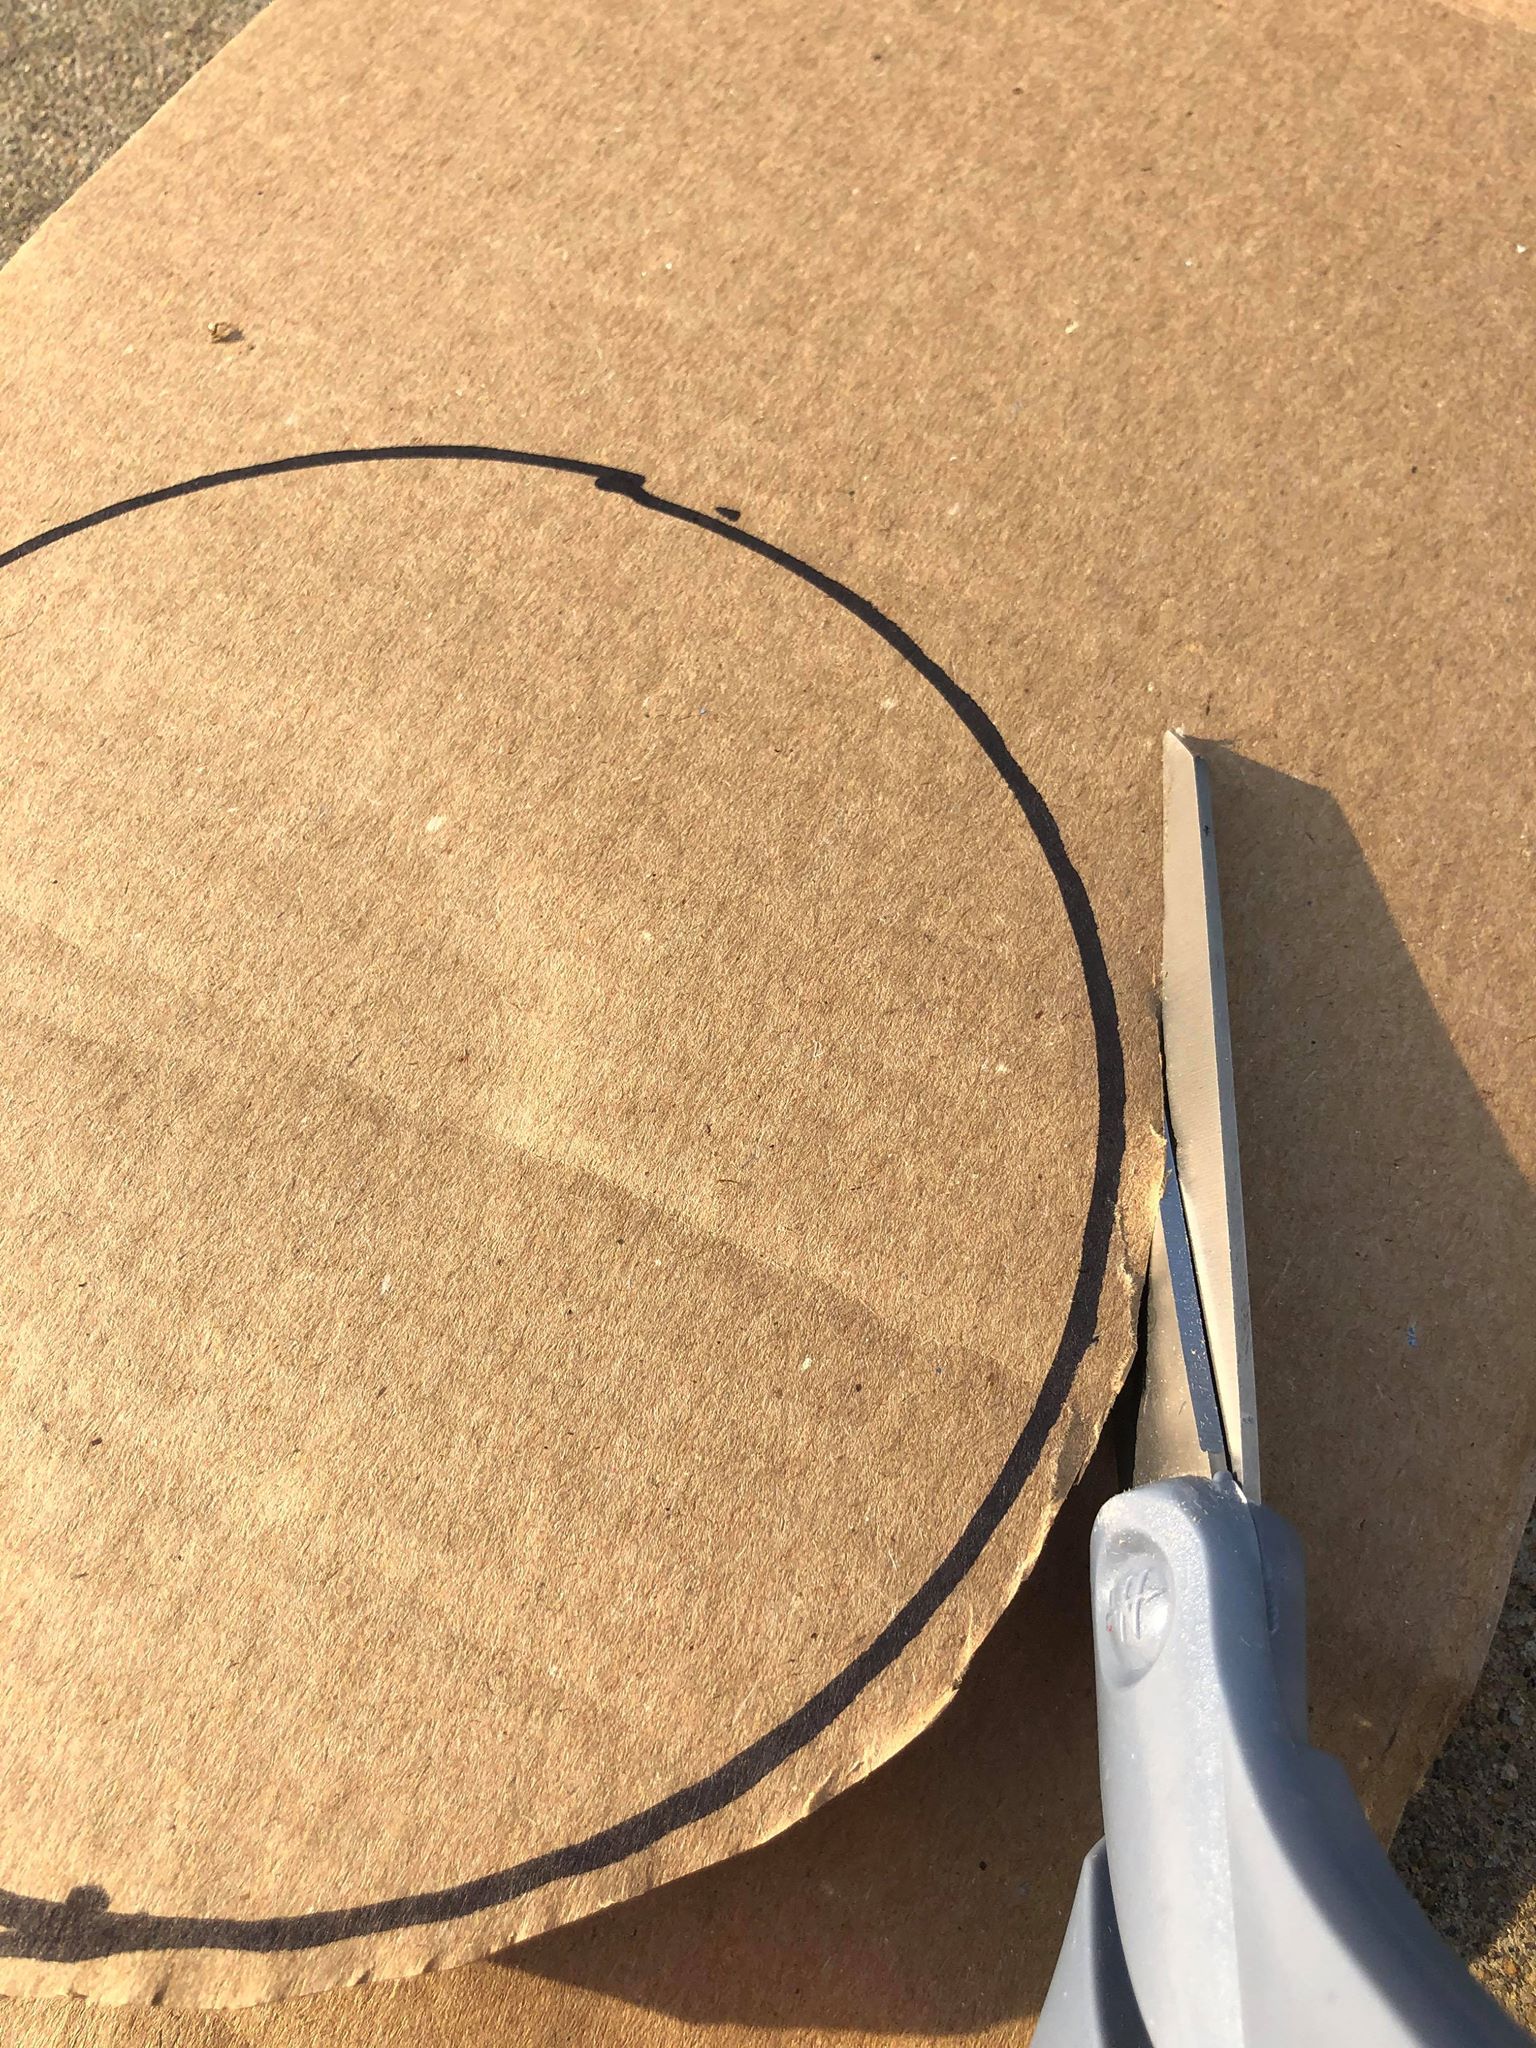
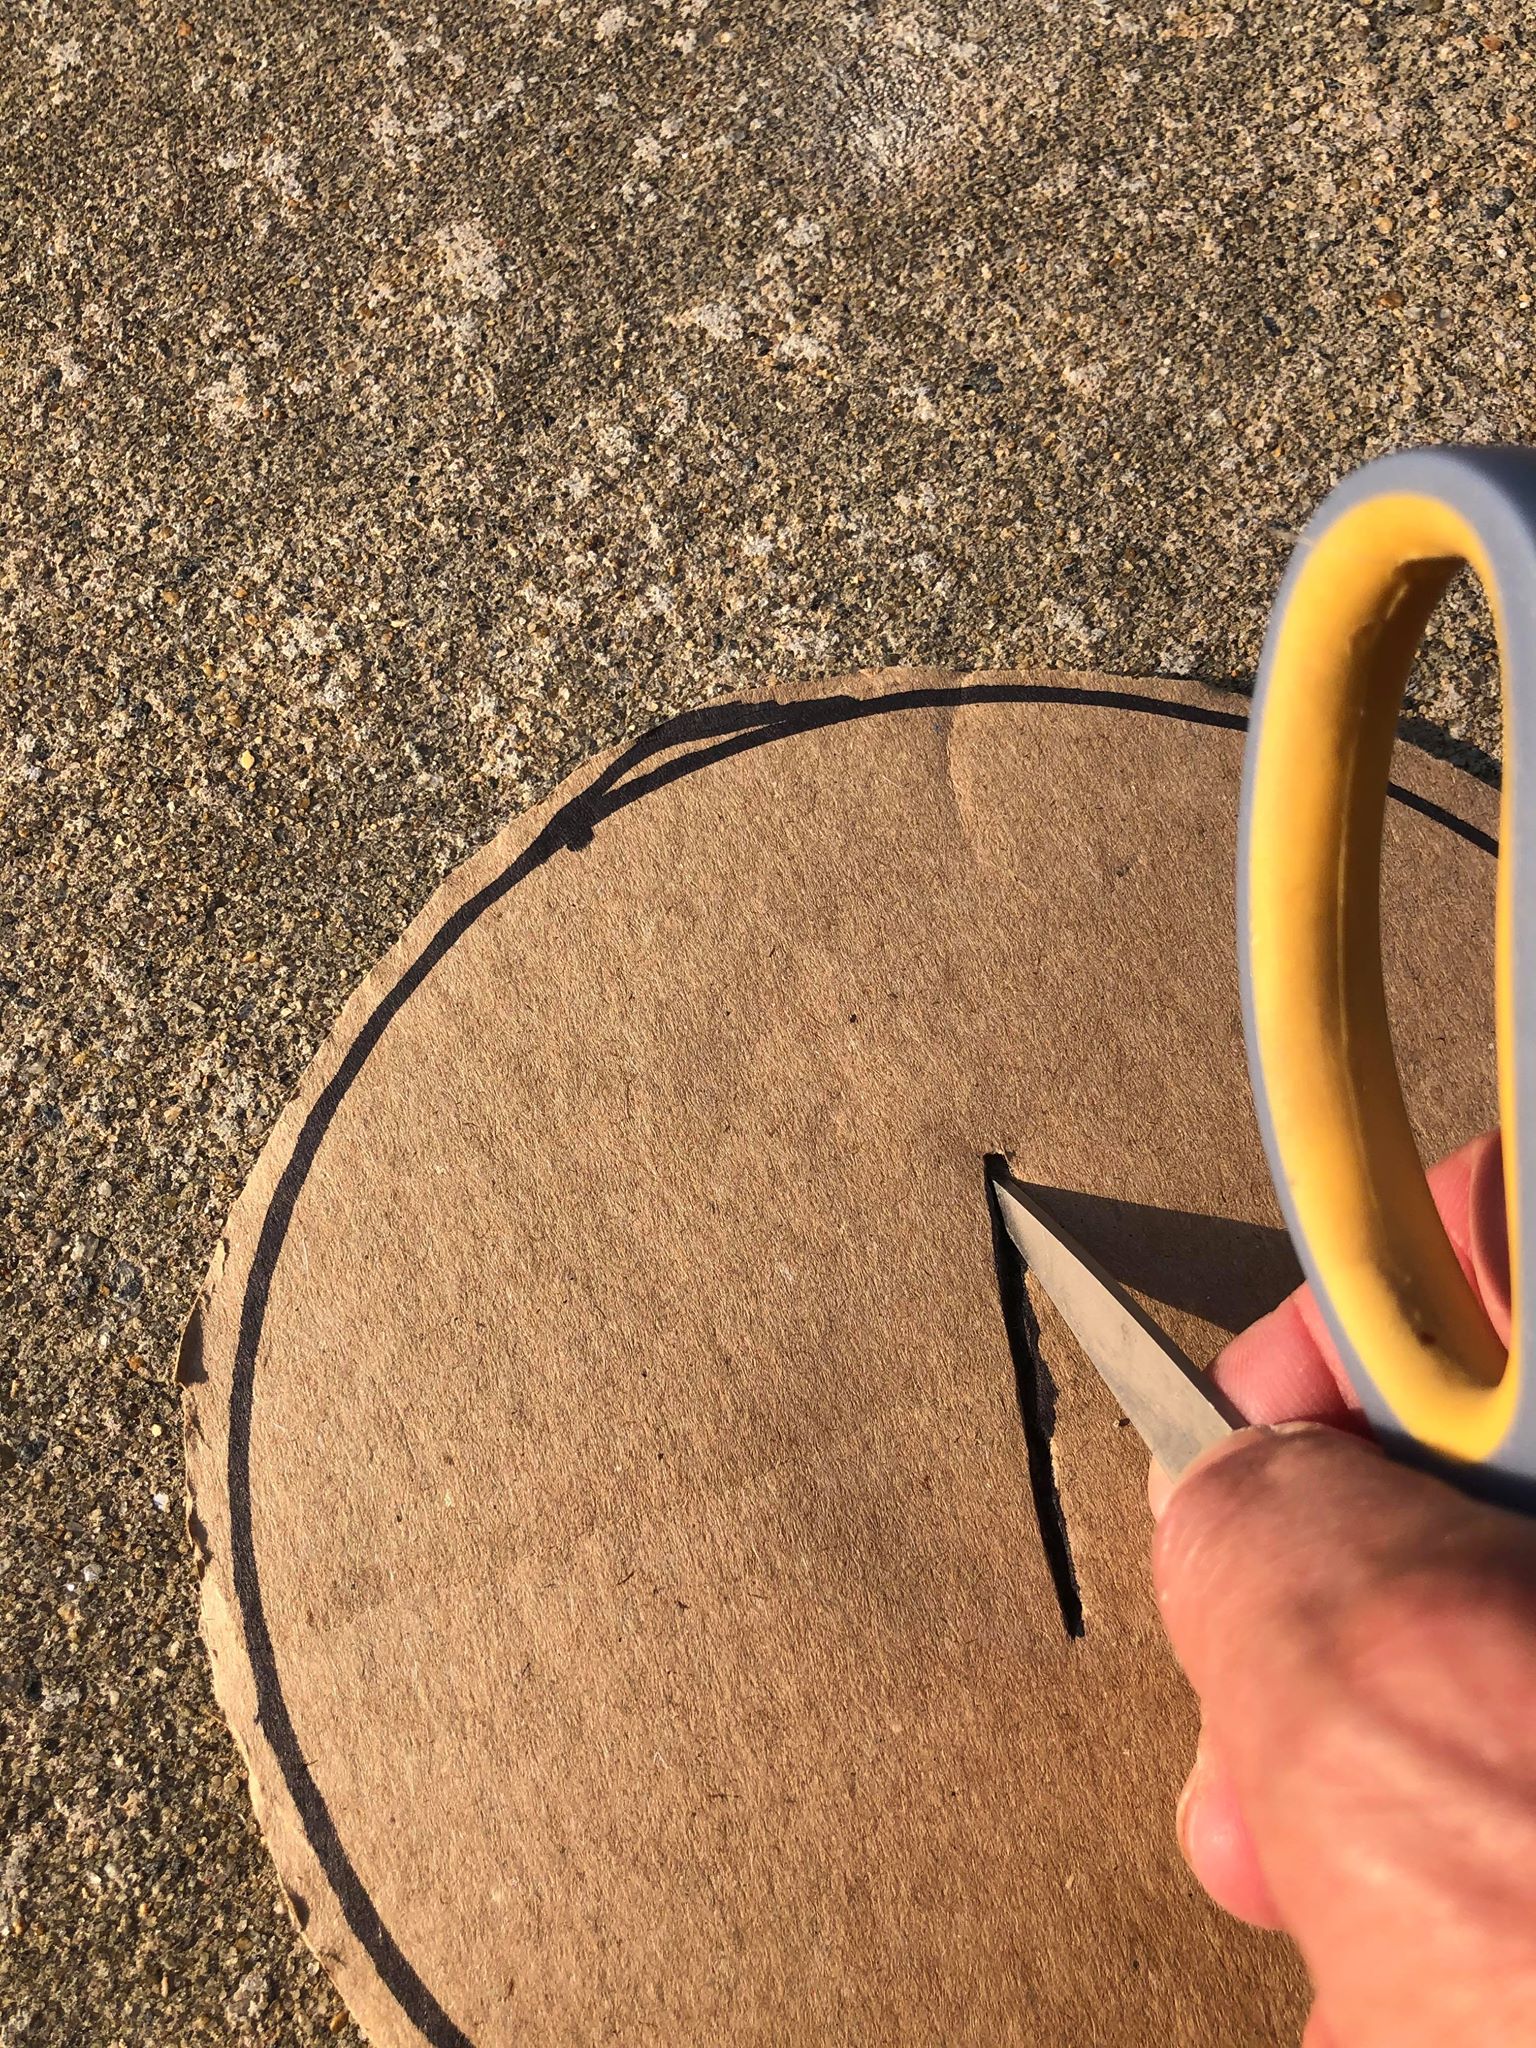
Once you have your circle cut out you will need to cut a slit in the center. This slit will allow you to slide the circle down over the metal paper towel holder.
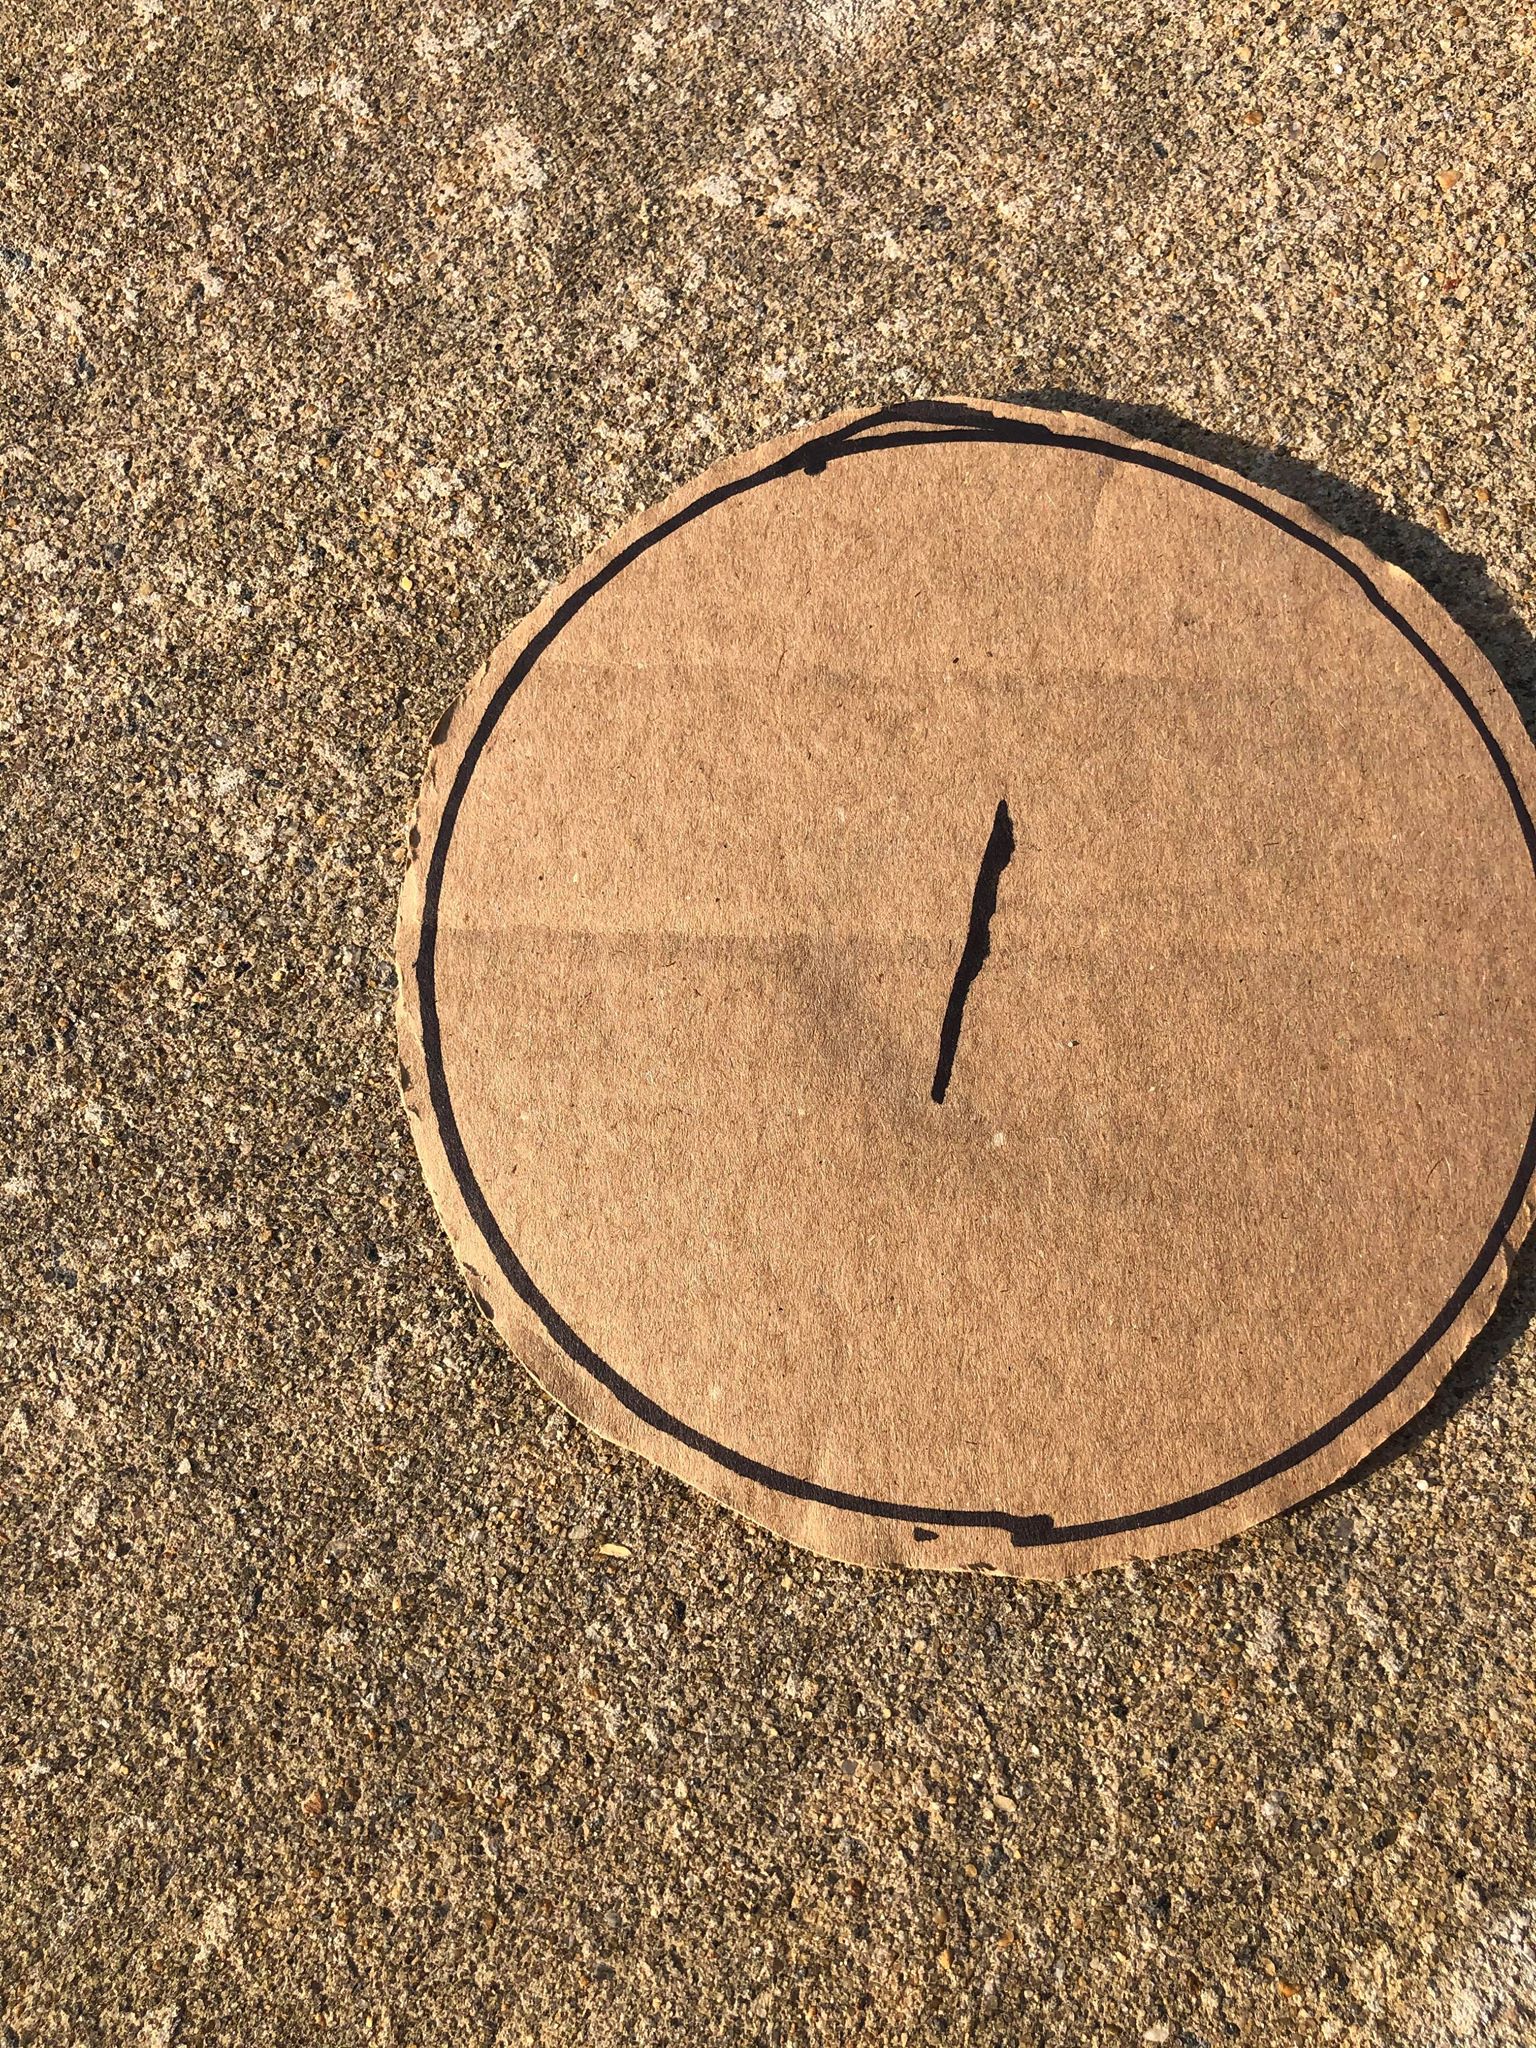
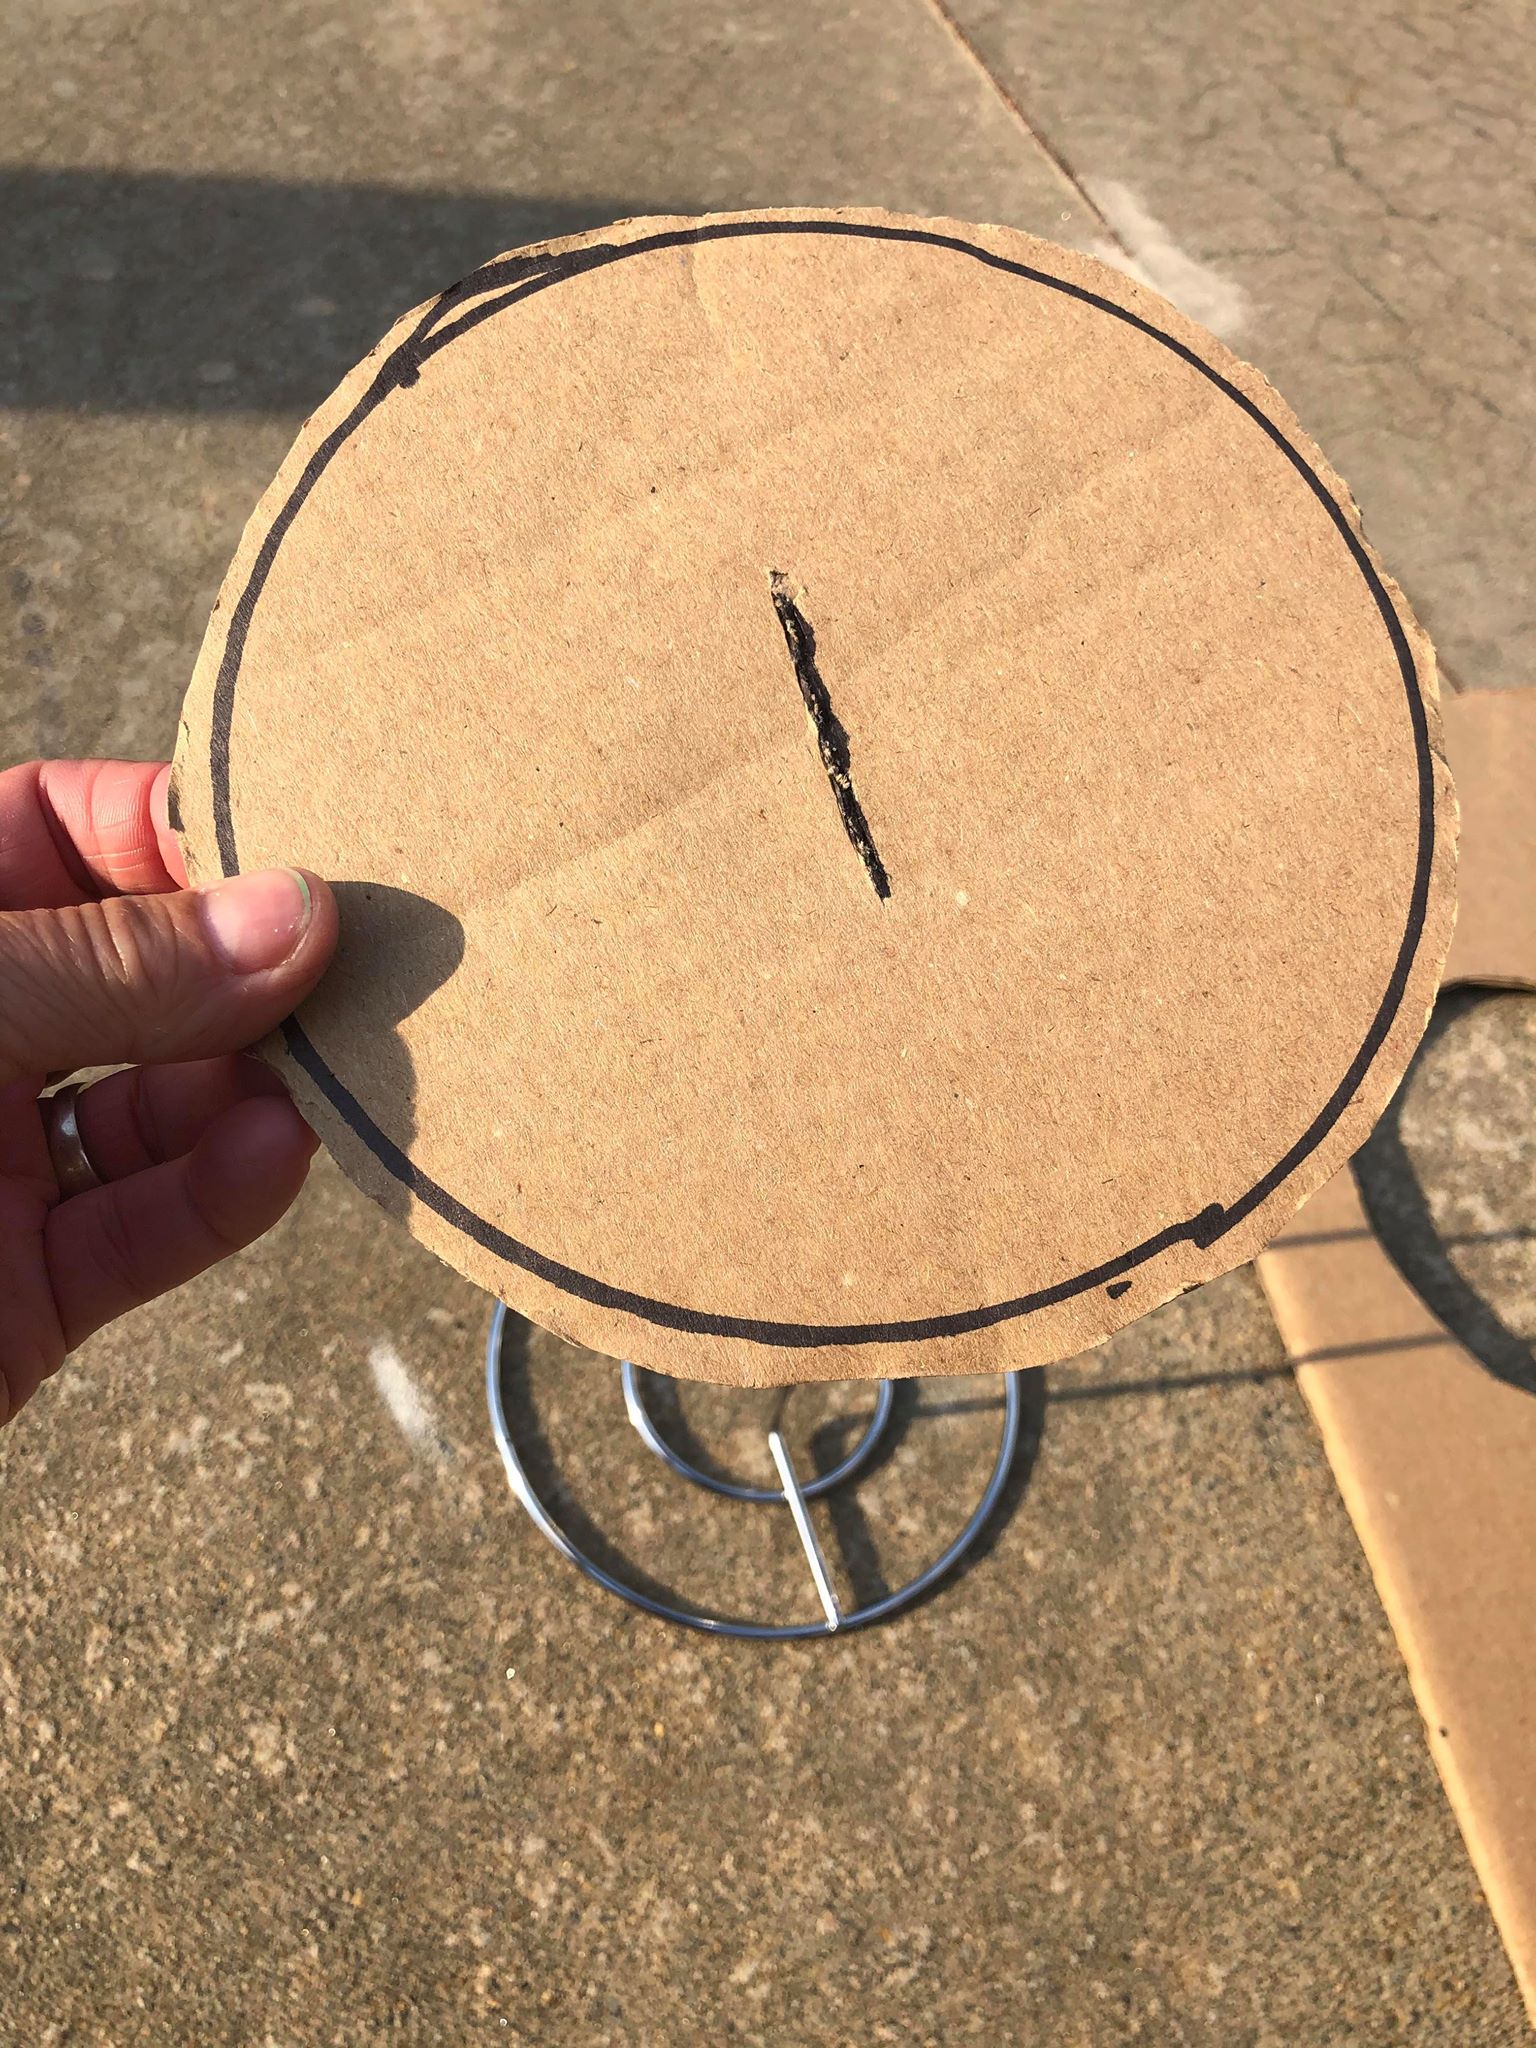
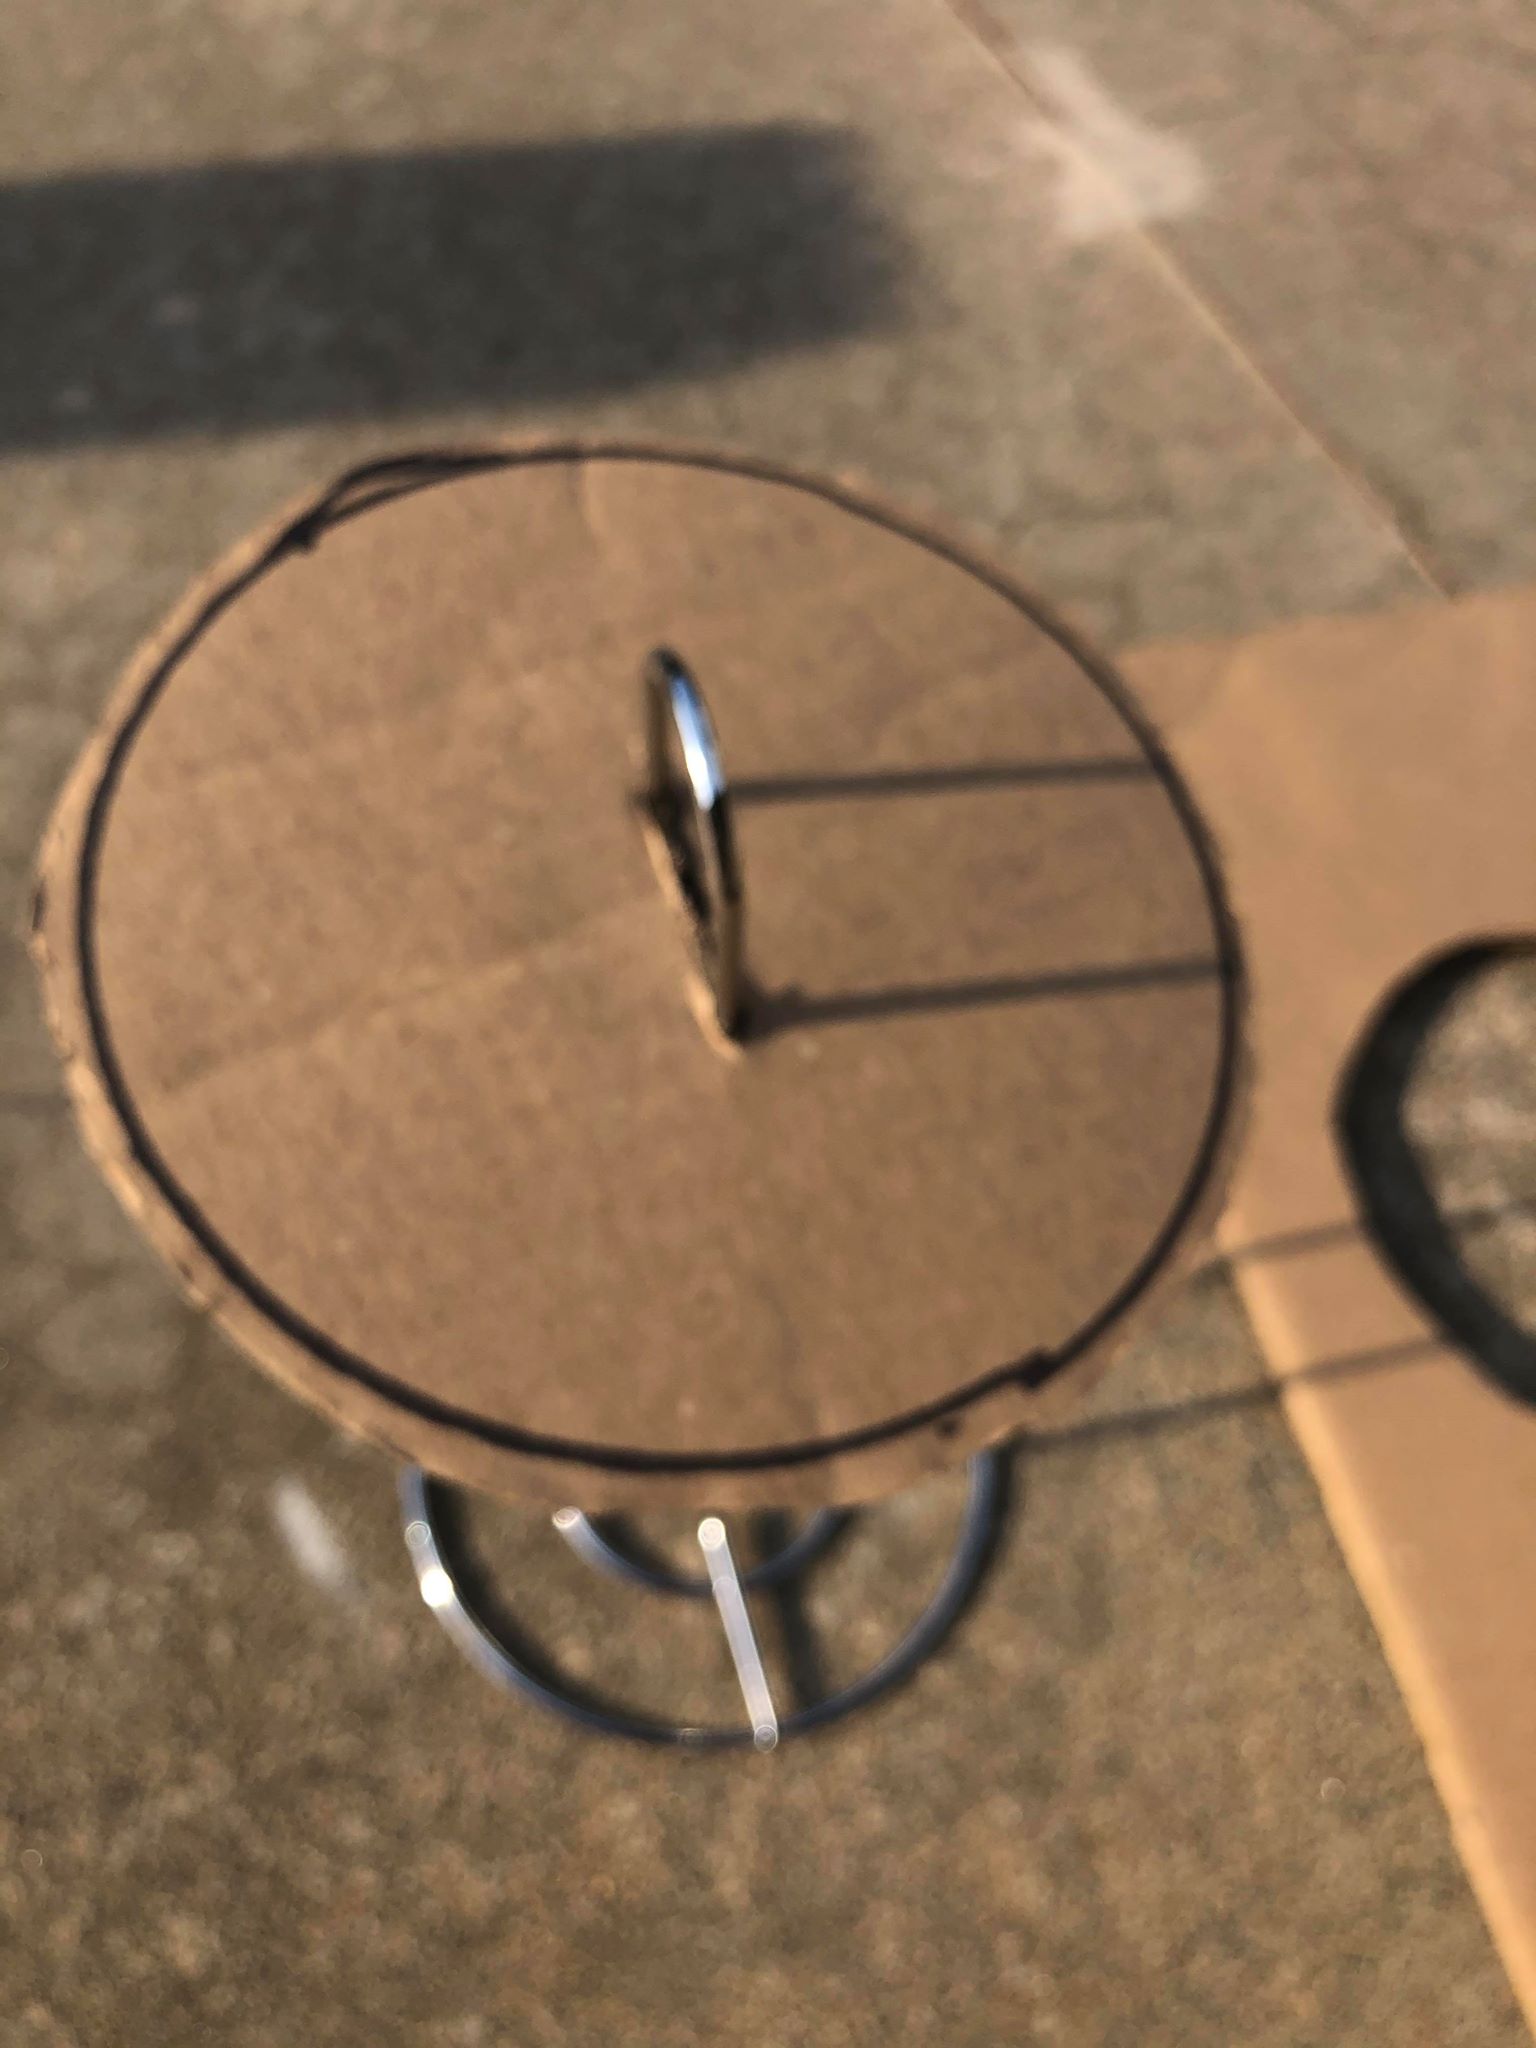
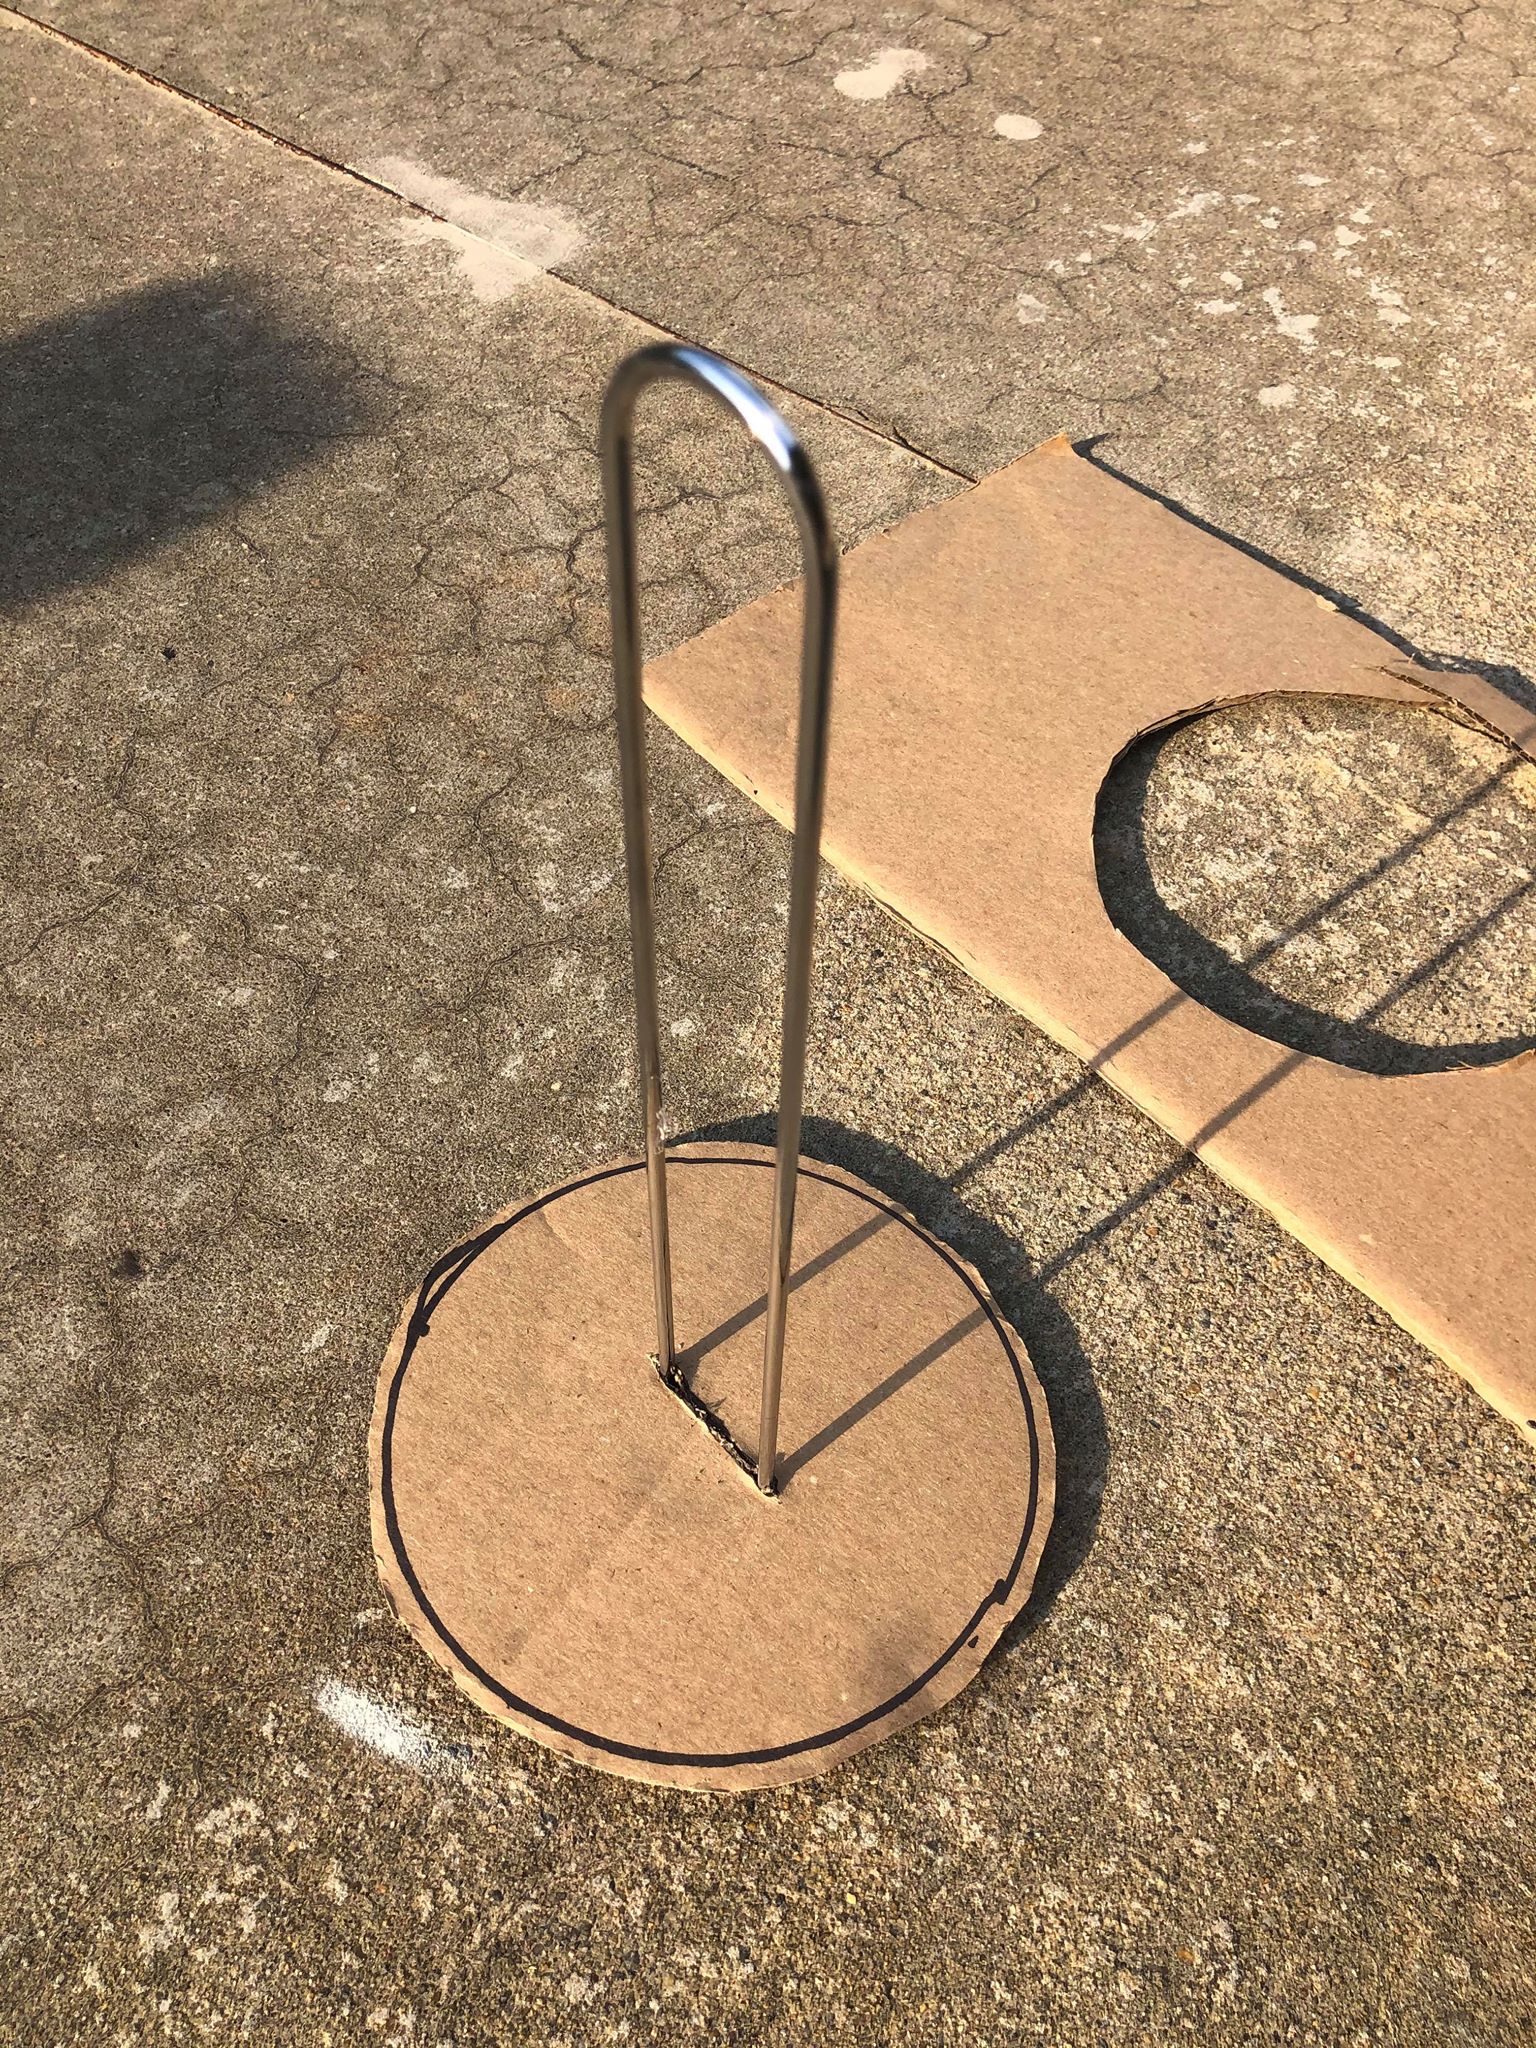
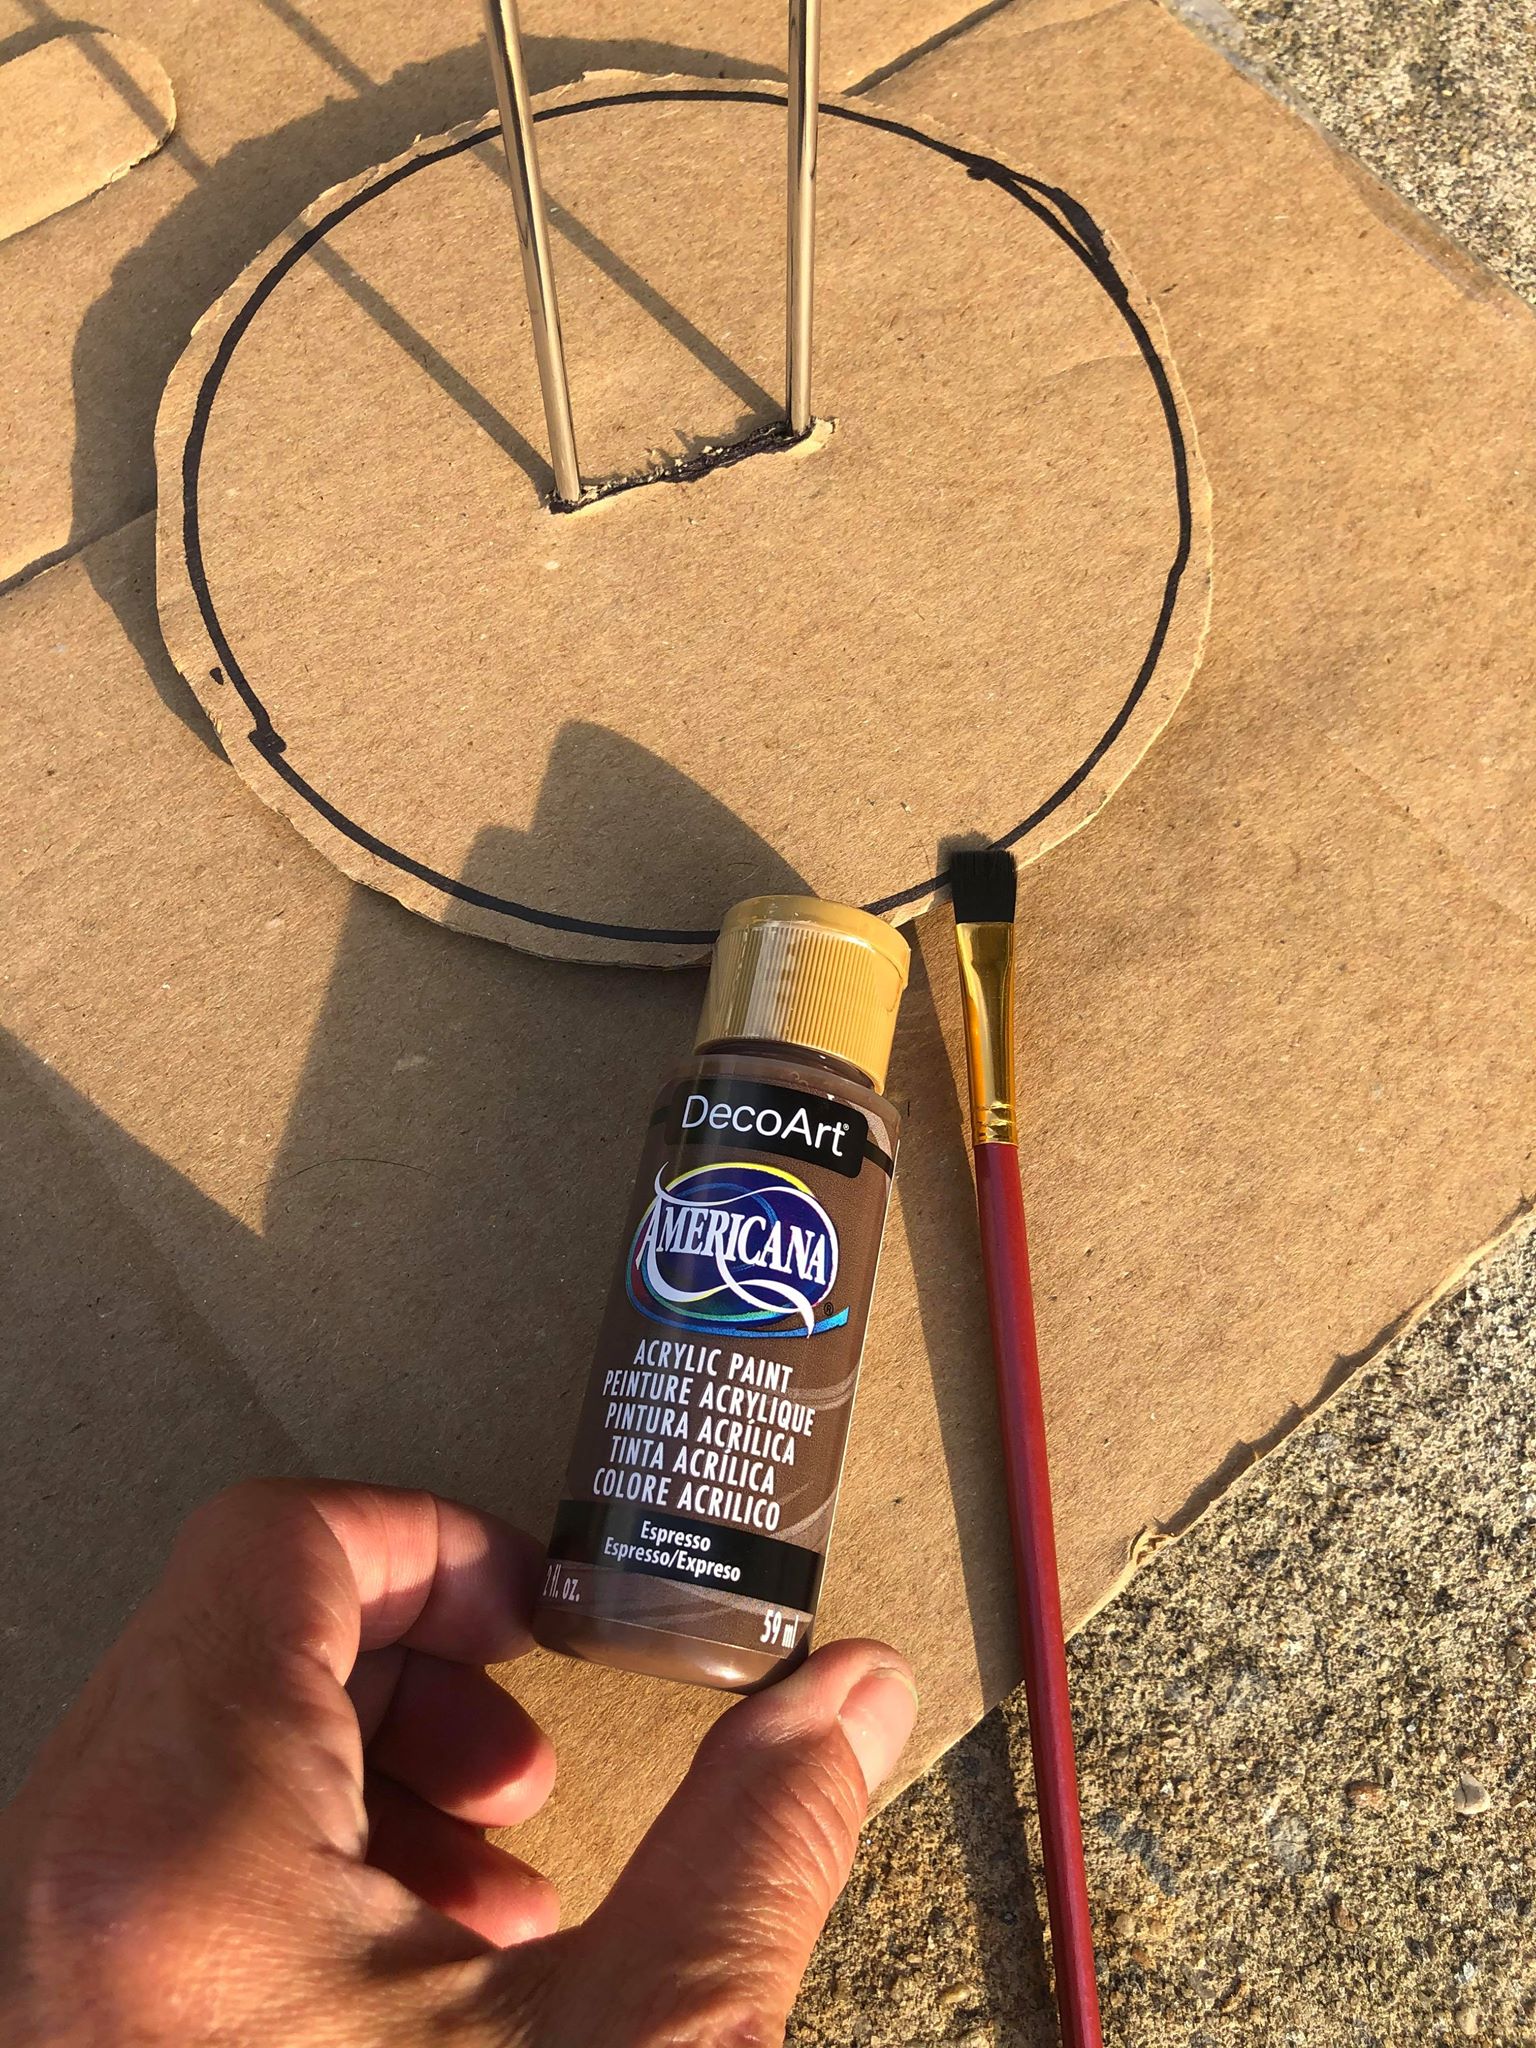
I then took a brown paint and painted the cardboard circle.
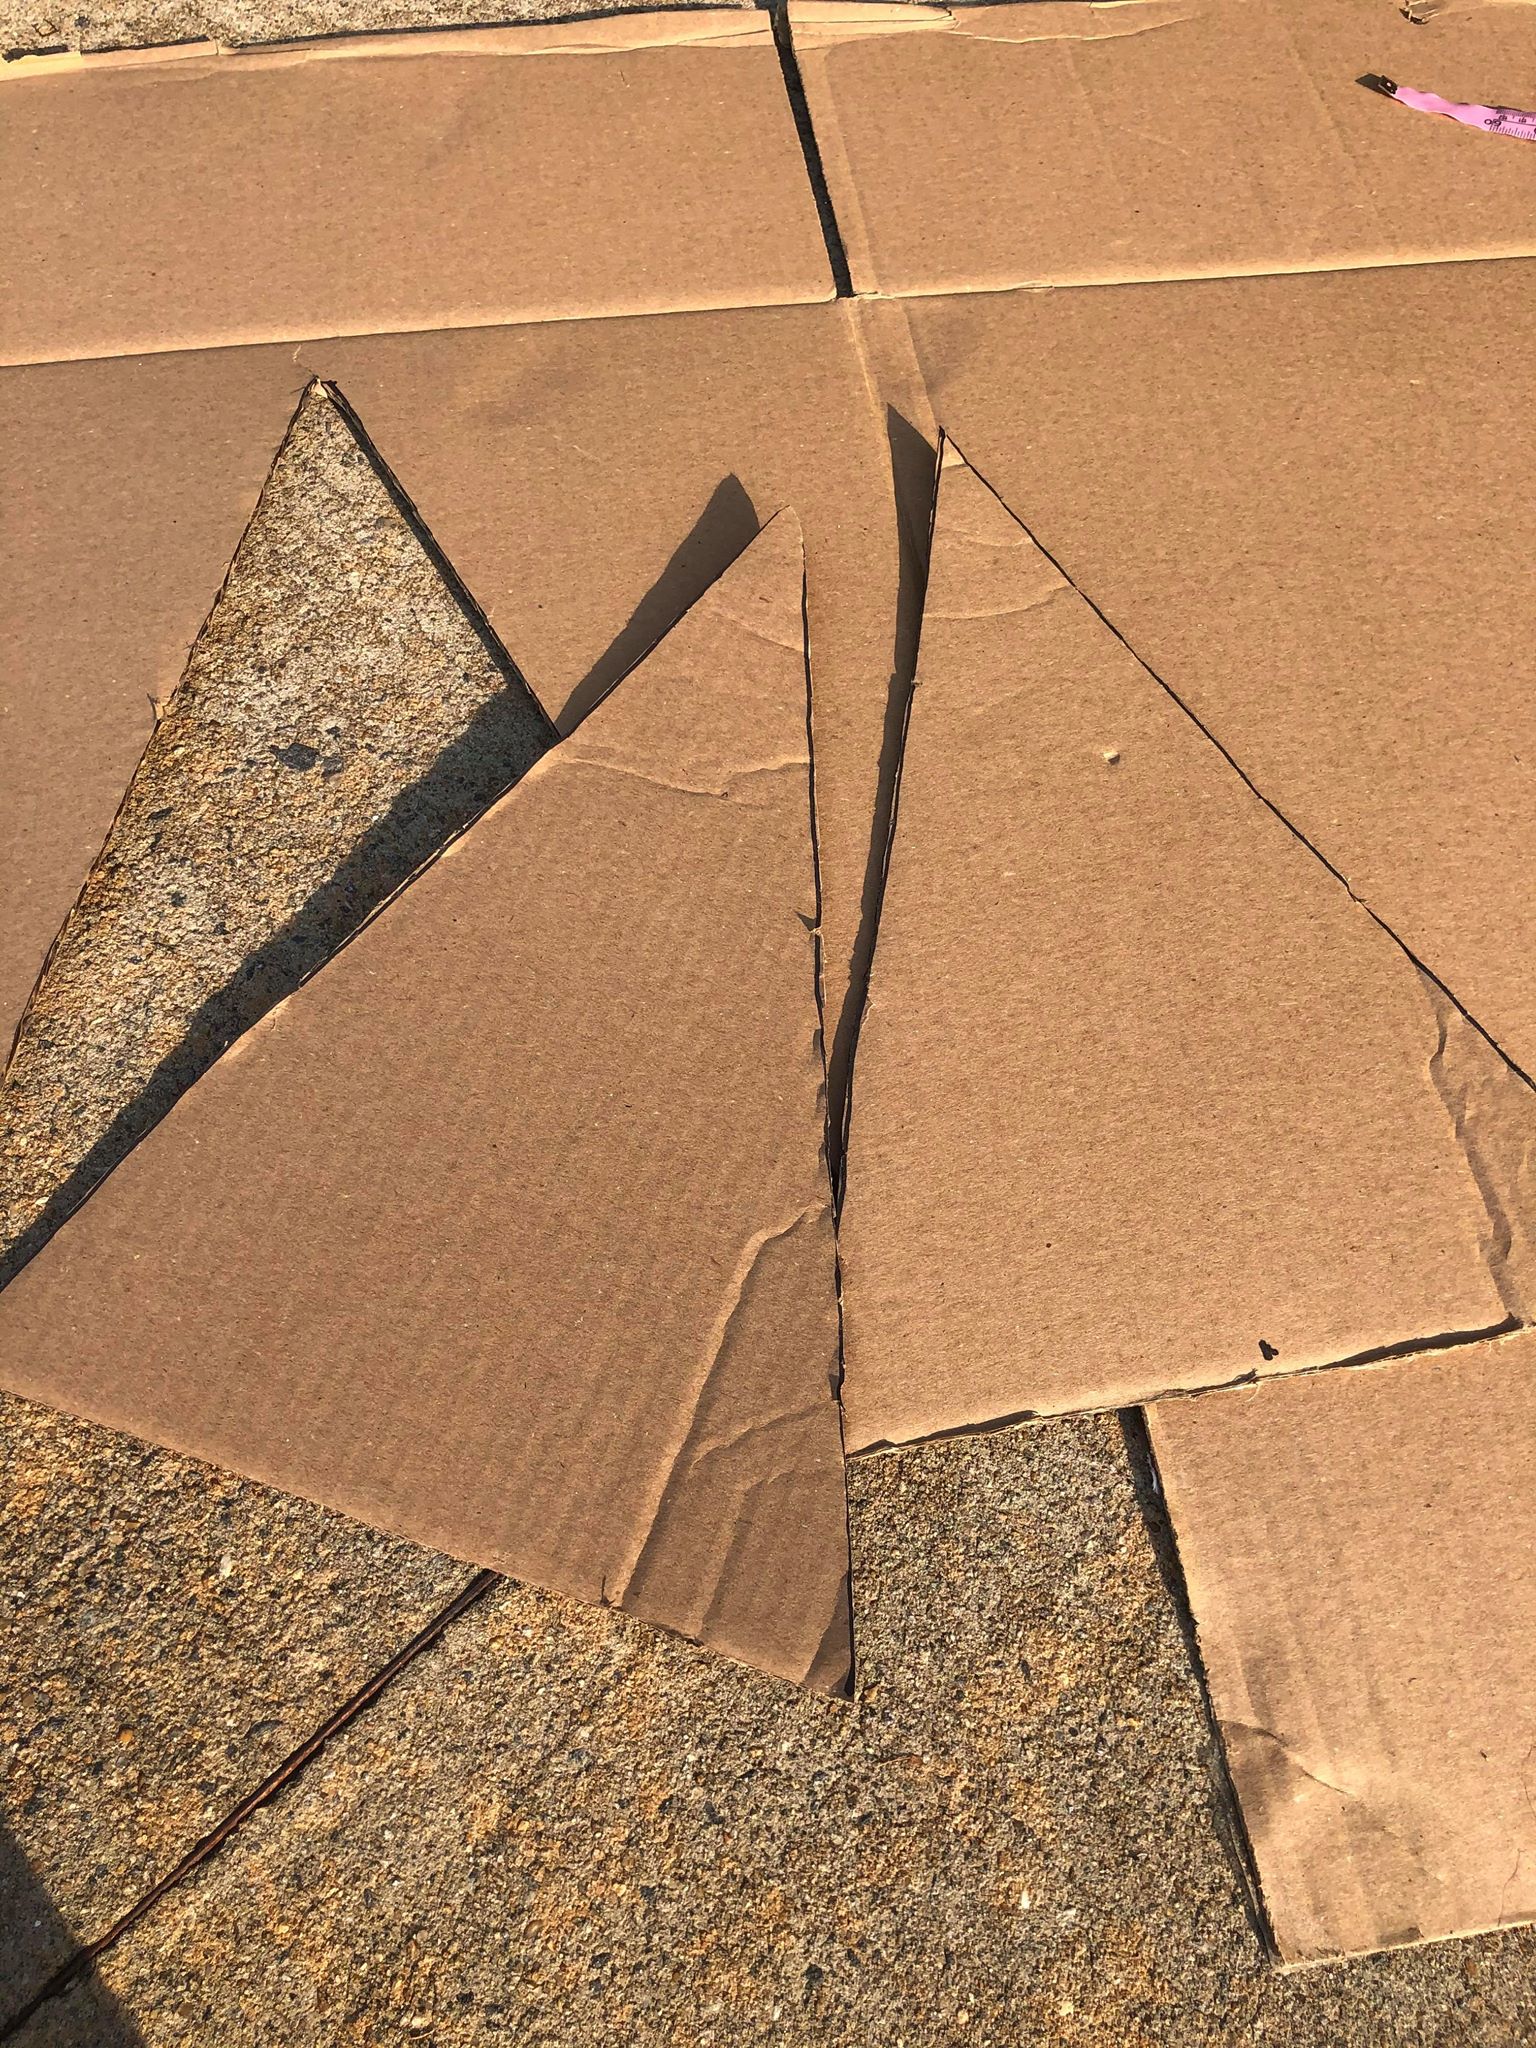
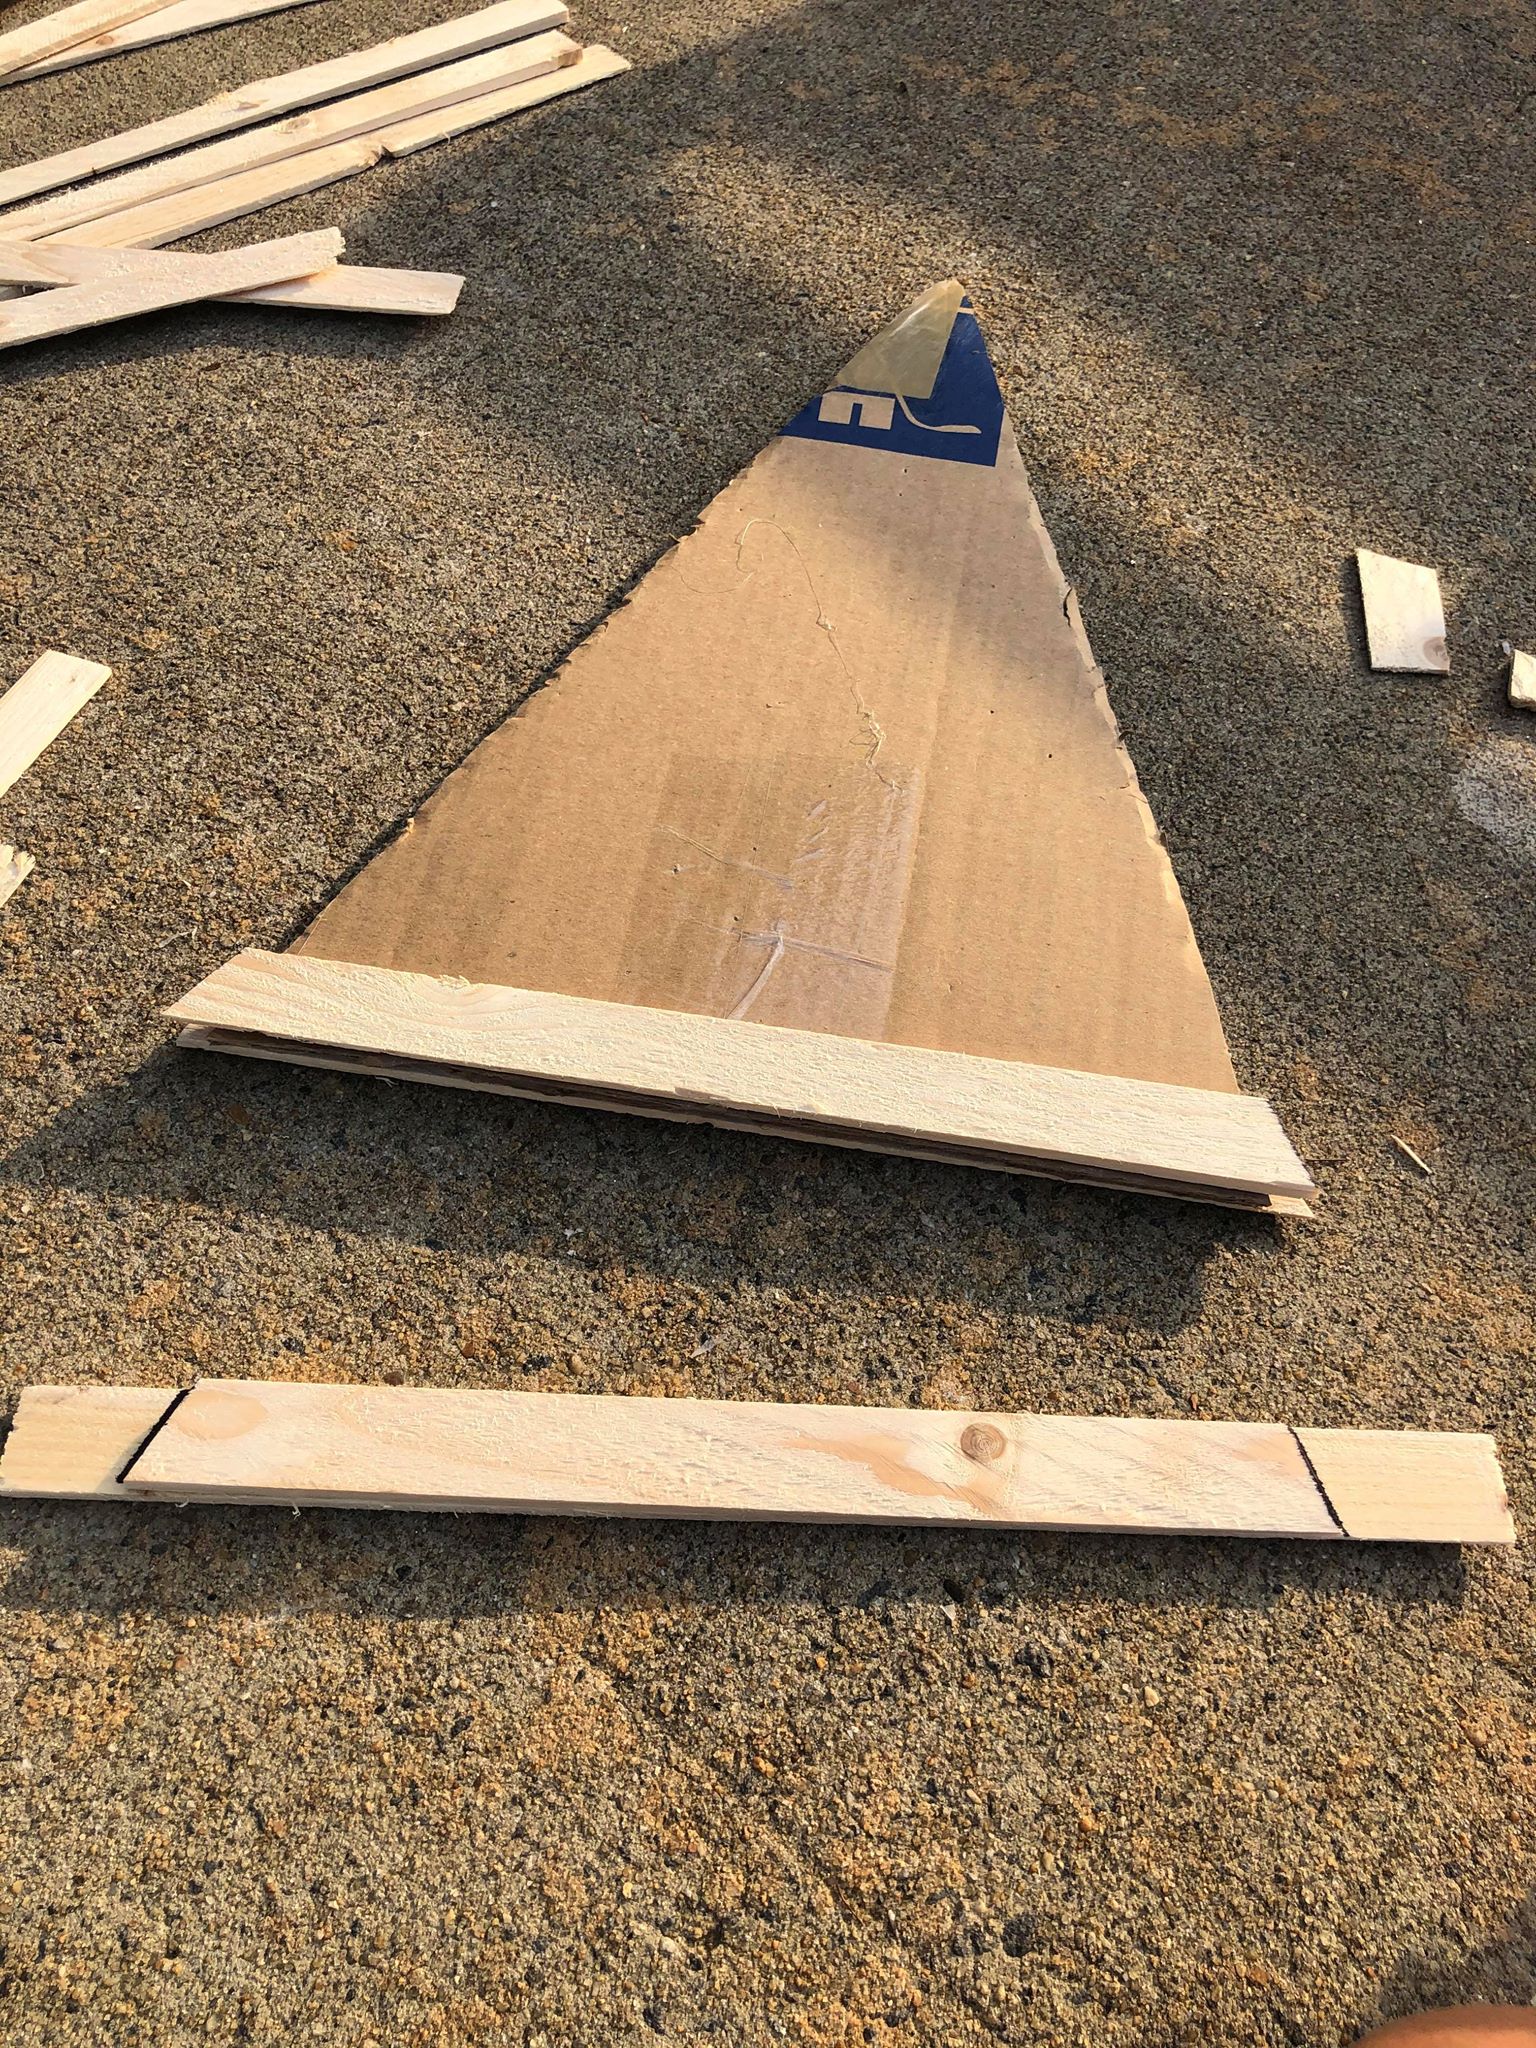
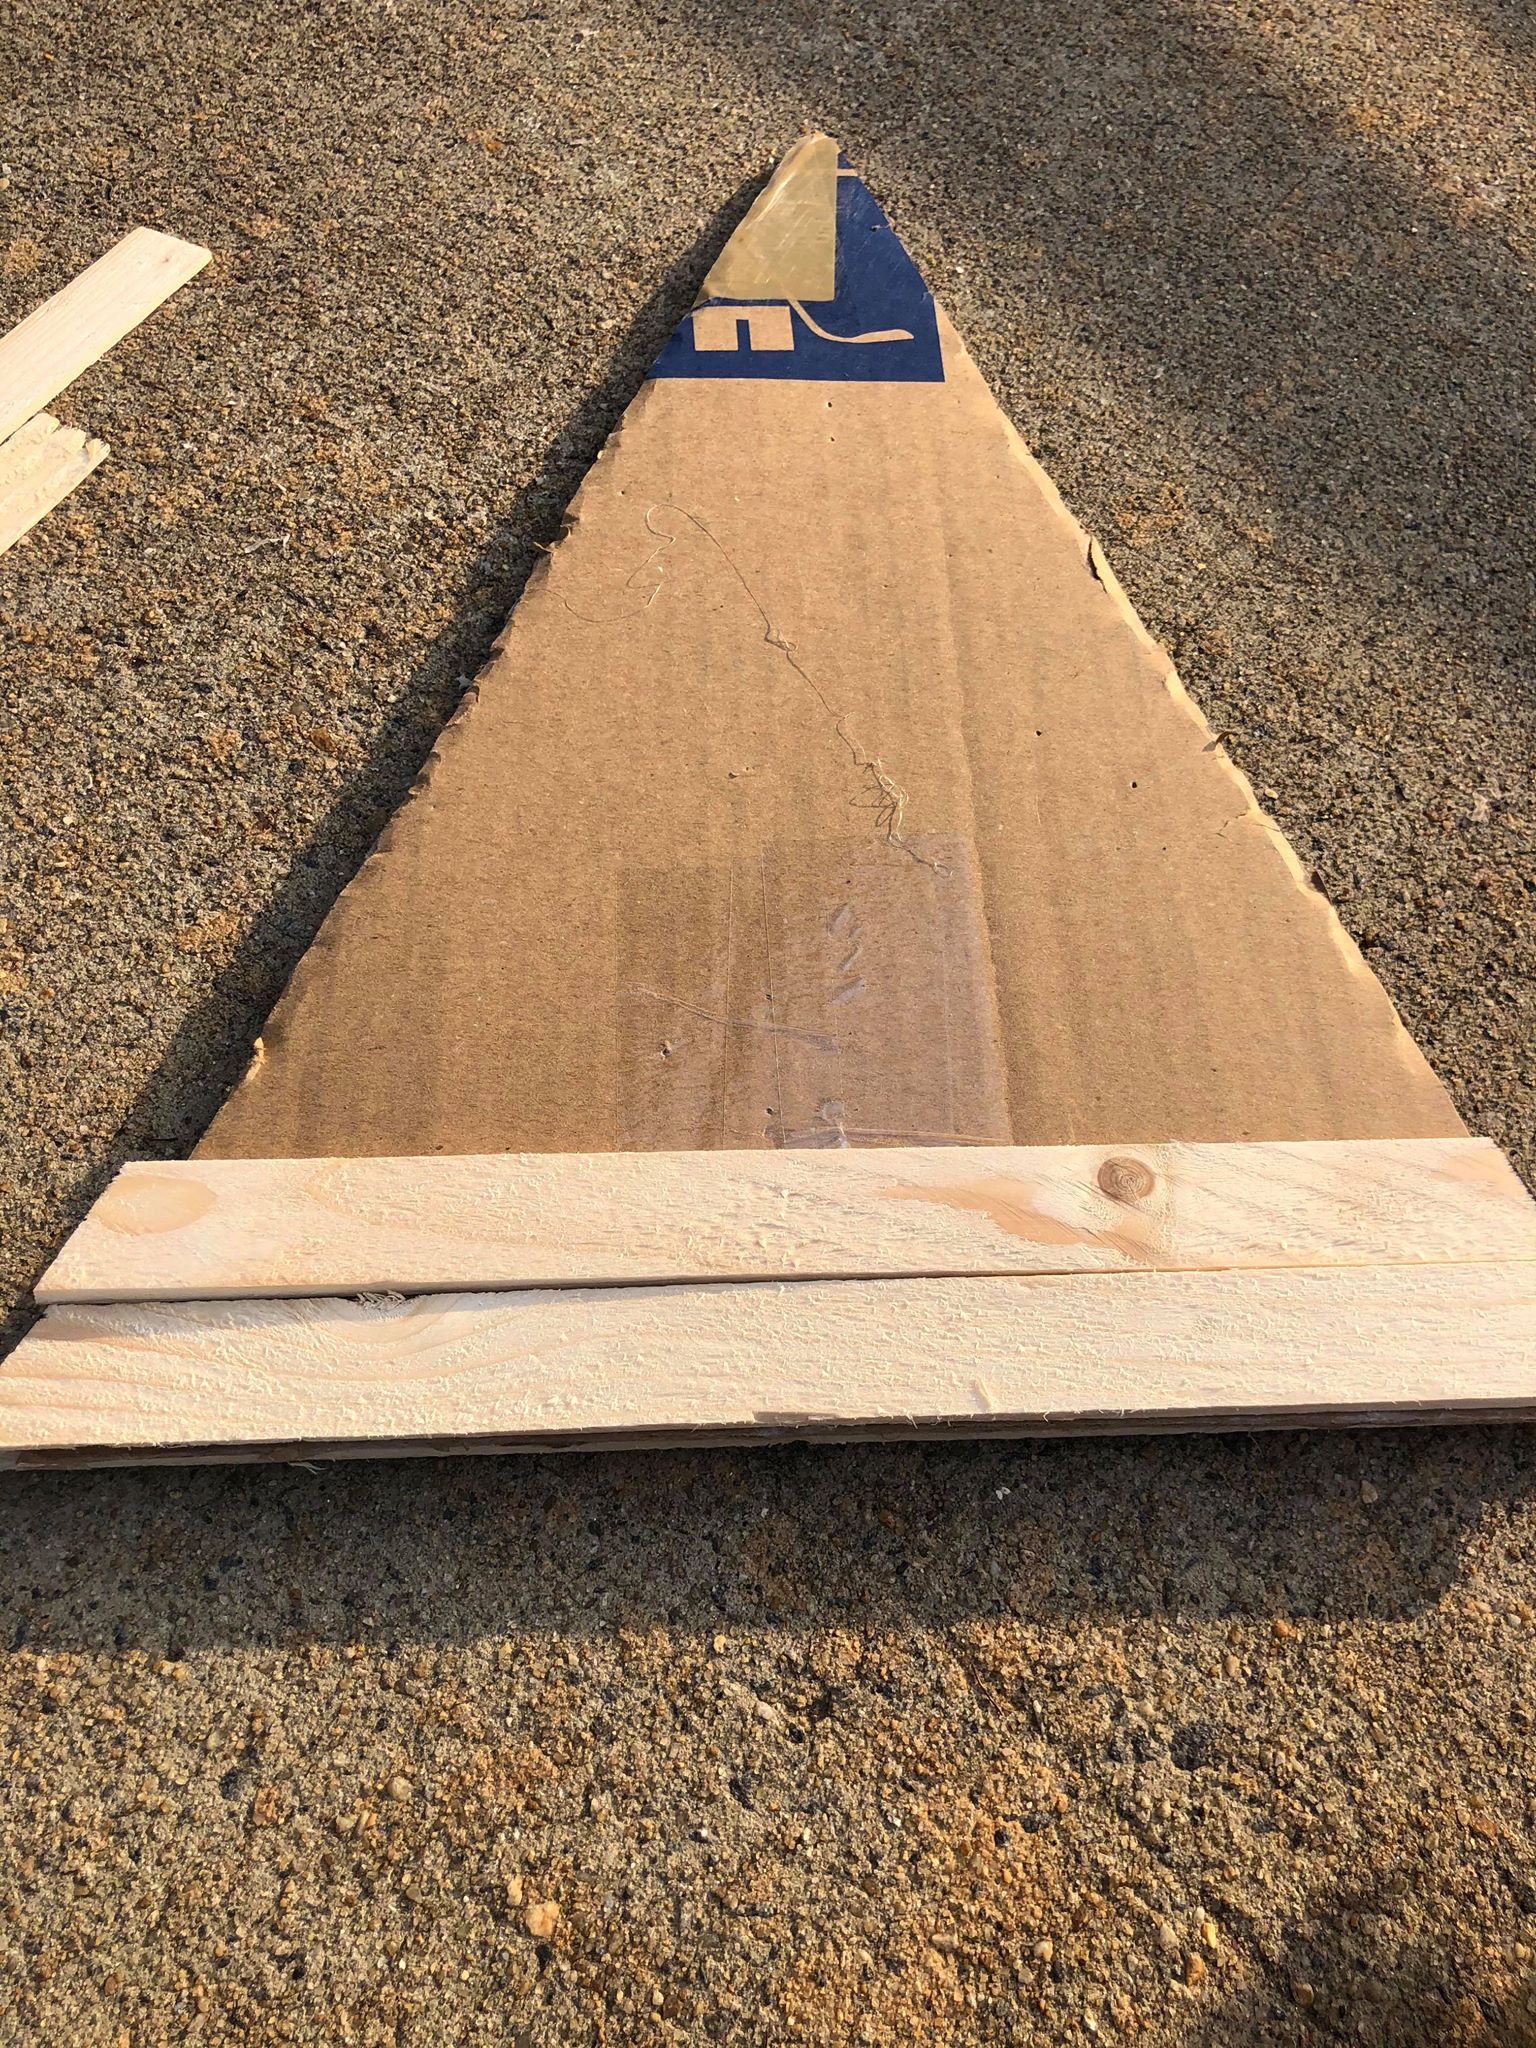
Now you need to glue your 2 triangles together.
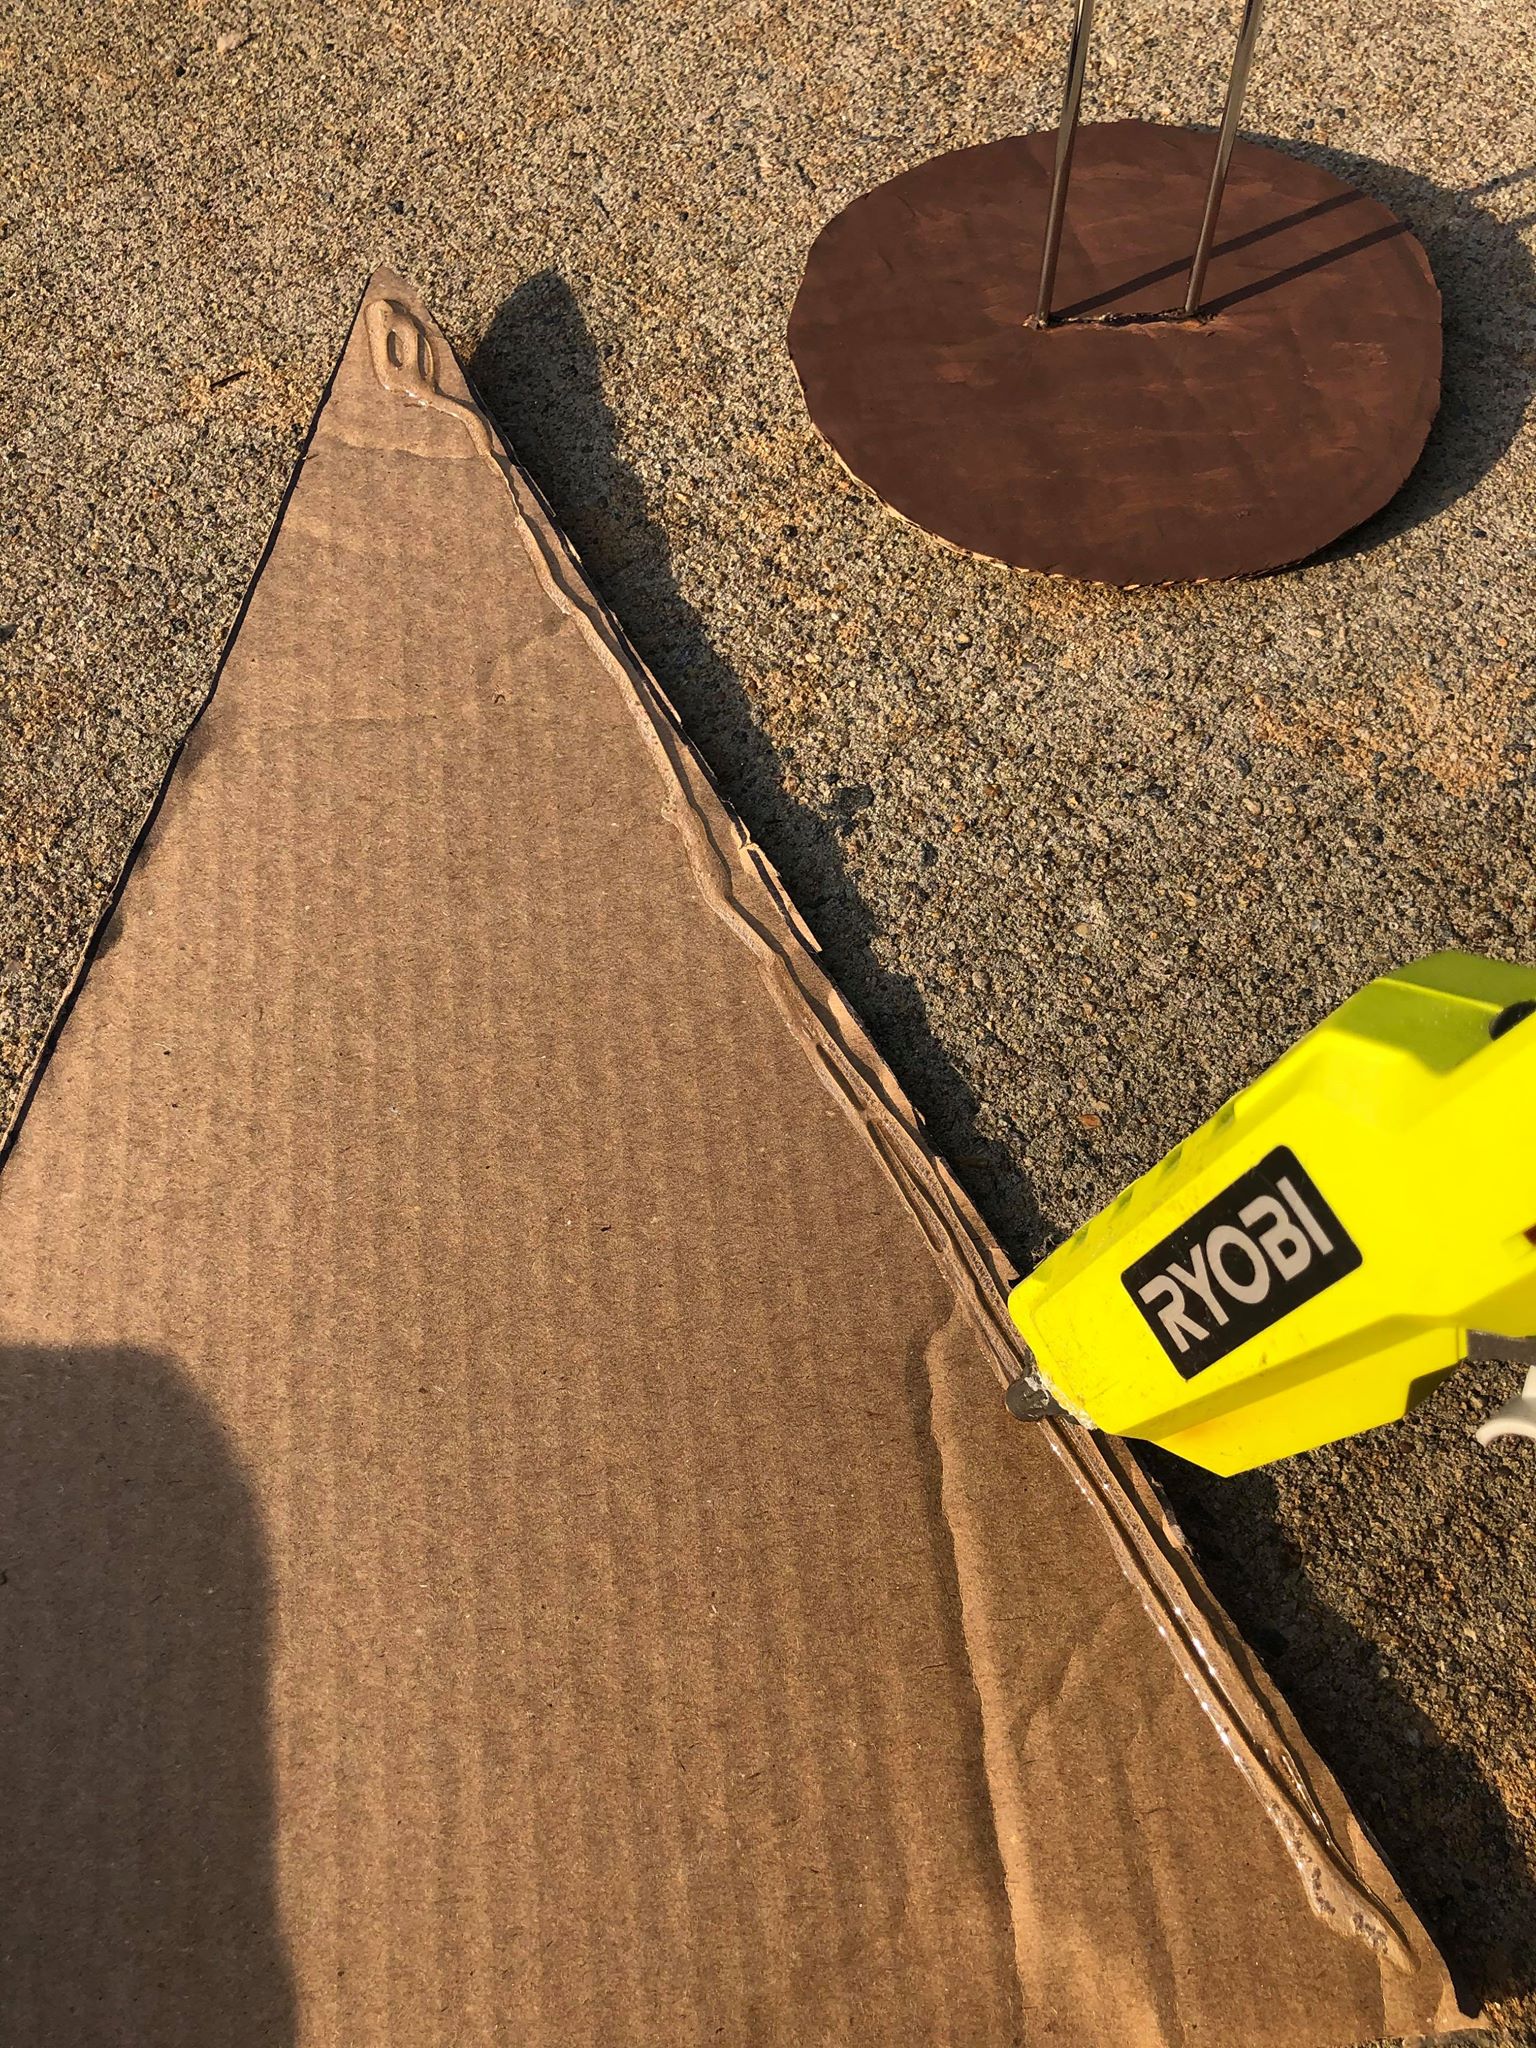
I am only placing glue down the 2 sides of the triangle.
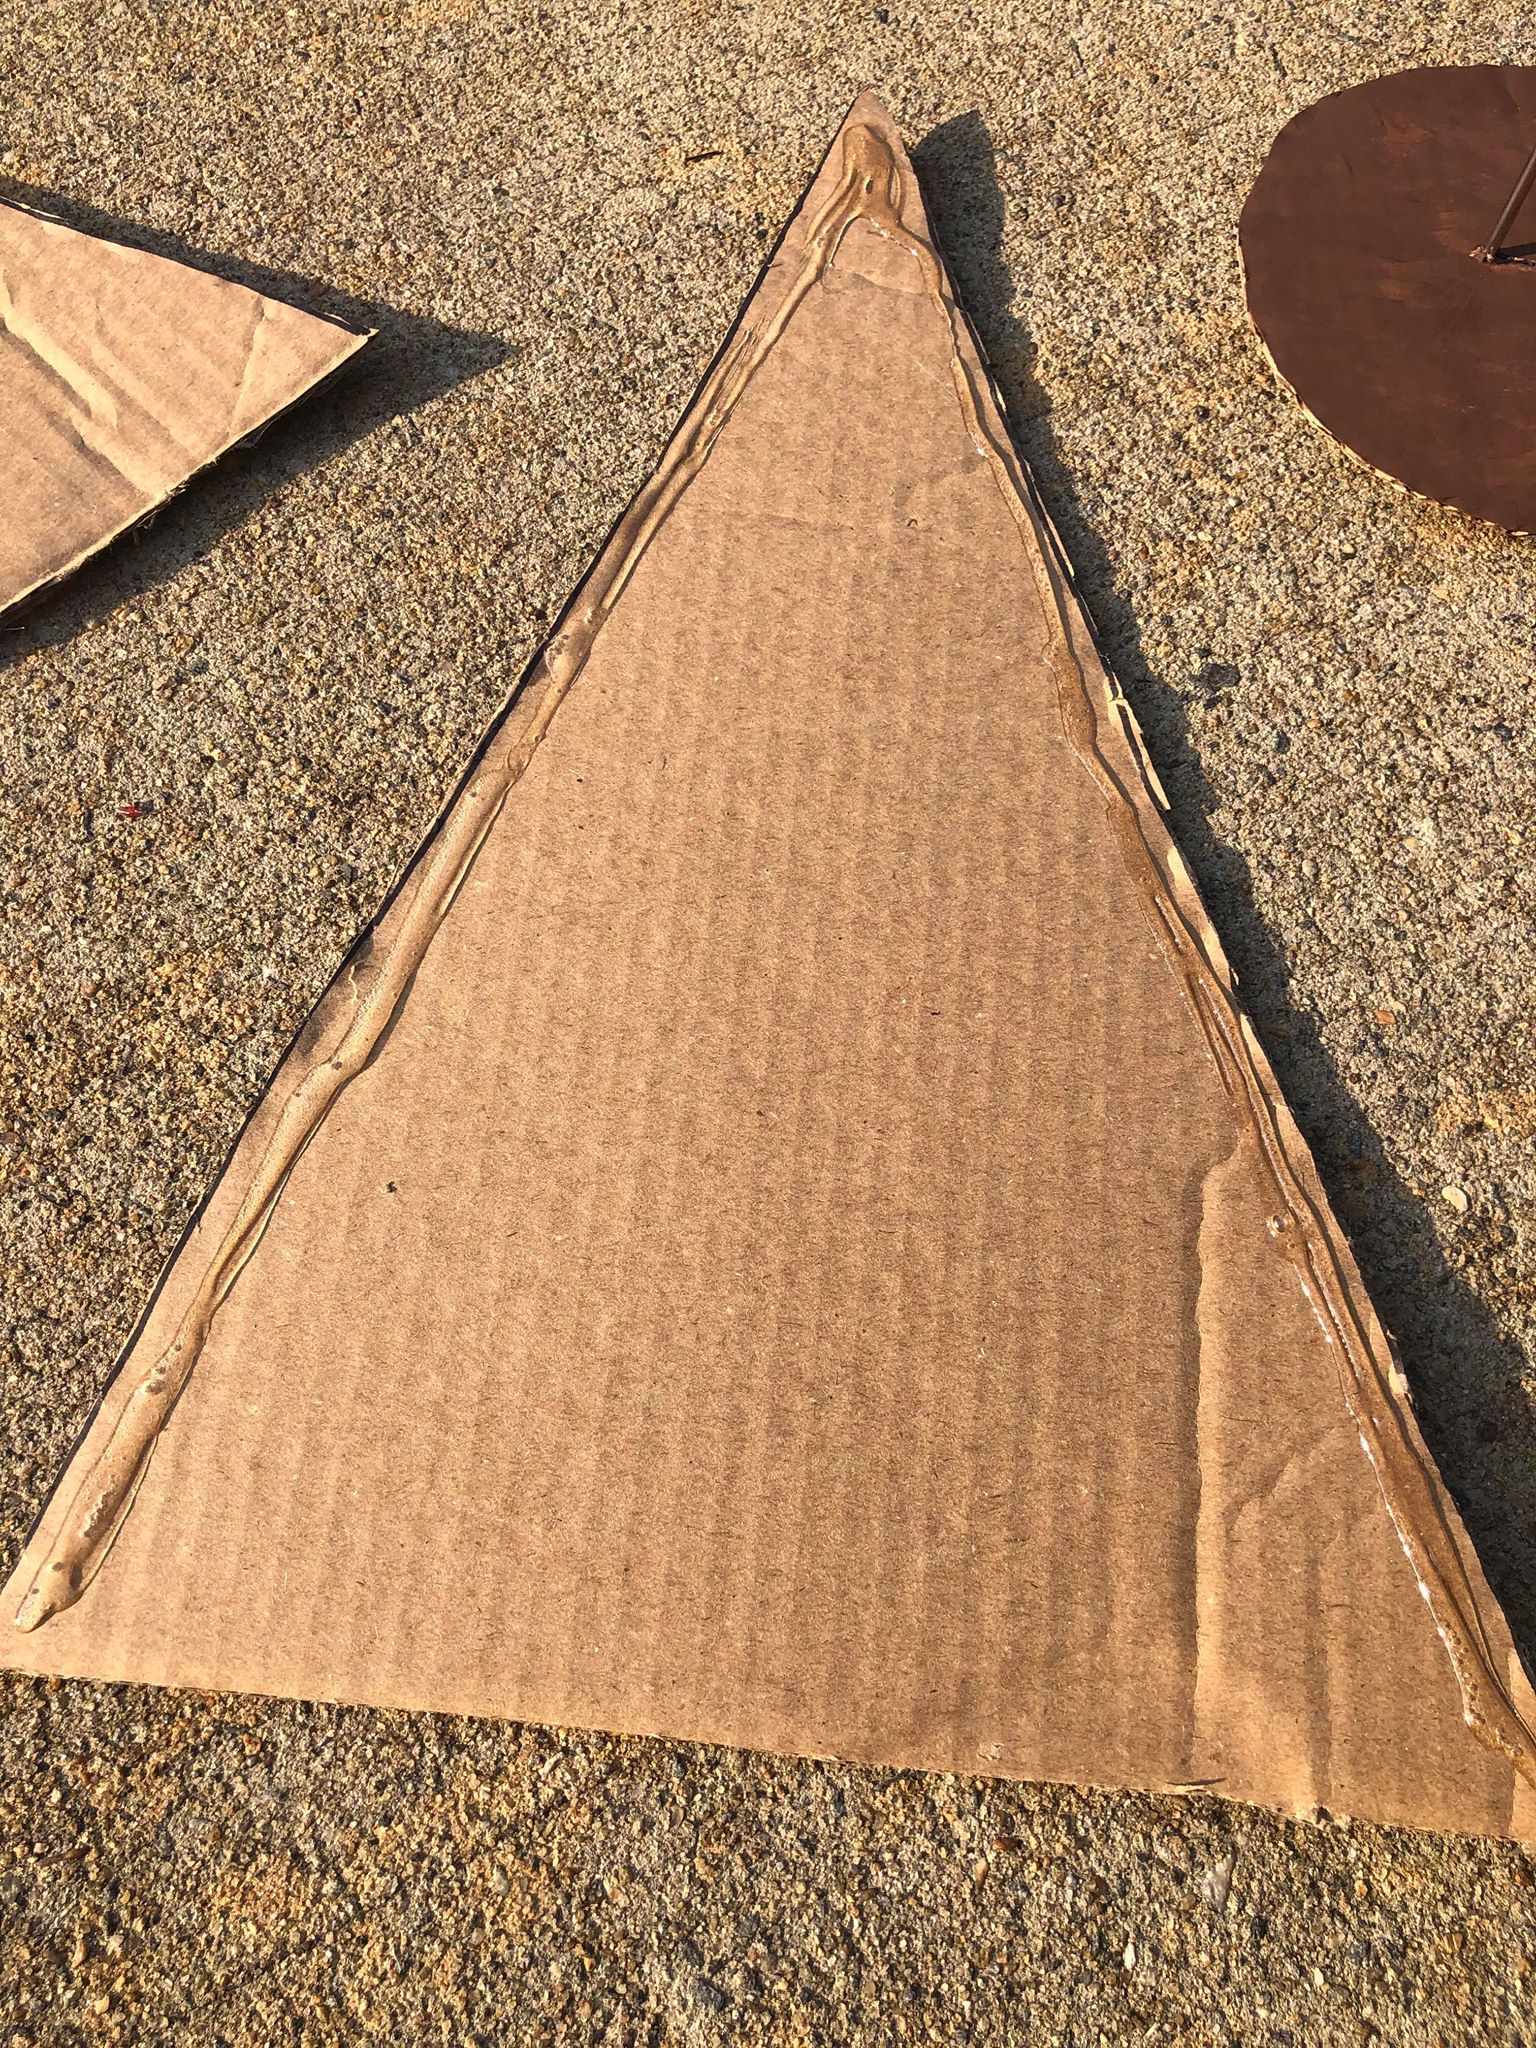
No place your second triangle on top and glue them together.
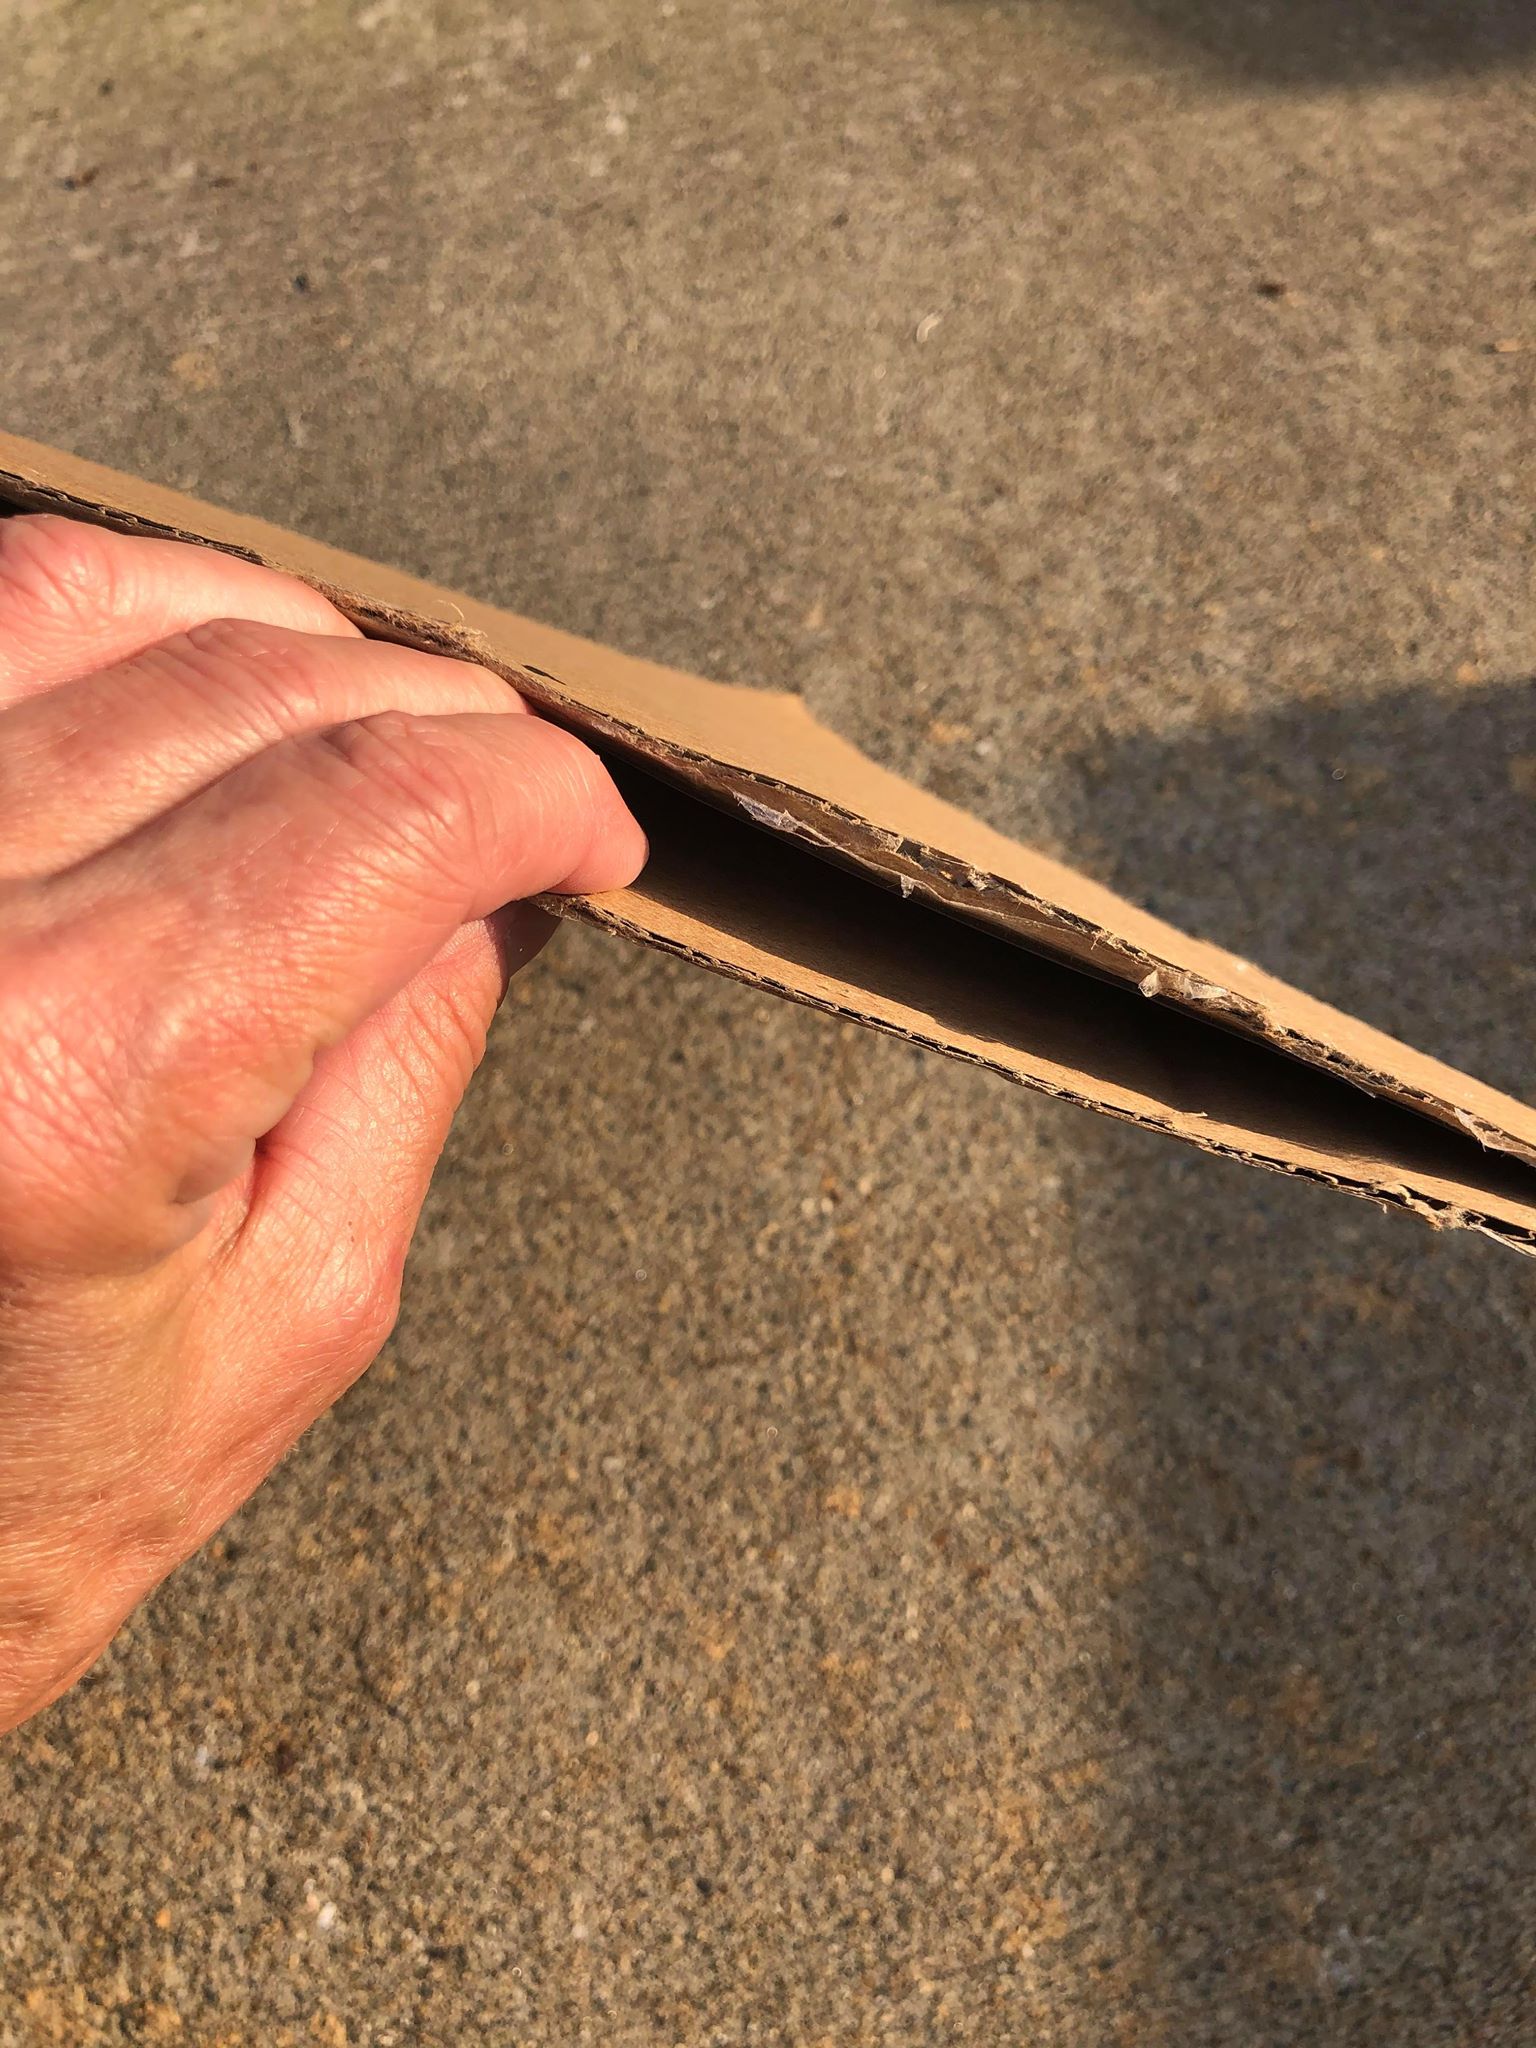
You will have an opening at the bottom of the triangle. This opening will allow you to slide your tree into the metal paper towel holder.
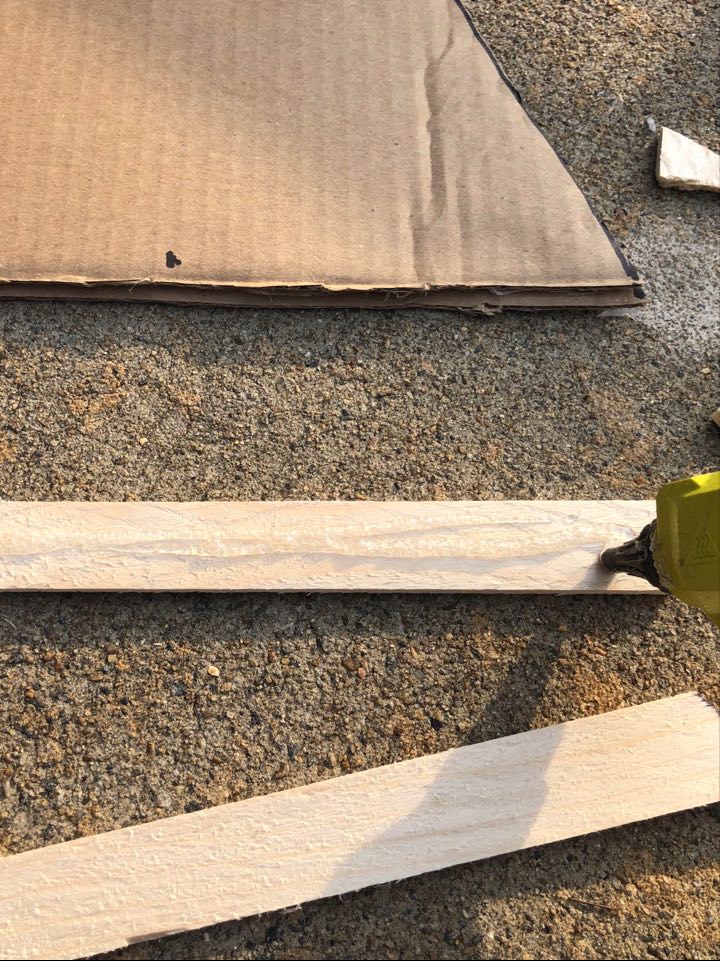
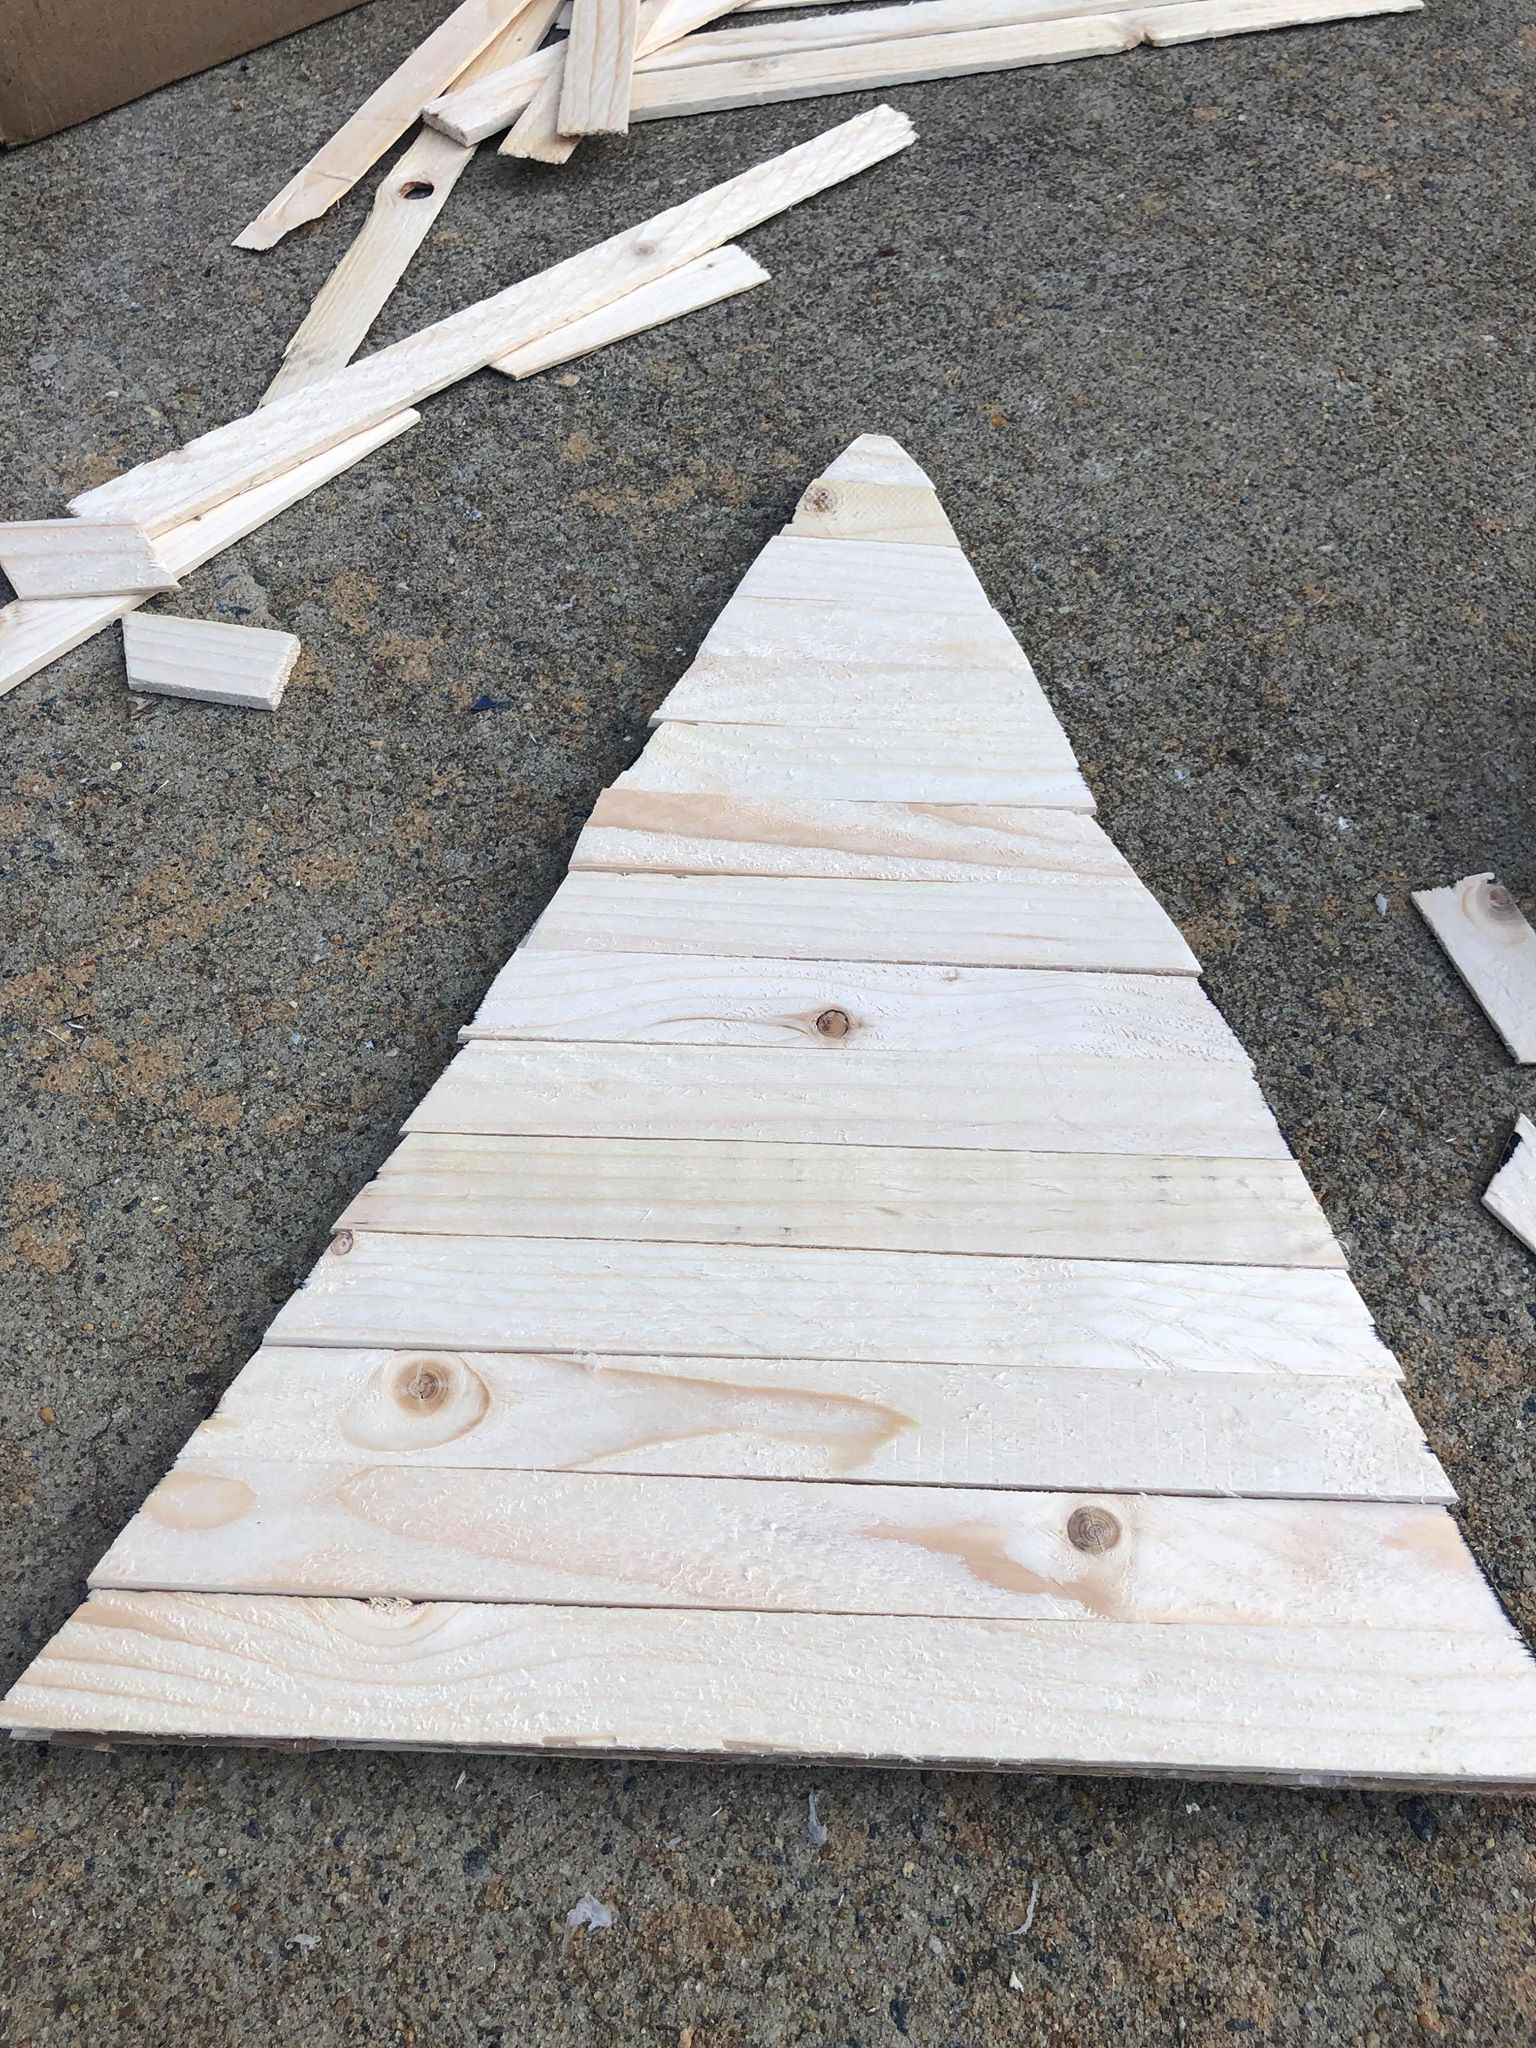
Now it is time to start adding the wooden shims.
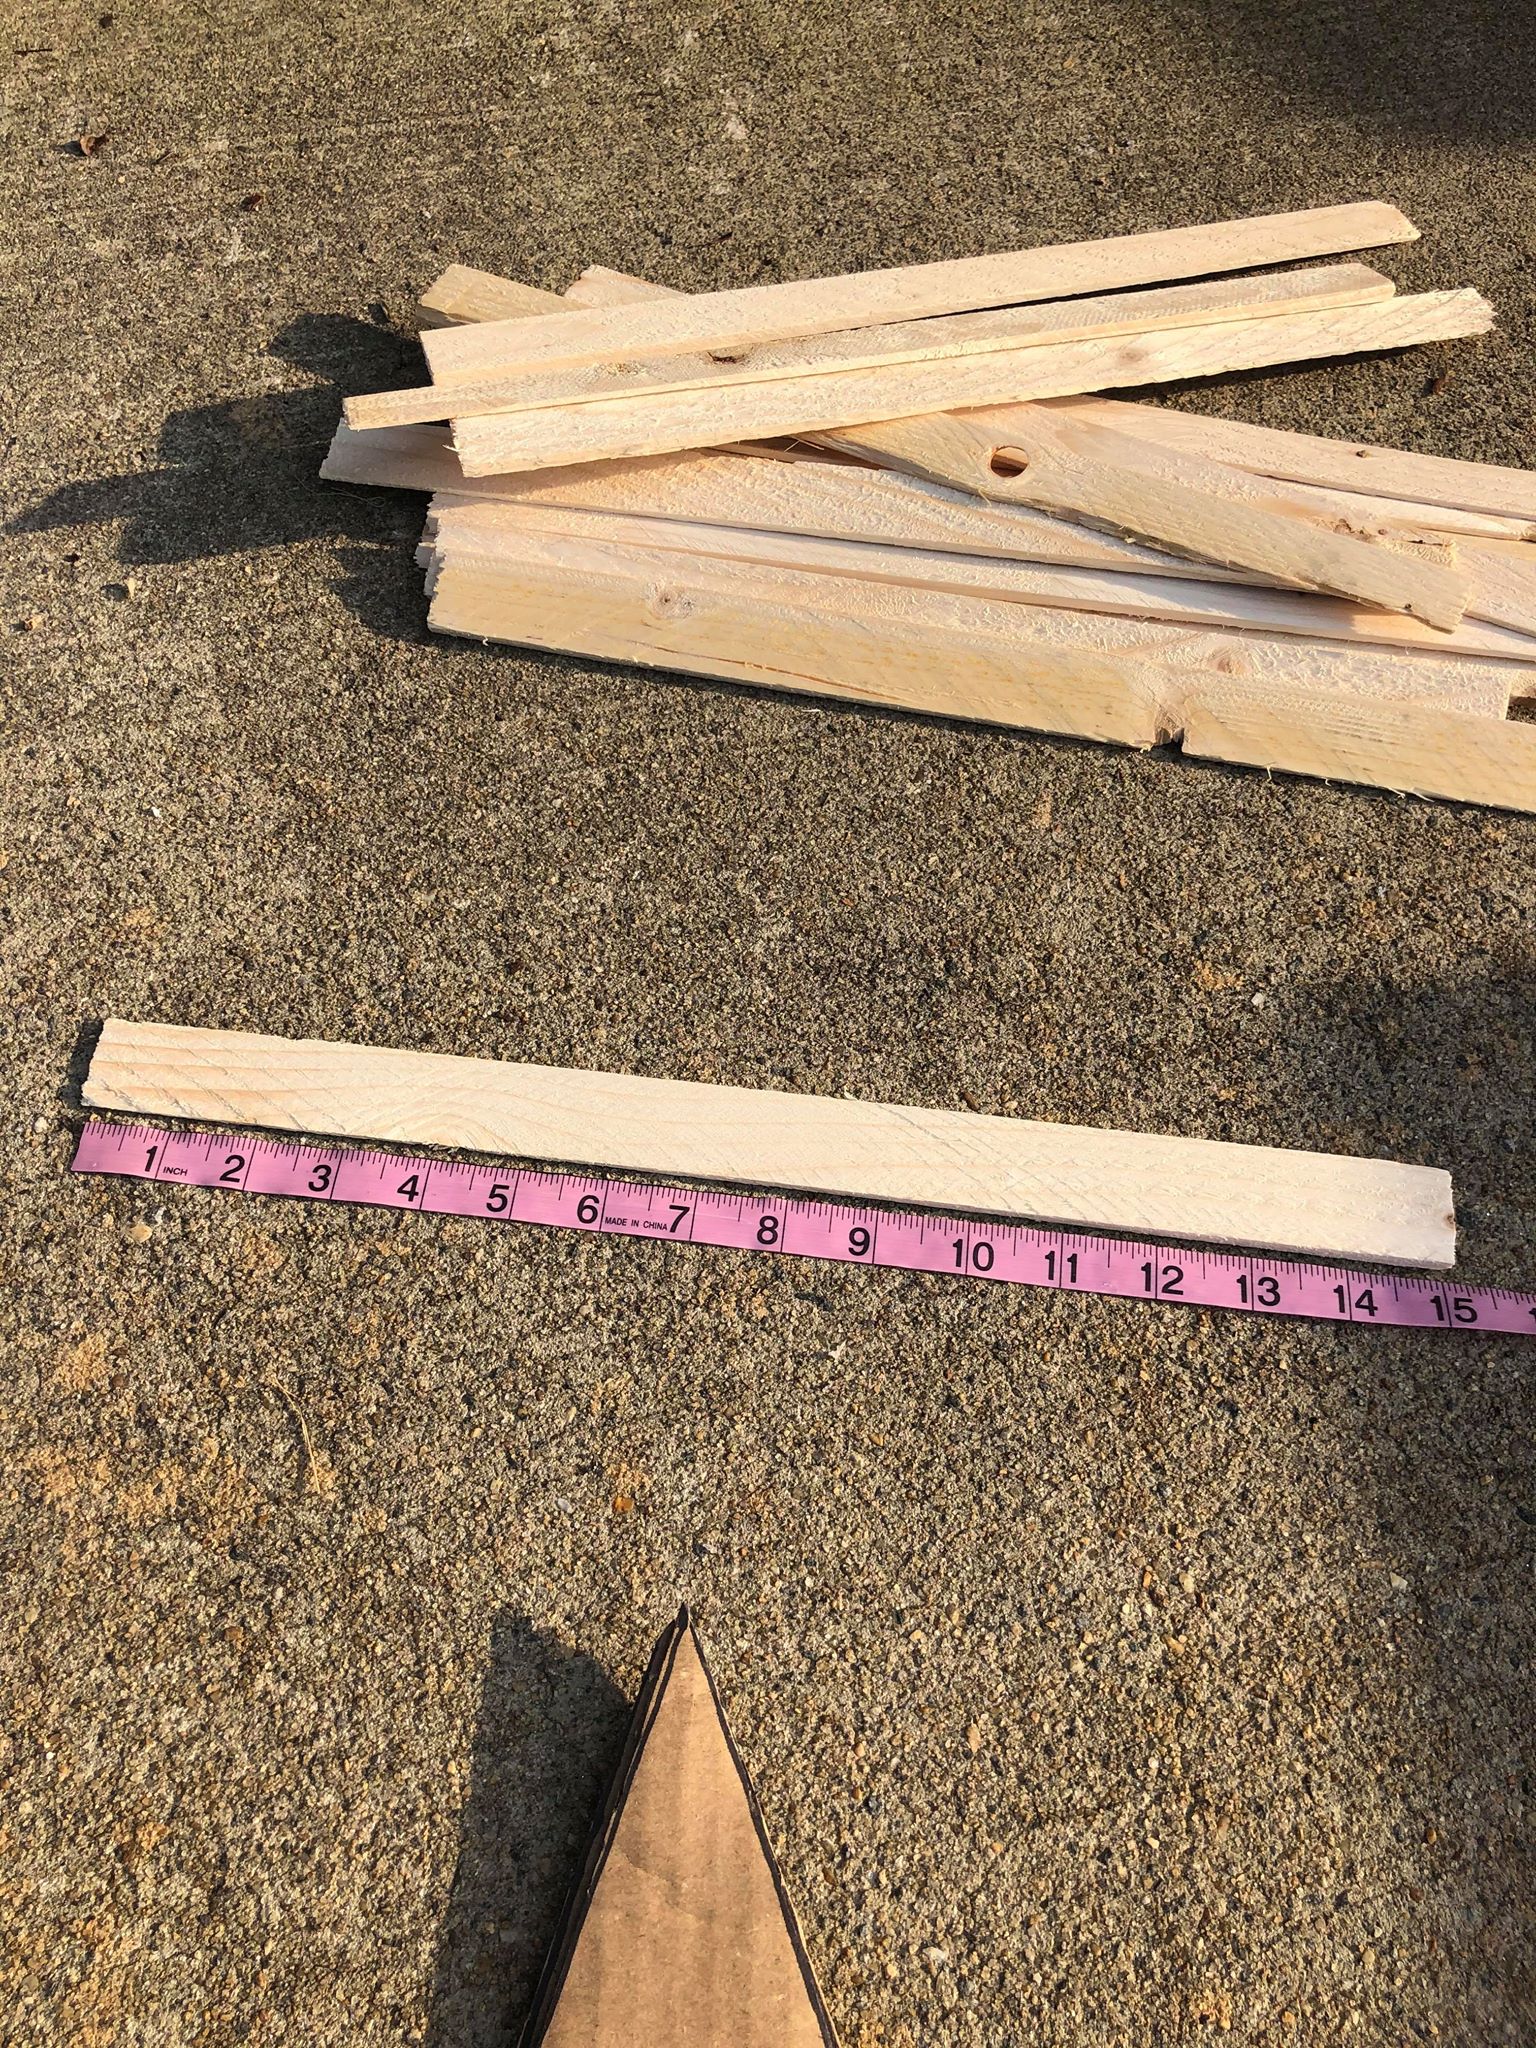
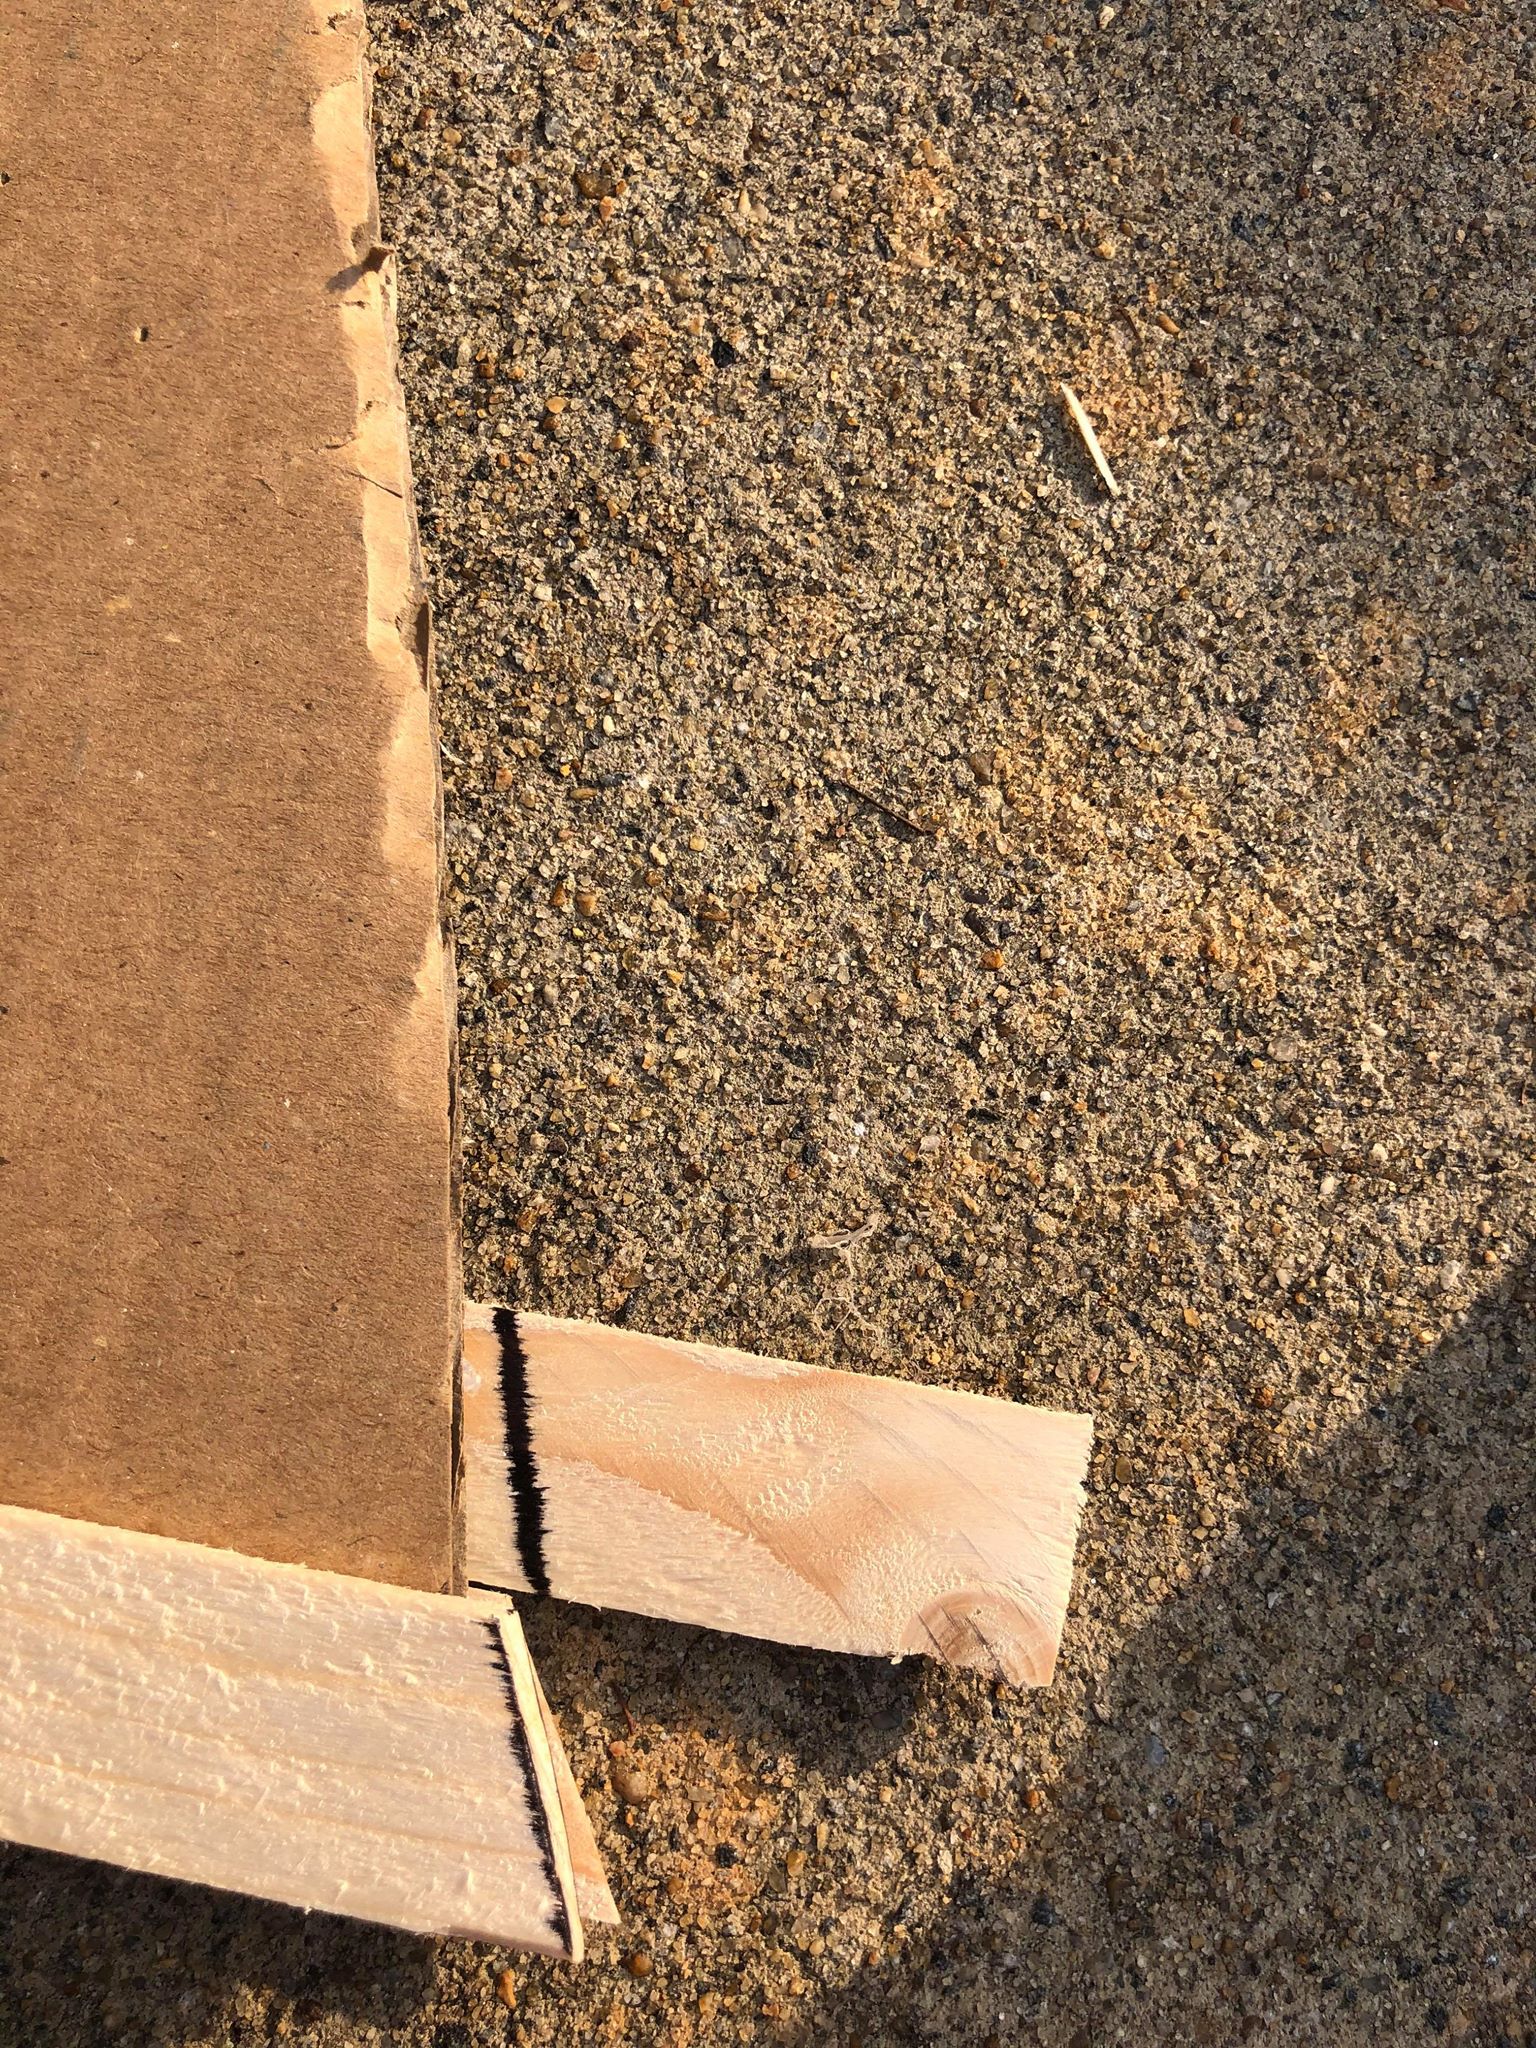
The wooden shims measure 15 inches long.
The wooden shims start out thin and then get thicker. You will need to alternate the ends of your shims as you add them to your cardboard tree.
You will want to lay the shim underneath your cardboard tree and at the bottom.
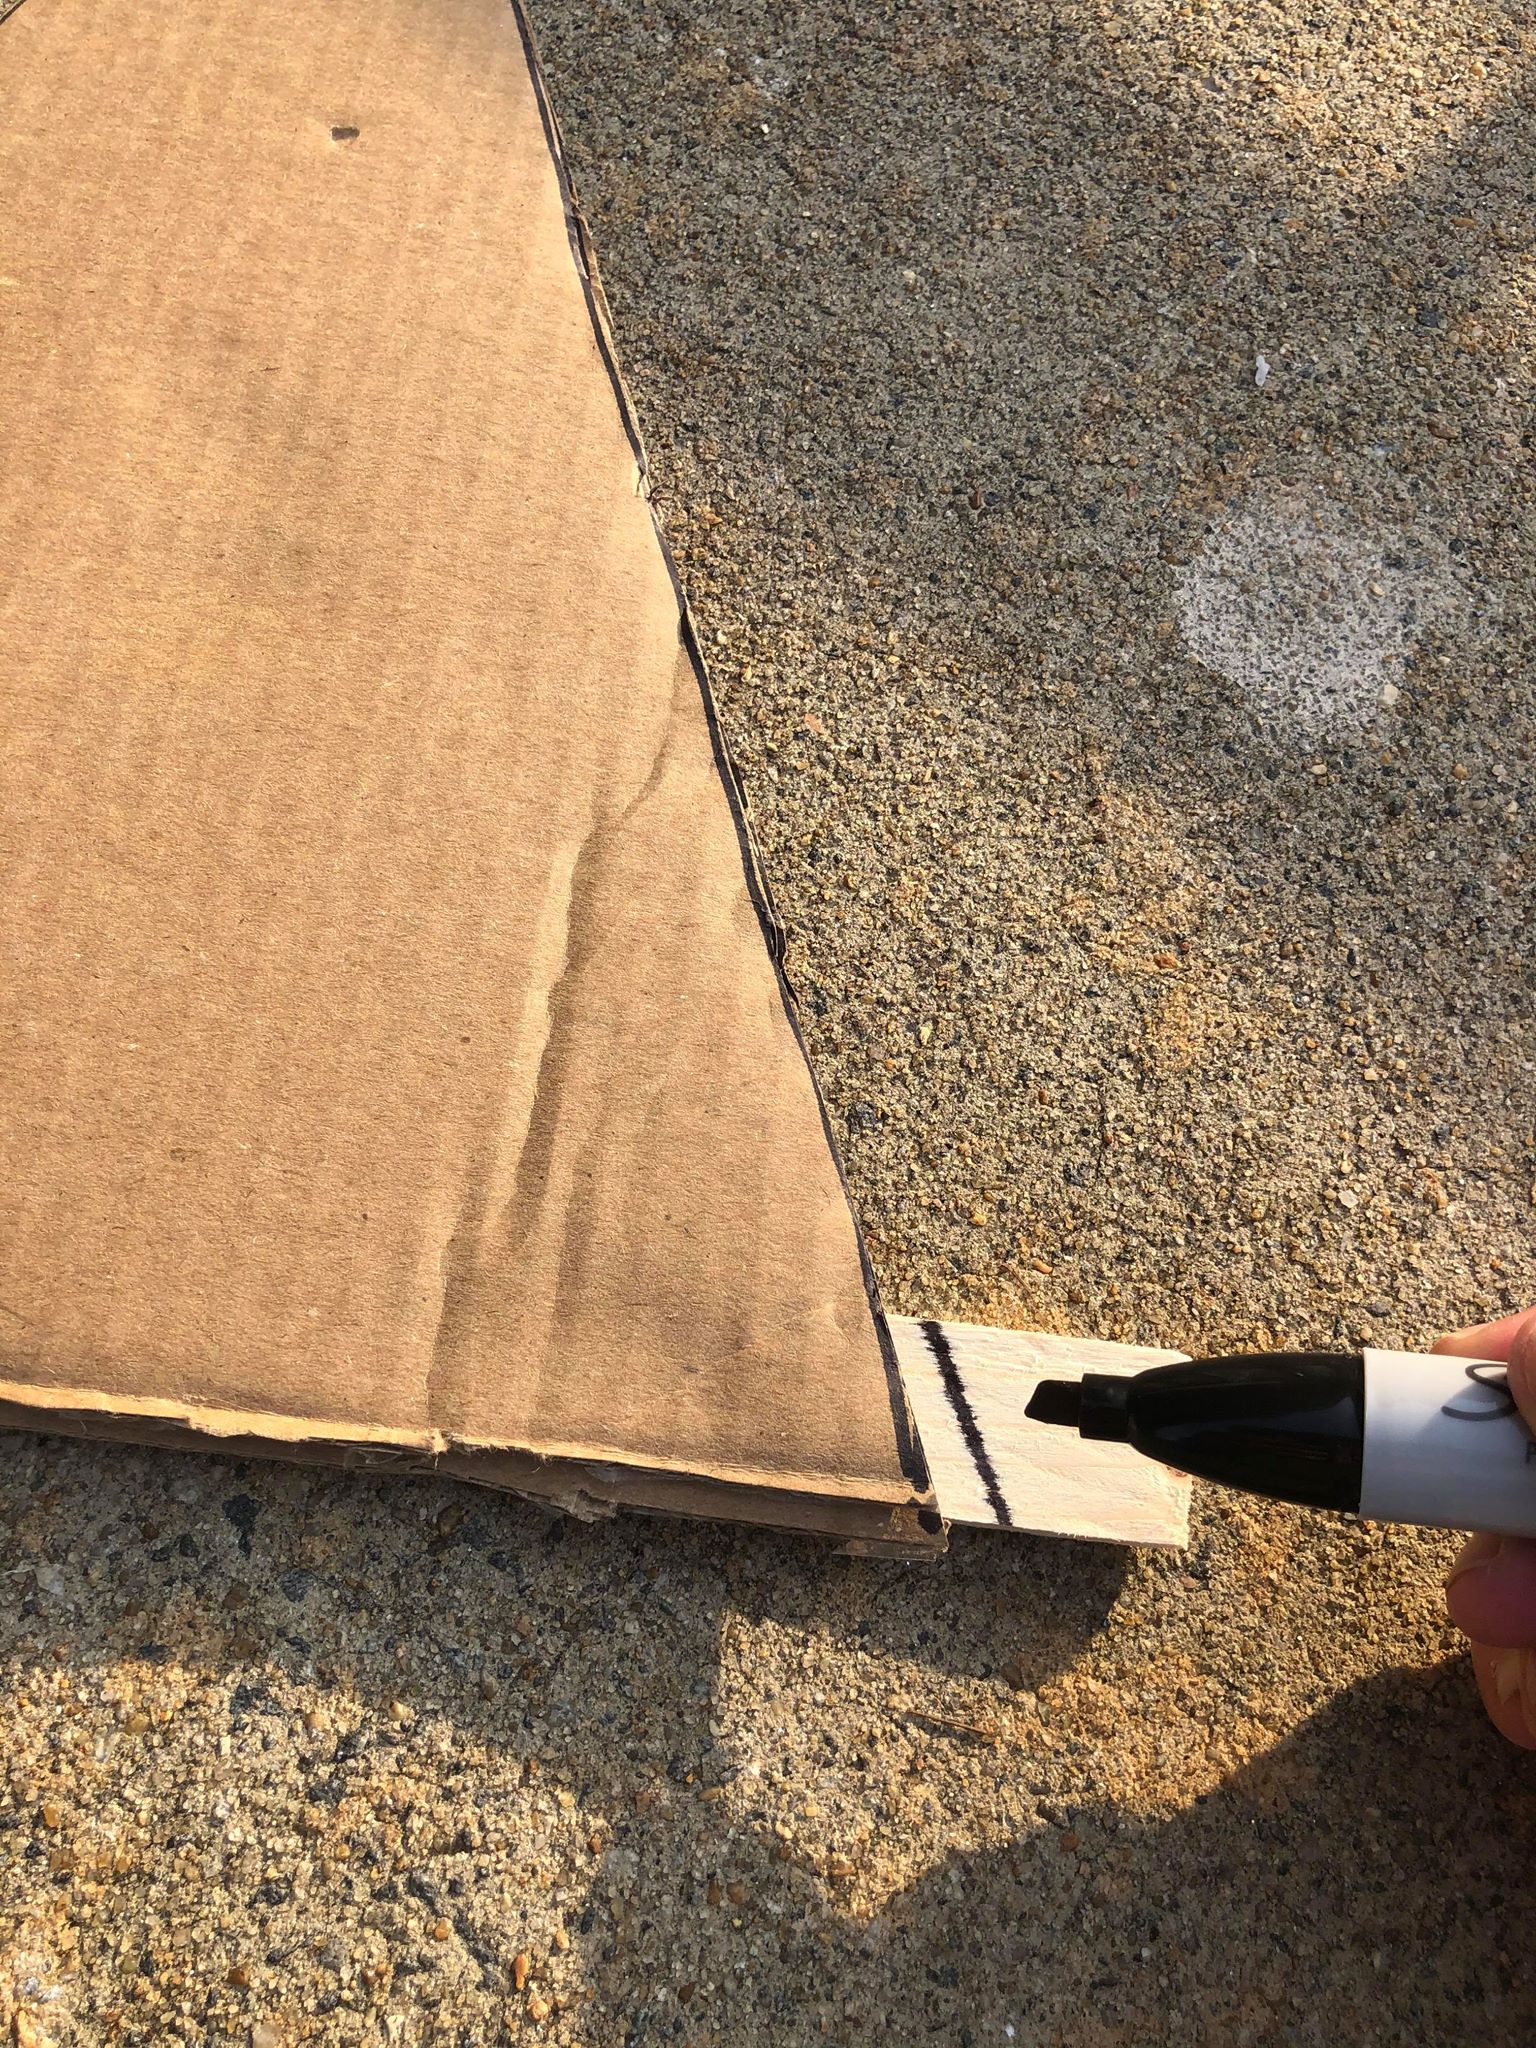
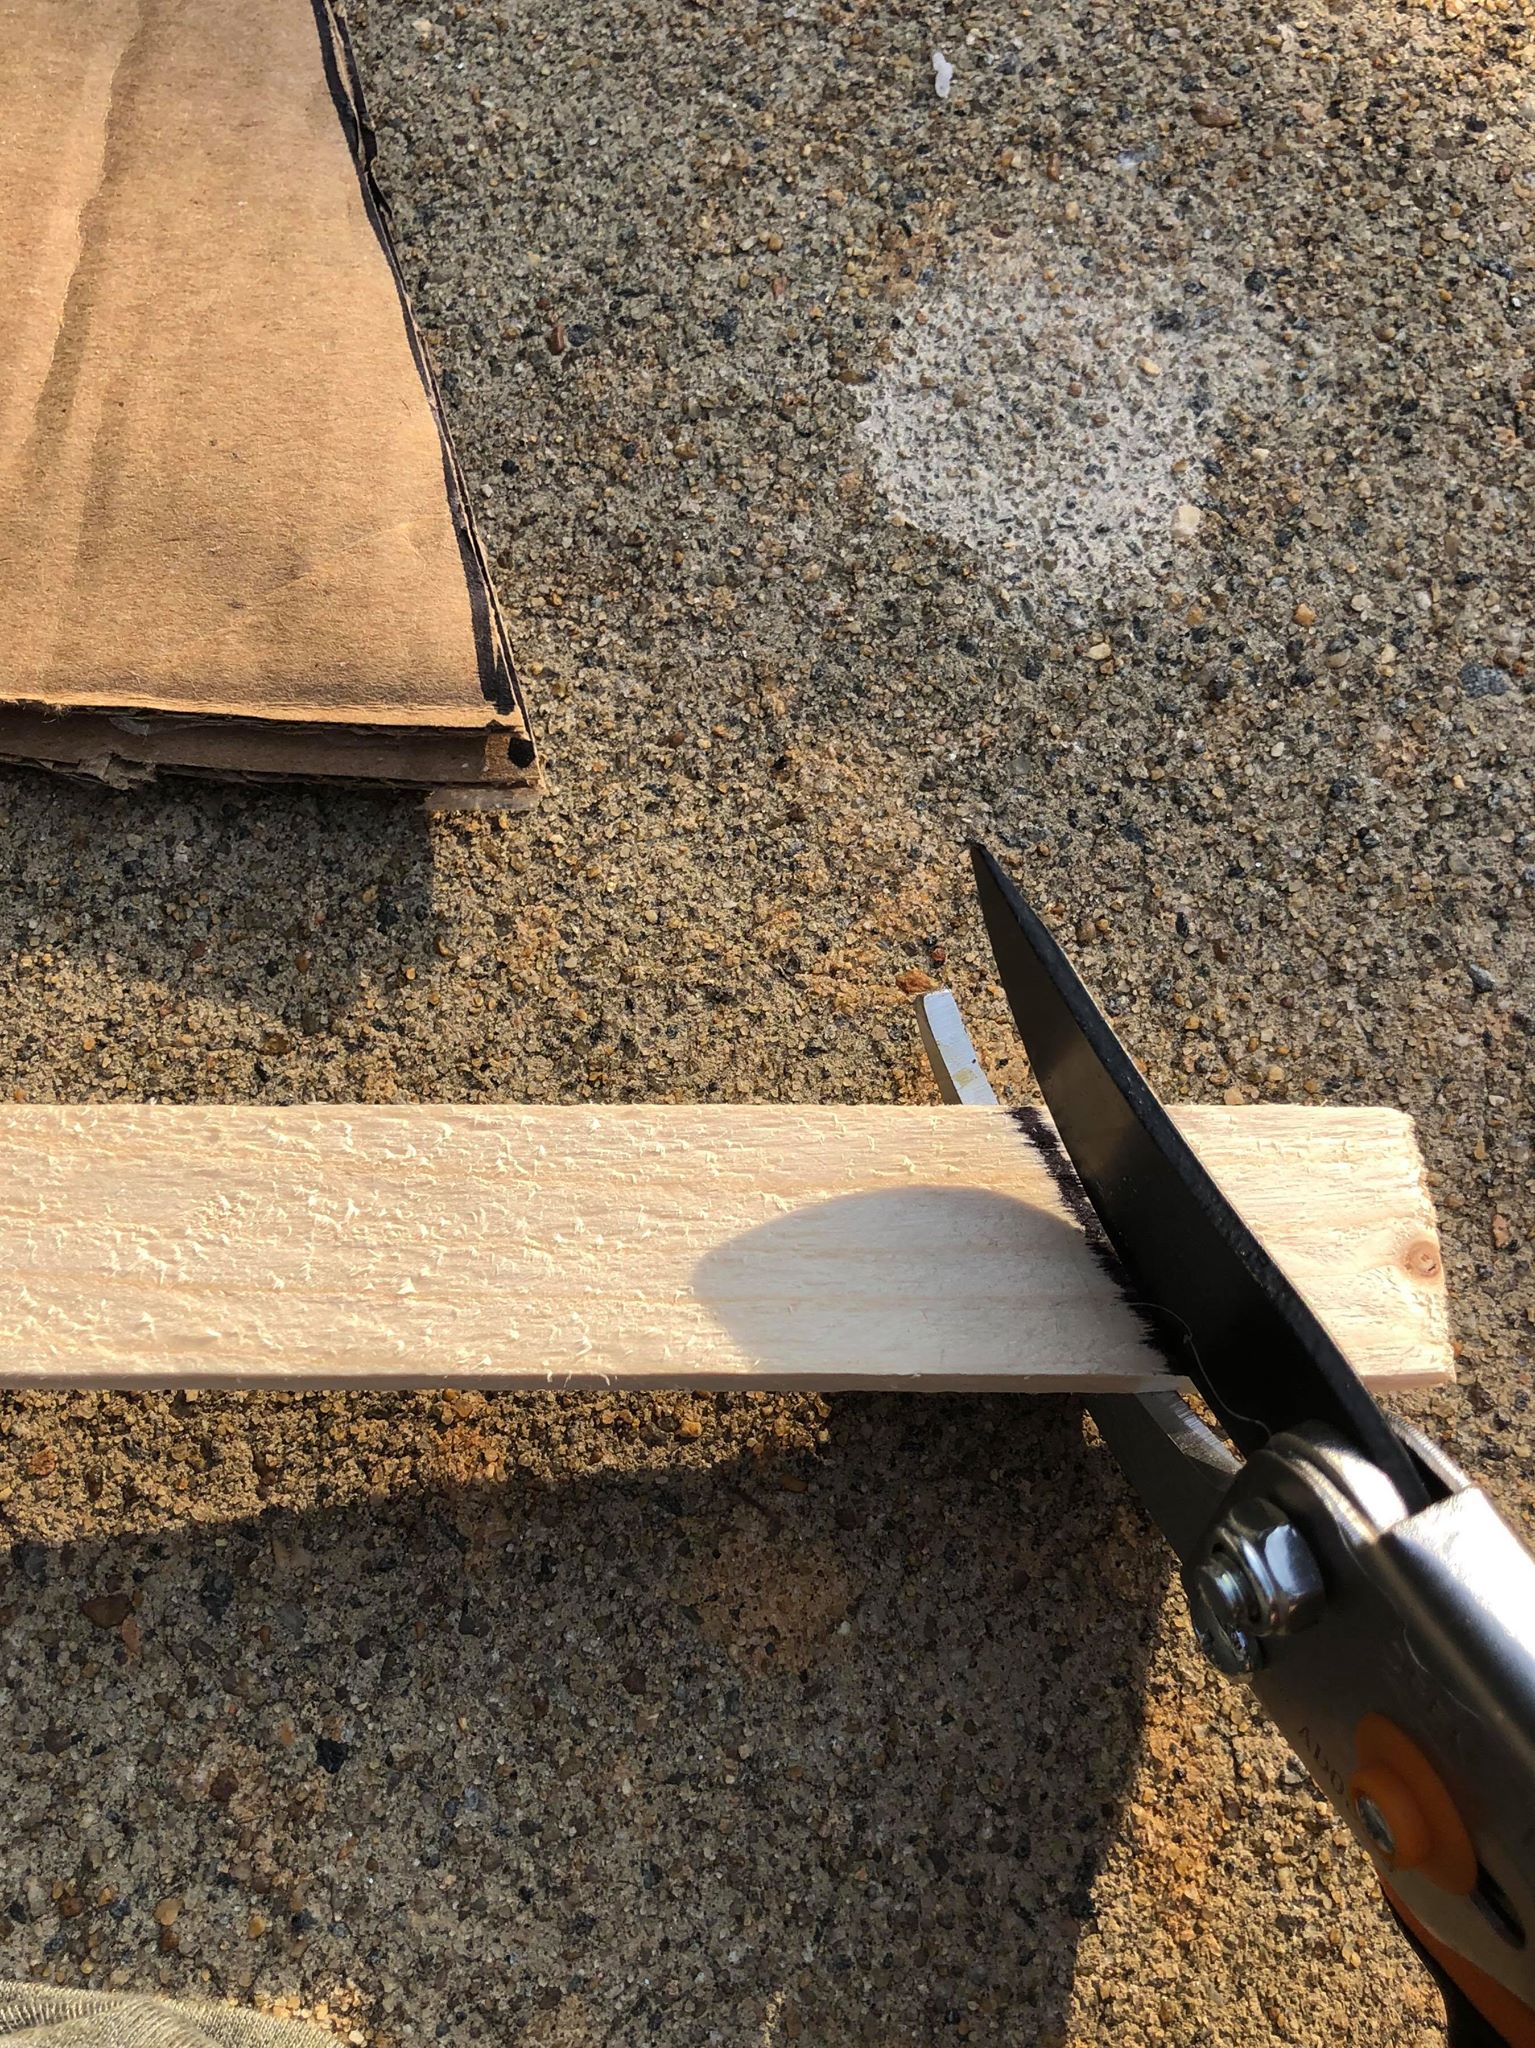
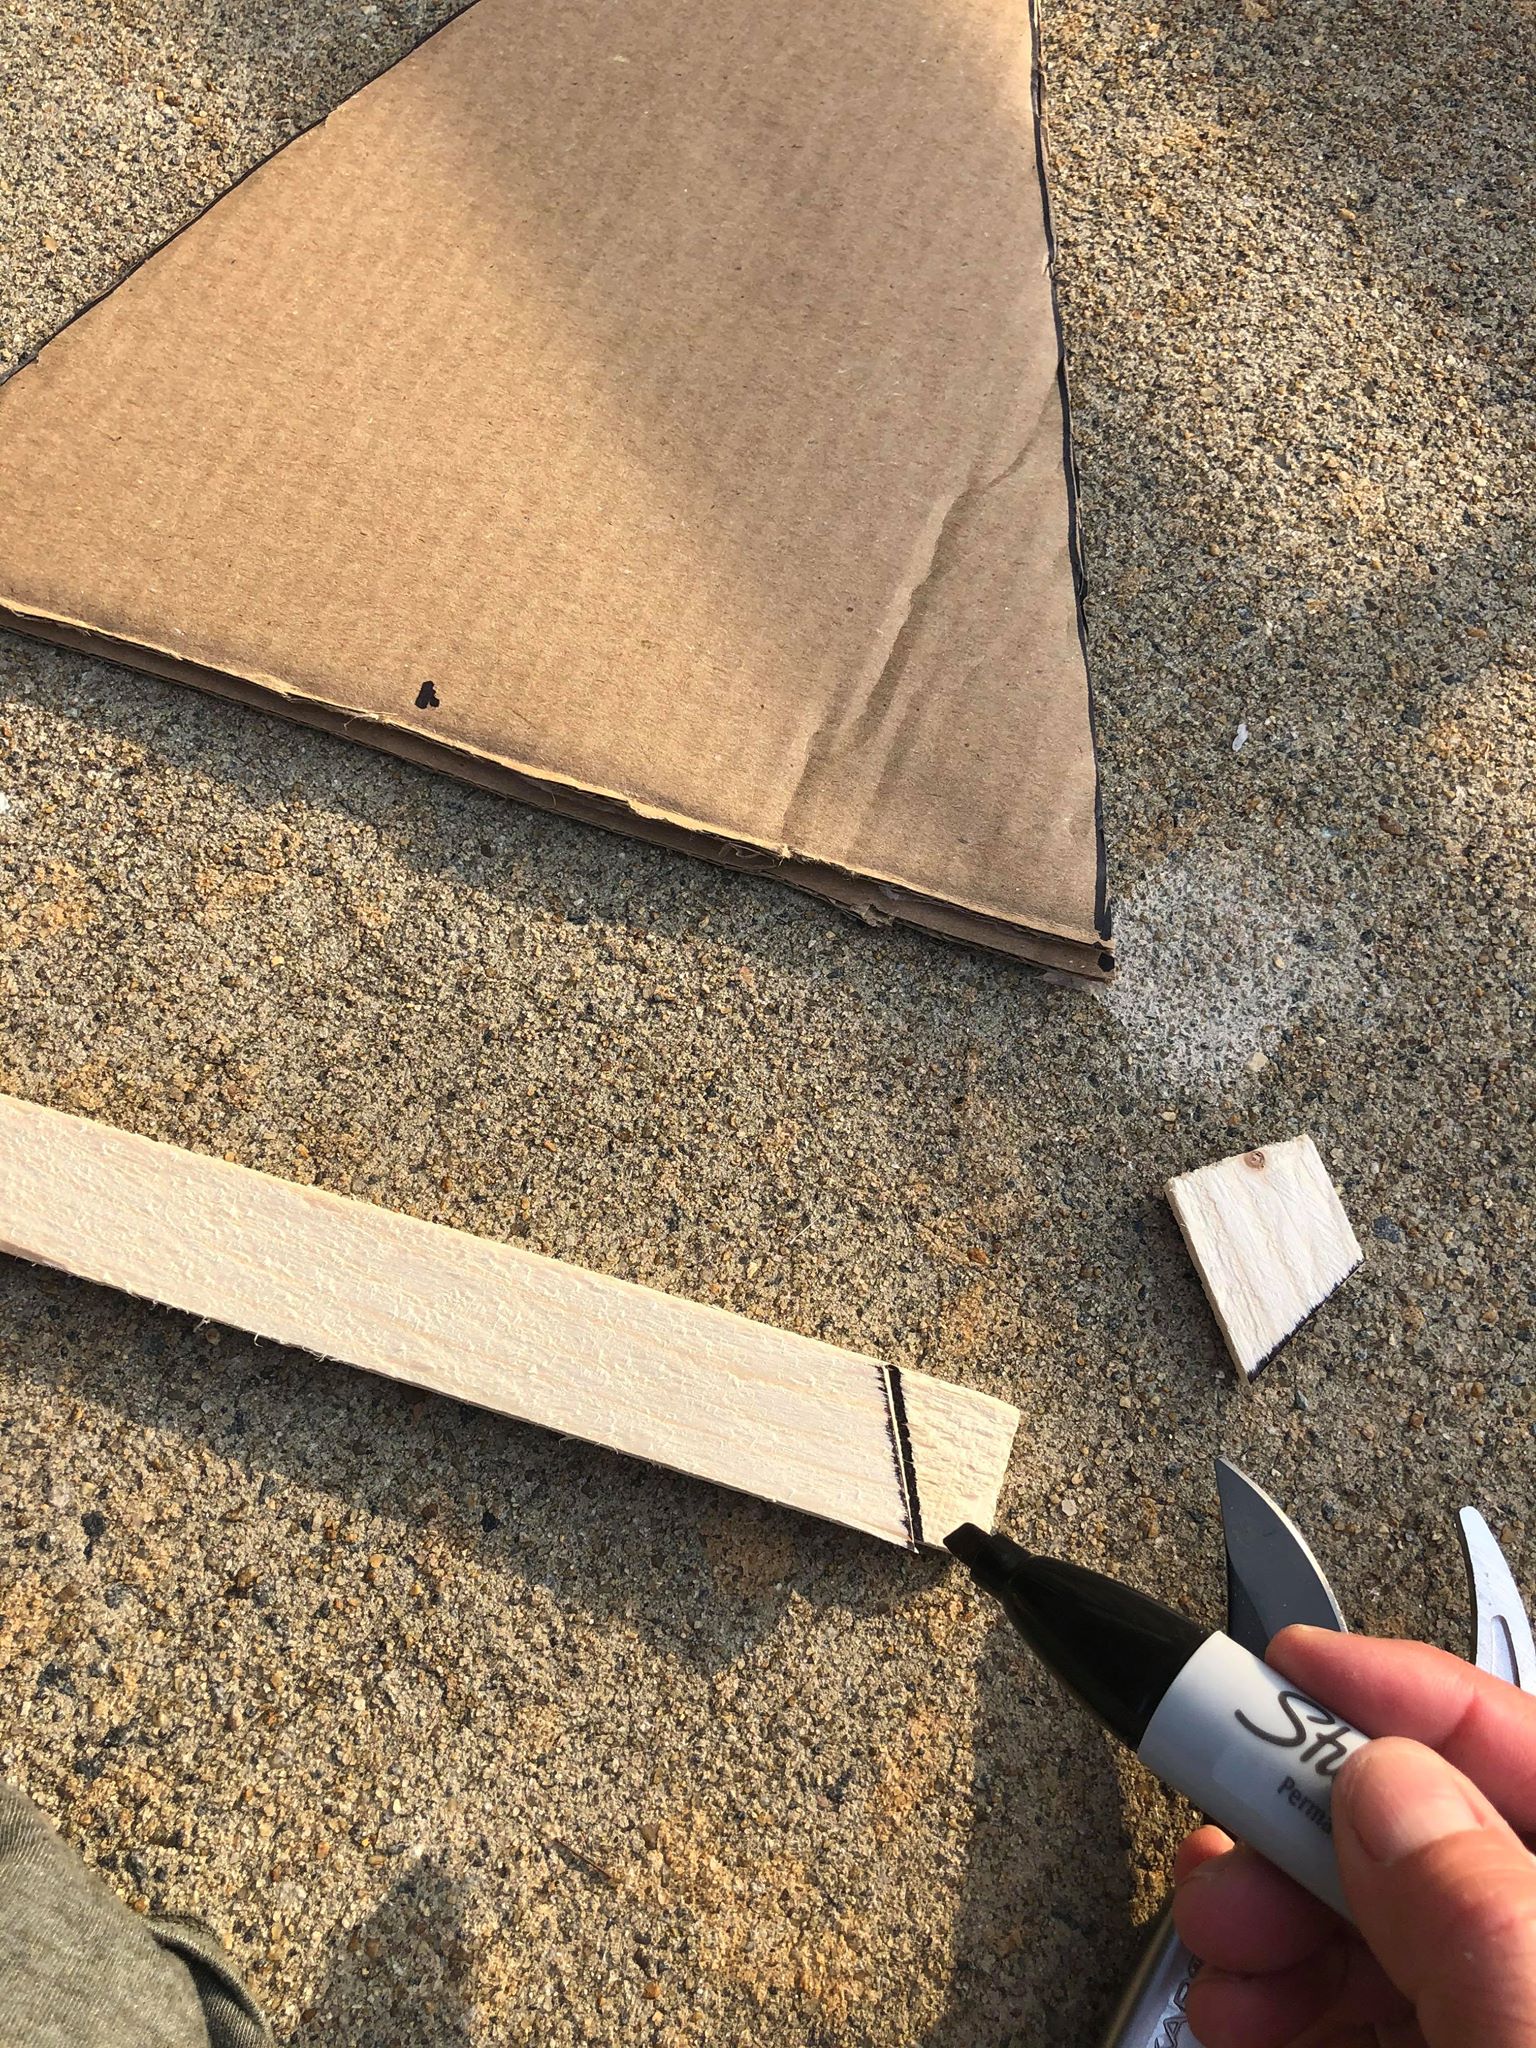
You will then take a marker and mark where you want to cut your shim. I add some space to my shim so this way I am sure all my cardboard ends will not show.
Once I cut the shim I then trace it onto my second shim. You will be doing both sides as you work your way up covering your cardboard tree.
You will add glue down one side of your shim.

Next you will place your shim onto your cardboard tree.
You will flip your tree and add your second shim the same way.
You now have a shim on both sides of your tree.
You will now do this process up the whole tree. As you cut your shims be sure to alternate them as you put them onto your tree.

You will continue cutting your shims and placing them onto your tree until your tree is completely covered.
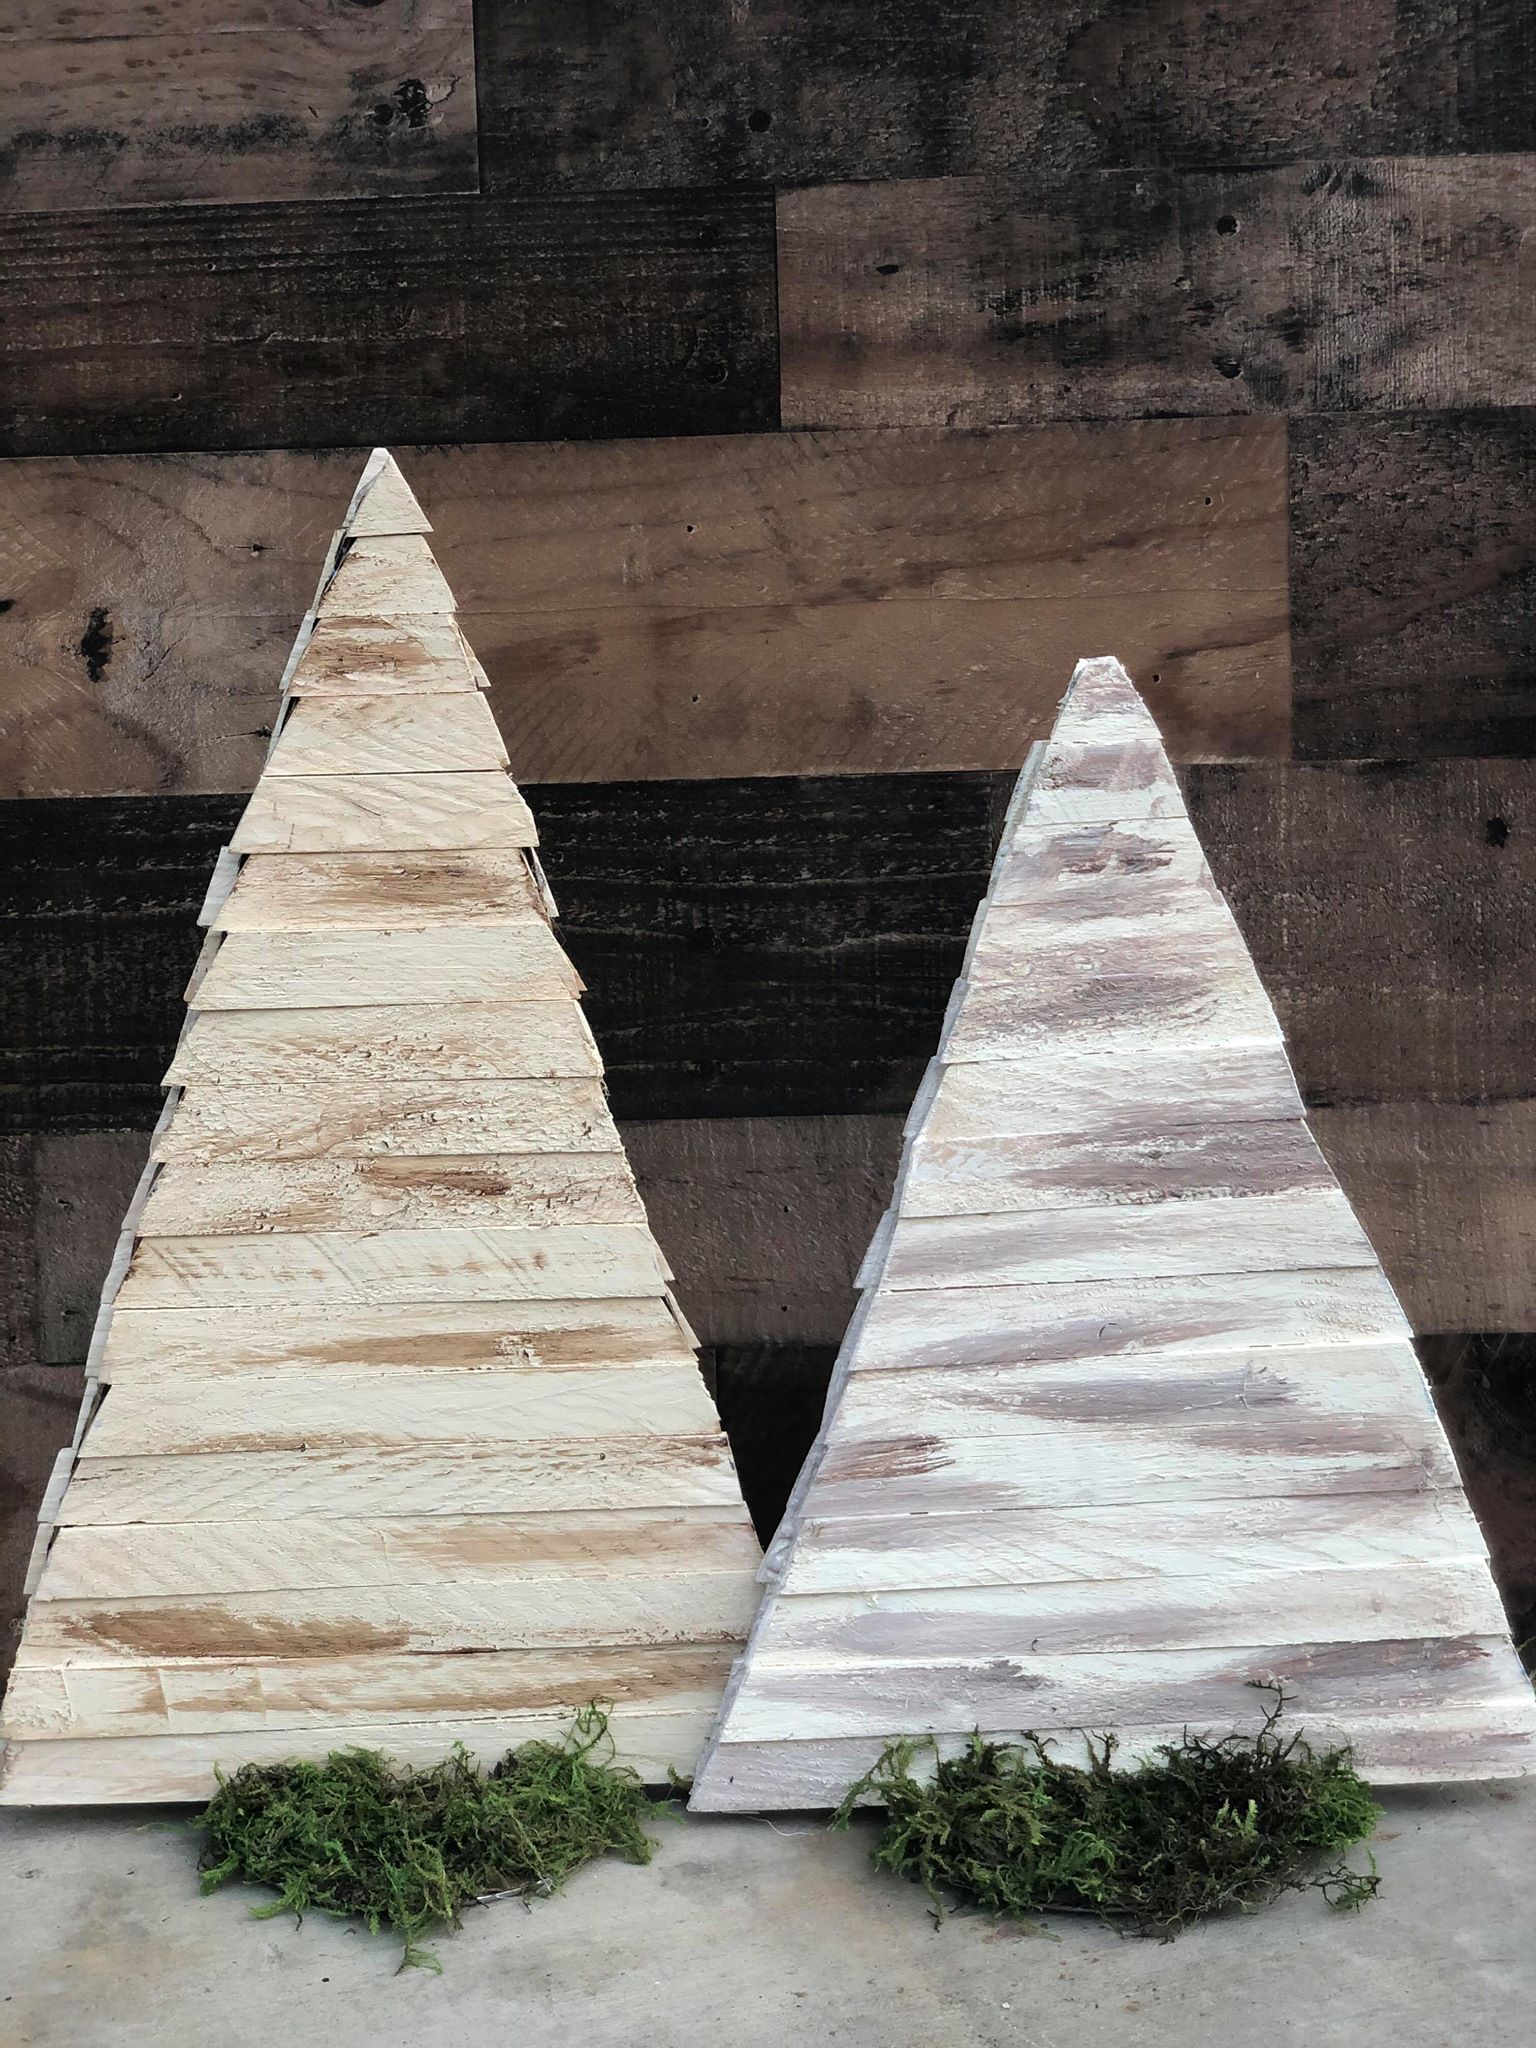
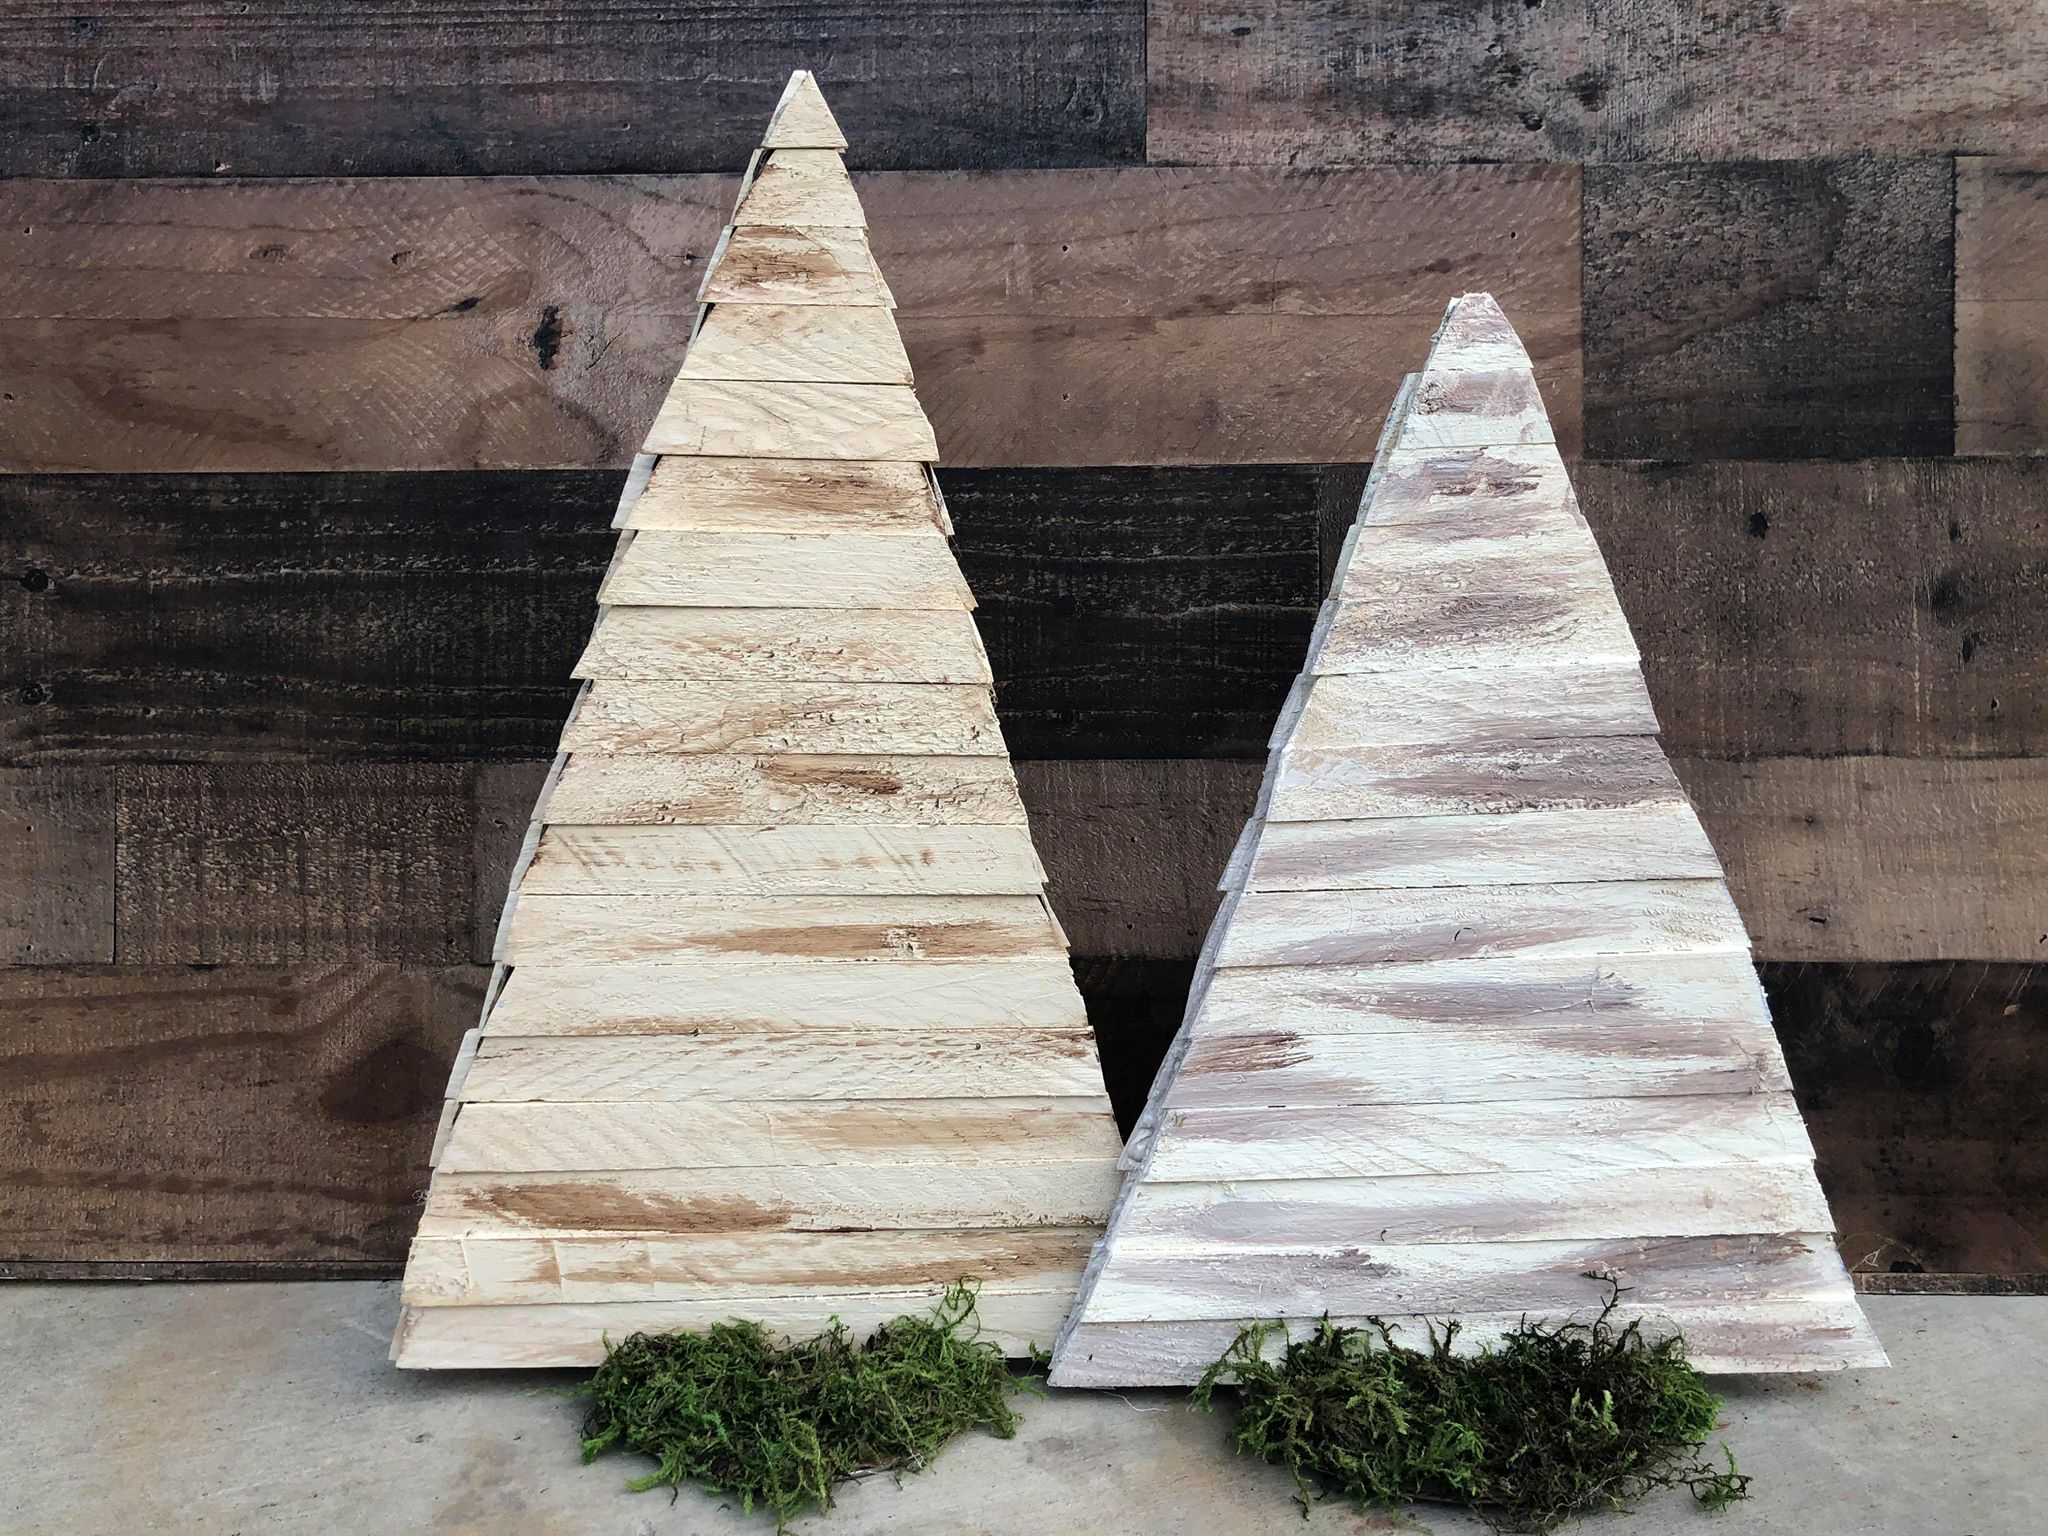
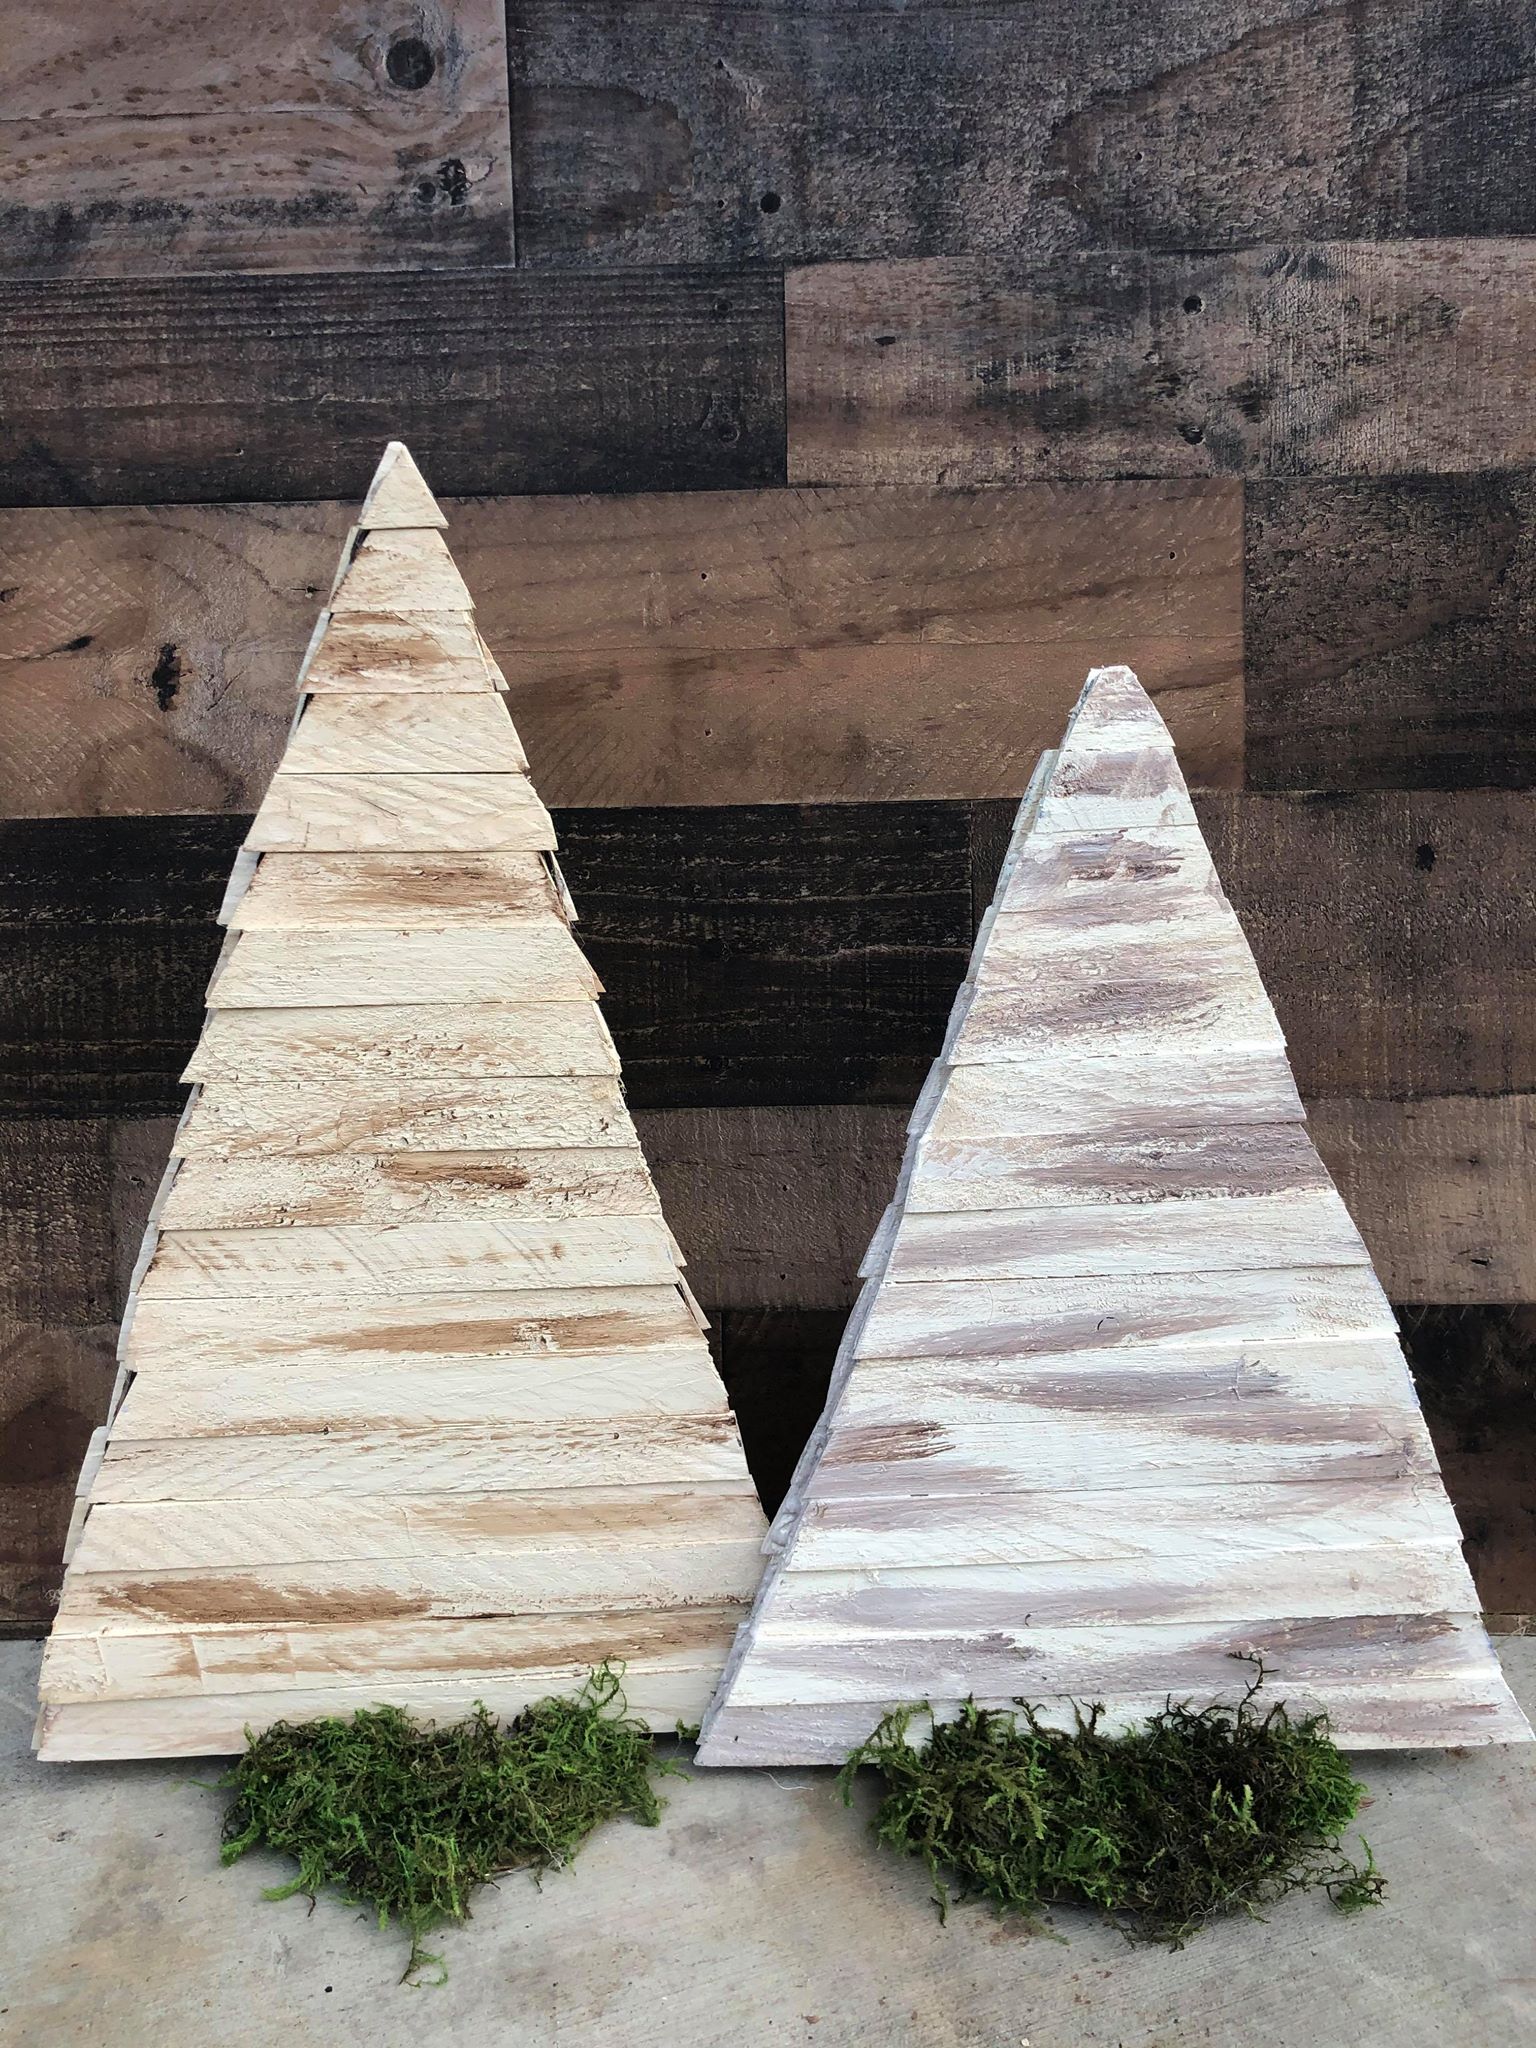
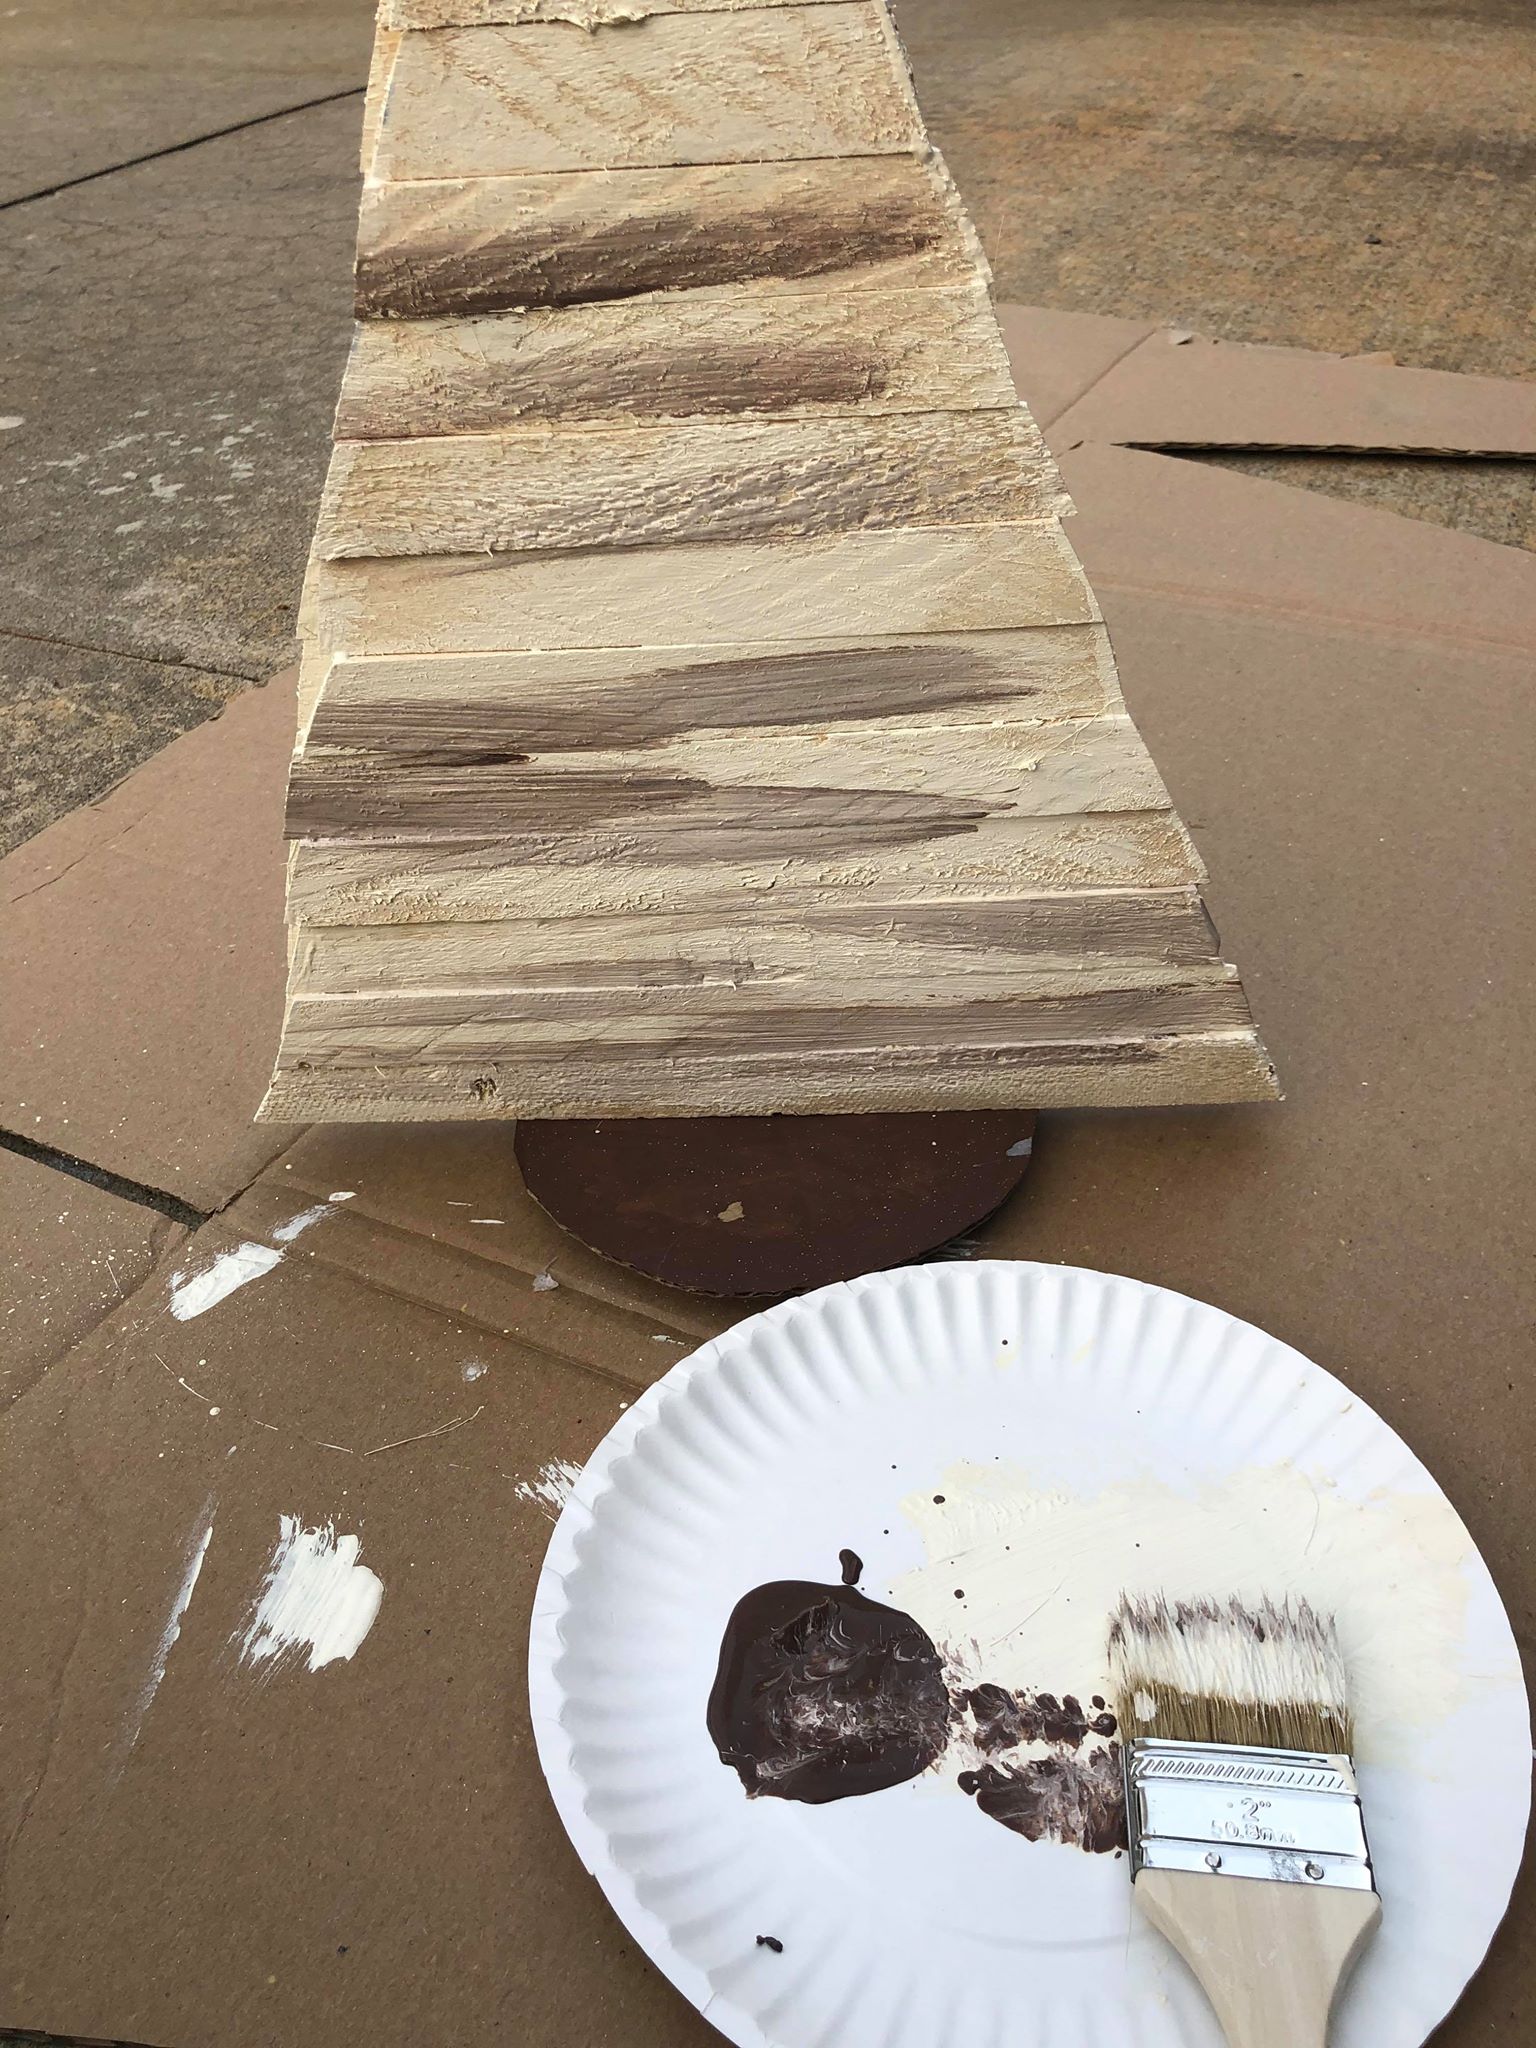
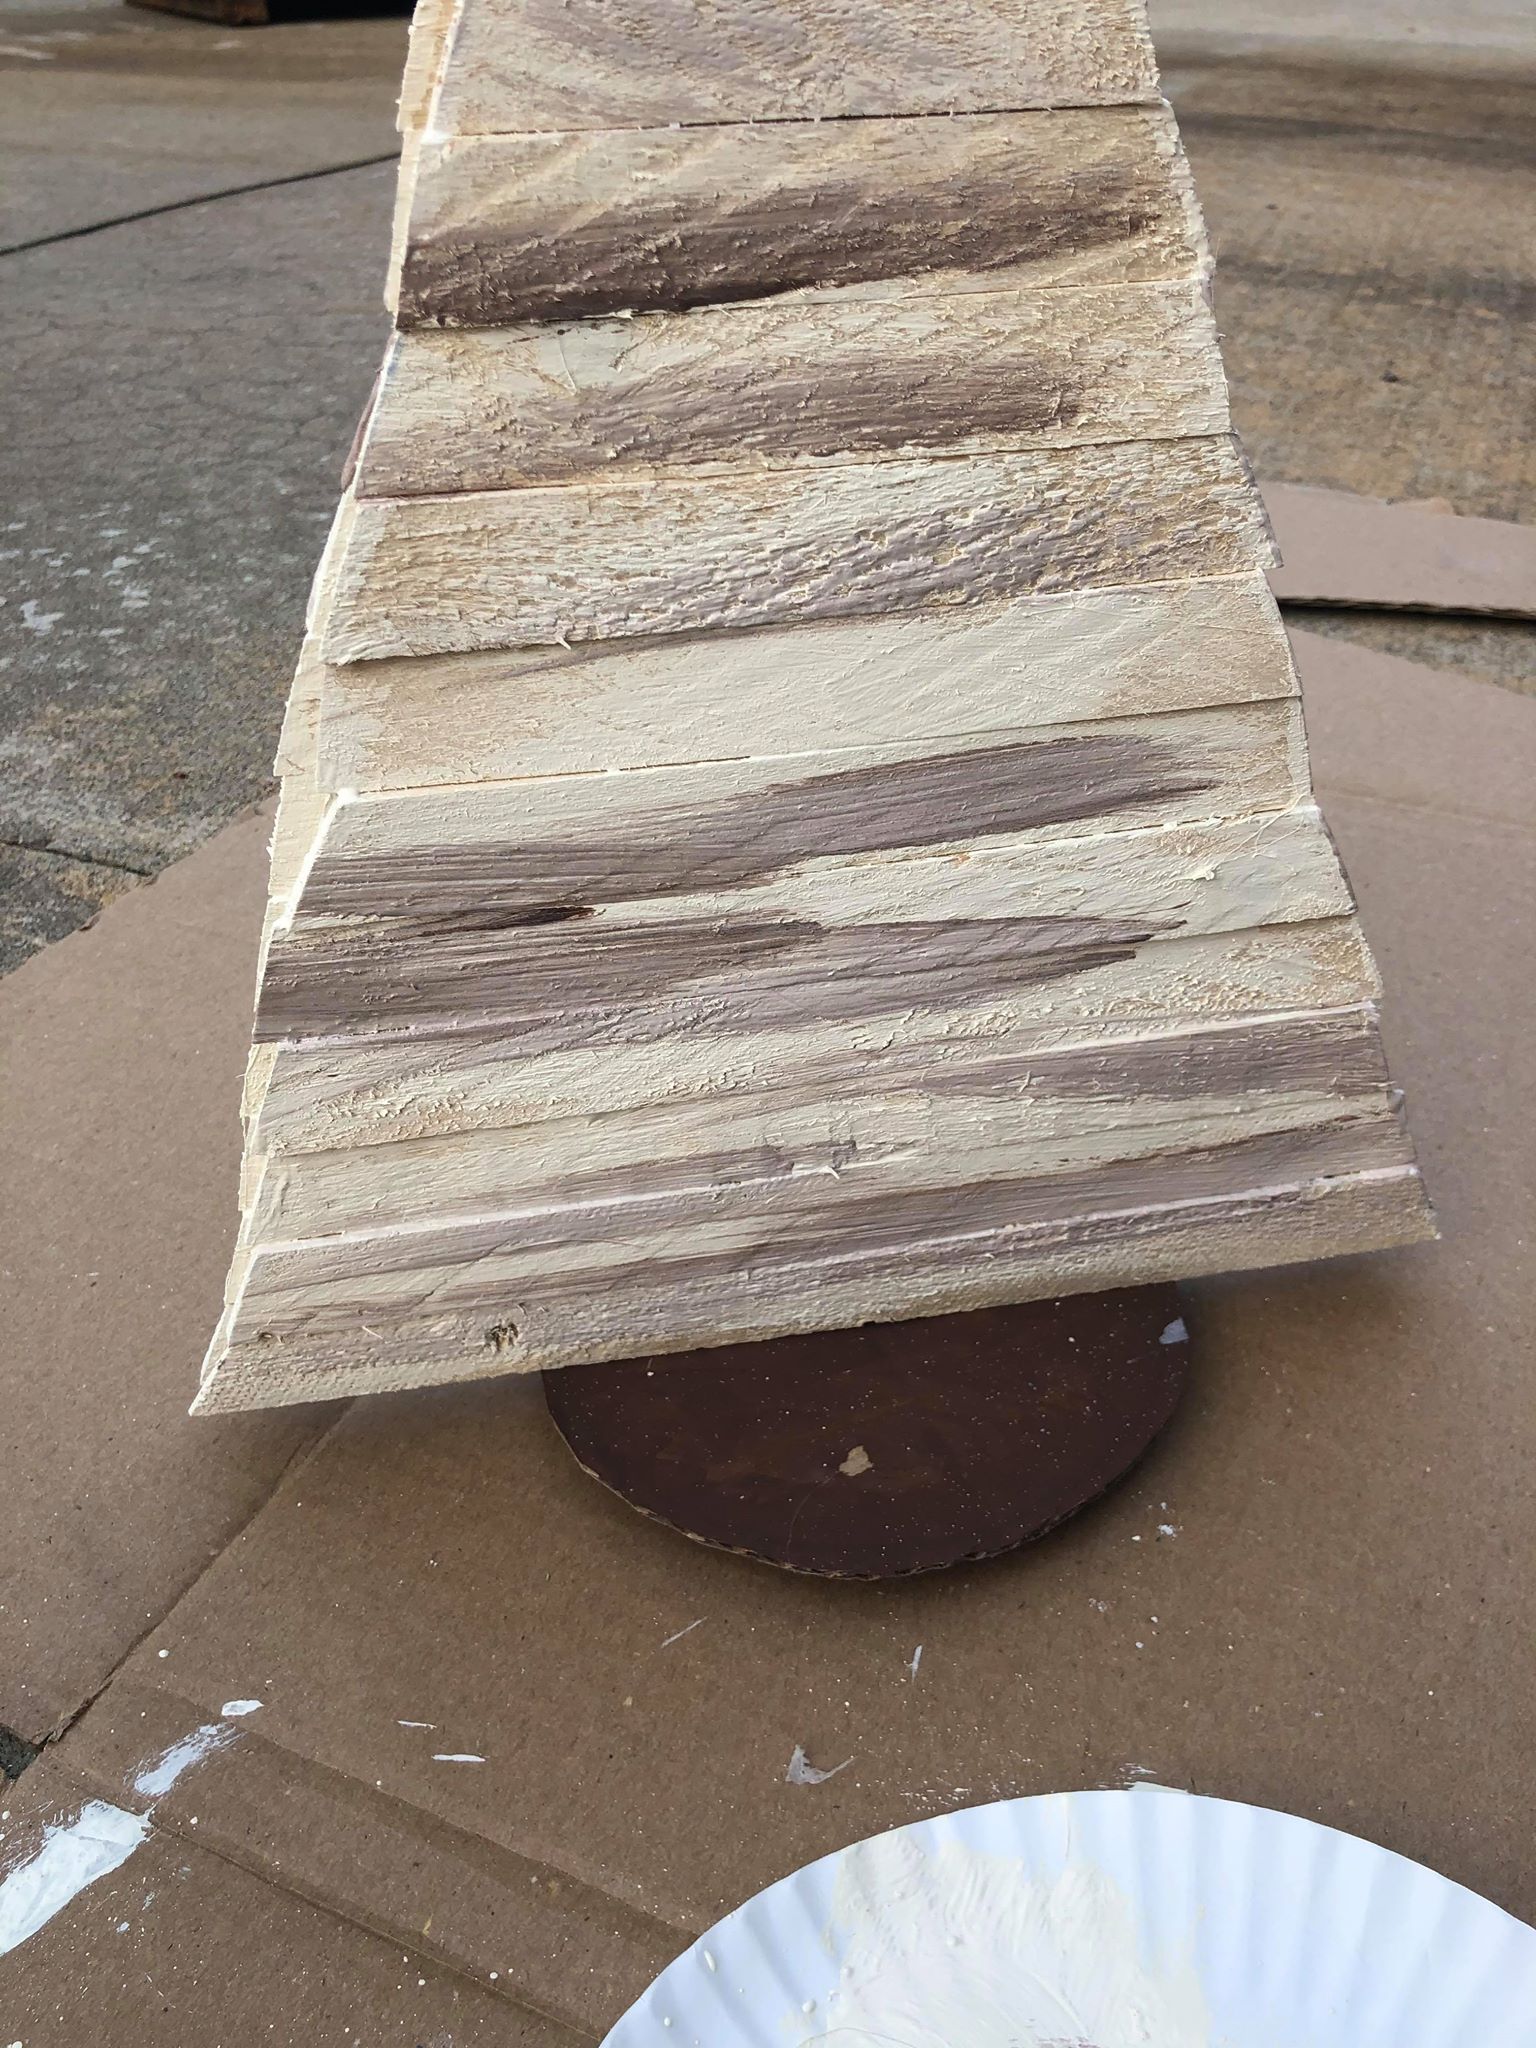
Now it is time to paint your tree. I’m using a light buttermilk by DecoArt.
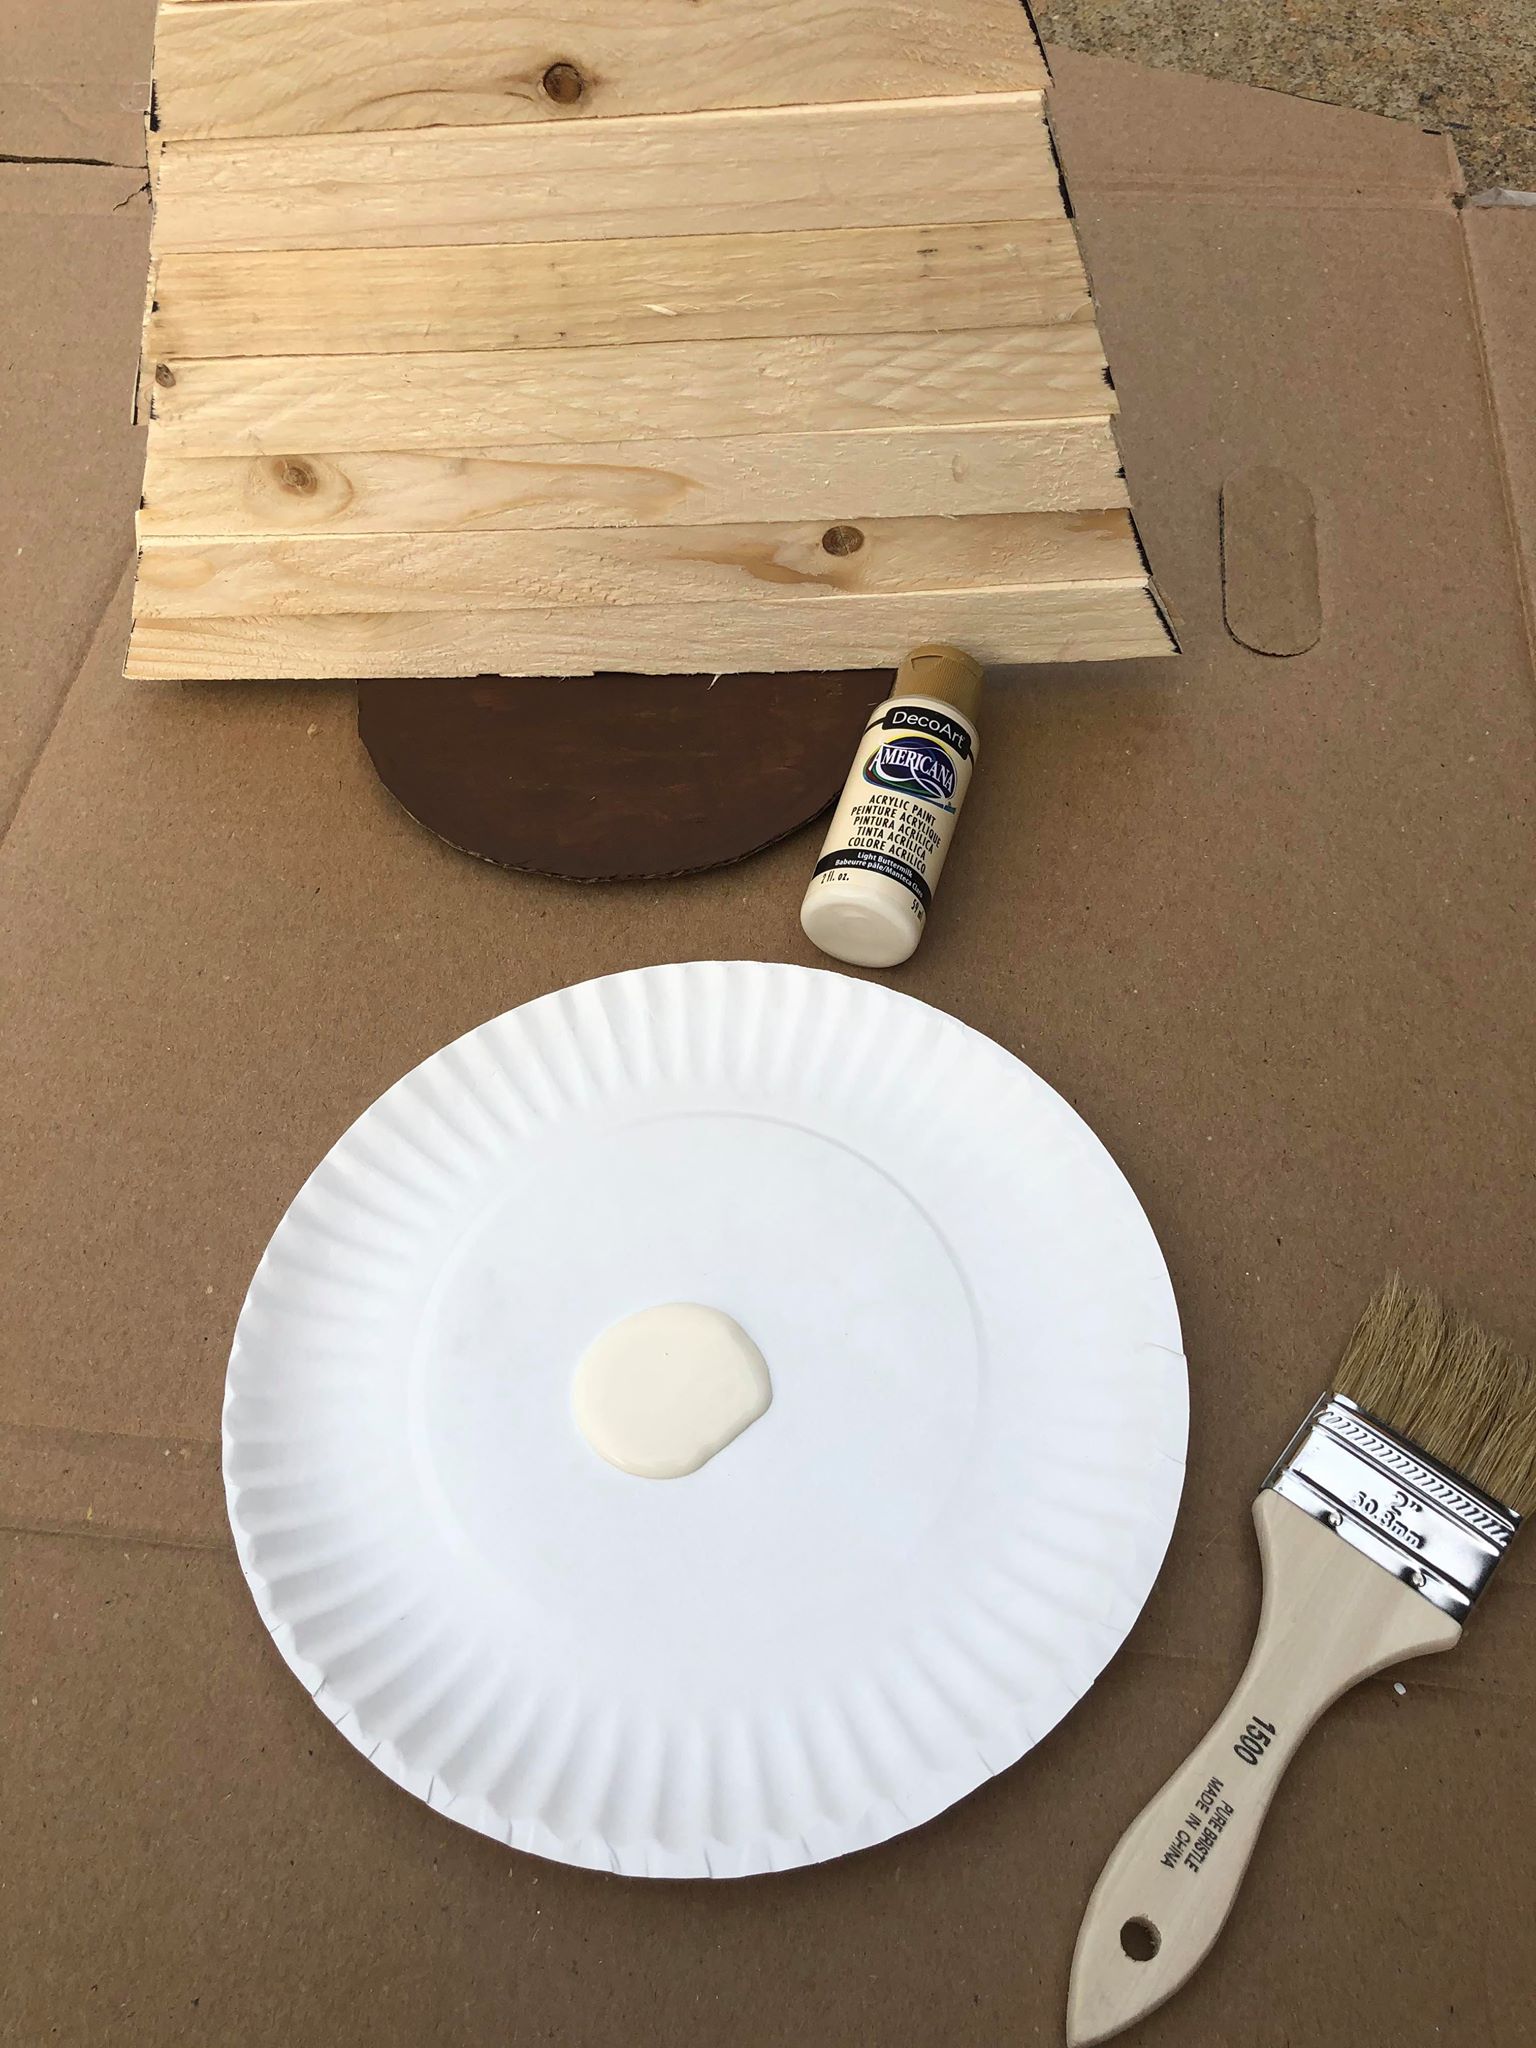
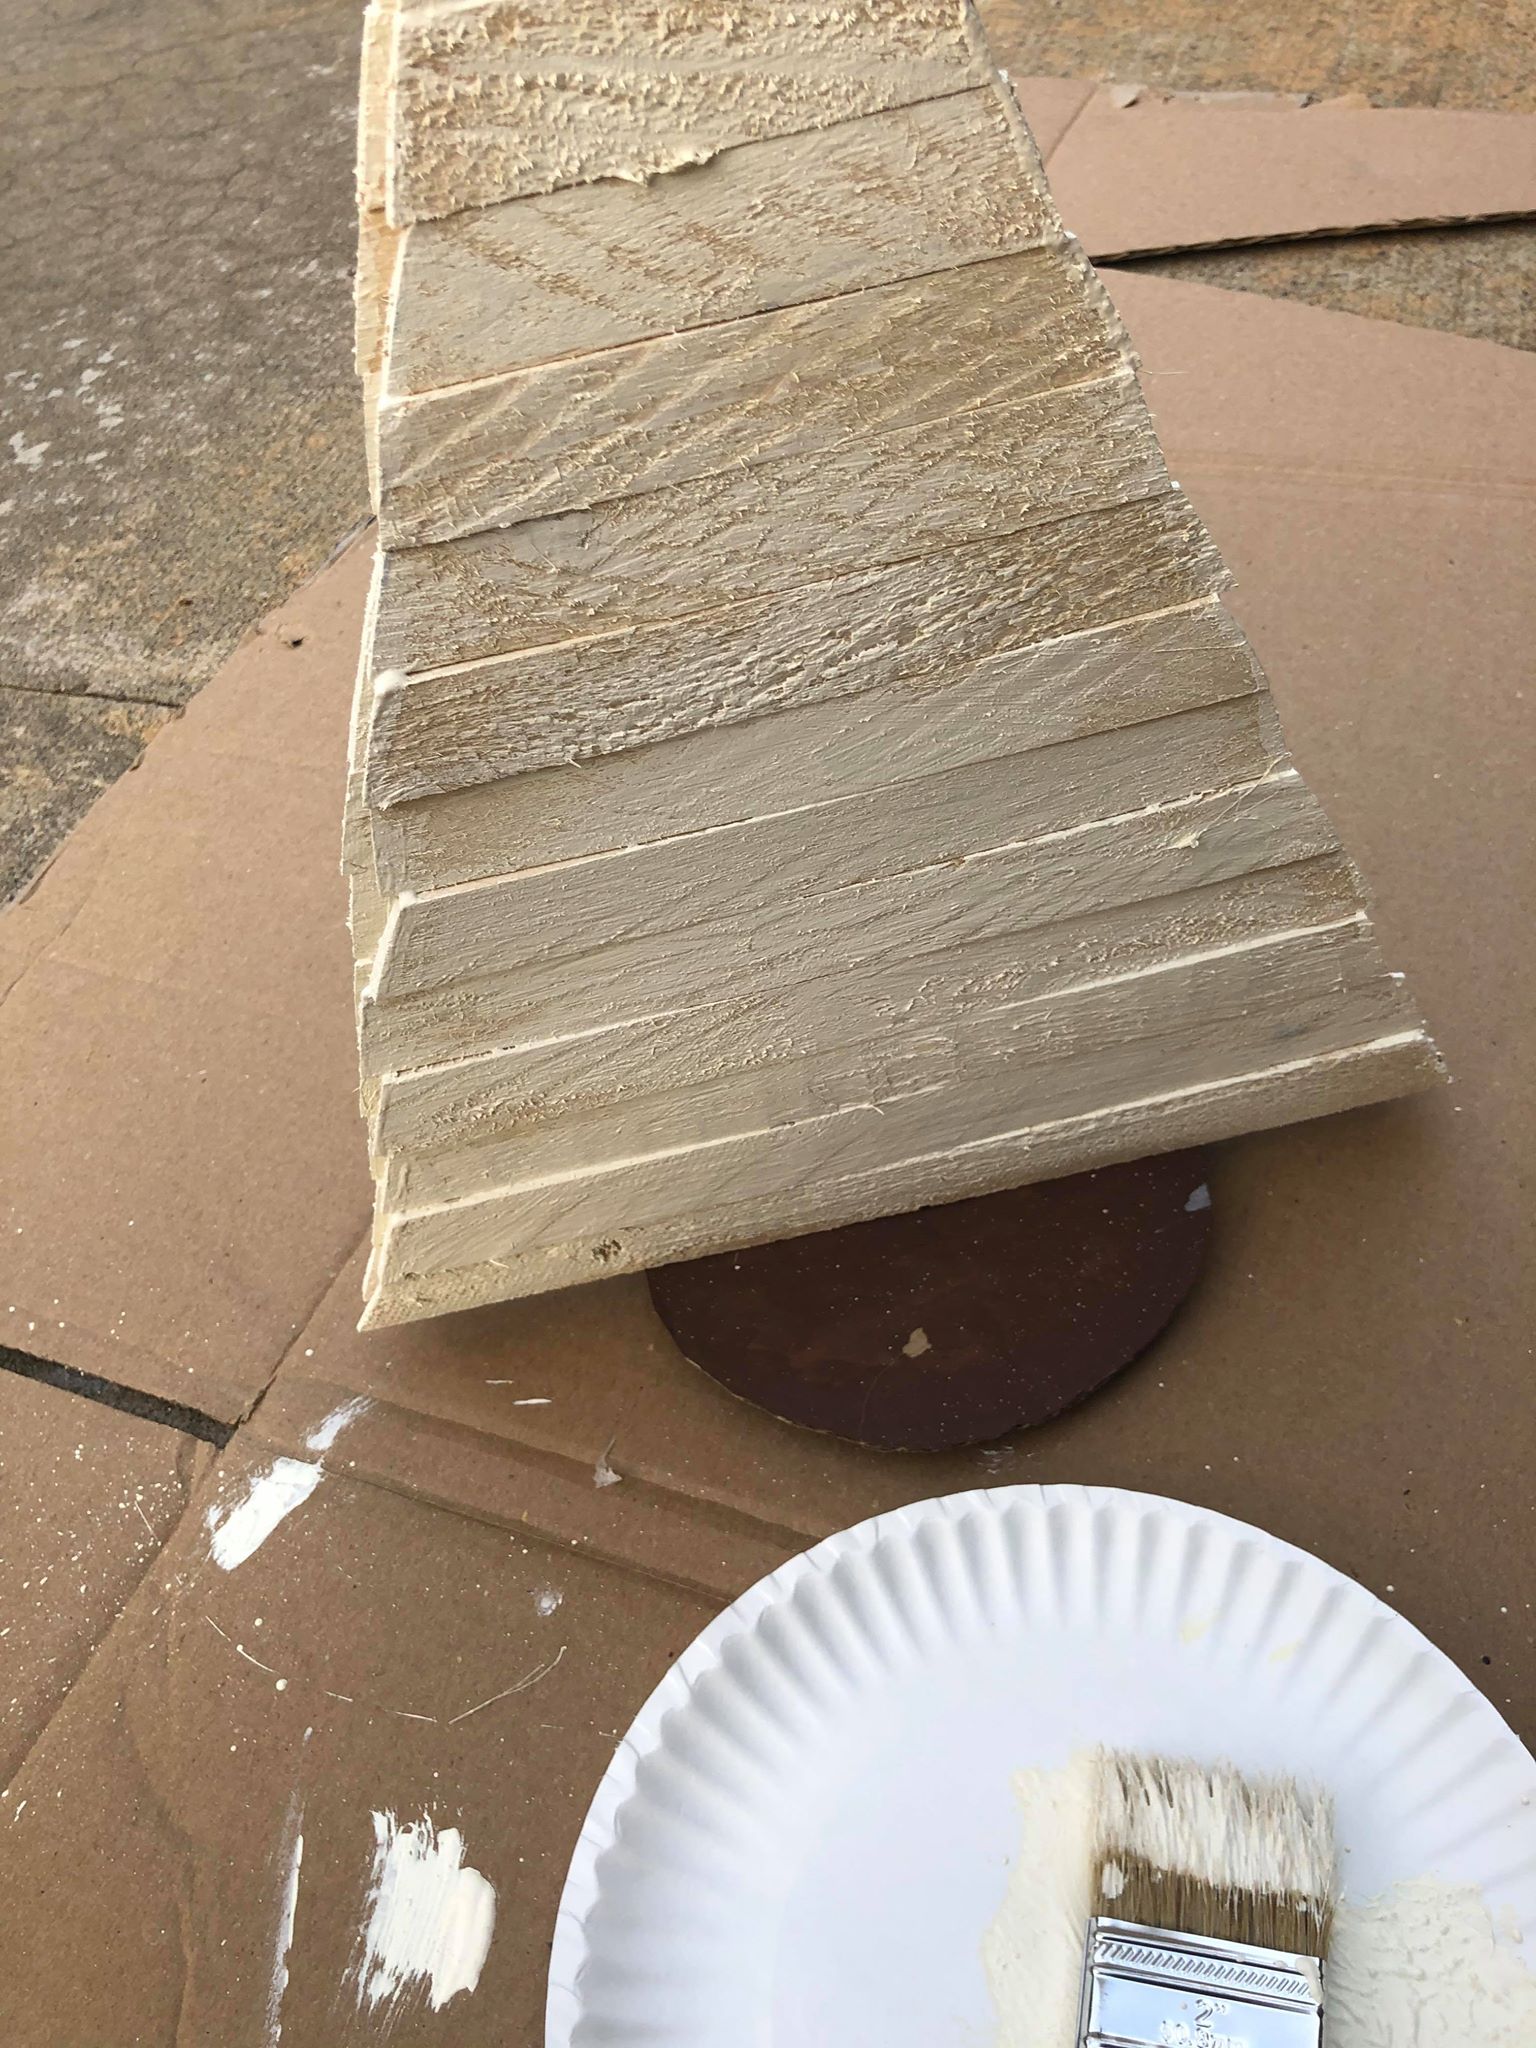

Be sure to paint the sides of your tree. I then added a brown glaze here and there over my paint.
I glued some moss onto the bottom circle of my tree.