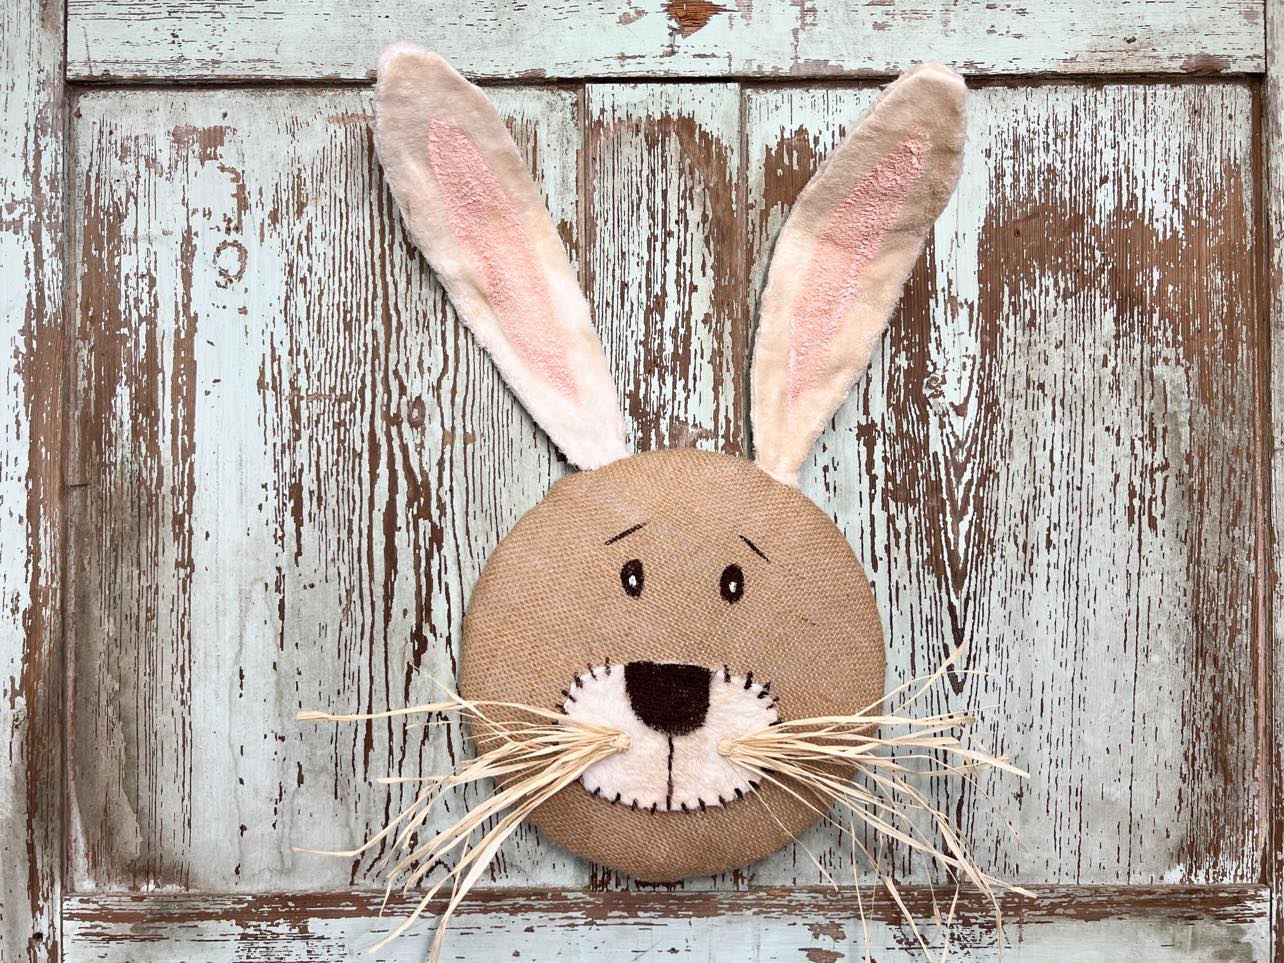
Ok so it’s time to start pulling out your Spring decorations. After going through my decorations I decided that I would like to make a bunny head to mix in with what I have.

The supplies that I’ll be using are:
1. One round 10” canvas from Five Below
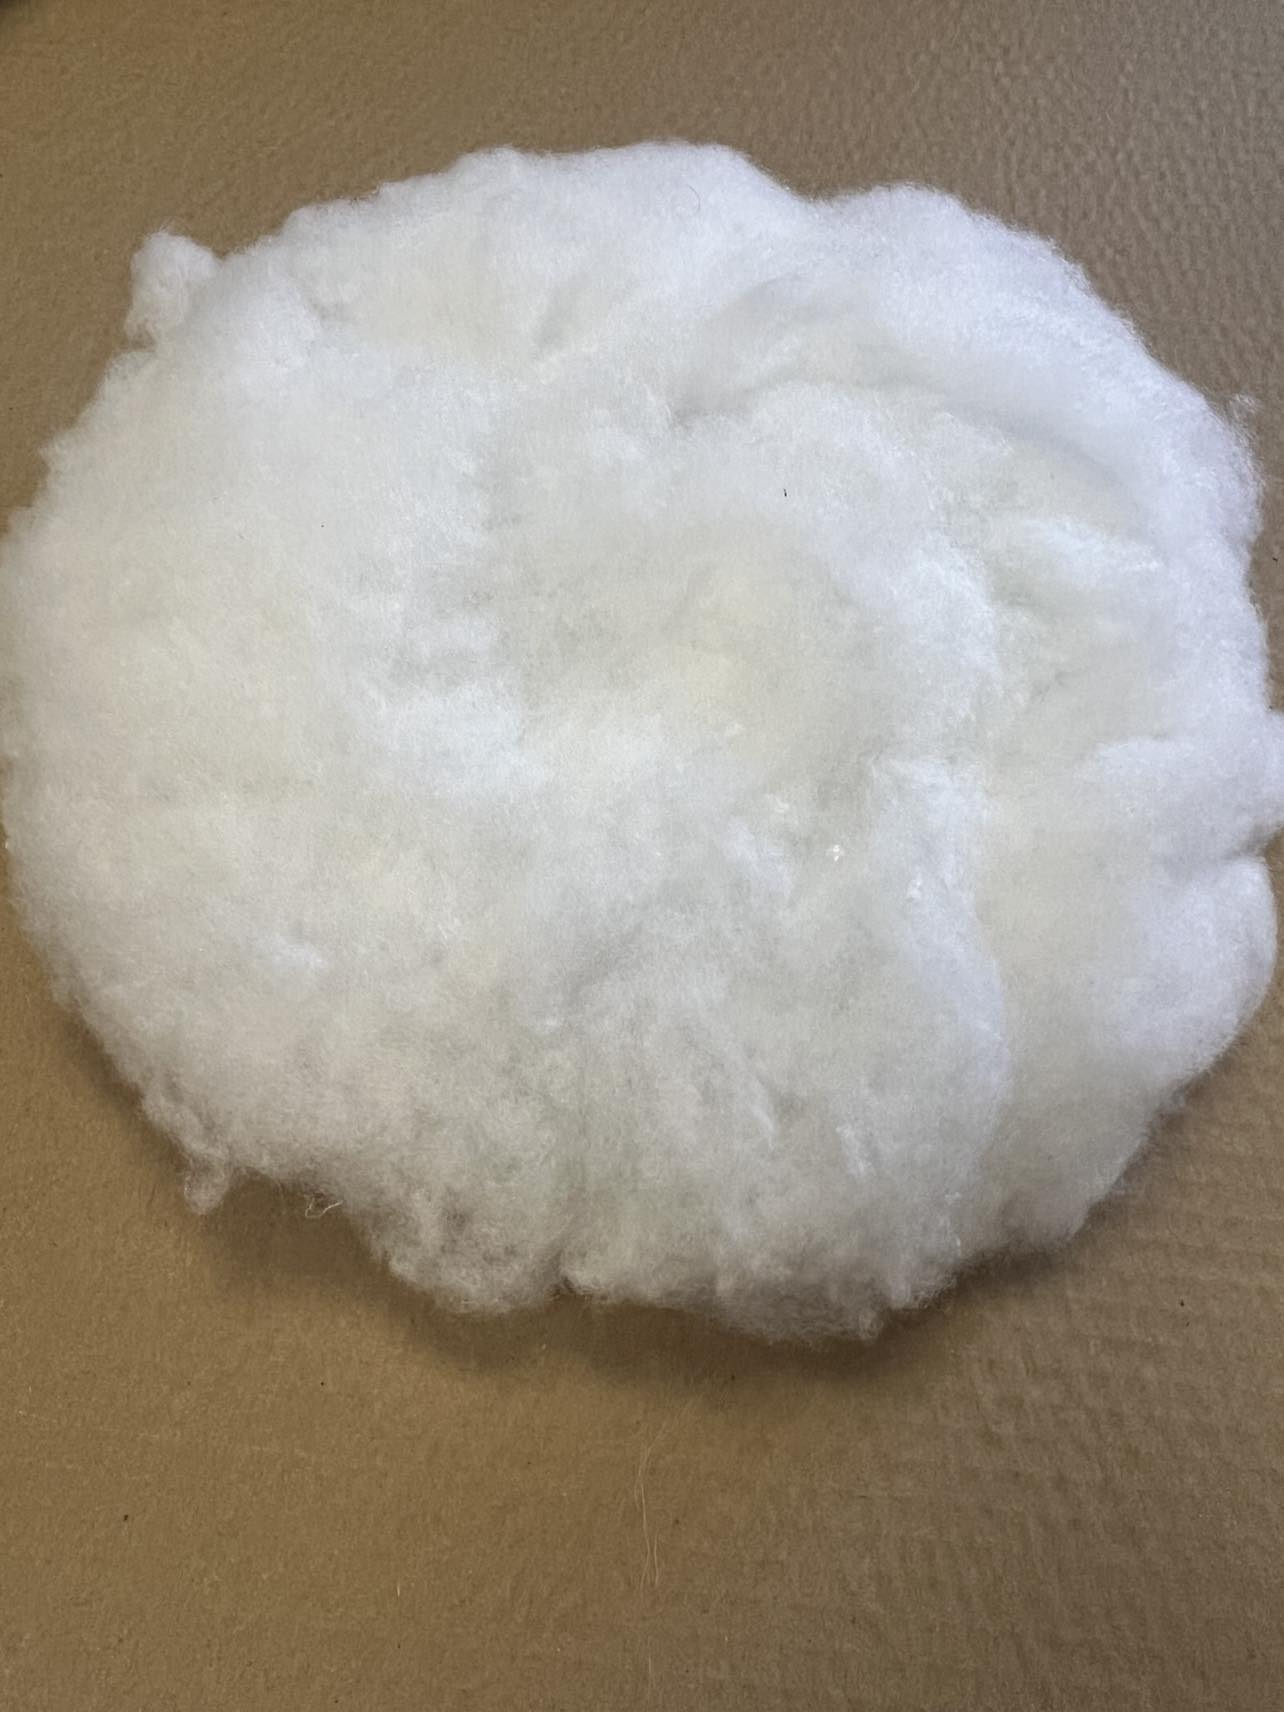
2. Poly-fil stuffing
3. Surebonder fabric glue canvas poly fell bonder.
4. Burlap
5. One microfiber cloth from the Dollar Tree
6. Wire from the Dollar Tree
7. Two wire hangers cloth.
8. Wire cutters
9. Staple gun
10. Drill
11. Paint brush
12. Ivory colored chalk paint by Waverly
13. Burnt Umber colored acrylic paint by Apple Barrel
14. Baby Blush colored acrylic paint by DecoArt
15. Scissors
16. Raffia
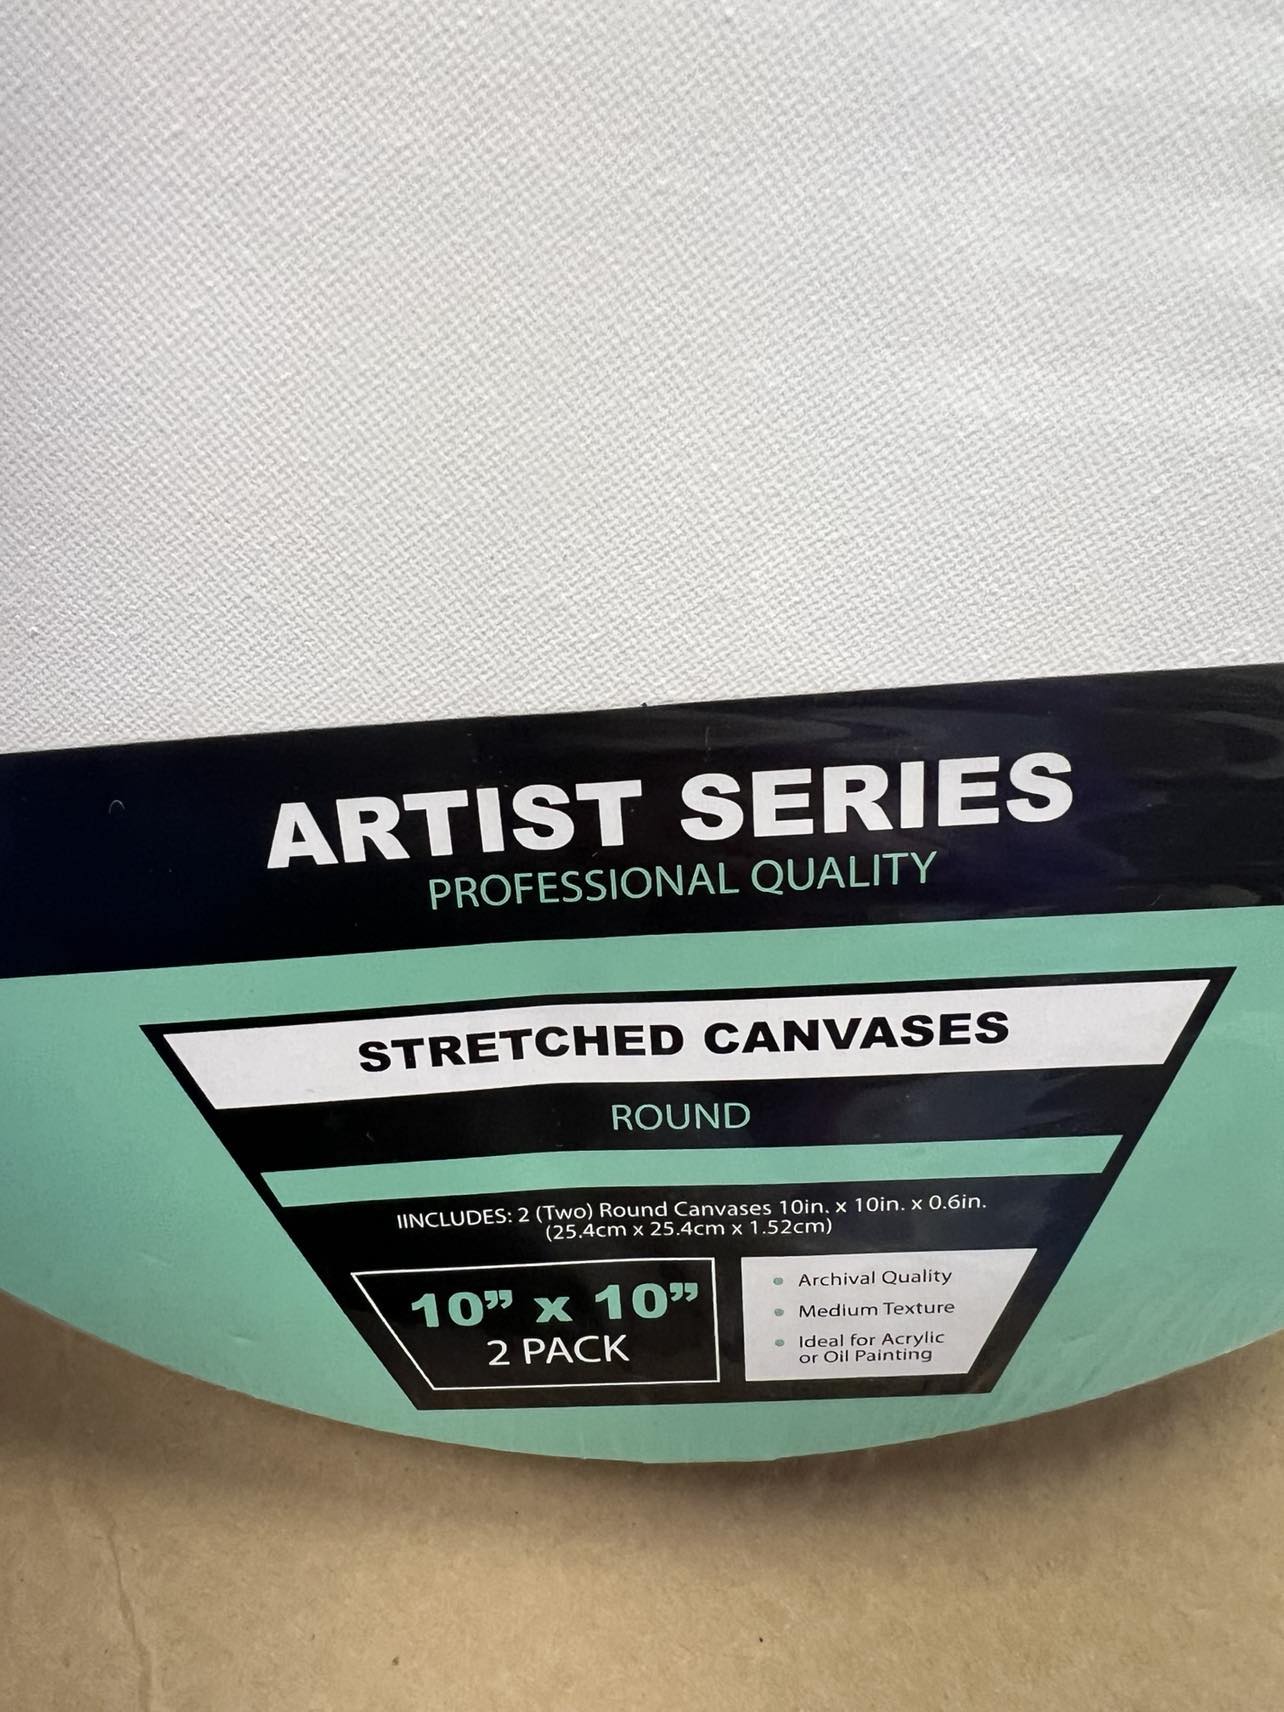
This round canvas comes in a pack of two from Five Below.
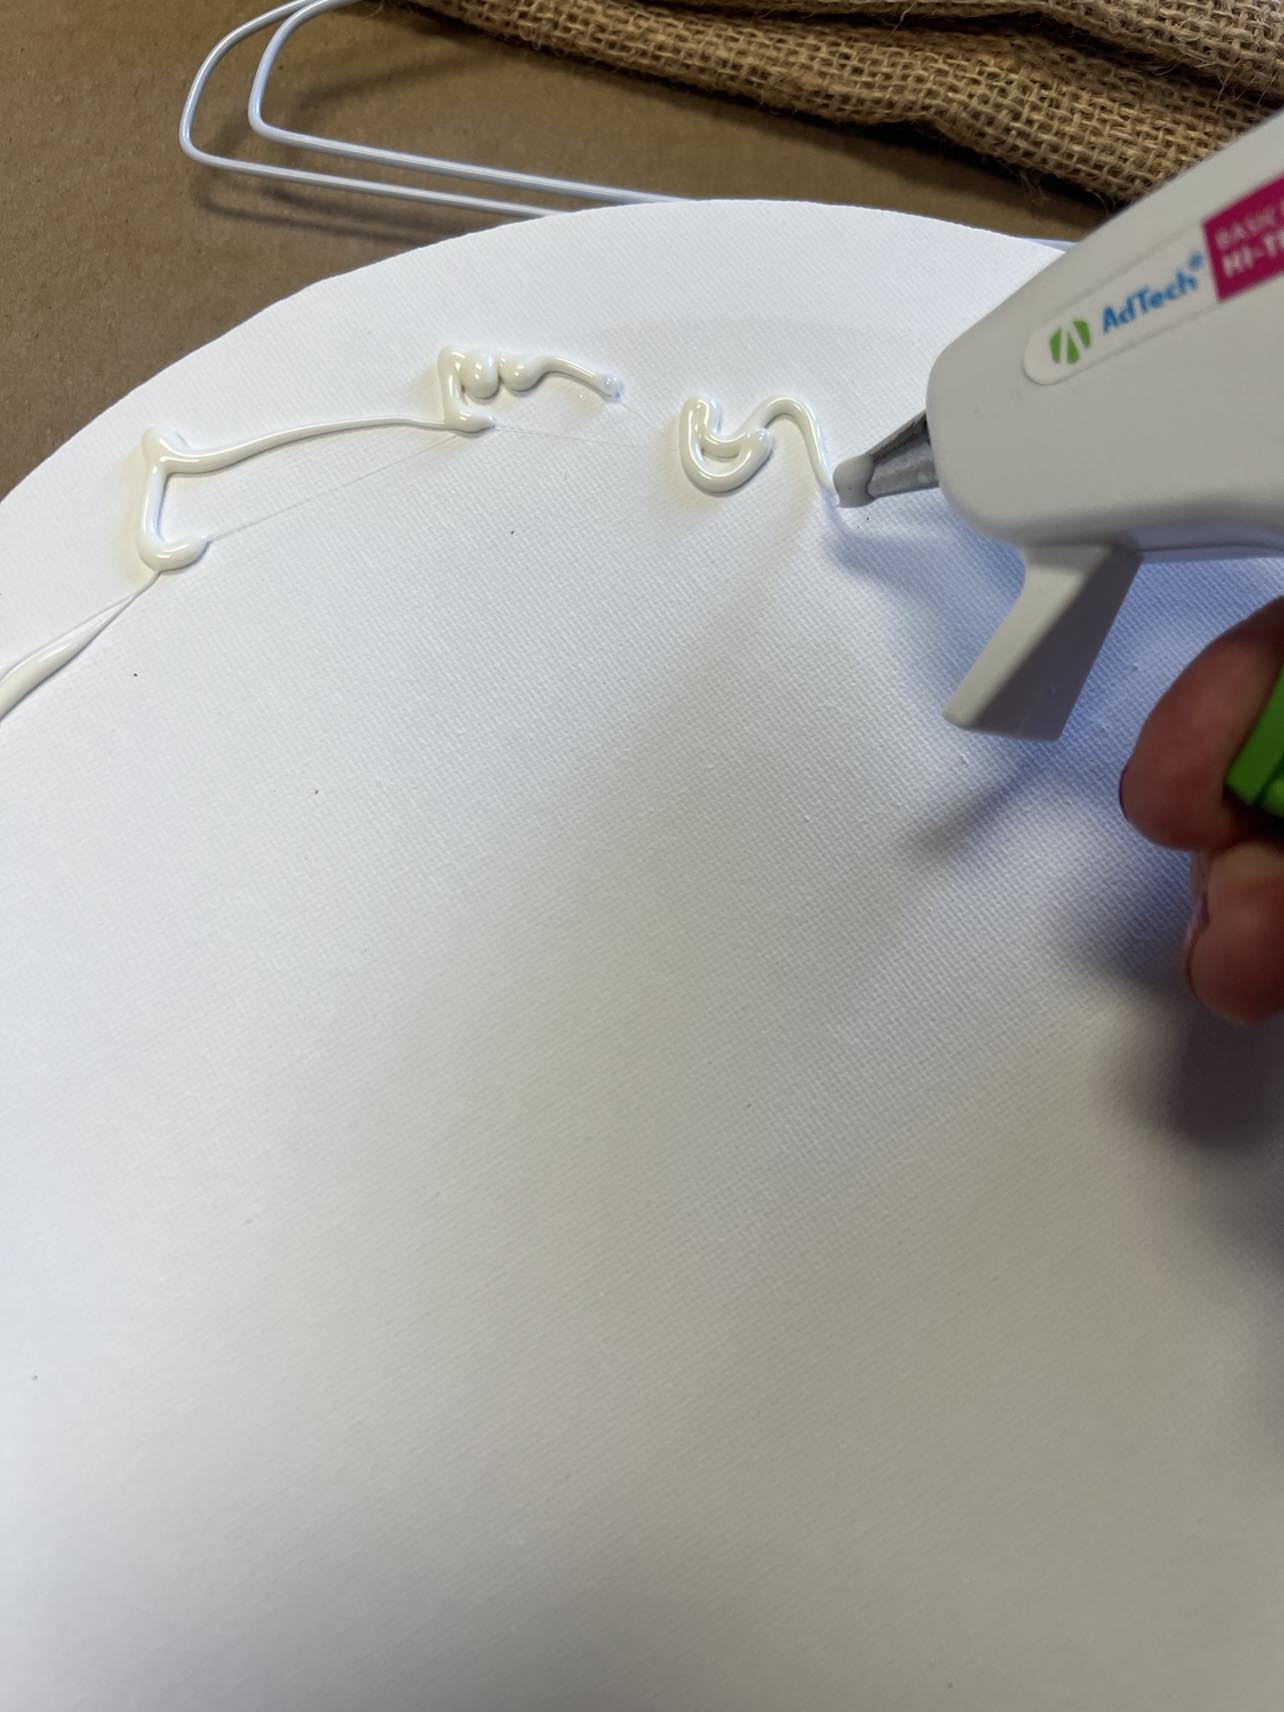
The first step is to add the surebonder glue to the top of the canvas.
Once the surebonder glue is in place you’ll then add the stuffing over the glue.
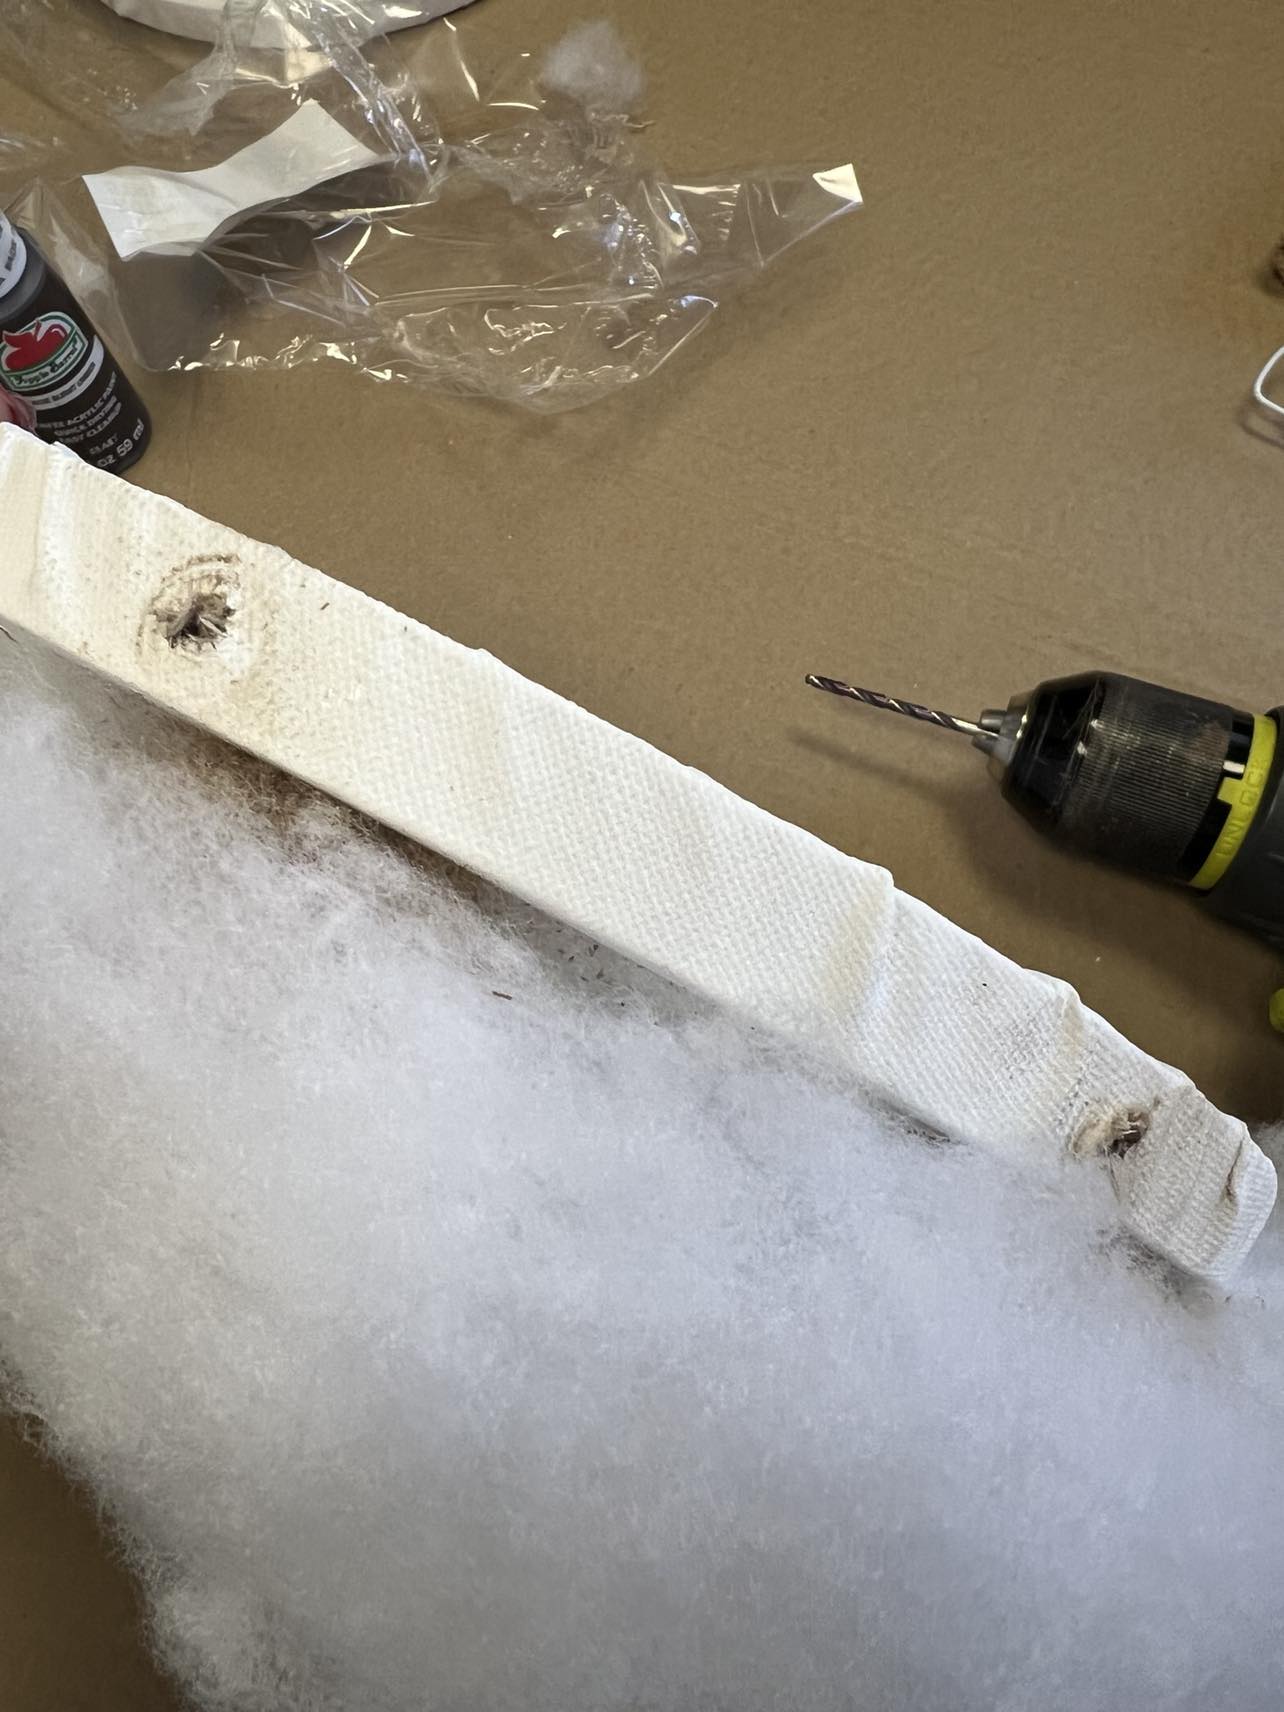
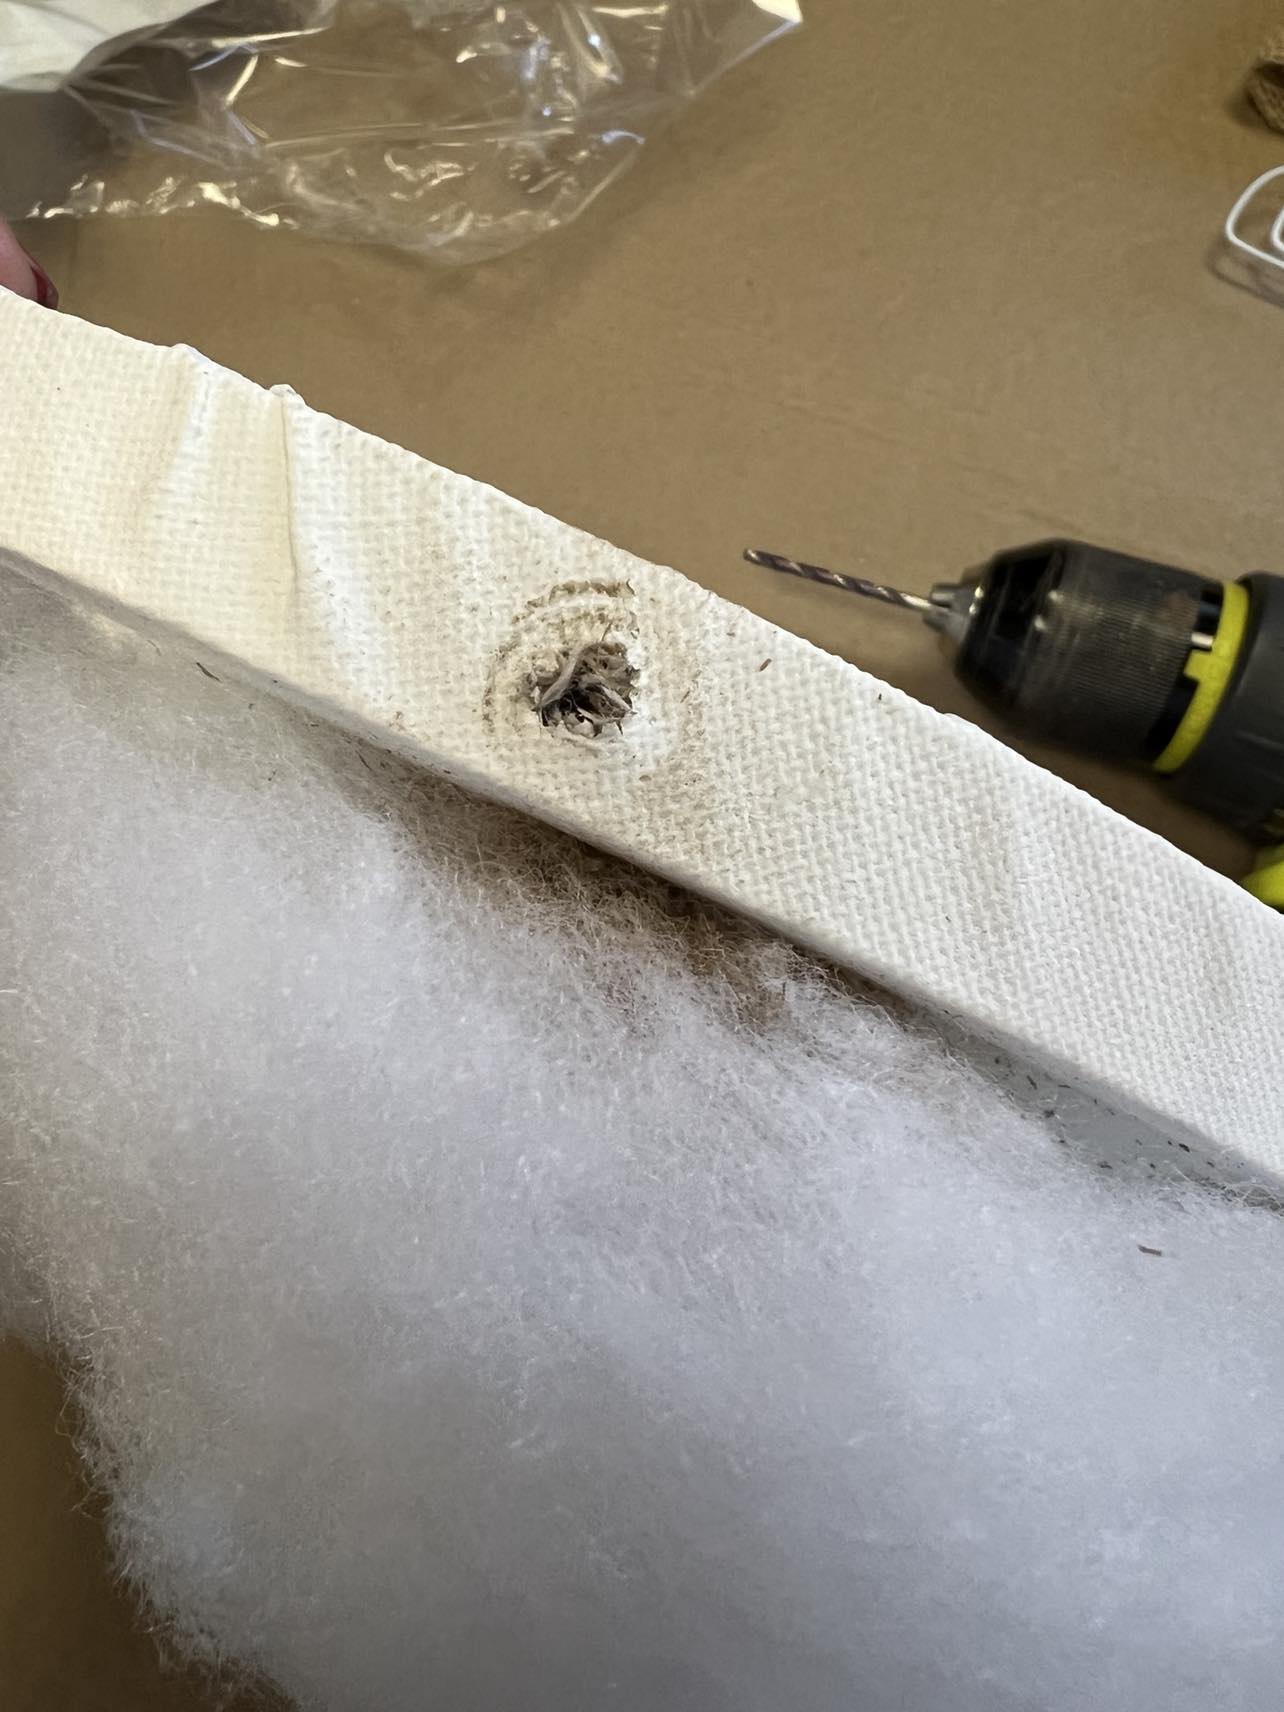
You’ll want to drill two holes for the ears to your bunny. Your holes need to be big enough to fit two pieces of the wire hanger through.
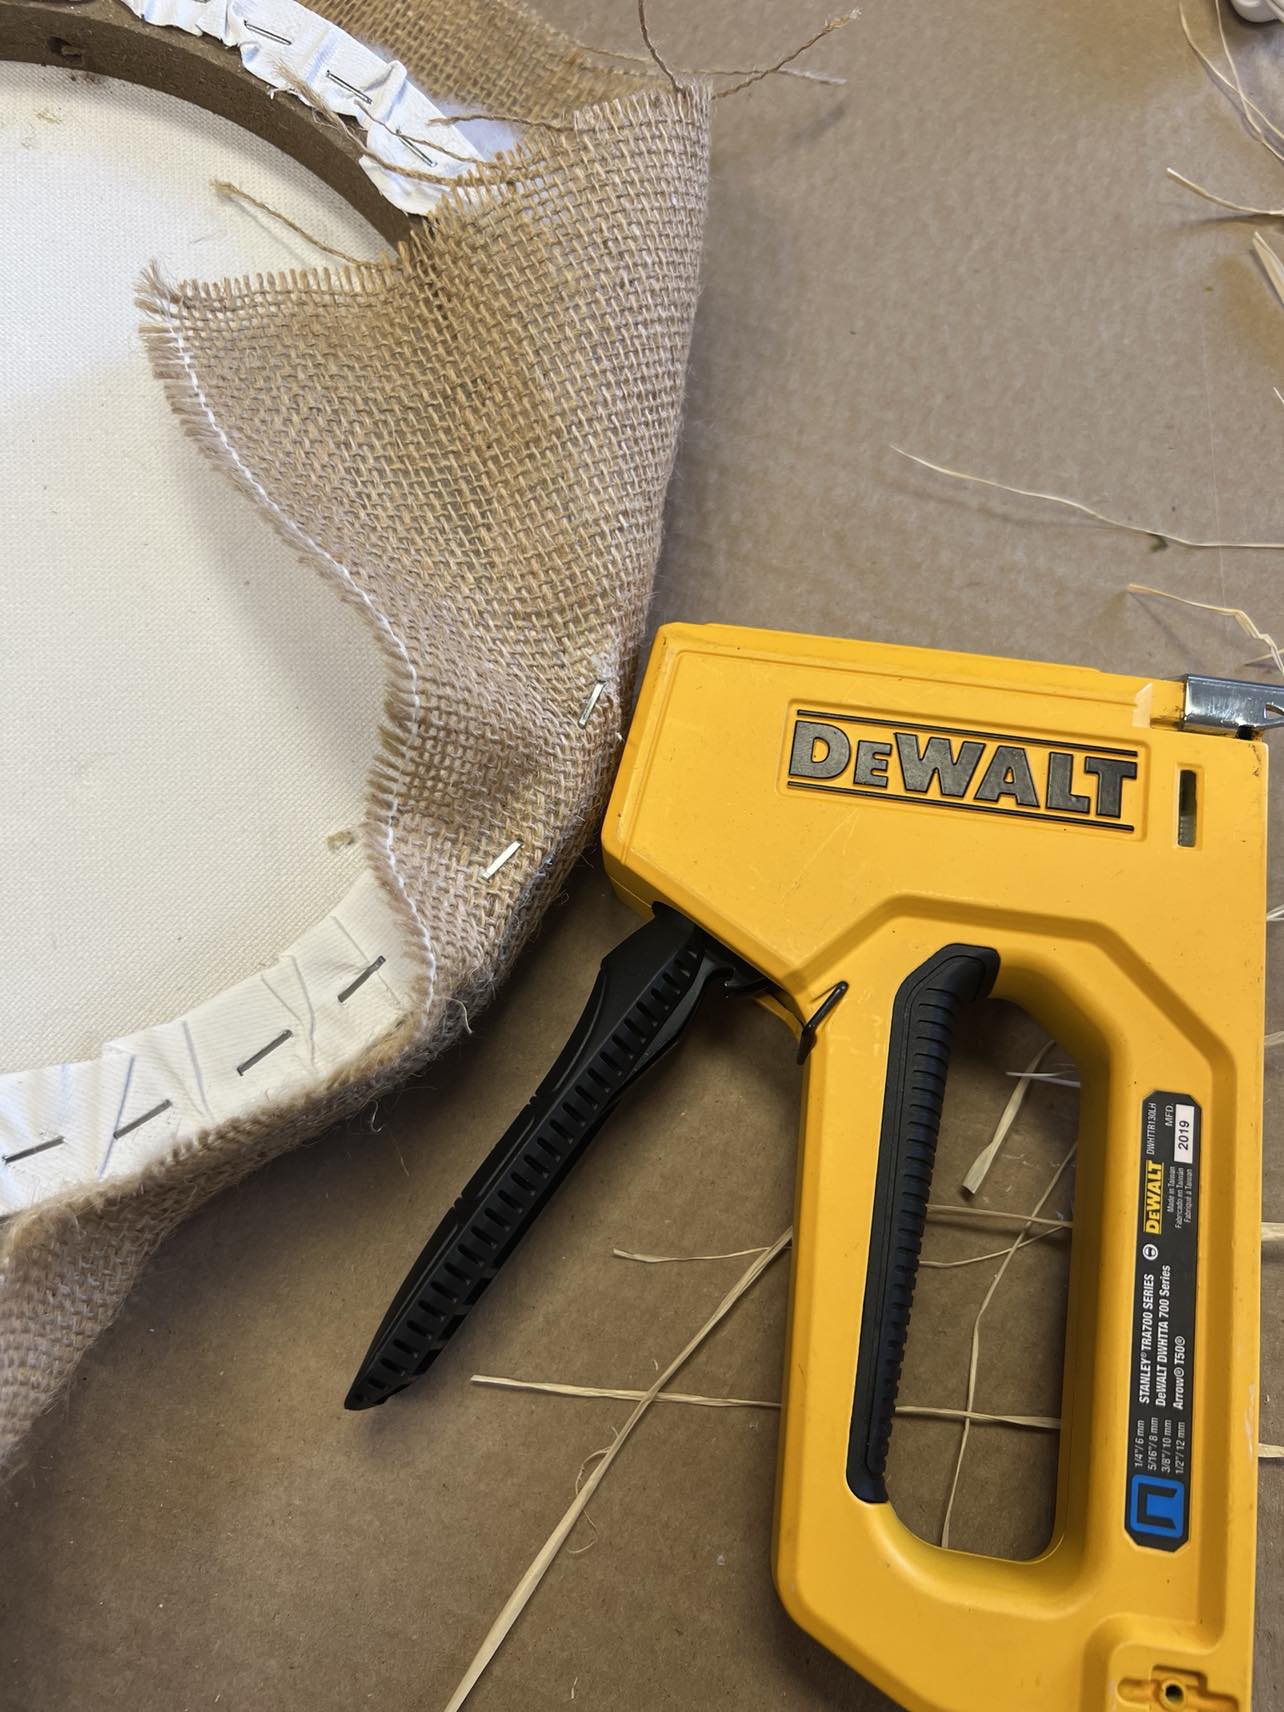
The next step is to cover the canvas and stuffing with a piece of burlap. I found this easy to do by stapling the burlap to the back side of the canvas.
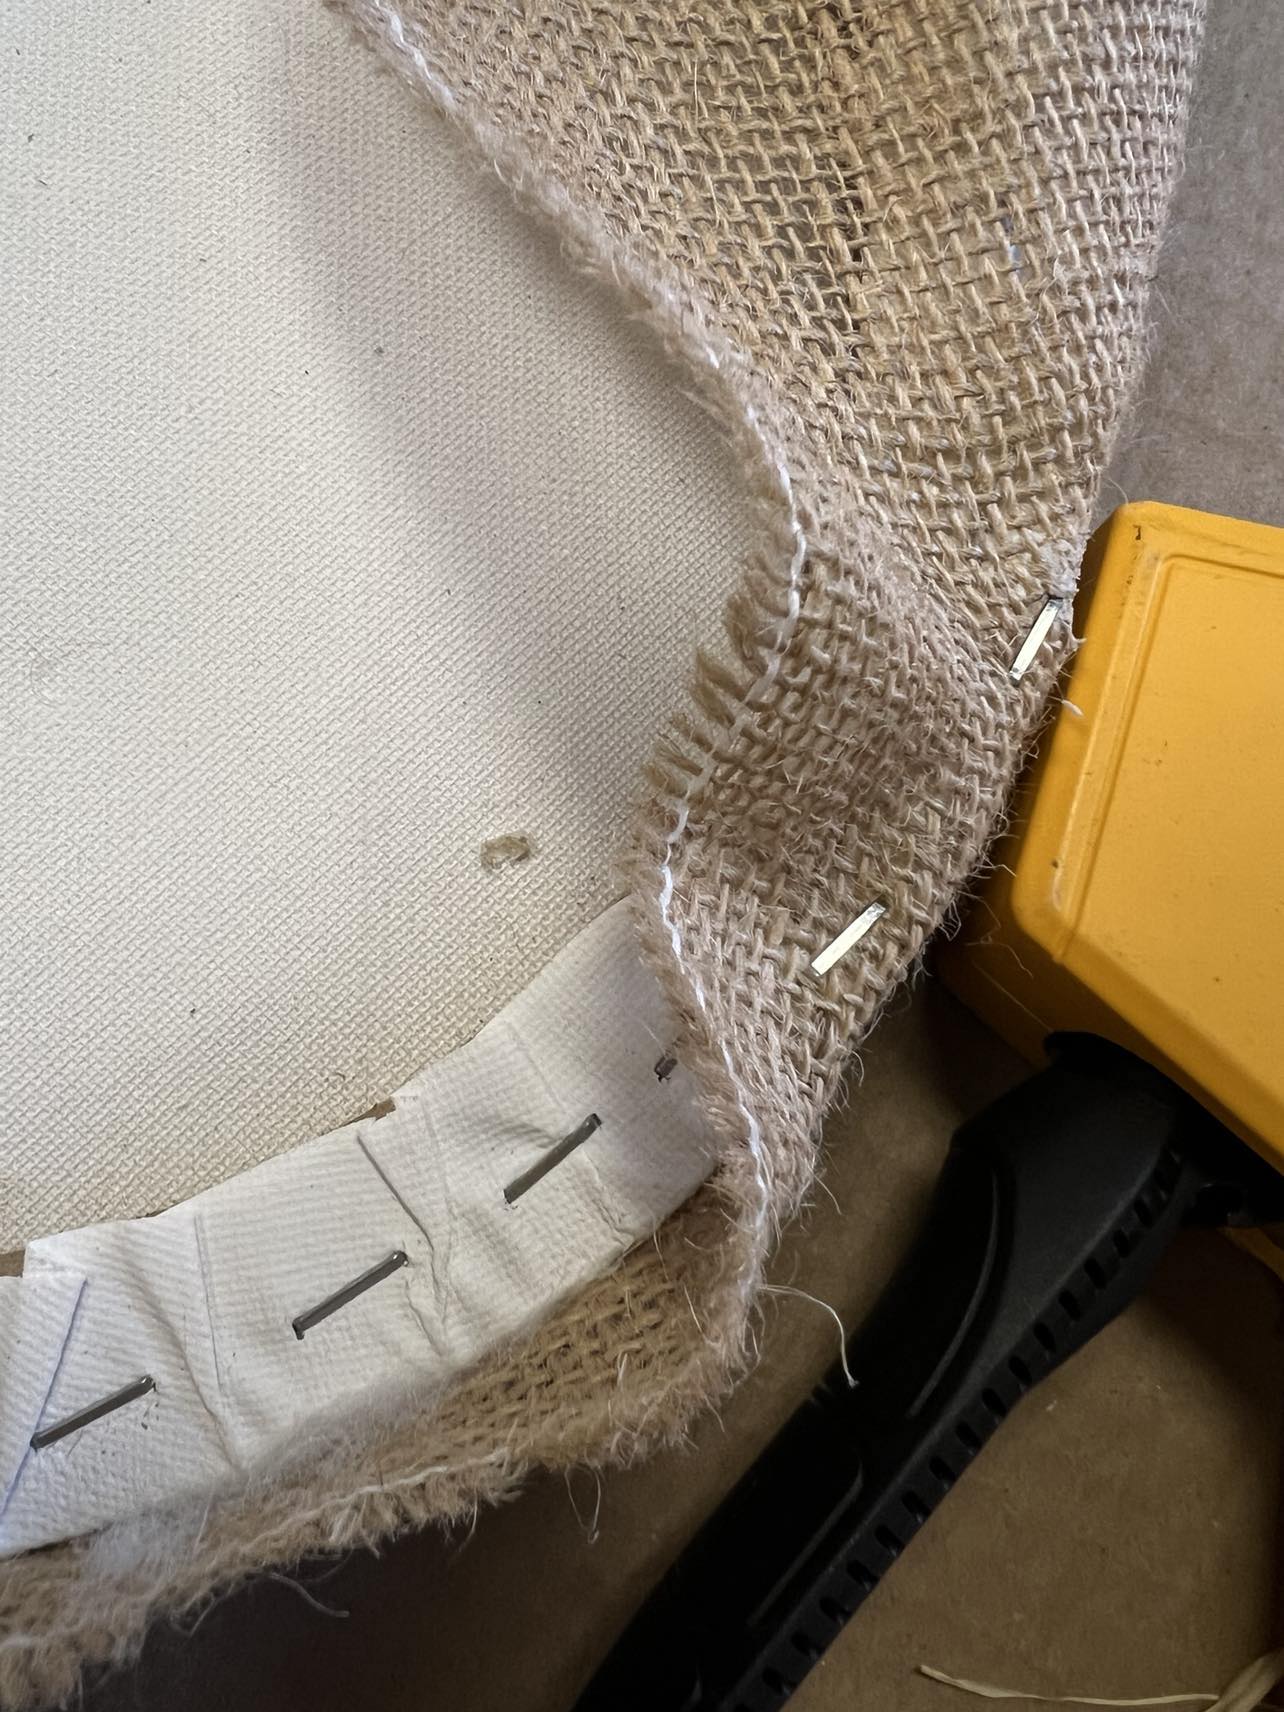
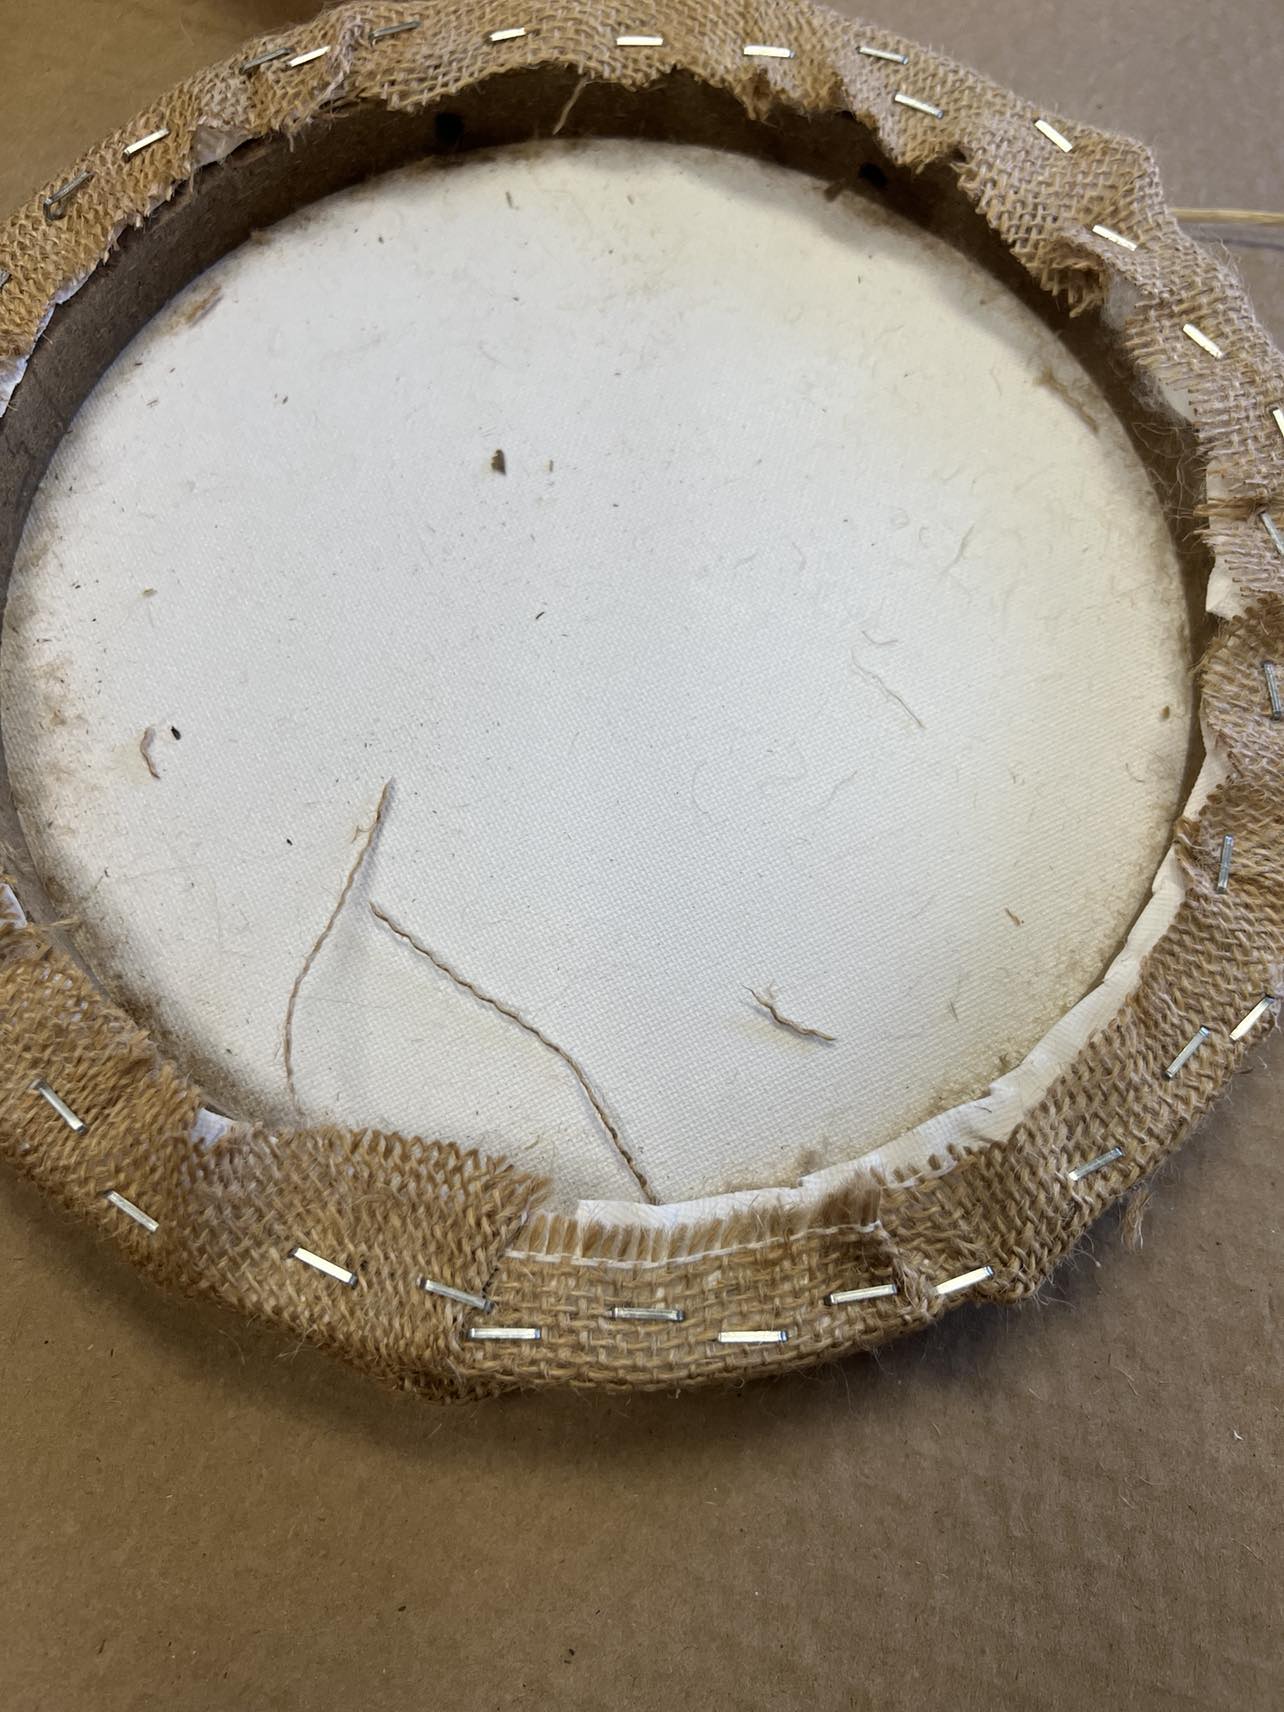
Once you have the burlap stapled in place you’ll then trim the excess burlap off.

The next step is to cut the wire hangers as shown in photo down below.
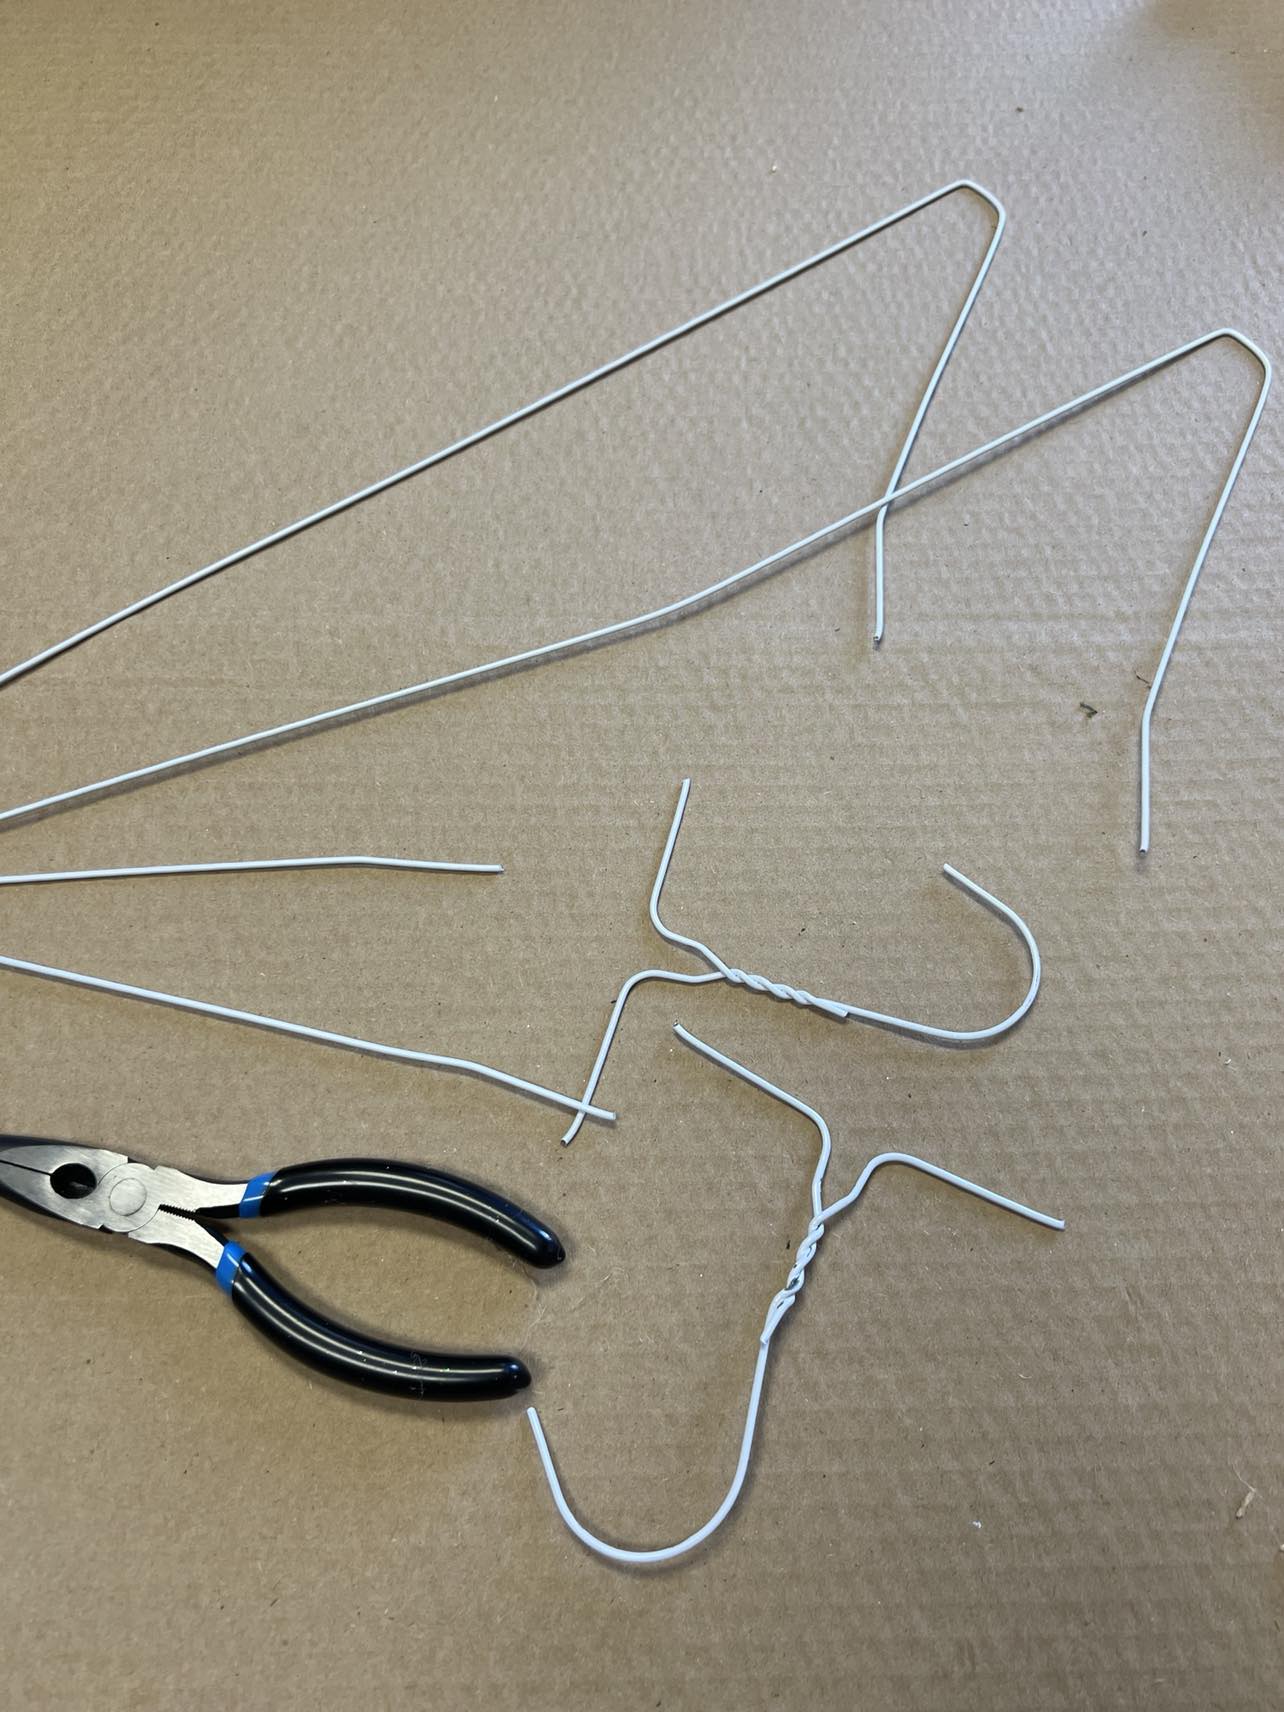
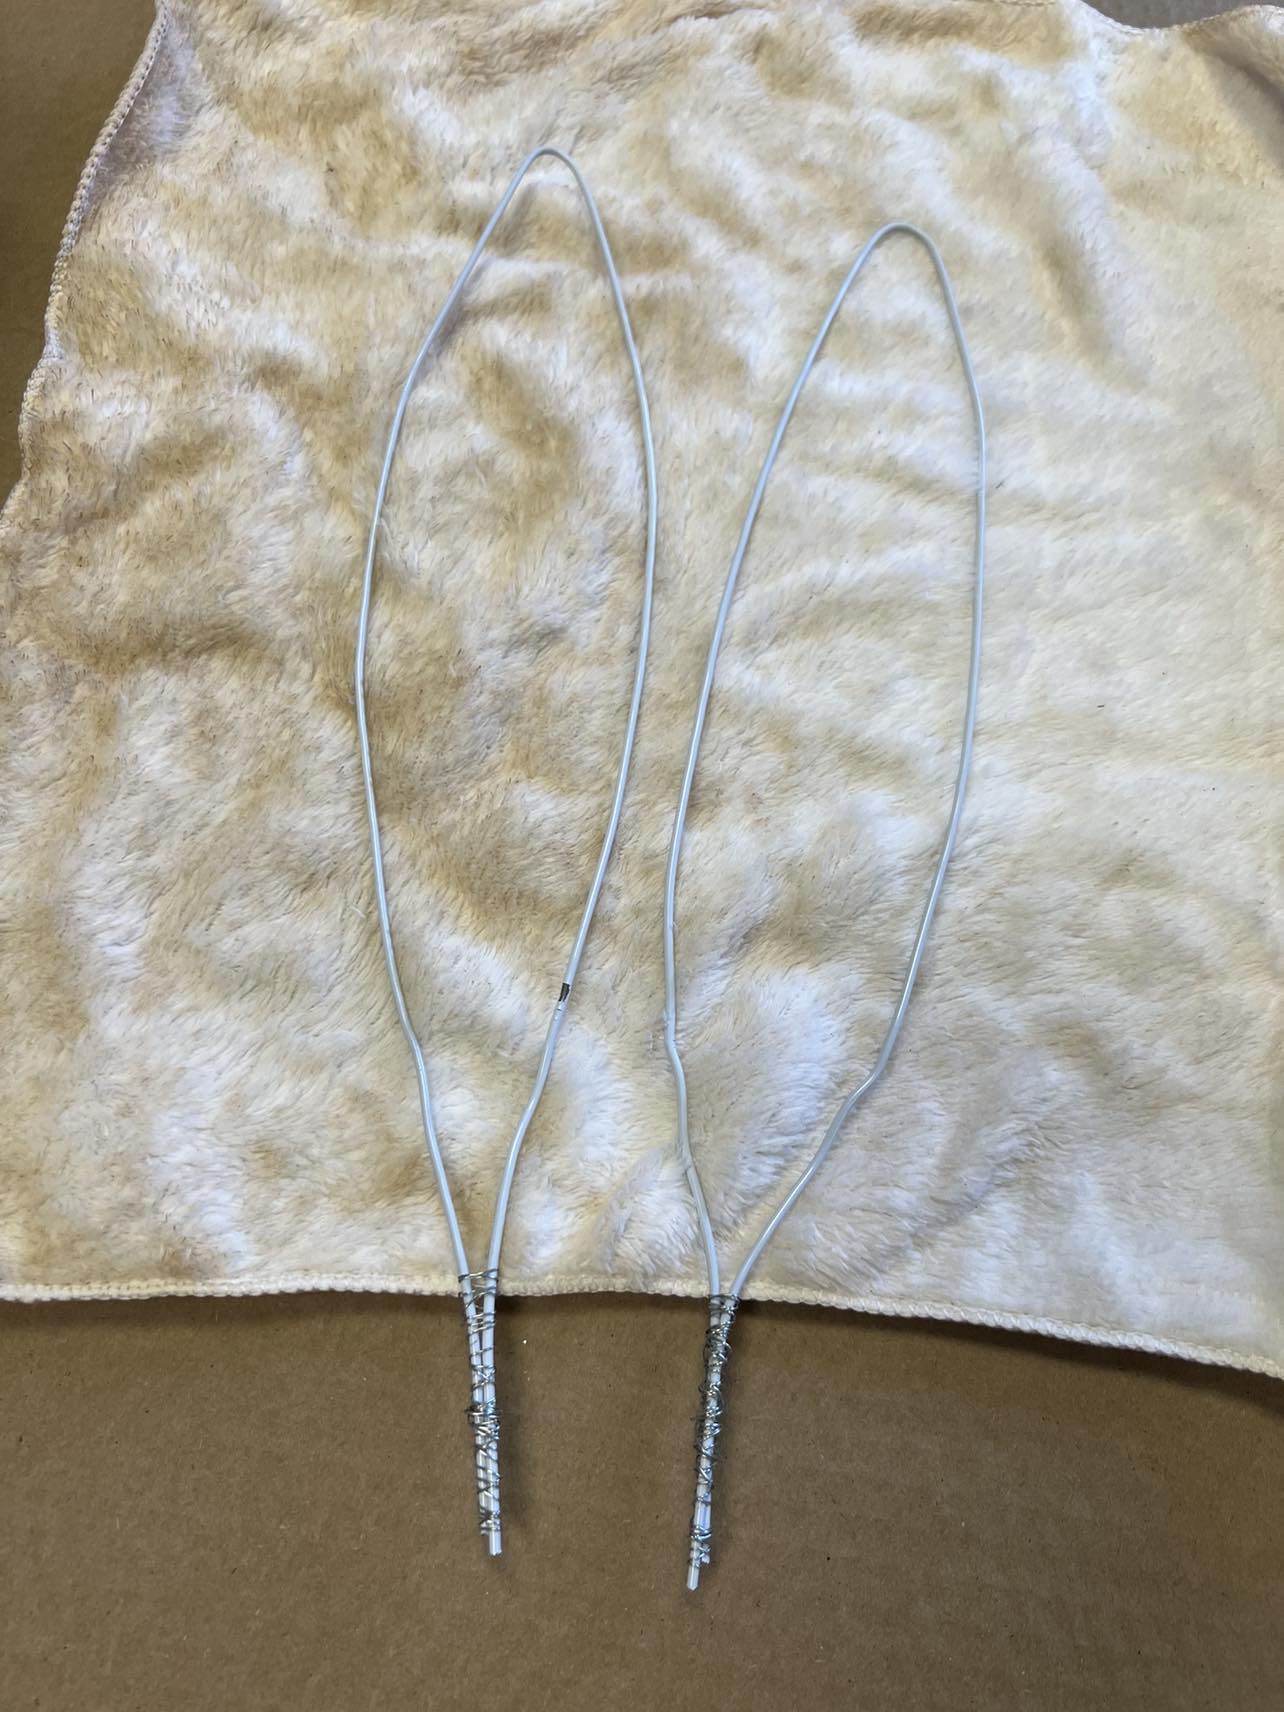
Once you have the wire hangers cut you’ll then bend them in half.
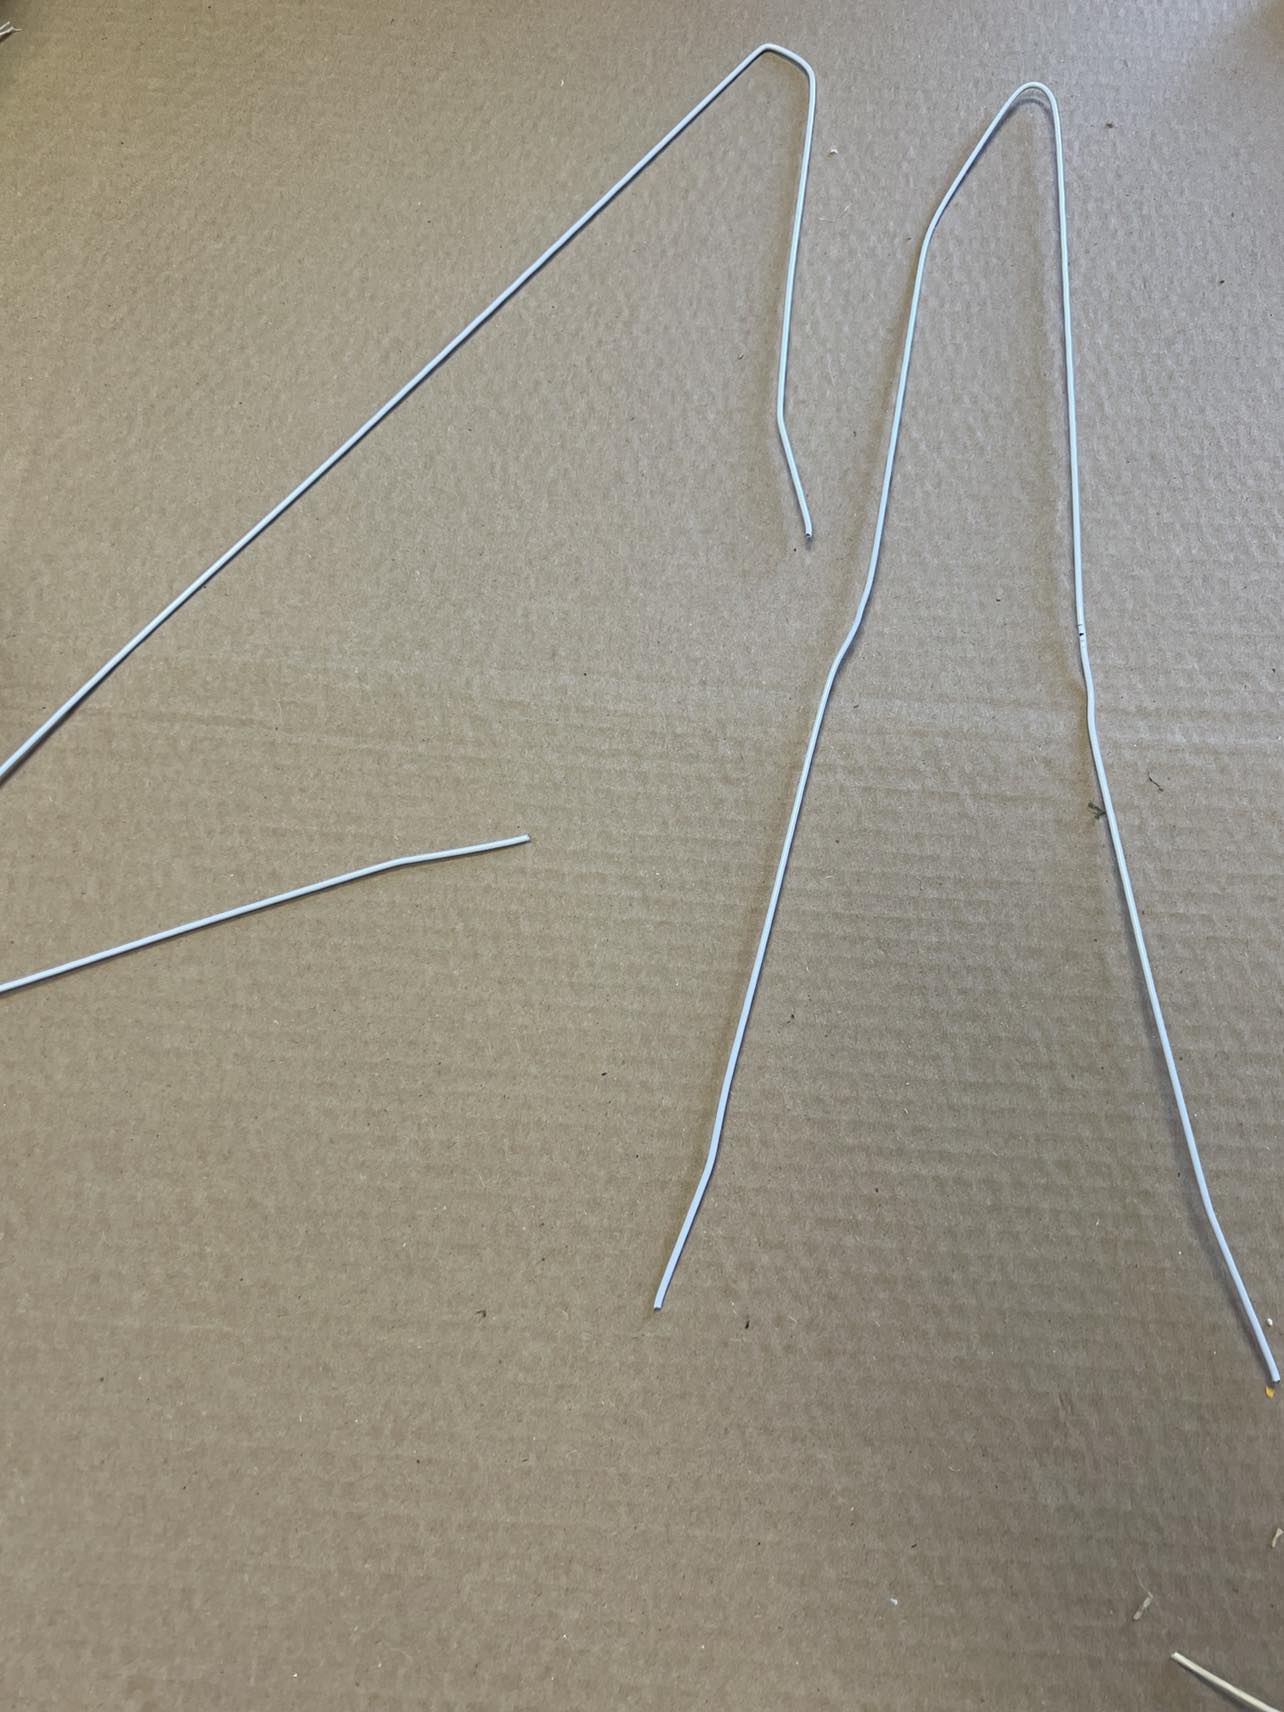
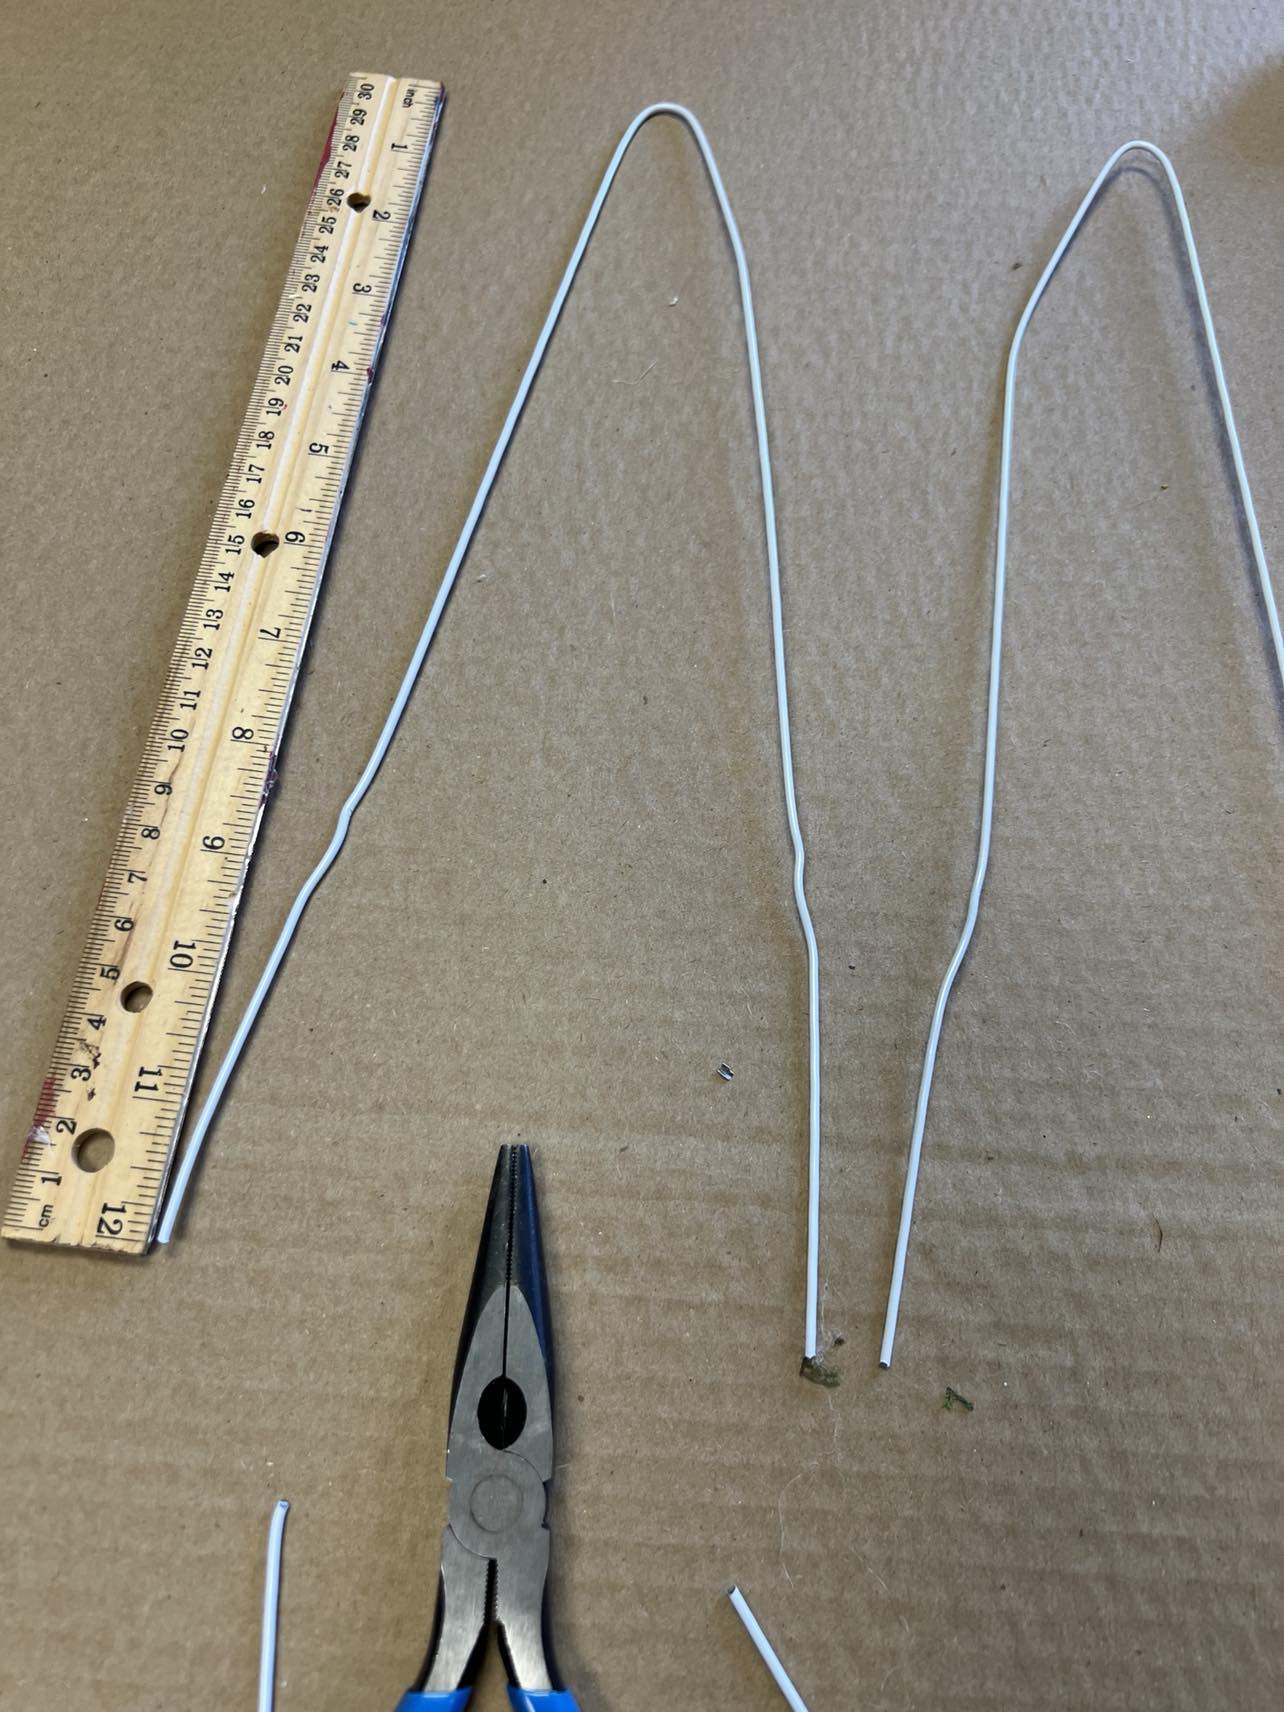
Once you have them bent in half you’ll then cut them to be 12 inches long.
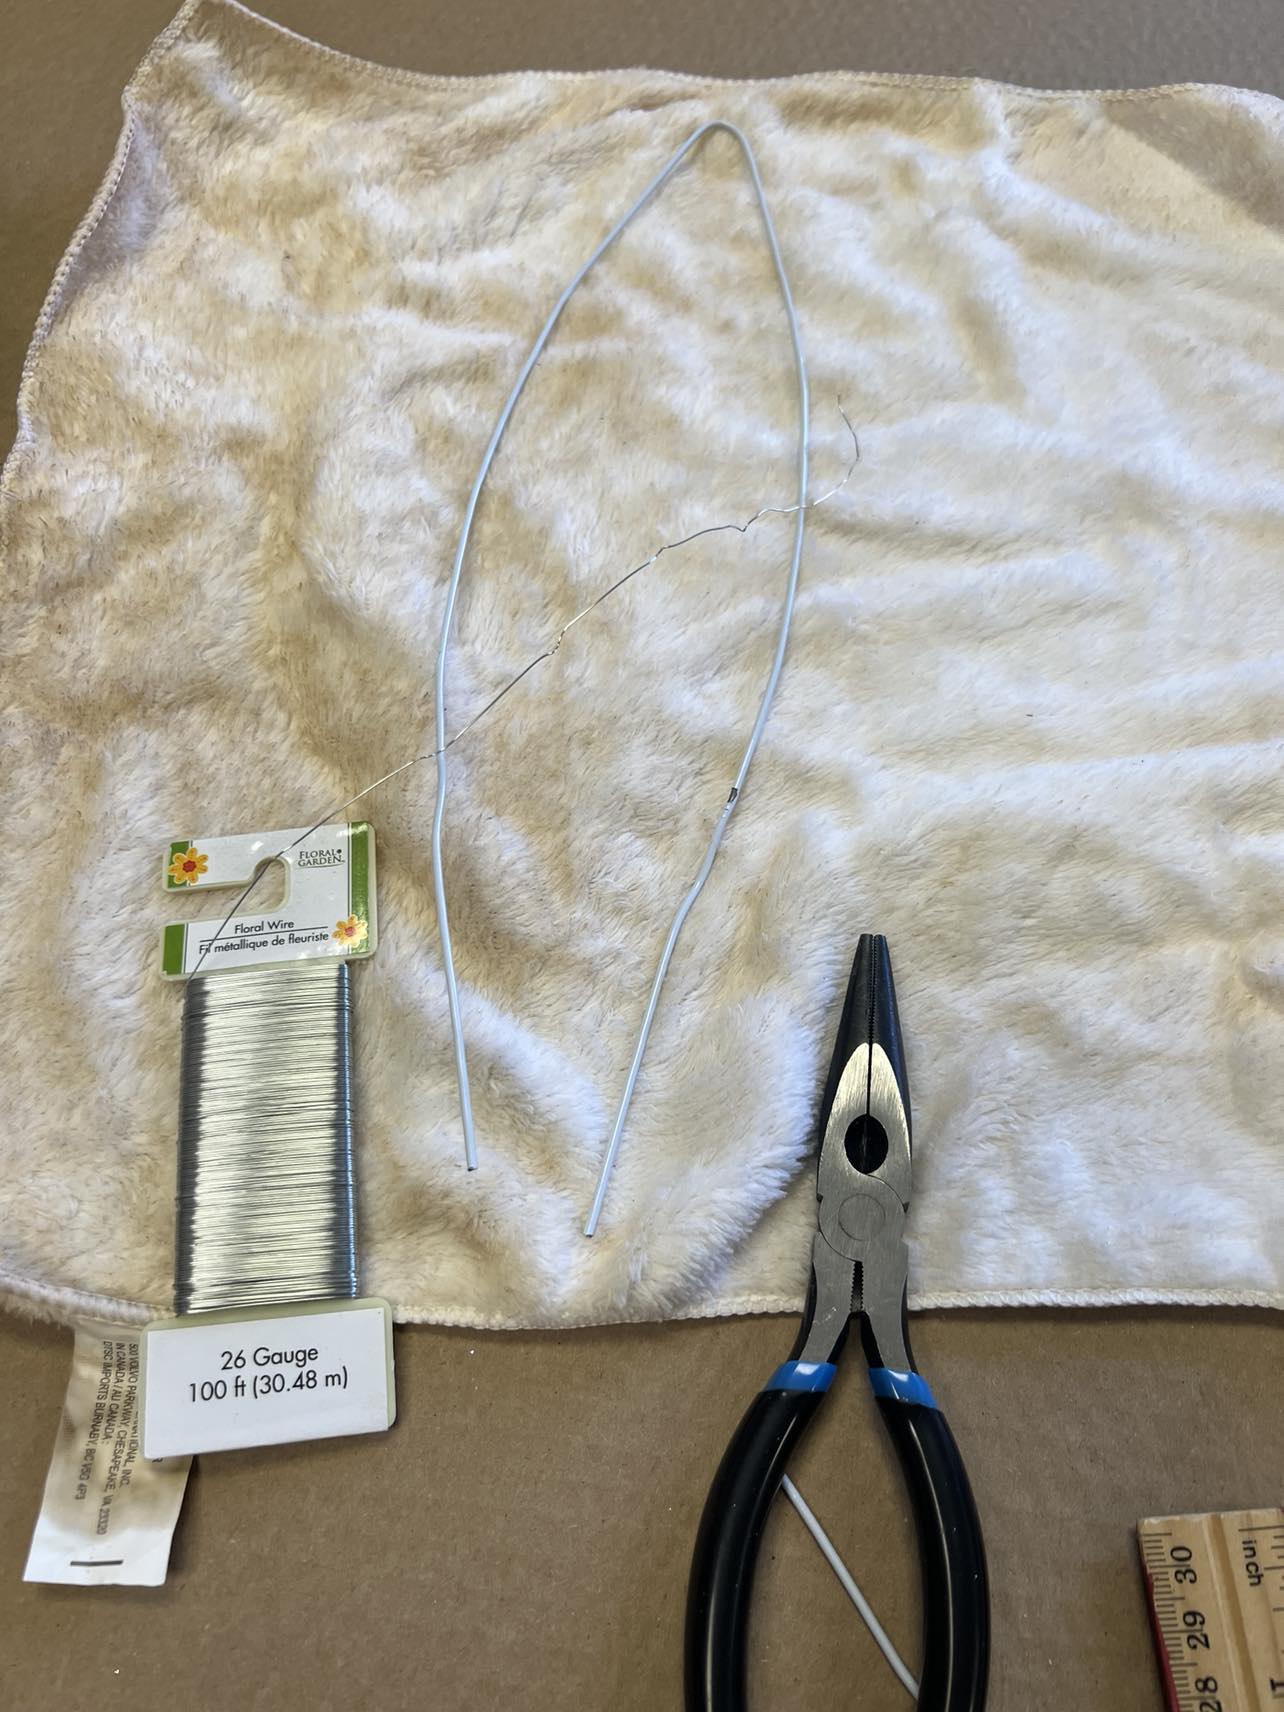
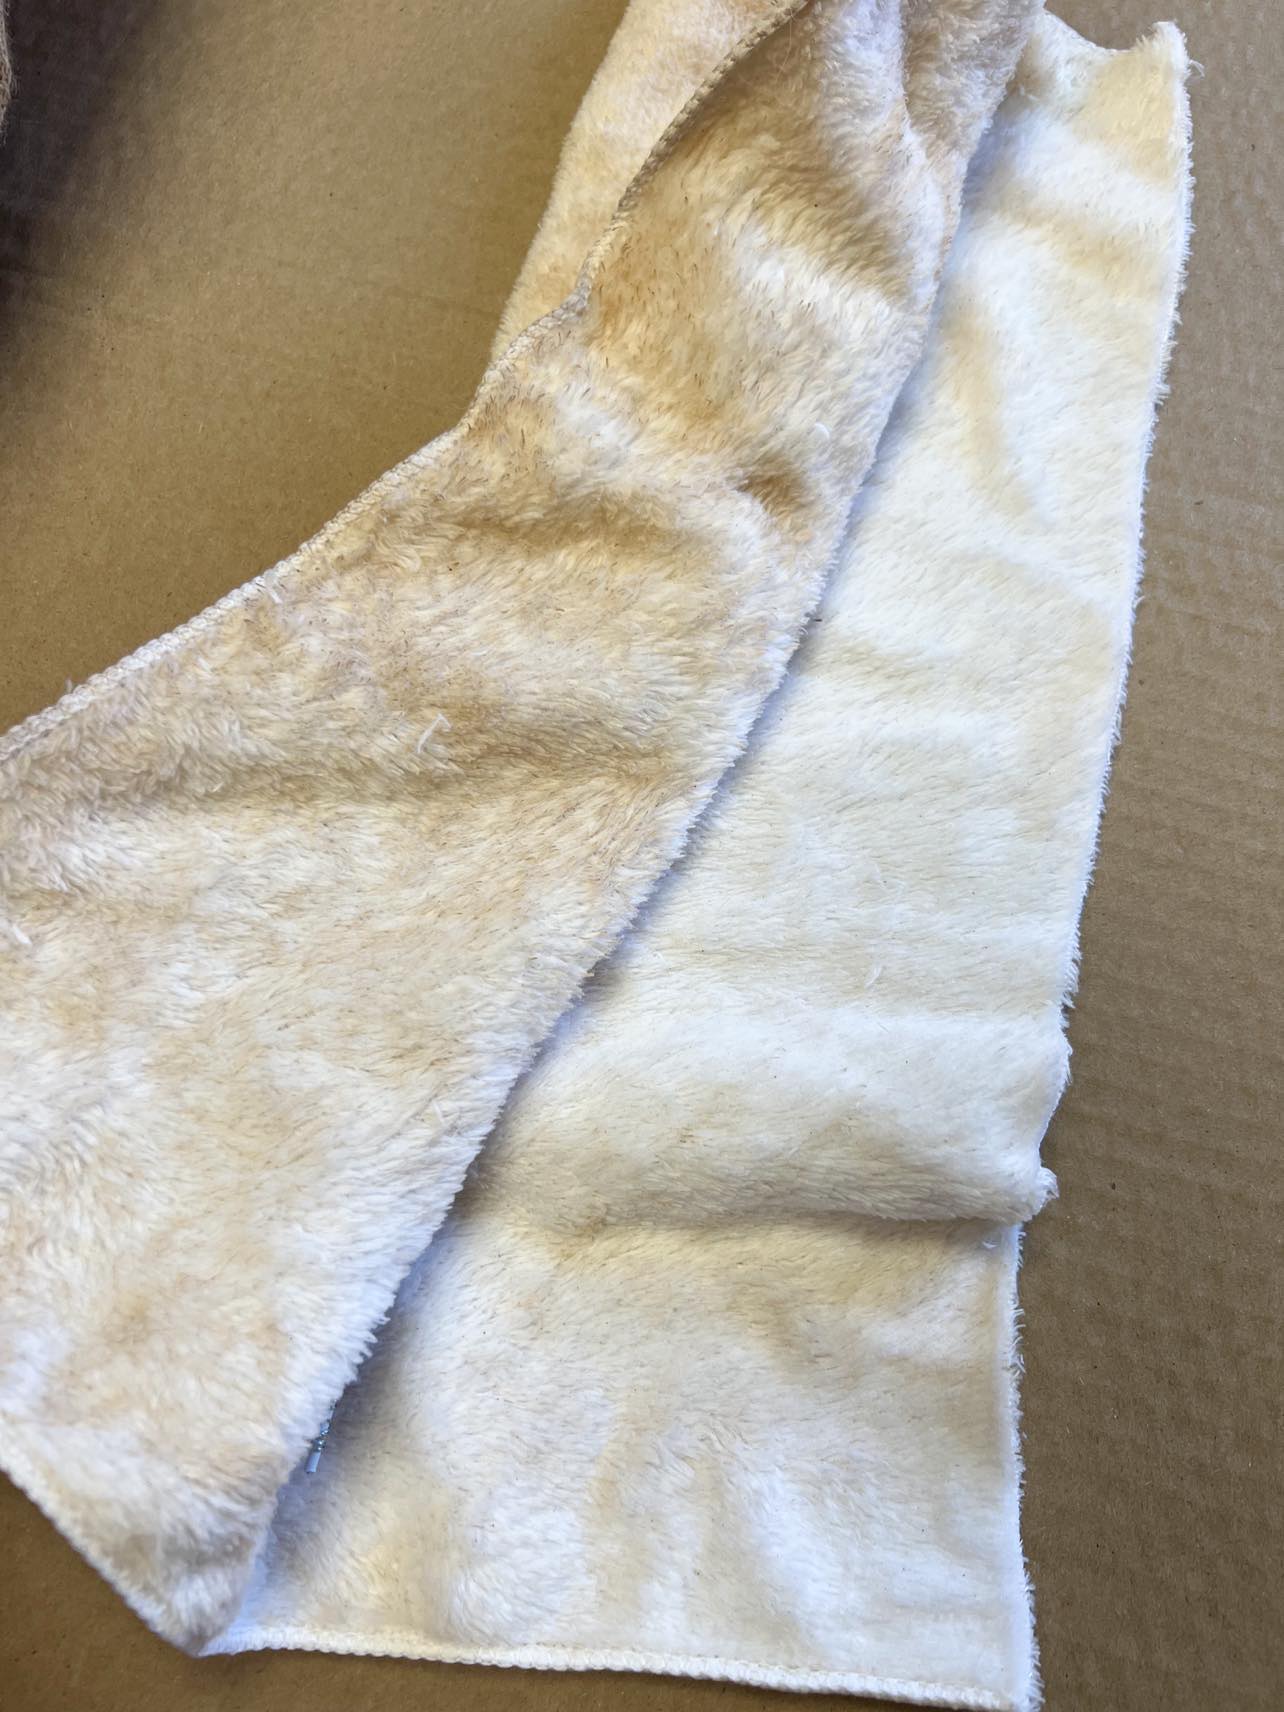
The next step is cover the wire hangers with the microfiber cloth. I coffee stained my microfiber cloth to give the ears a grungier look.
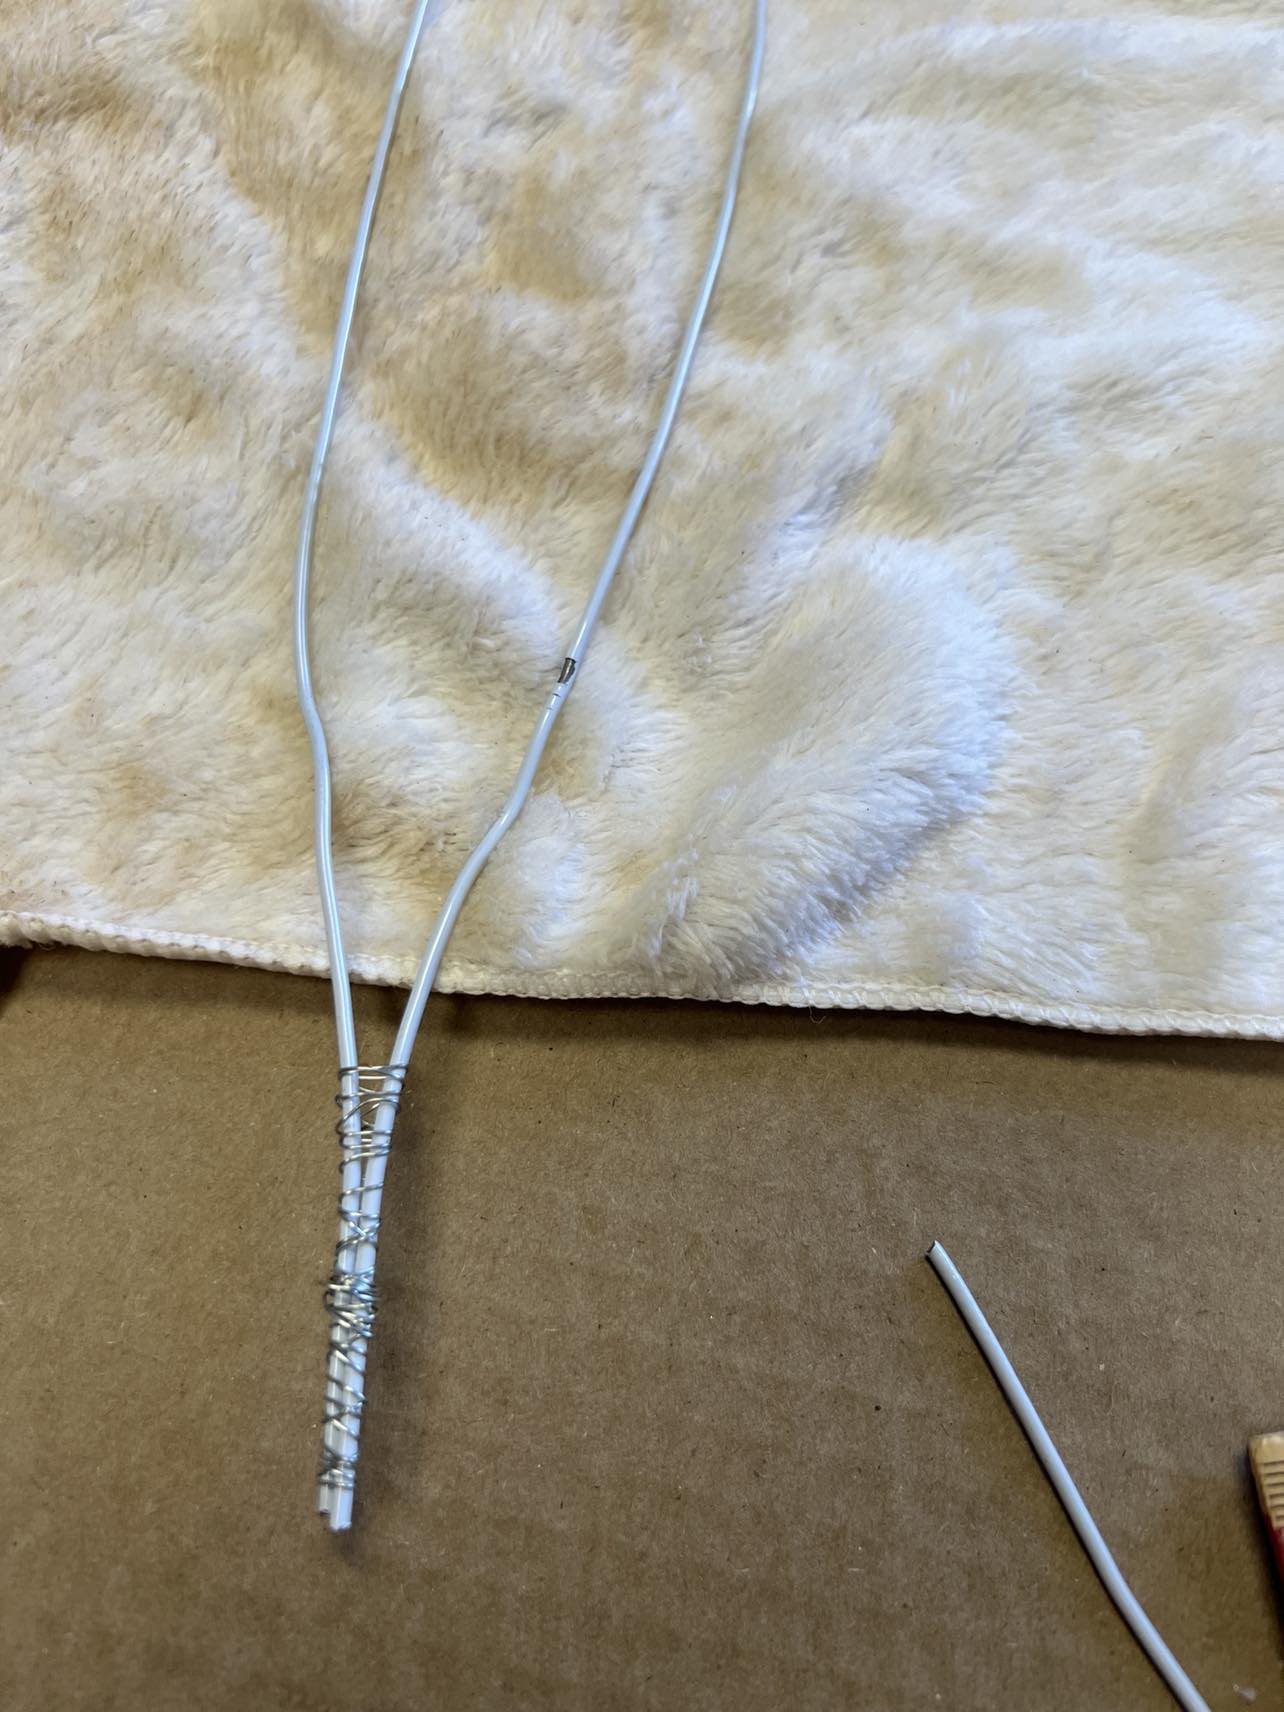
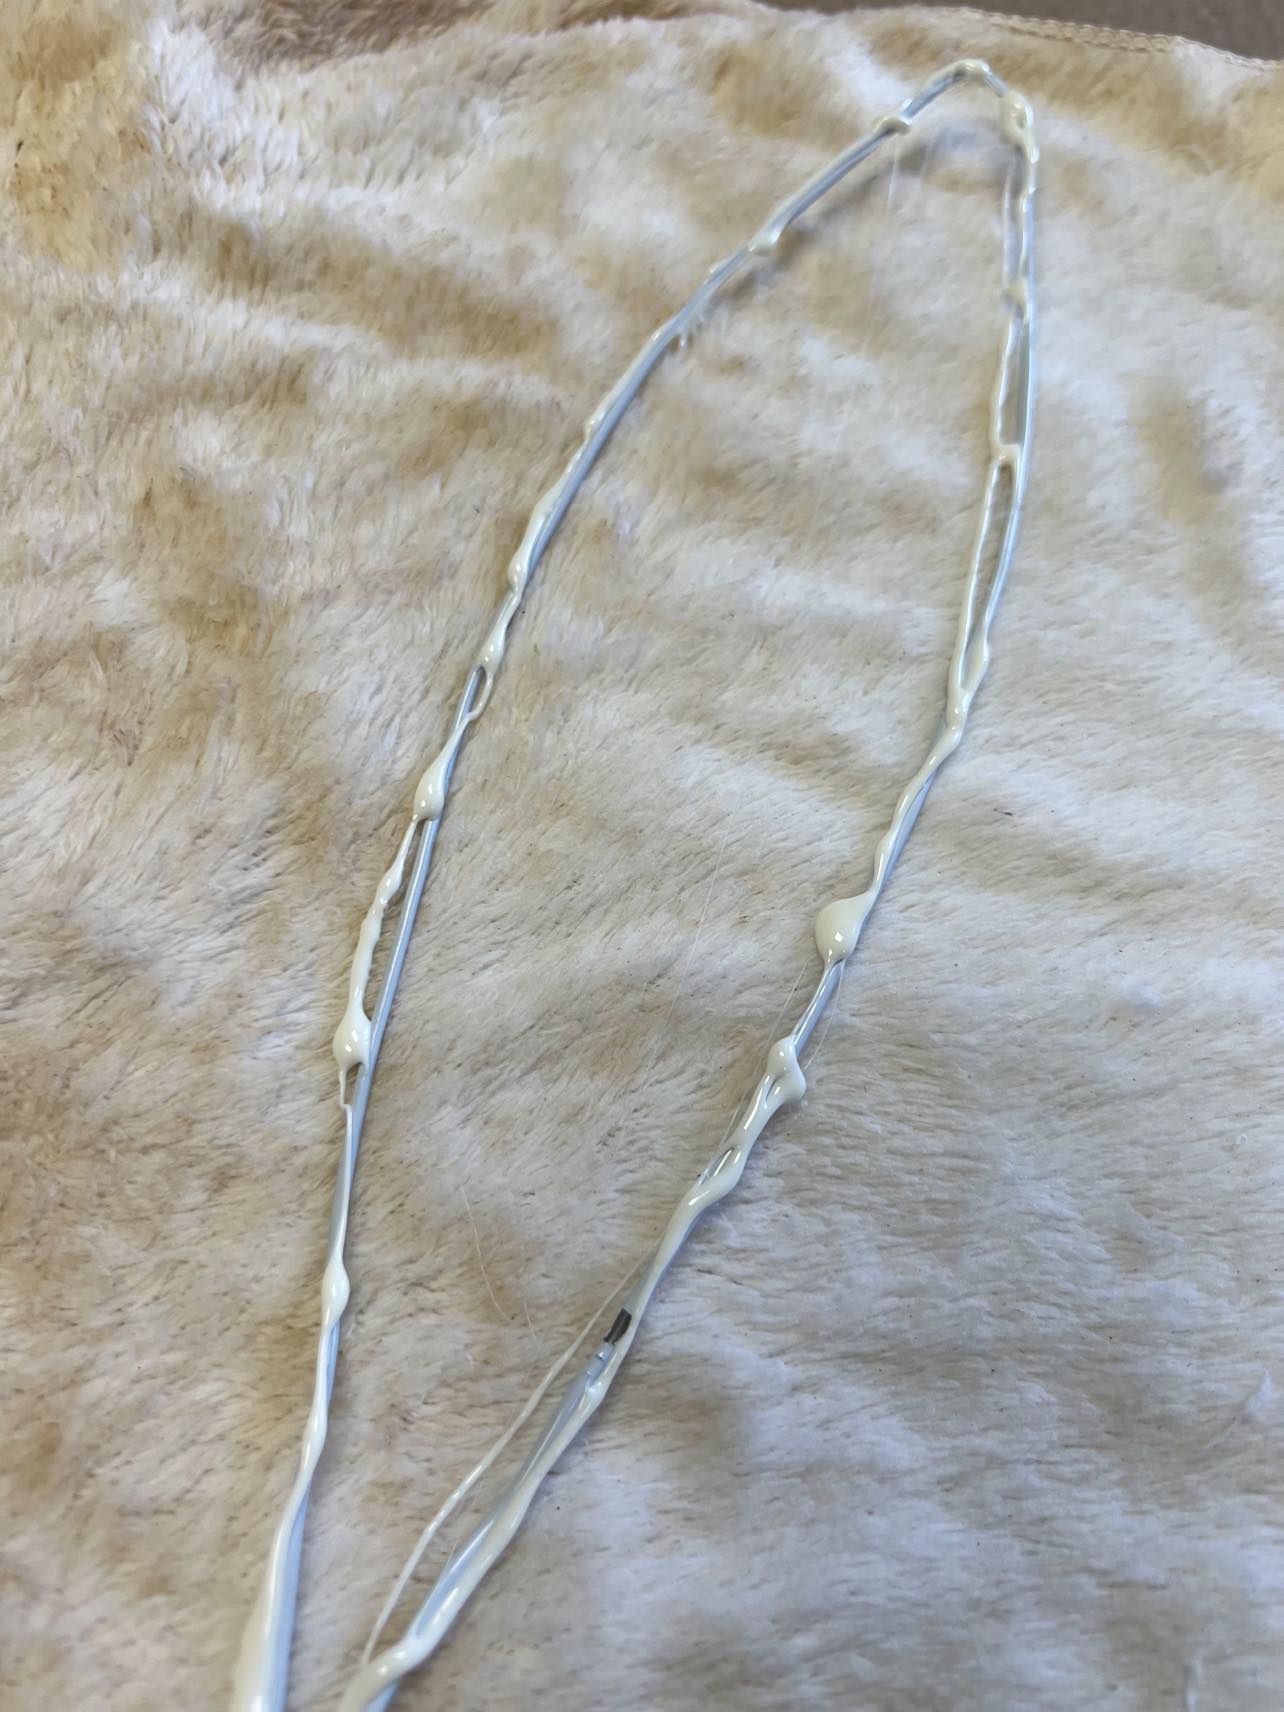
Take some wire and wrap the ends of the hanger together as shown in photo above.
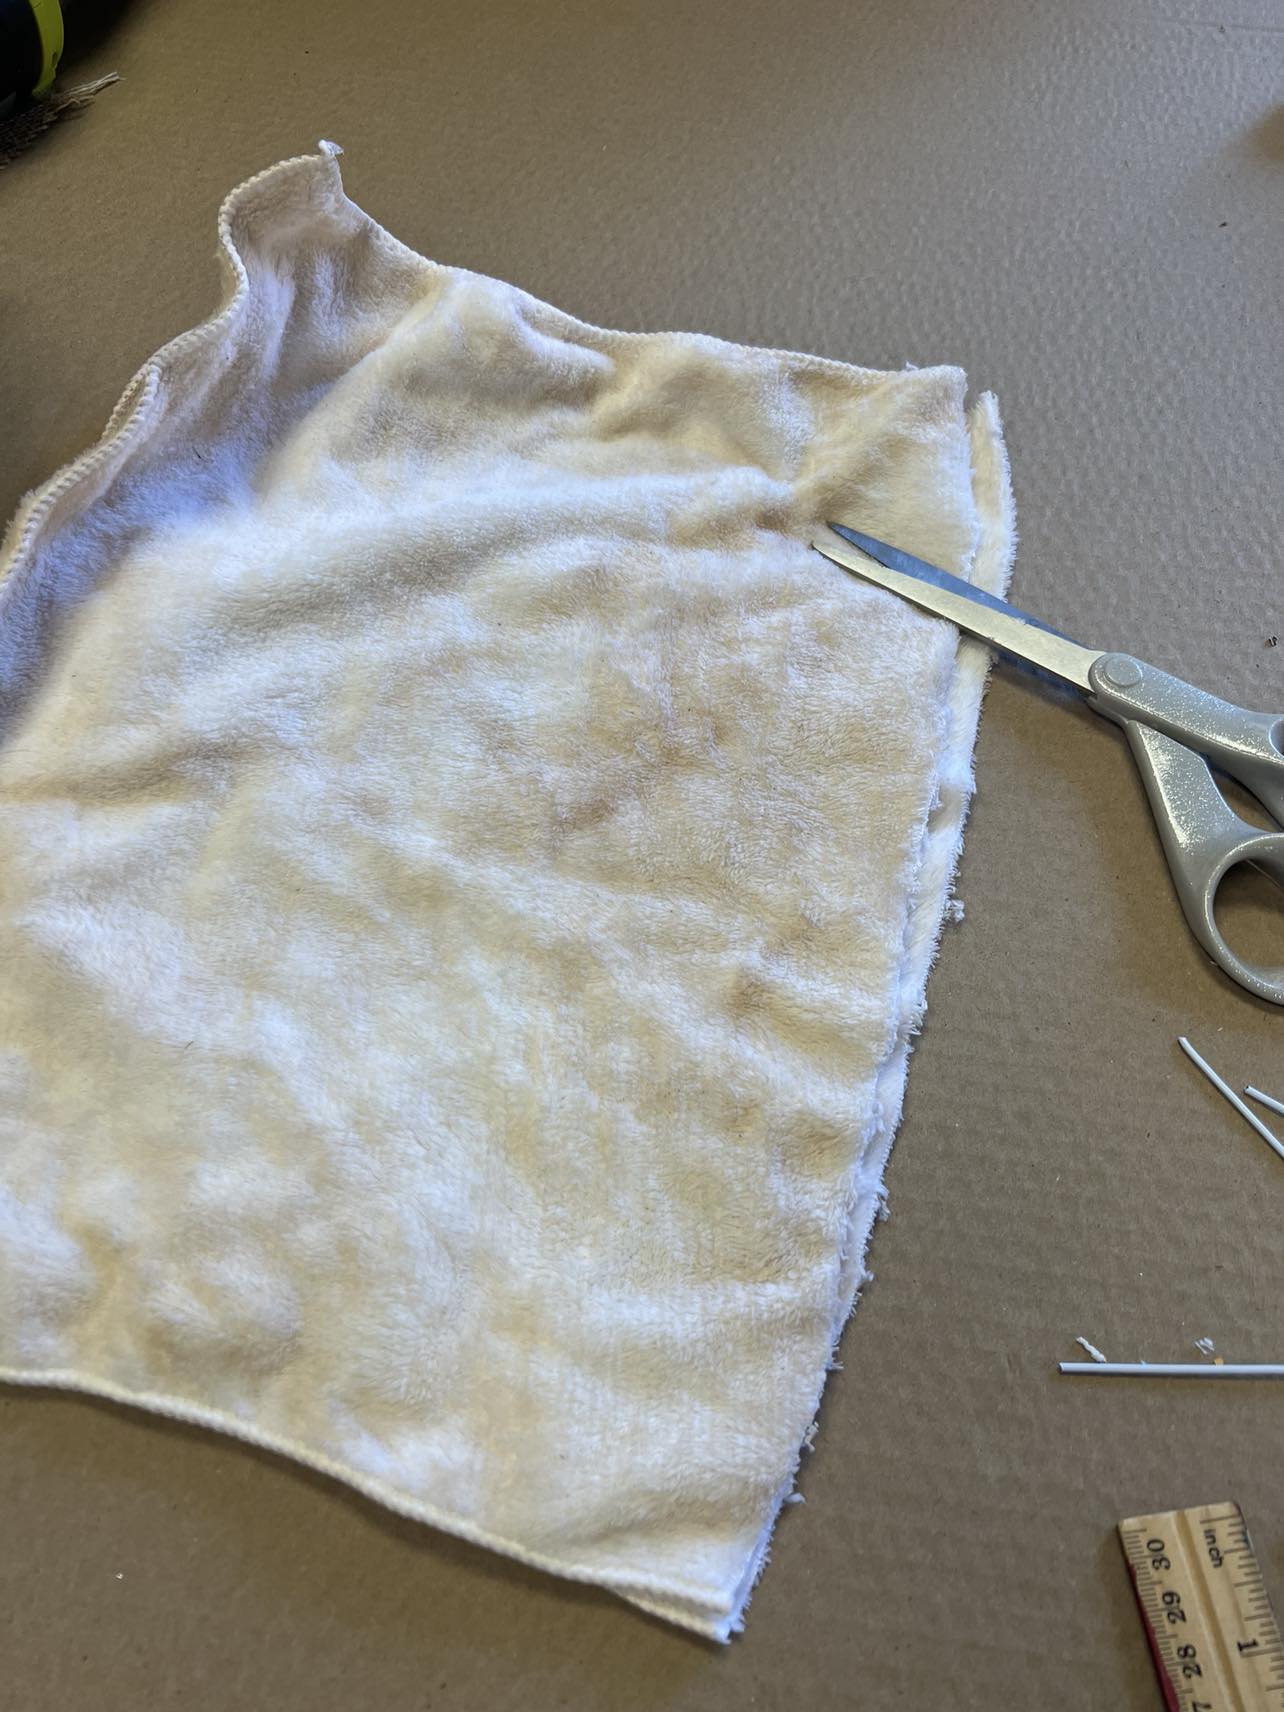
Fold the microfiber cloth in half and then cut it with the scissors.
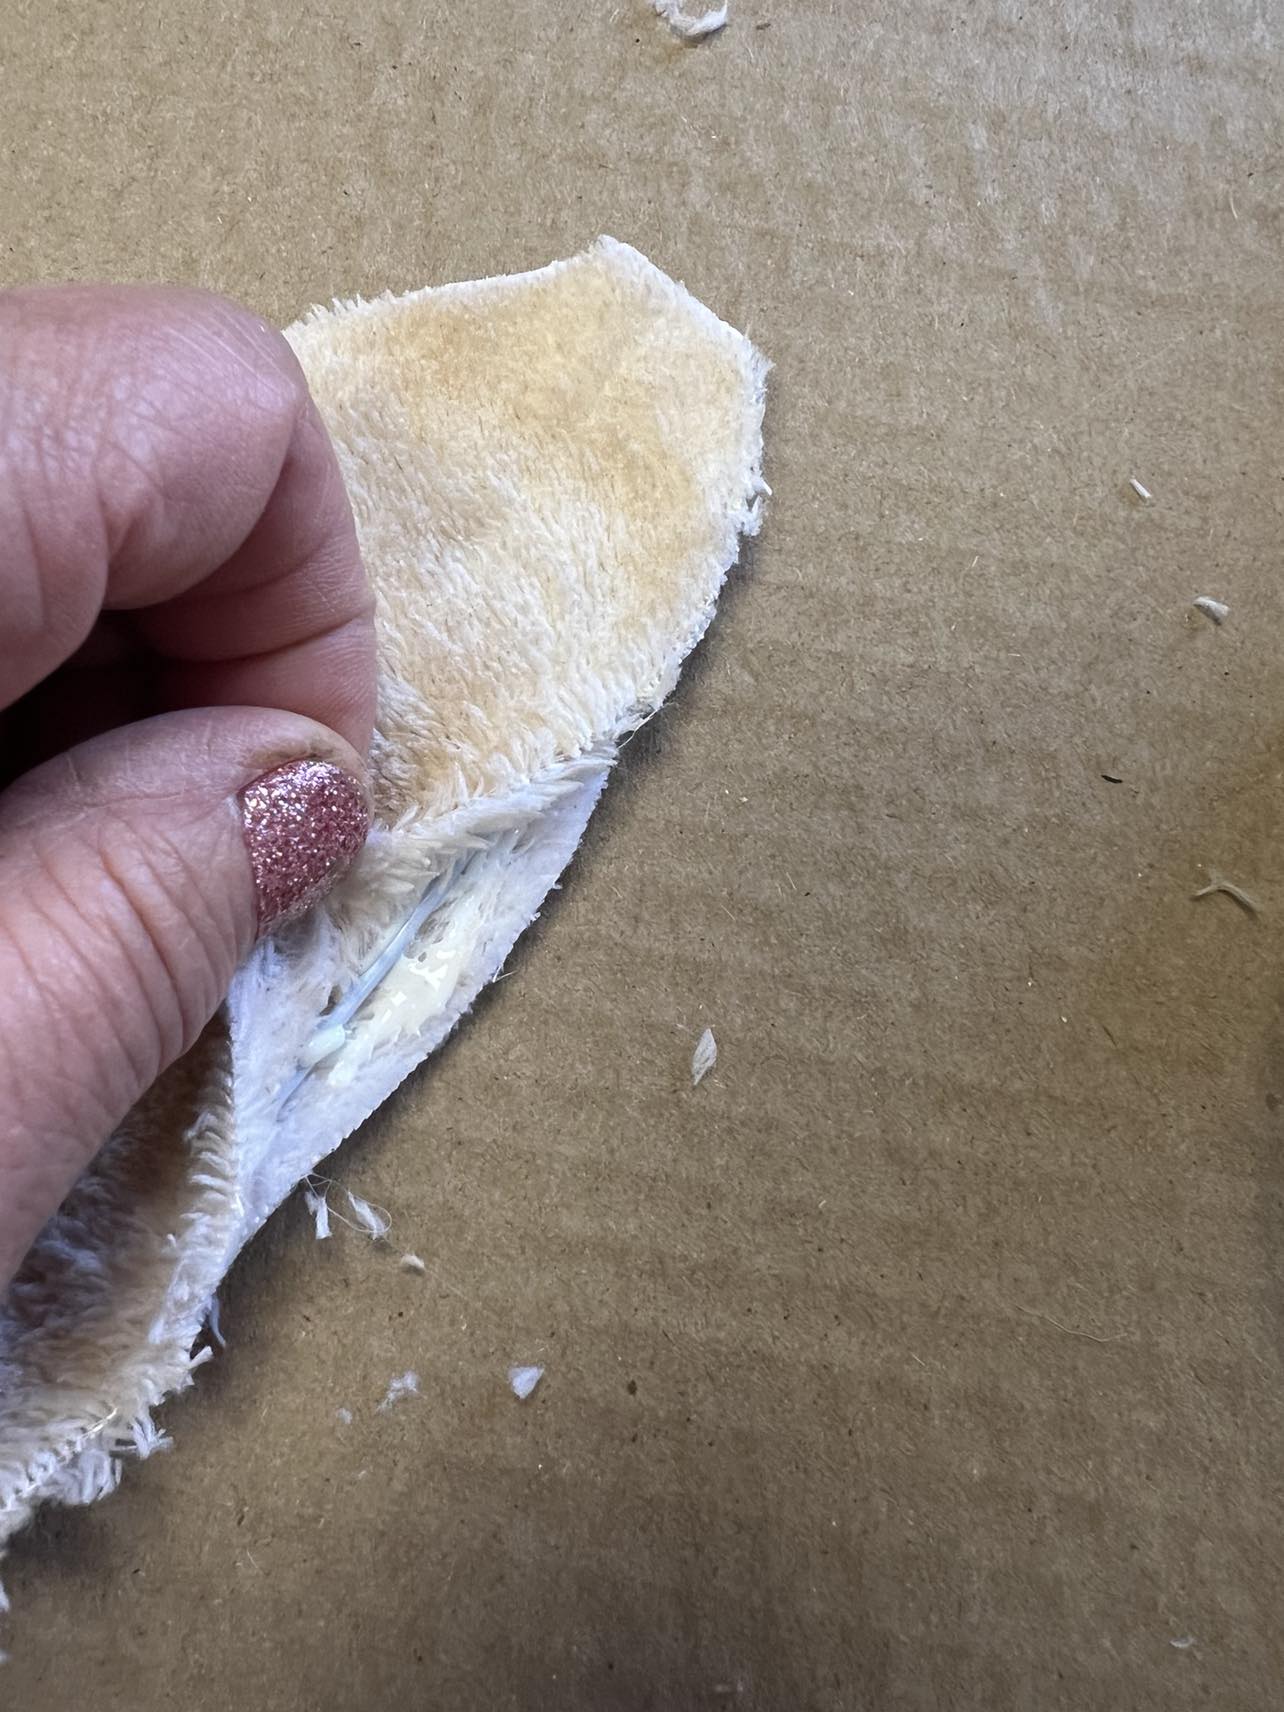
Place one of the hangers onto one of the microfiber cloths and add some of the surebonder glue.
Fold the microfiber cloth over the hanger and press them together.

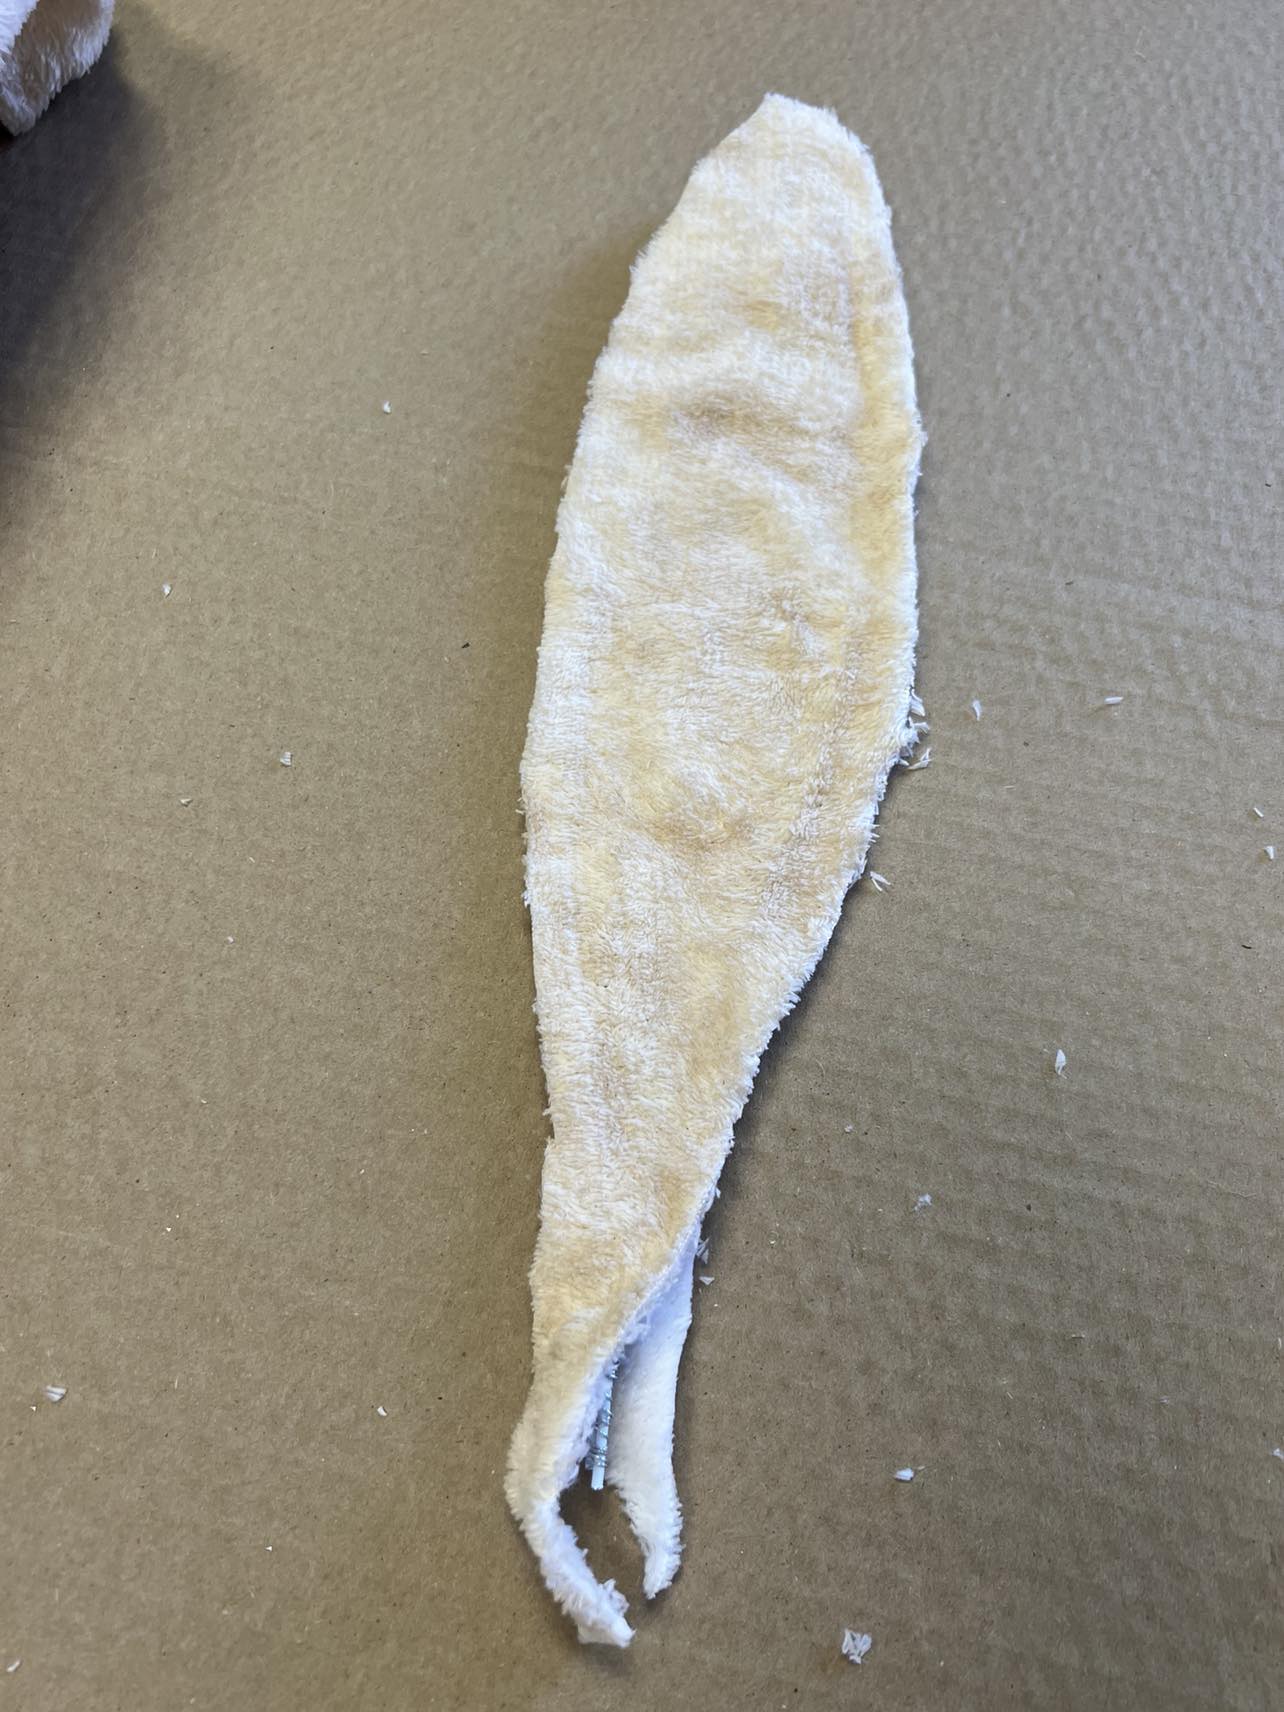
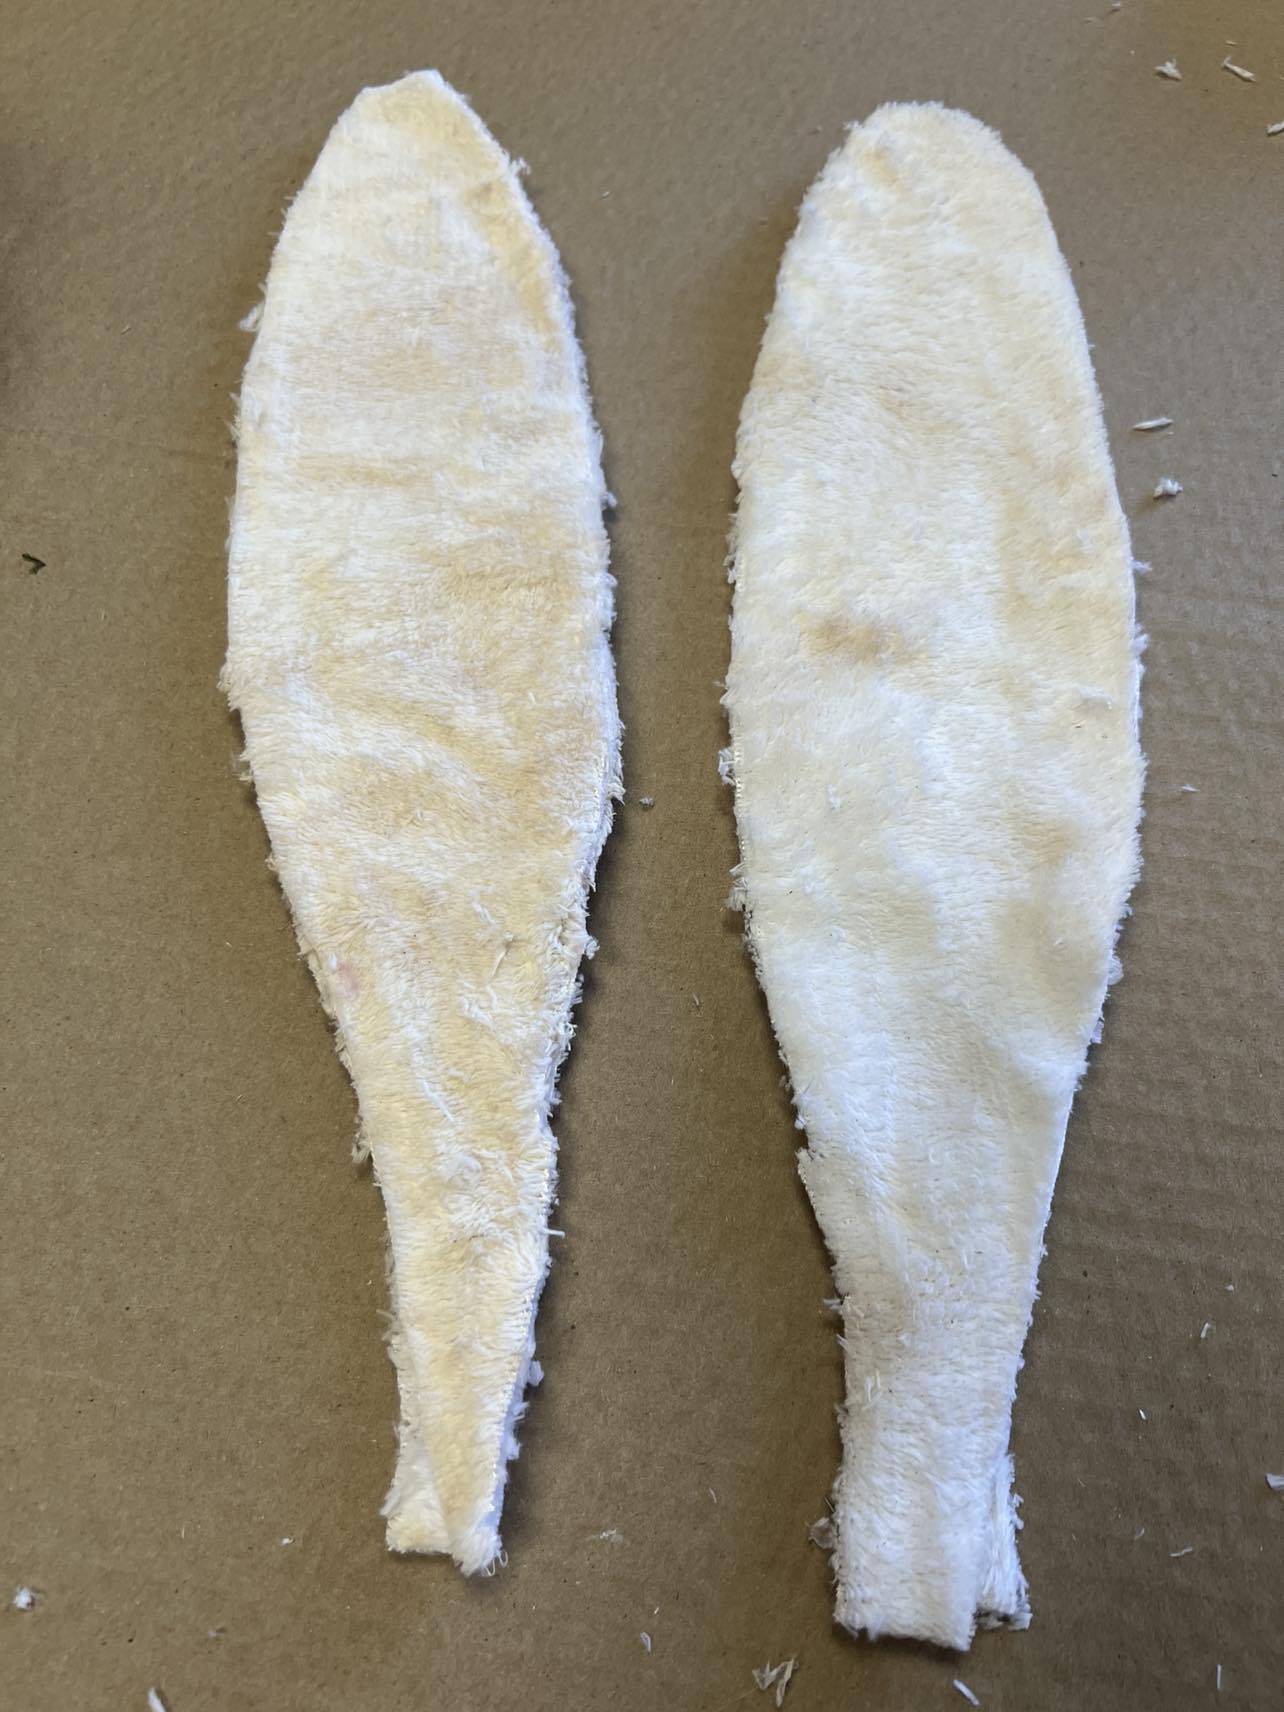
Use the scissors to trim the shape of the ear.
Once you get both ears cut out you’ll then go around the edges to glue any openings.
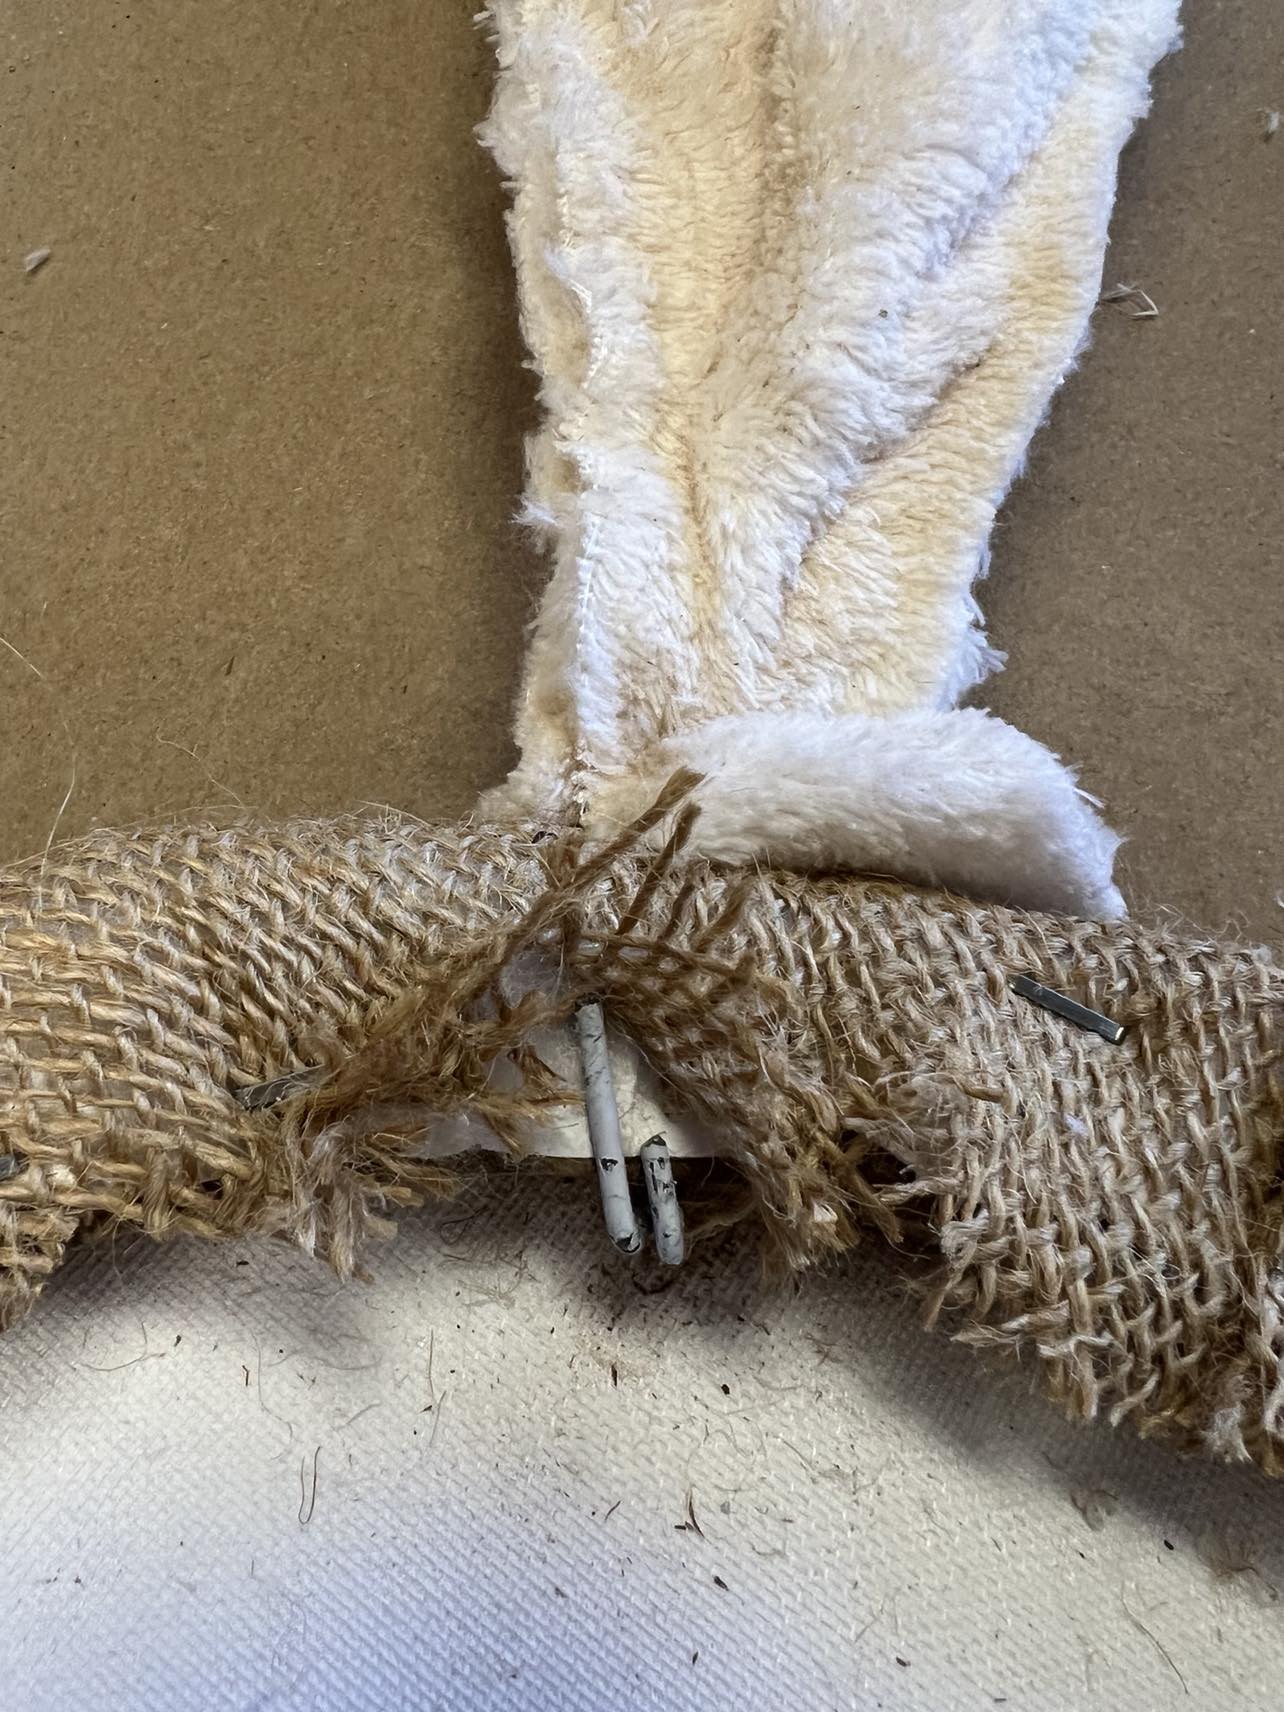
Once you have both ears made you’ll then add them to the head. You’ll place the end of the ear down into the hole as shown in photo above.
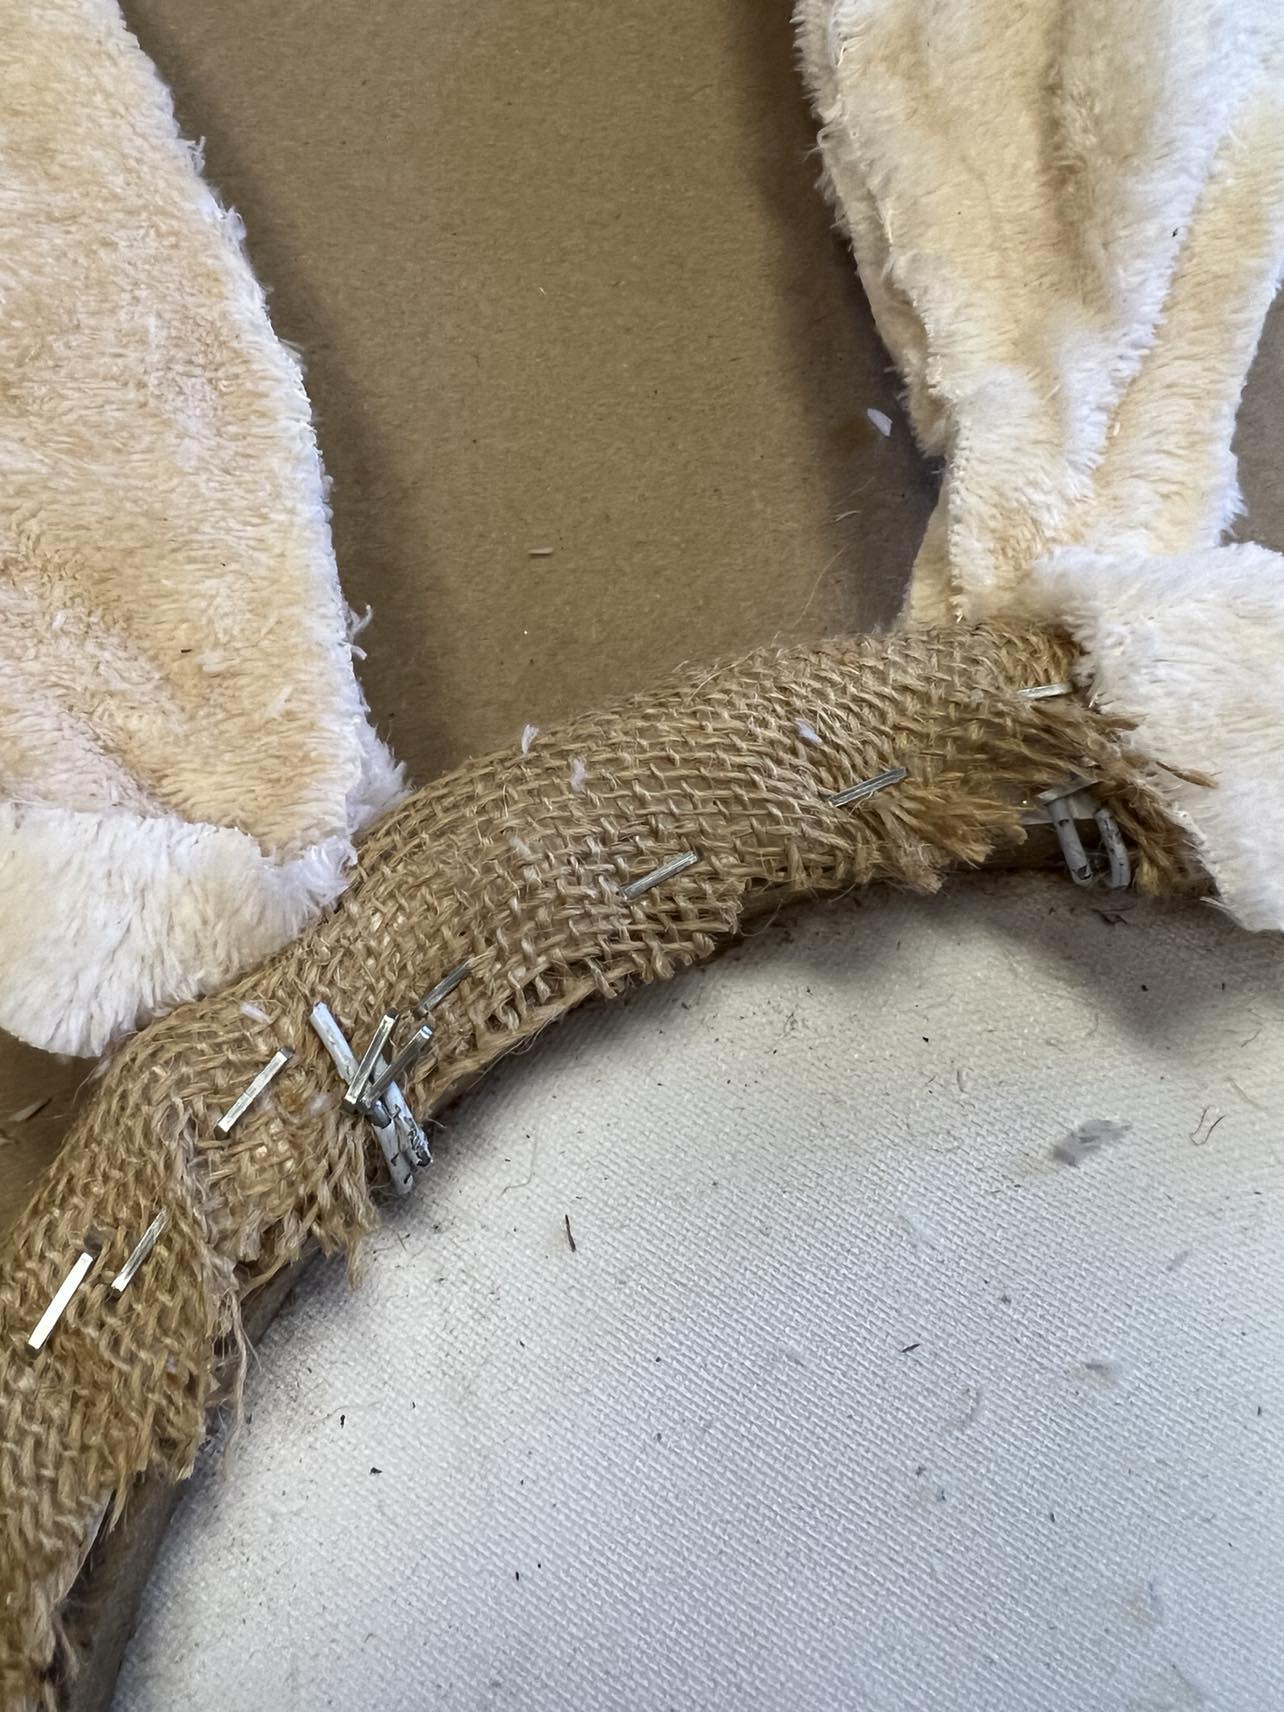
I used pliers to bend the ends of the hanger up and onto the canvas.
You will then staple the ends down.
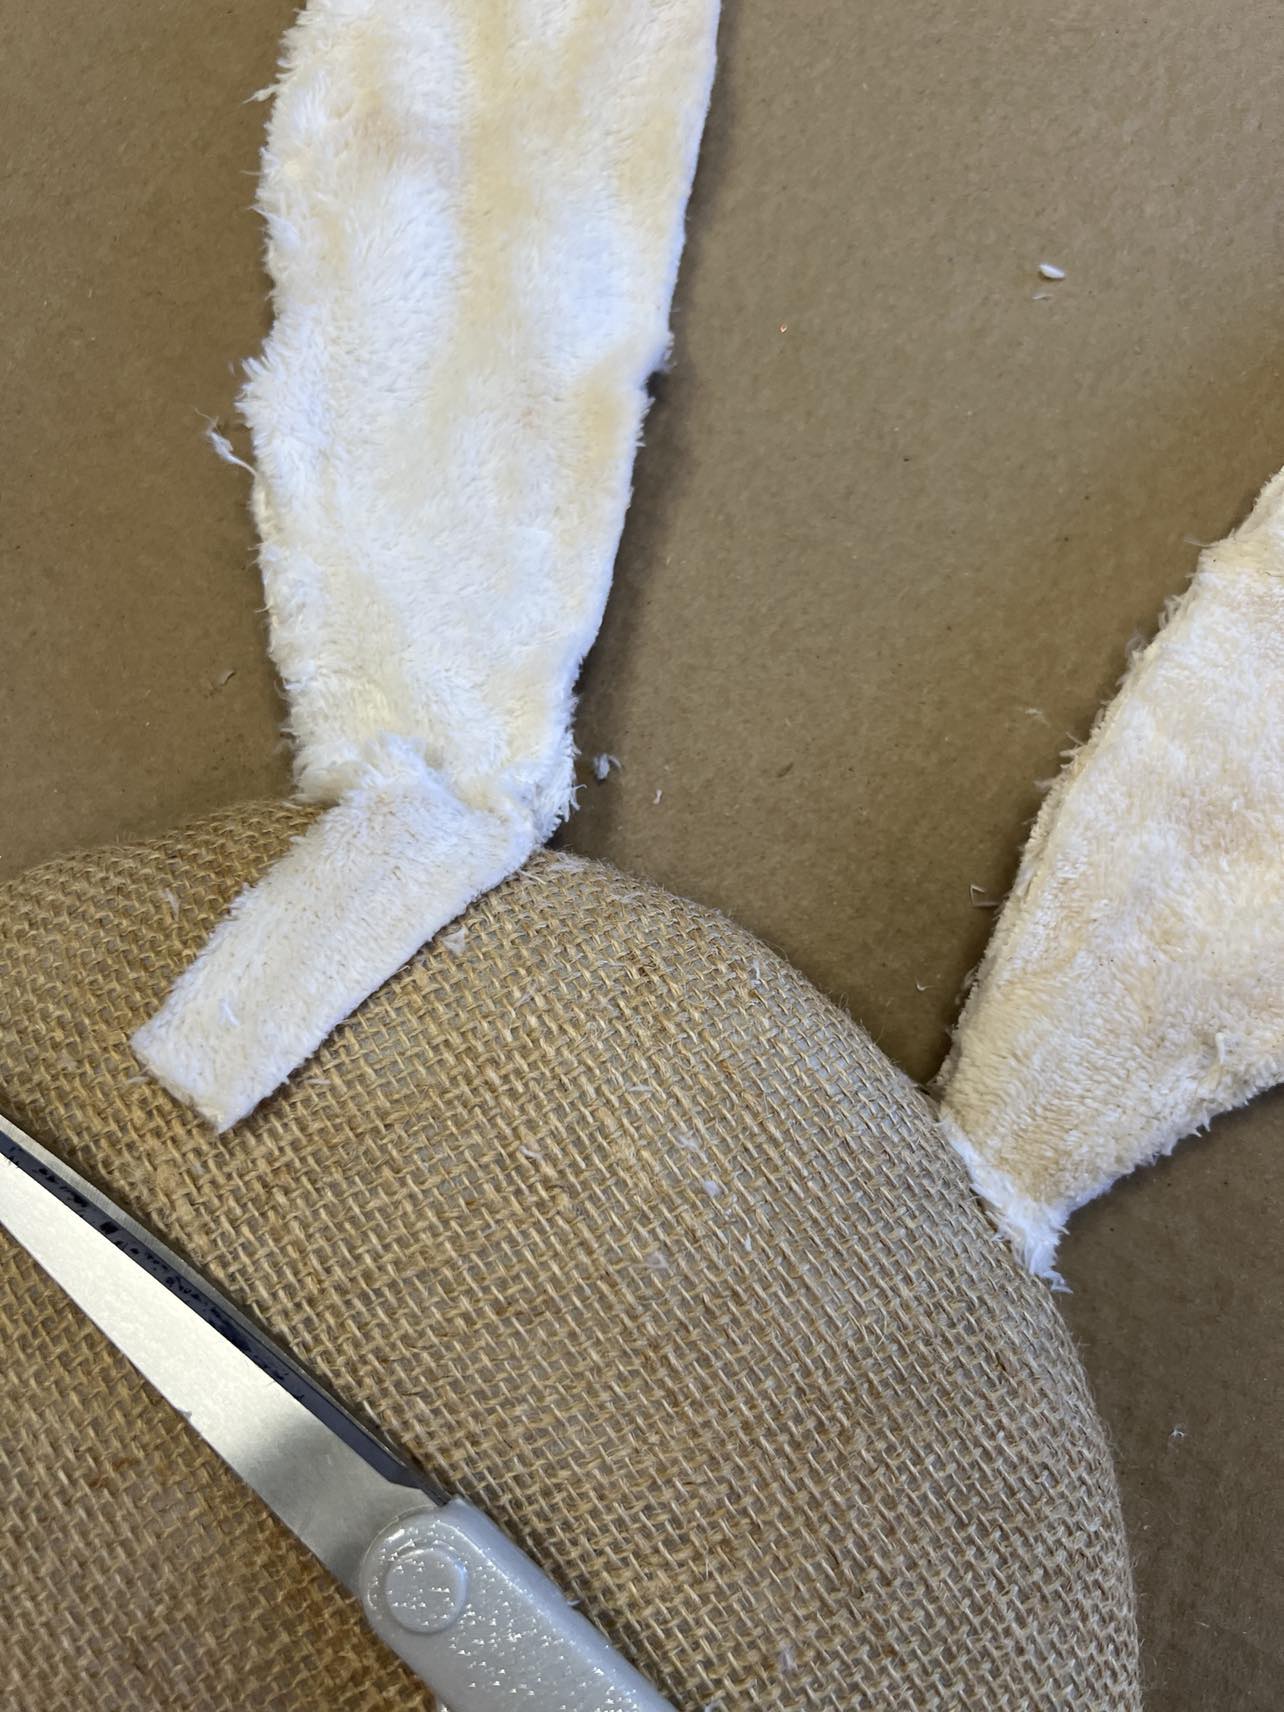

You’ll use the scissors to trim the microfiber cloth around the bottom of the ears.
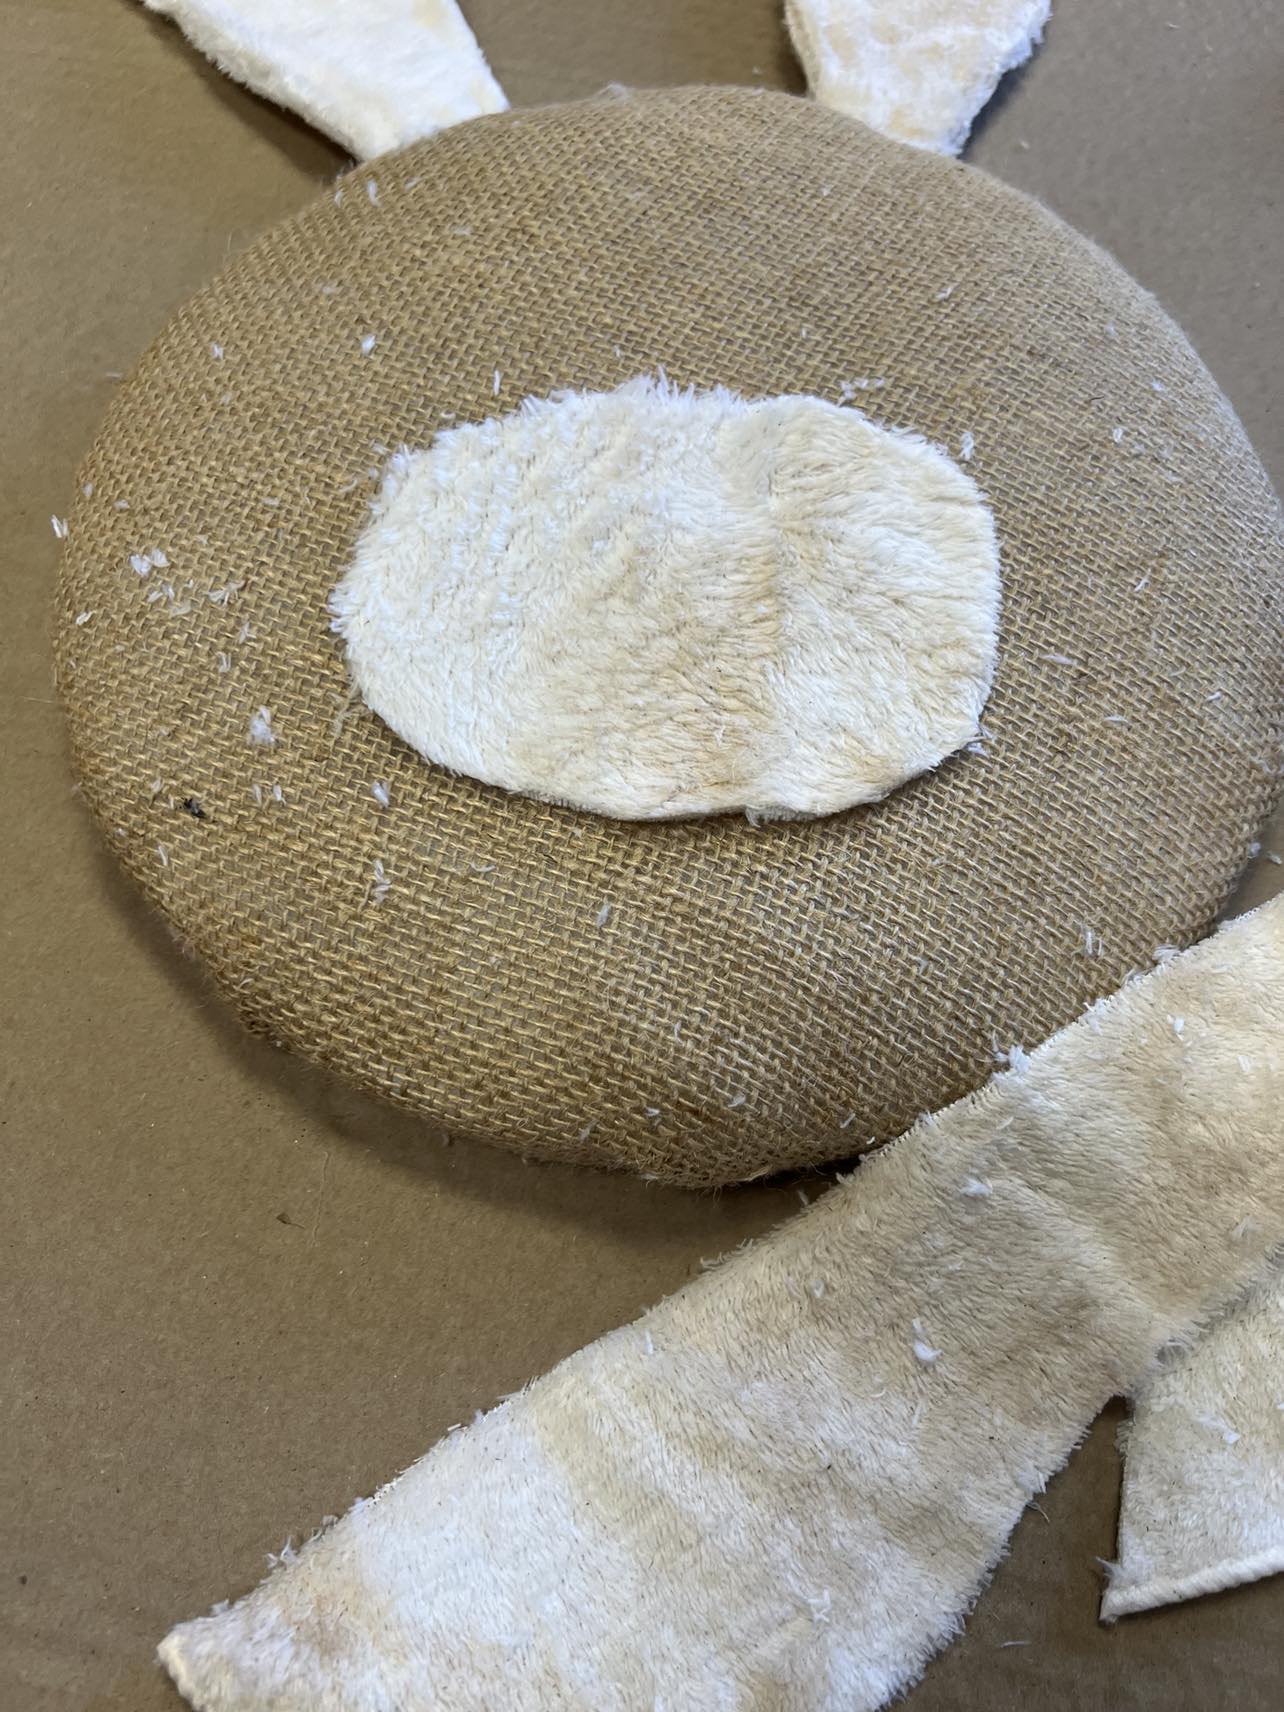
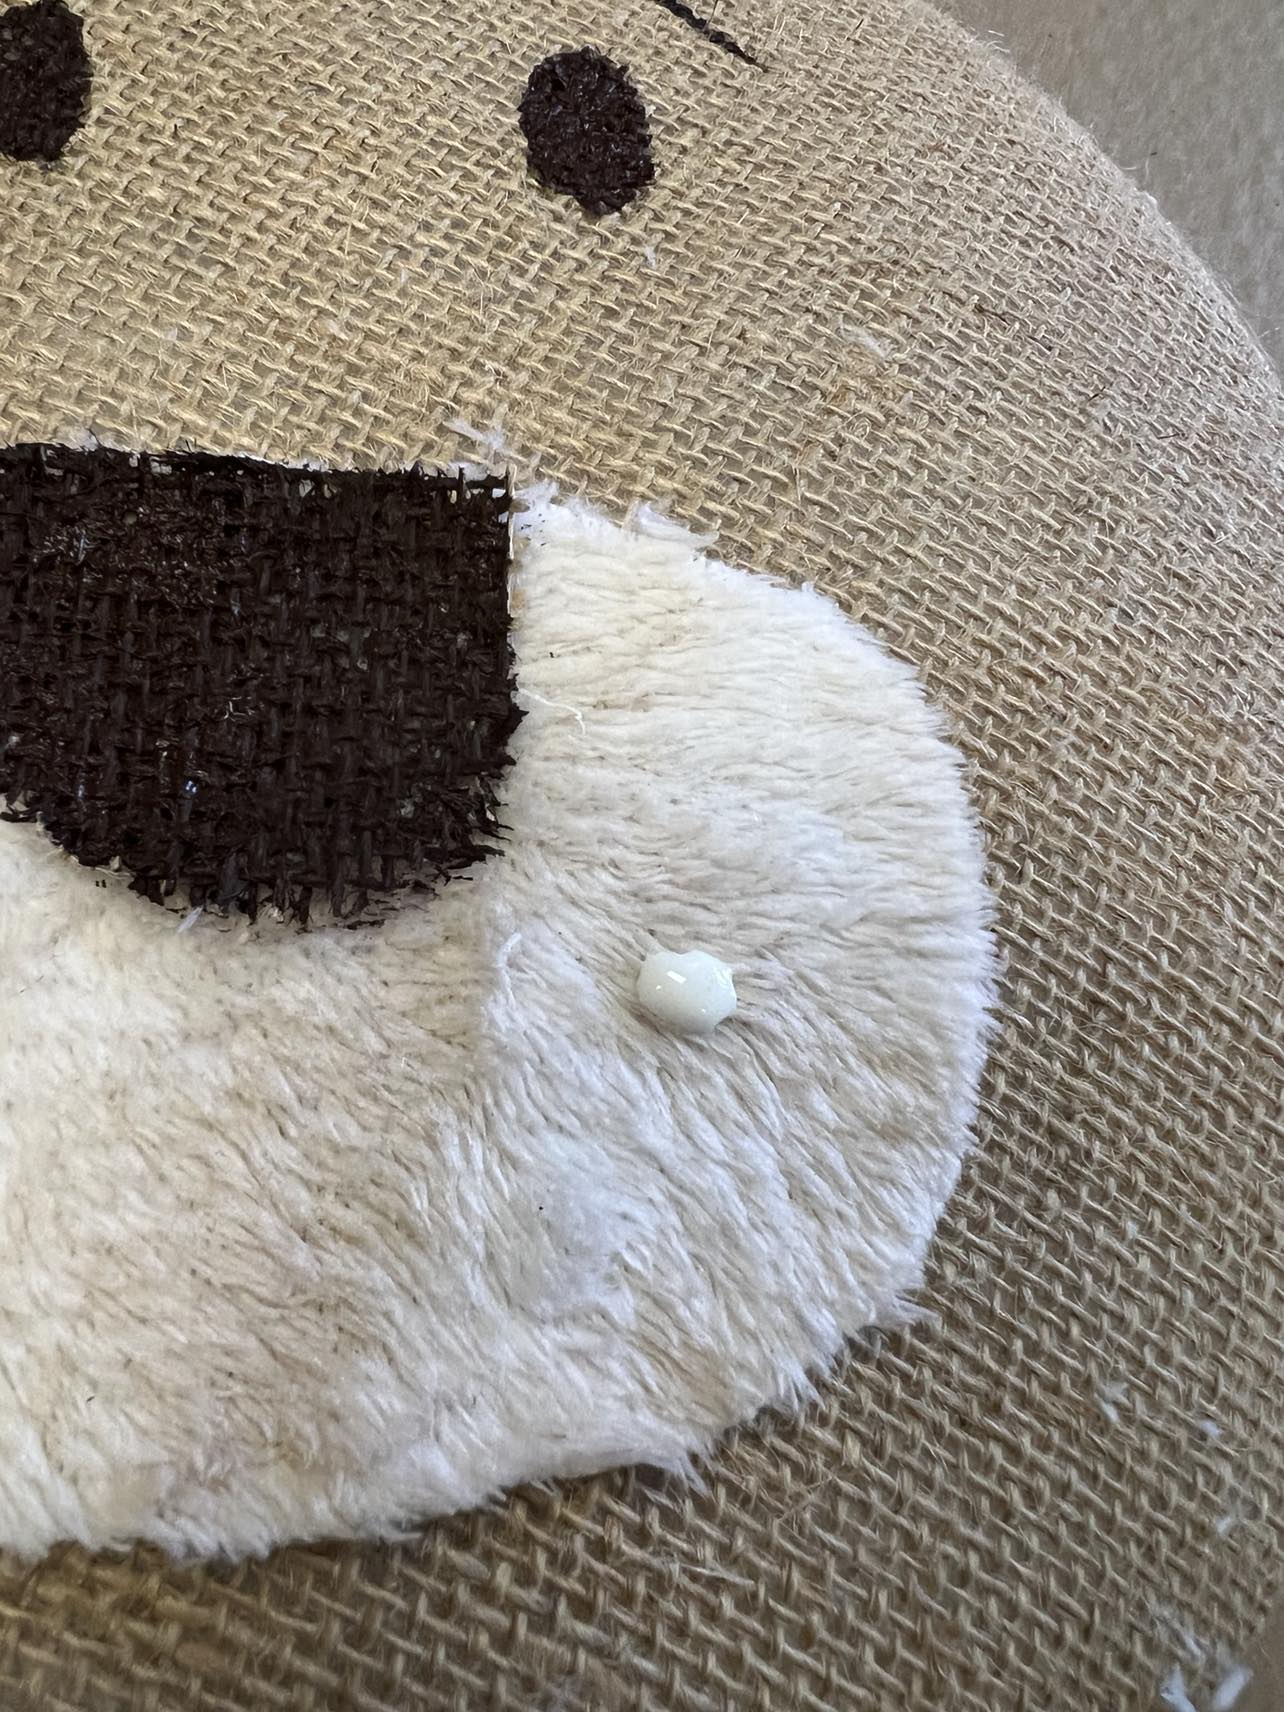
You’ll use a scrap piece of the microfiber cloth to add to the face.
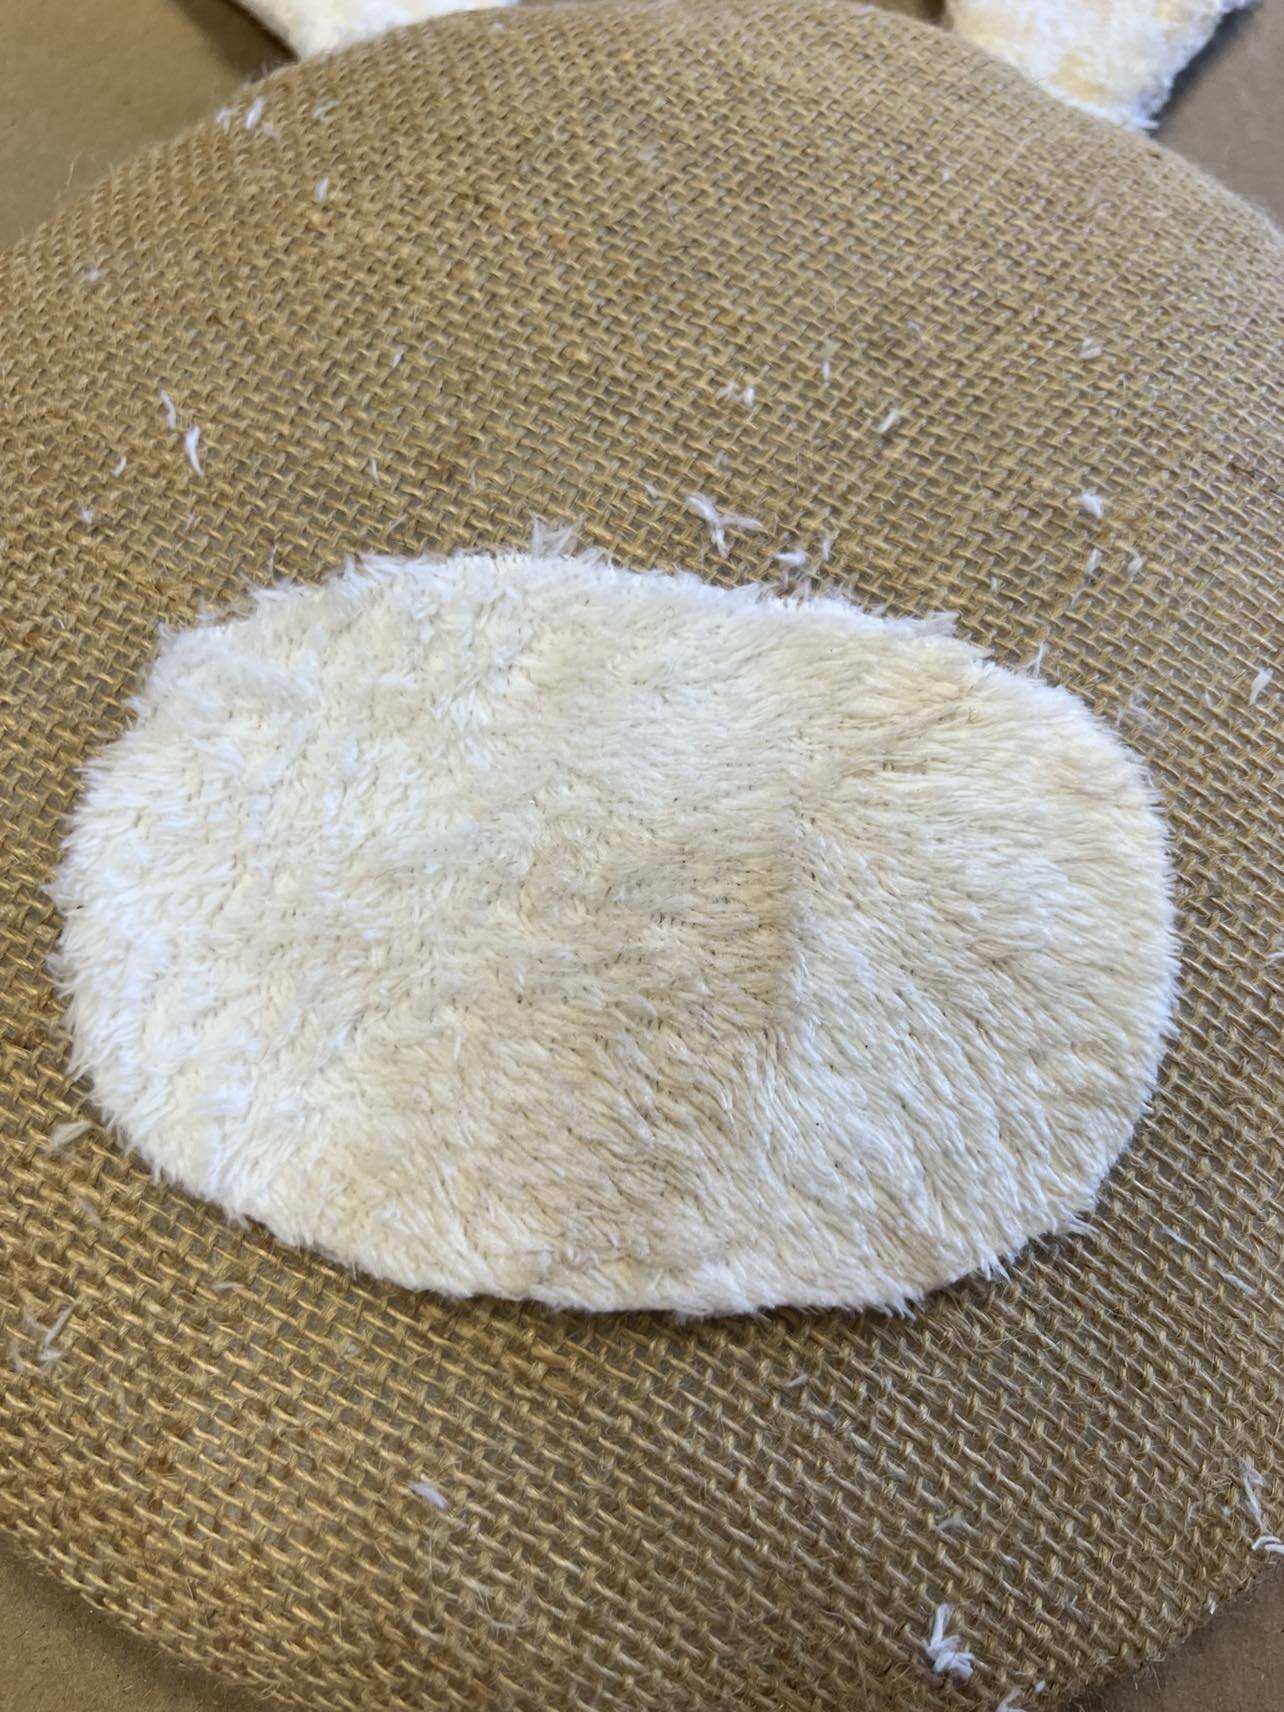
Use the surebonder glue to secure it in place.
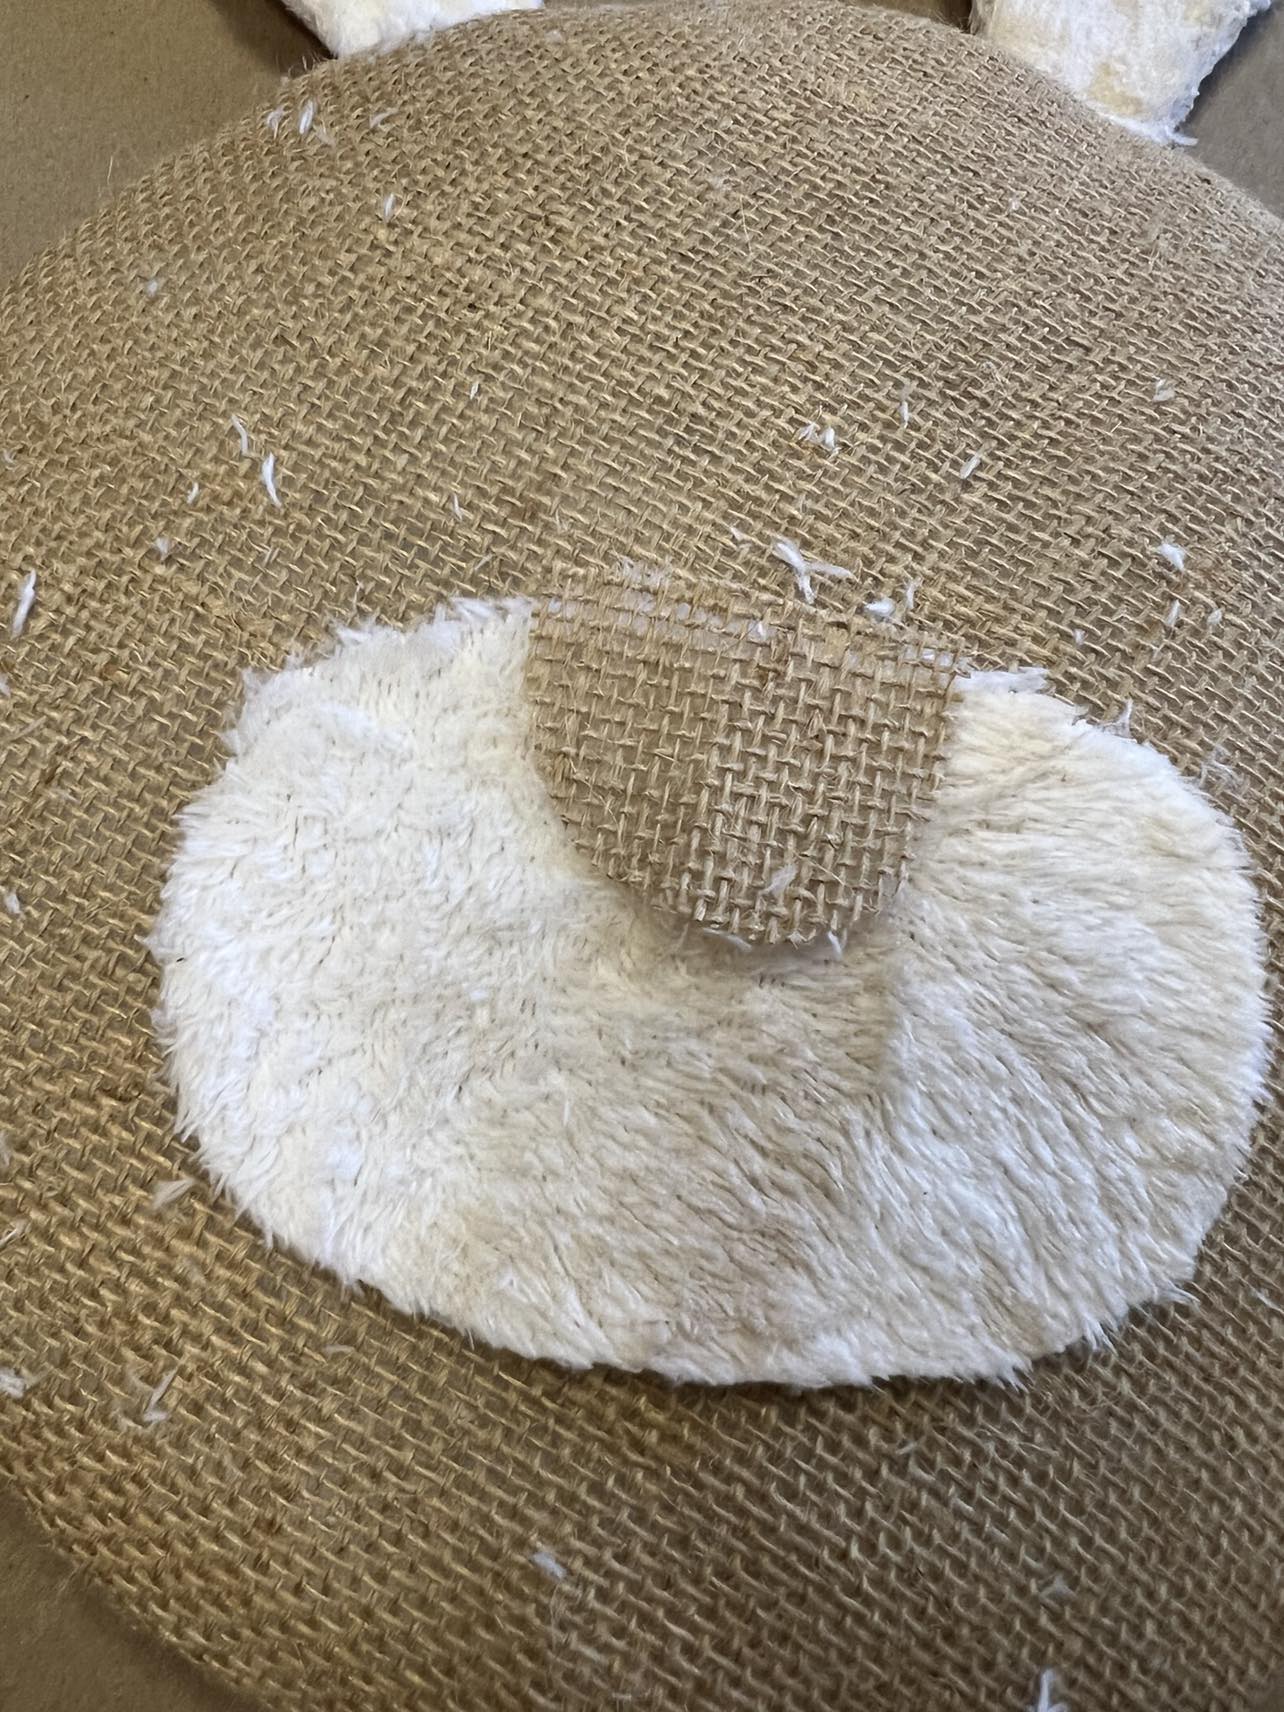
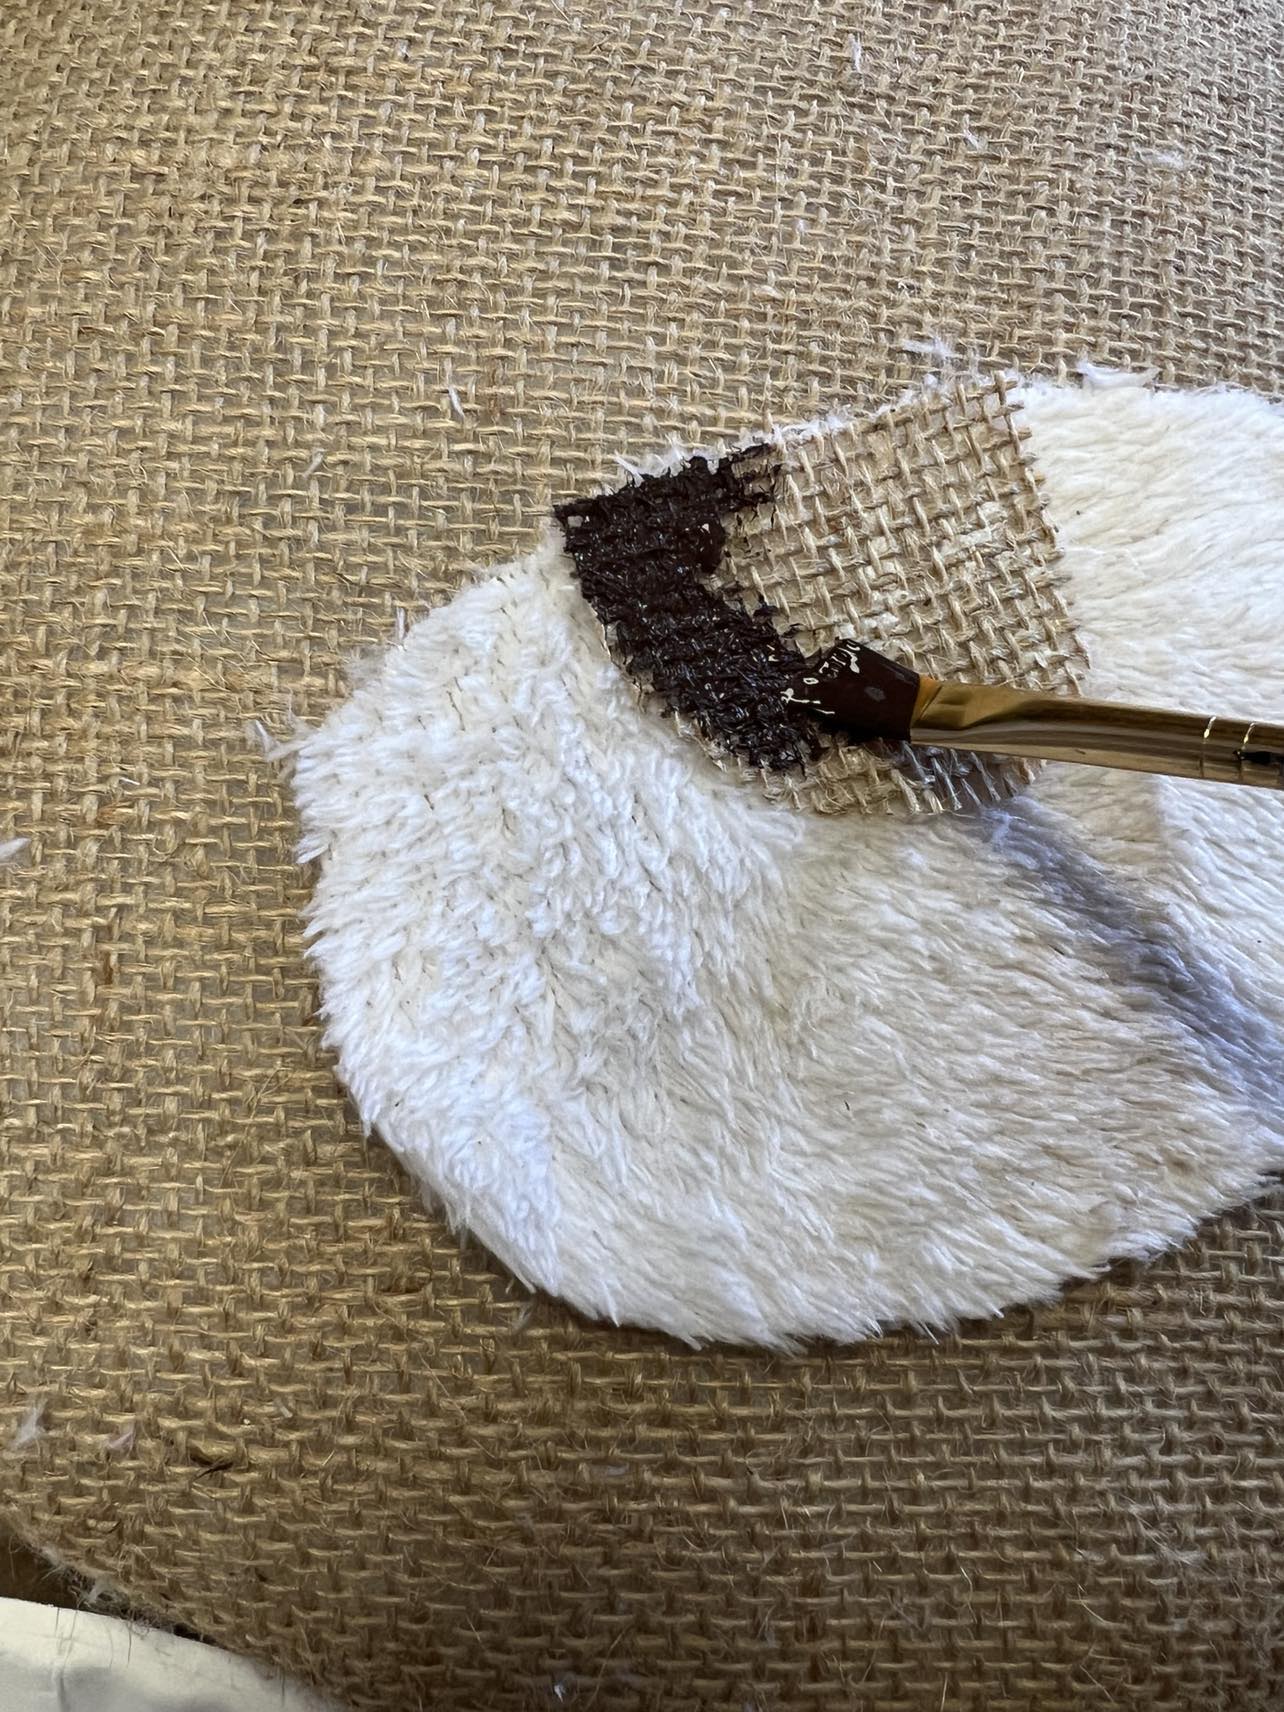
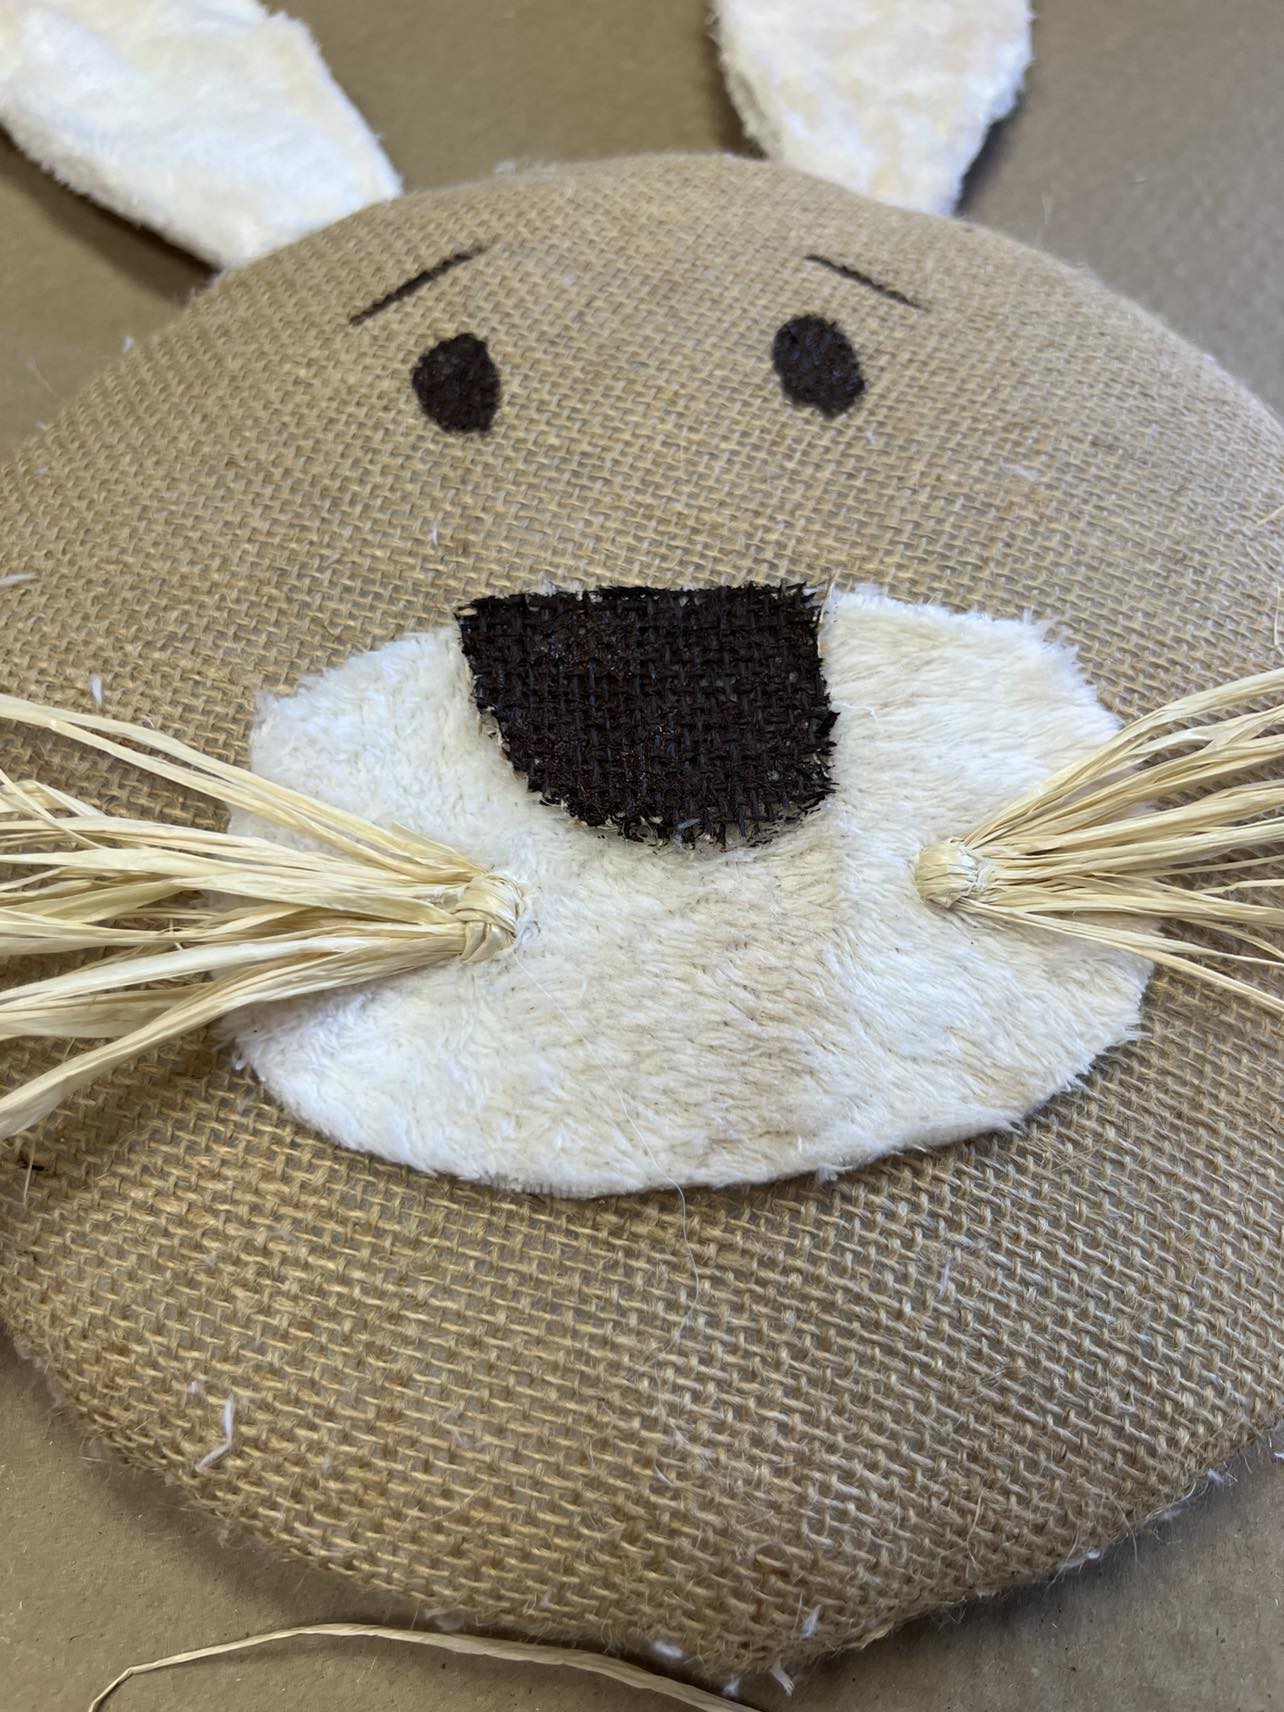
Glue a small piece of burlap on for a nose.
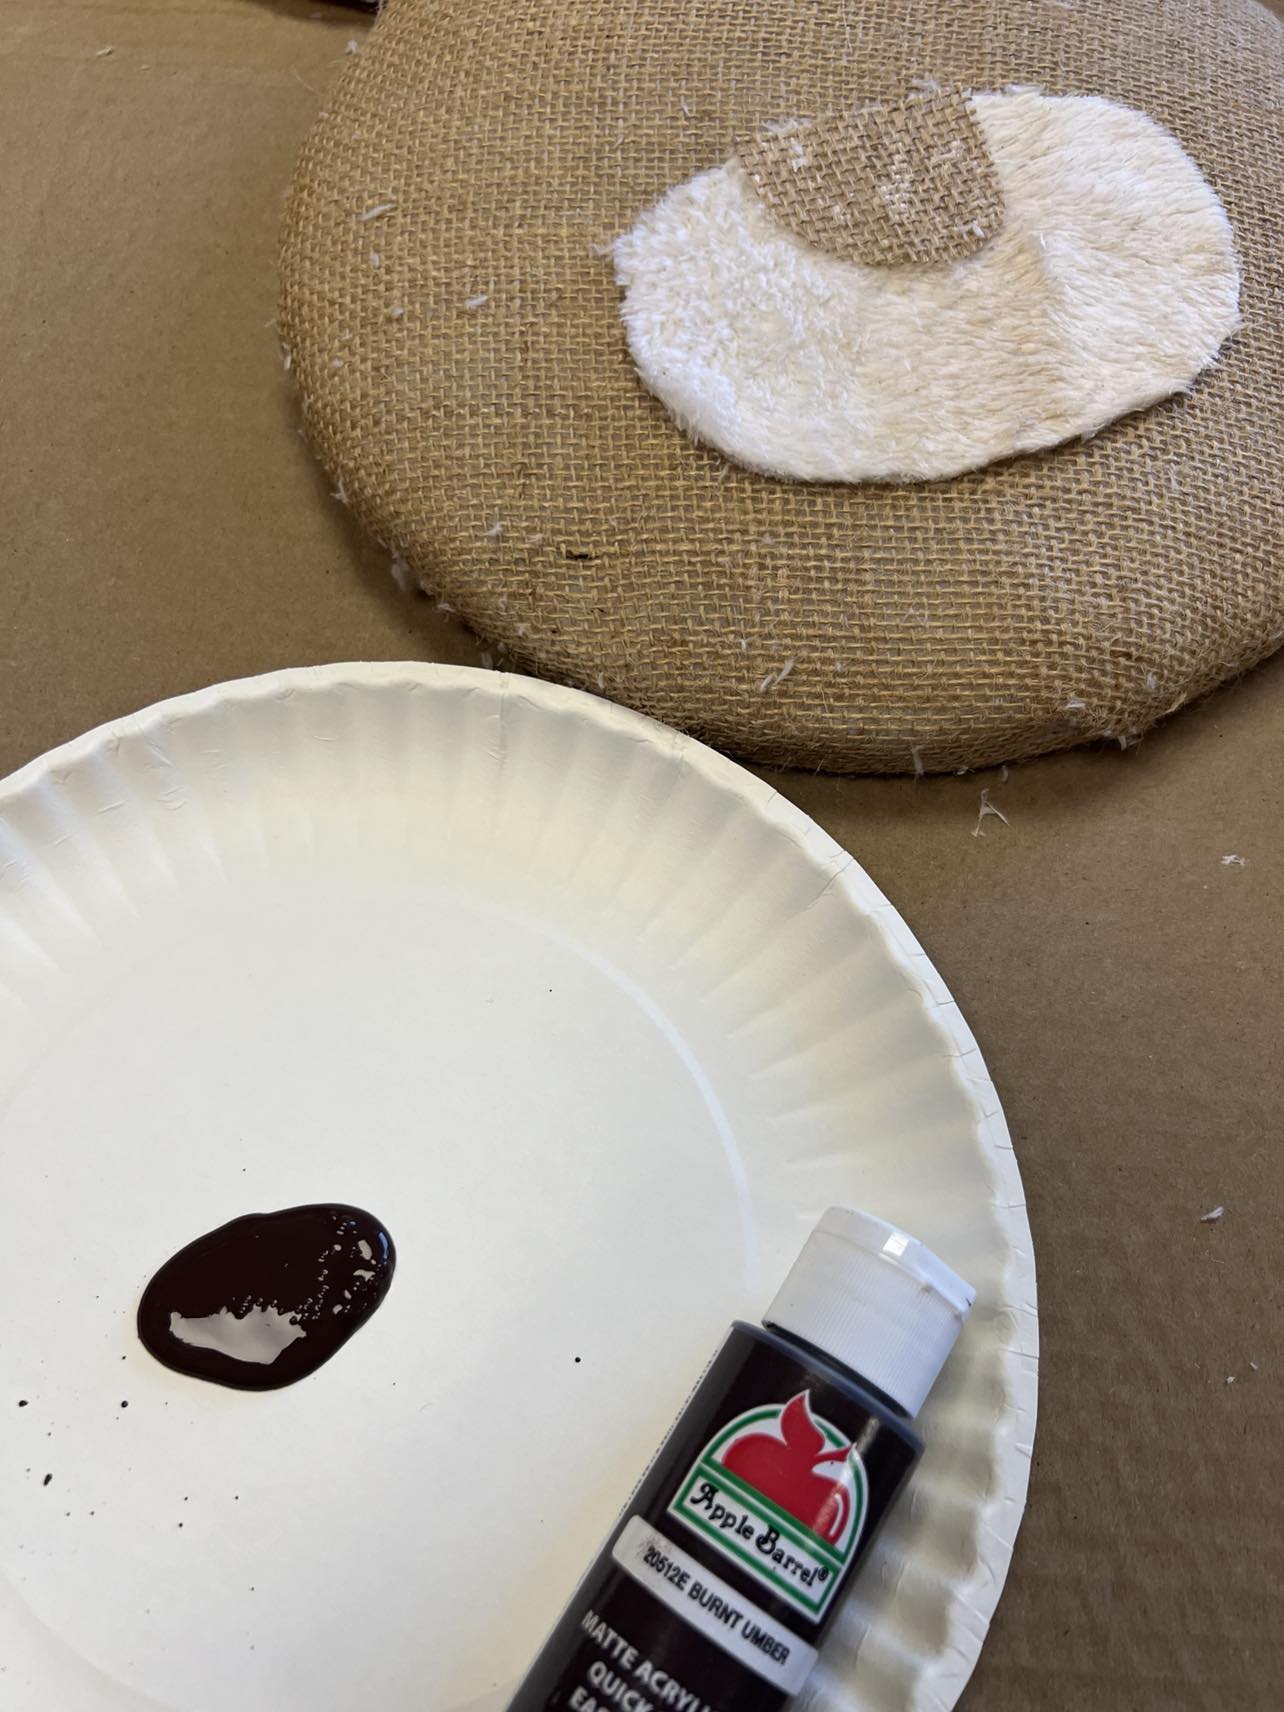
Paint the nose with Burnt Umber.
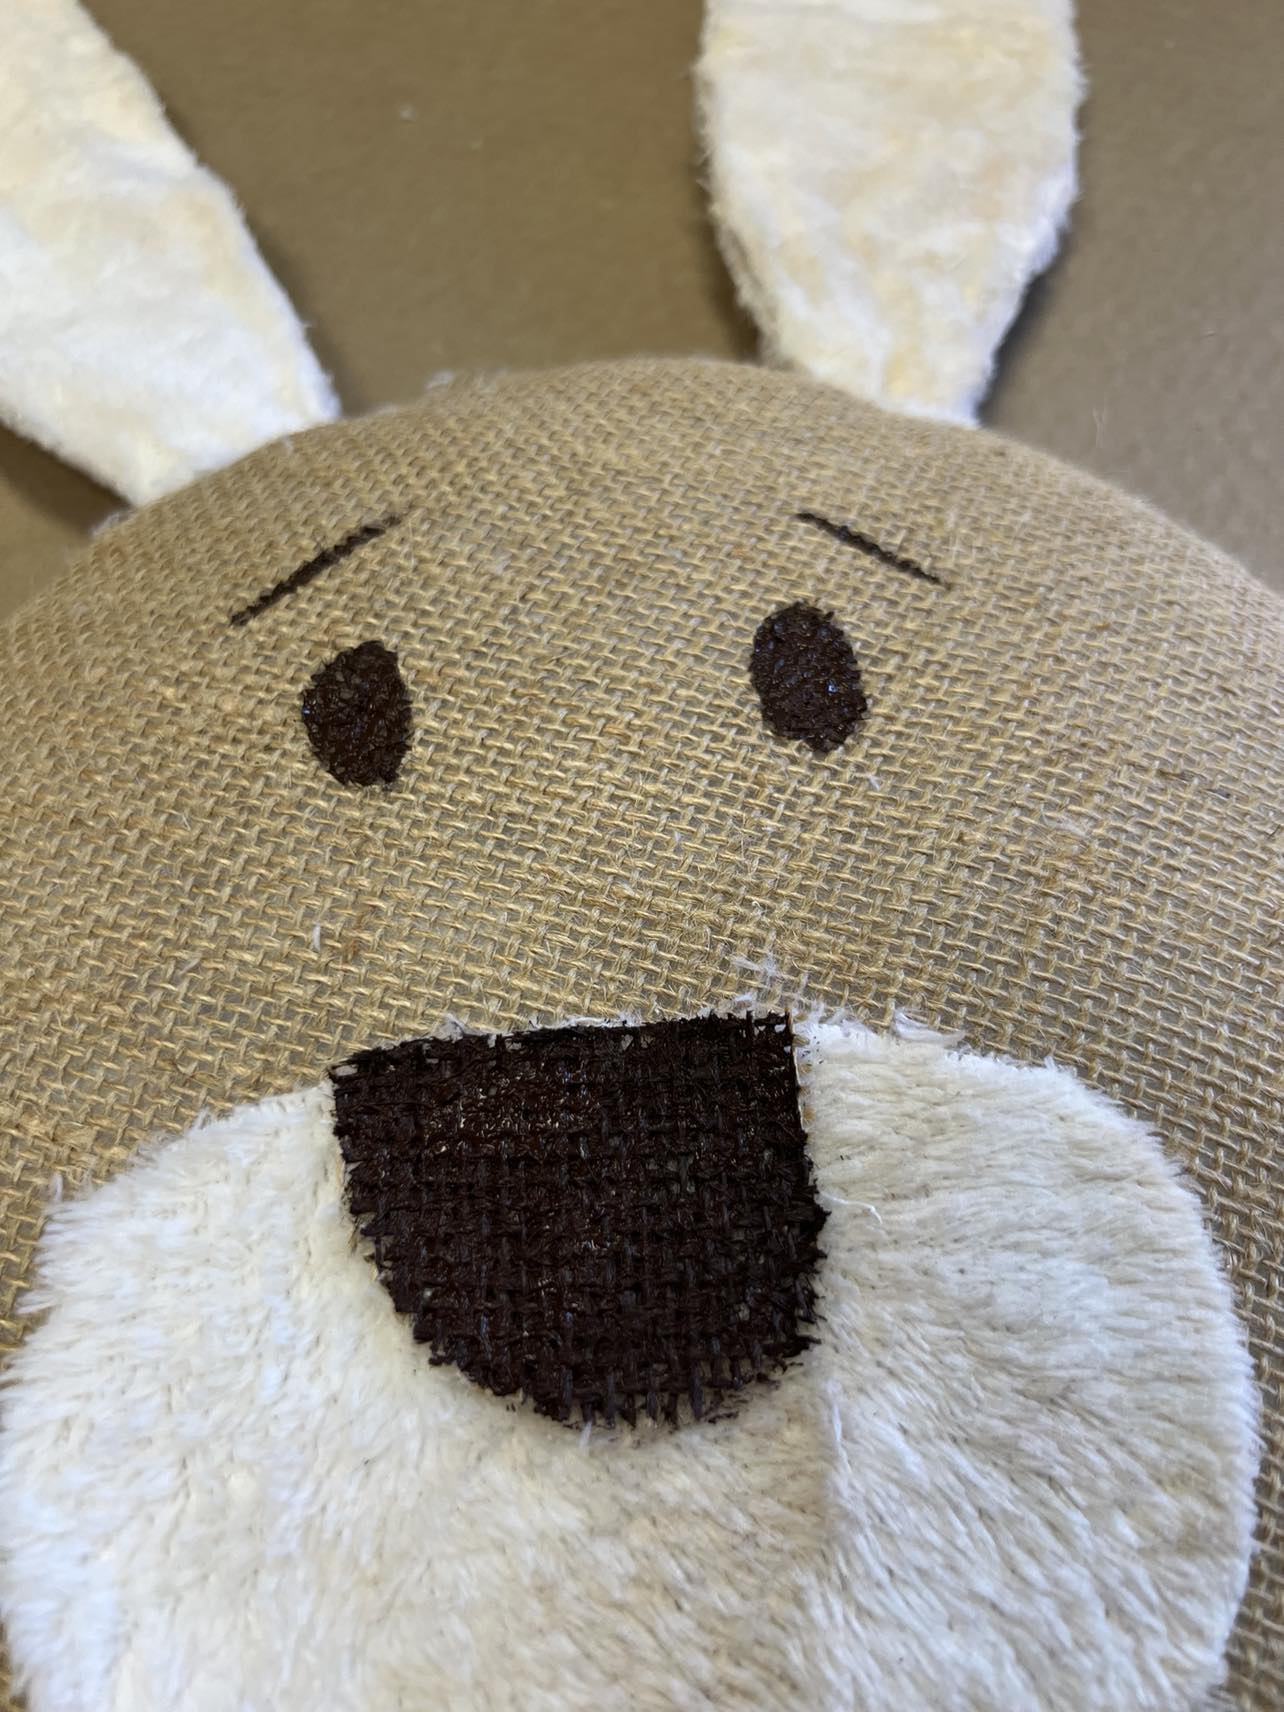
You’ll use the Burnt Umber for the eyes and eyebrows.
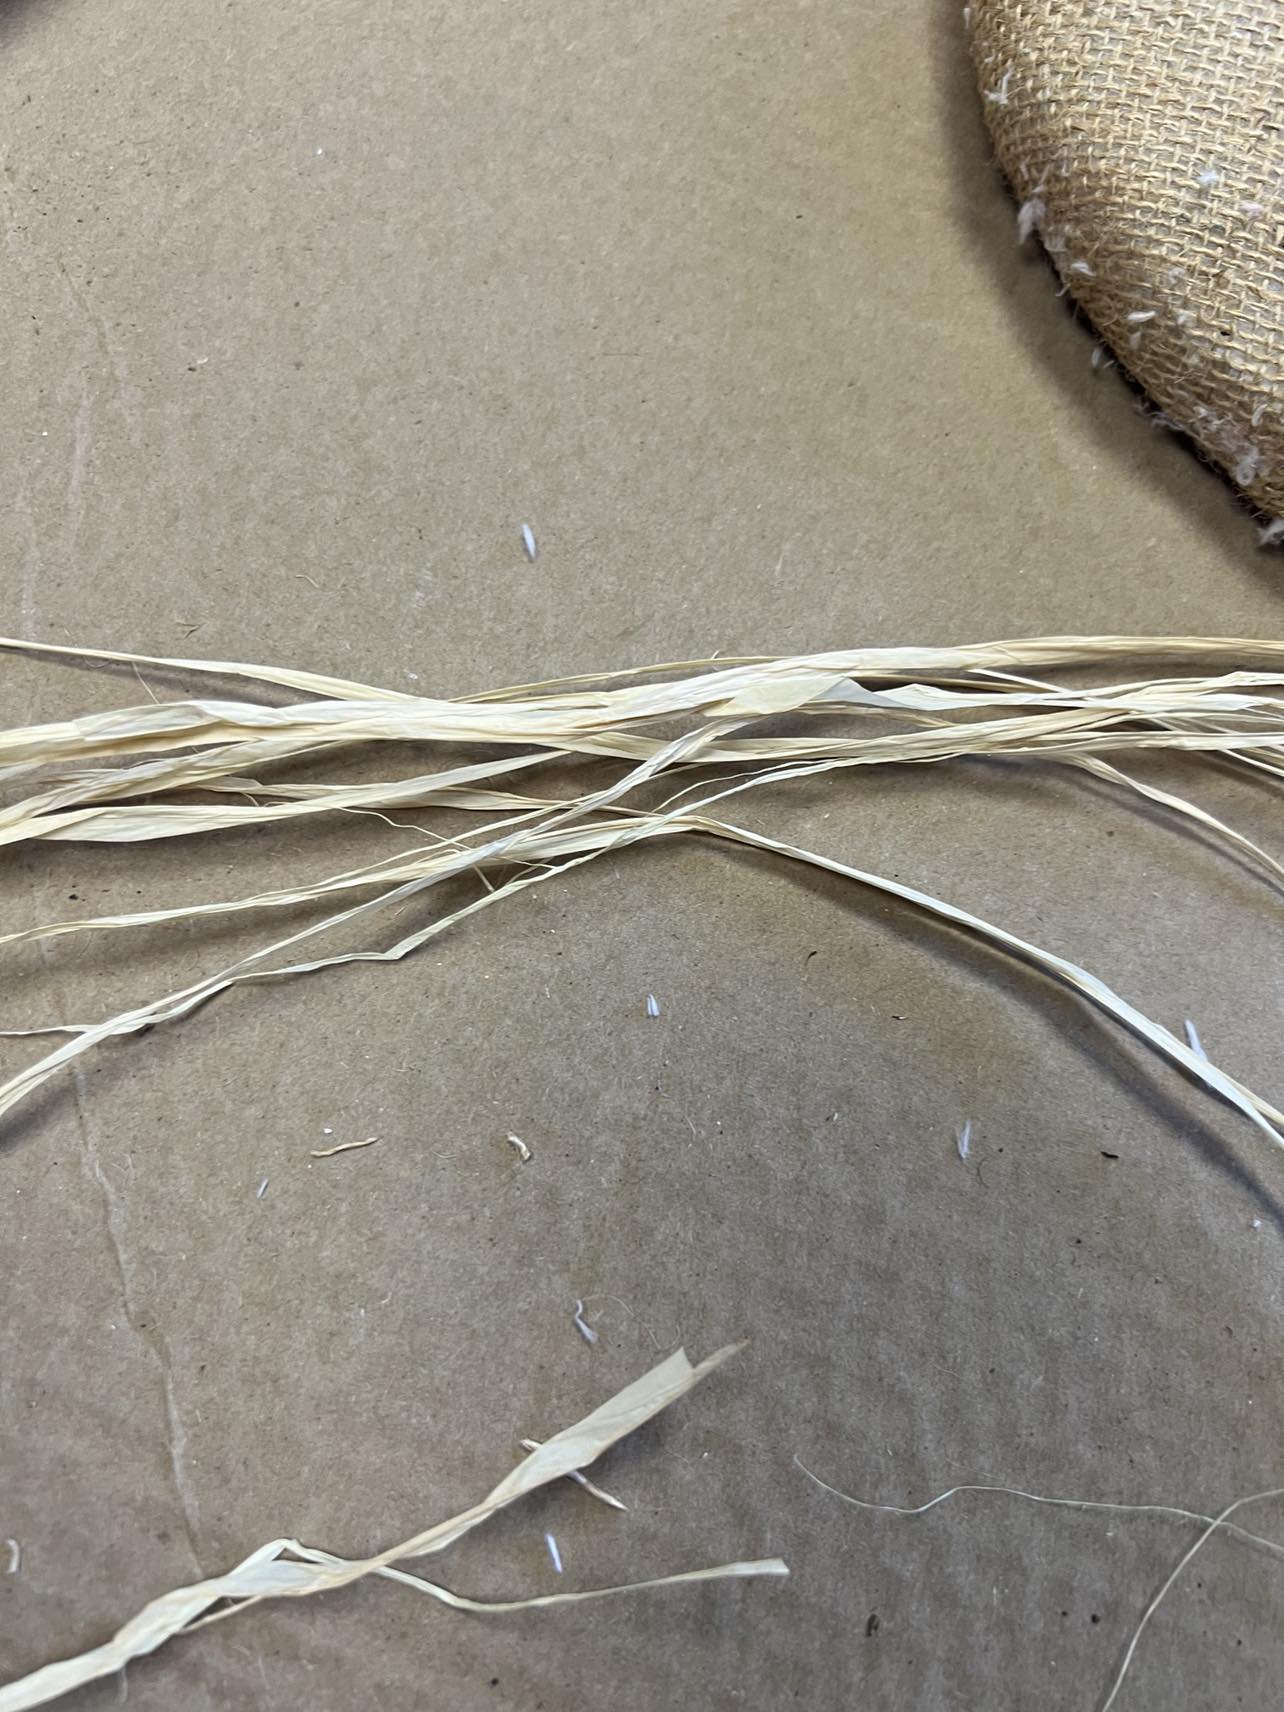
You’ll use the raffia to make the whiskers. Fold a few strands in half and tie a knot.
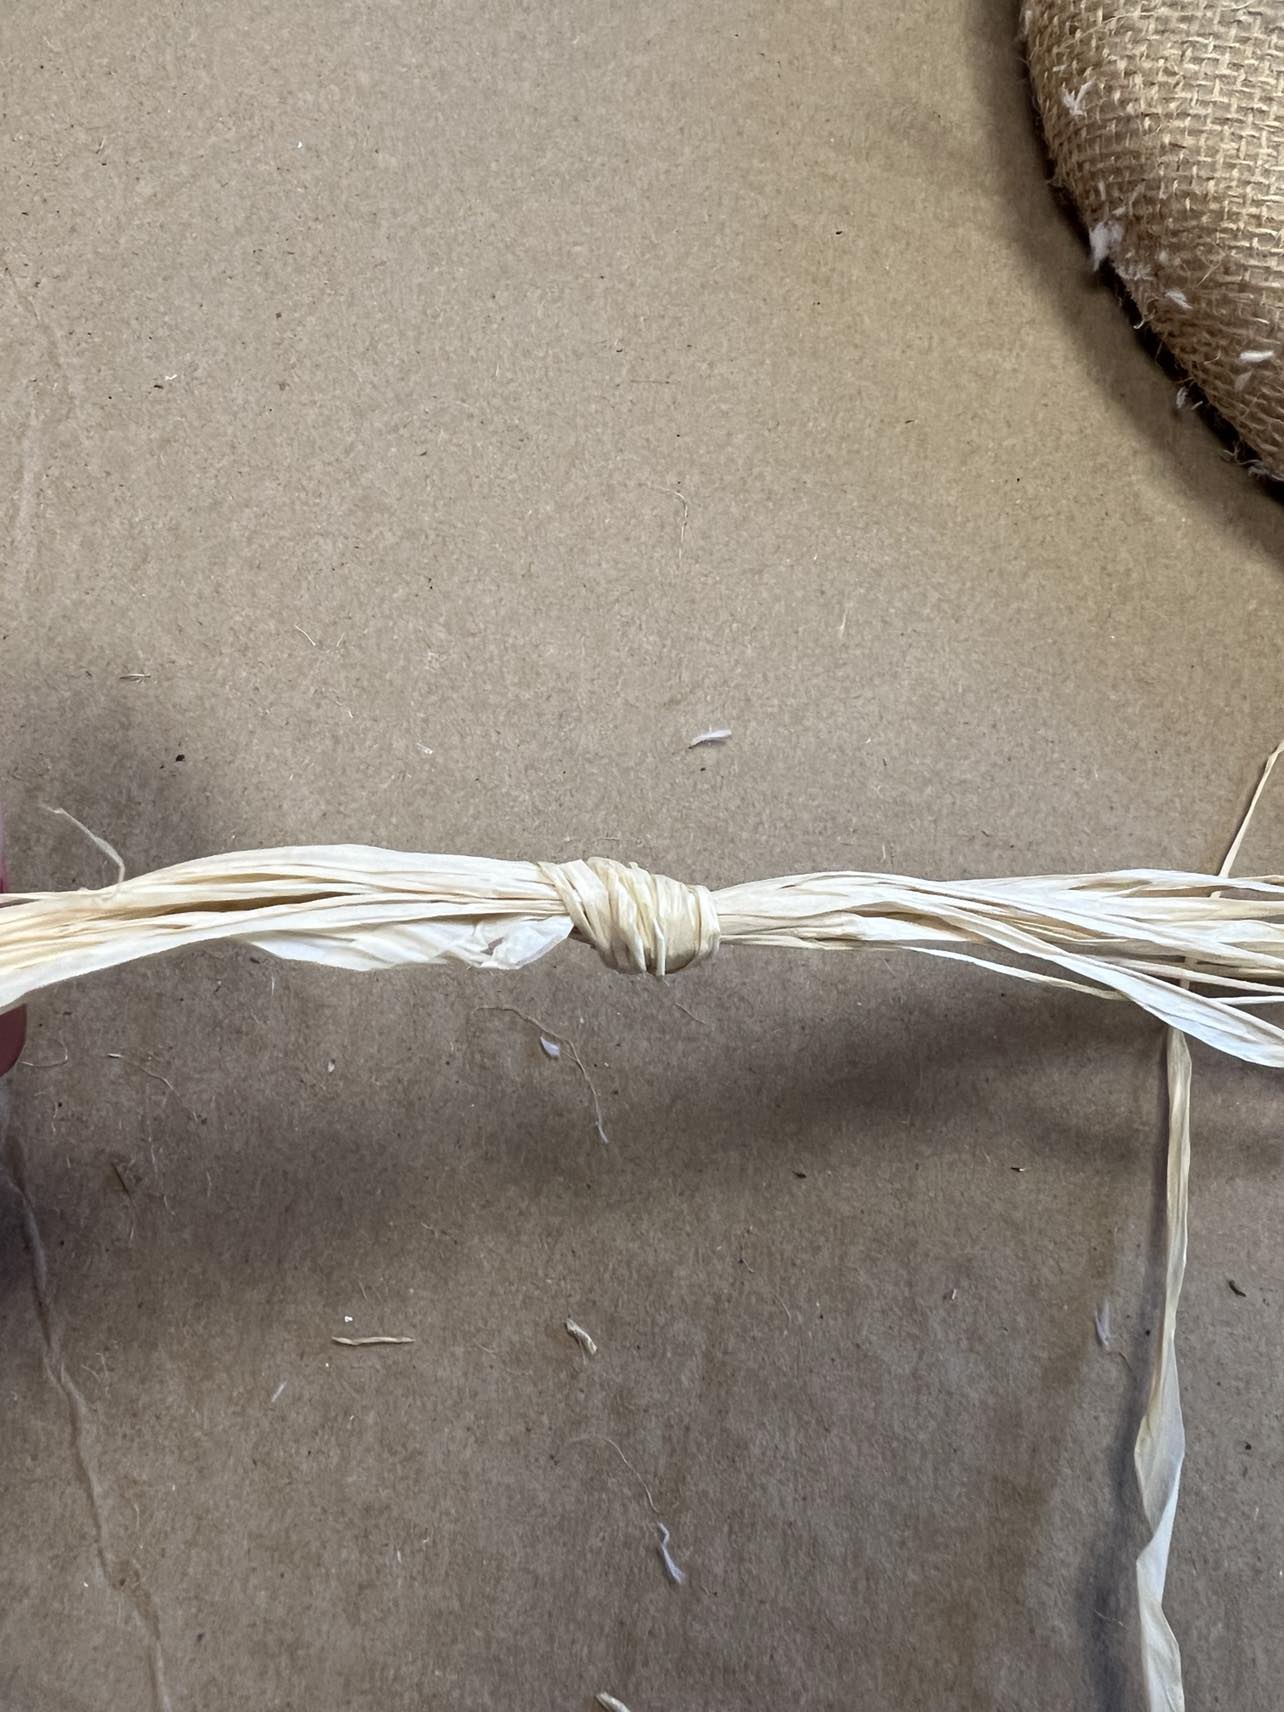

Use the surebonder glue to secure them in place.

I decided to use the Burnt Umber to create the look of stitching.
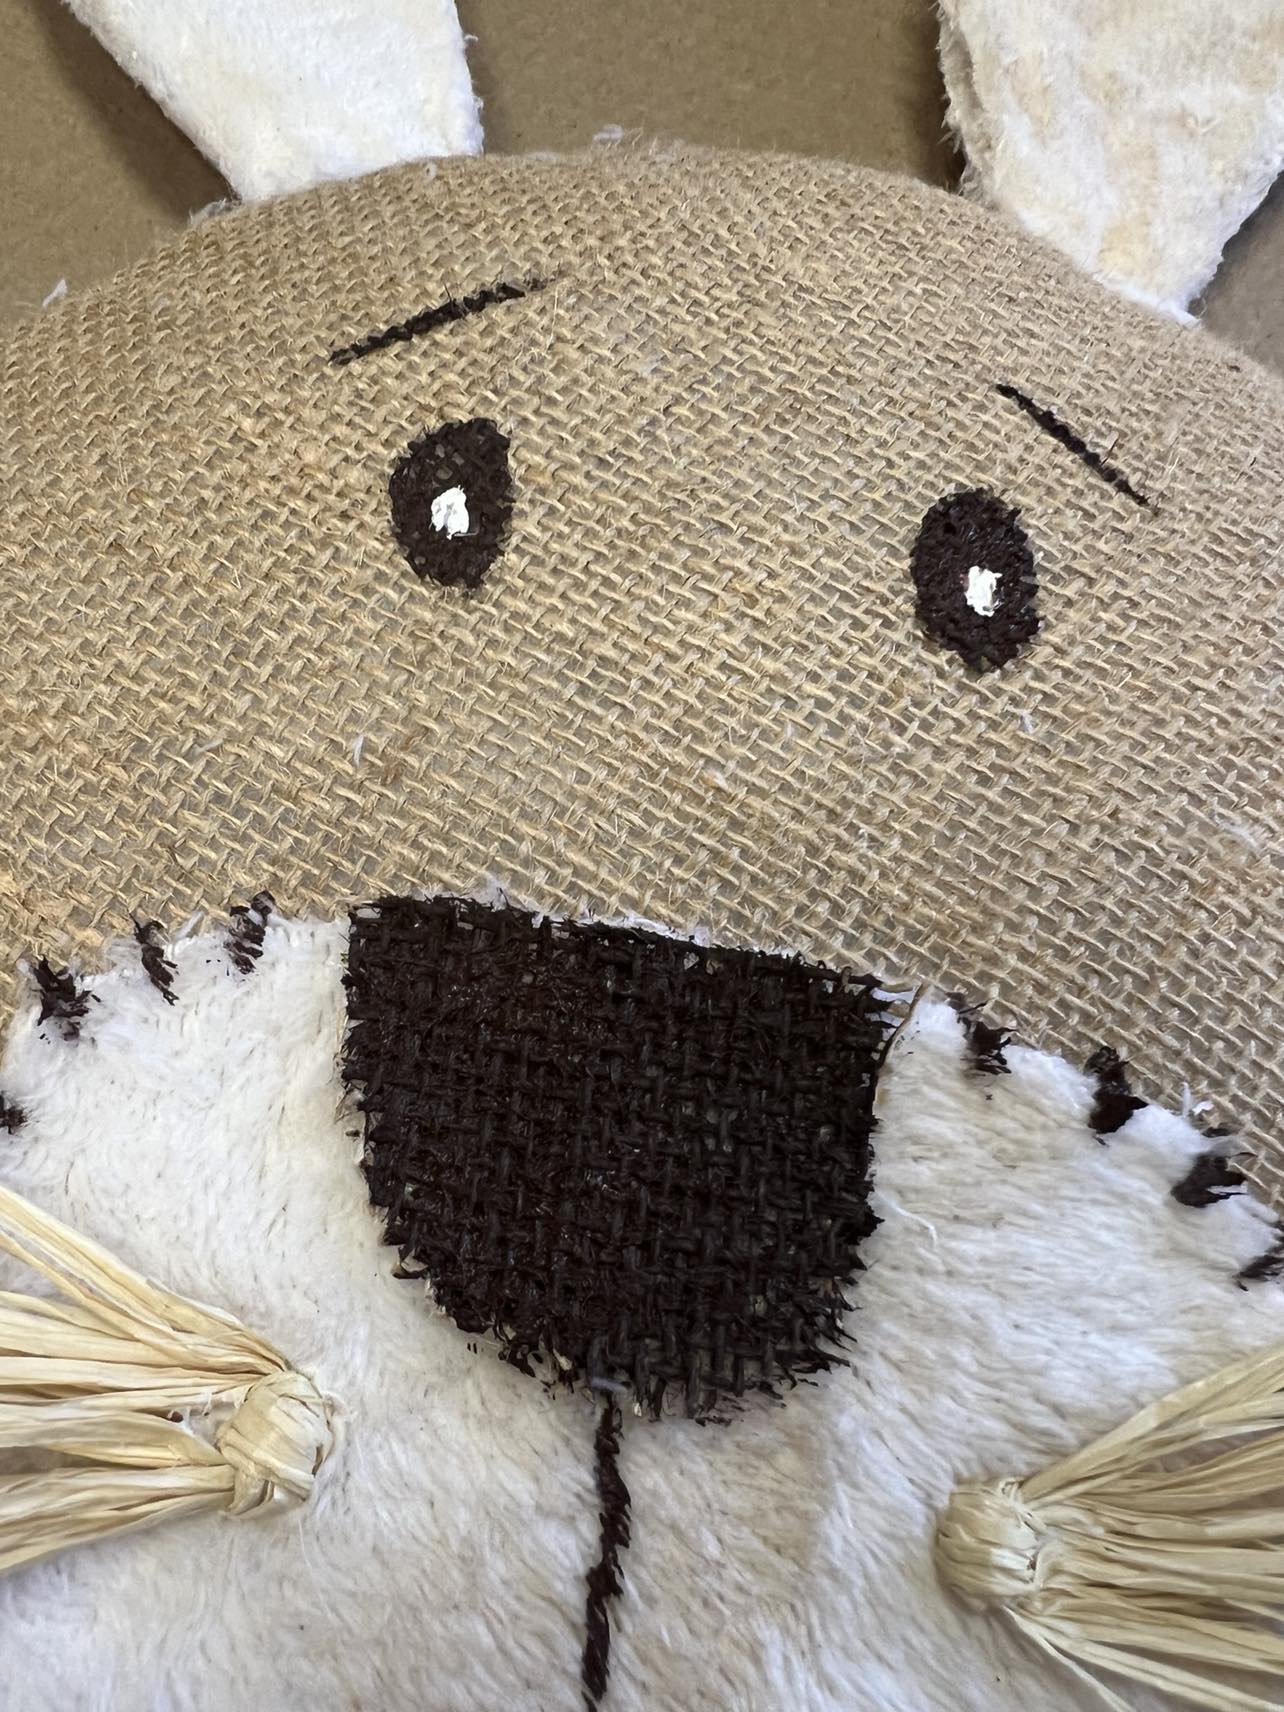
I added some of the ivory chalk paint to the eyes.
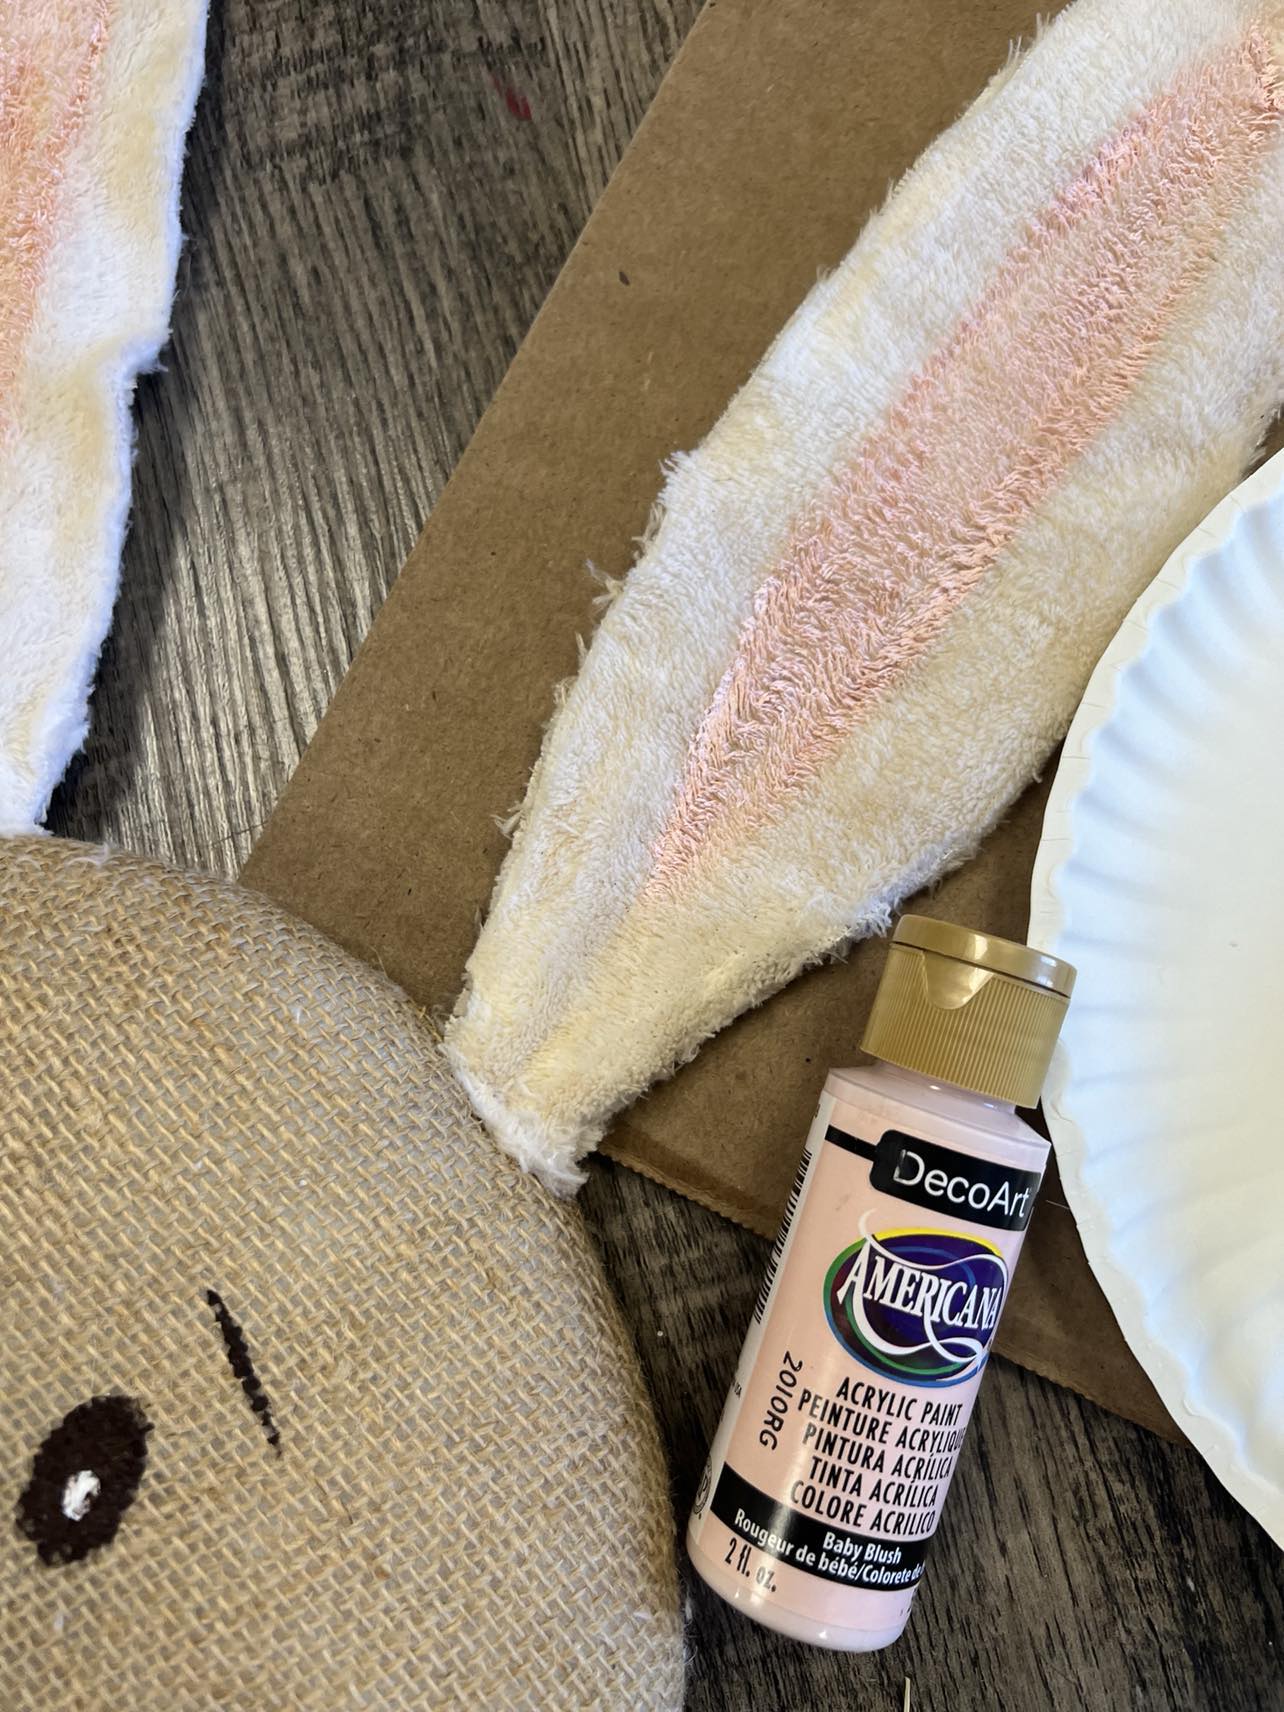
You’ll add the Baby Blush the ears.
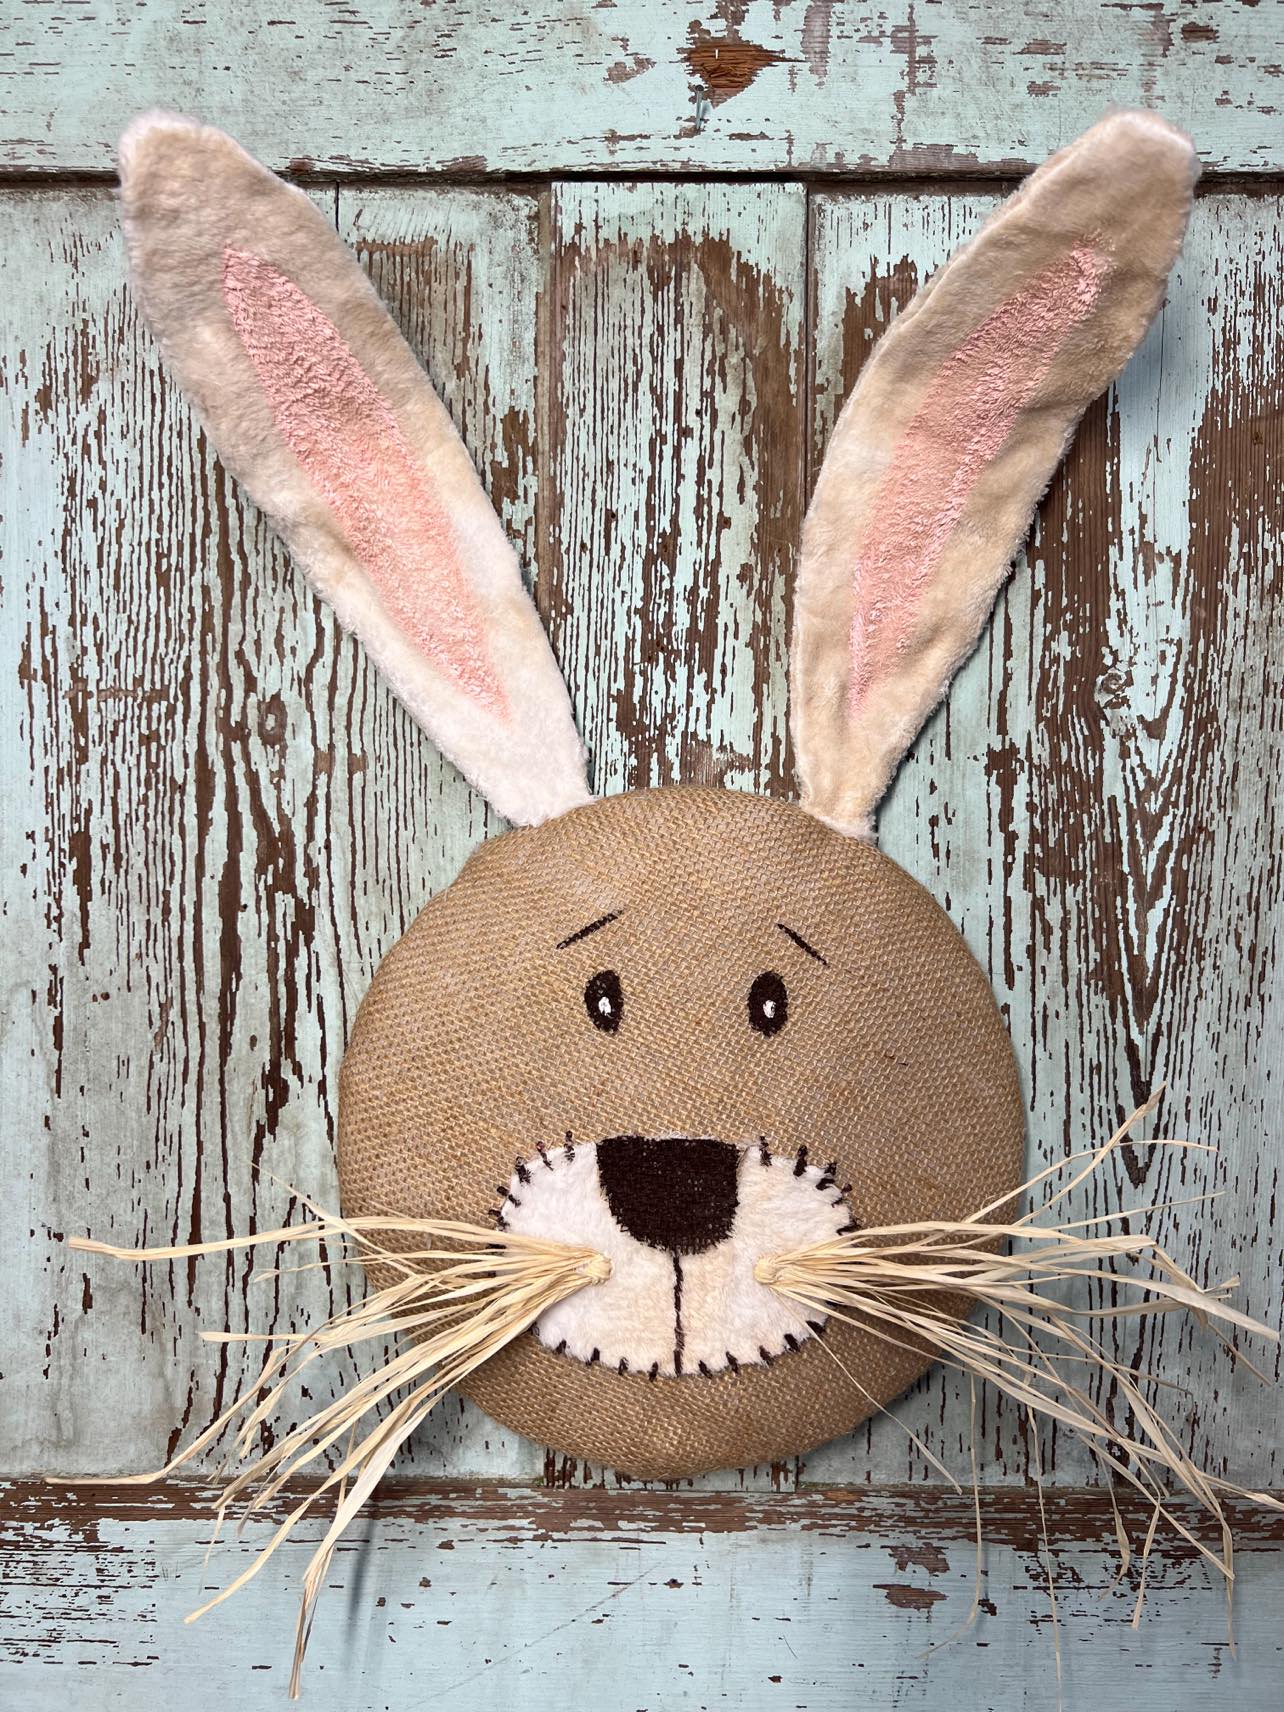
This bunny head is so easy to make and will look great any where in your home. I hope you’ll get creative and give this a try.