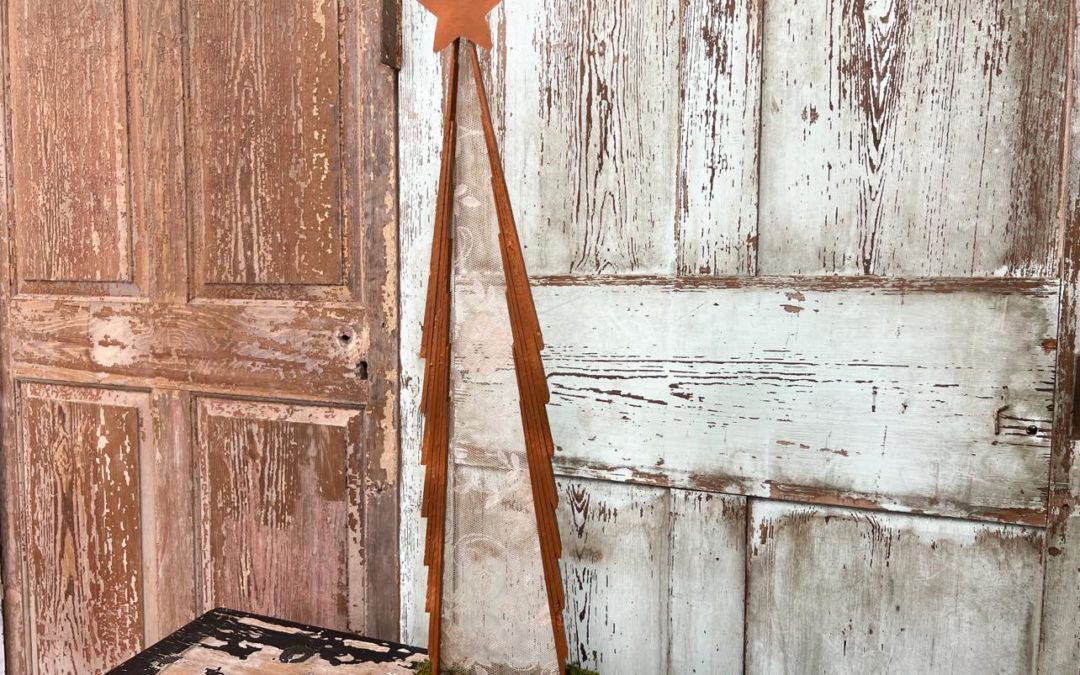
Ok you all know I love trees and lace which is why I love this craft so much. A follower of ours made me an amazing tree out of wooden shims and I wanted to try and give it a try and change it up a bit.
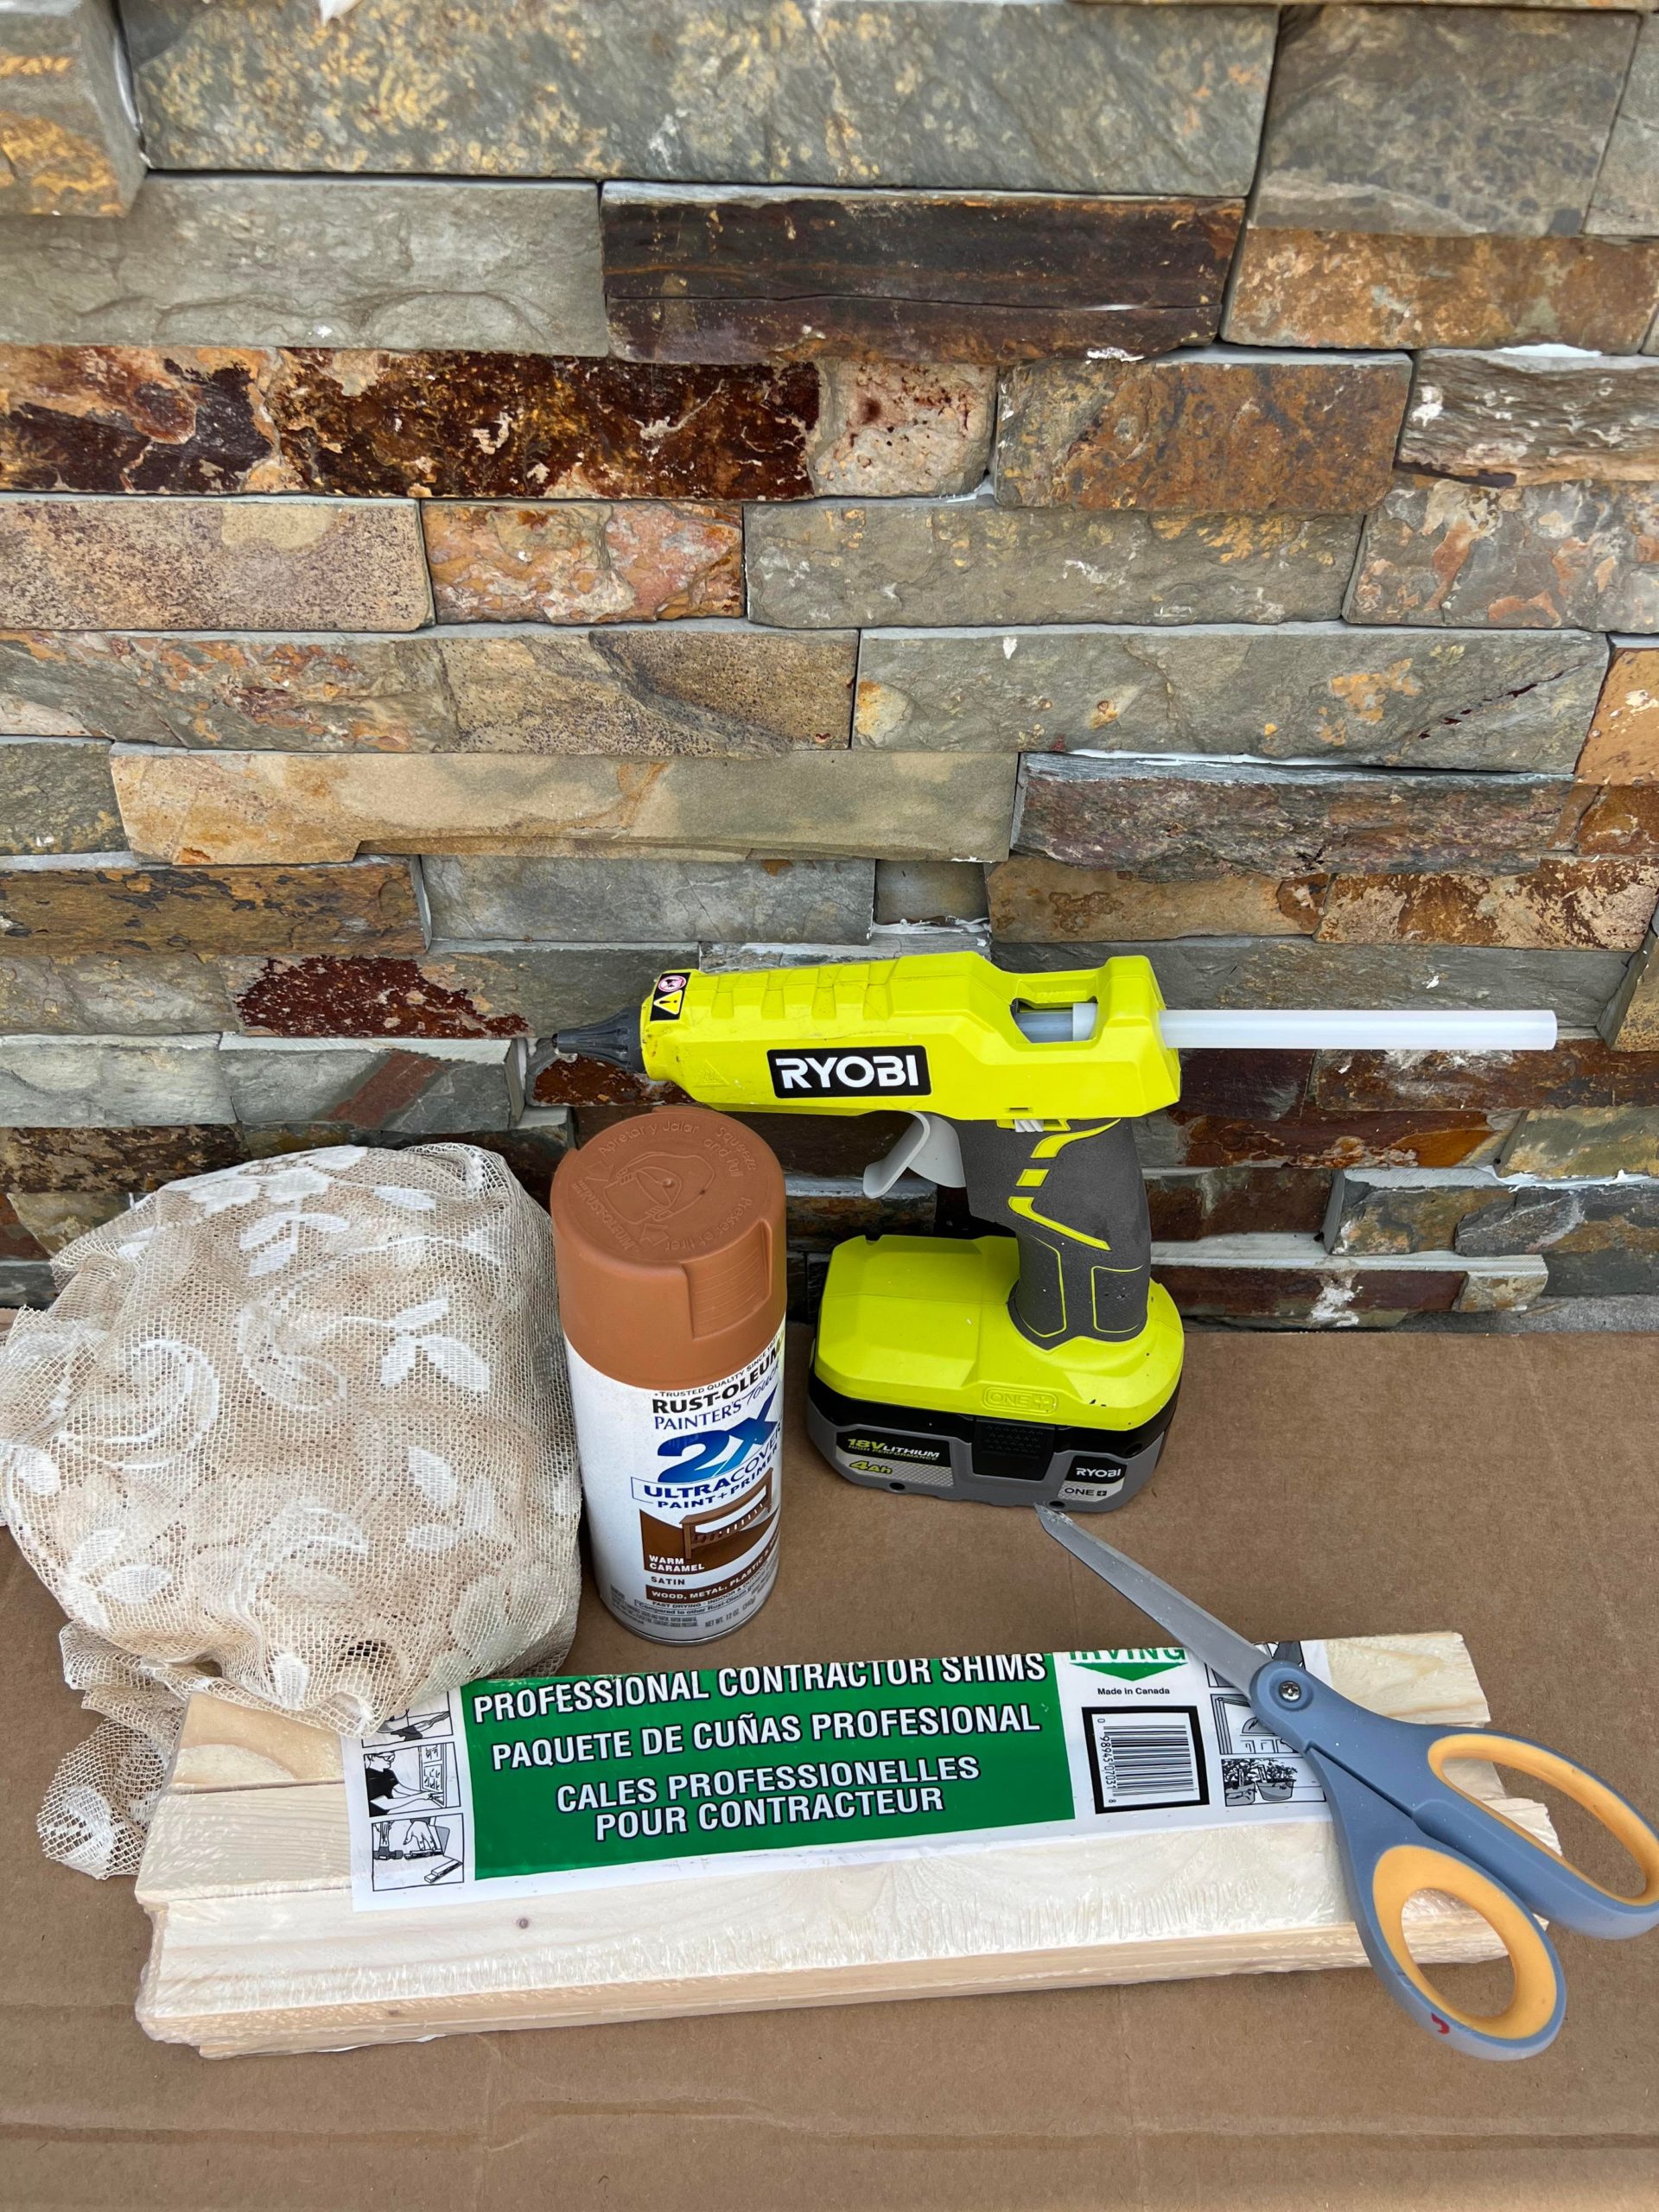
The supplies I will be using are:
1. Wooden shims ( I will be using 18)
2. Hot glue
3. Scissors
4. Scrap piece of lace
5. Pen
6. Warm Caramel colored Rust-oleum spray paint
7. Four inch wooden star ( optional)
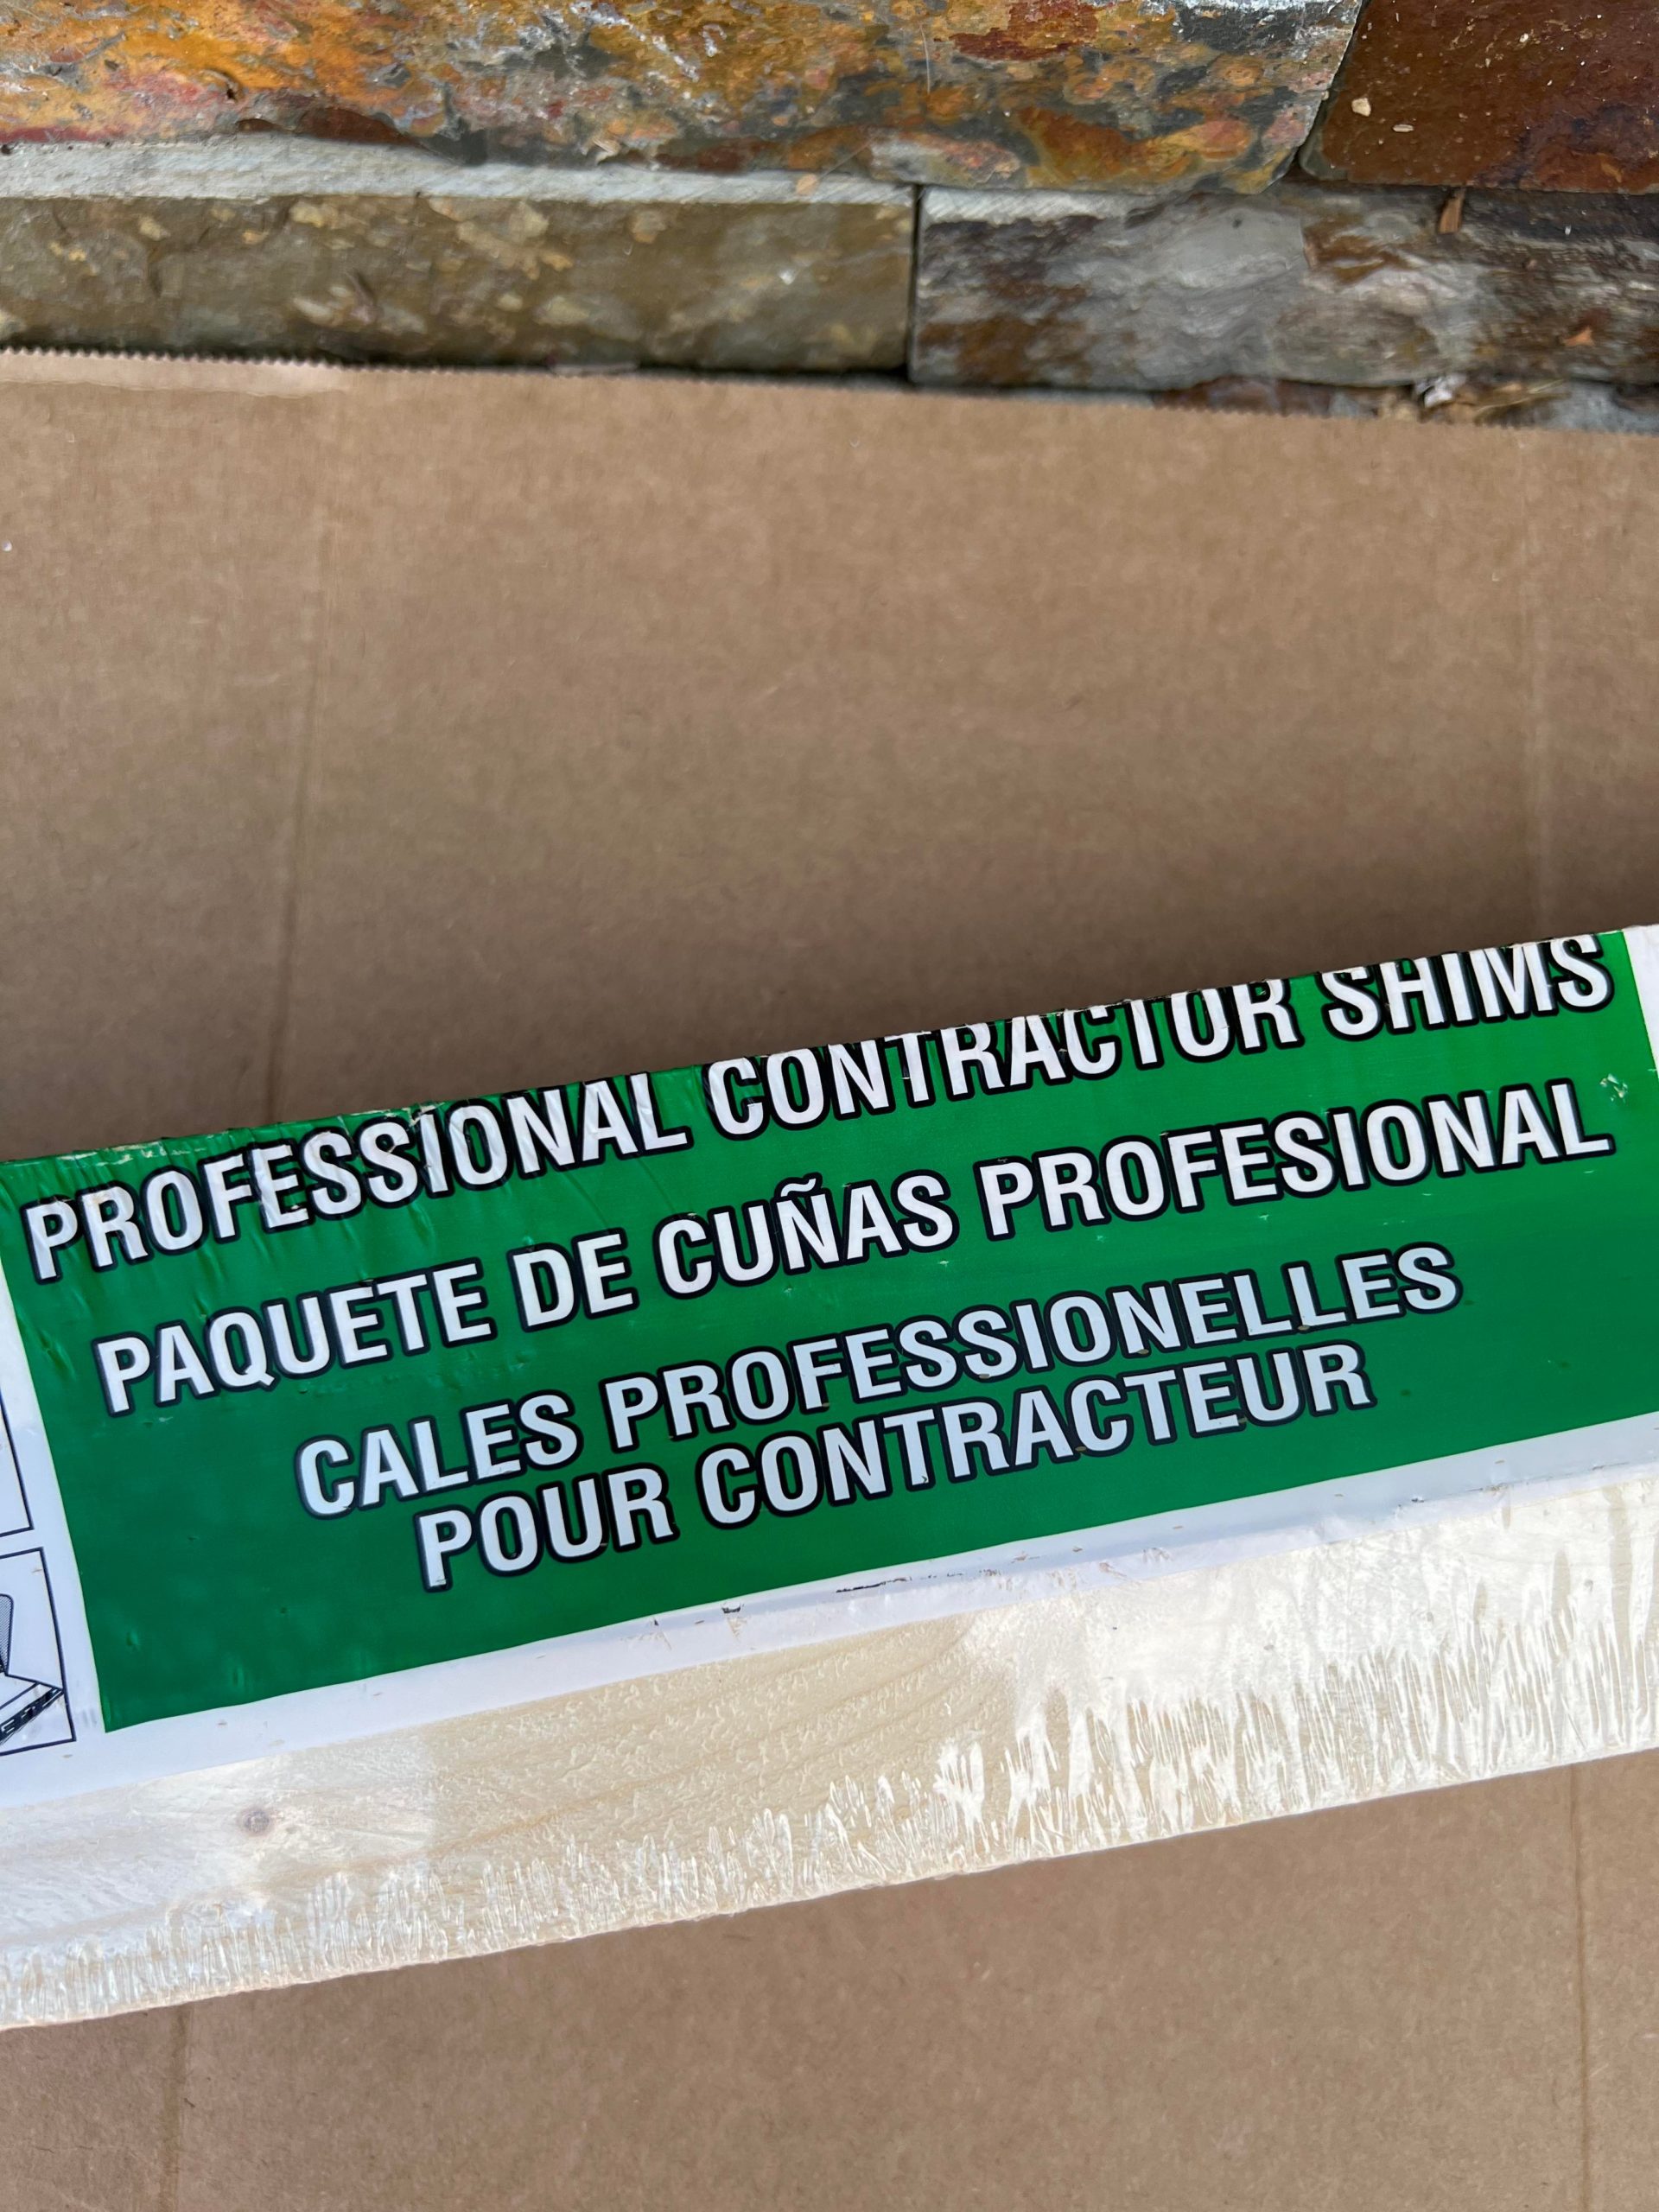
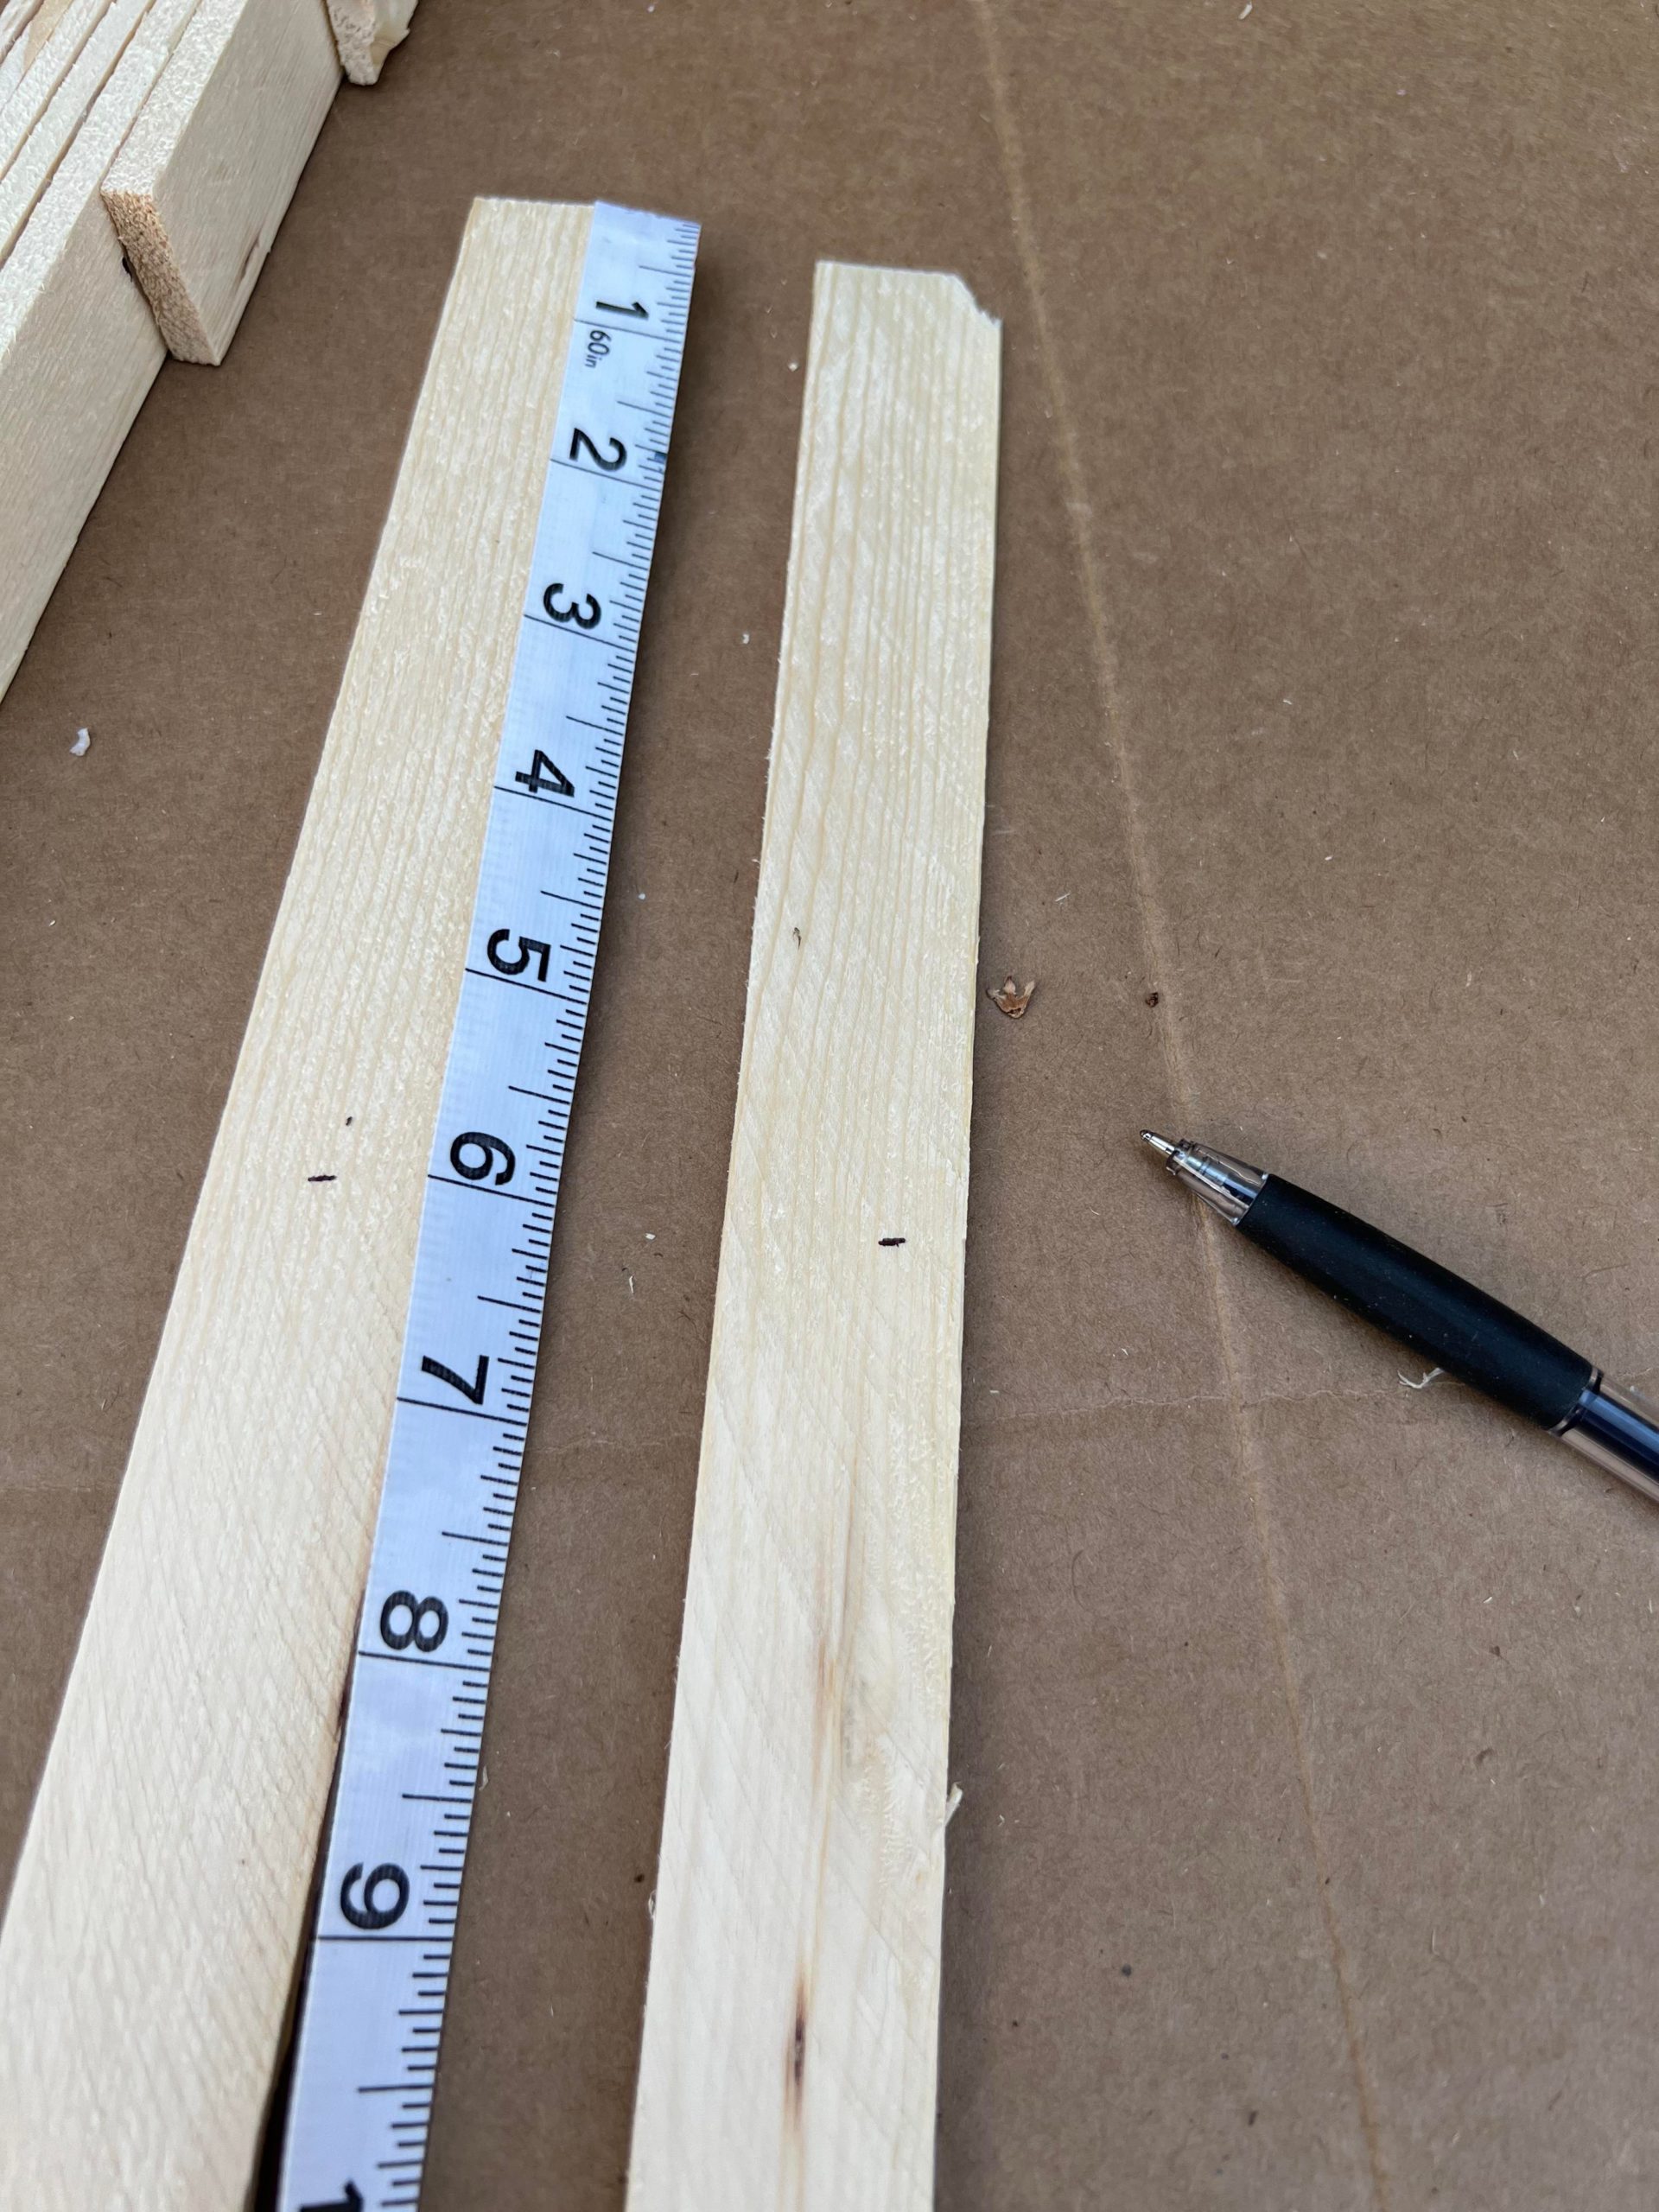
I purchased the wooden shims from Home Depot and they are 15 inches long.

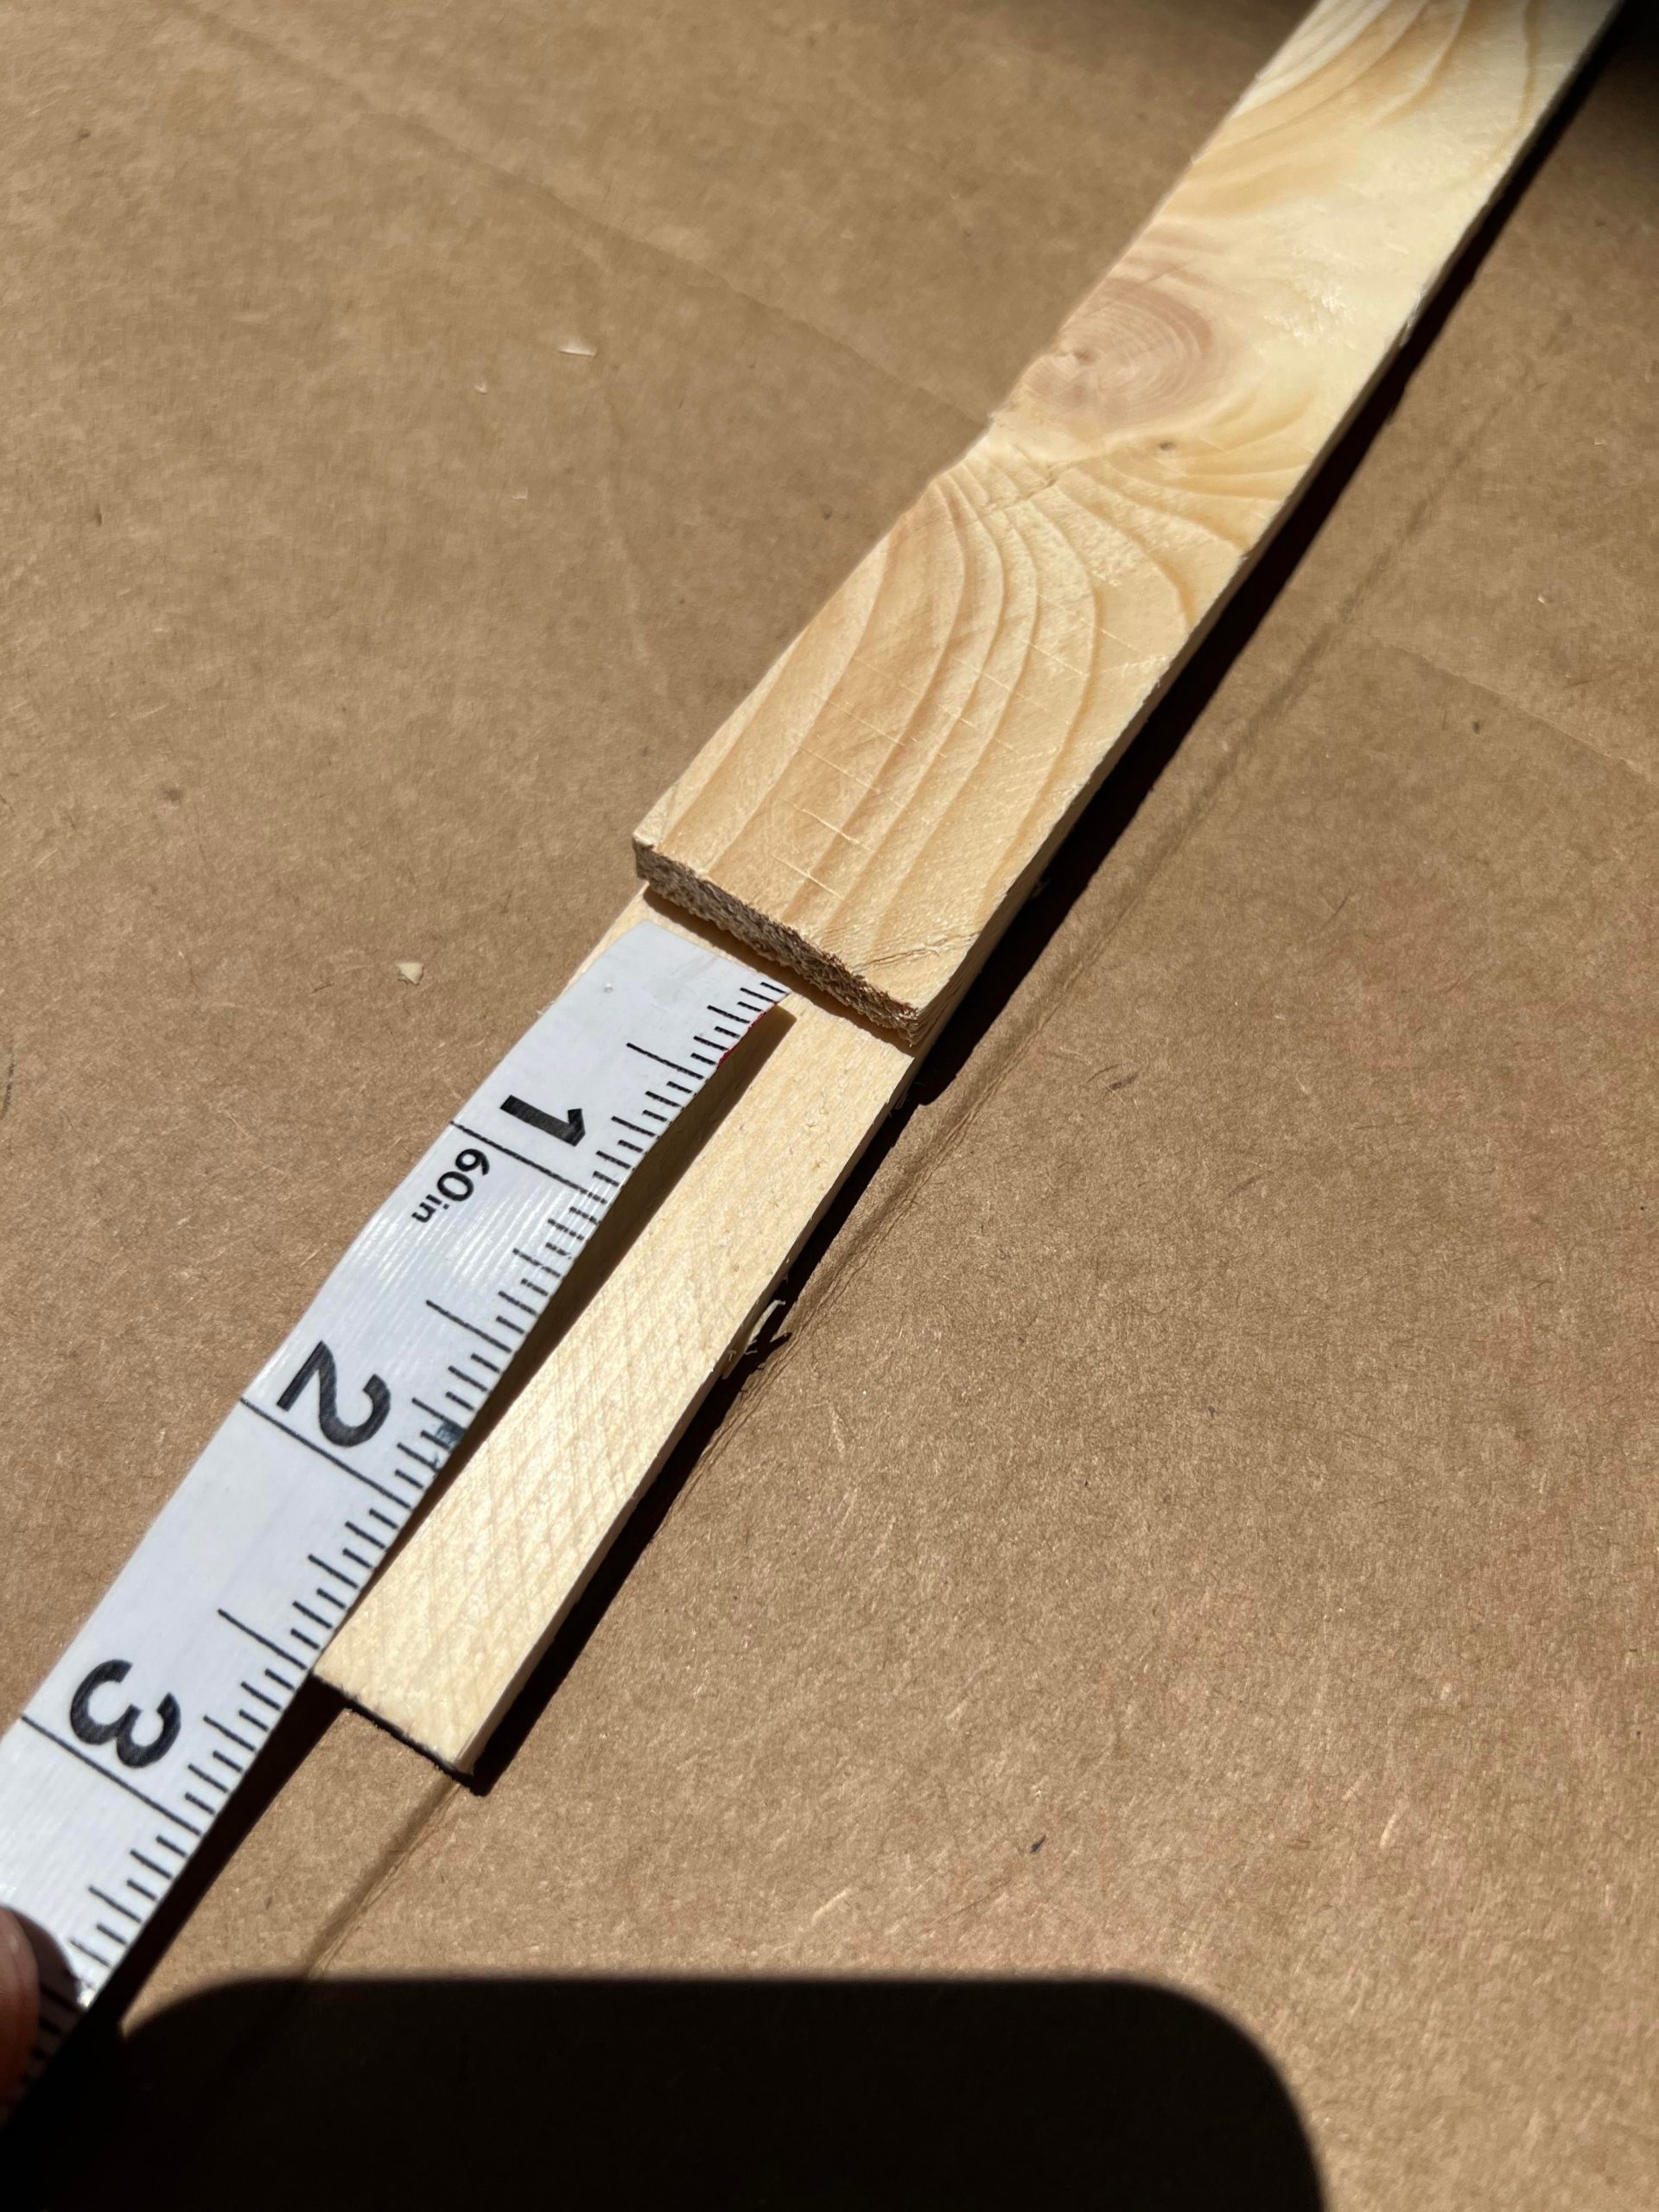
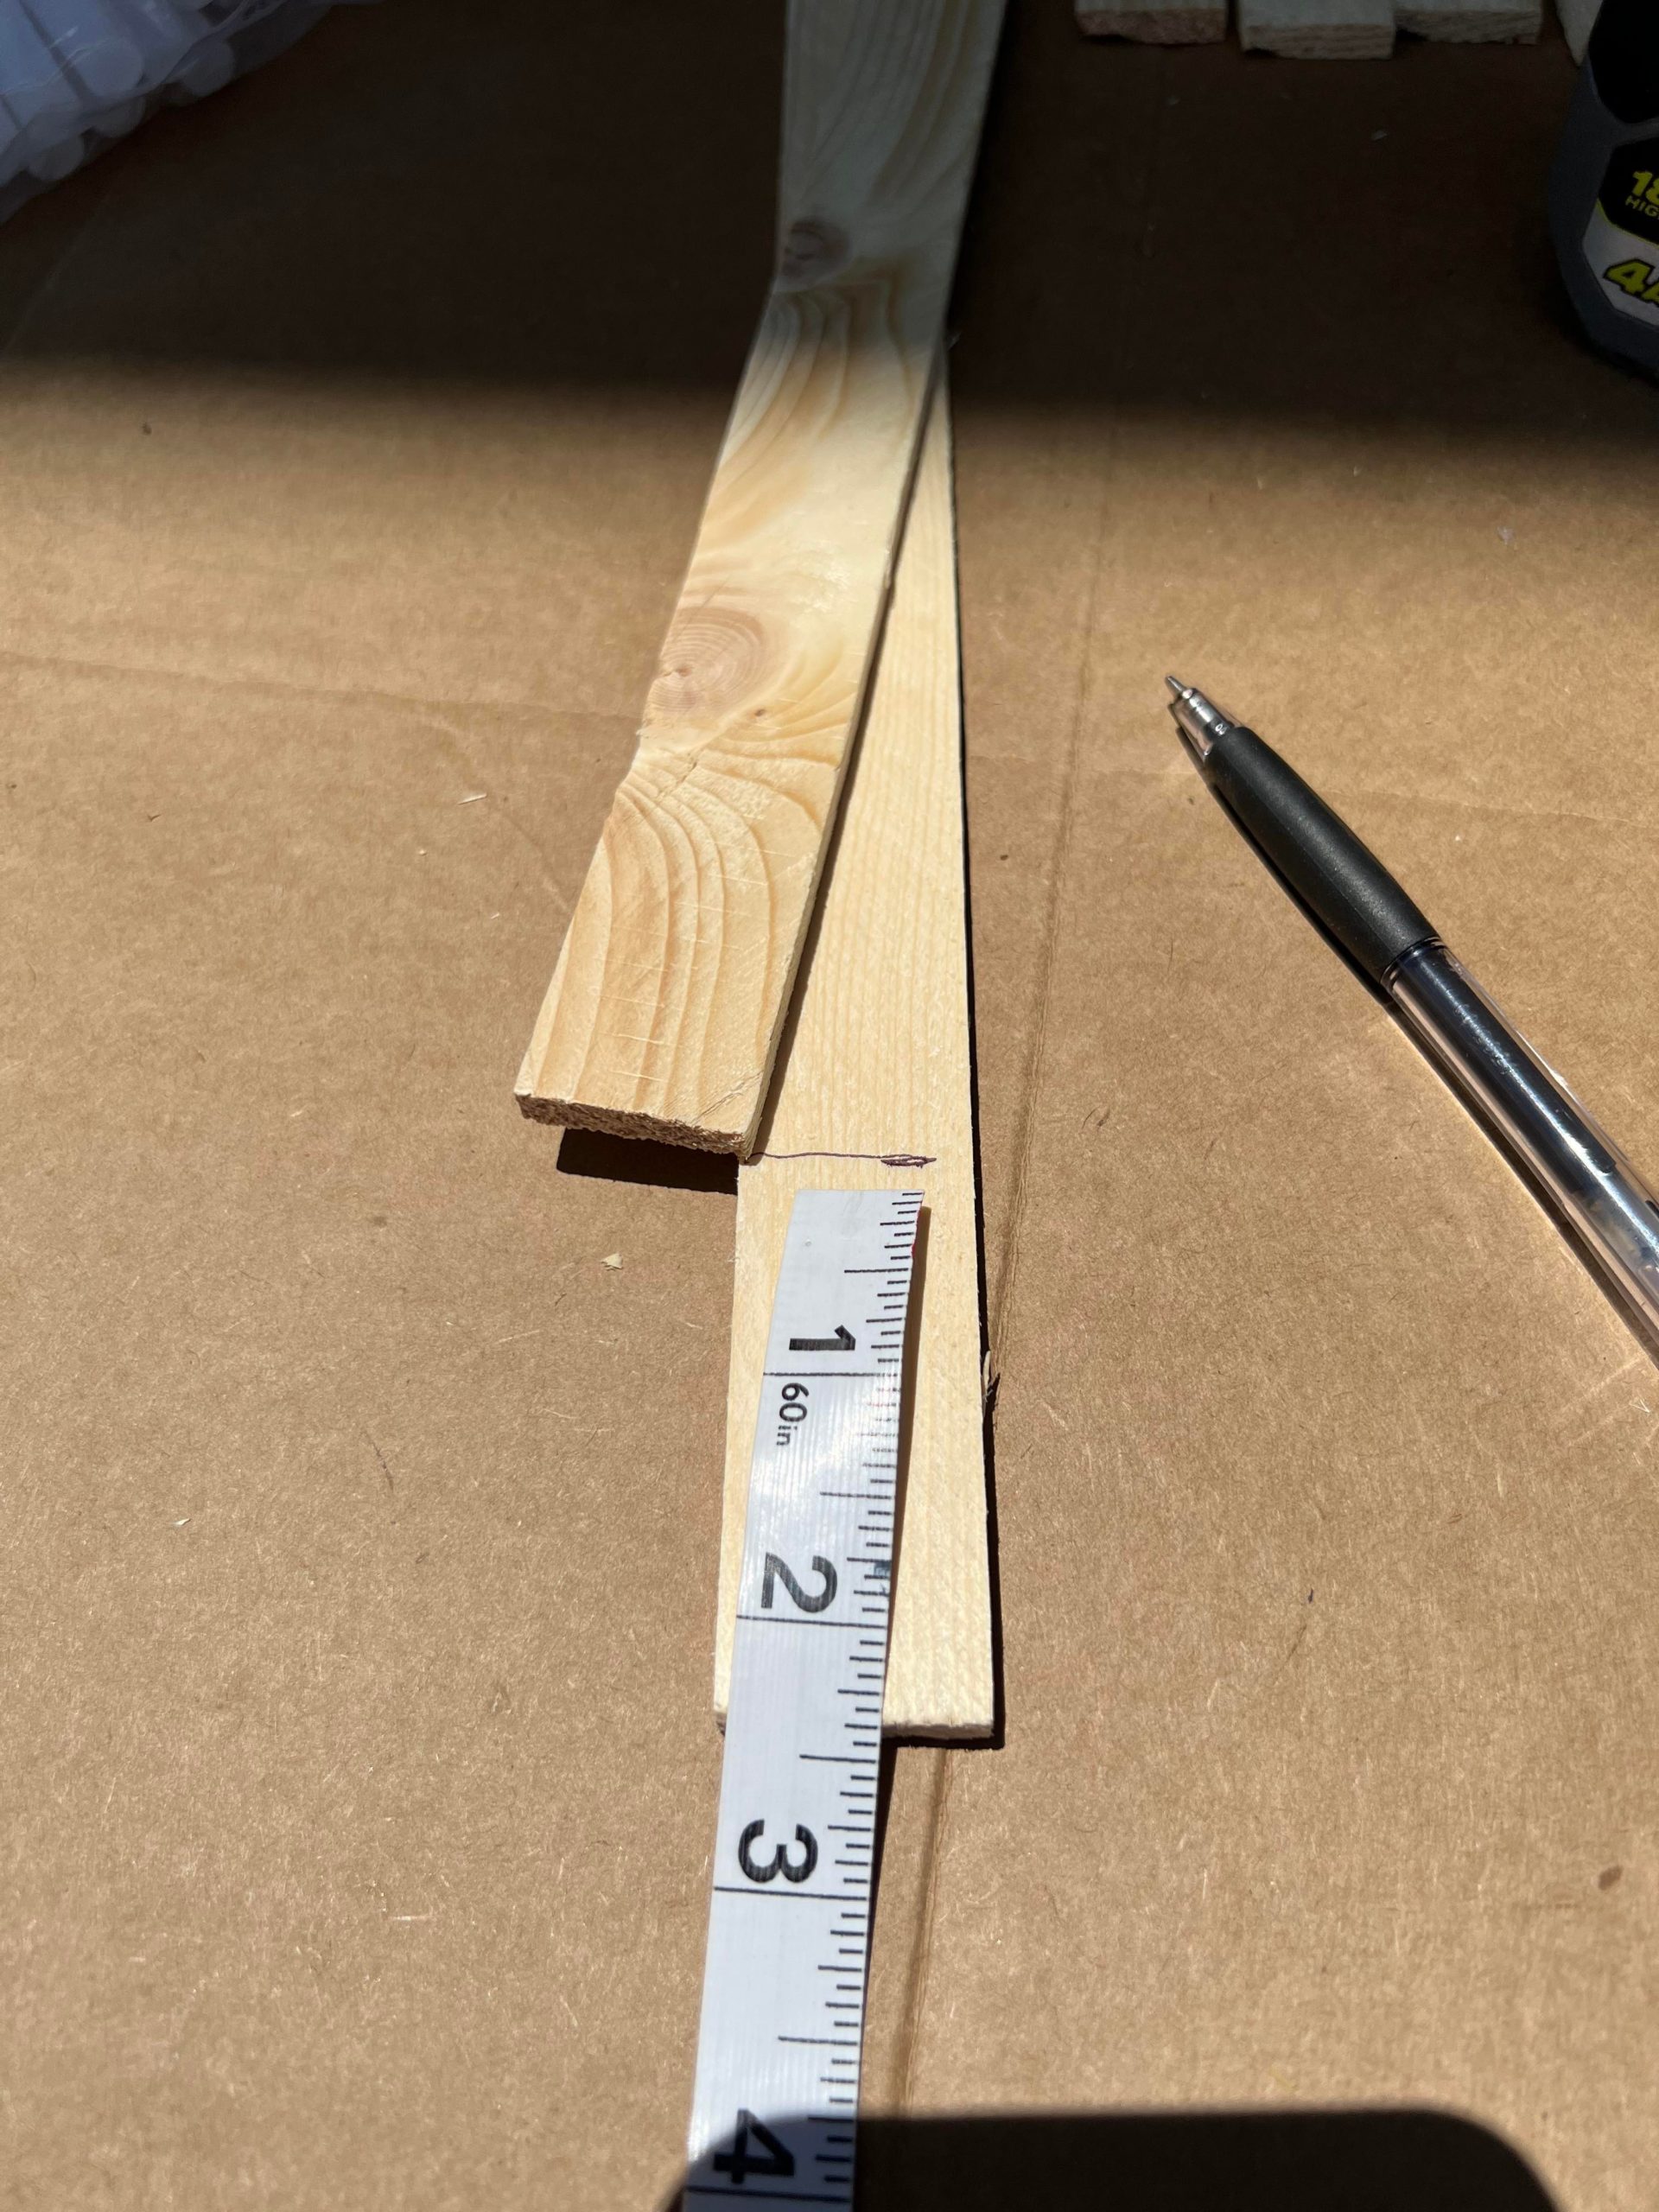
You will glue 8 wooden shims together. Each shim will overlap one another and you place each shim 2 1/2 inches up. Be sure to have the thicker part of the shims at the bottom.
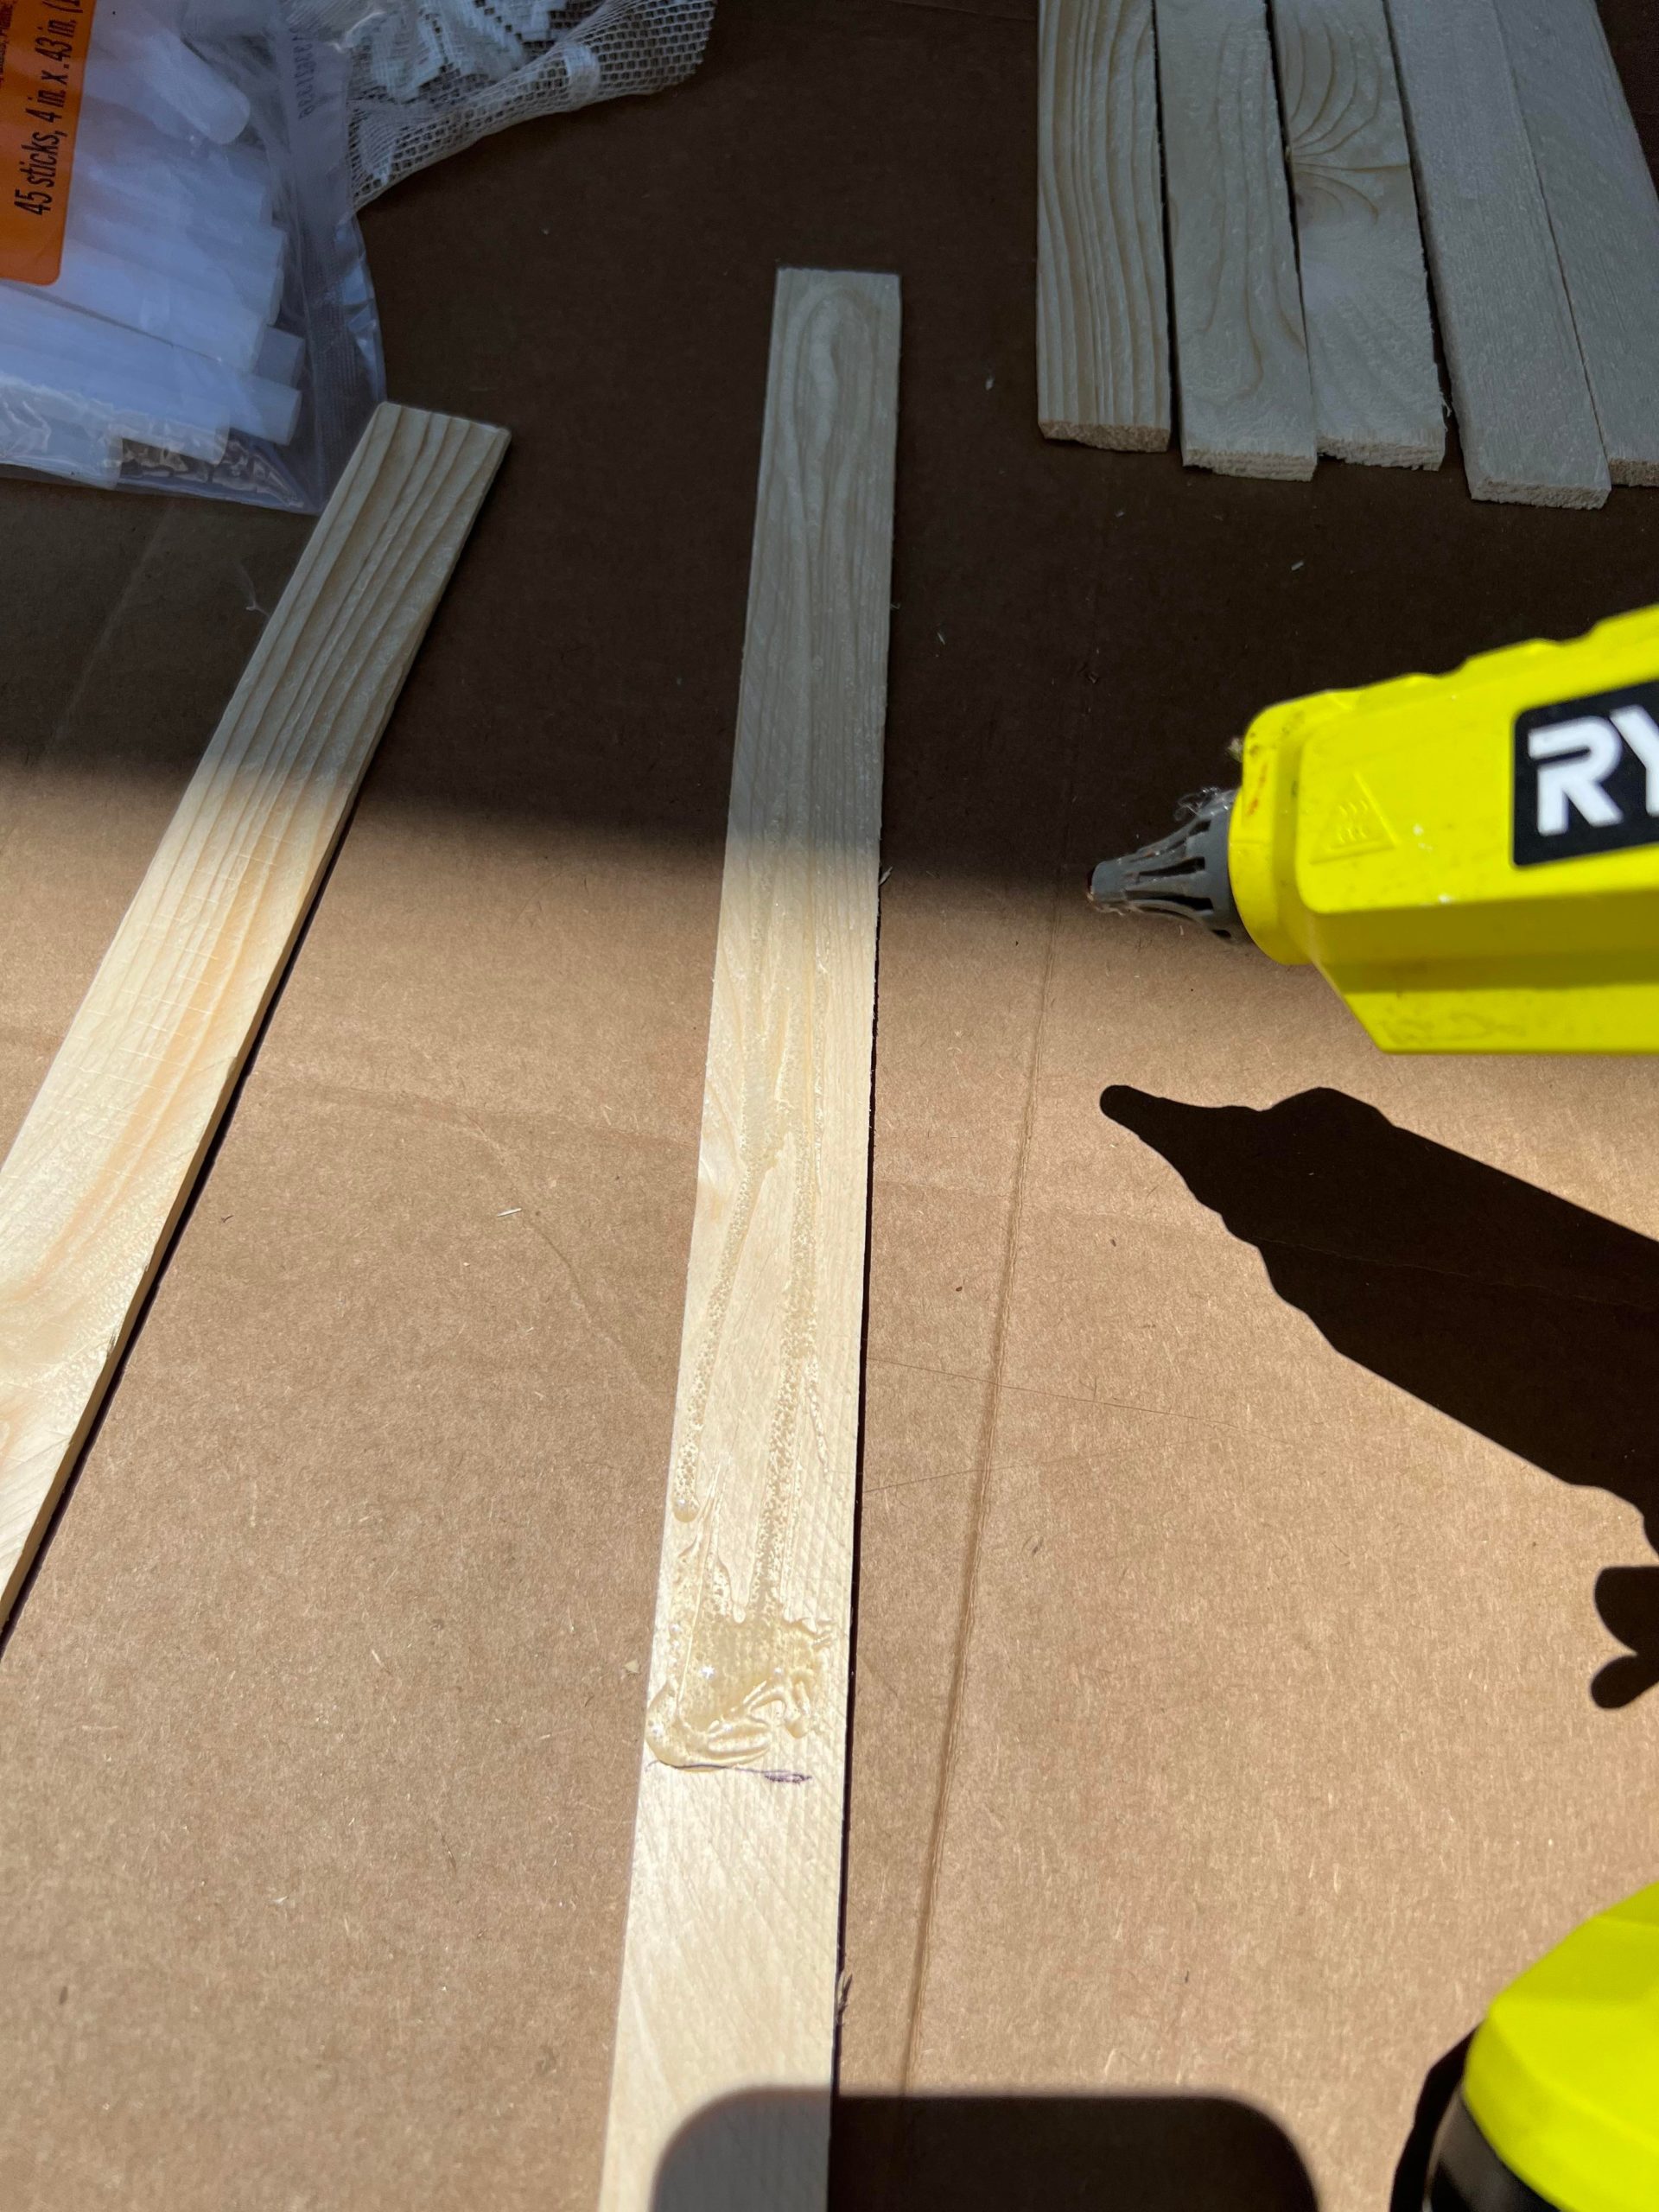
You will cover the section that is above your mark with hot glue and then place the next shim on top of the hot glue.
You will do the same process with all 8 shims.
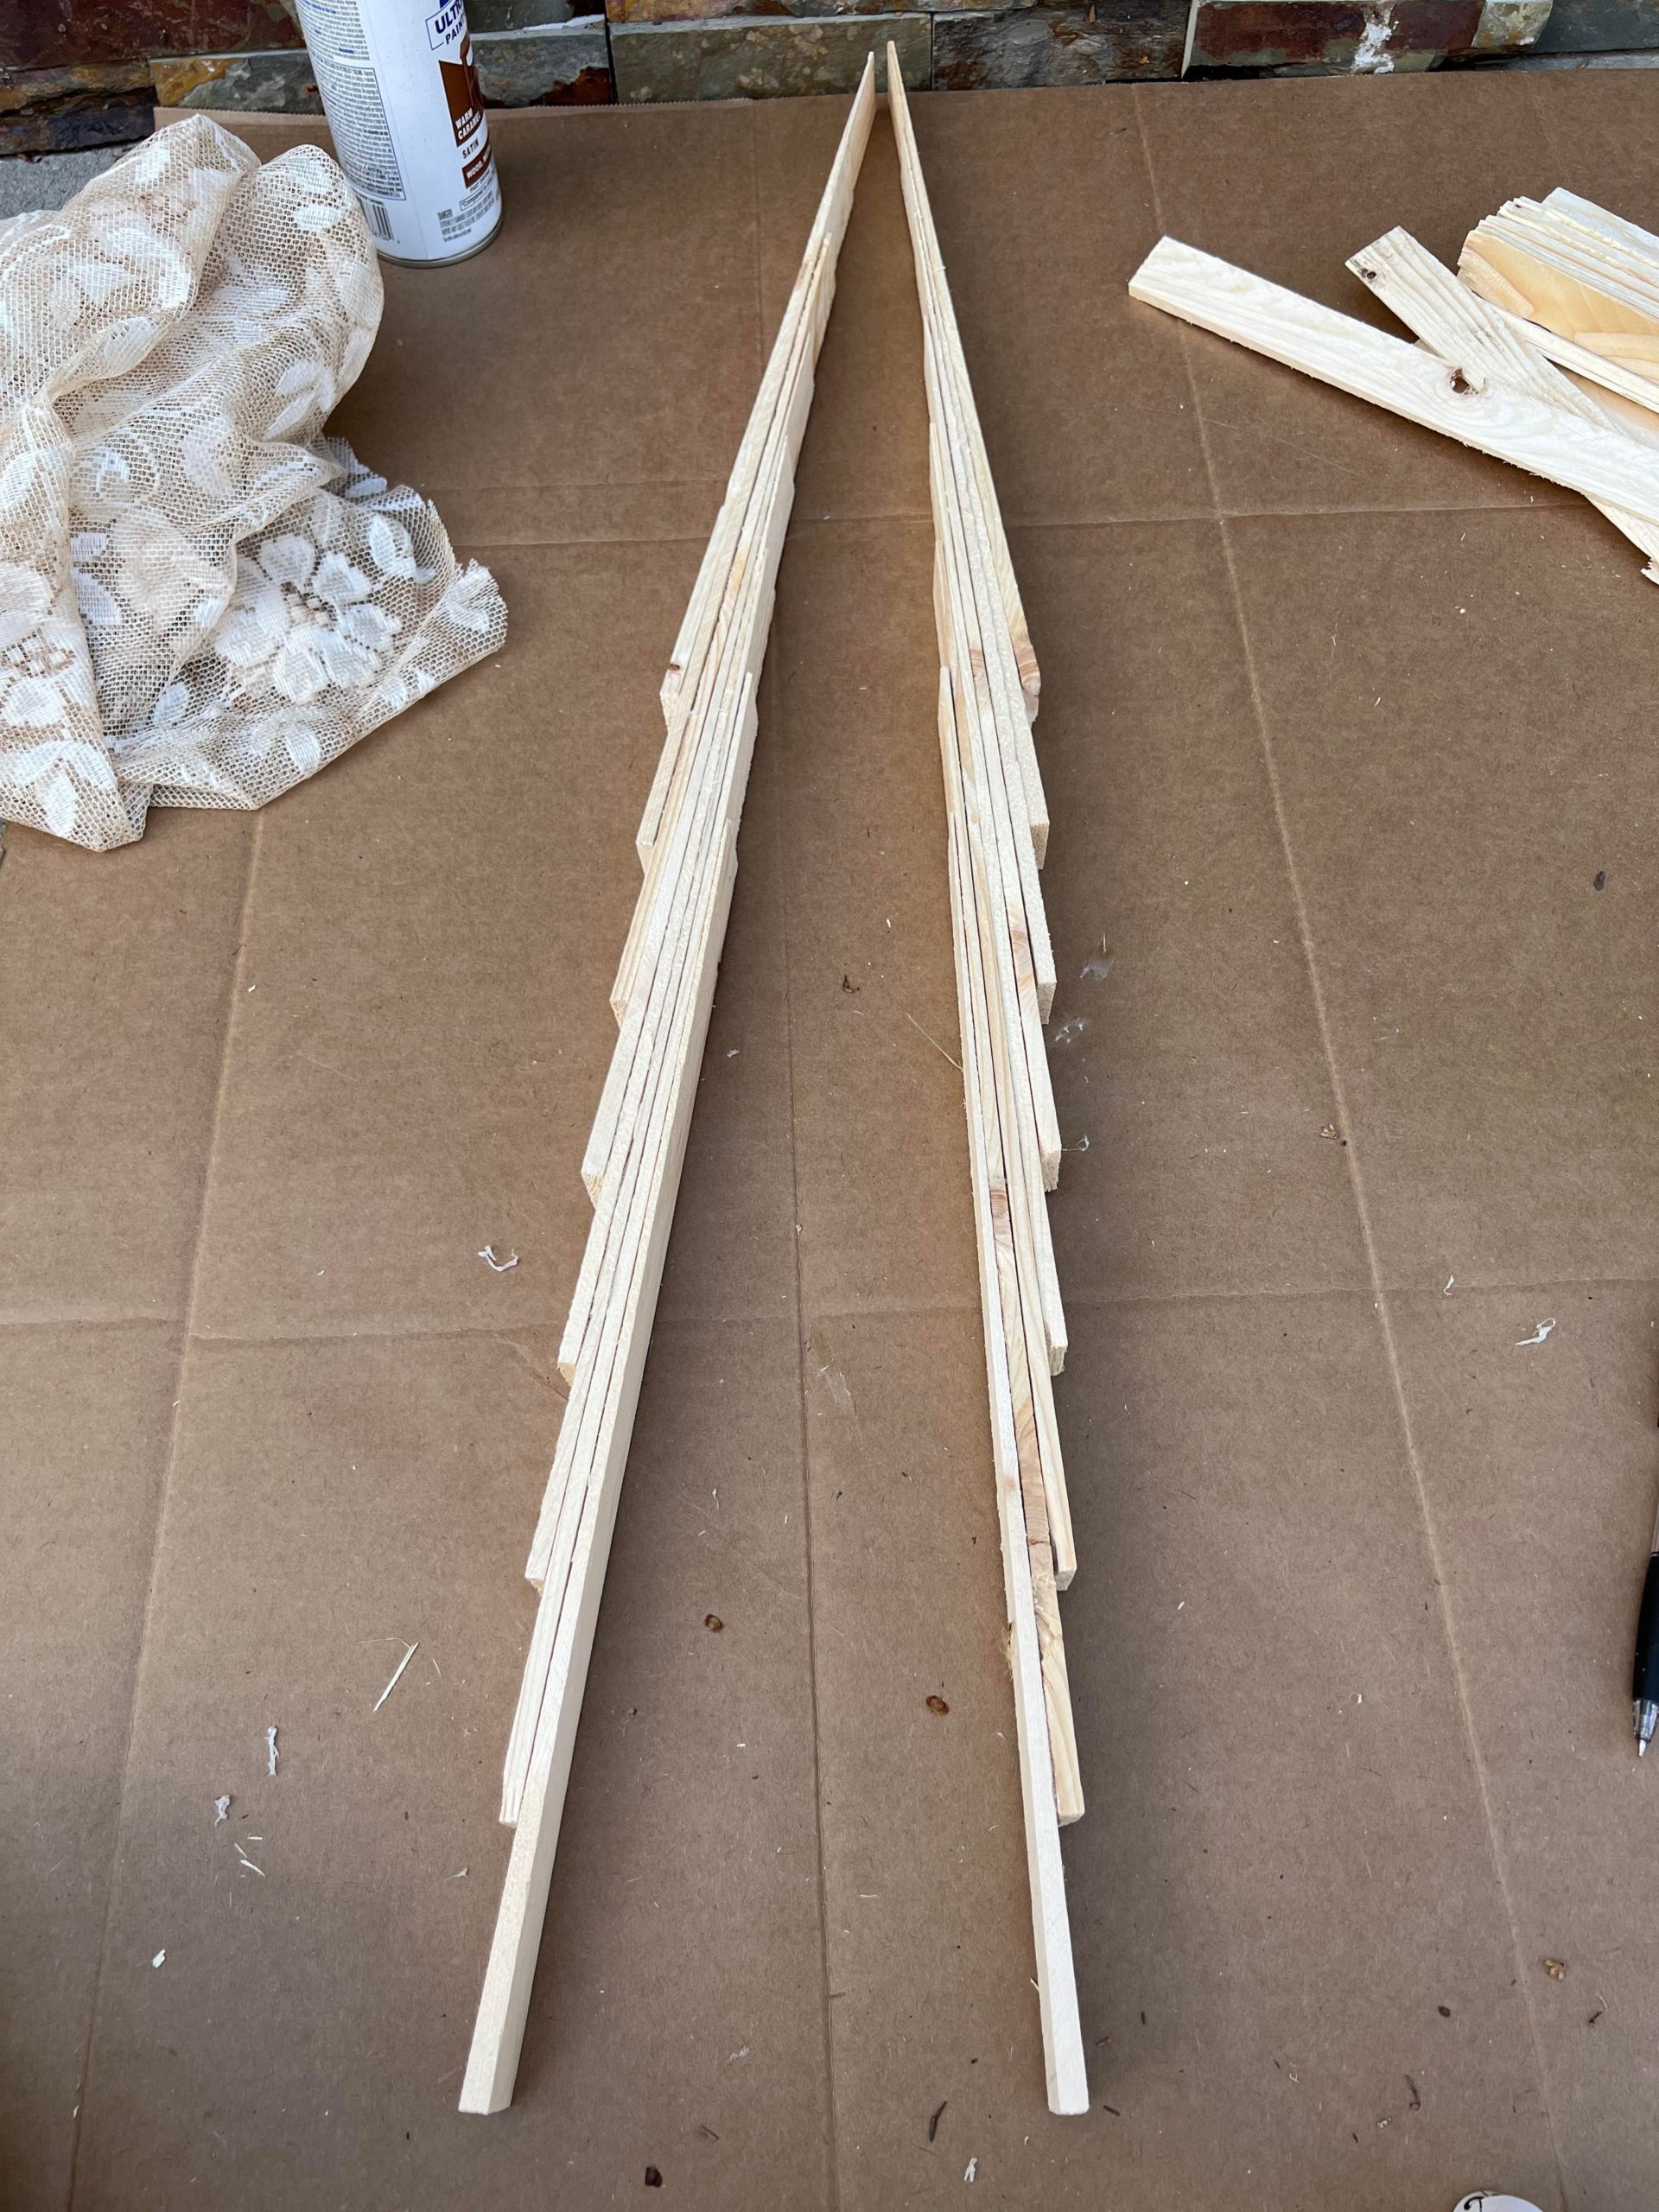
Once you have the 8 wooden shims glued together you will then do the same thing with another set of 8 wooden shims.
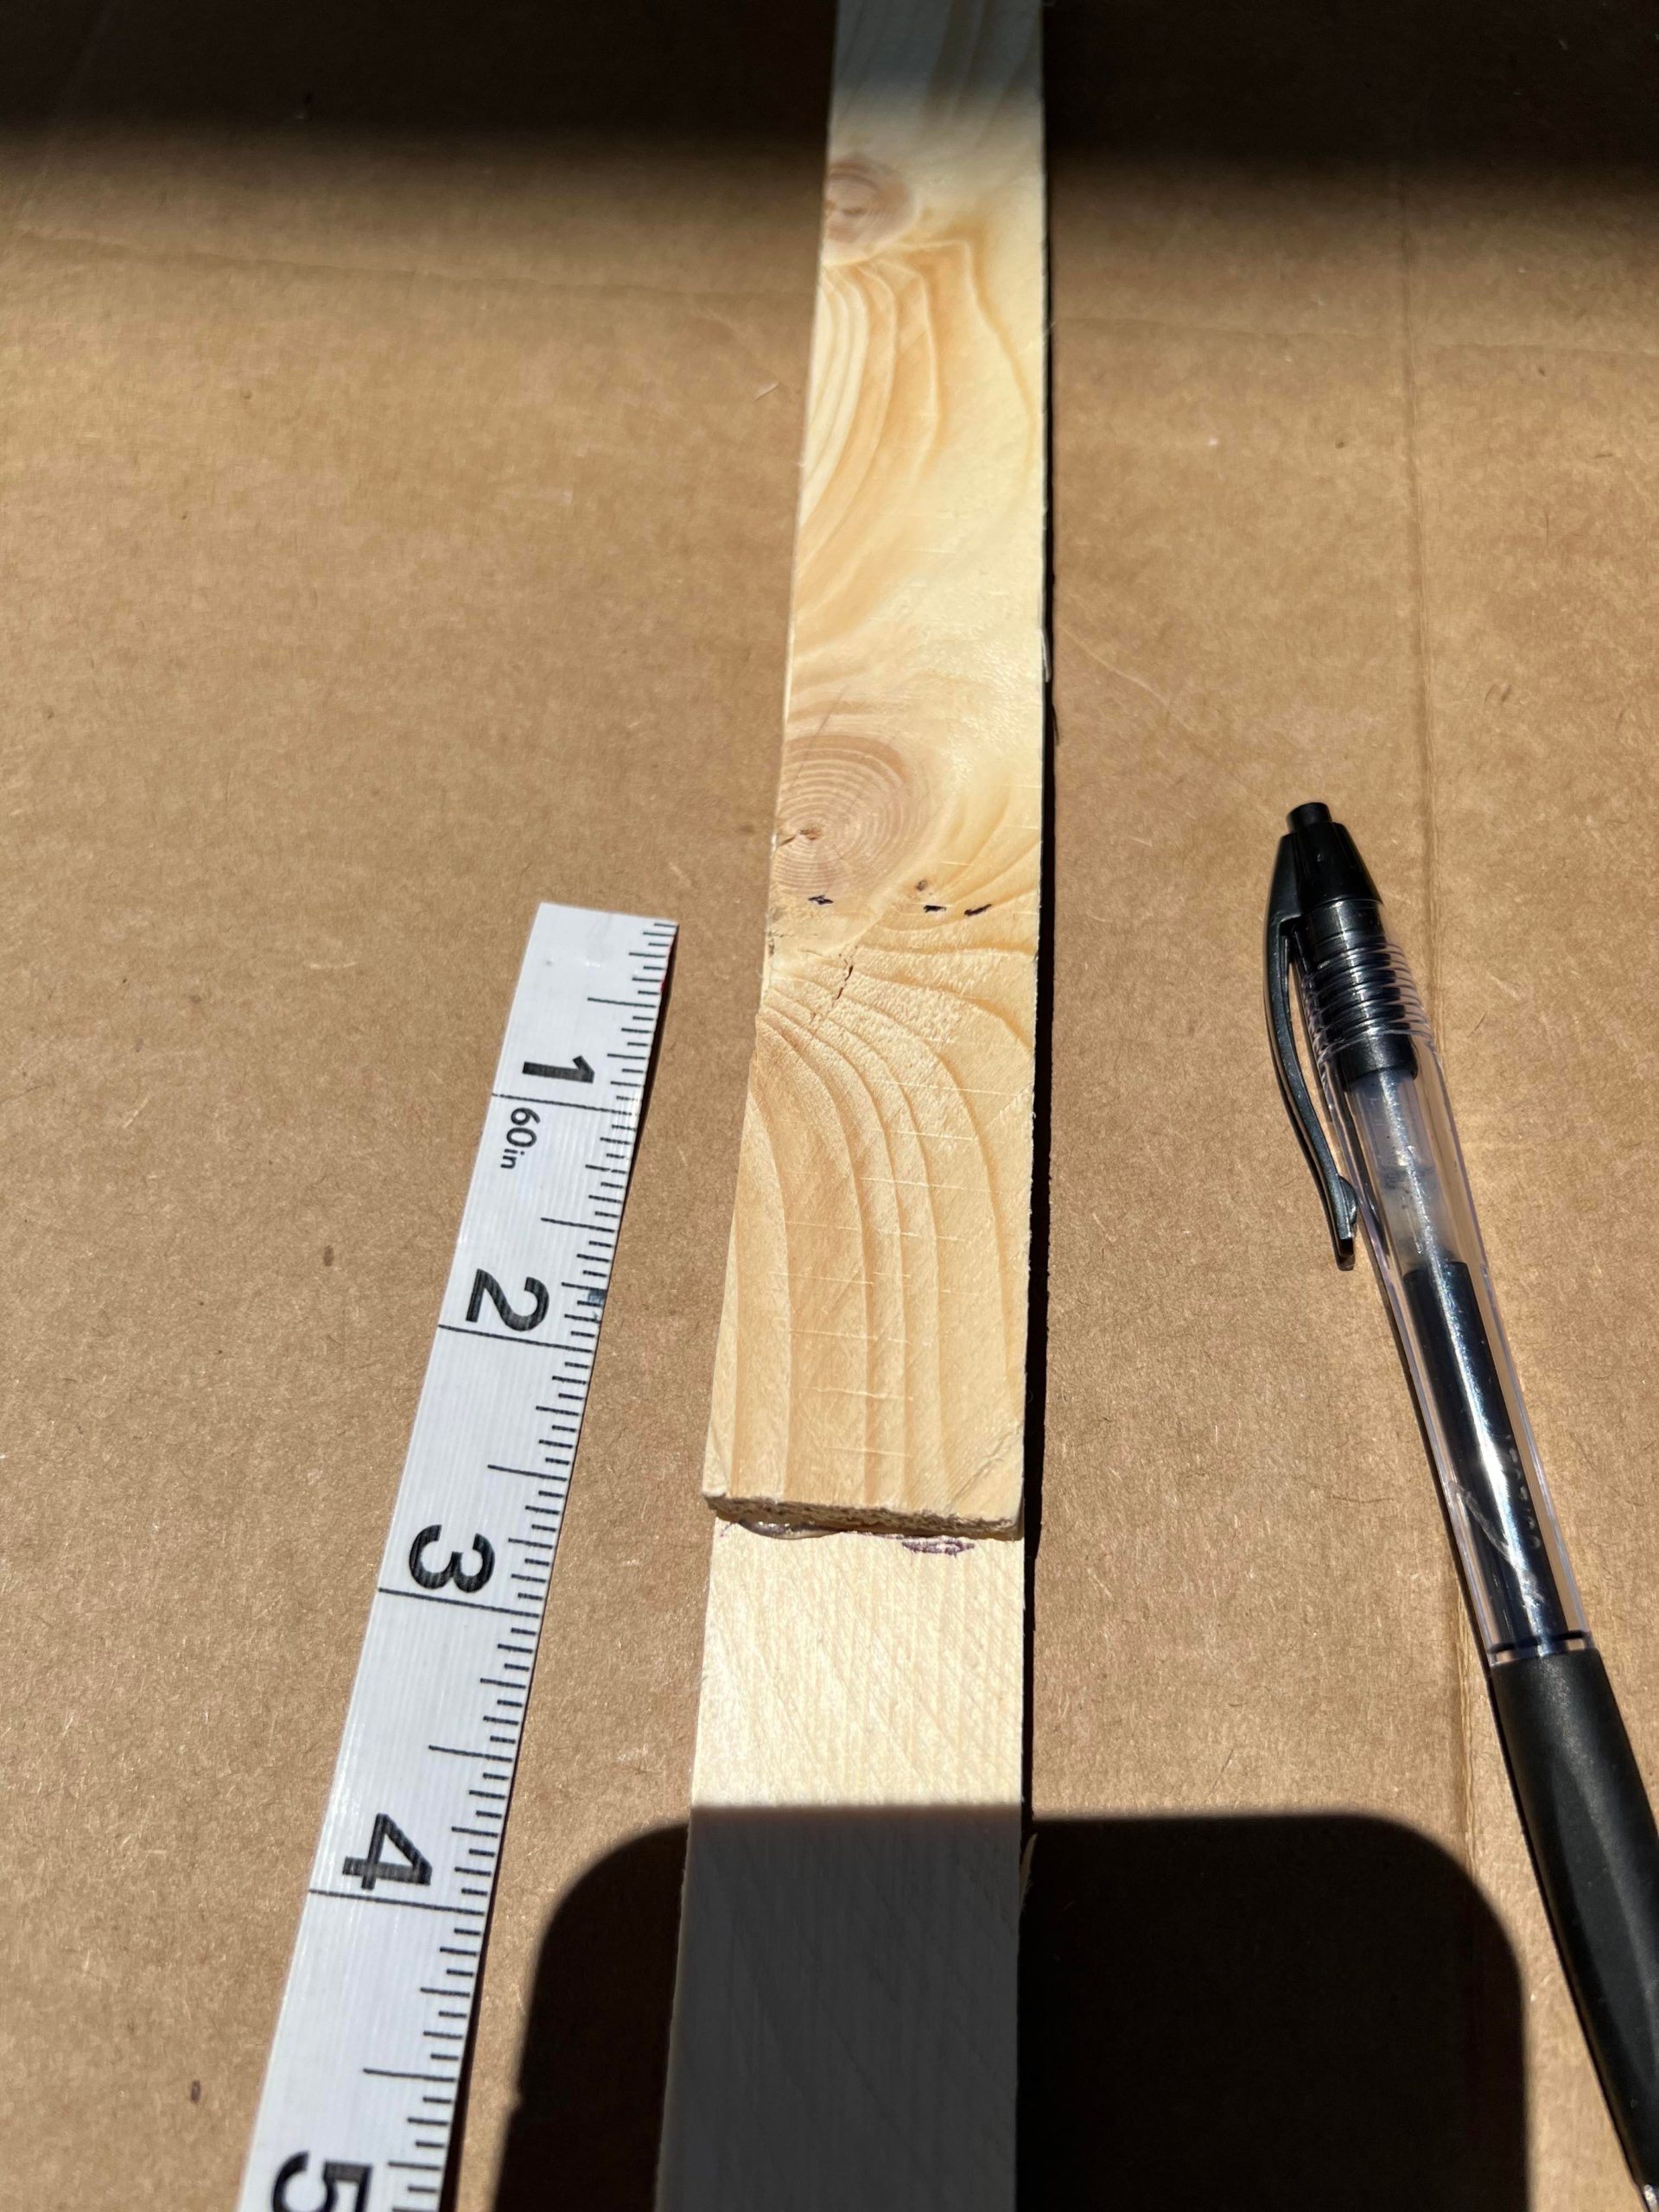
The next step is to cut 2 wooden shims each 6 inches long. You want to cut the thicker ends of the wooden shims.

Once you have them cut you will then glue the thickest end opposite of each other as shown in photo above.
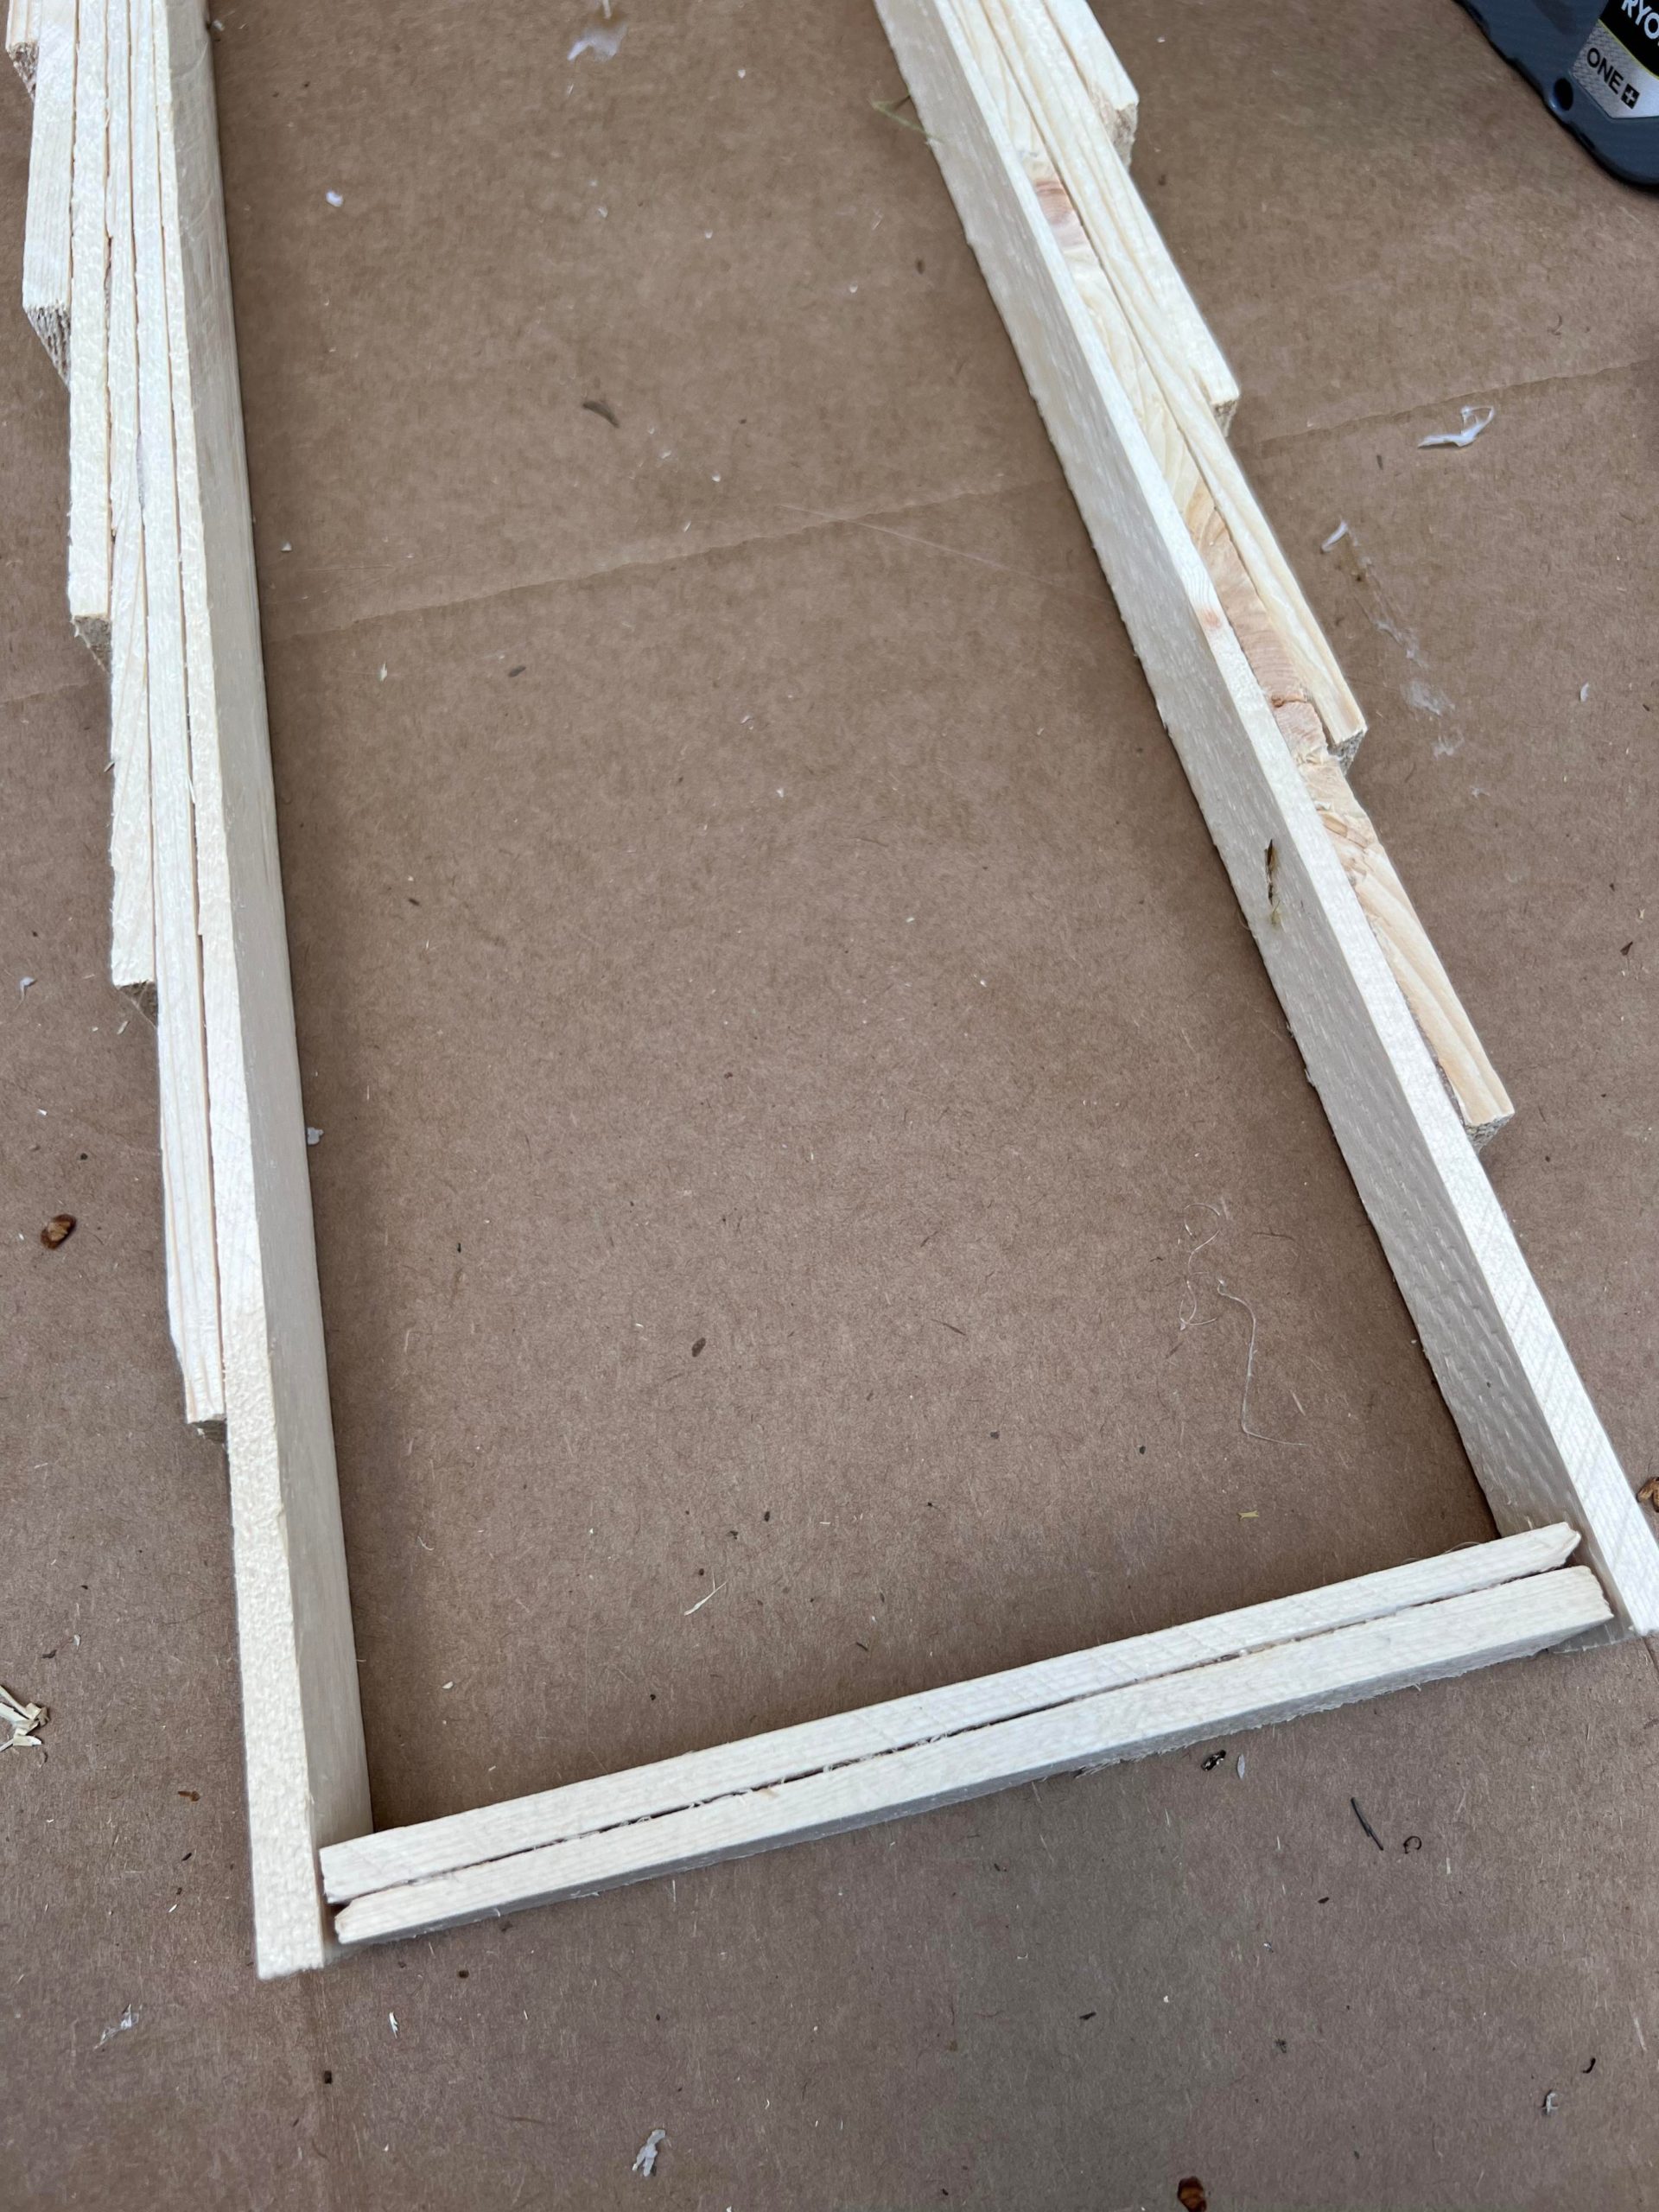
This will be the bottom of the tree. You will glue the longer pieces to the ends as shown in photo above.

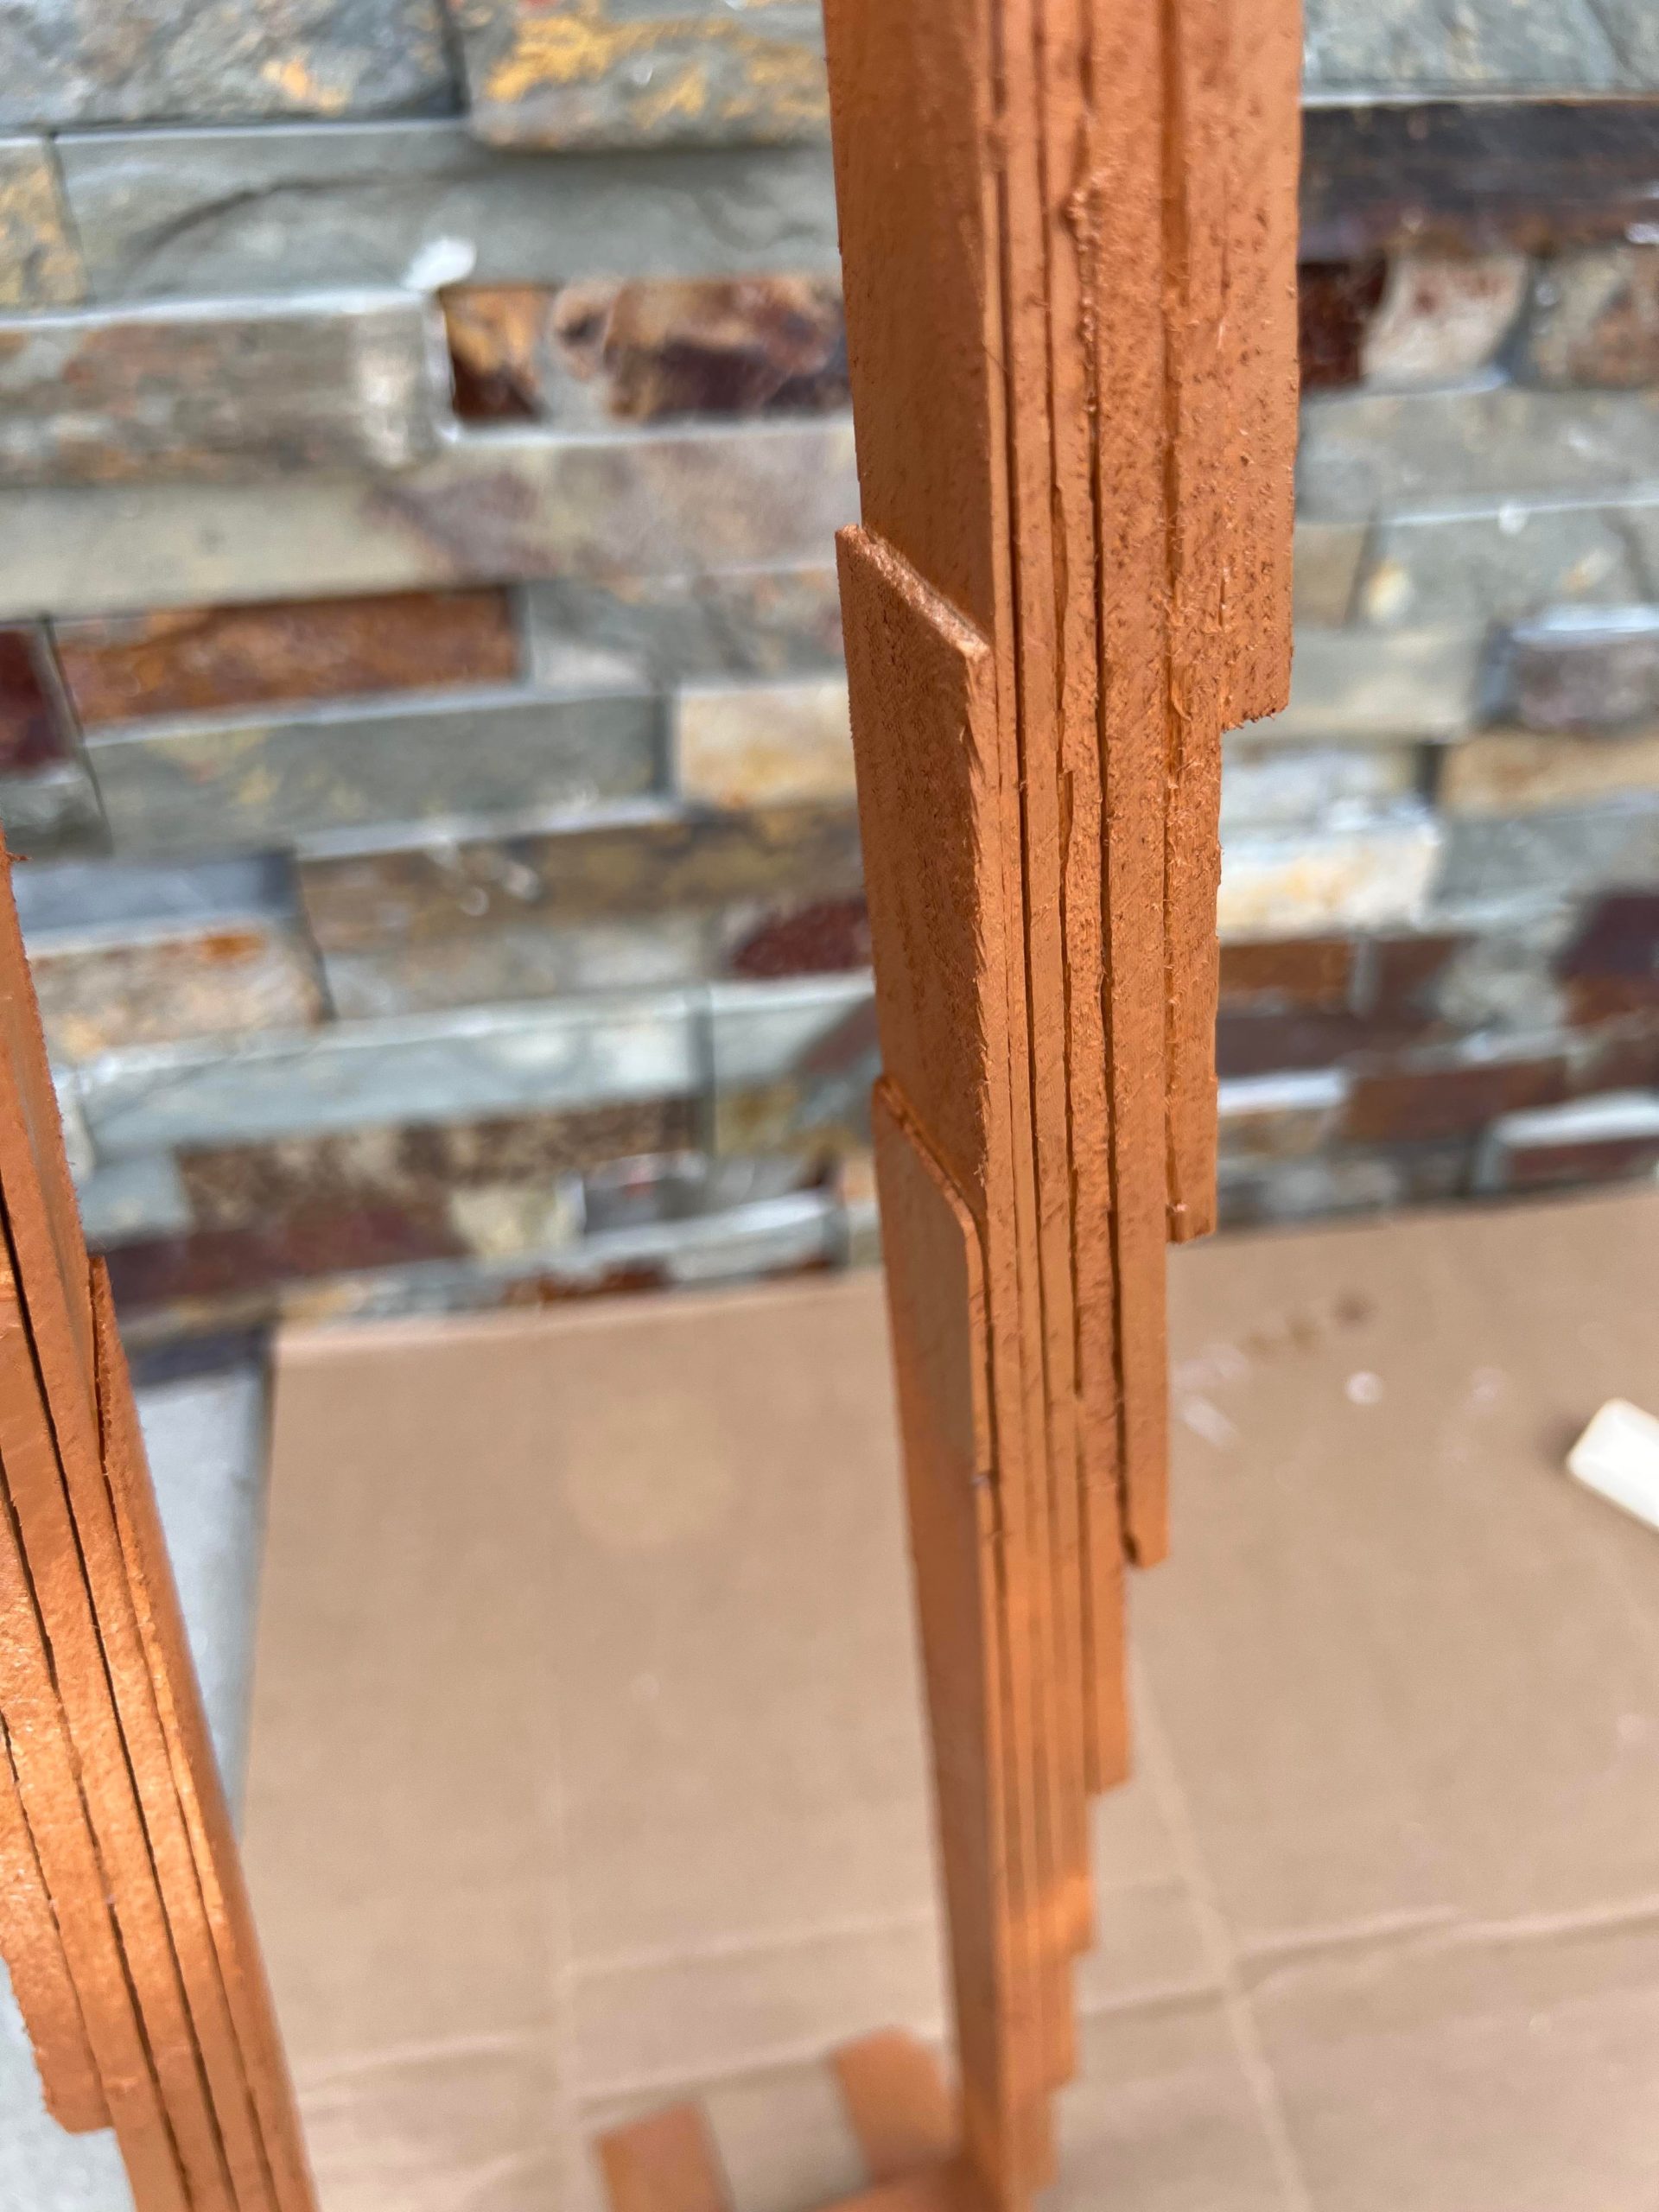
The next step is to glue the top two pieces together.
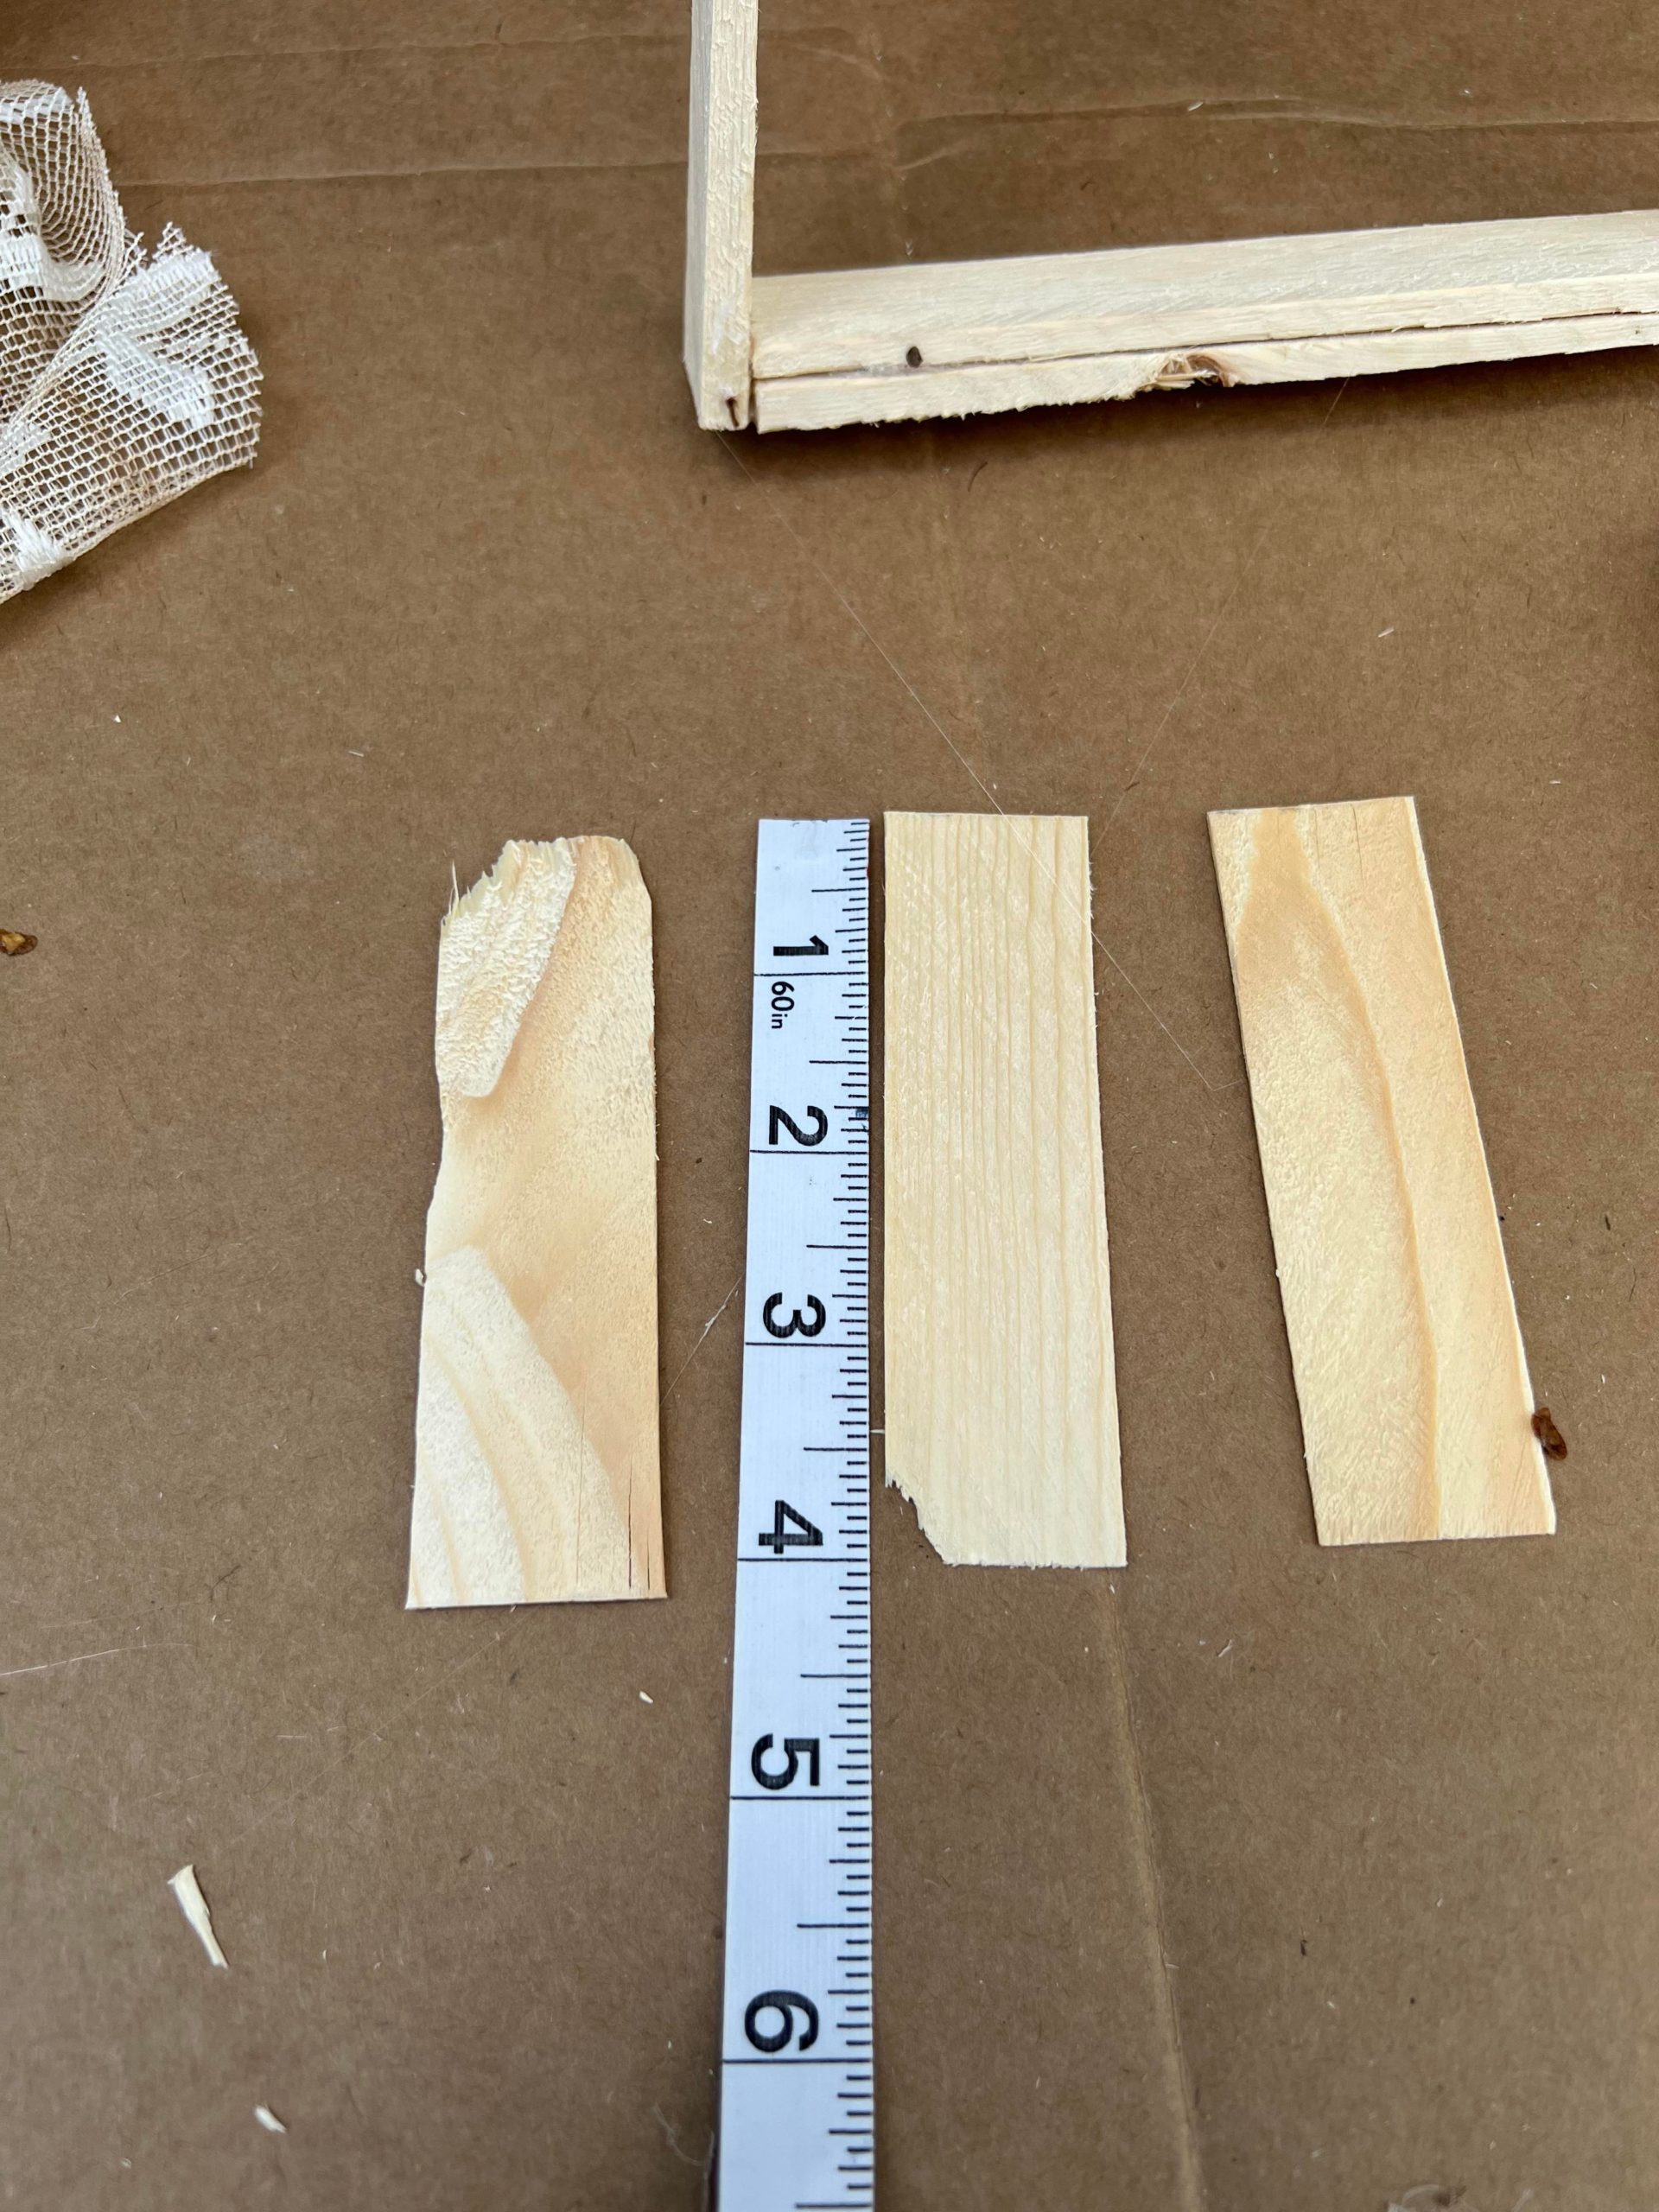
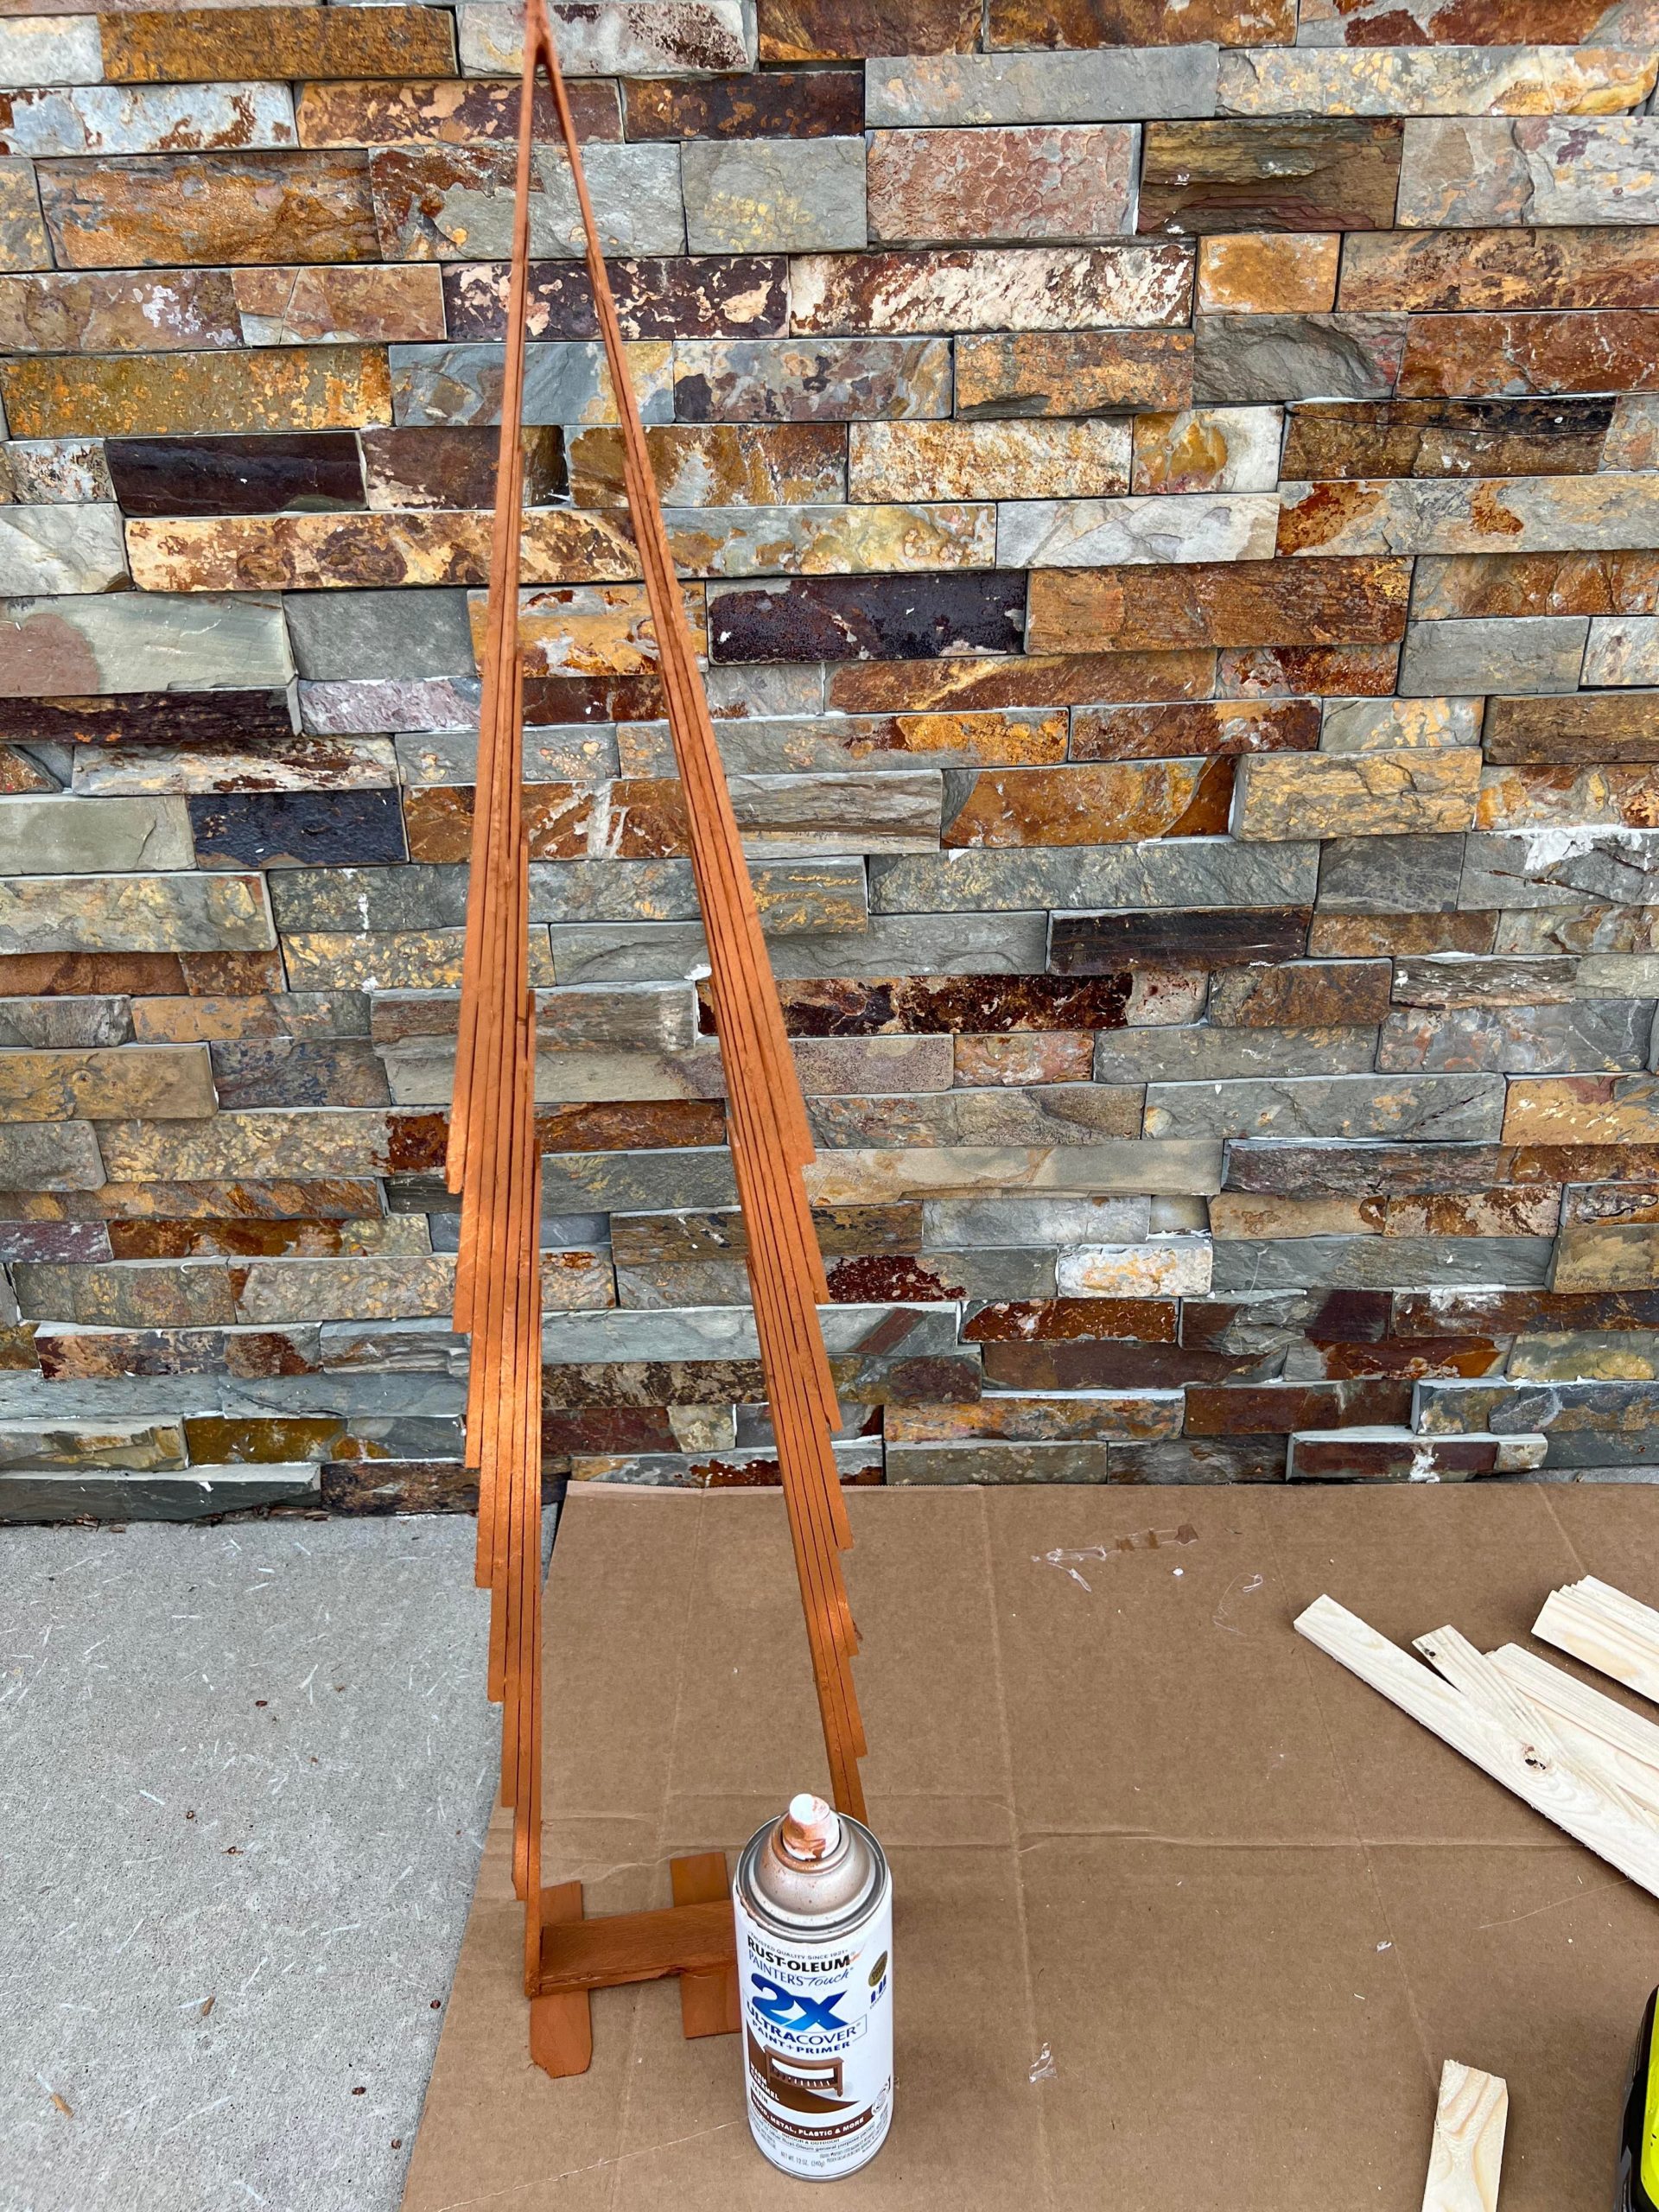
You can glue a few of the scrap pieces of shims to the bottom of the tree. I cut 3 pieces each 4 inches long and glued them to the bottom. This will help your tree to stand up.
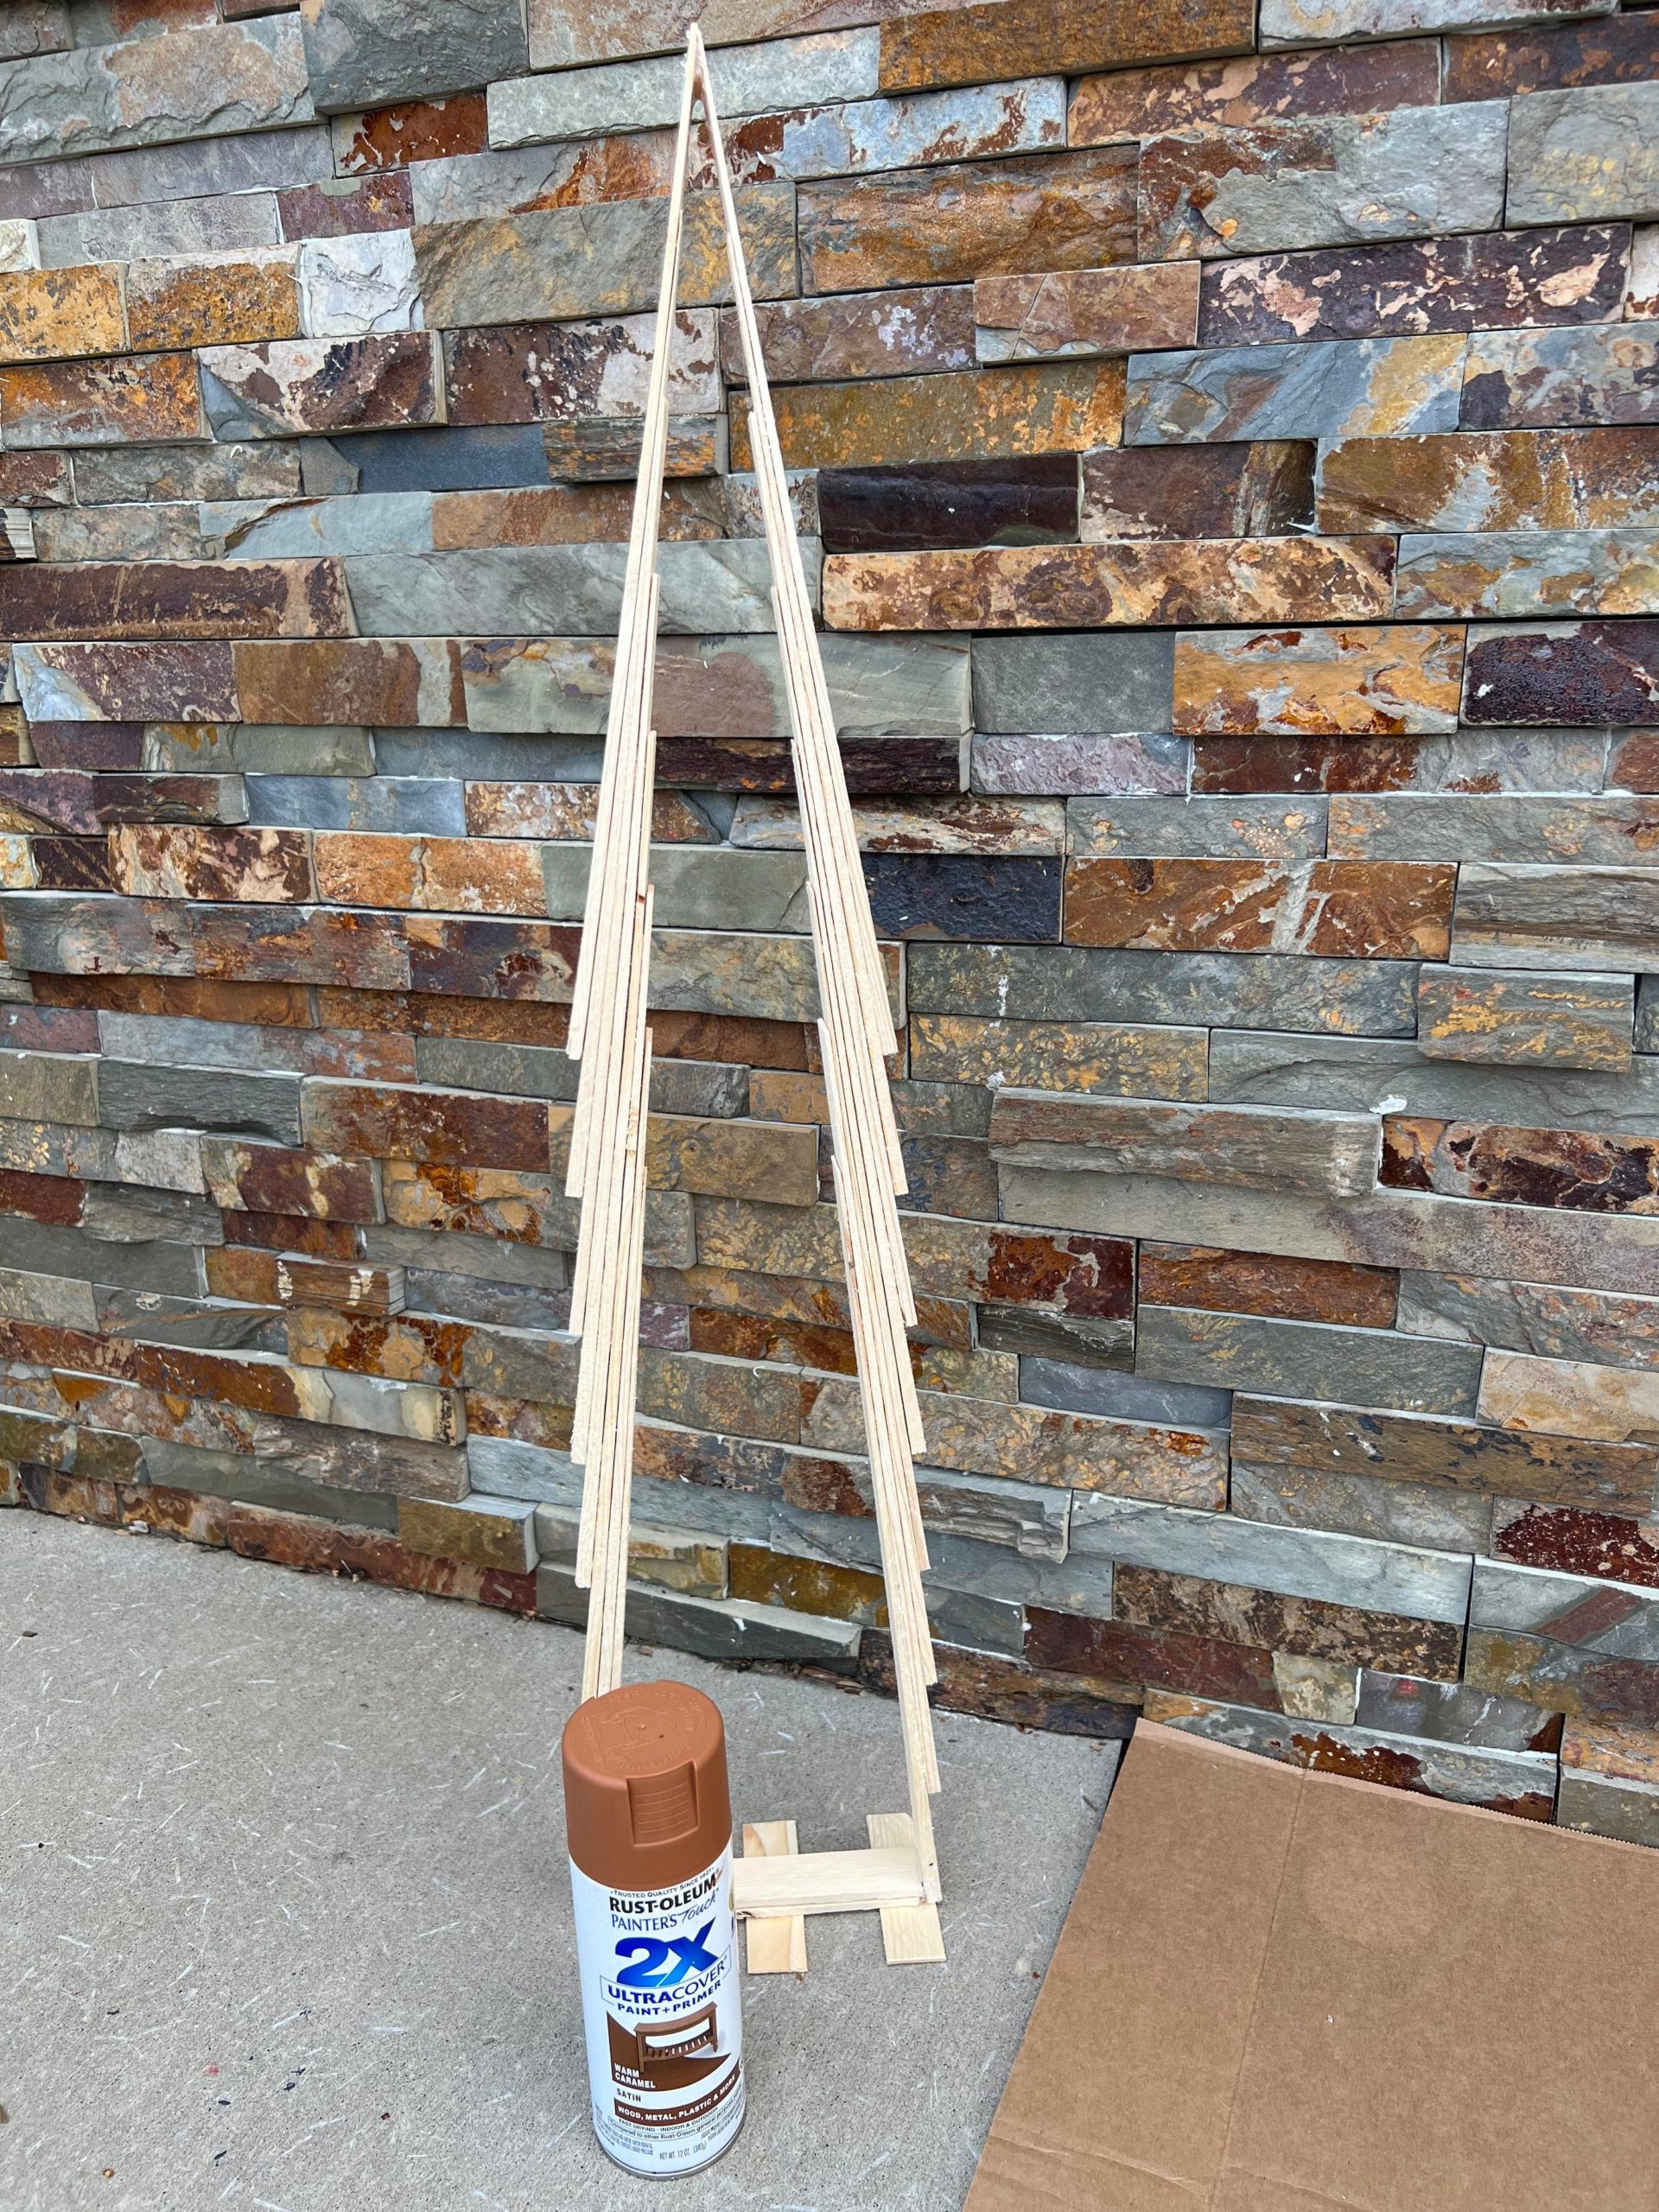
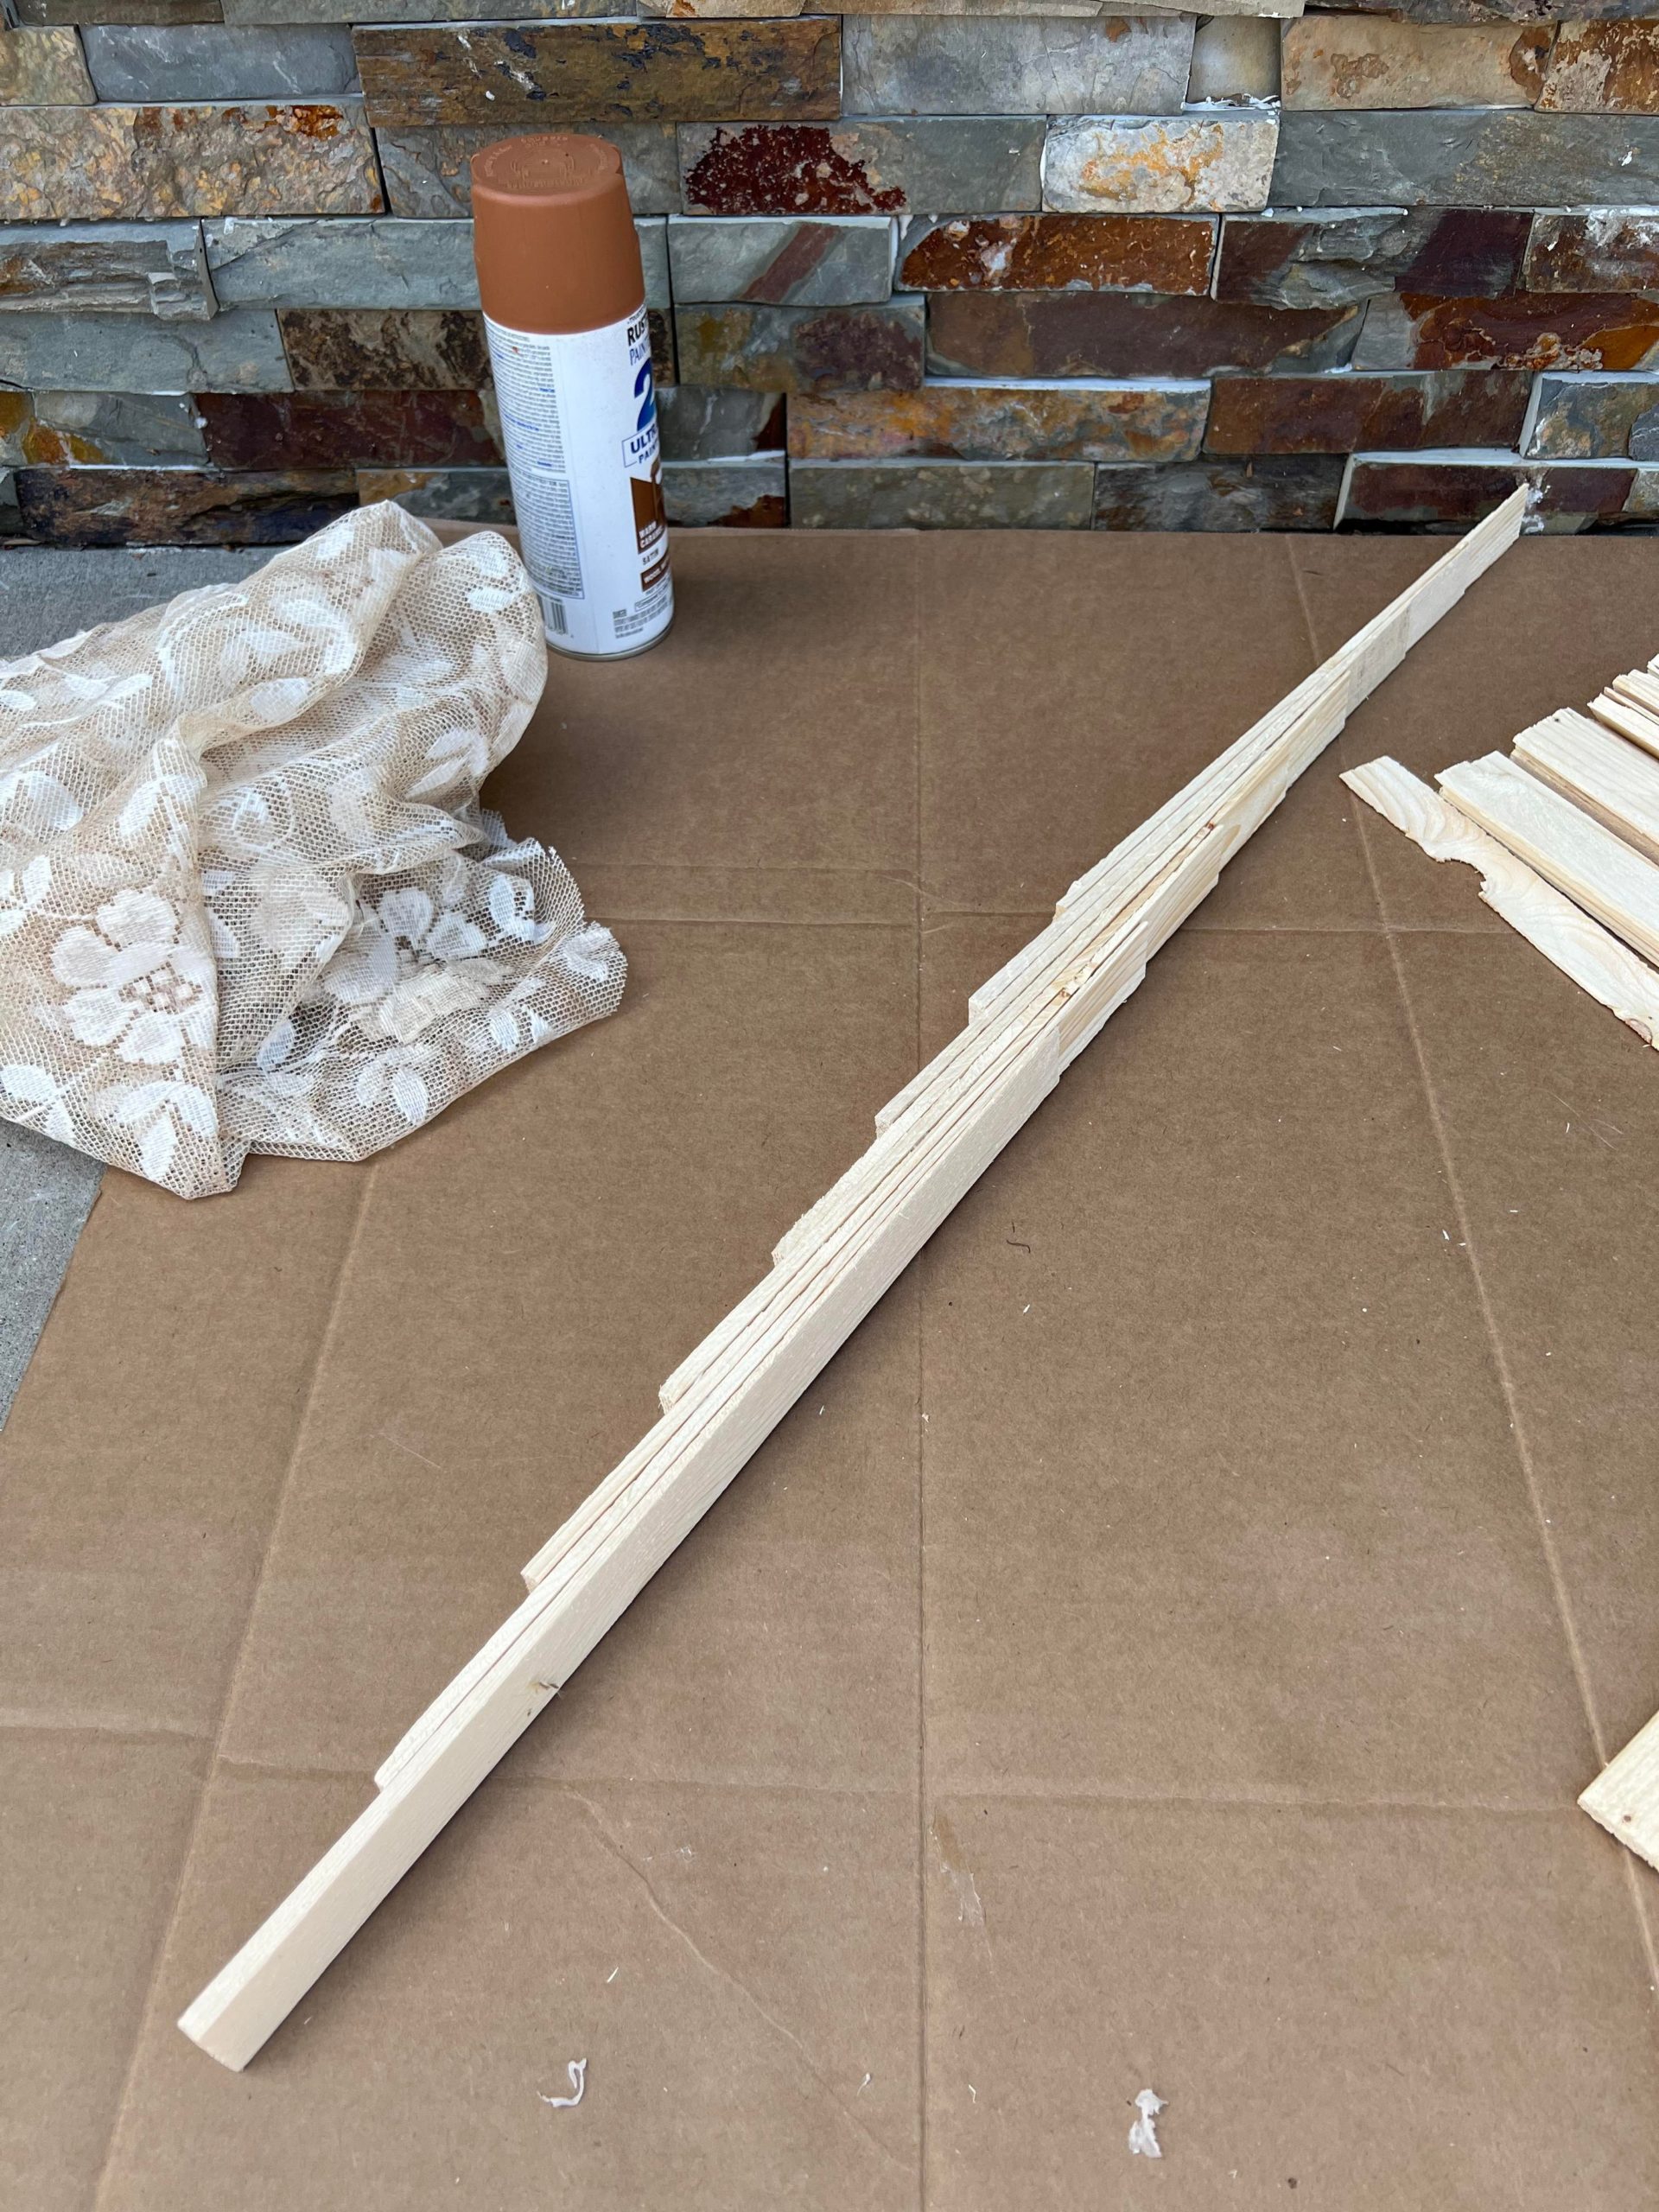
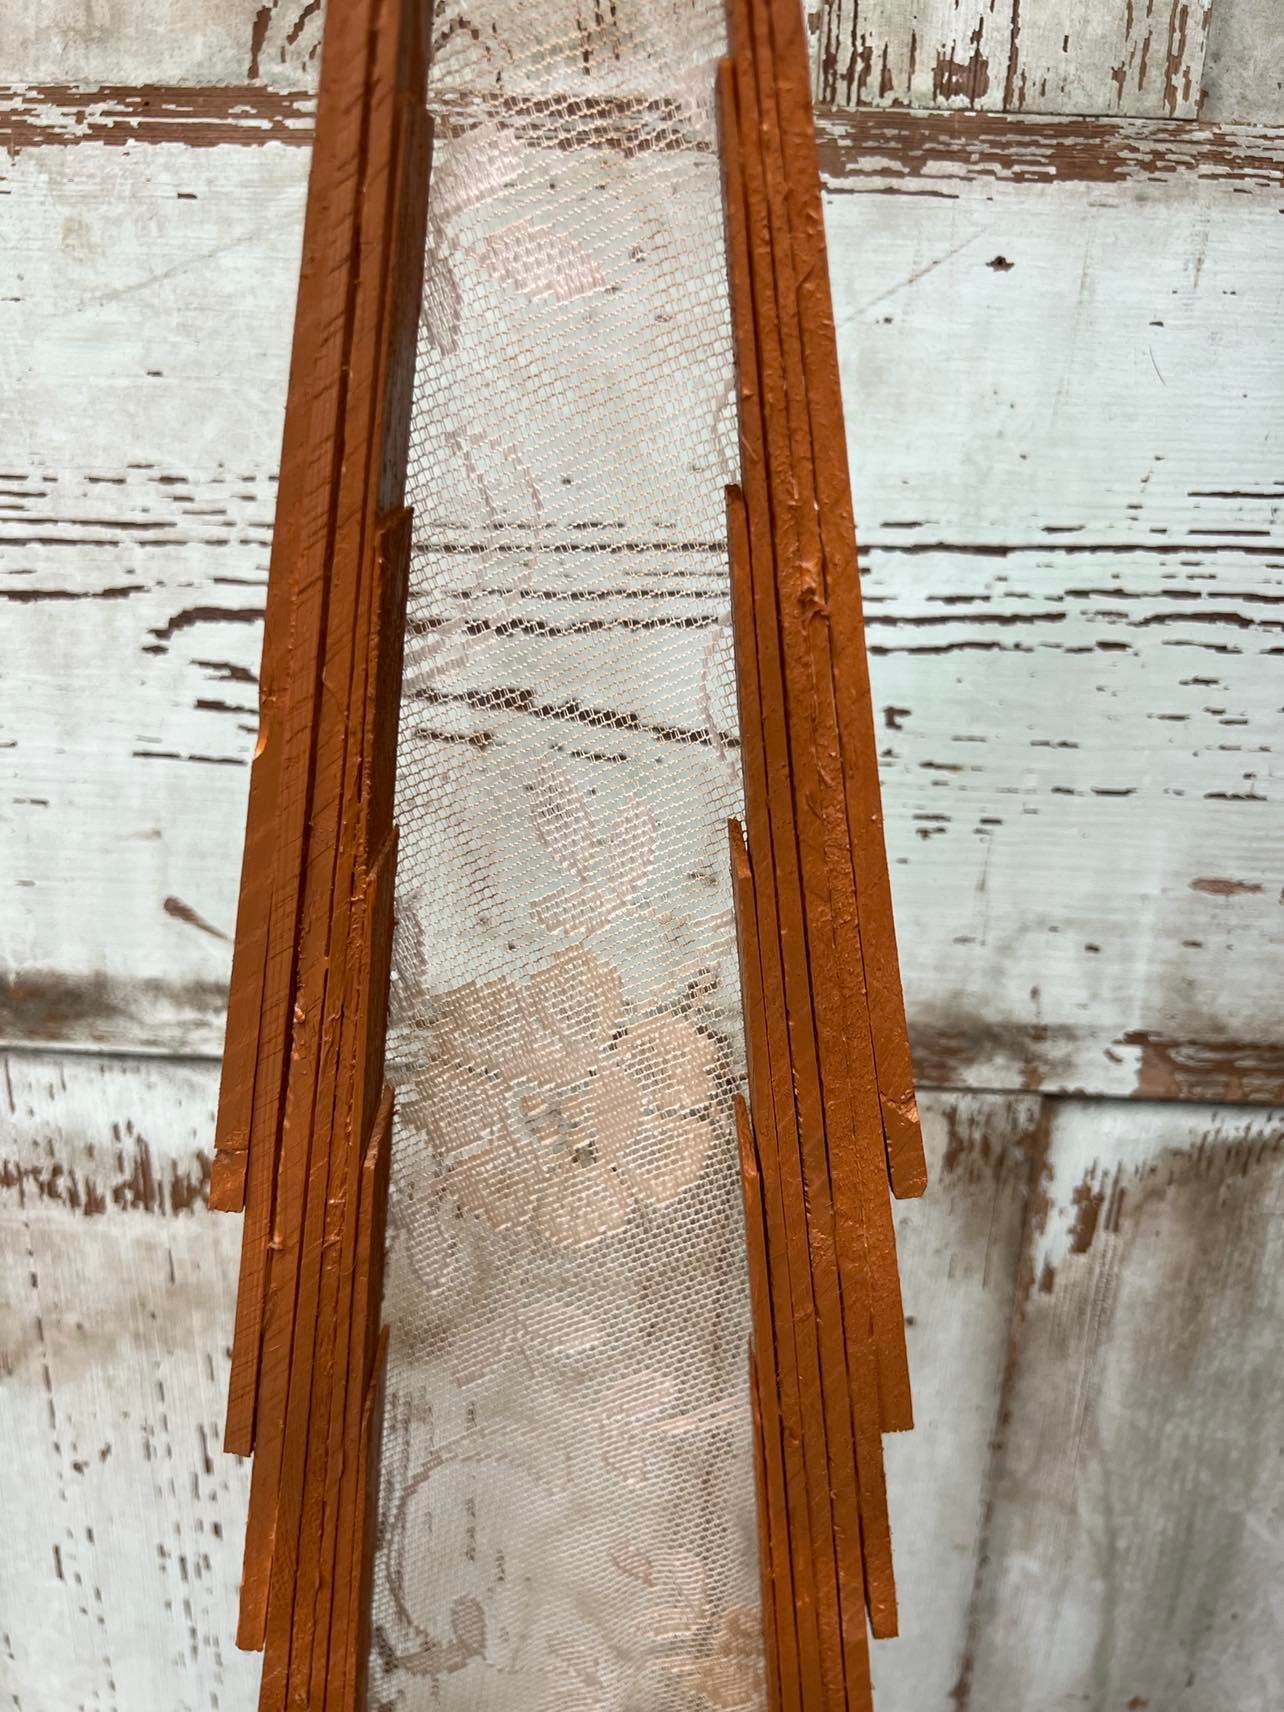
The next step is to spray paint the tree.
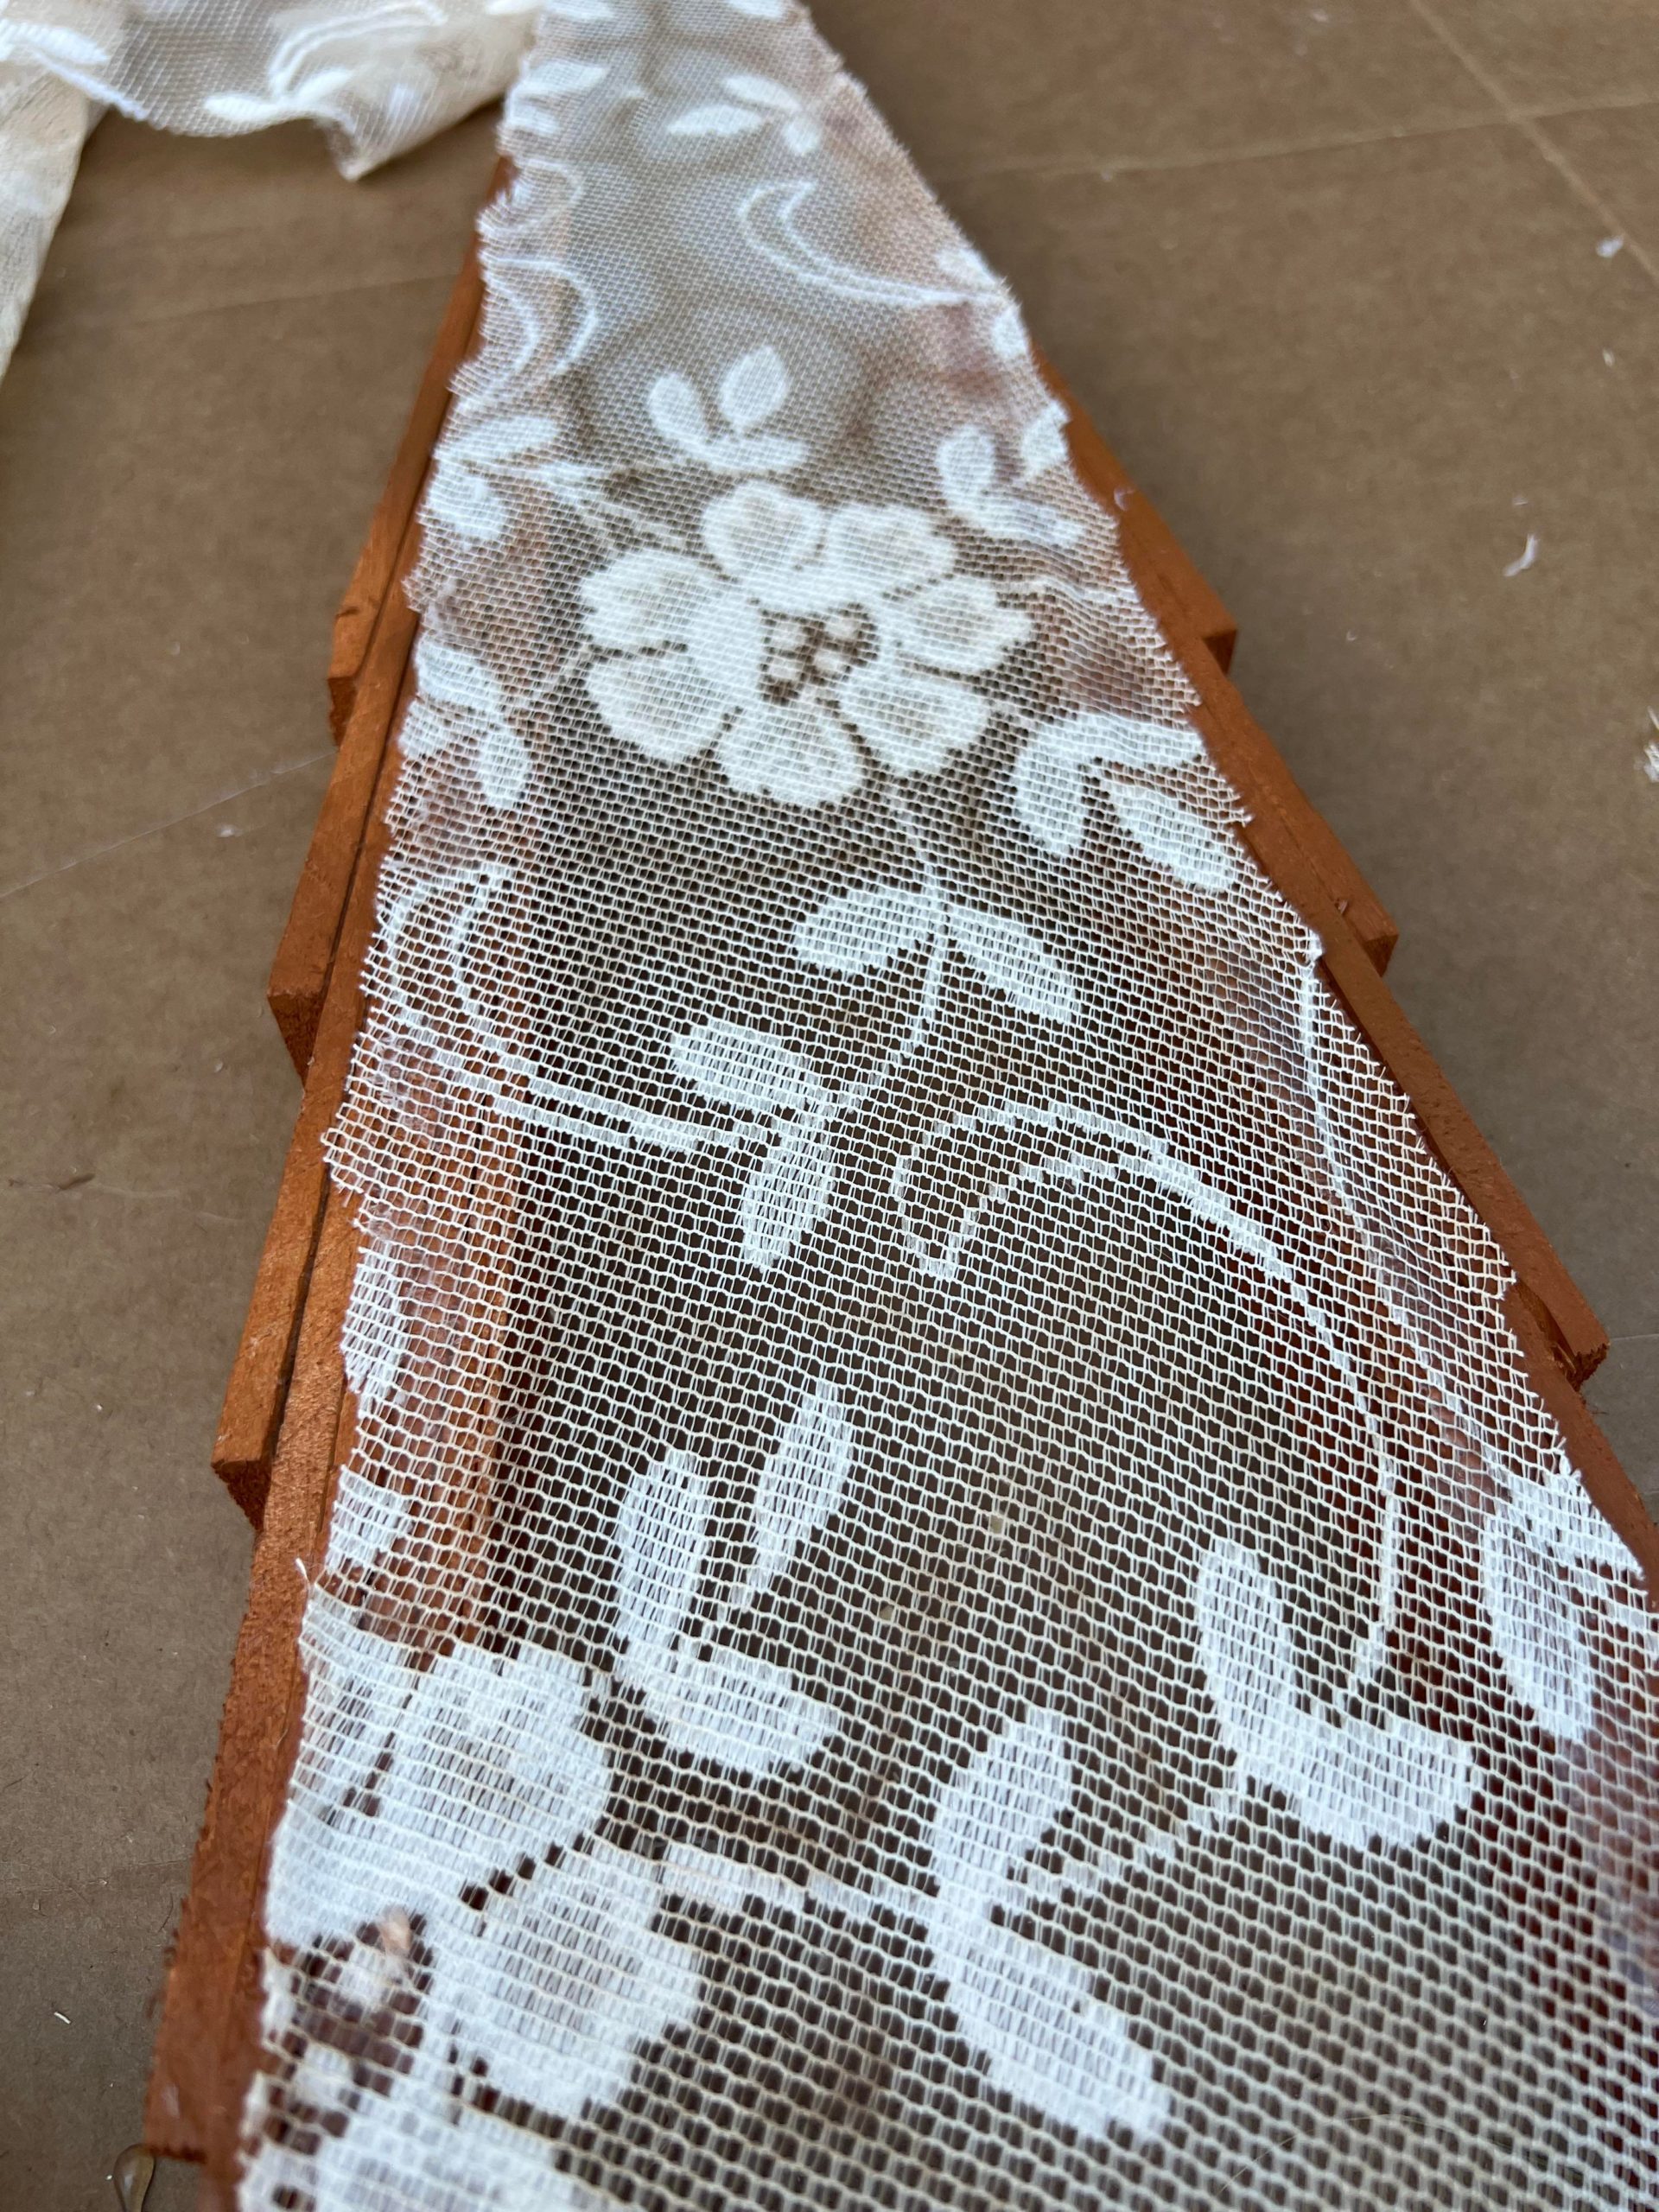
Once the spray paint was dry I then glued the lace on.
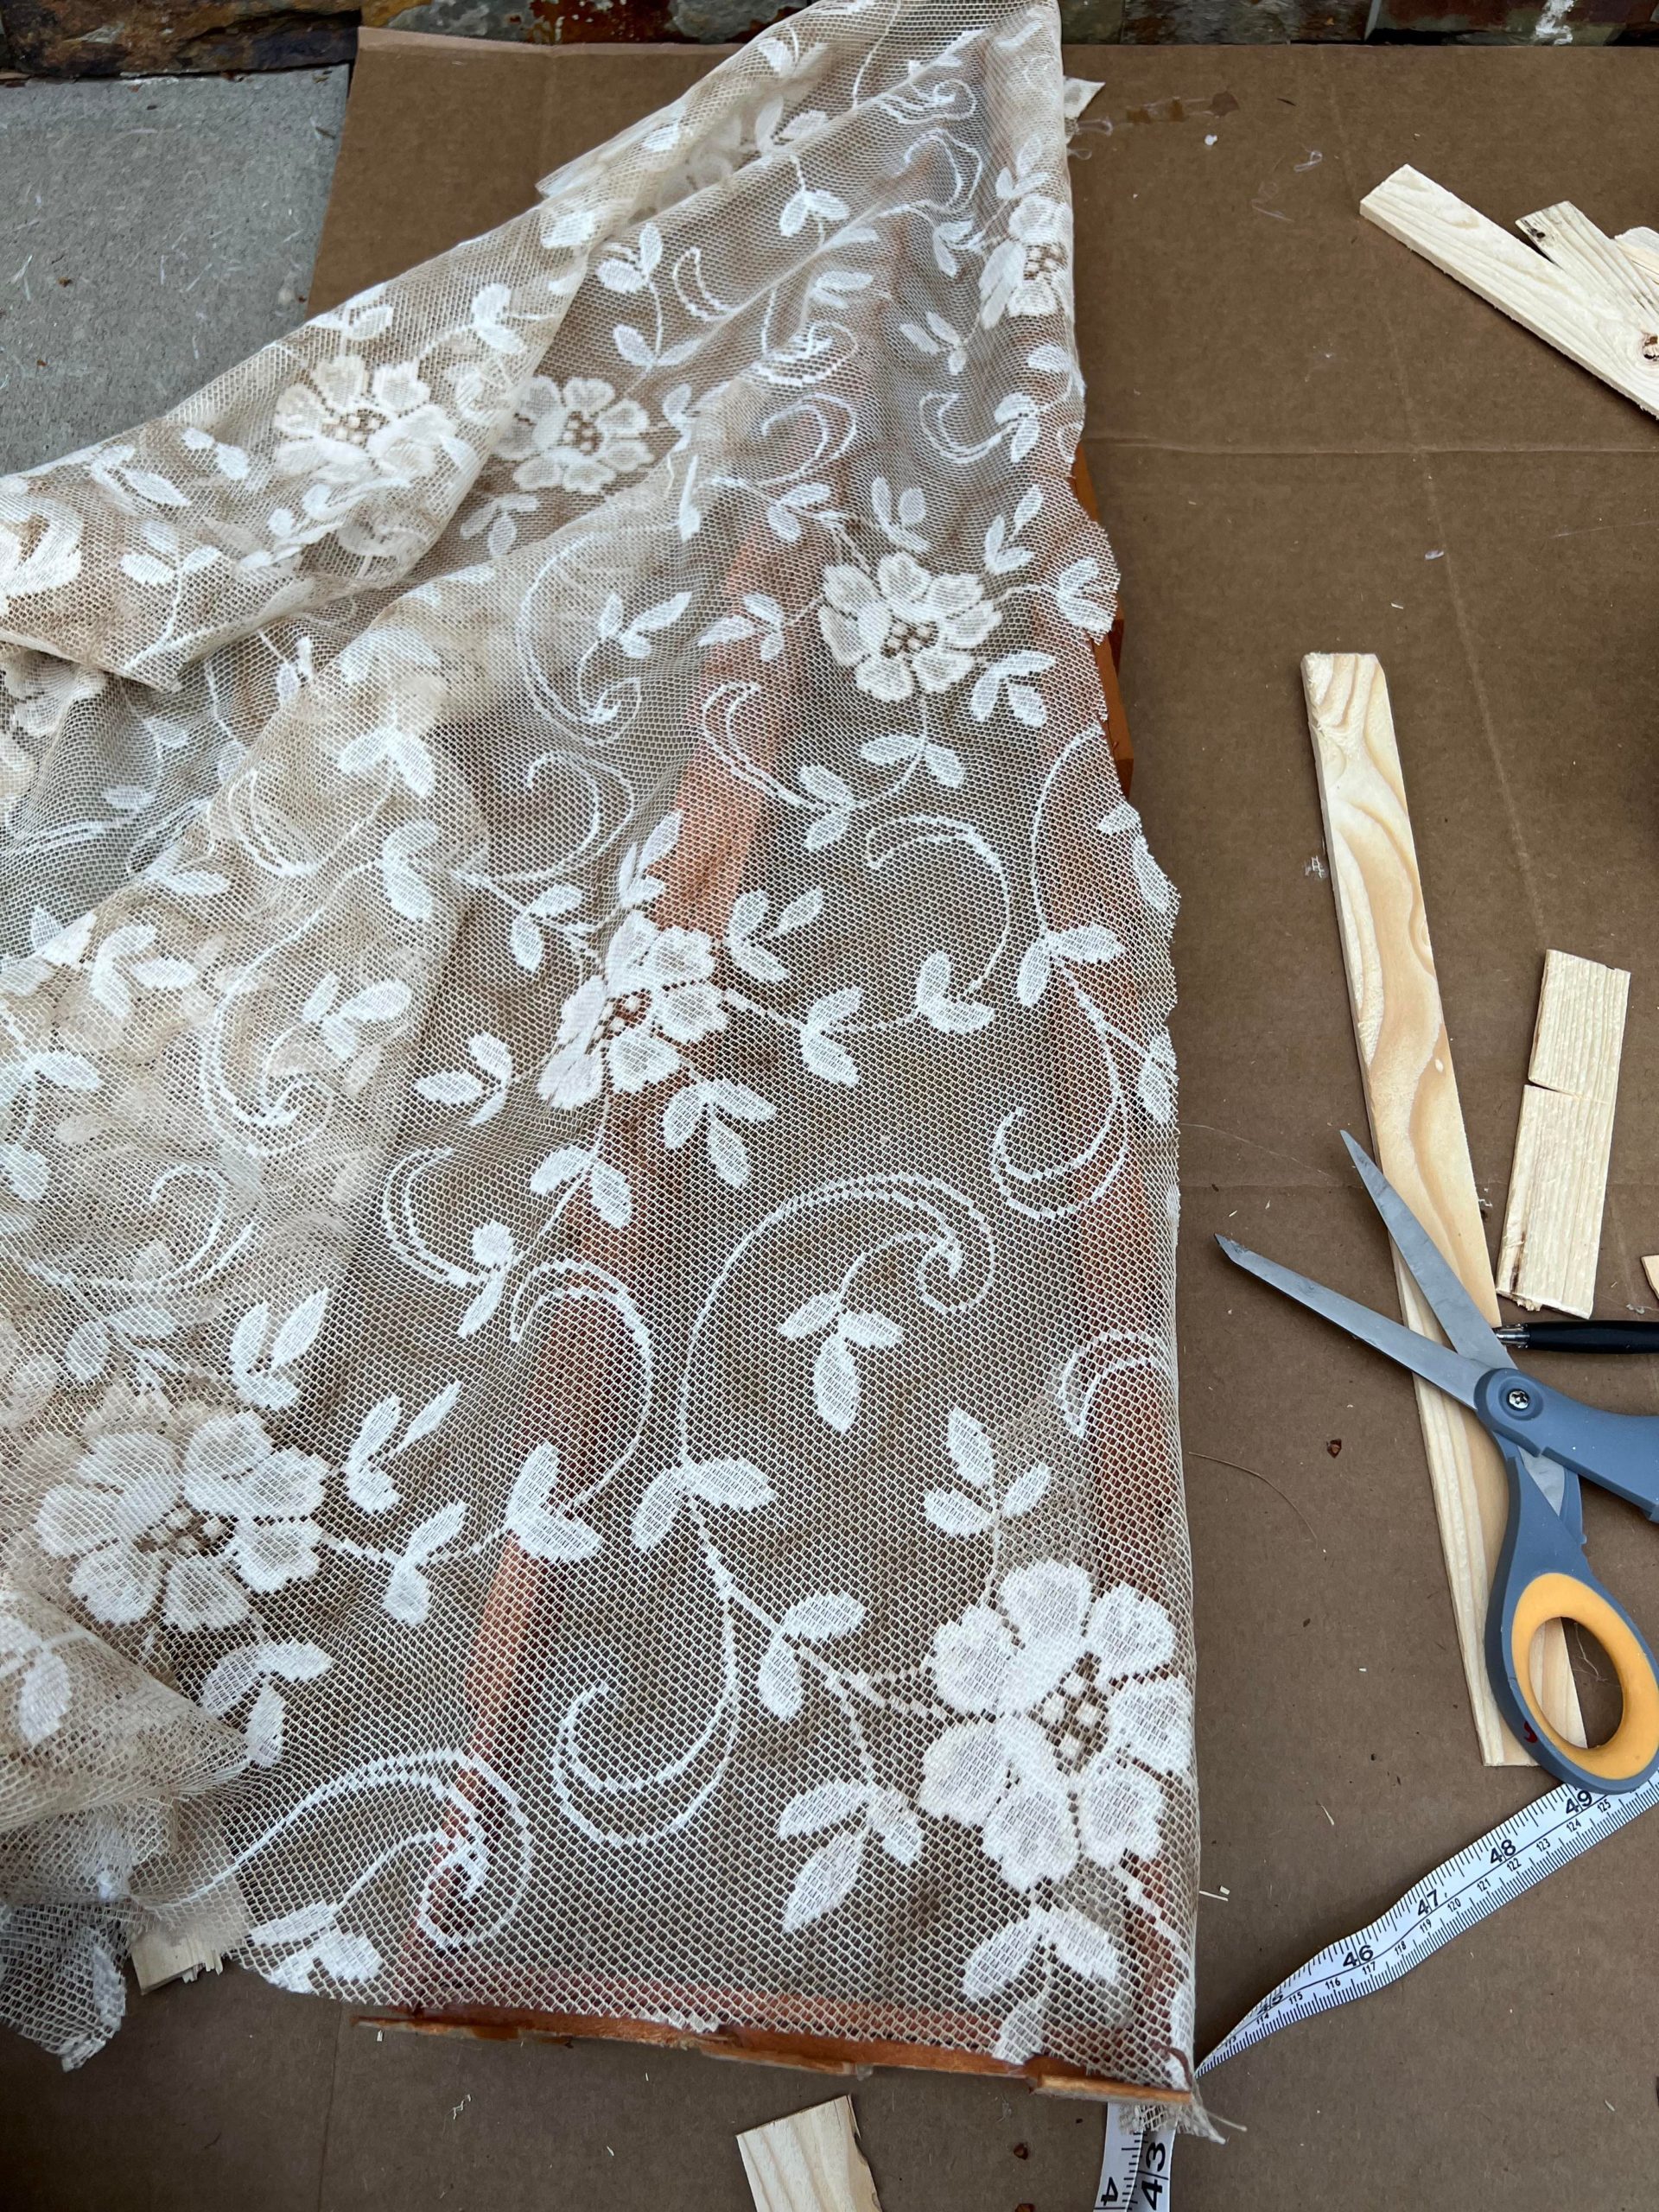
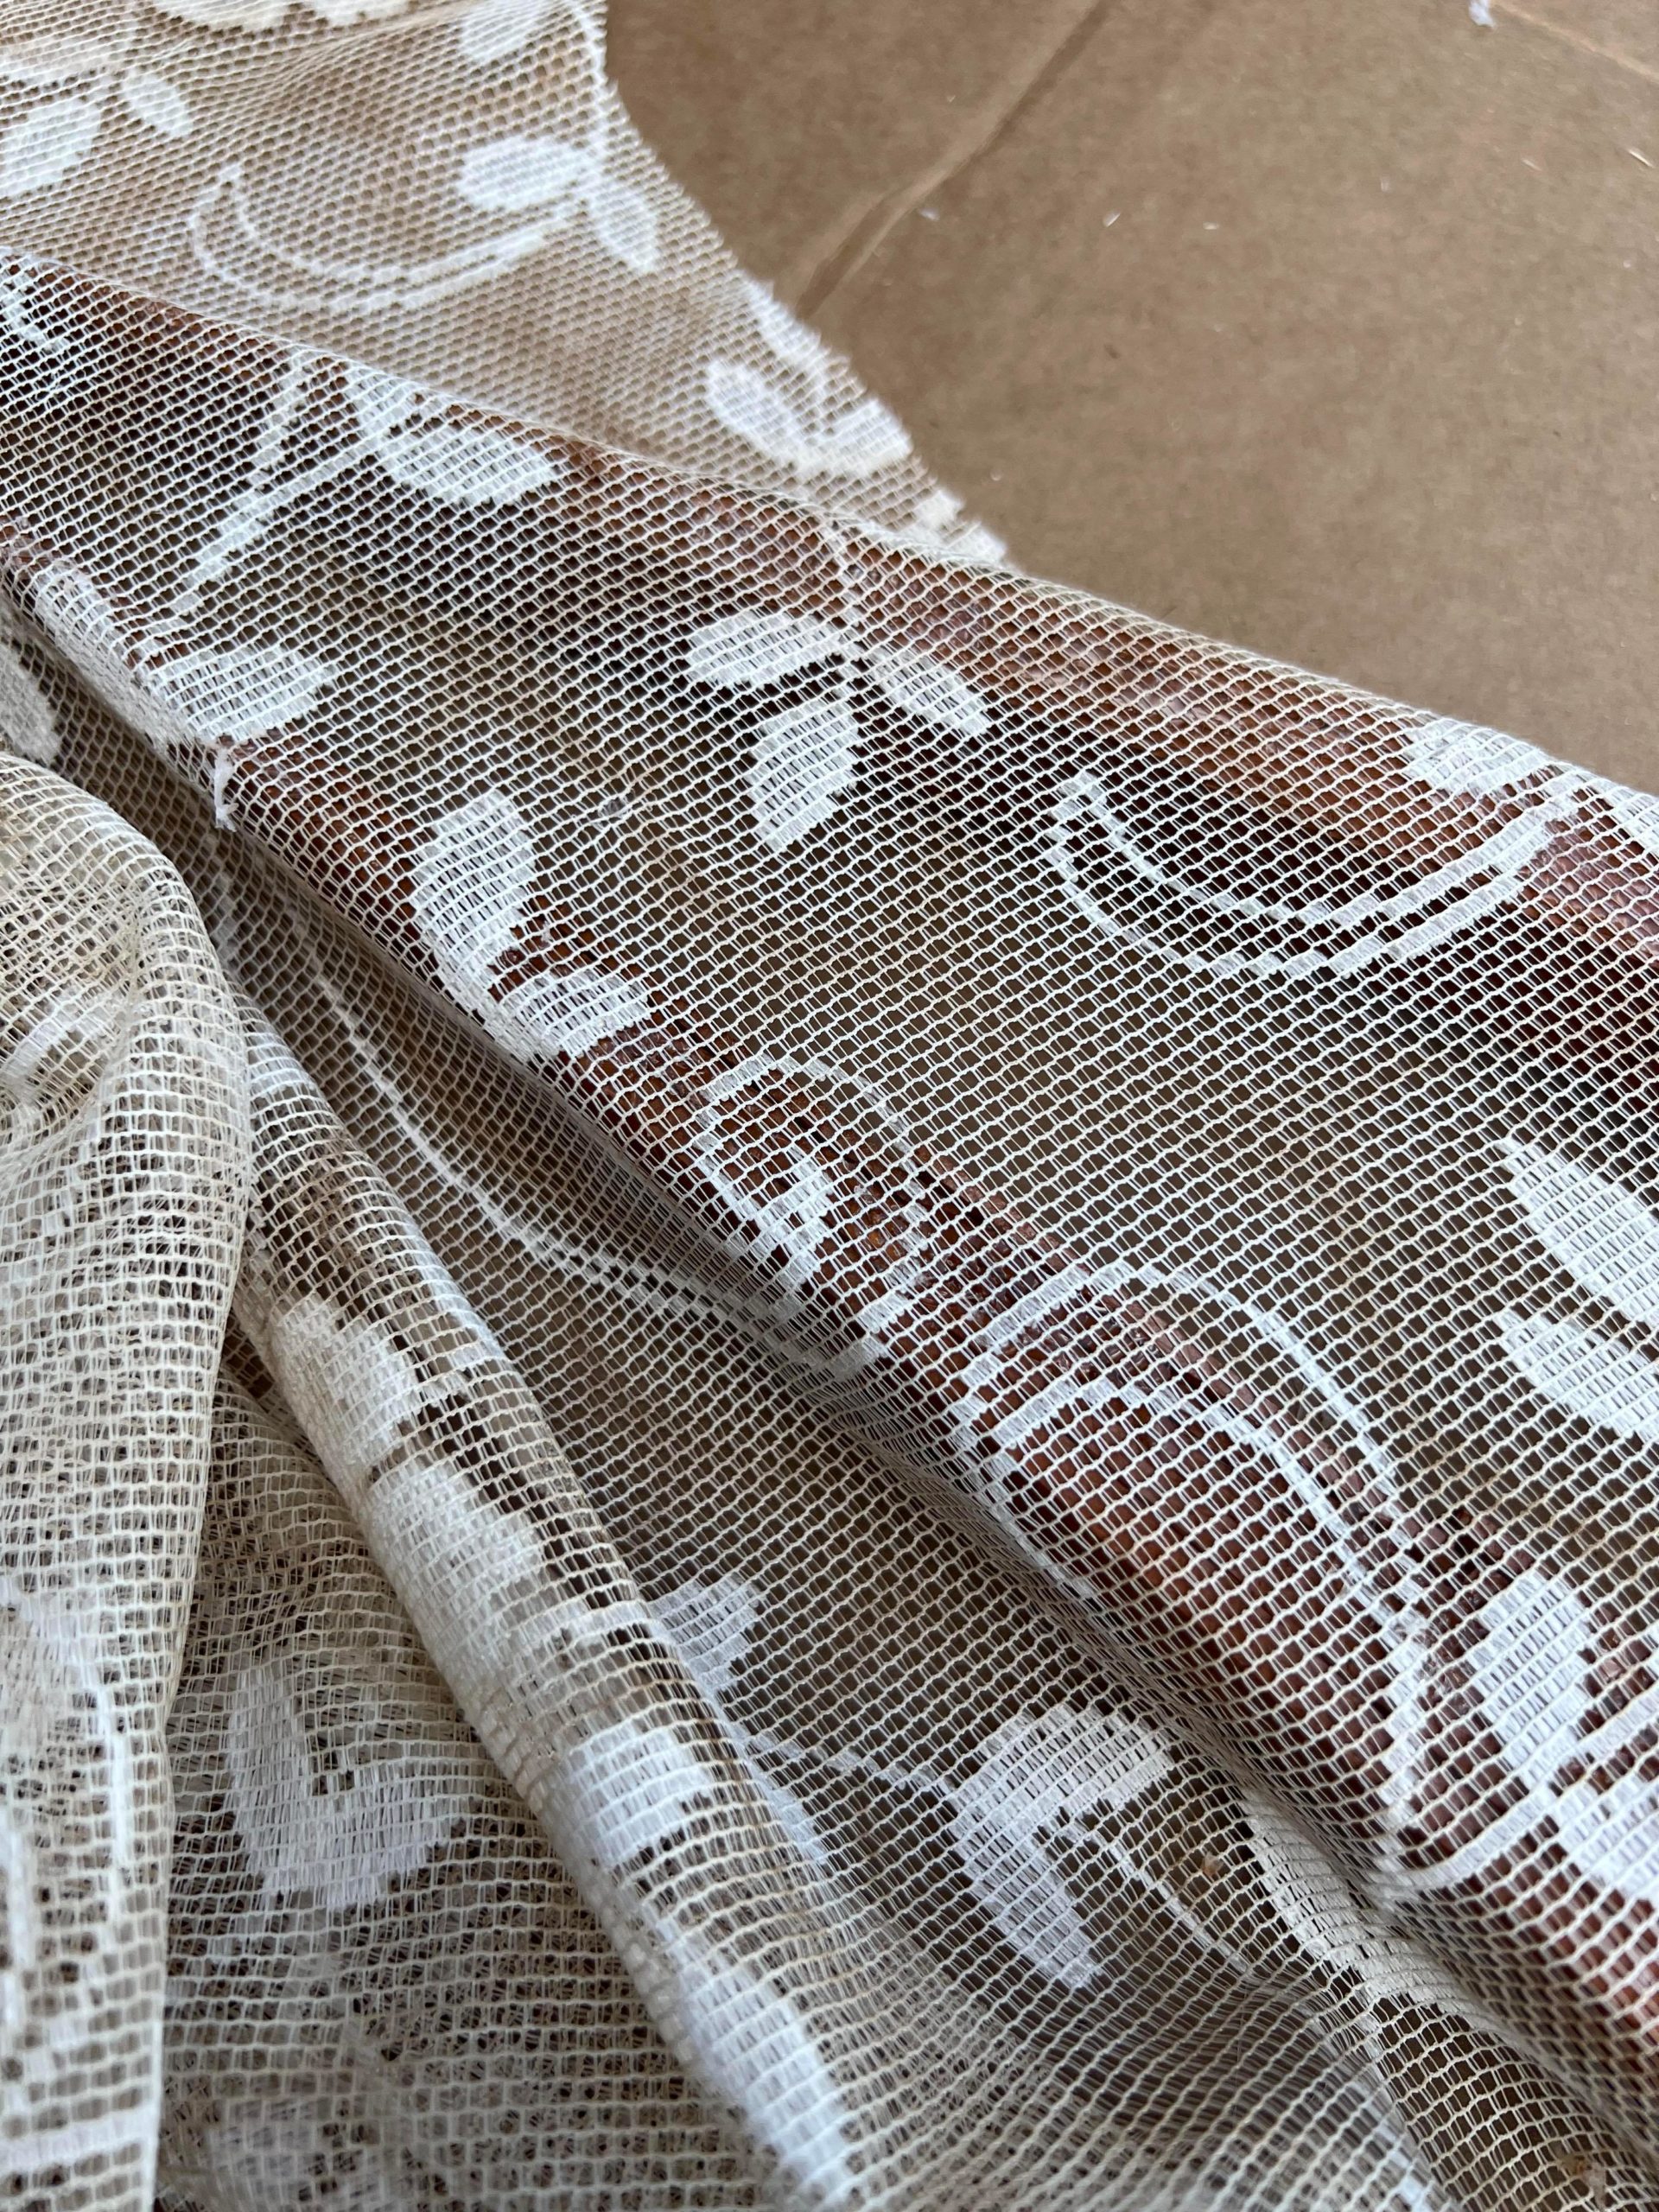
I used the hot glue to glue the lace on and then I trimmed the lace around the edge of the tree.


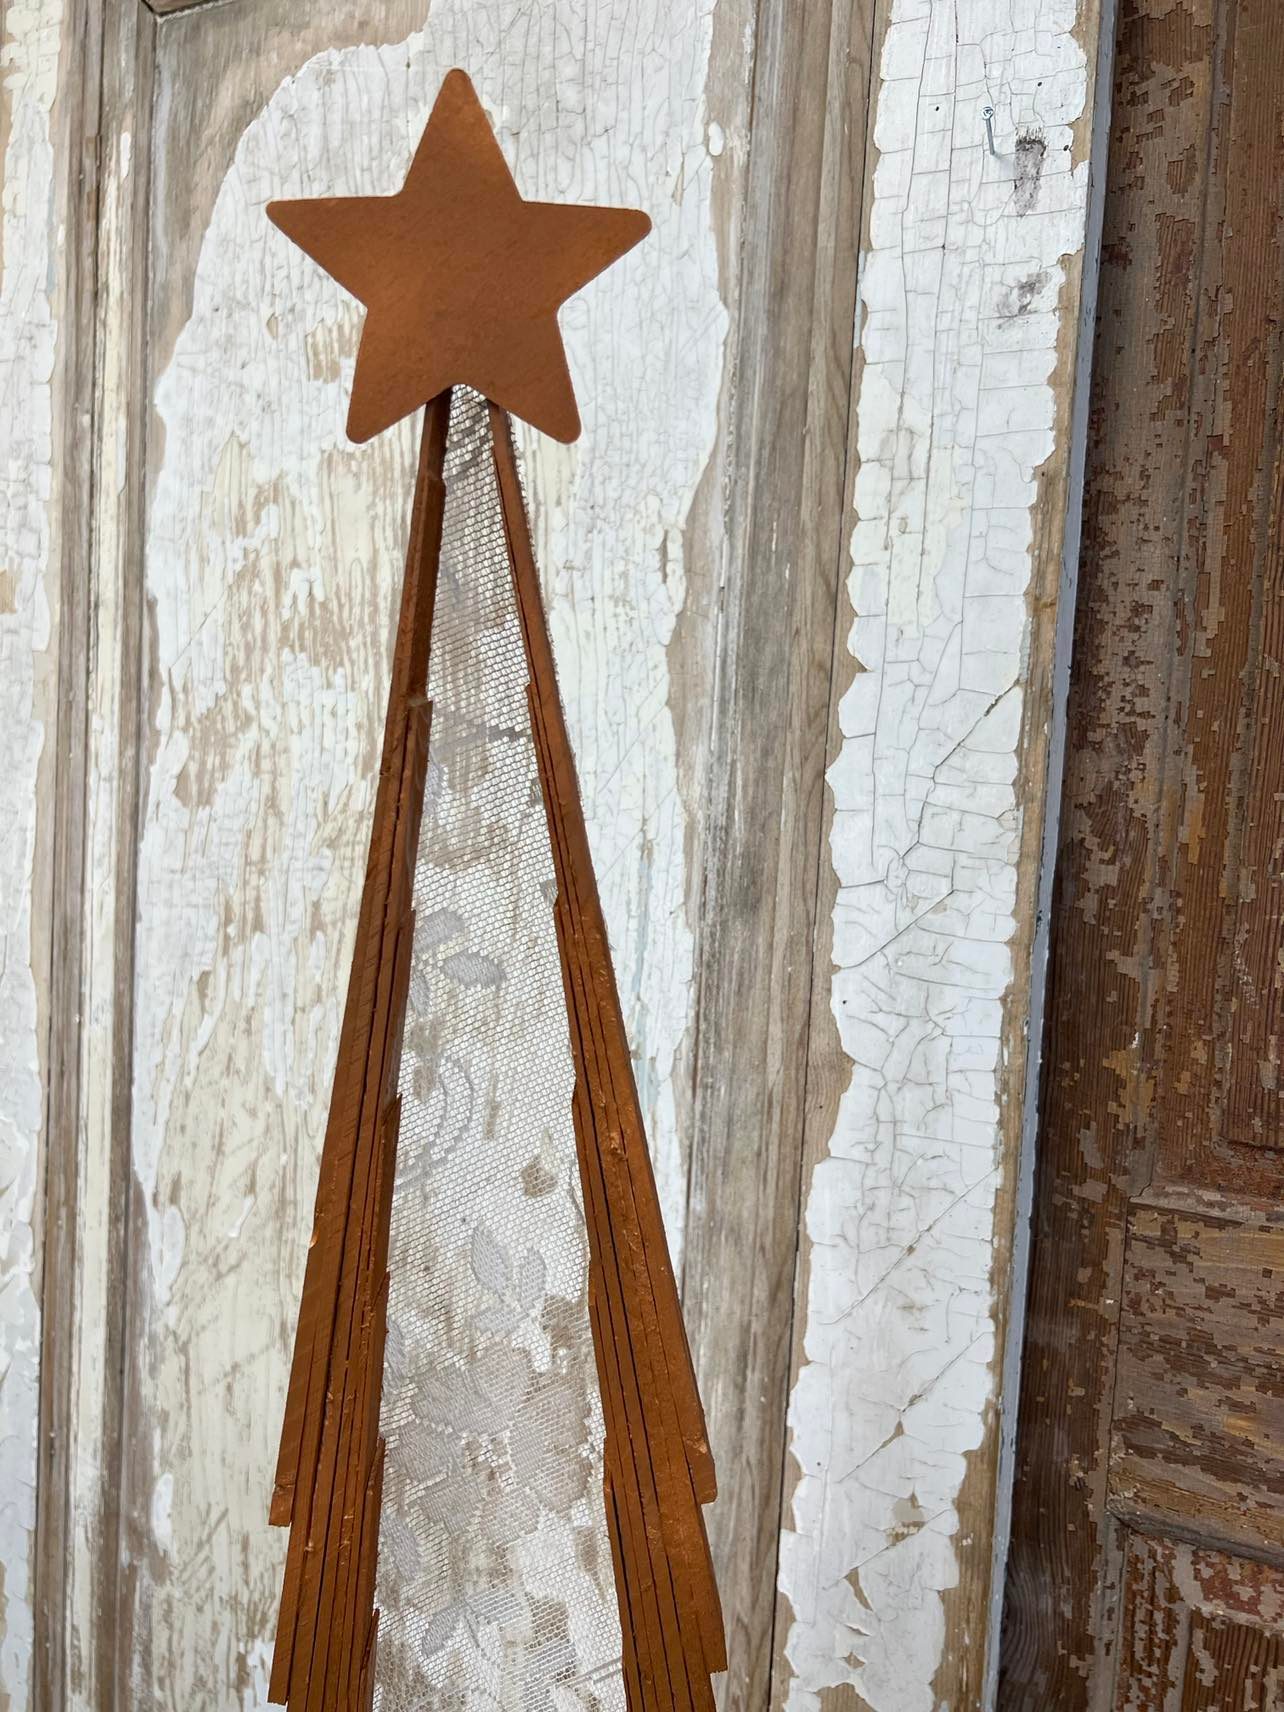
I decided to add a small wooden star to the top of the tree. This is optional but I think it looks good.

This tree is very easy to make and you can make it in a variety of sizes. I hope you will get creative and give this a try.