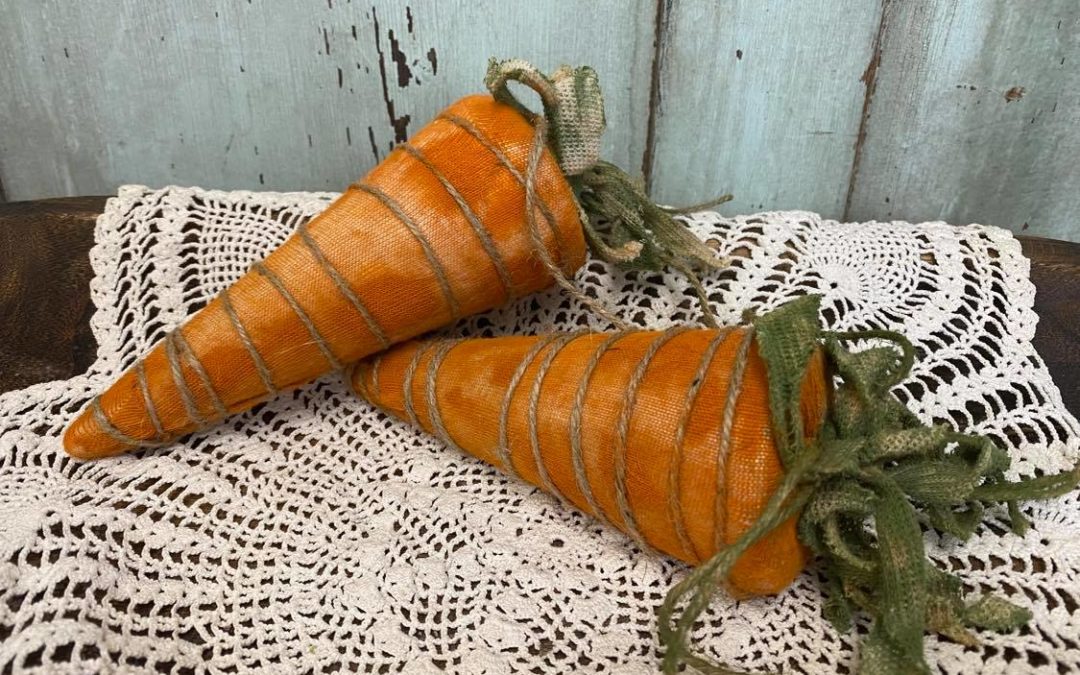
When you are a crafter you seem to be thinking ahead and creating for the next holiday to come. I seem to be focusing on Spring and Easter right now. When I think of Easter I am thinking about carrots and bunnies. We do a lot of crafts here at The Shabby Tree using socks and I just knew there had to be a quick and easy way to create a carrot using a sock.
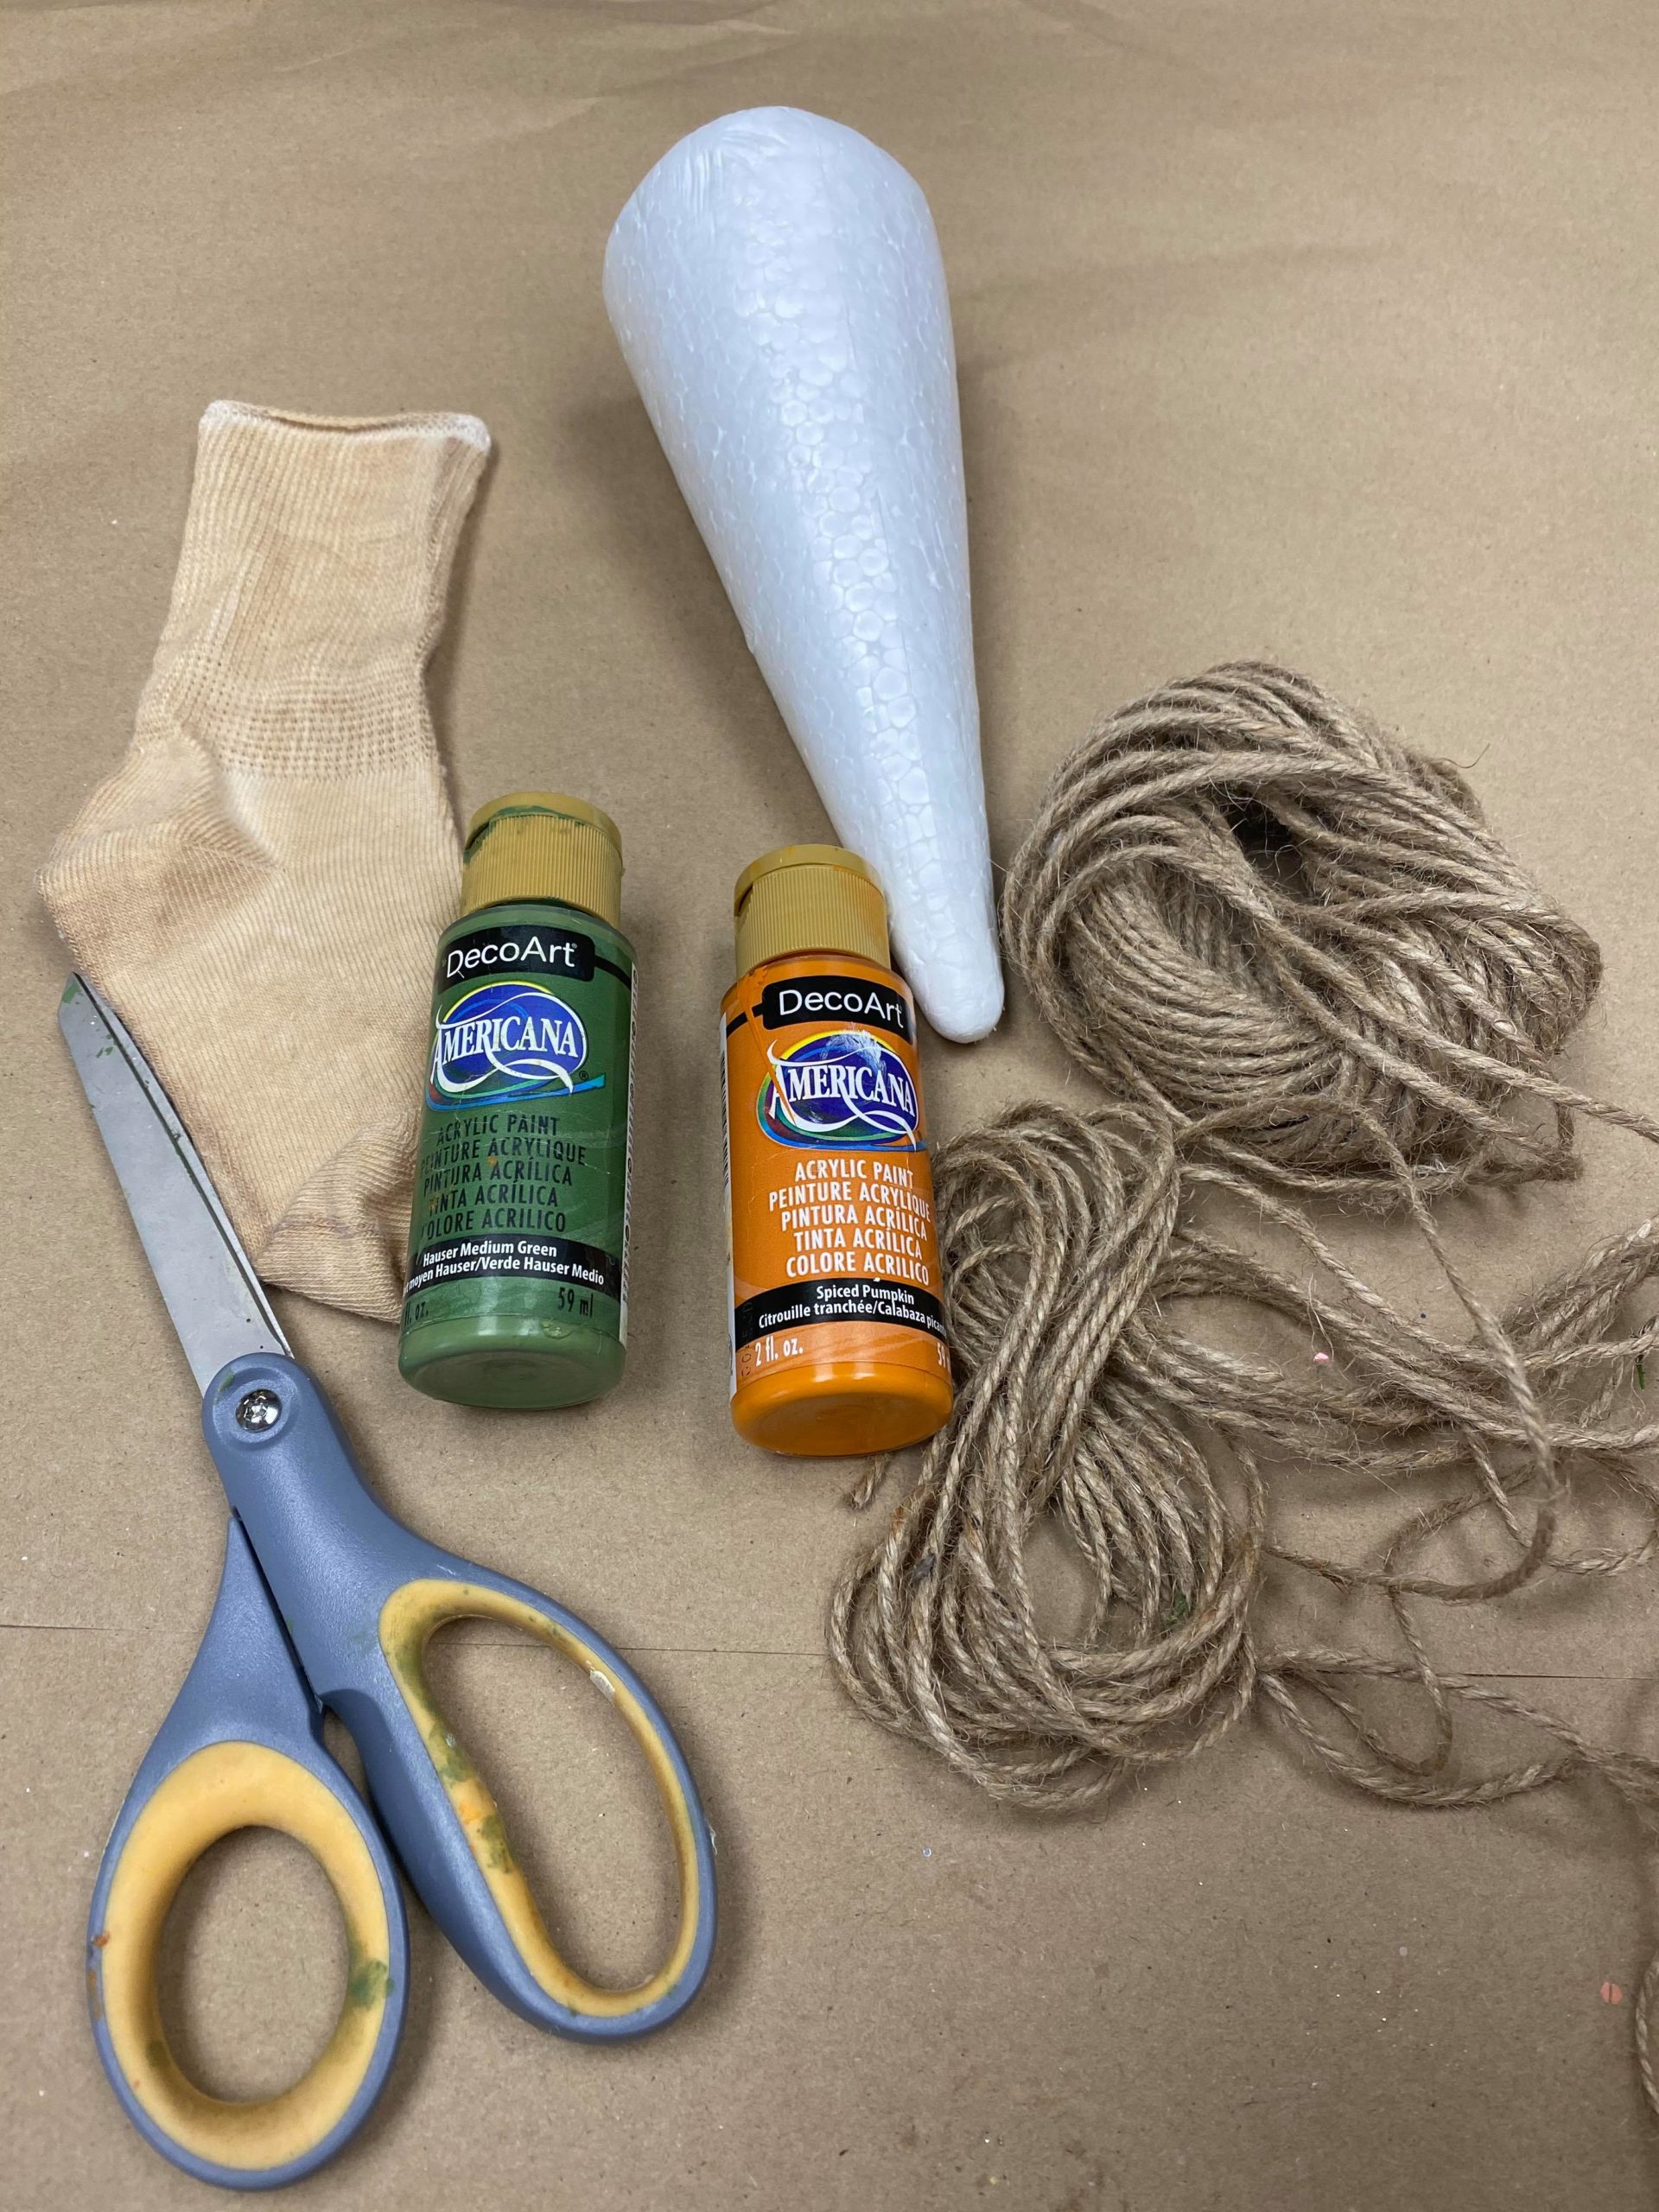
The supplies I will be using are:
1. Styrofoam cone (my cone is 7 inches long and 2 1/2 inches wide)
2. Kids sock (I purchased my socks from walmart)
3. Scissors
4. Paint (orange and green)
5. Twine
6. Paint brush
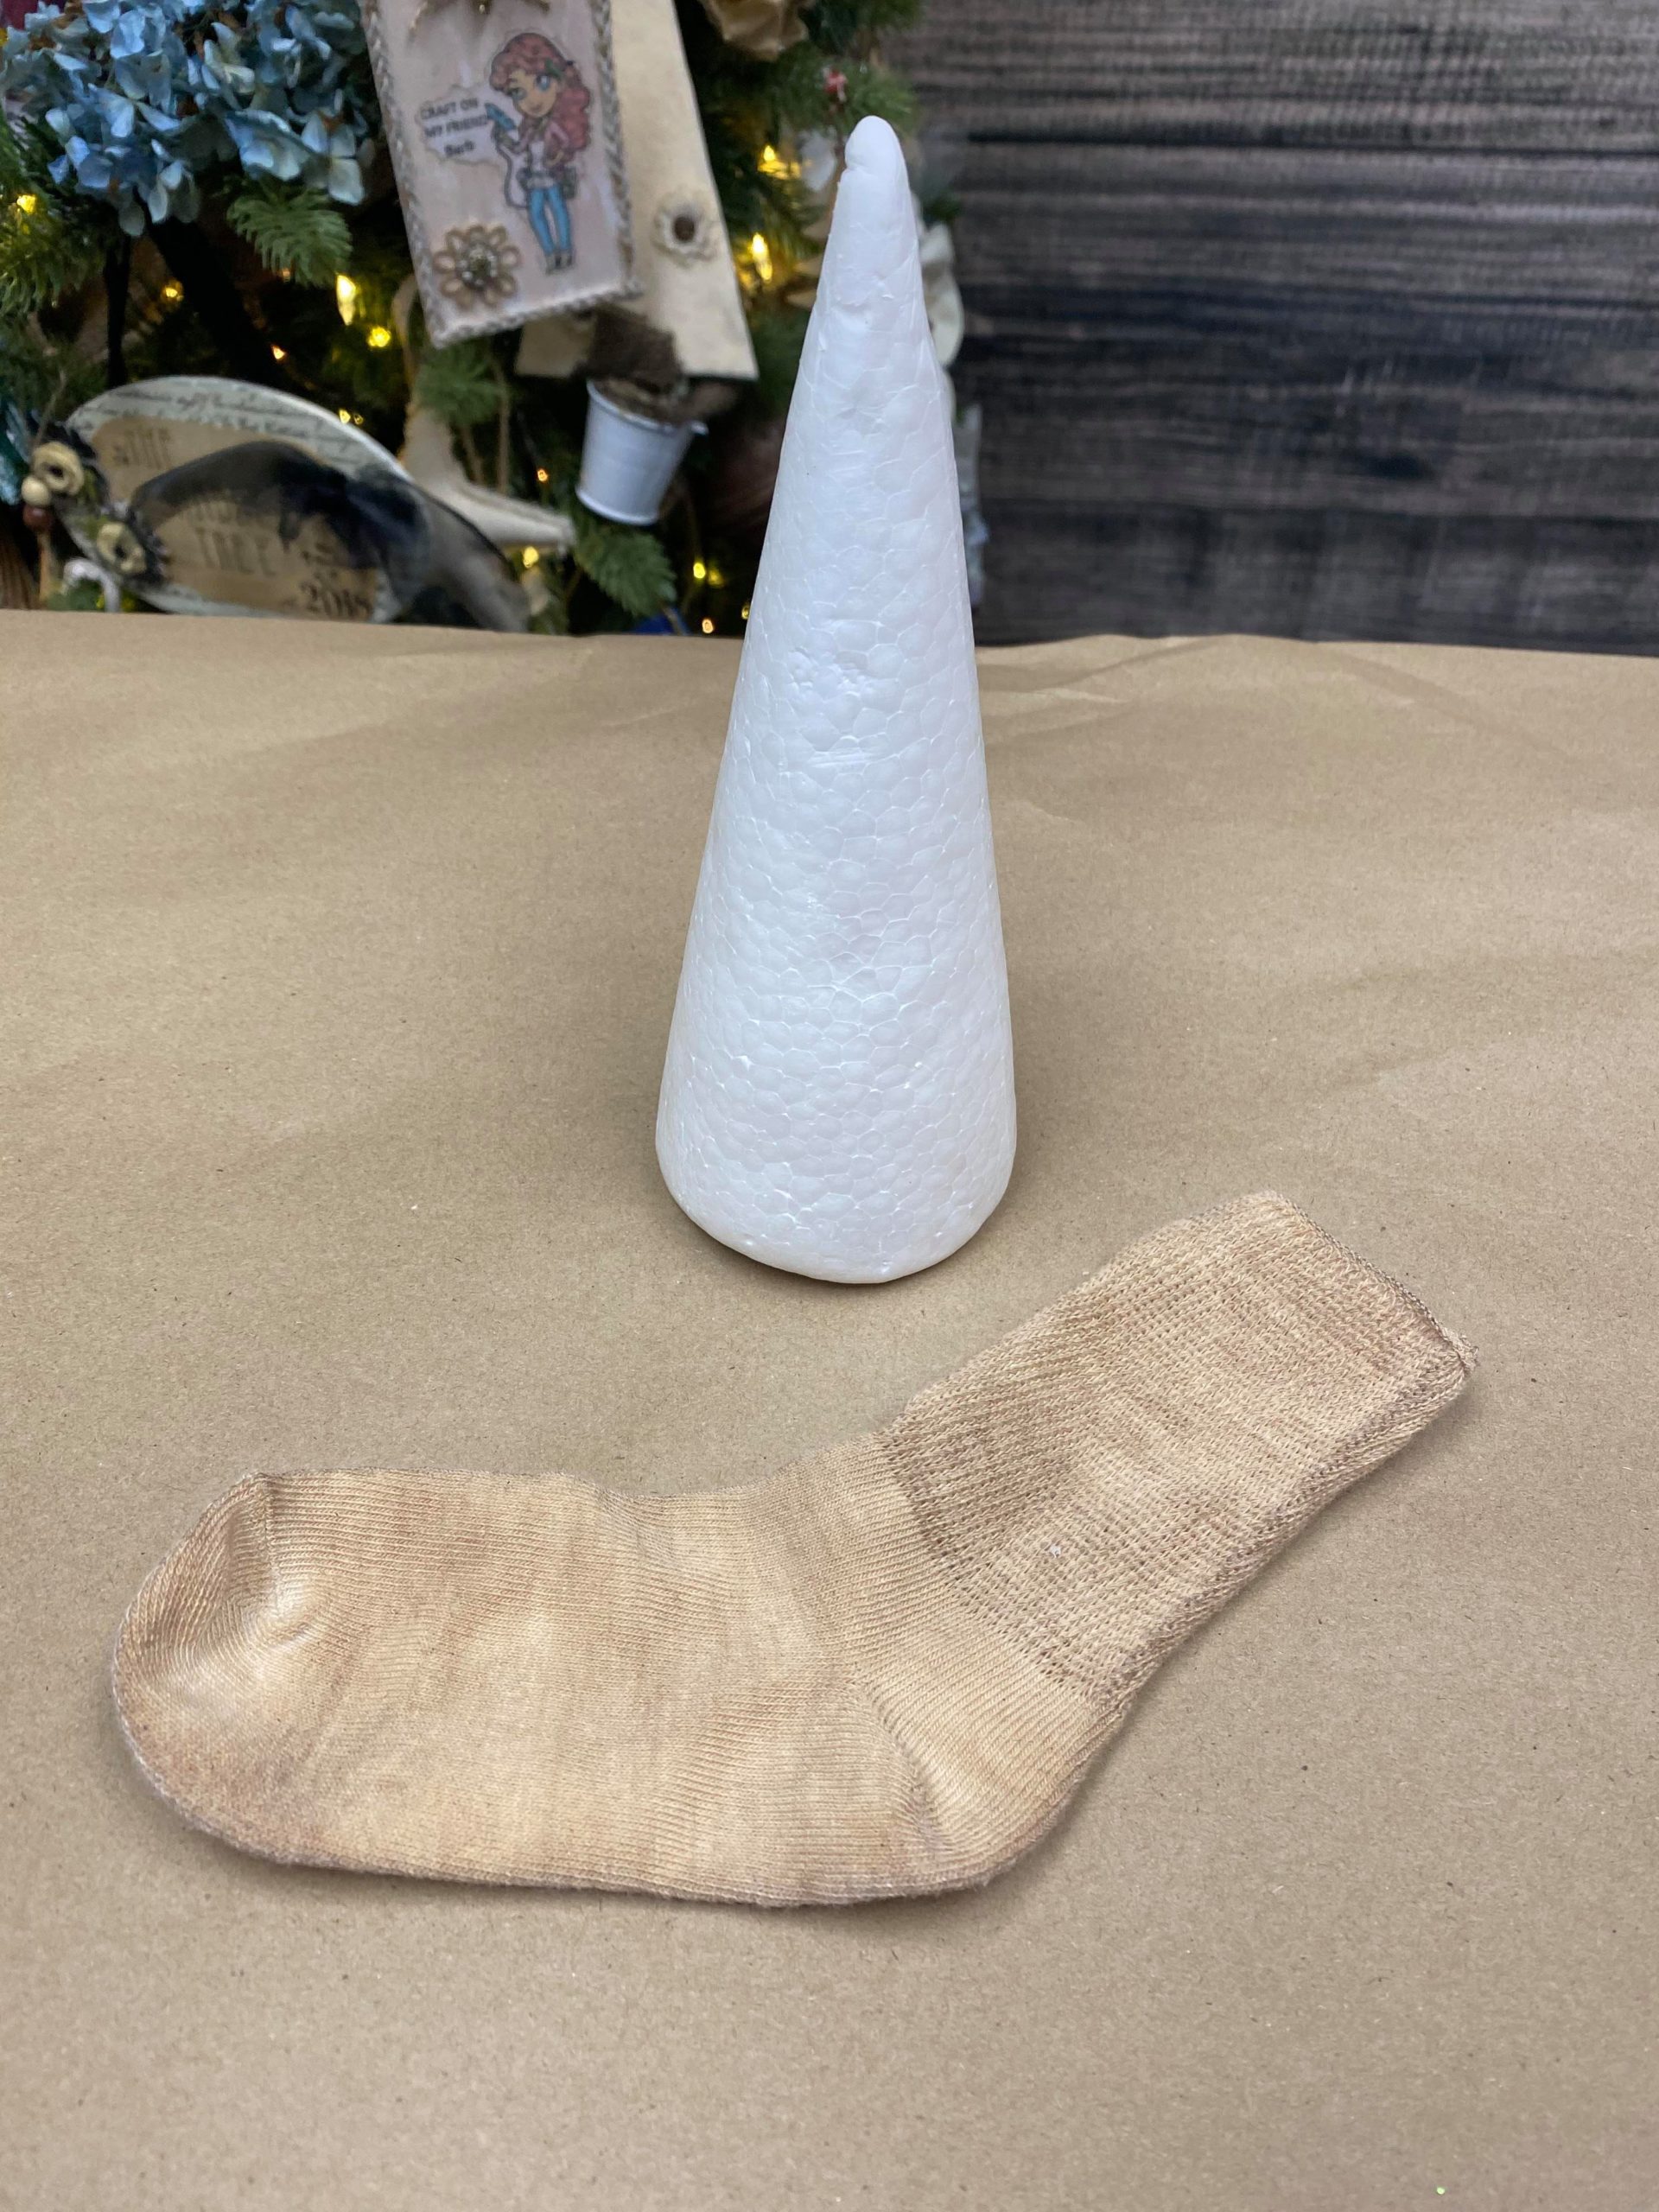
I coffee stained my kids sock. You can add instant coffee to warm water to coffee stain fabric.
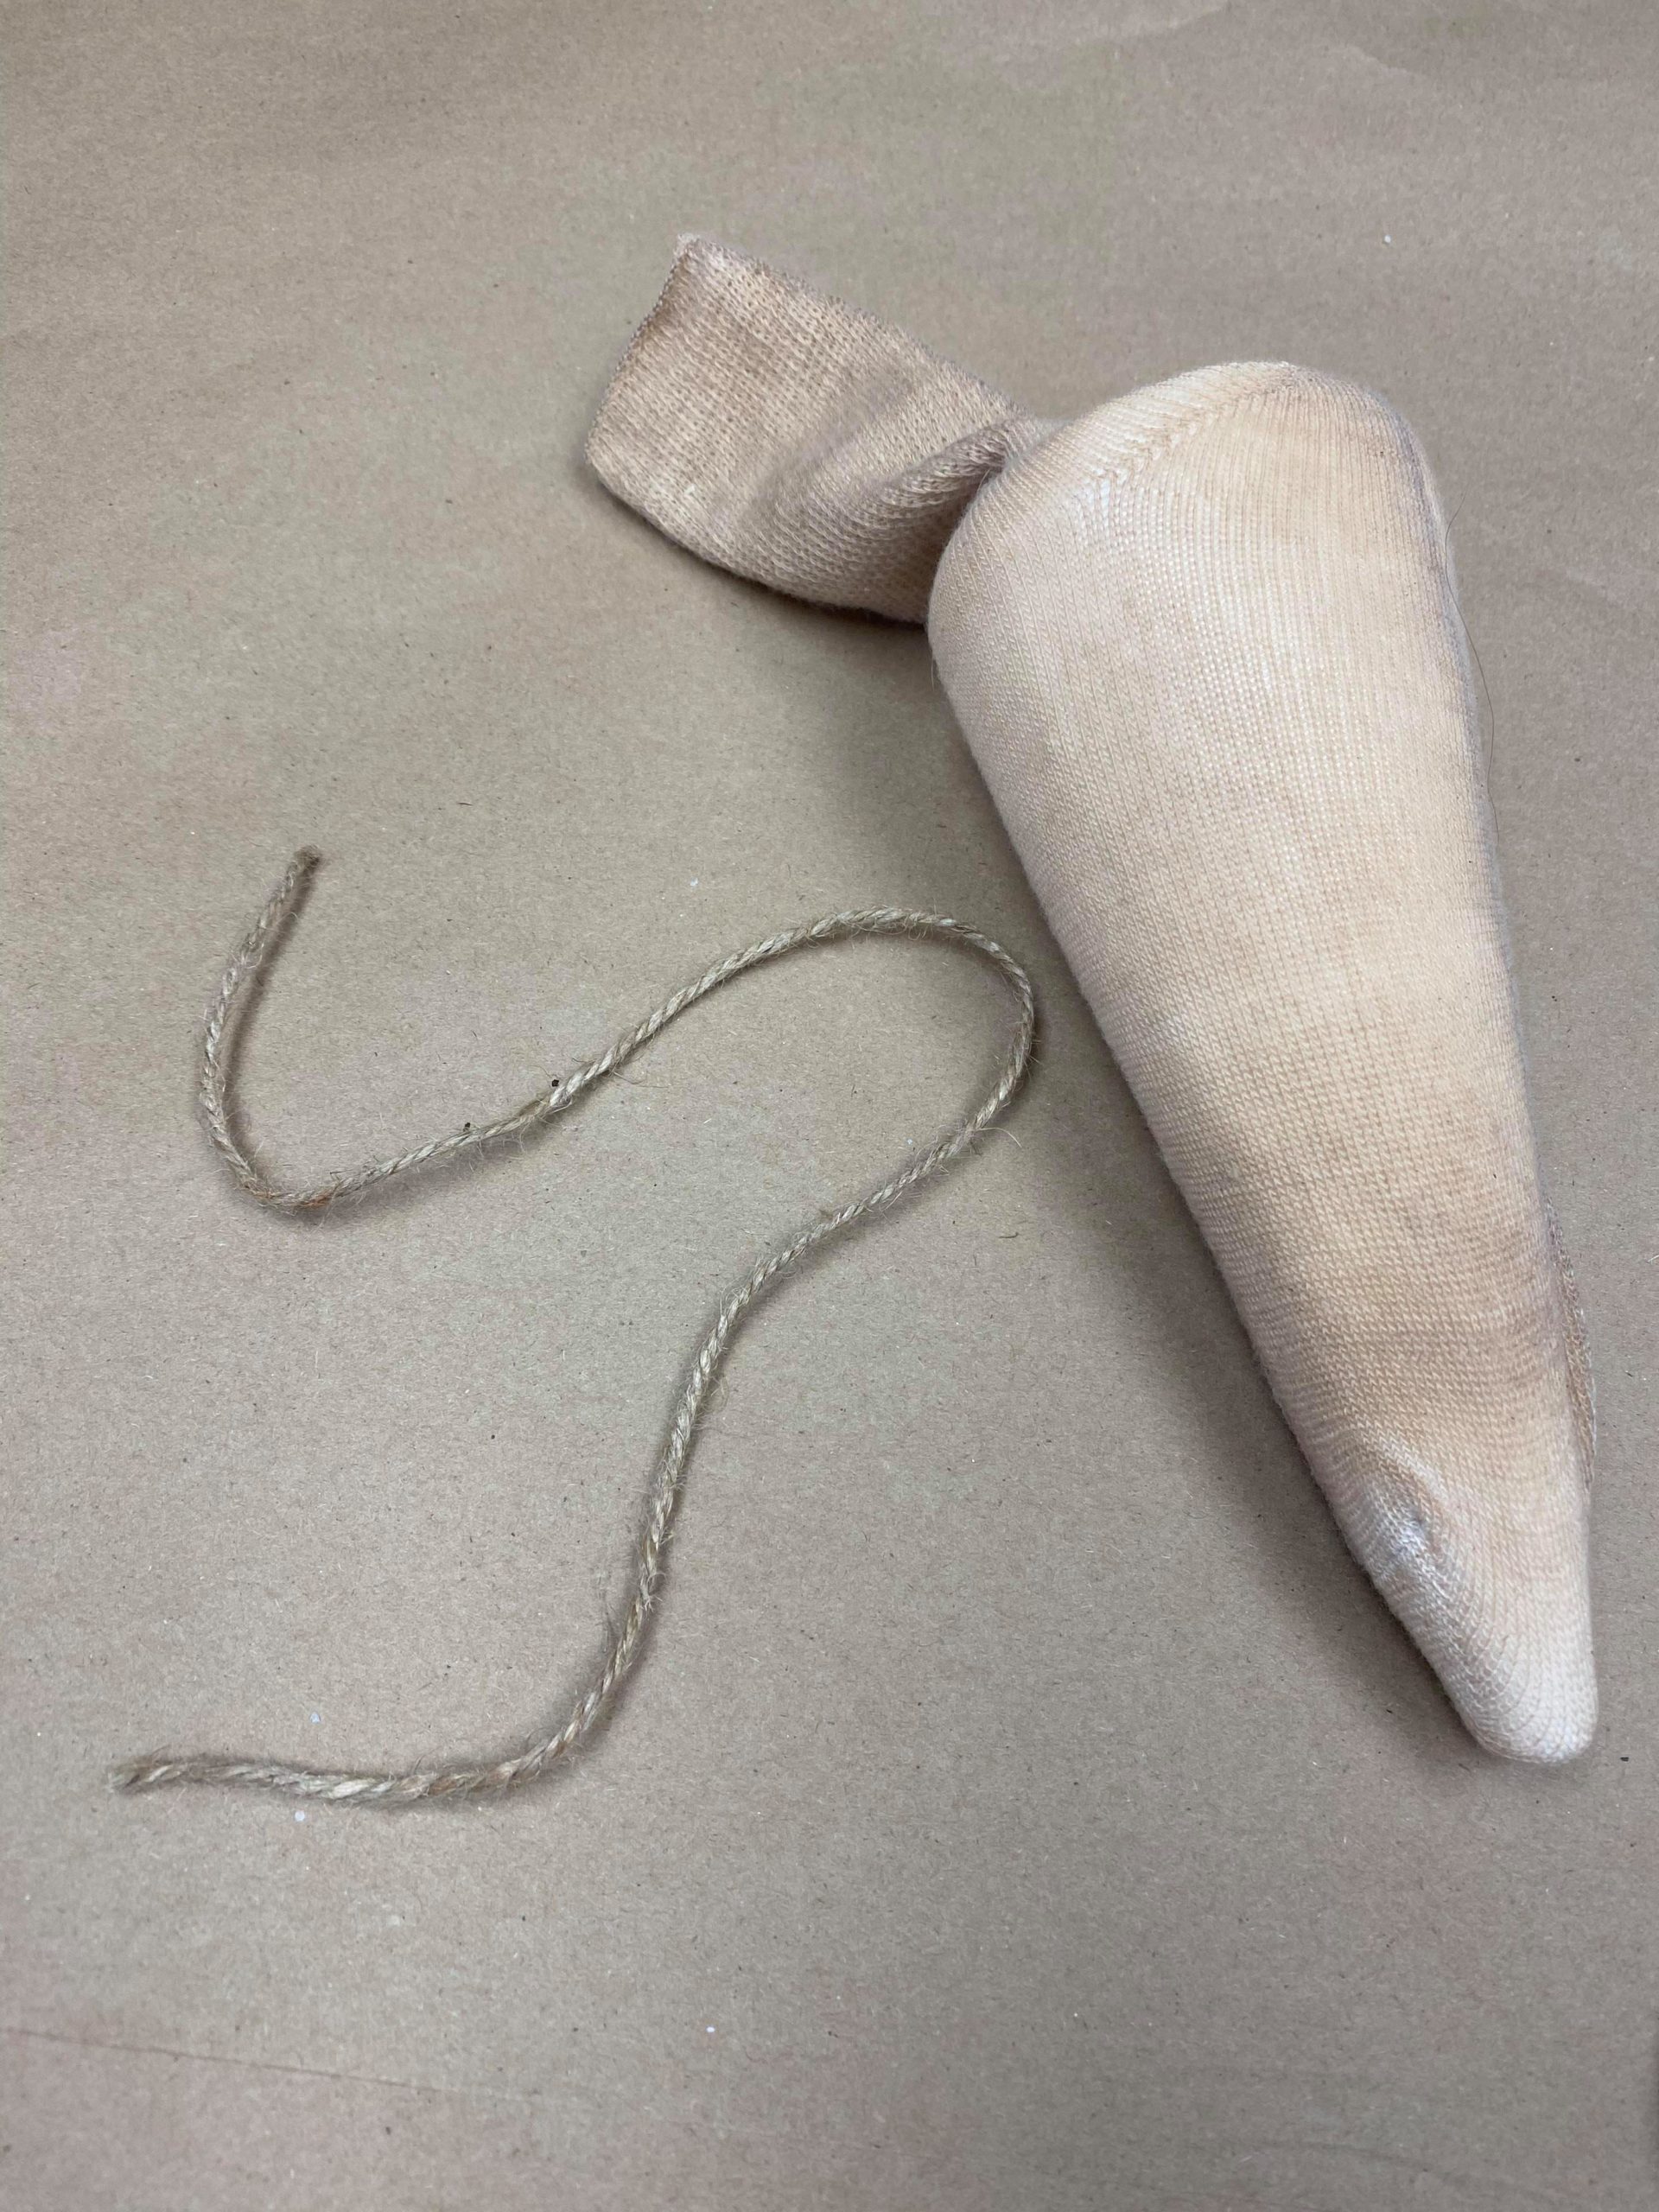
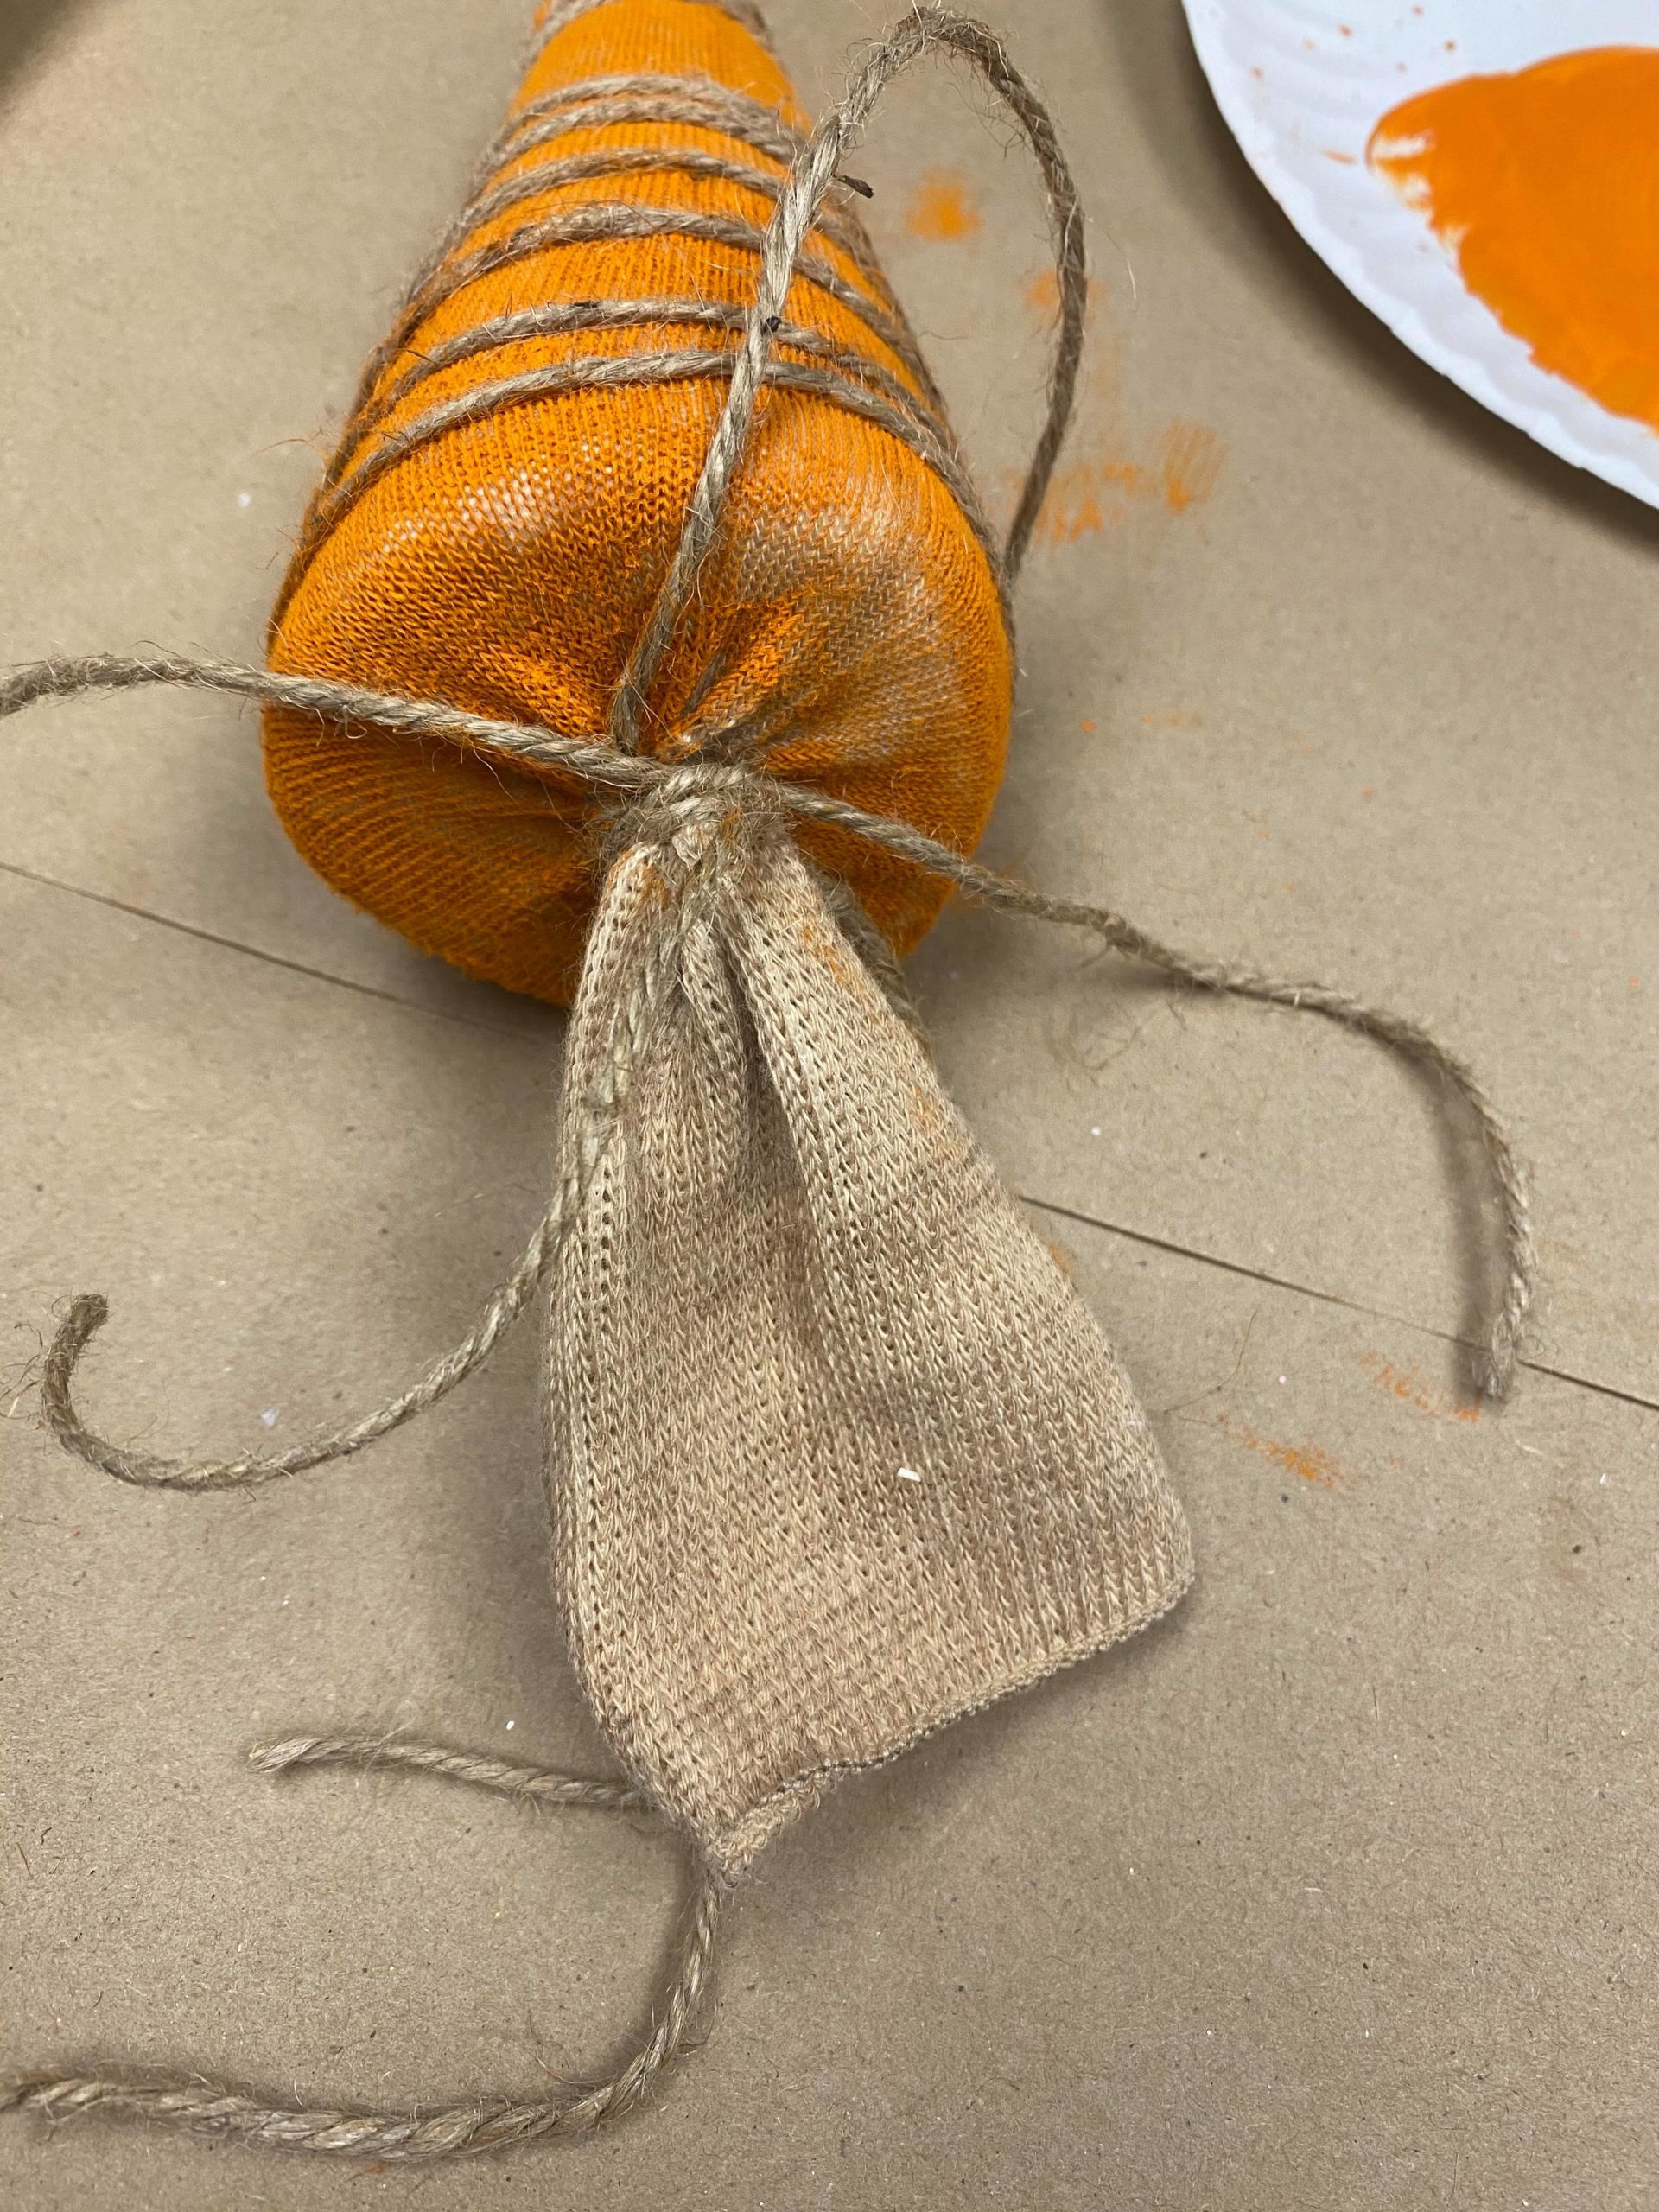
You will want to slide the styrofoam cone down into the kids sock. I then cut a piece of twine and tied the top part of the sock.
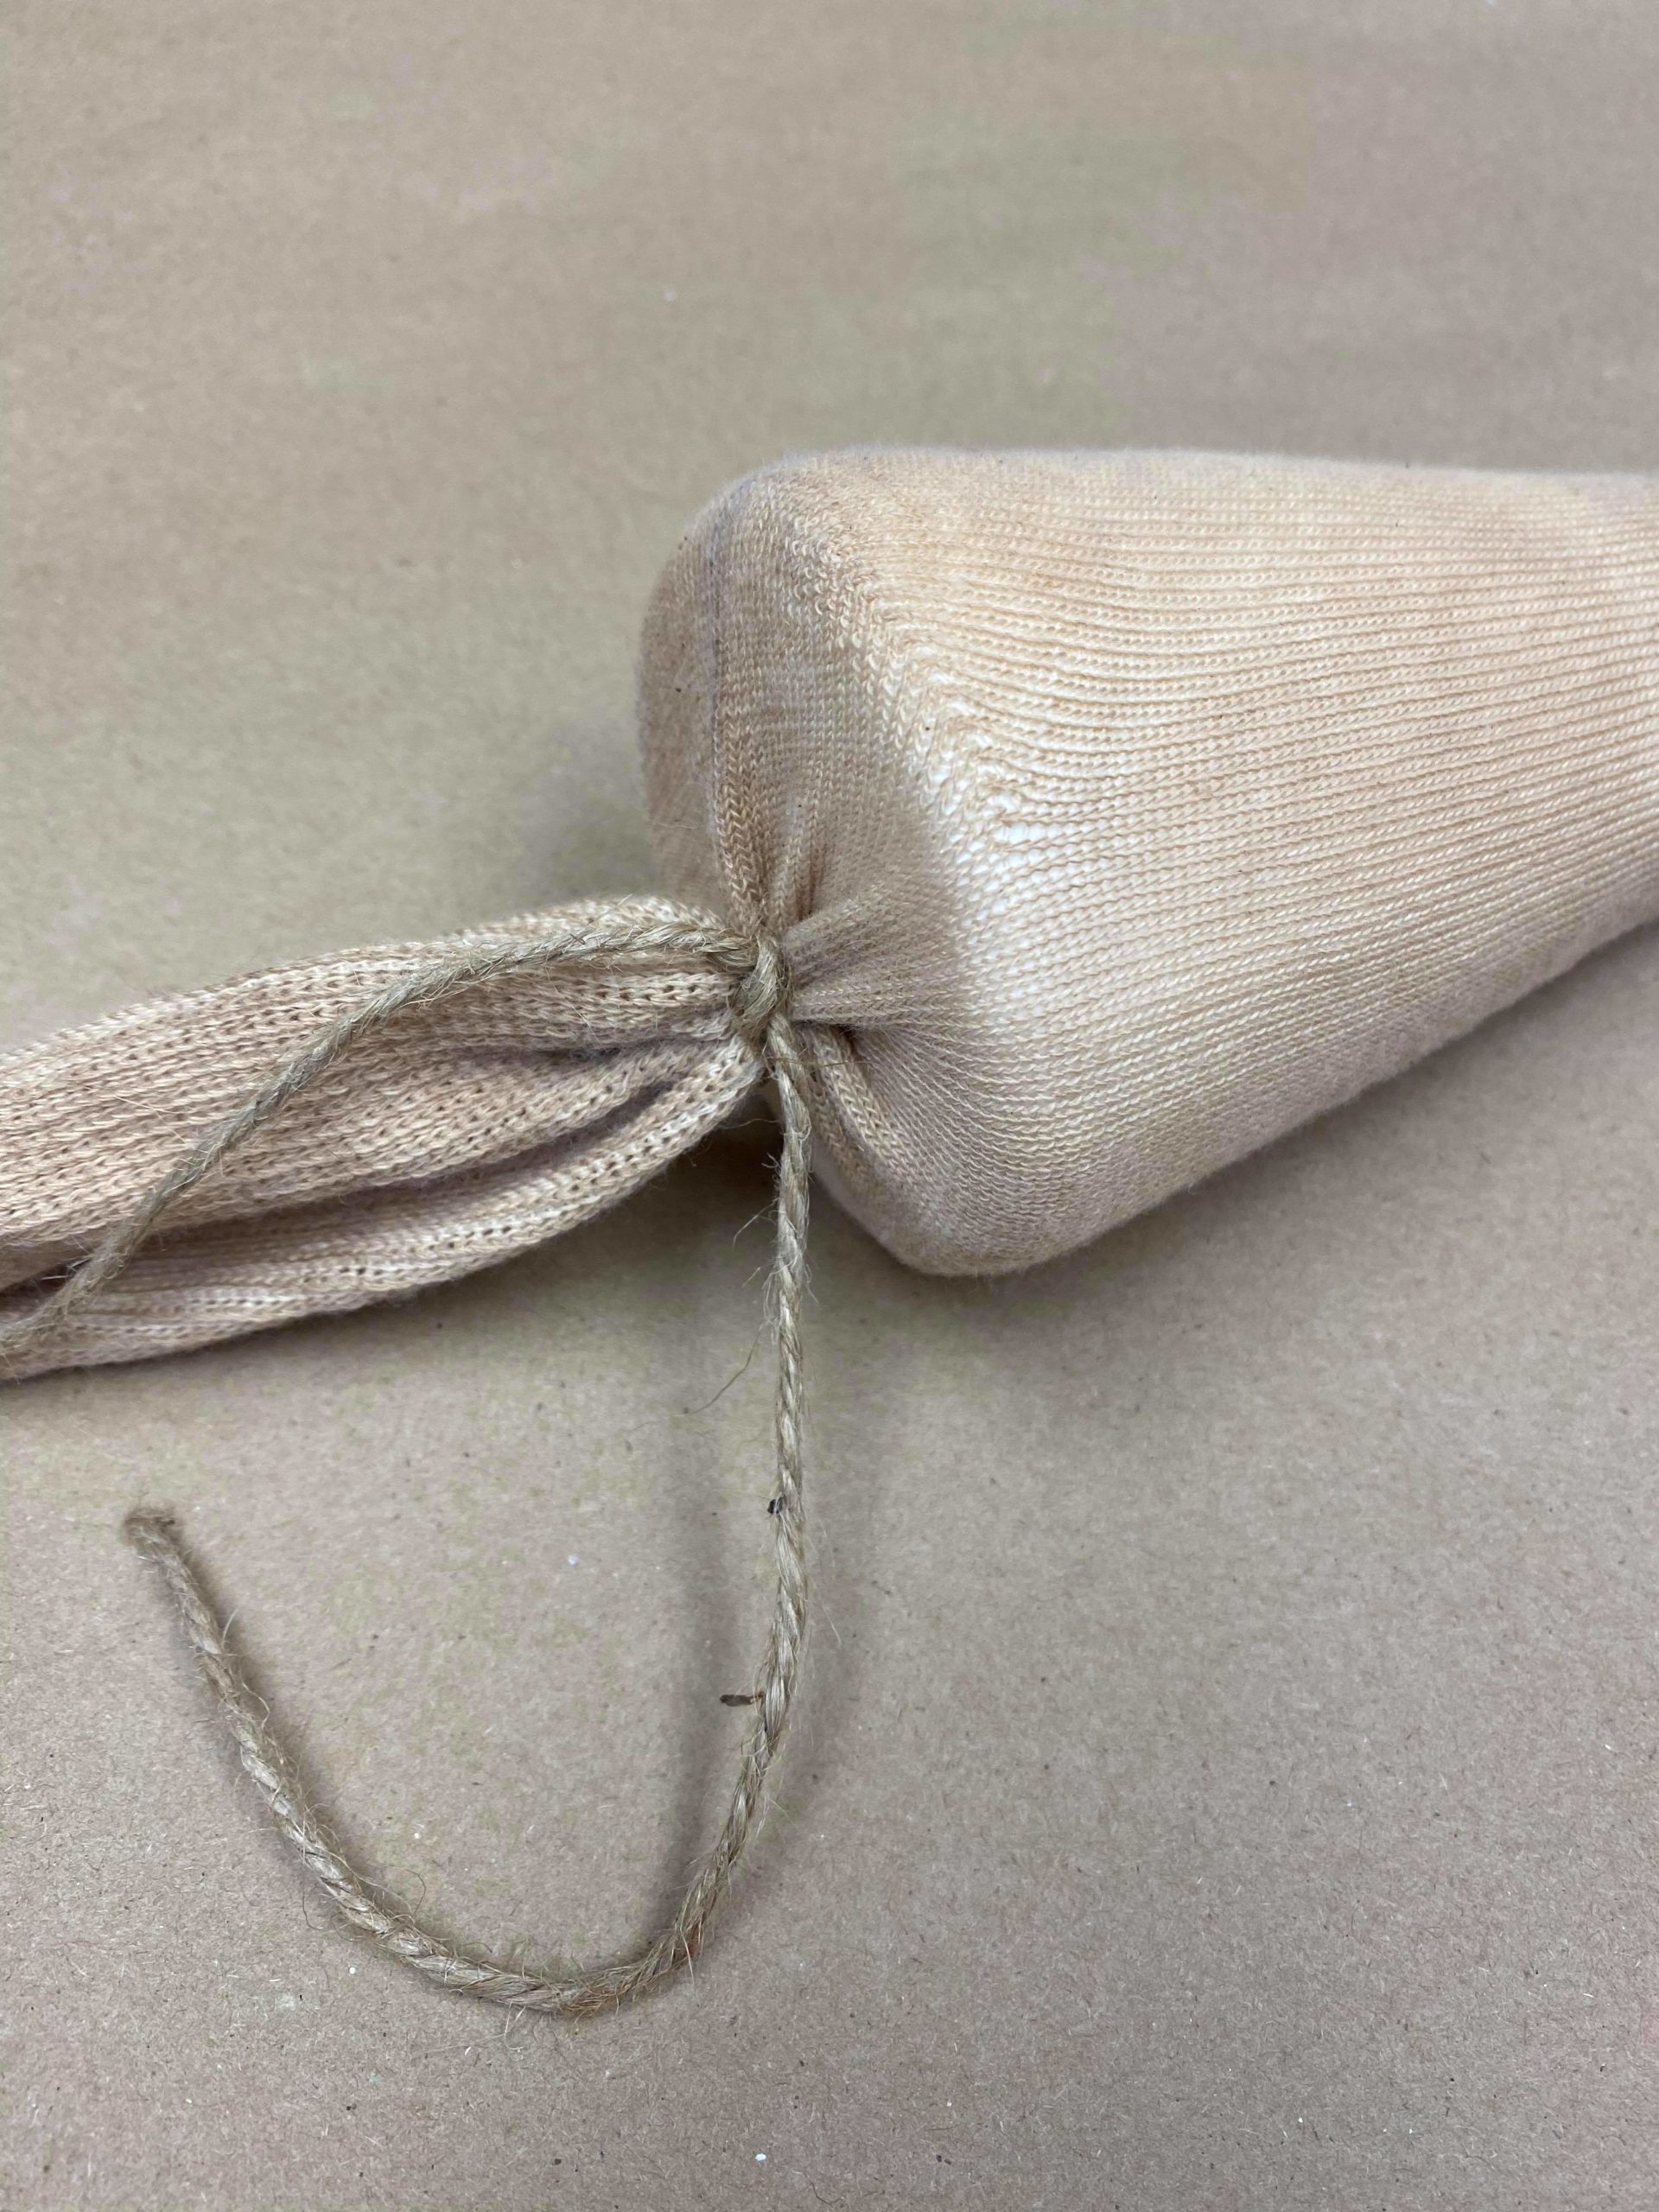
Be sure to pull the sock all the way up the cone and tie a double knot at the top.
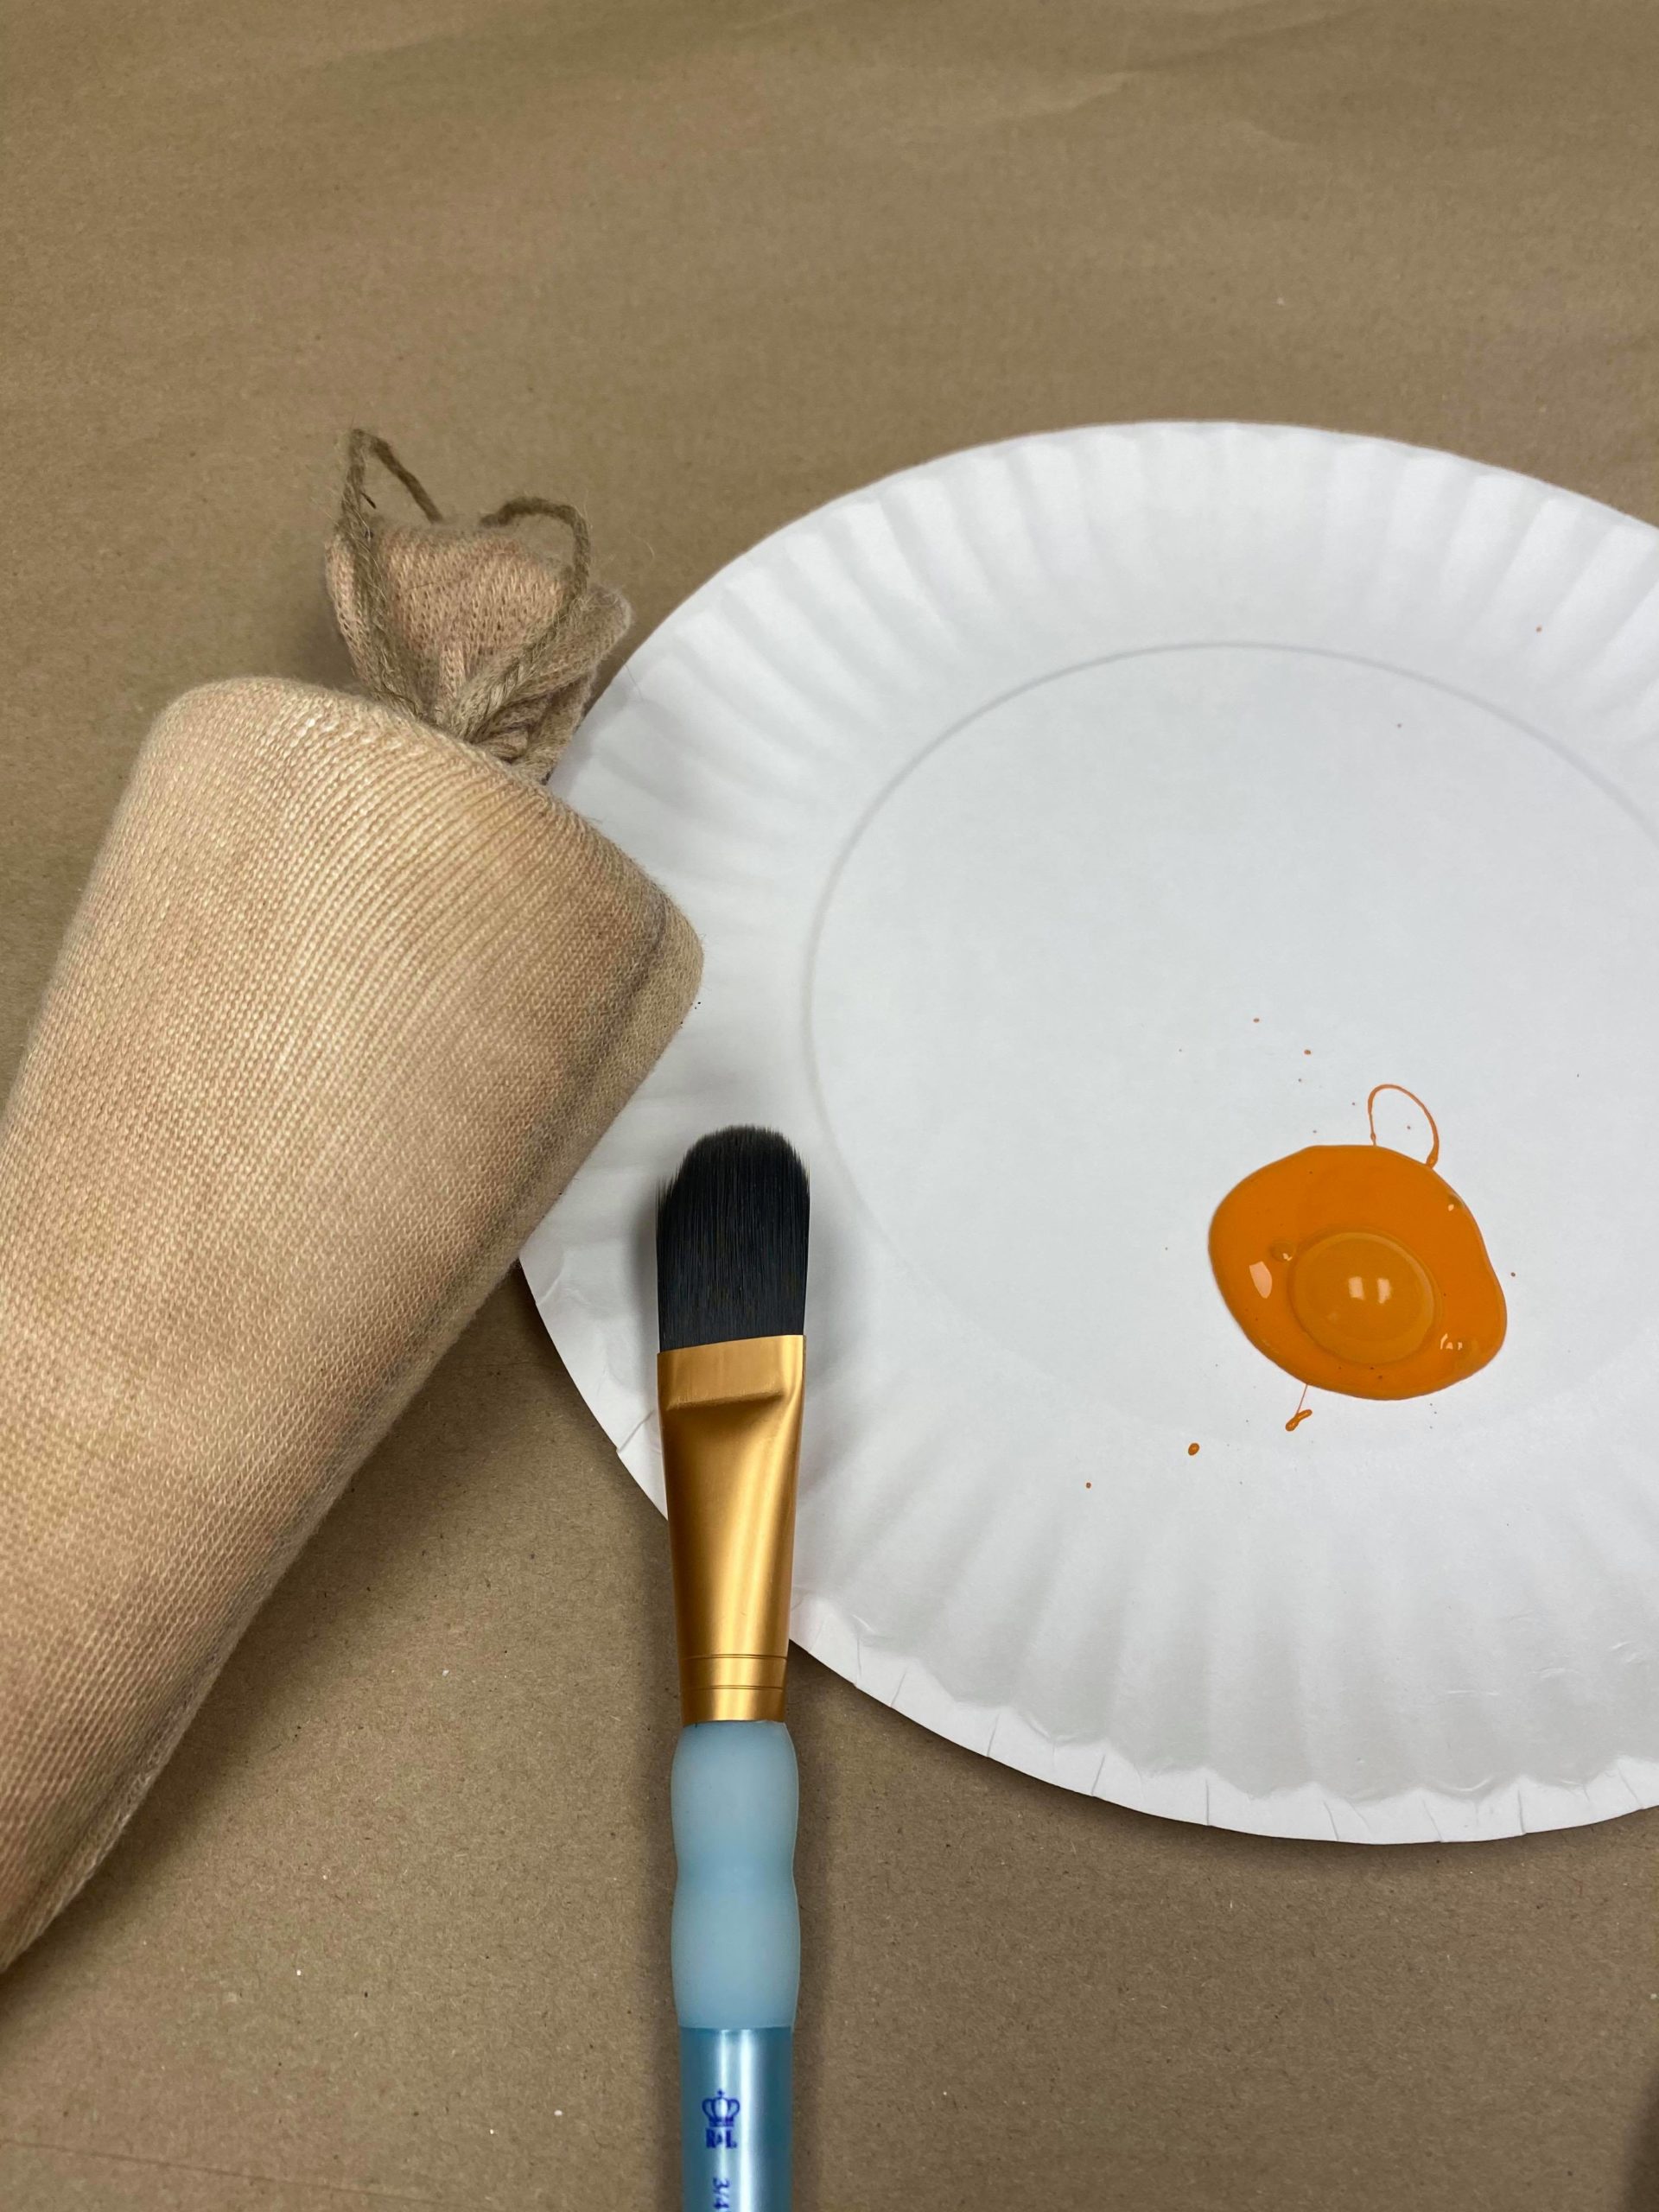
Once your sock is tied and in place you will want to paint the sock.

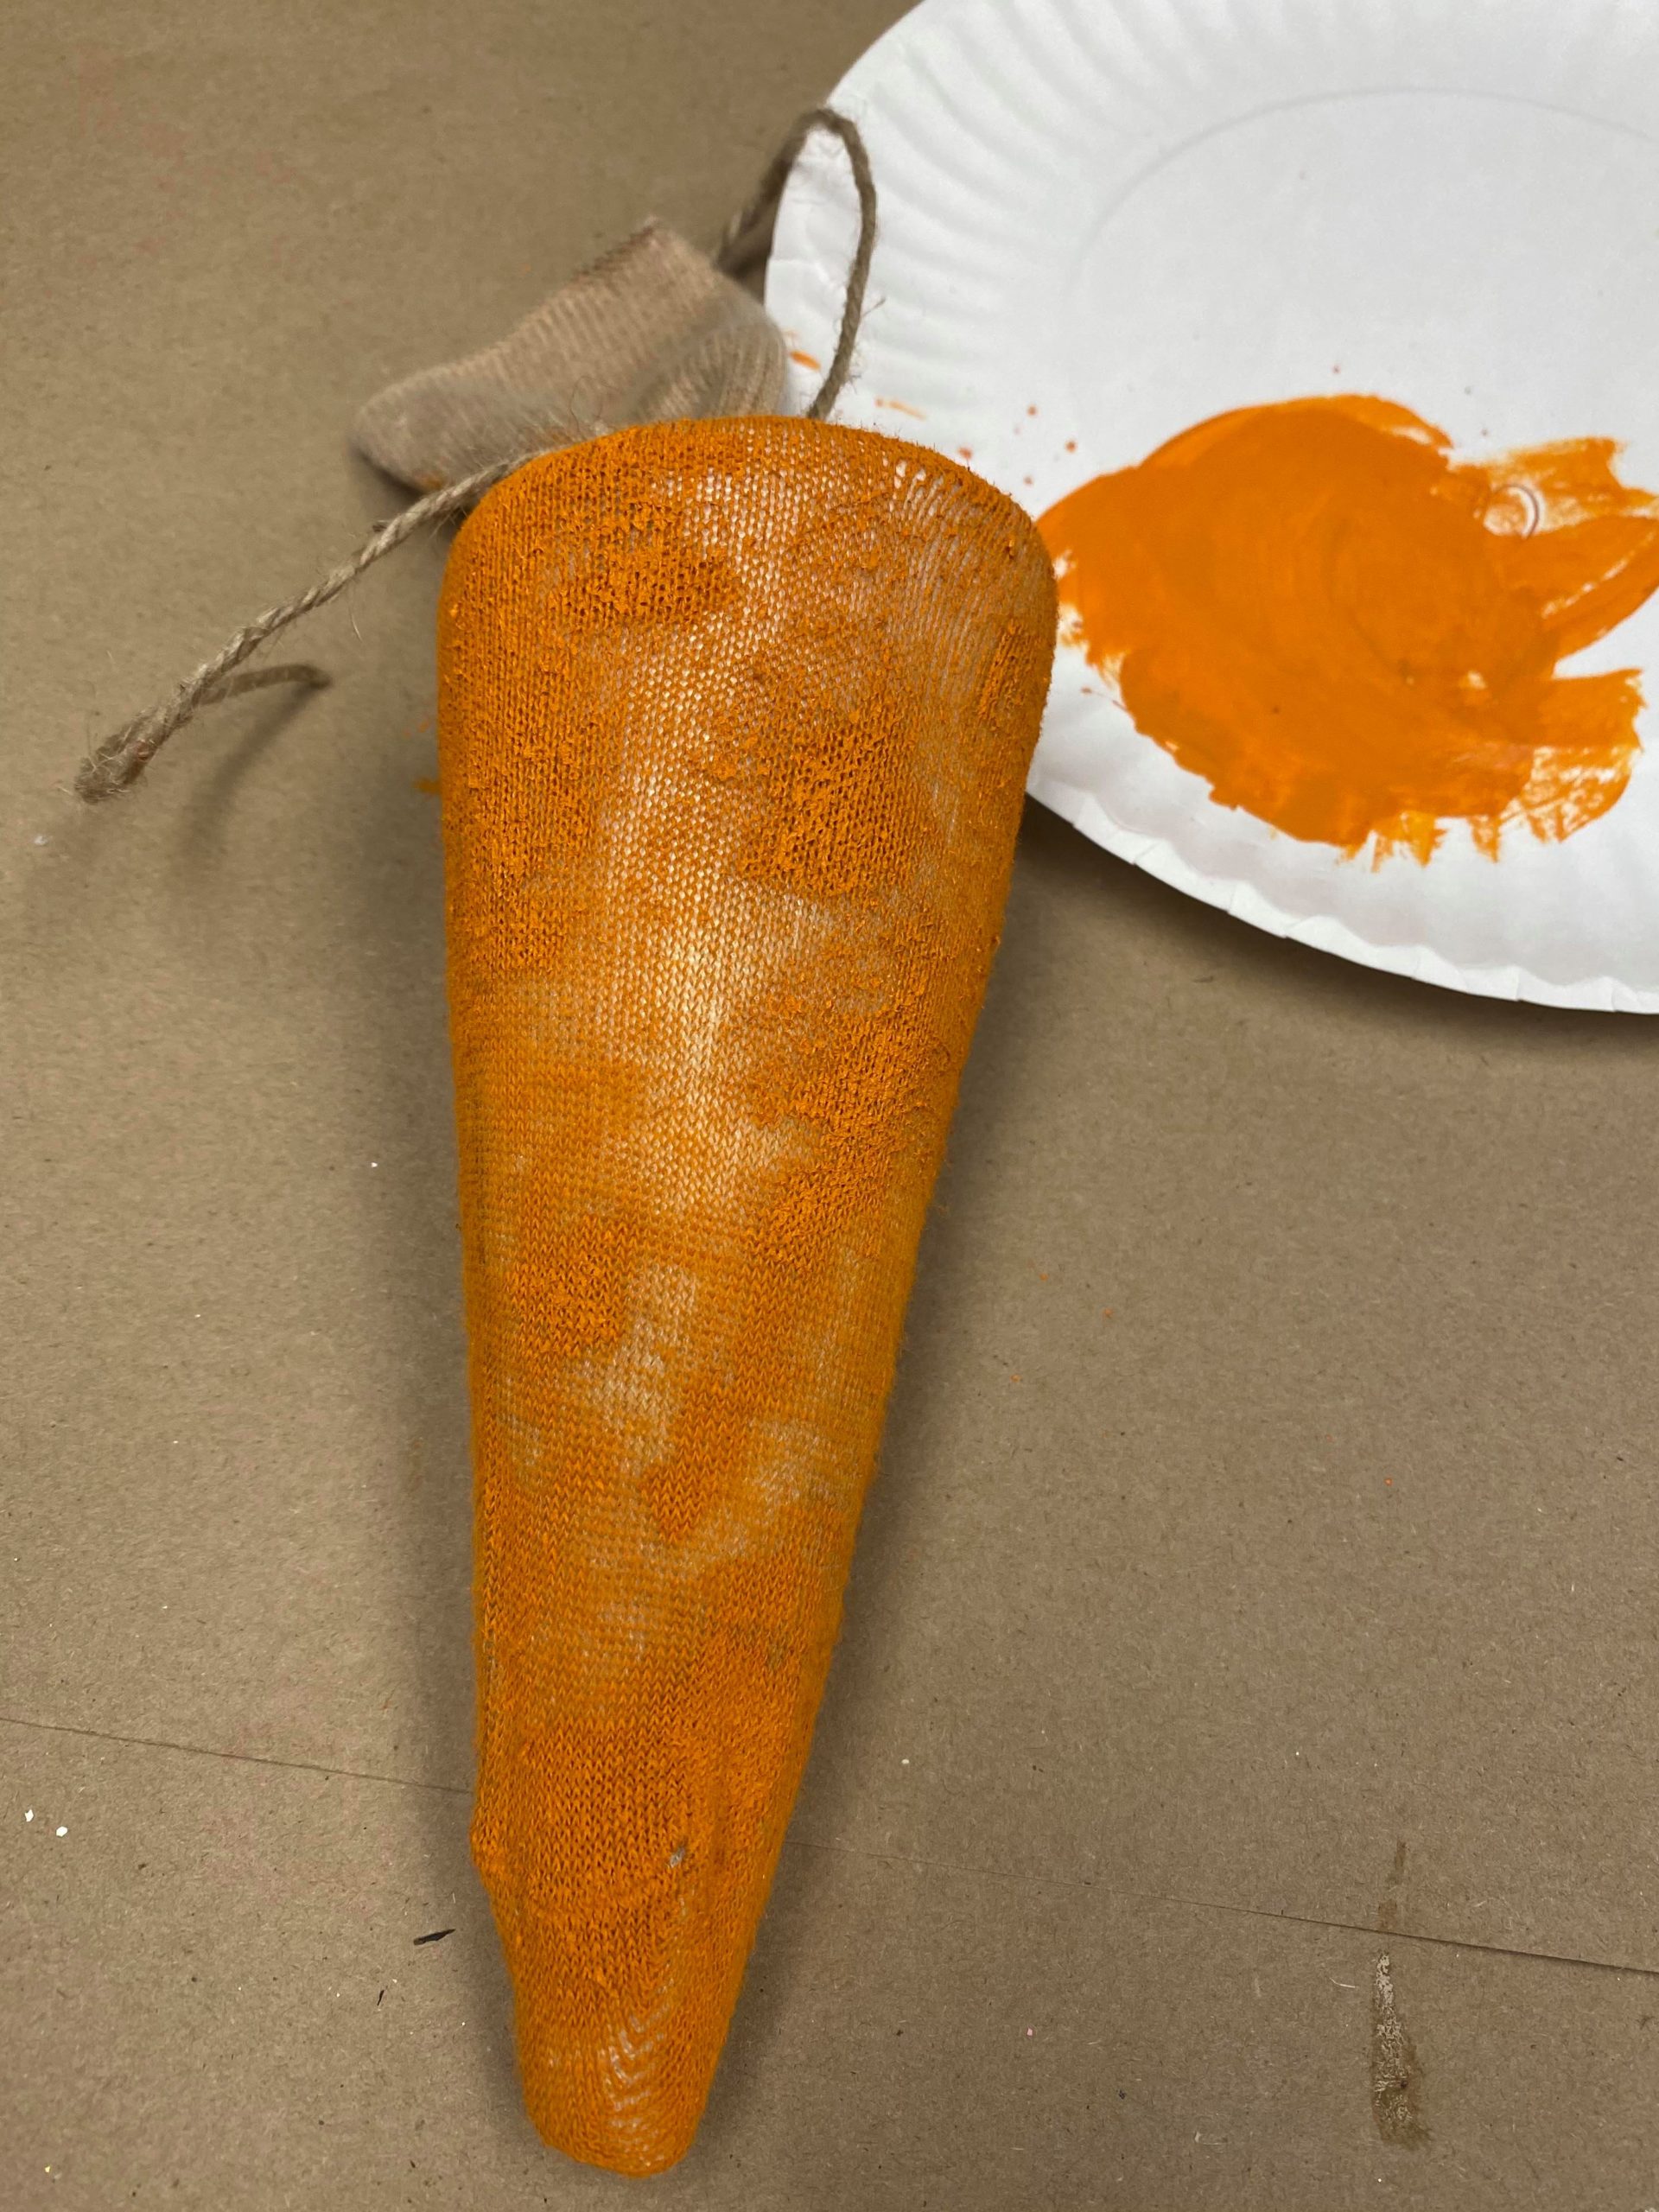
You will paint the main part of the carrot orange and leave the top fringe part to be painted green. Once the carrot is painted orange you will tie the end of a piece of twine to the bottom of the carrot.
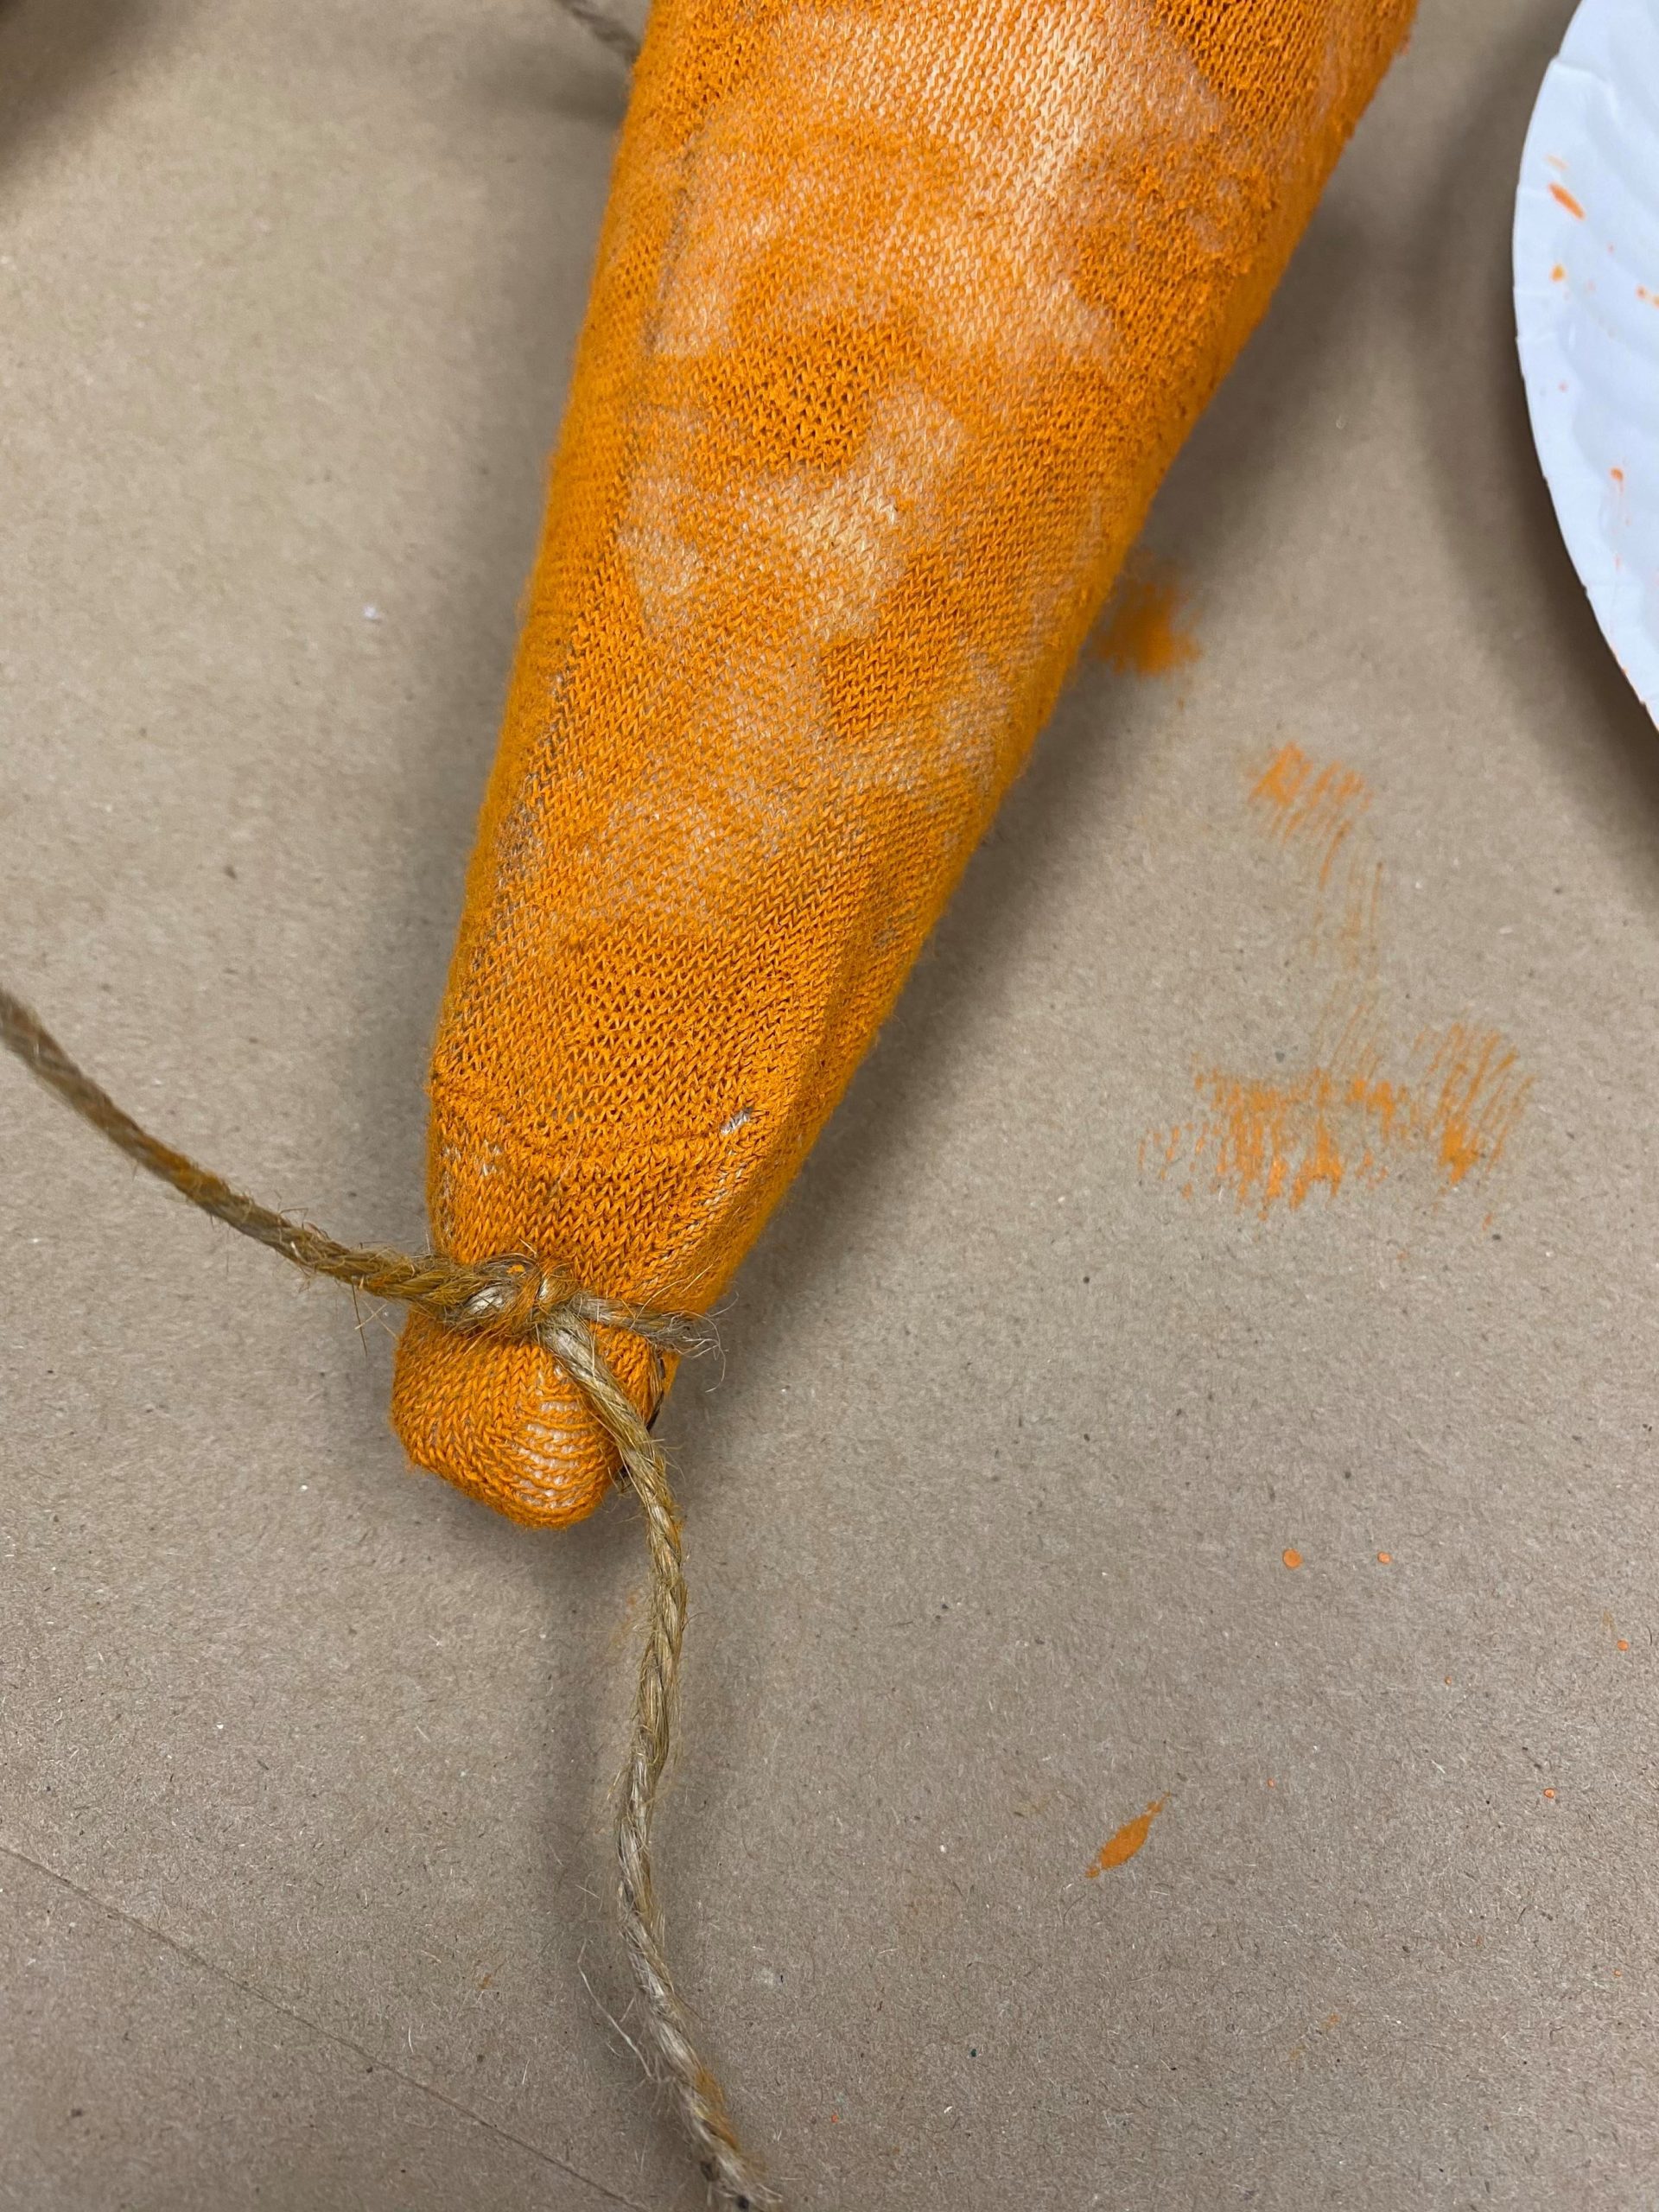
I tied a double knot to secure the twine in place.
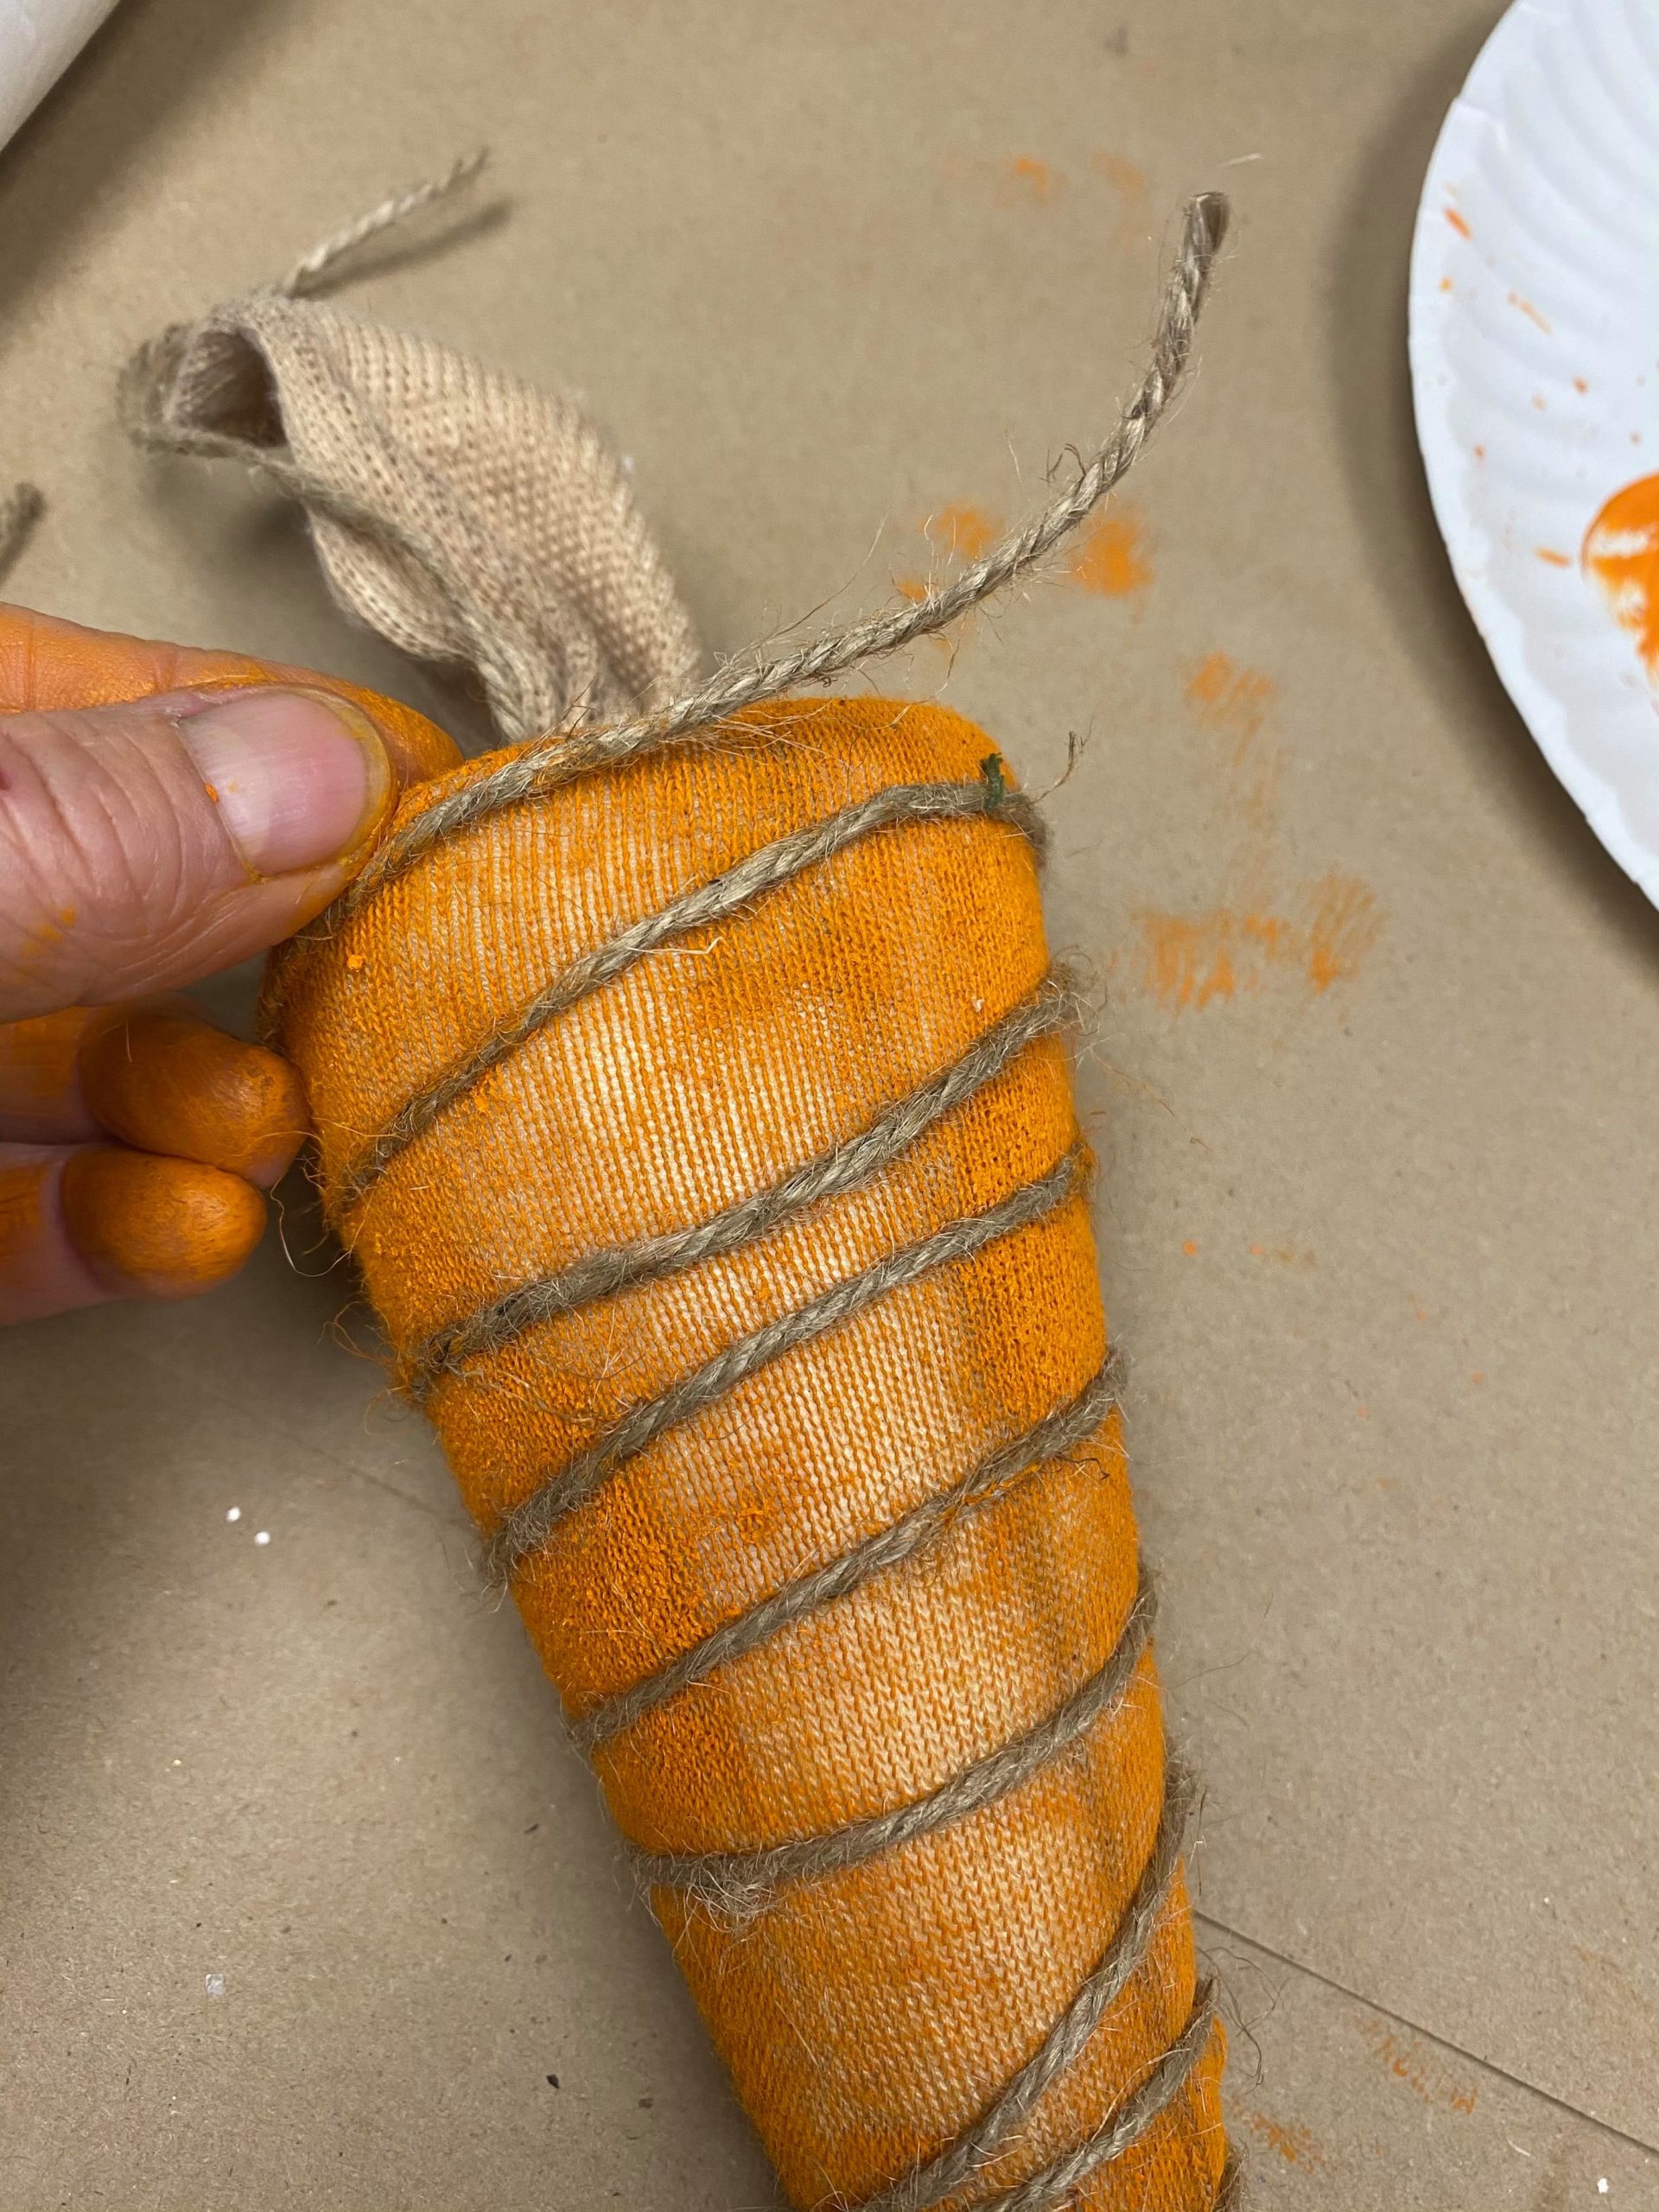
When you get to the top you will want to tie the end to the previous wrap of twine.
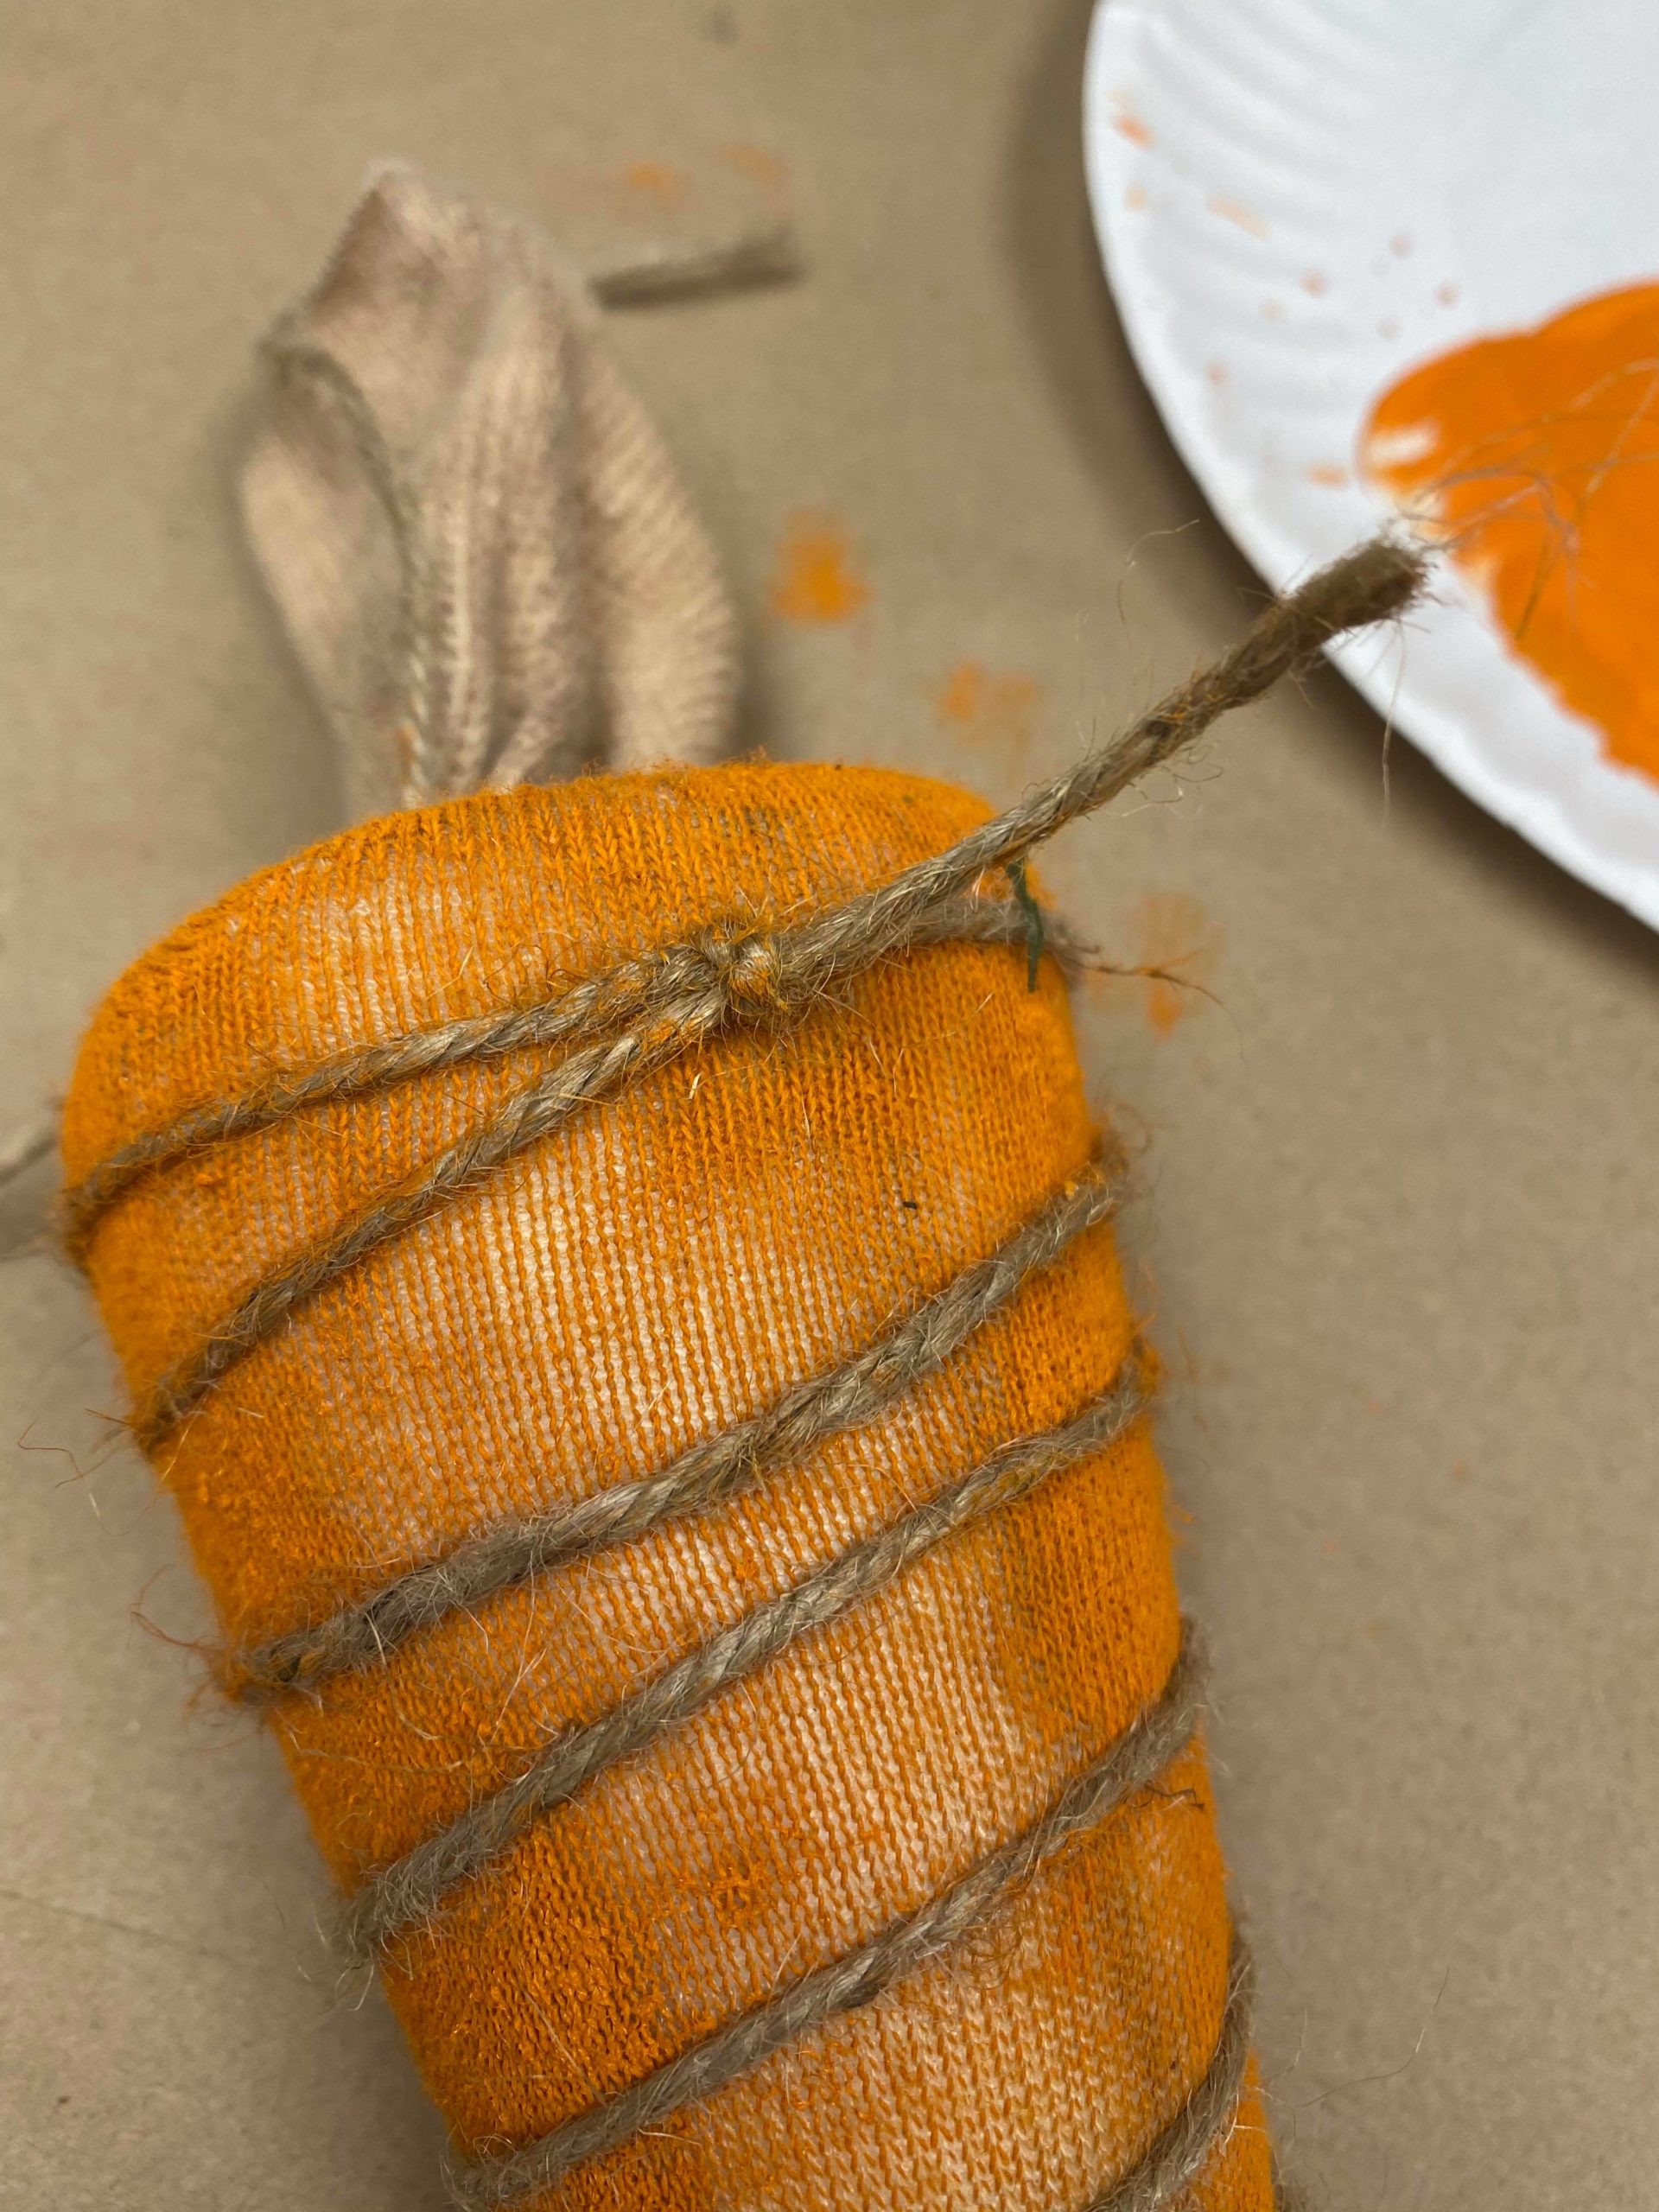

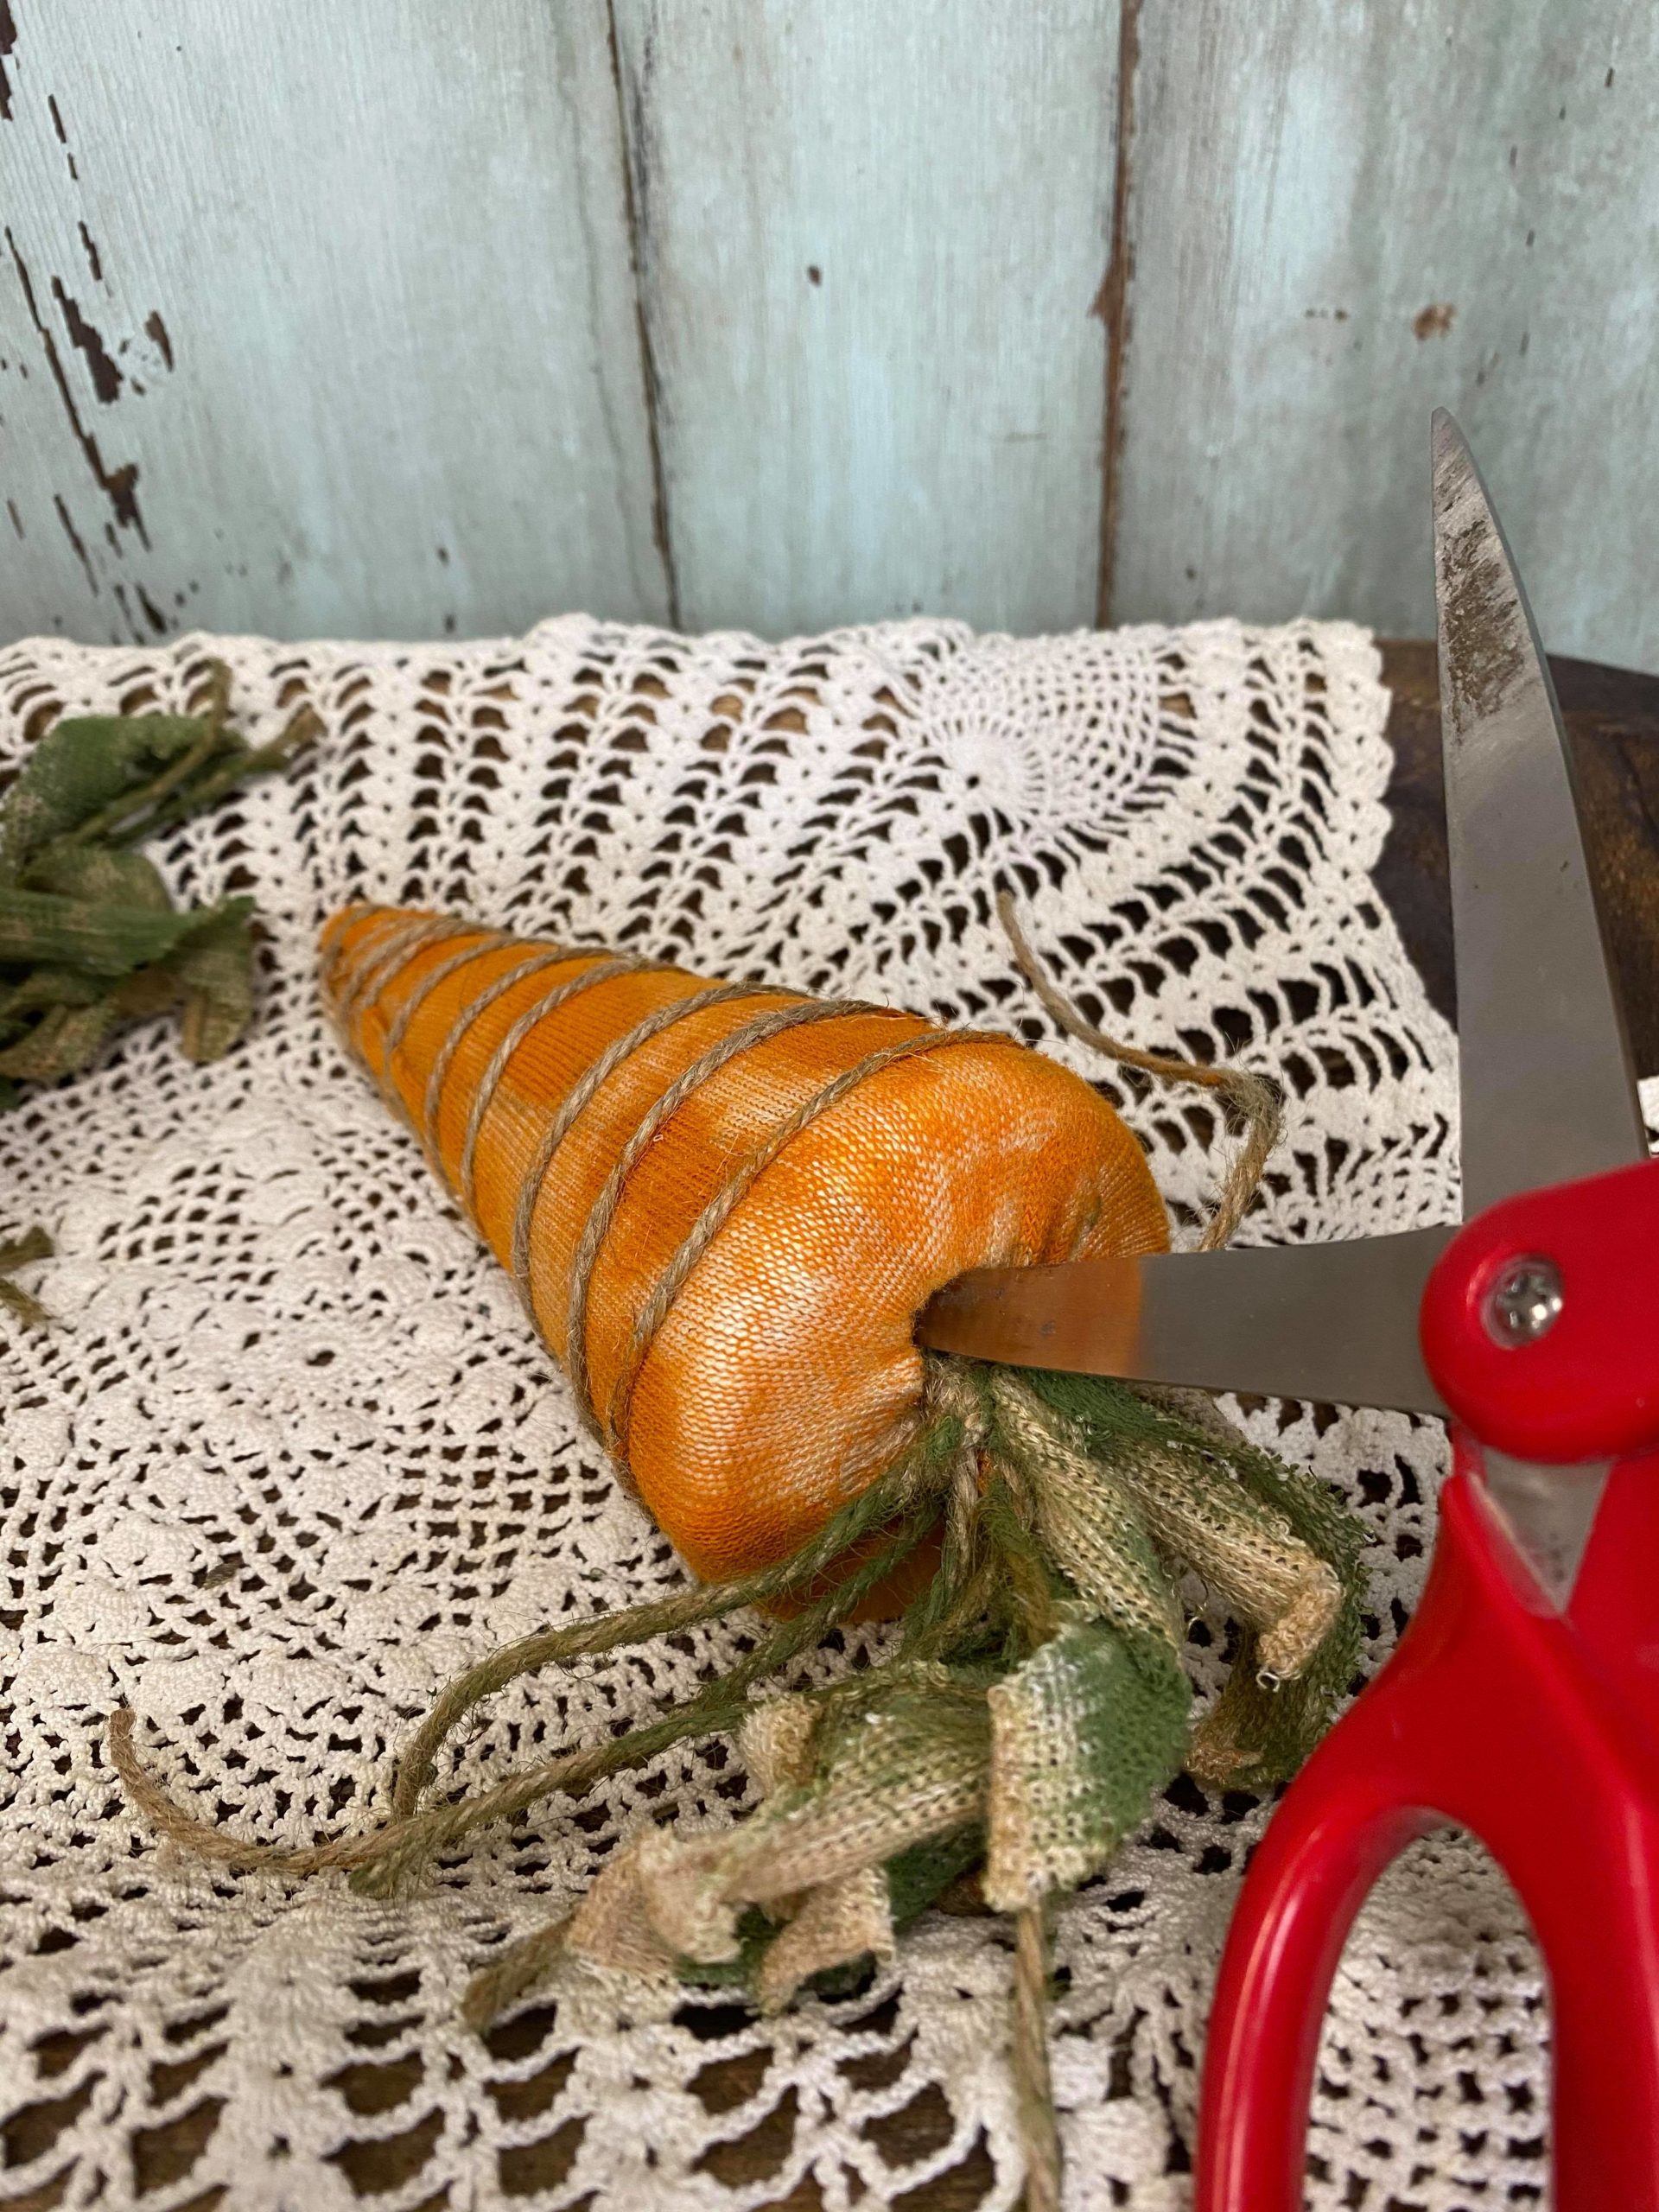
You will cut the end piece of the twine off.

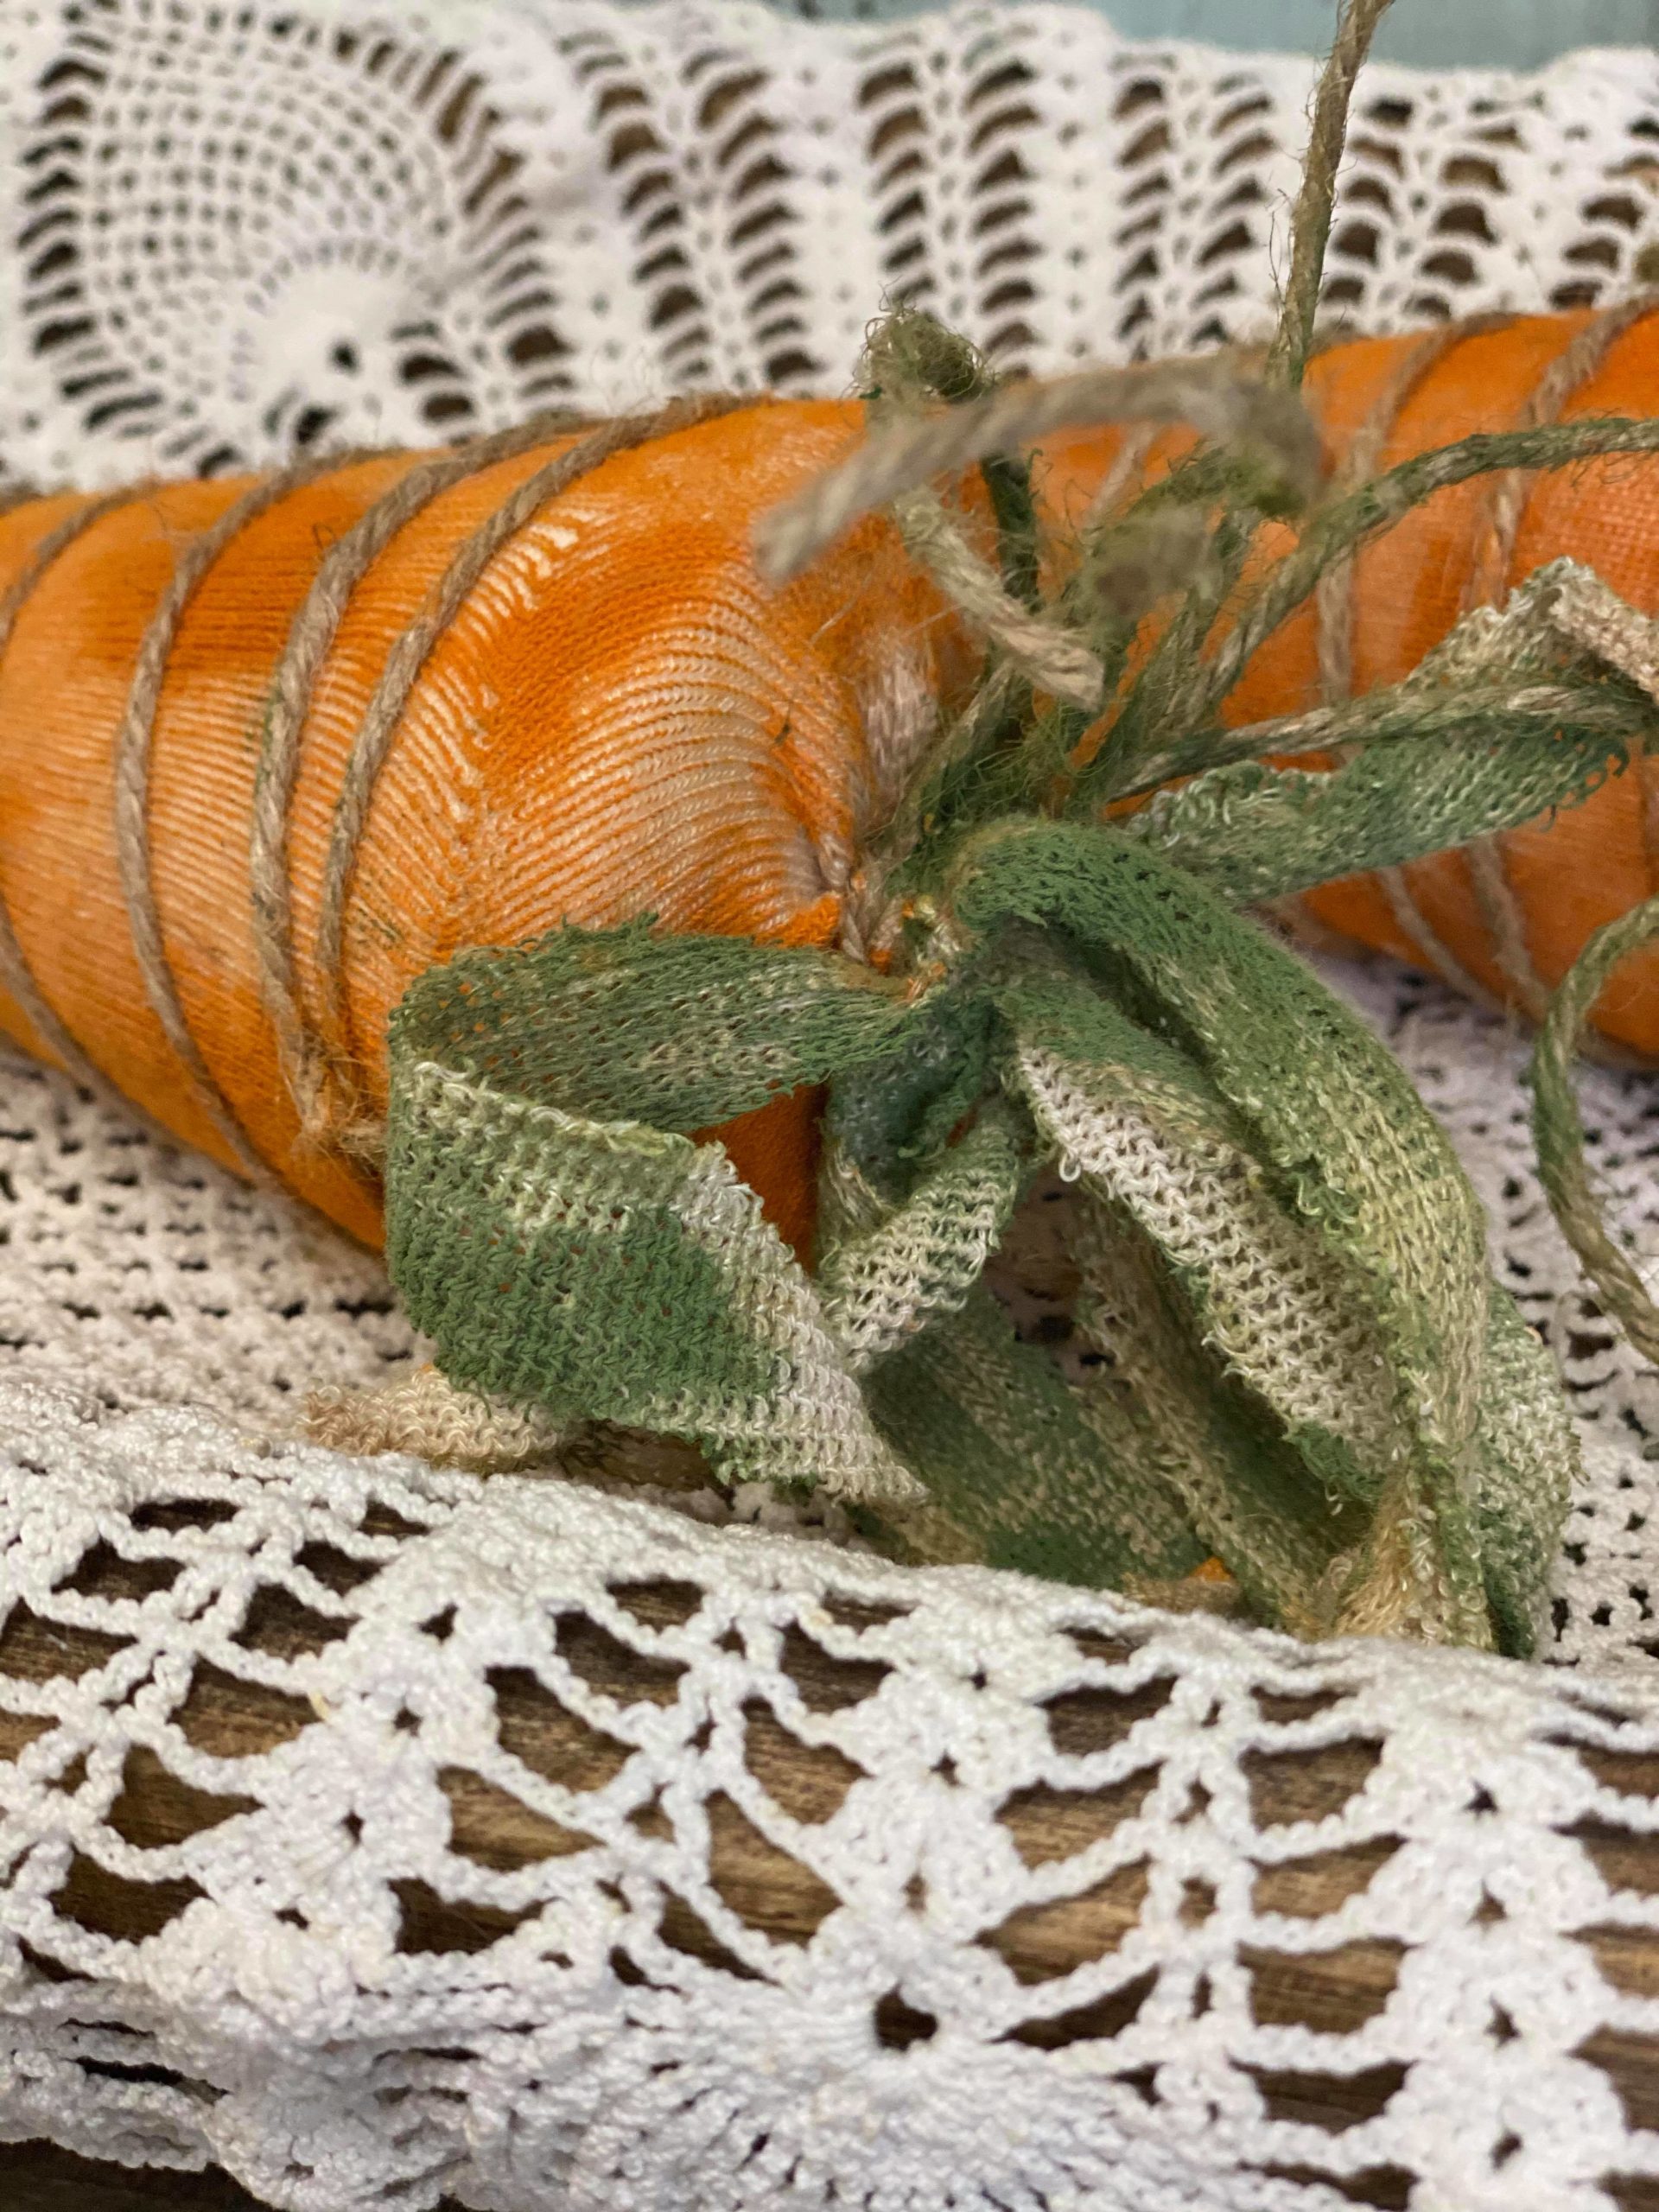
I tied a few extra pieces of twine around the top piece of the carrot just to add to the fringe.
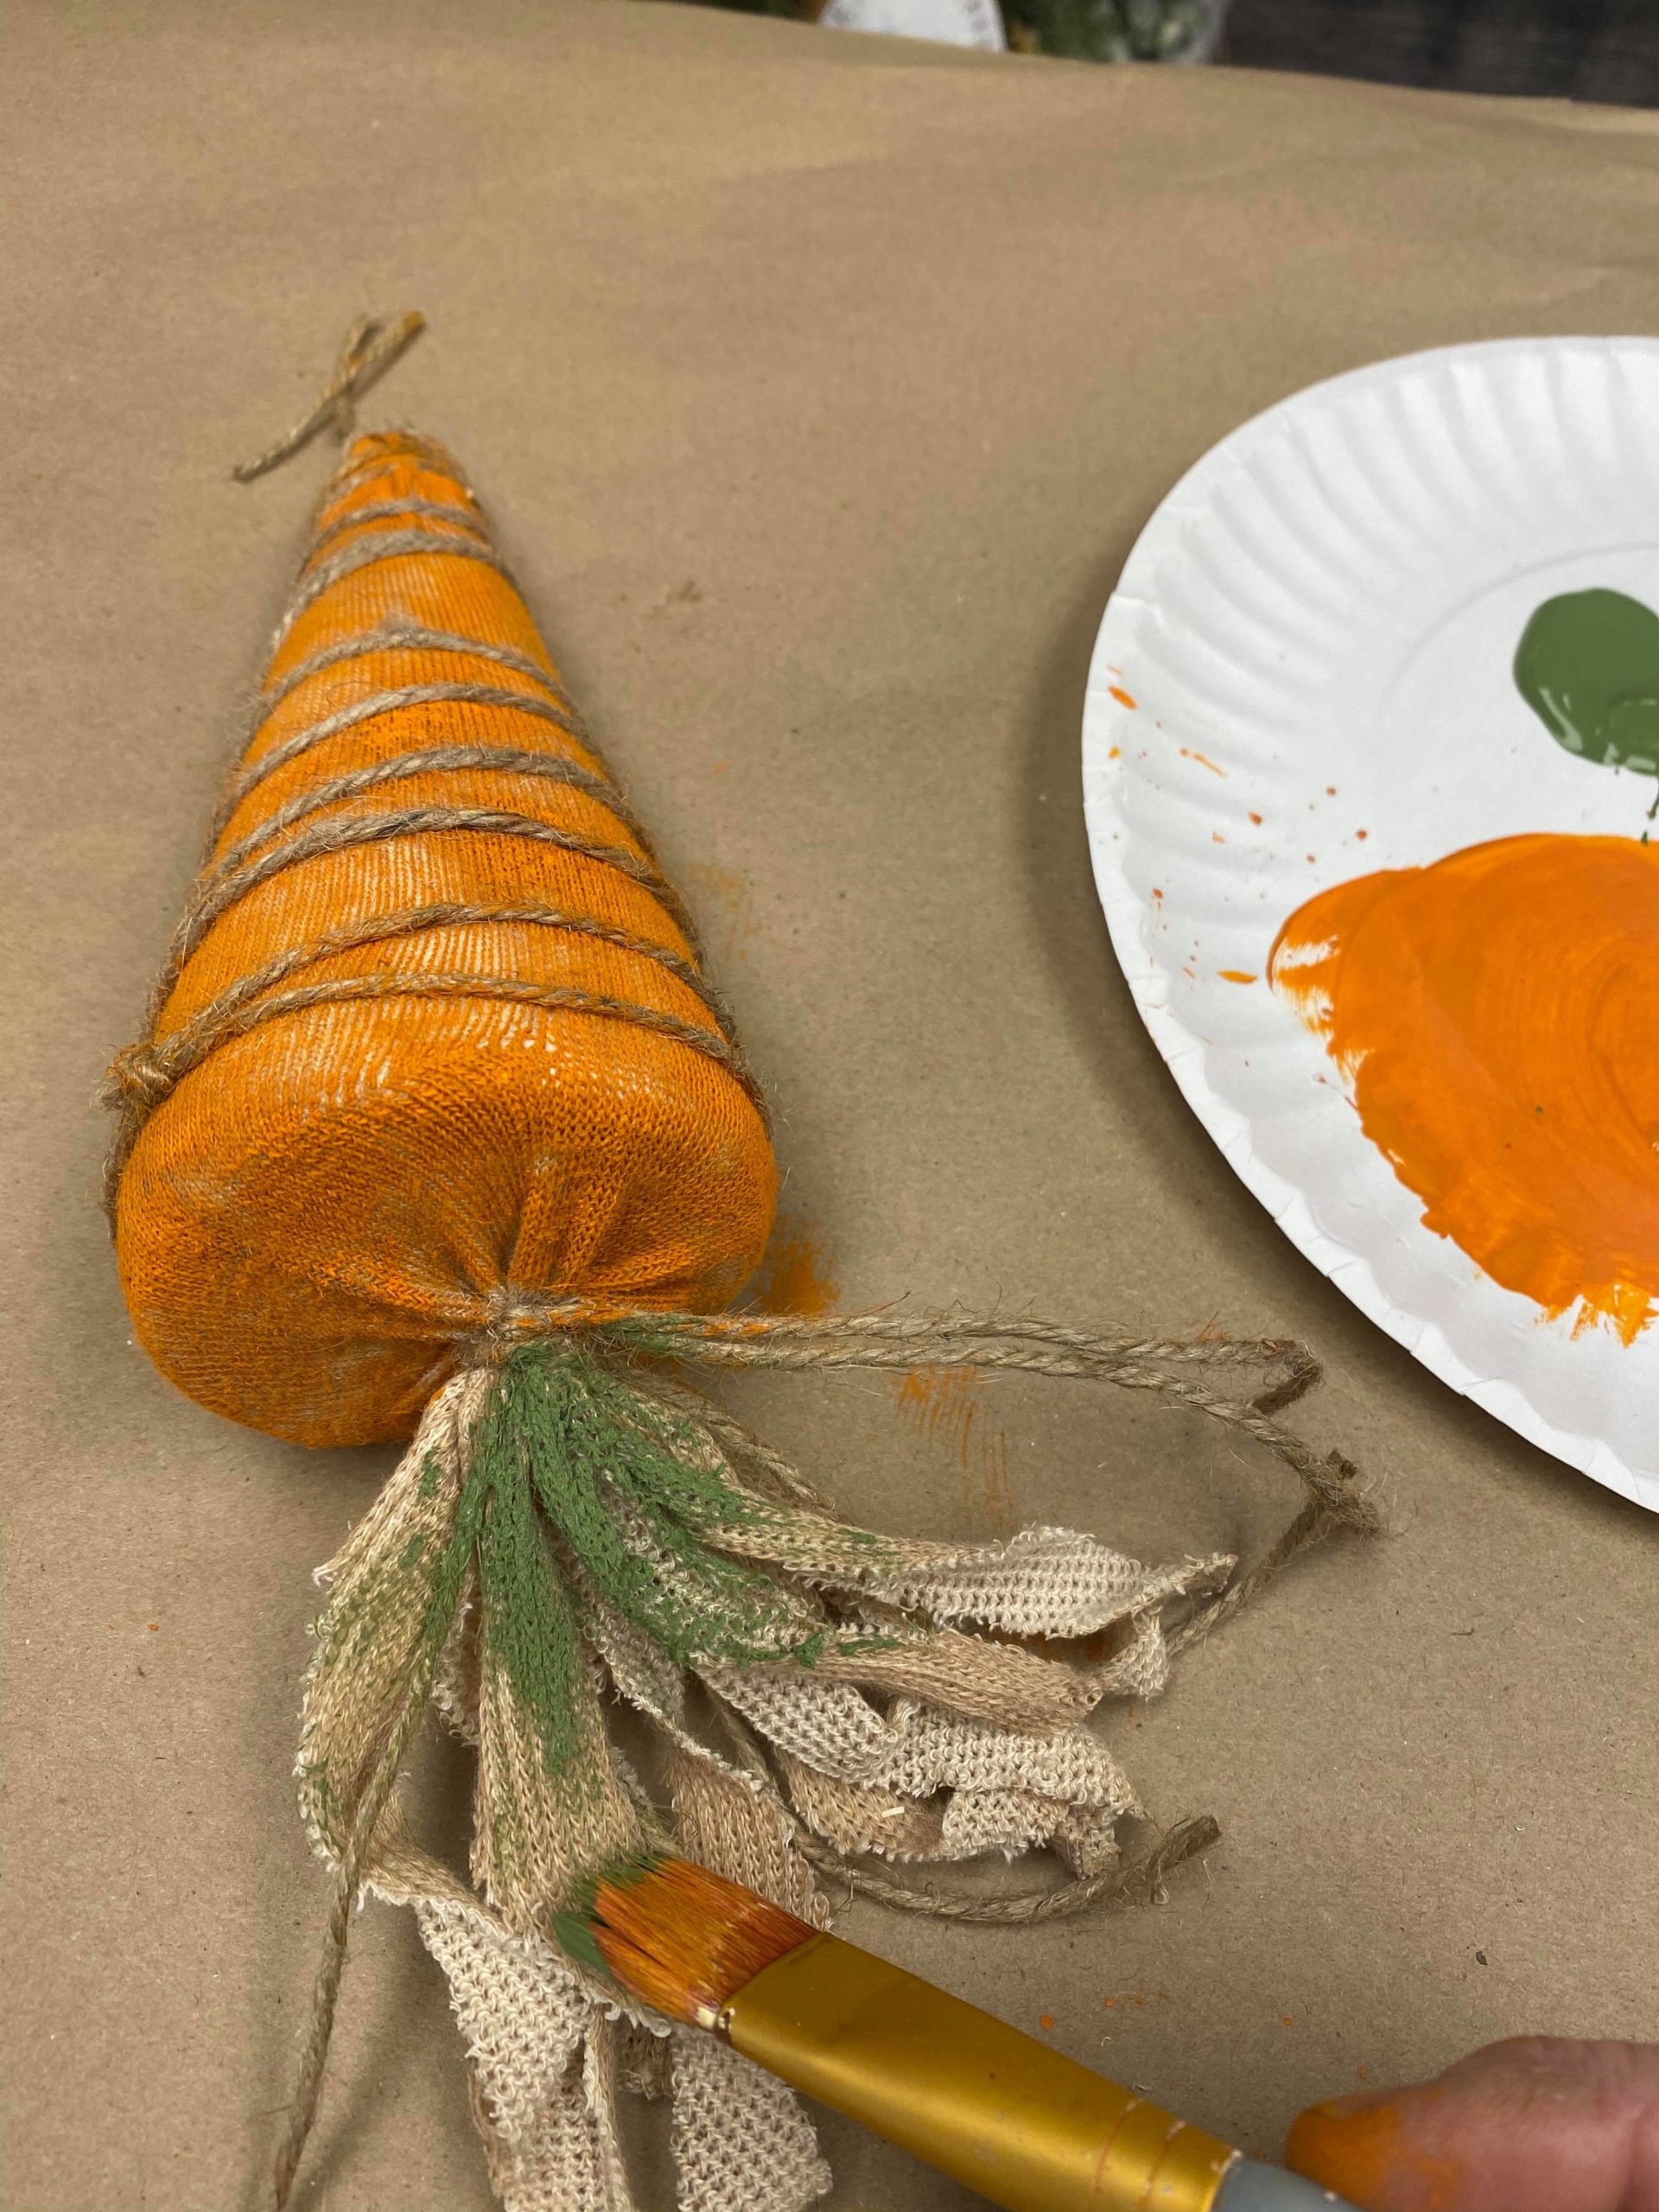
You will then paint the top fringe part green.
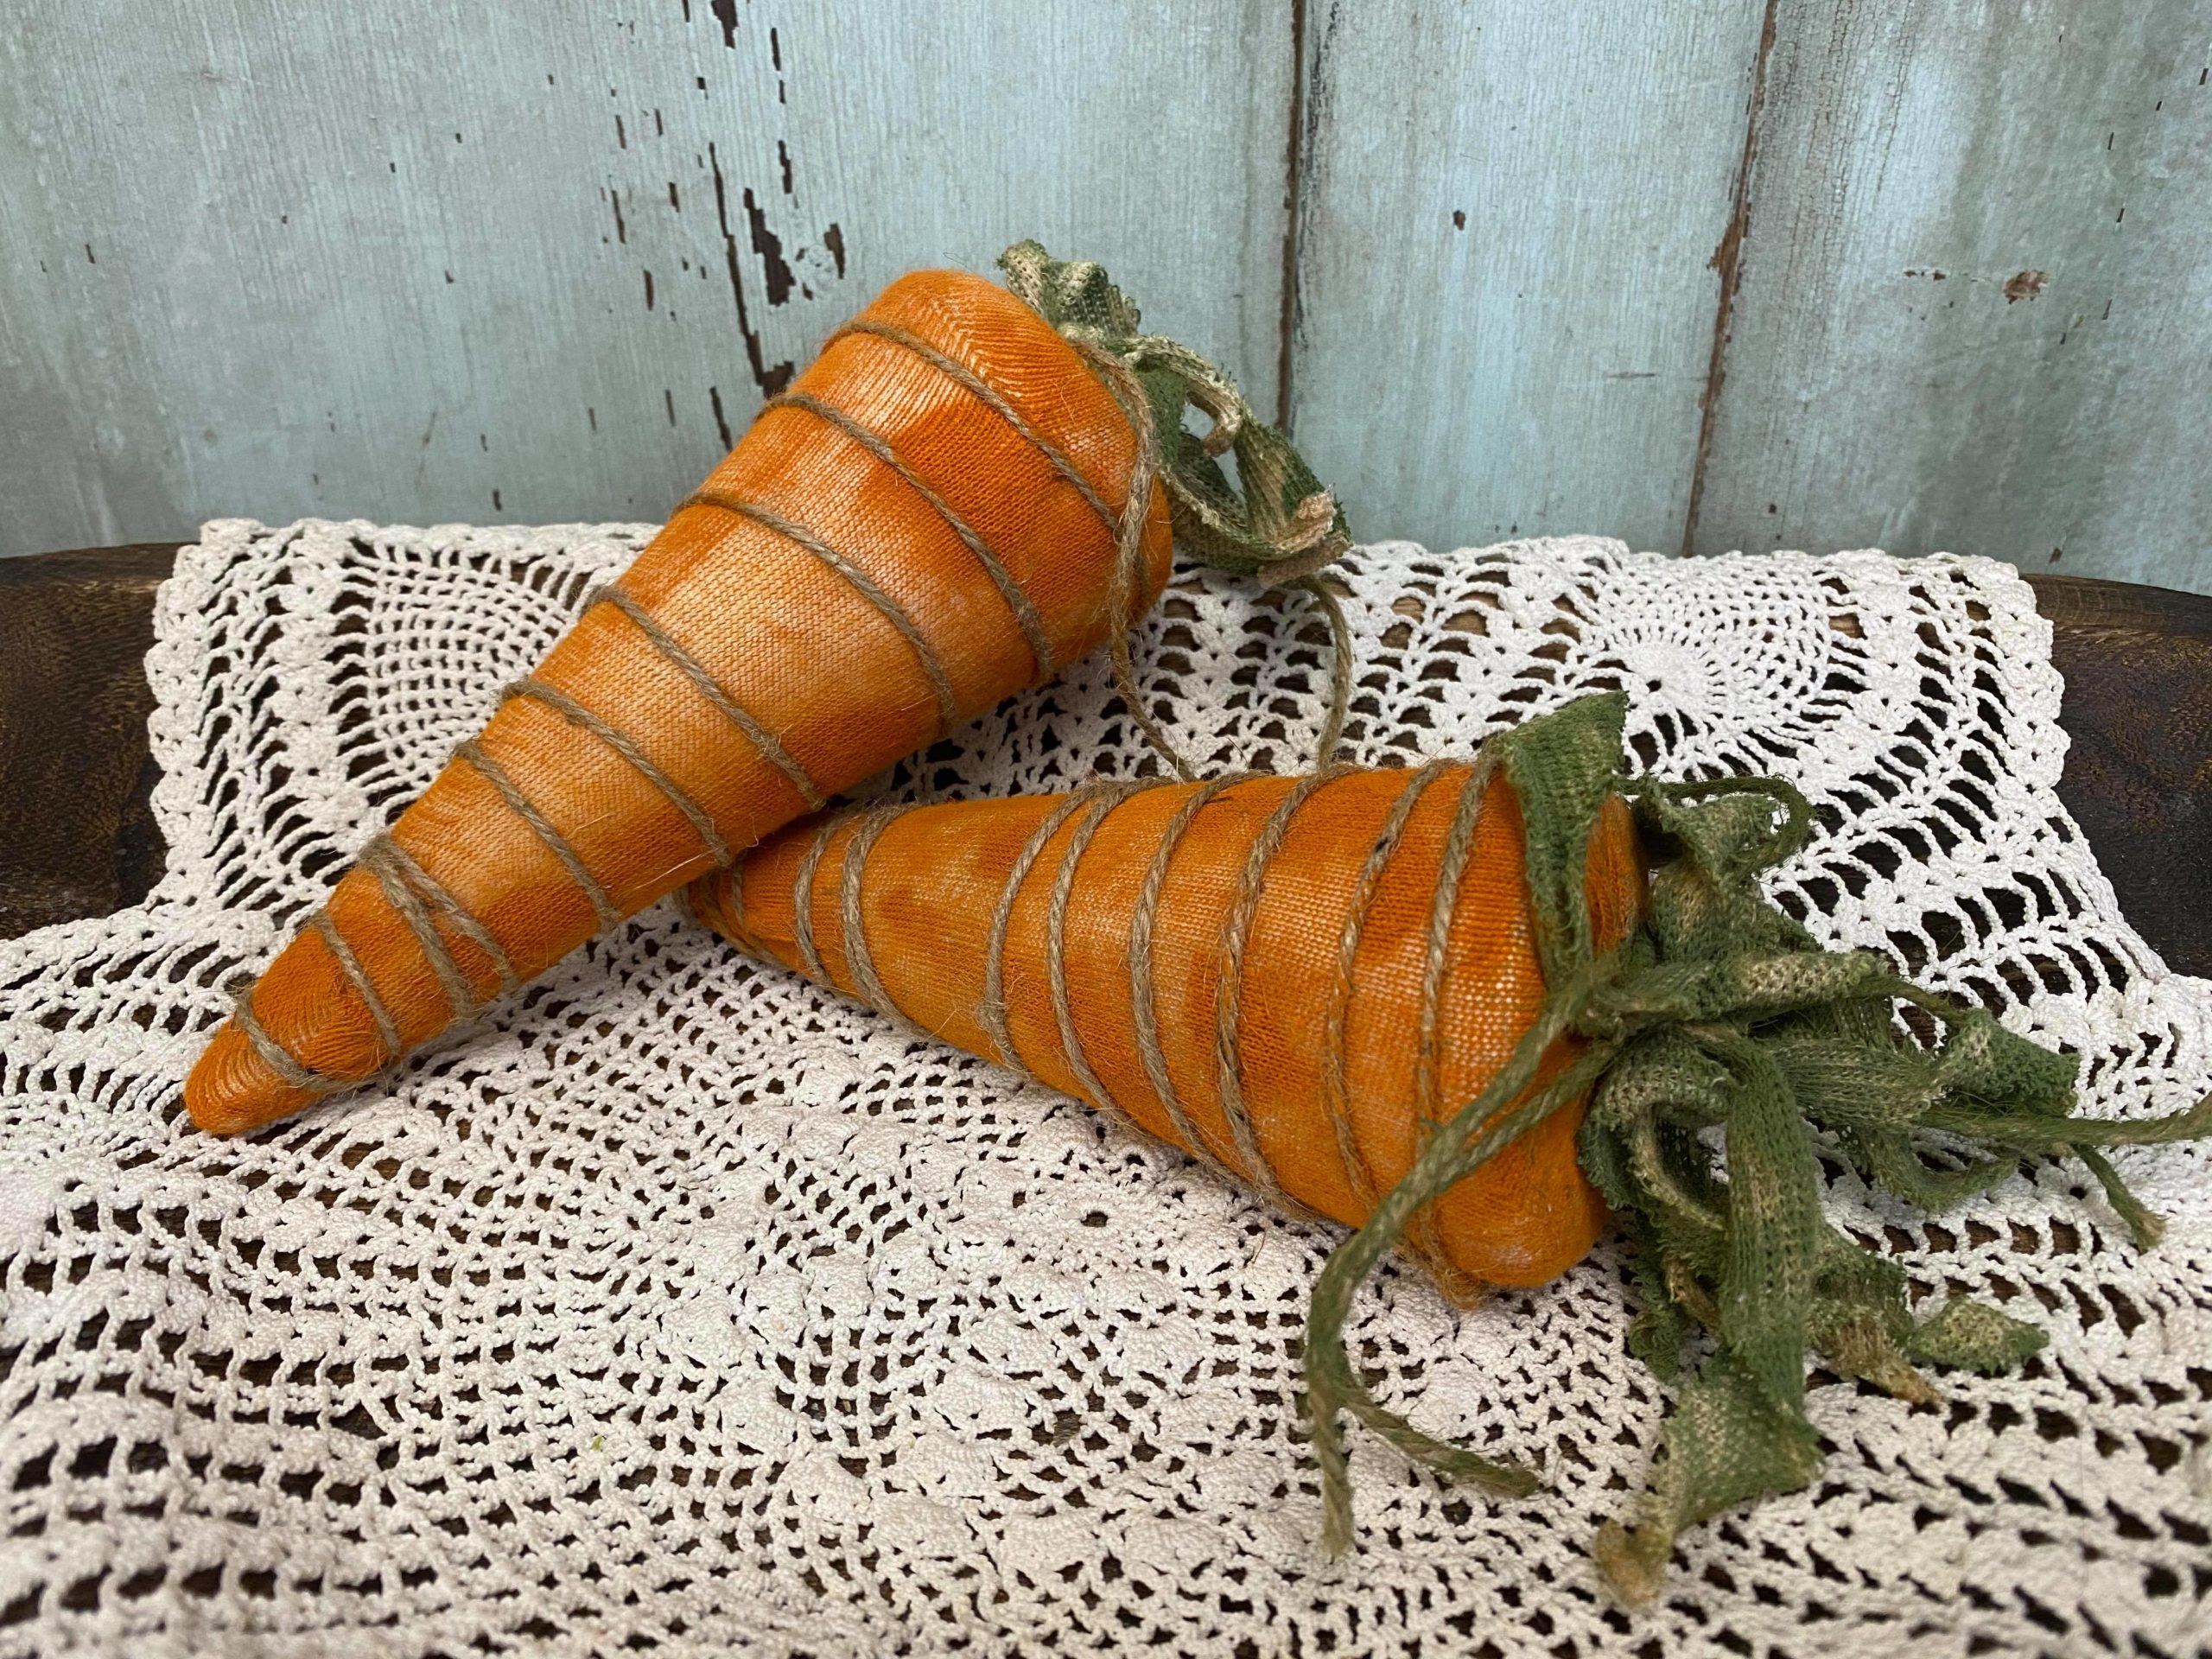
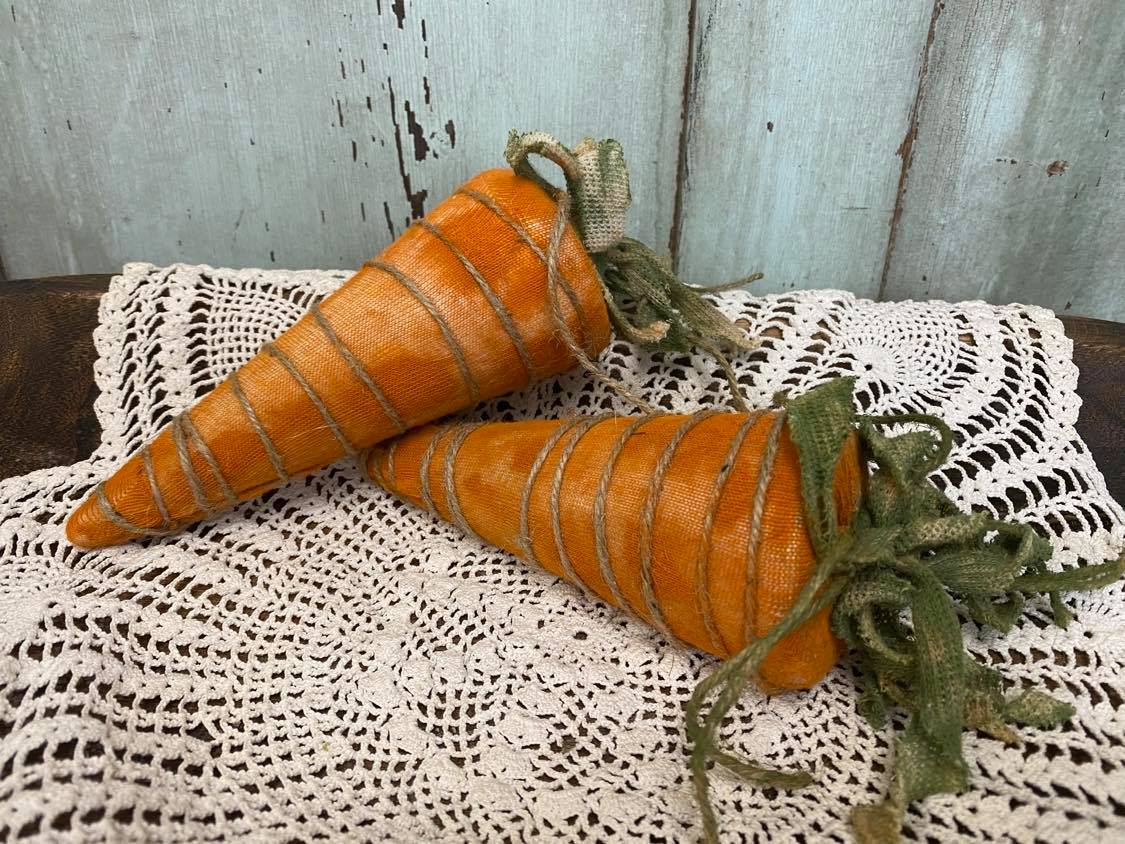
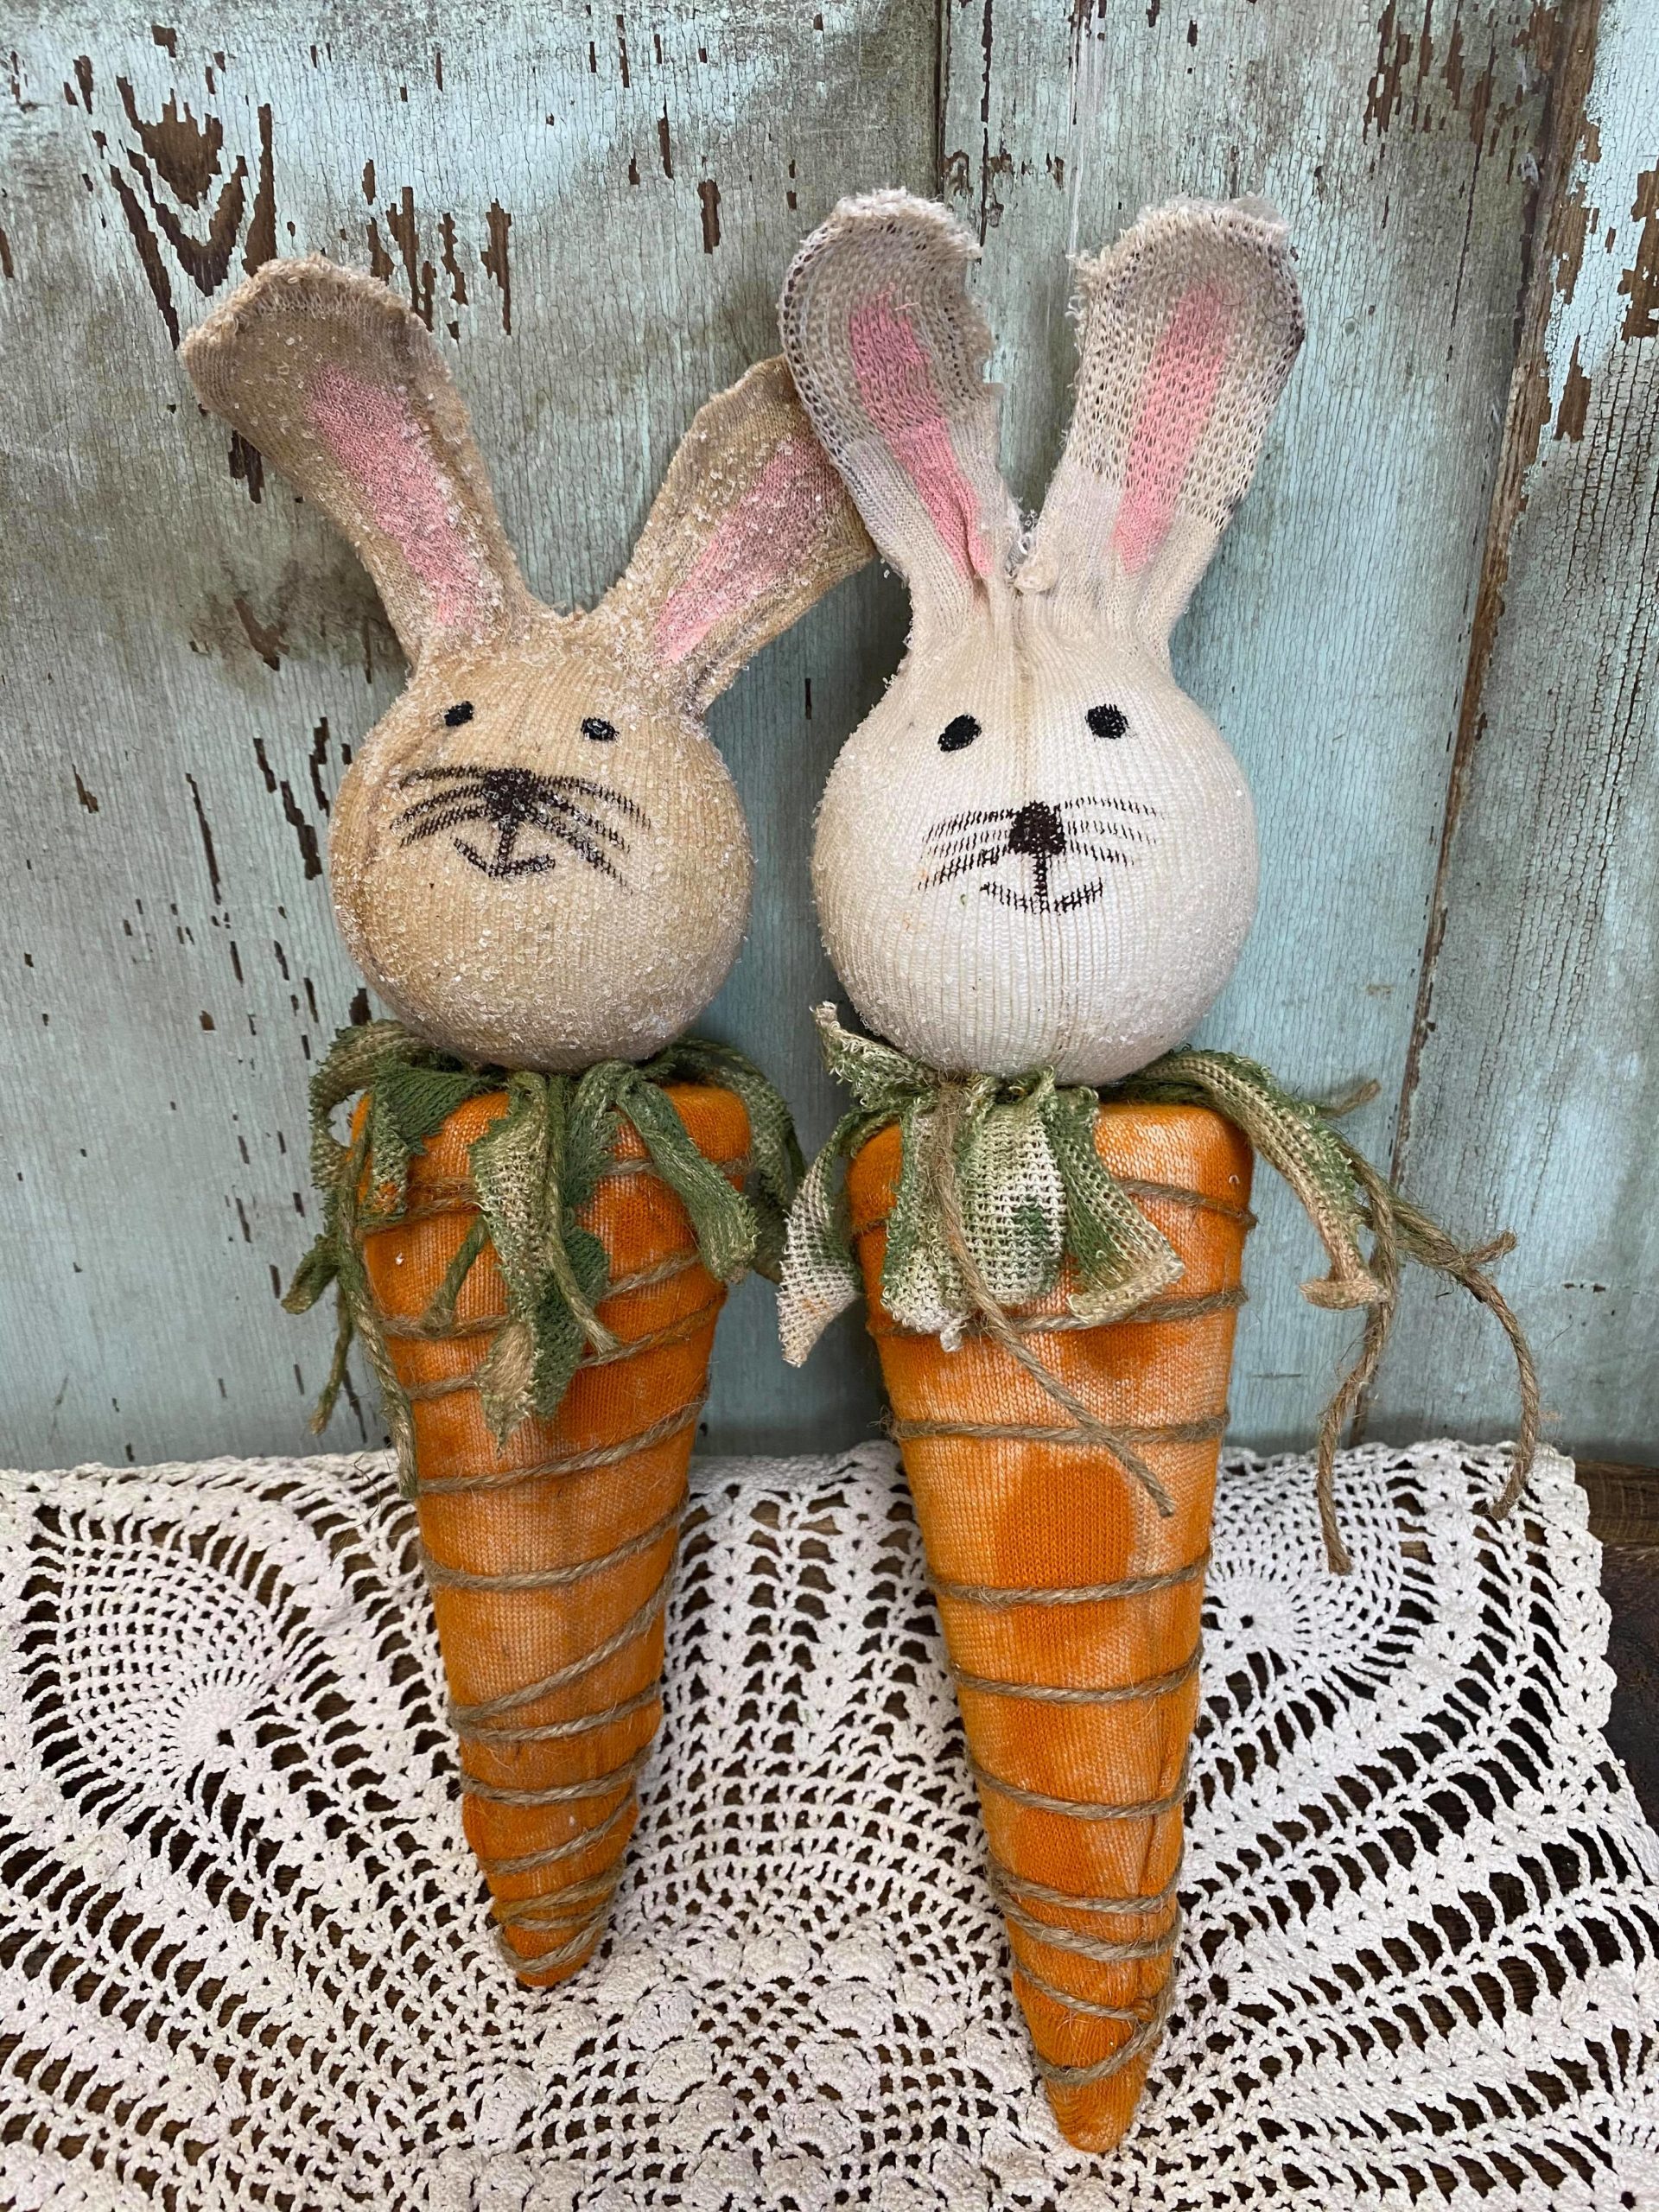
These are so easy to make and look amazing in a dough bowl.
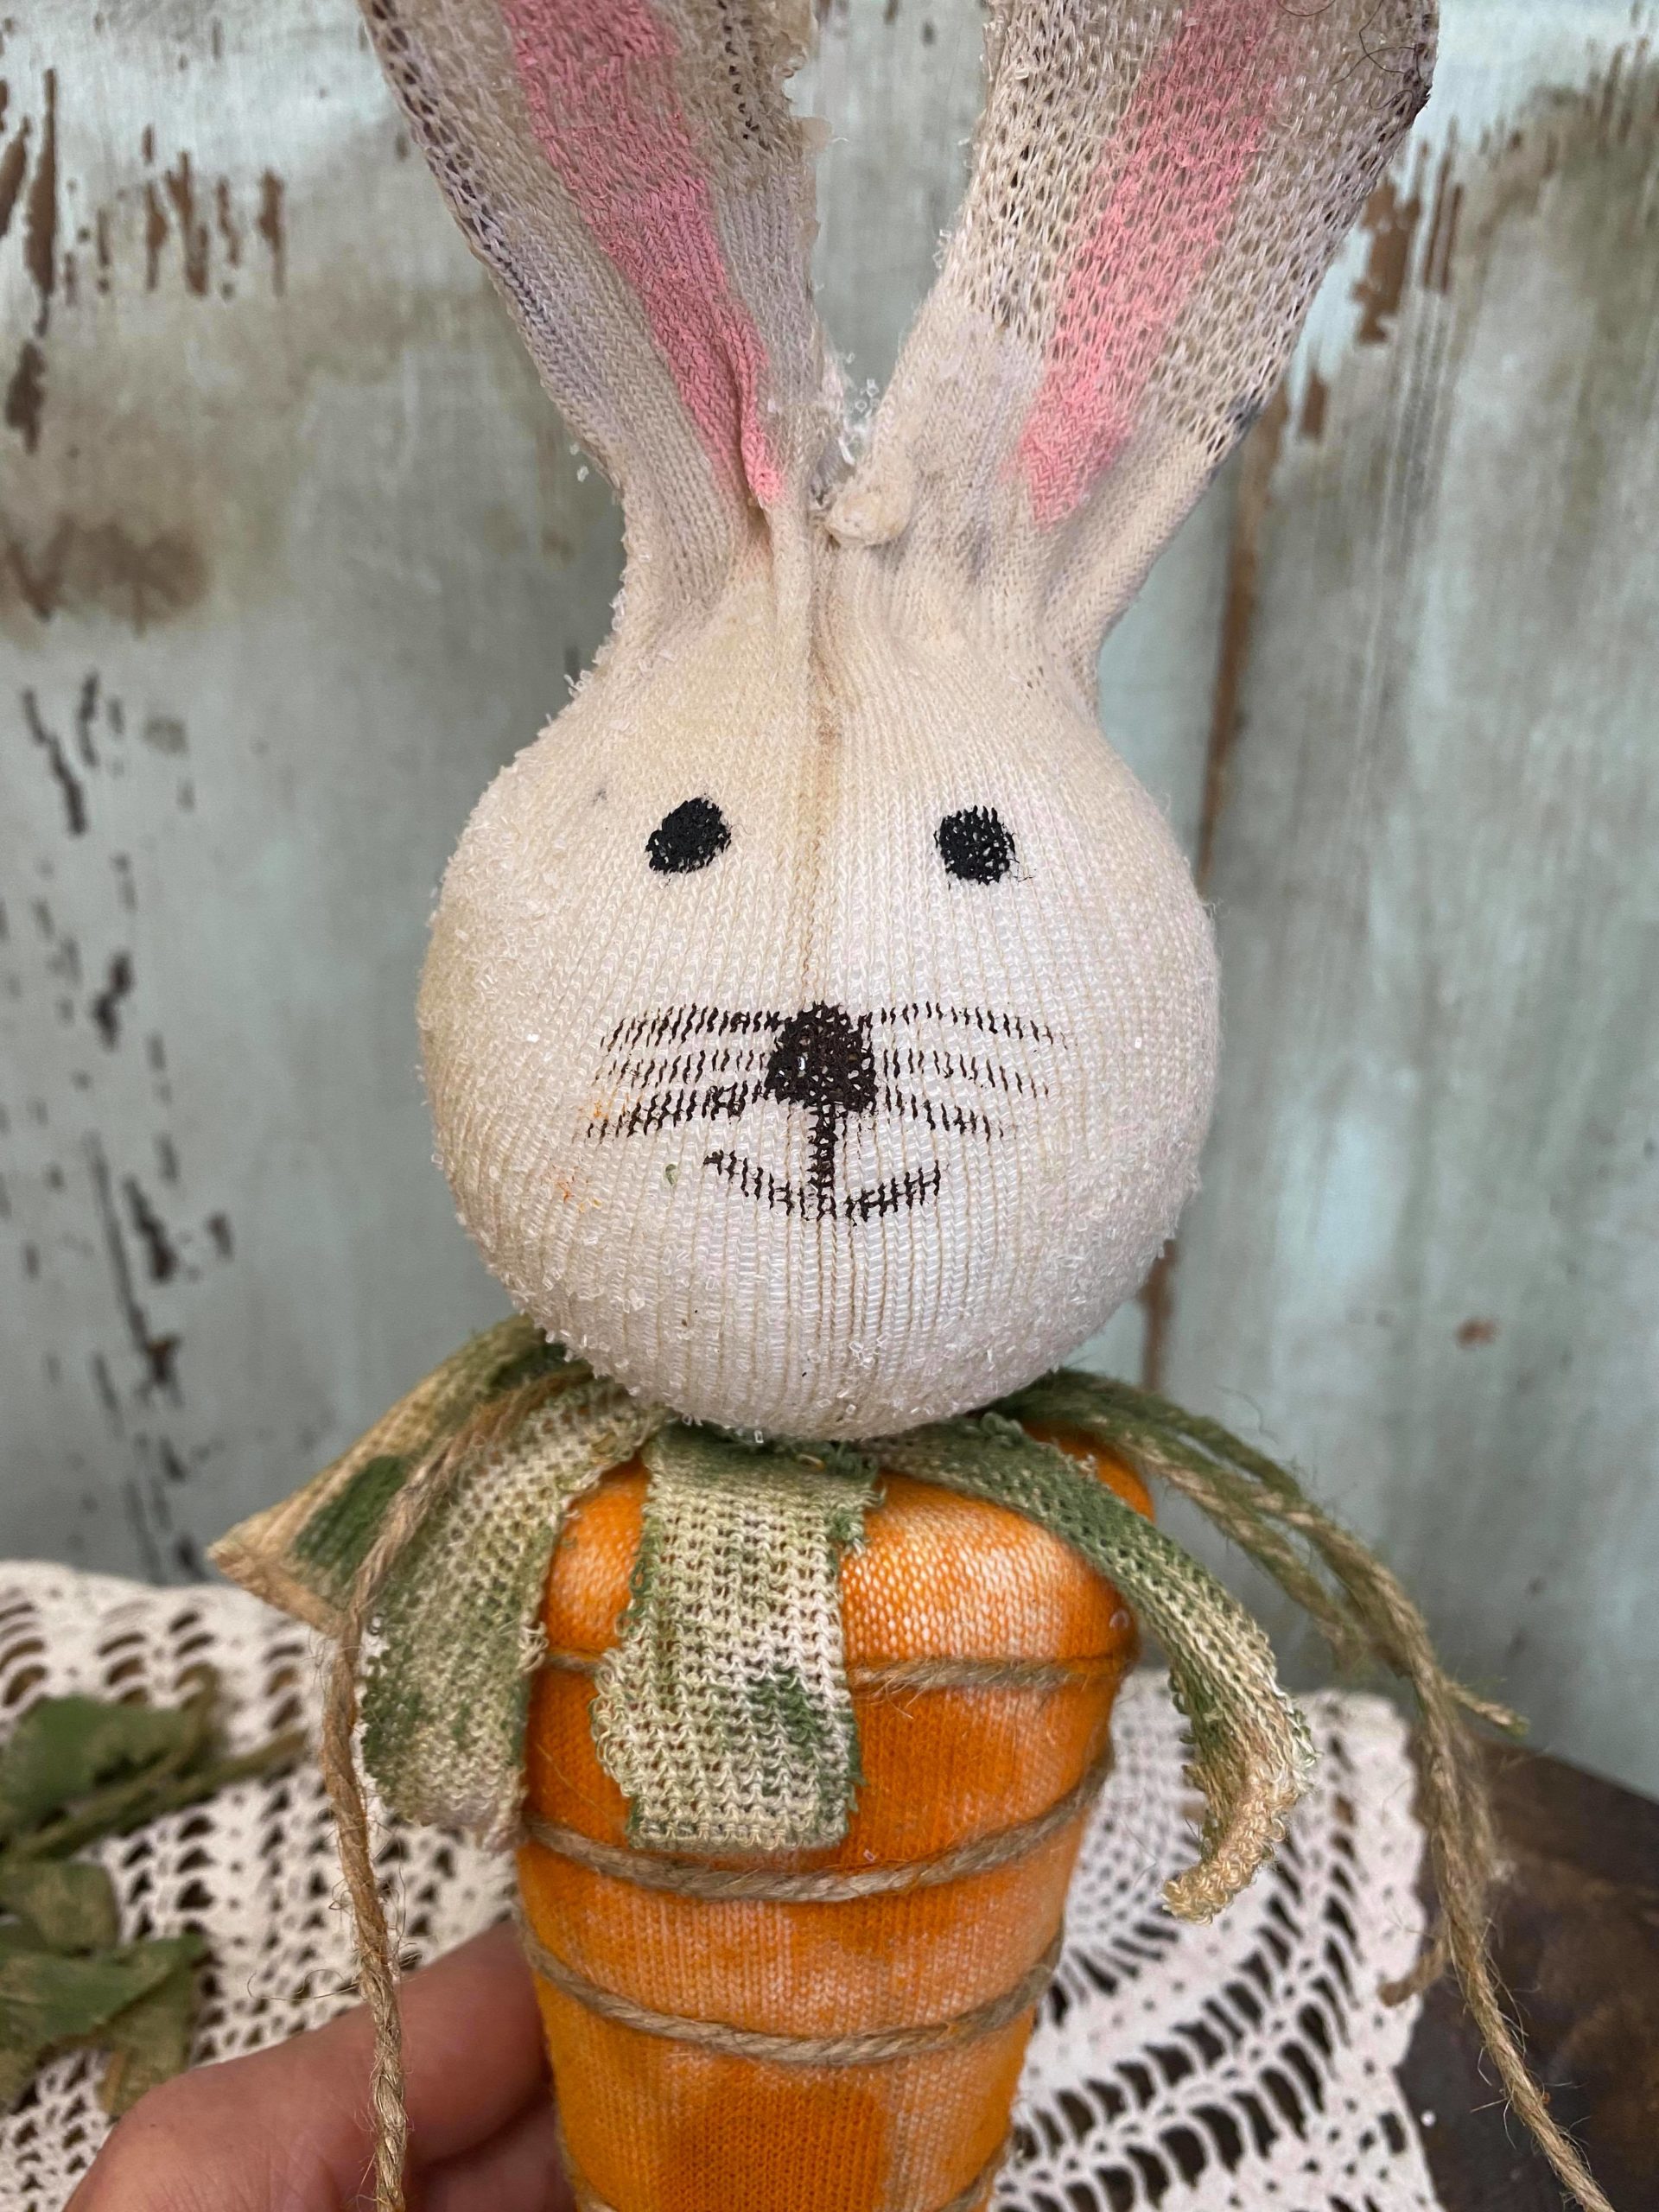
You can really get creative with these carrots and add our DIY sock bunny head to the top of the carrot.
You will need to poke a hole down into the center area of the carrot.
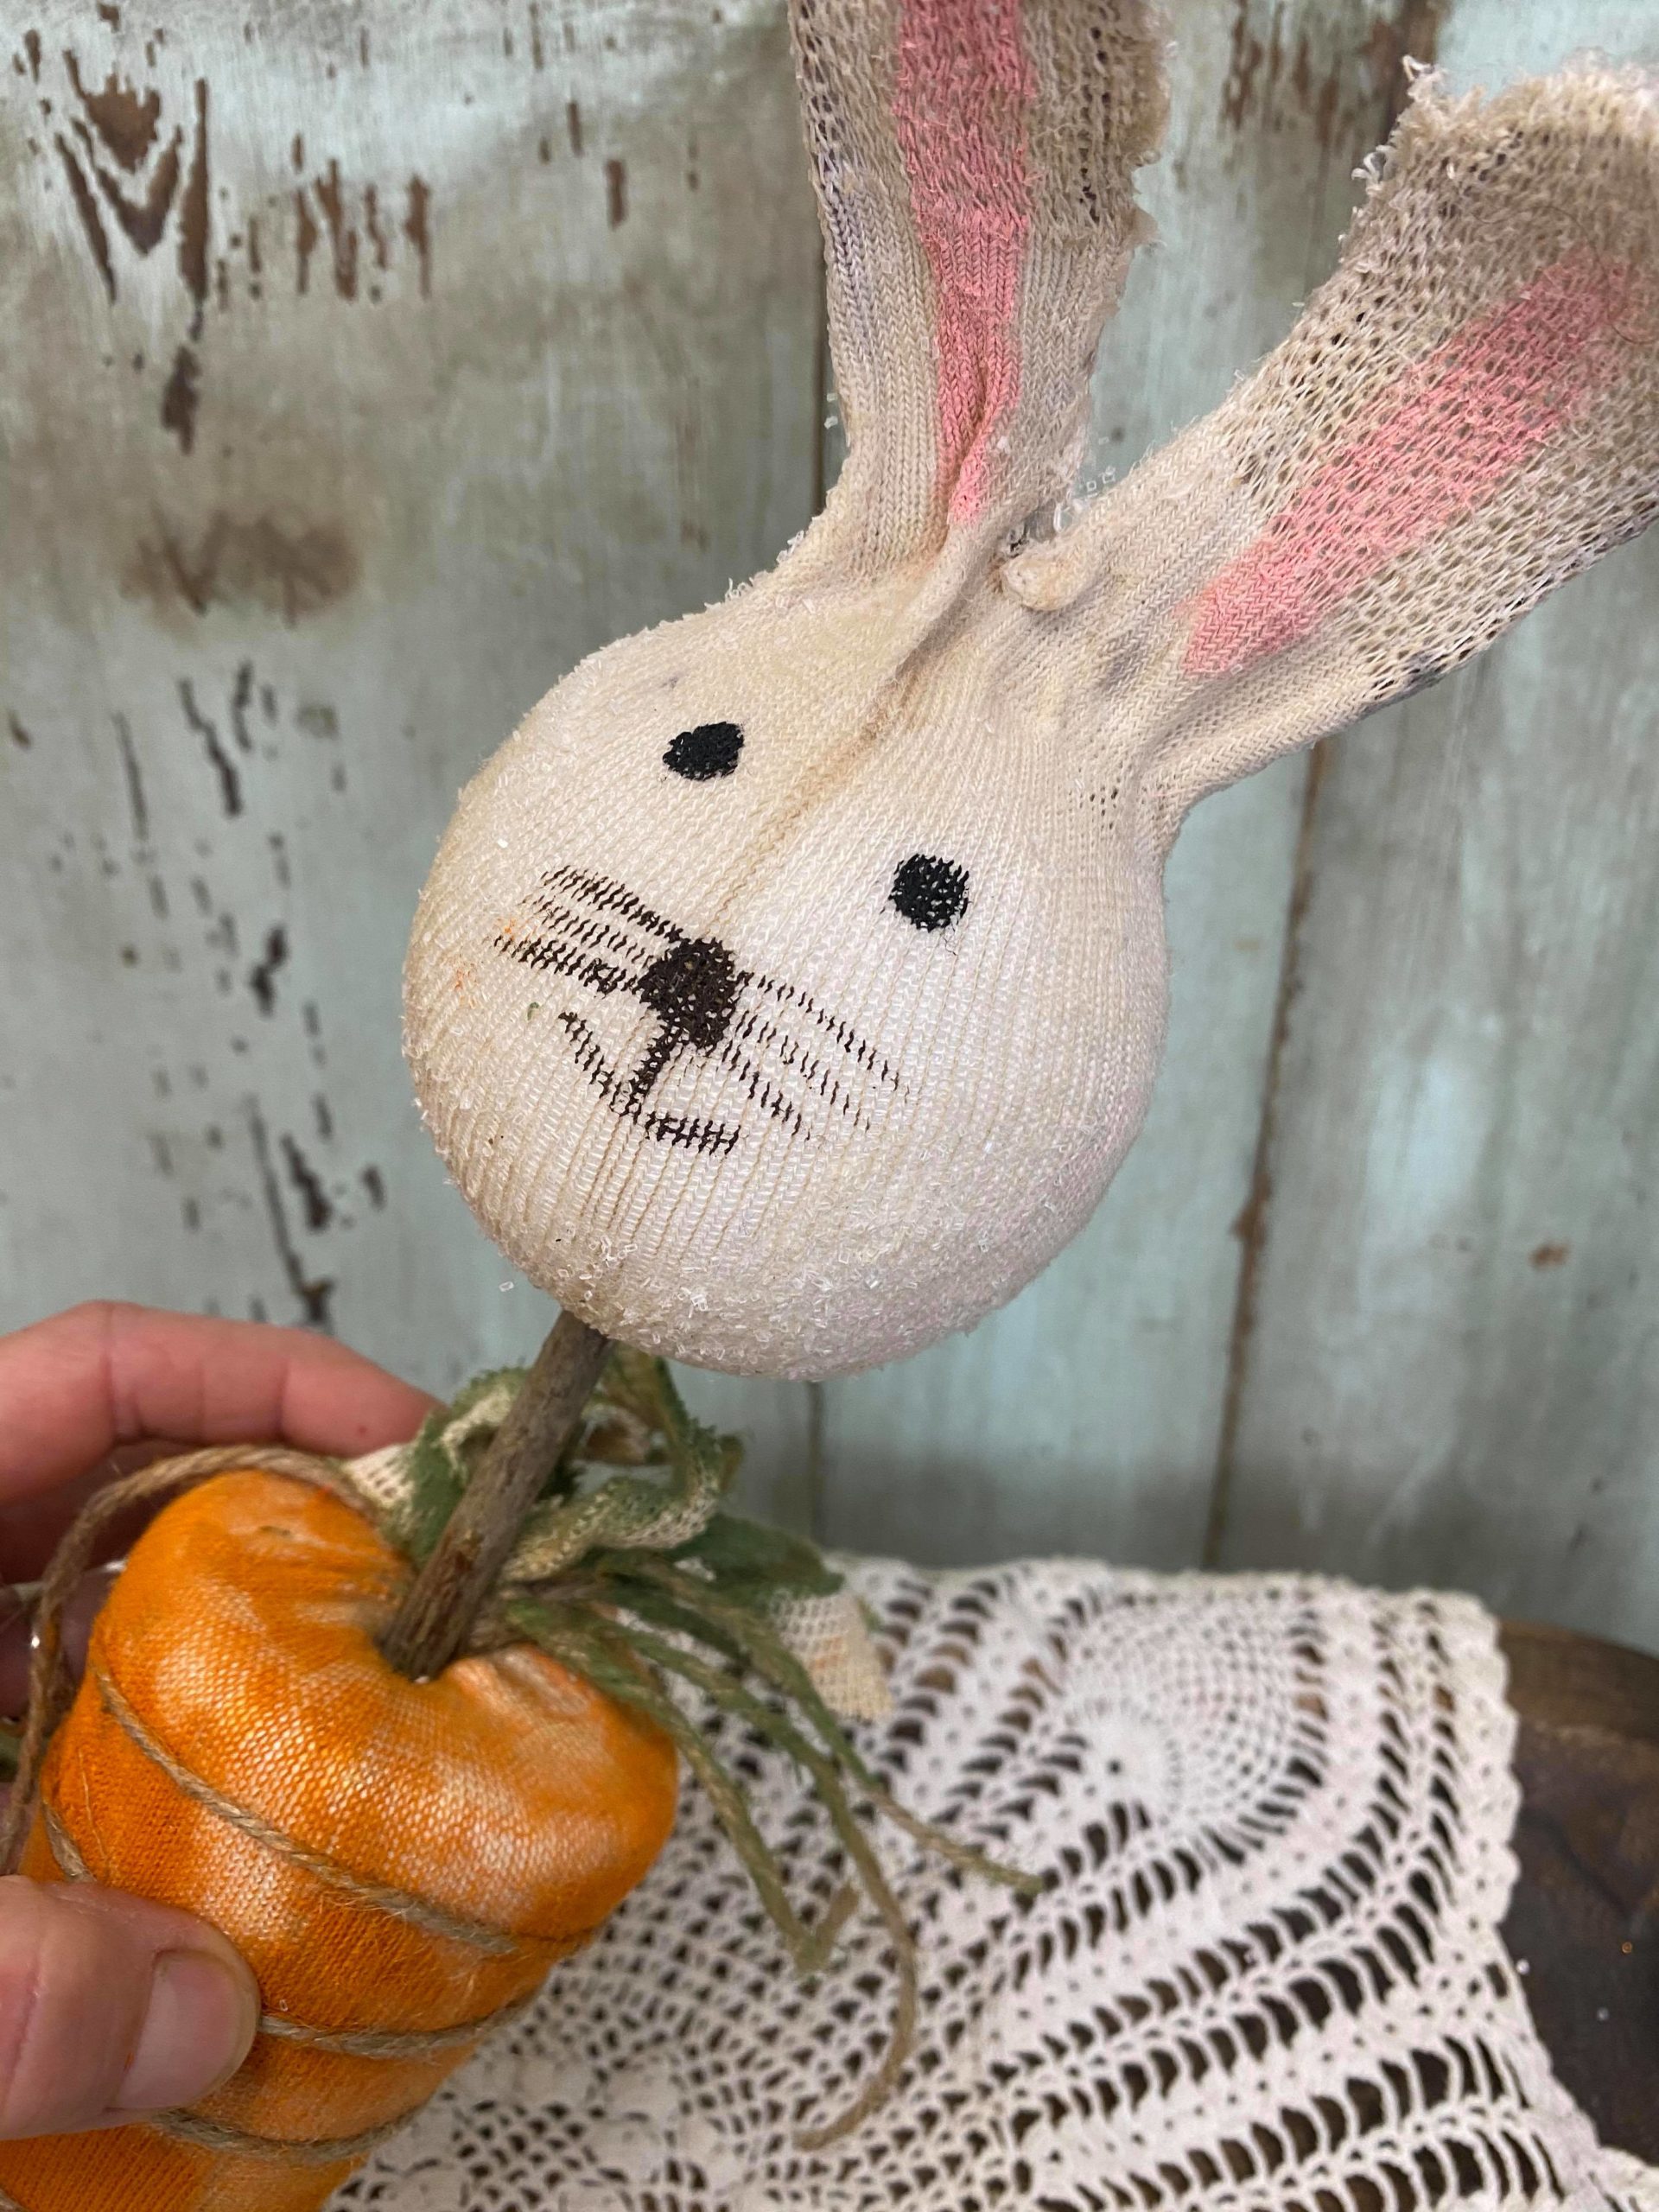
You will then insert the stick of the sock bunny head down into the hole.
There are so many ways to get creative with these carrots. If you want to make the bunny heads you can find the blog post for that craft here: https://theshabbytree.com/diy-sock-bunny-head/
