Ok we are always creating fun and unique items here at The Shabby Tree. We have a very creative group of followers here and one of our amazing followers shared an idea that I just knew I had to try.
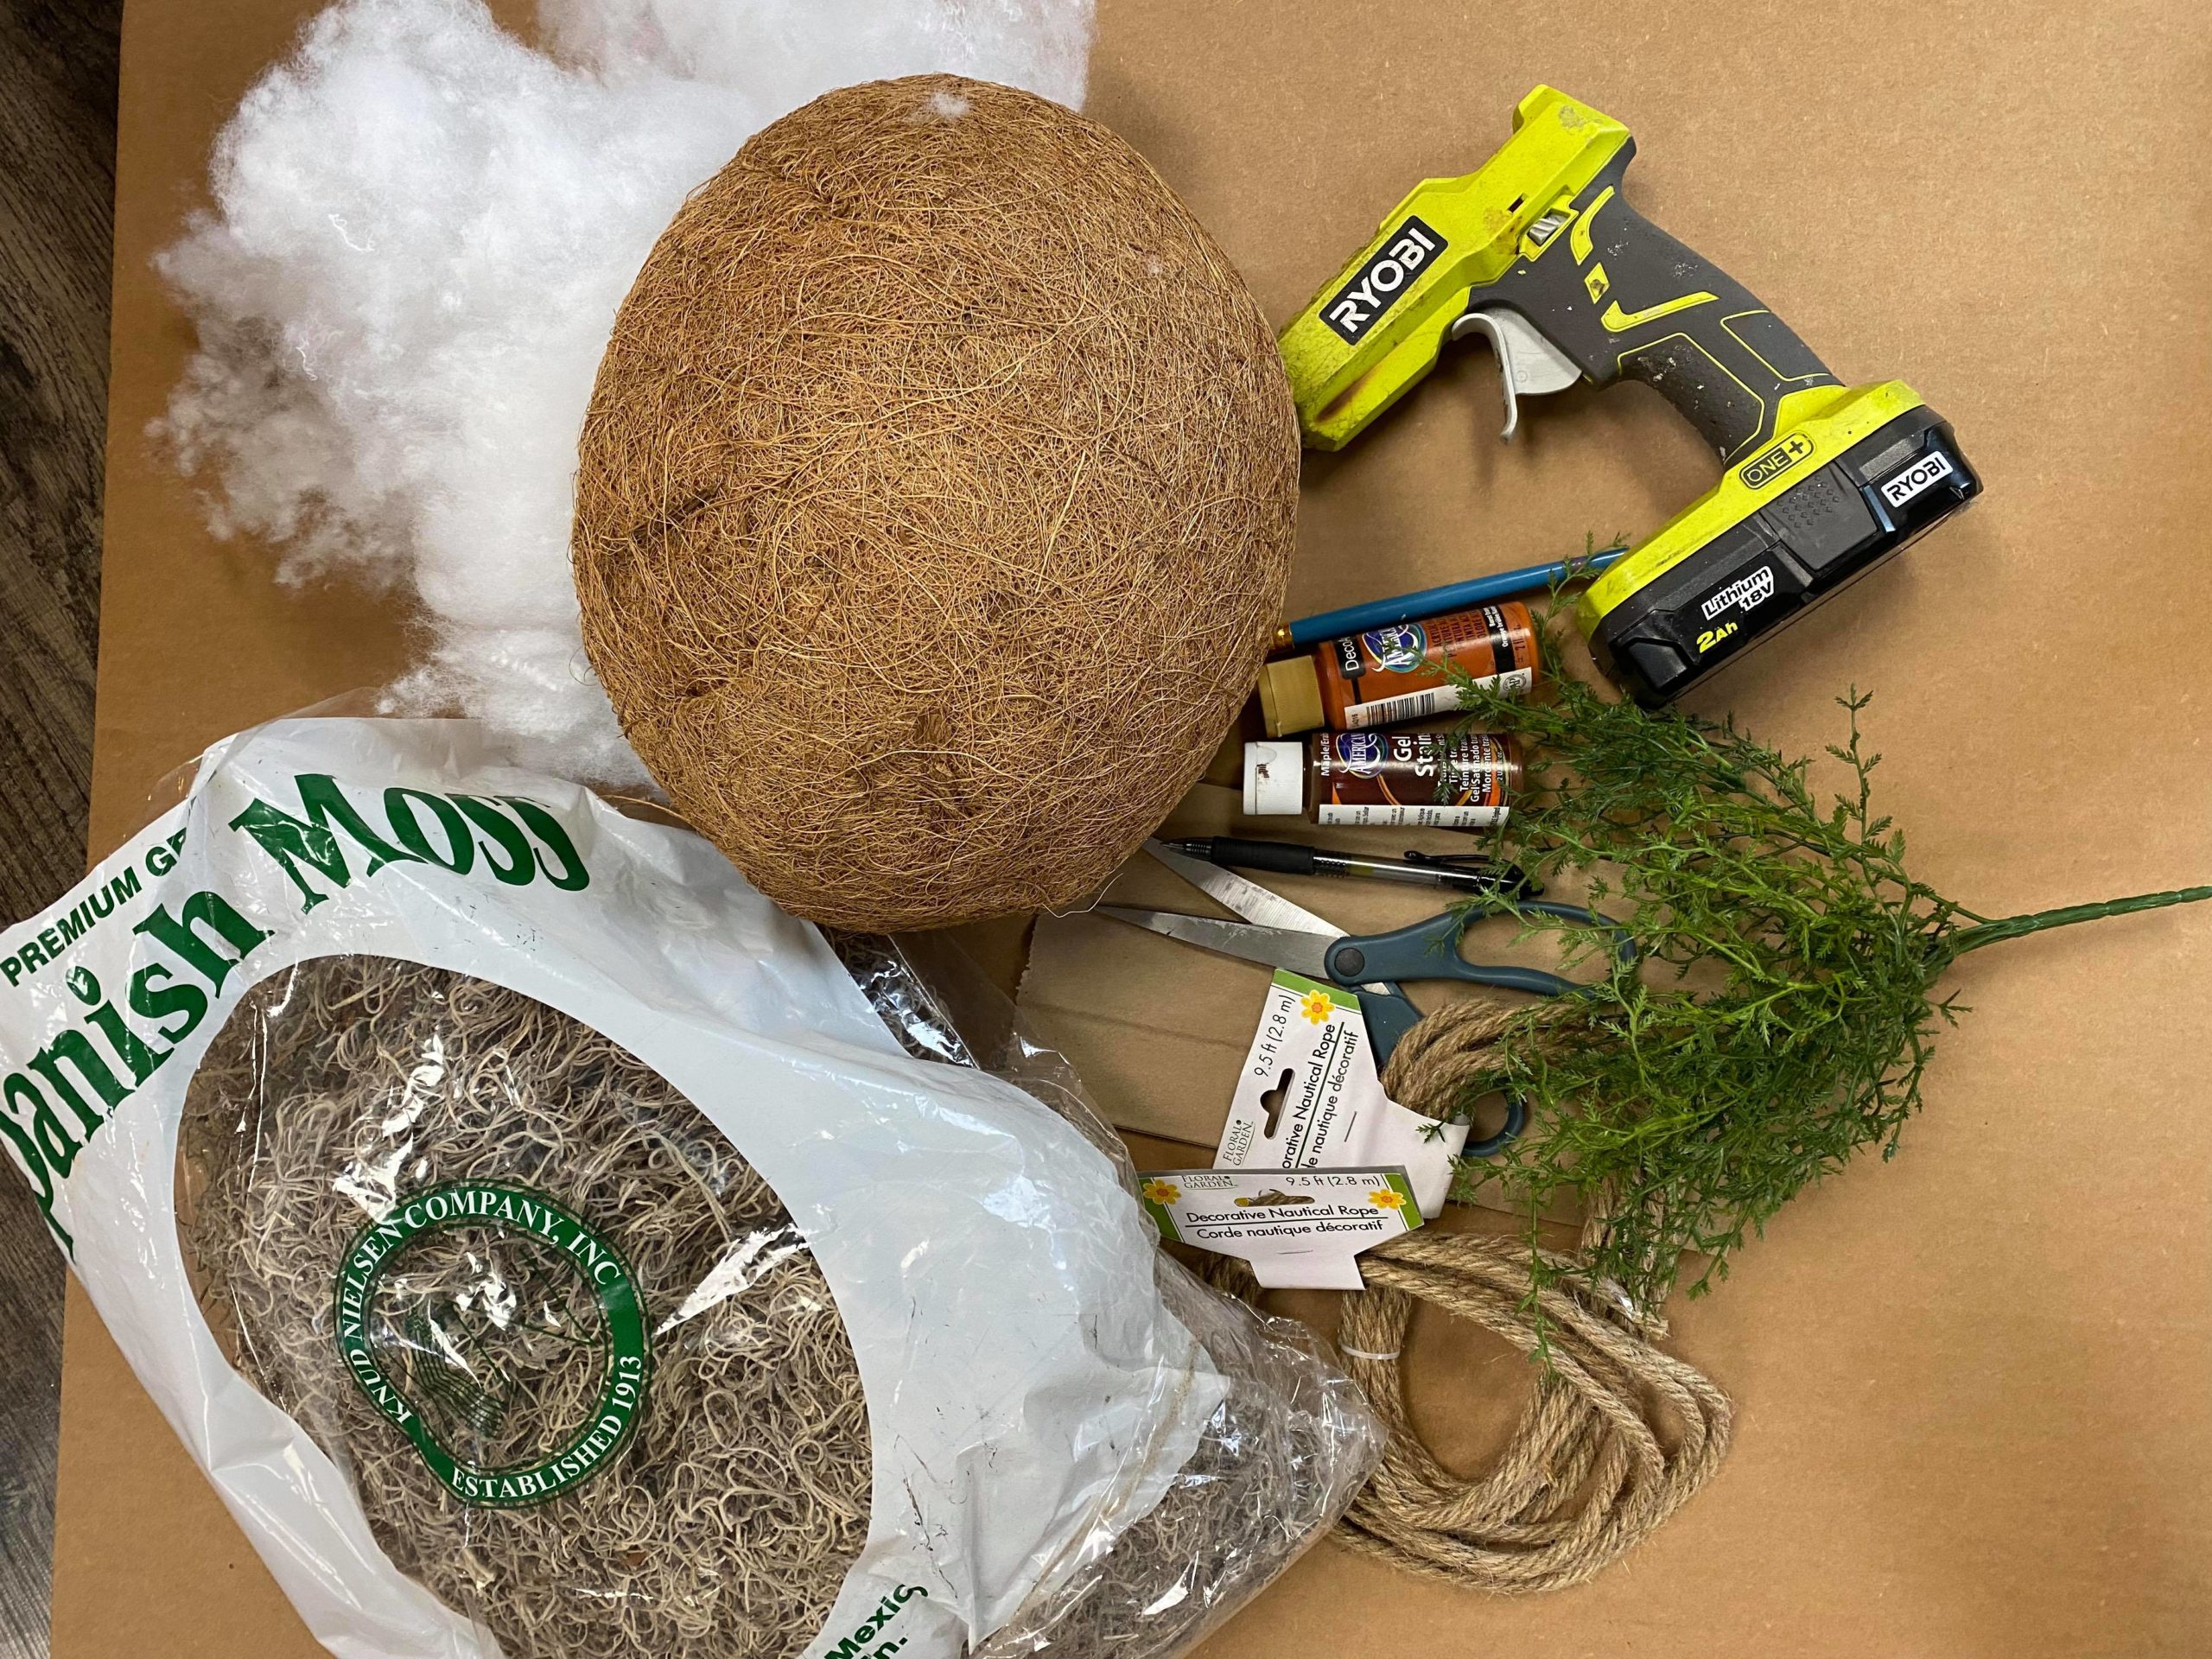
The supplies I will be using are:
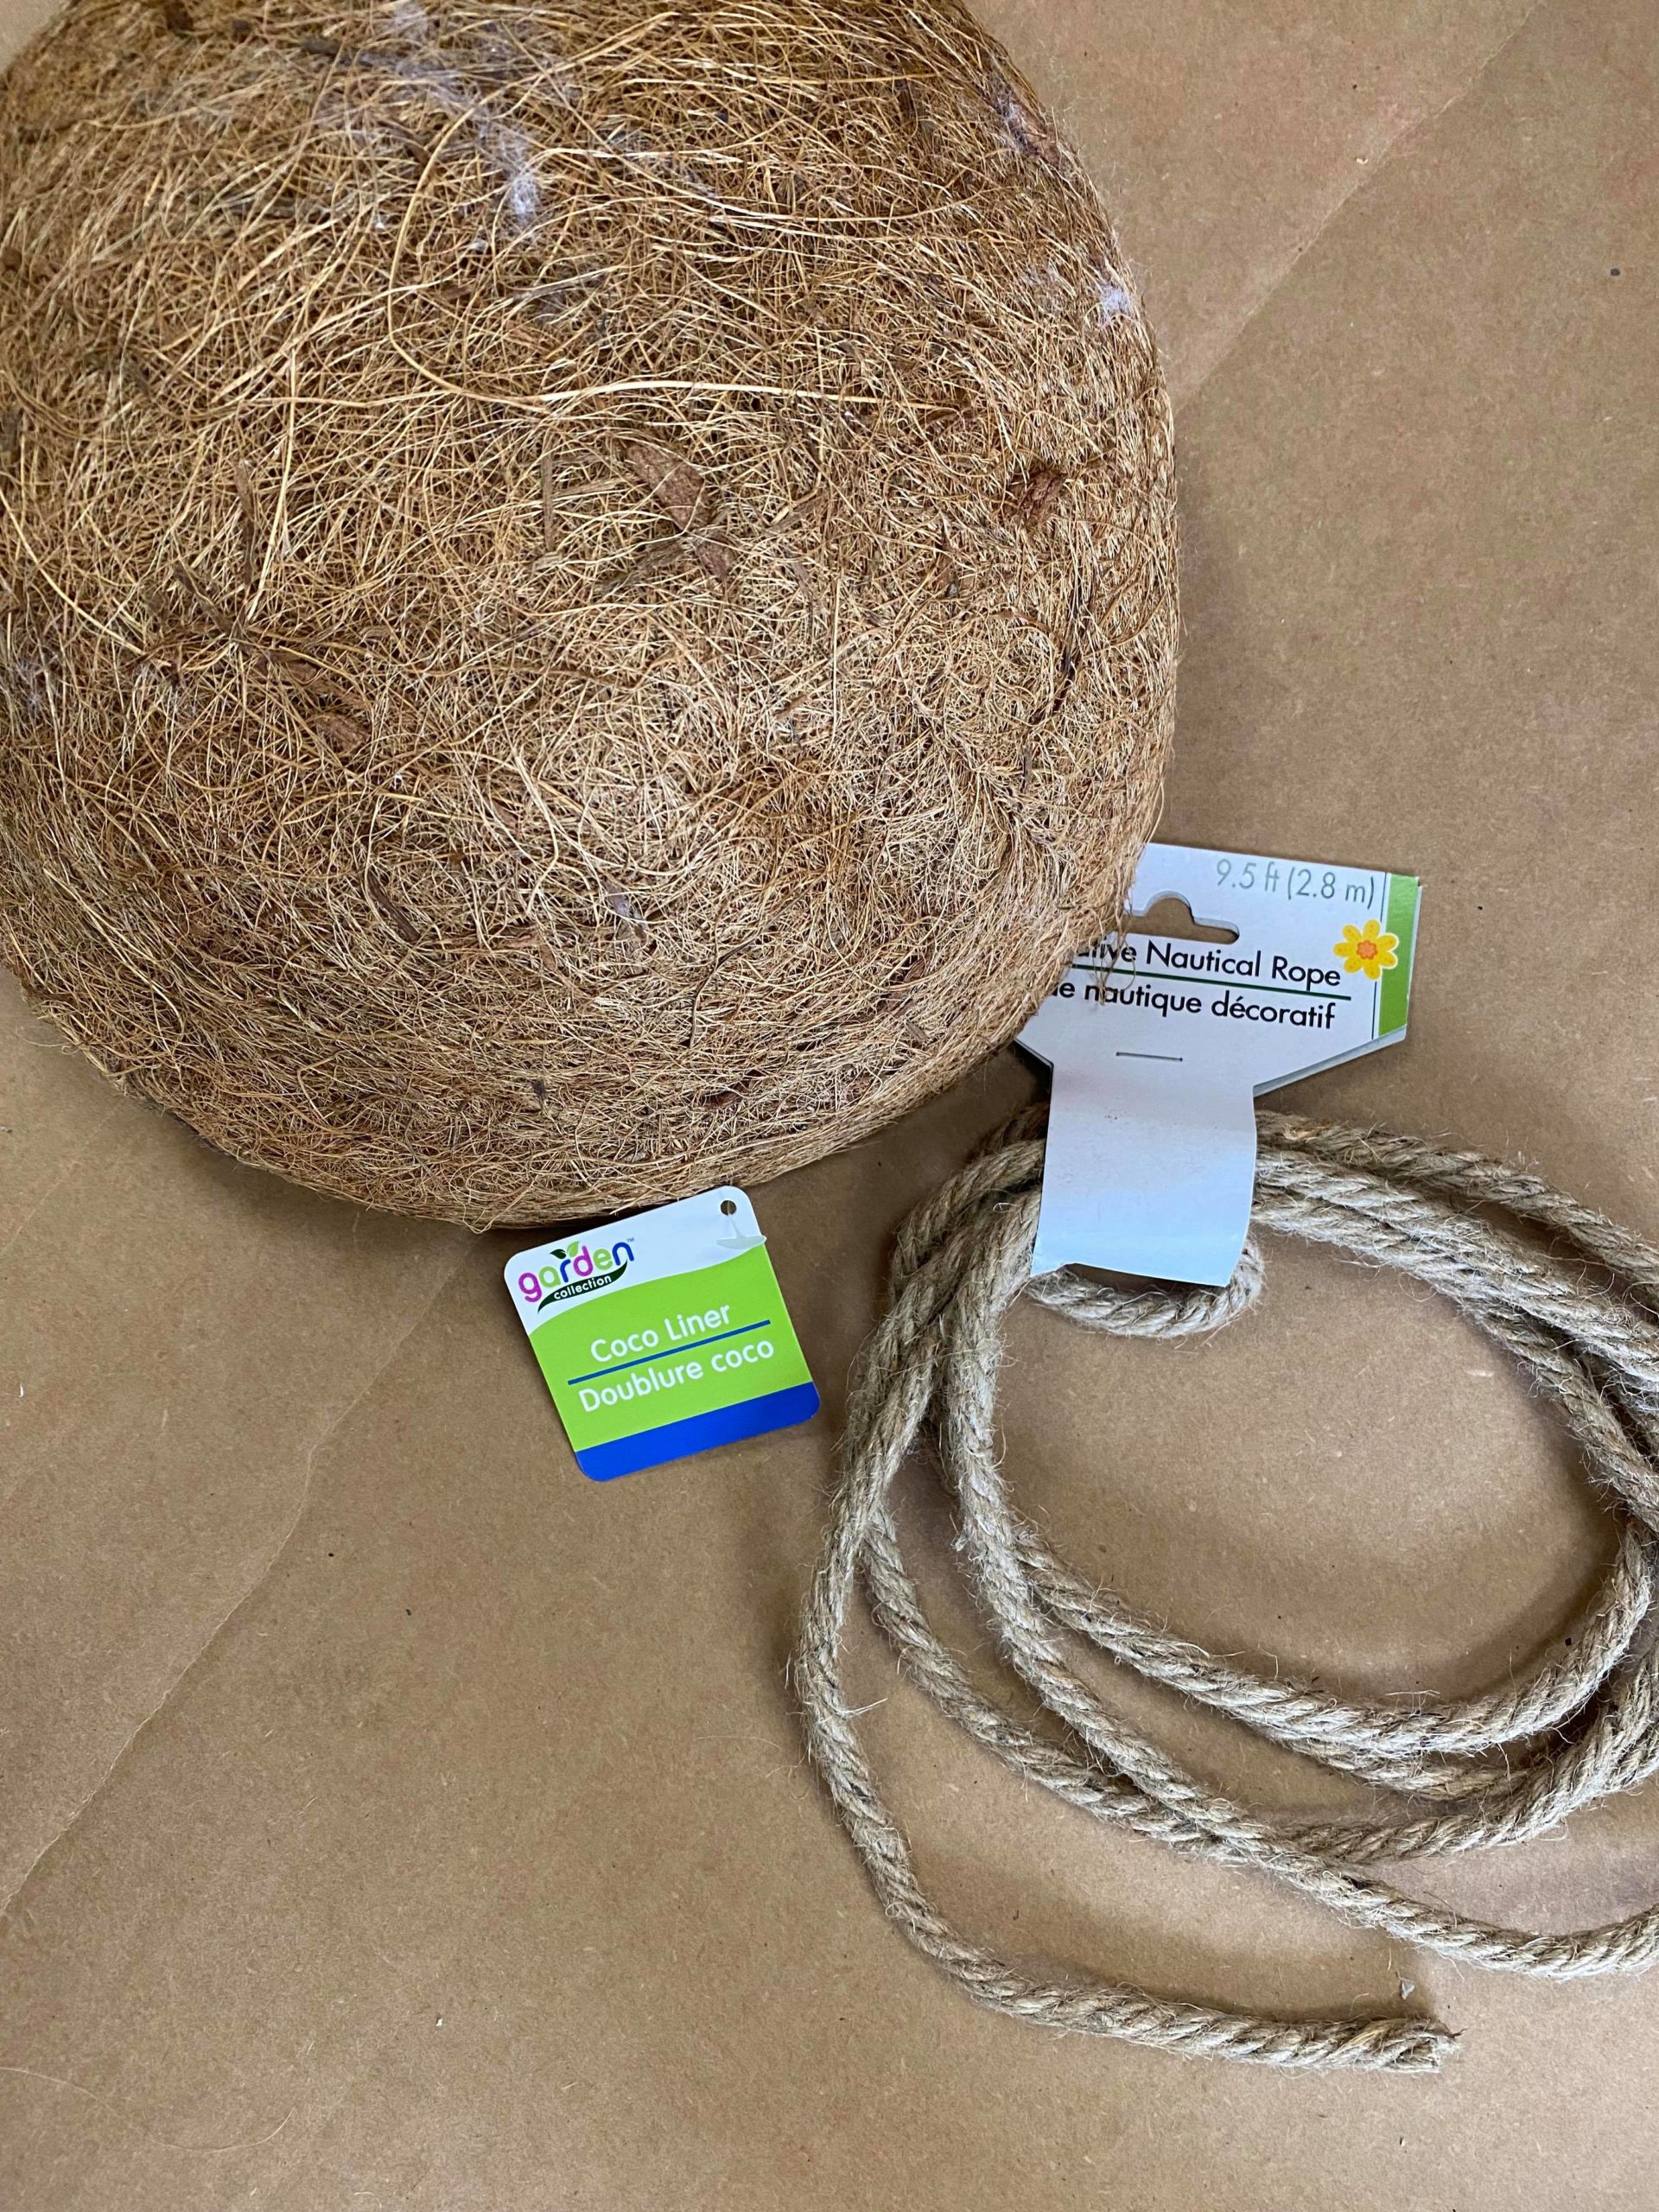
1 One coco liner from the Dollar Tree
2. Cardboard
3. Hot glue
4. Scissors
5. Polyester fiberfill
6. Nautical rope from the Dollar Tree
7. Spanish moss
8. Artificial greenery sprig
9. Burnt orange paint by DecoArt
10. Maple gel stain by DecoArt
11. Brown paper bag
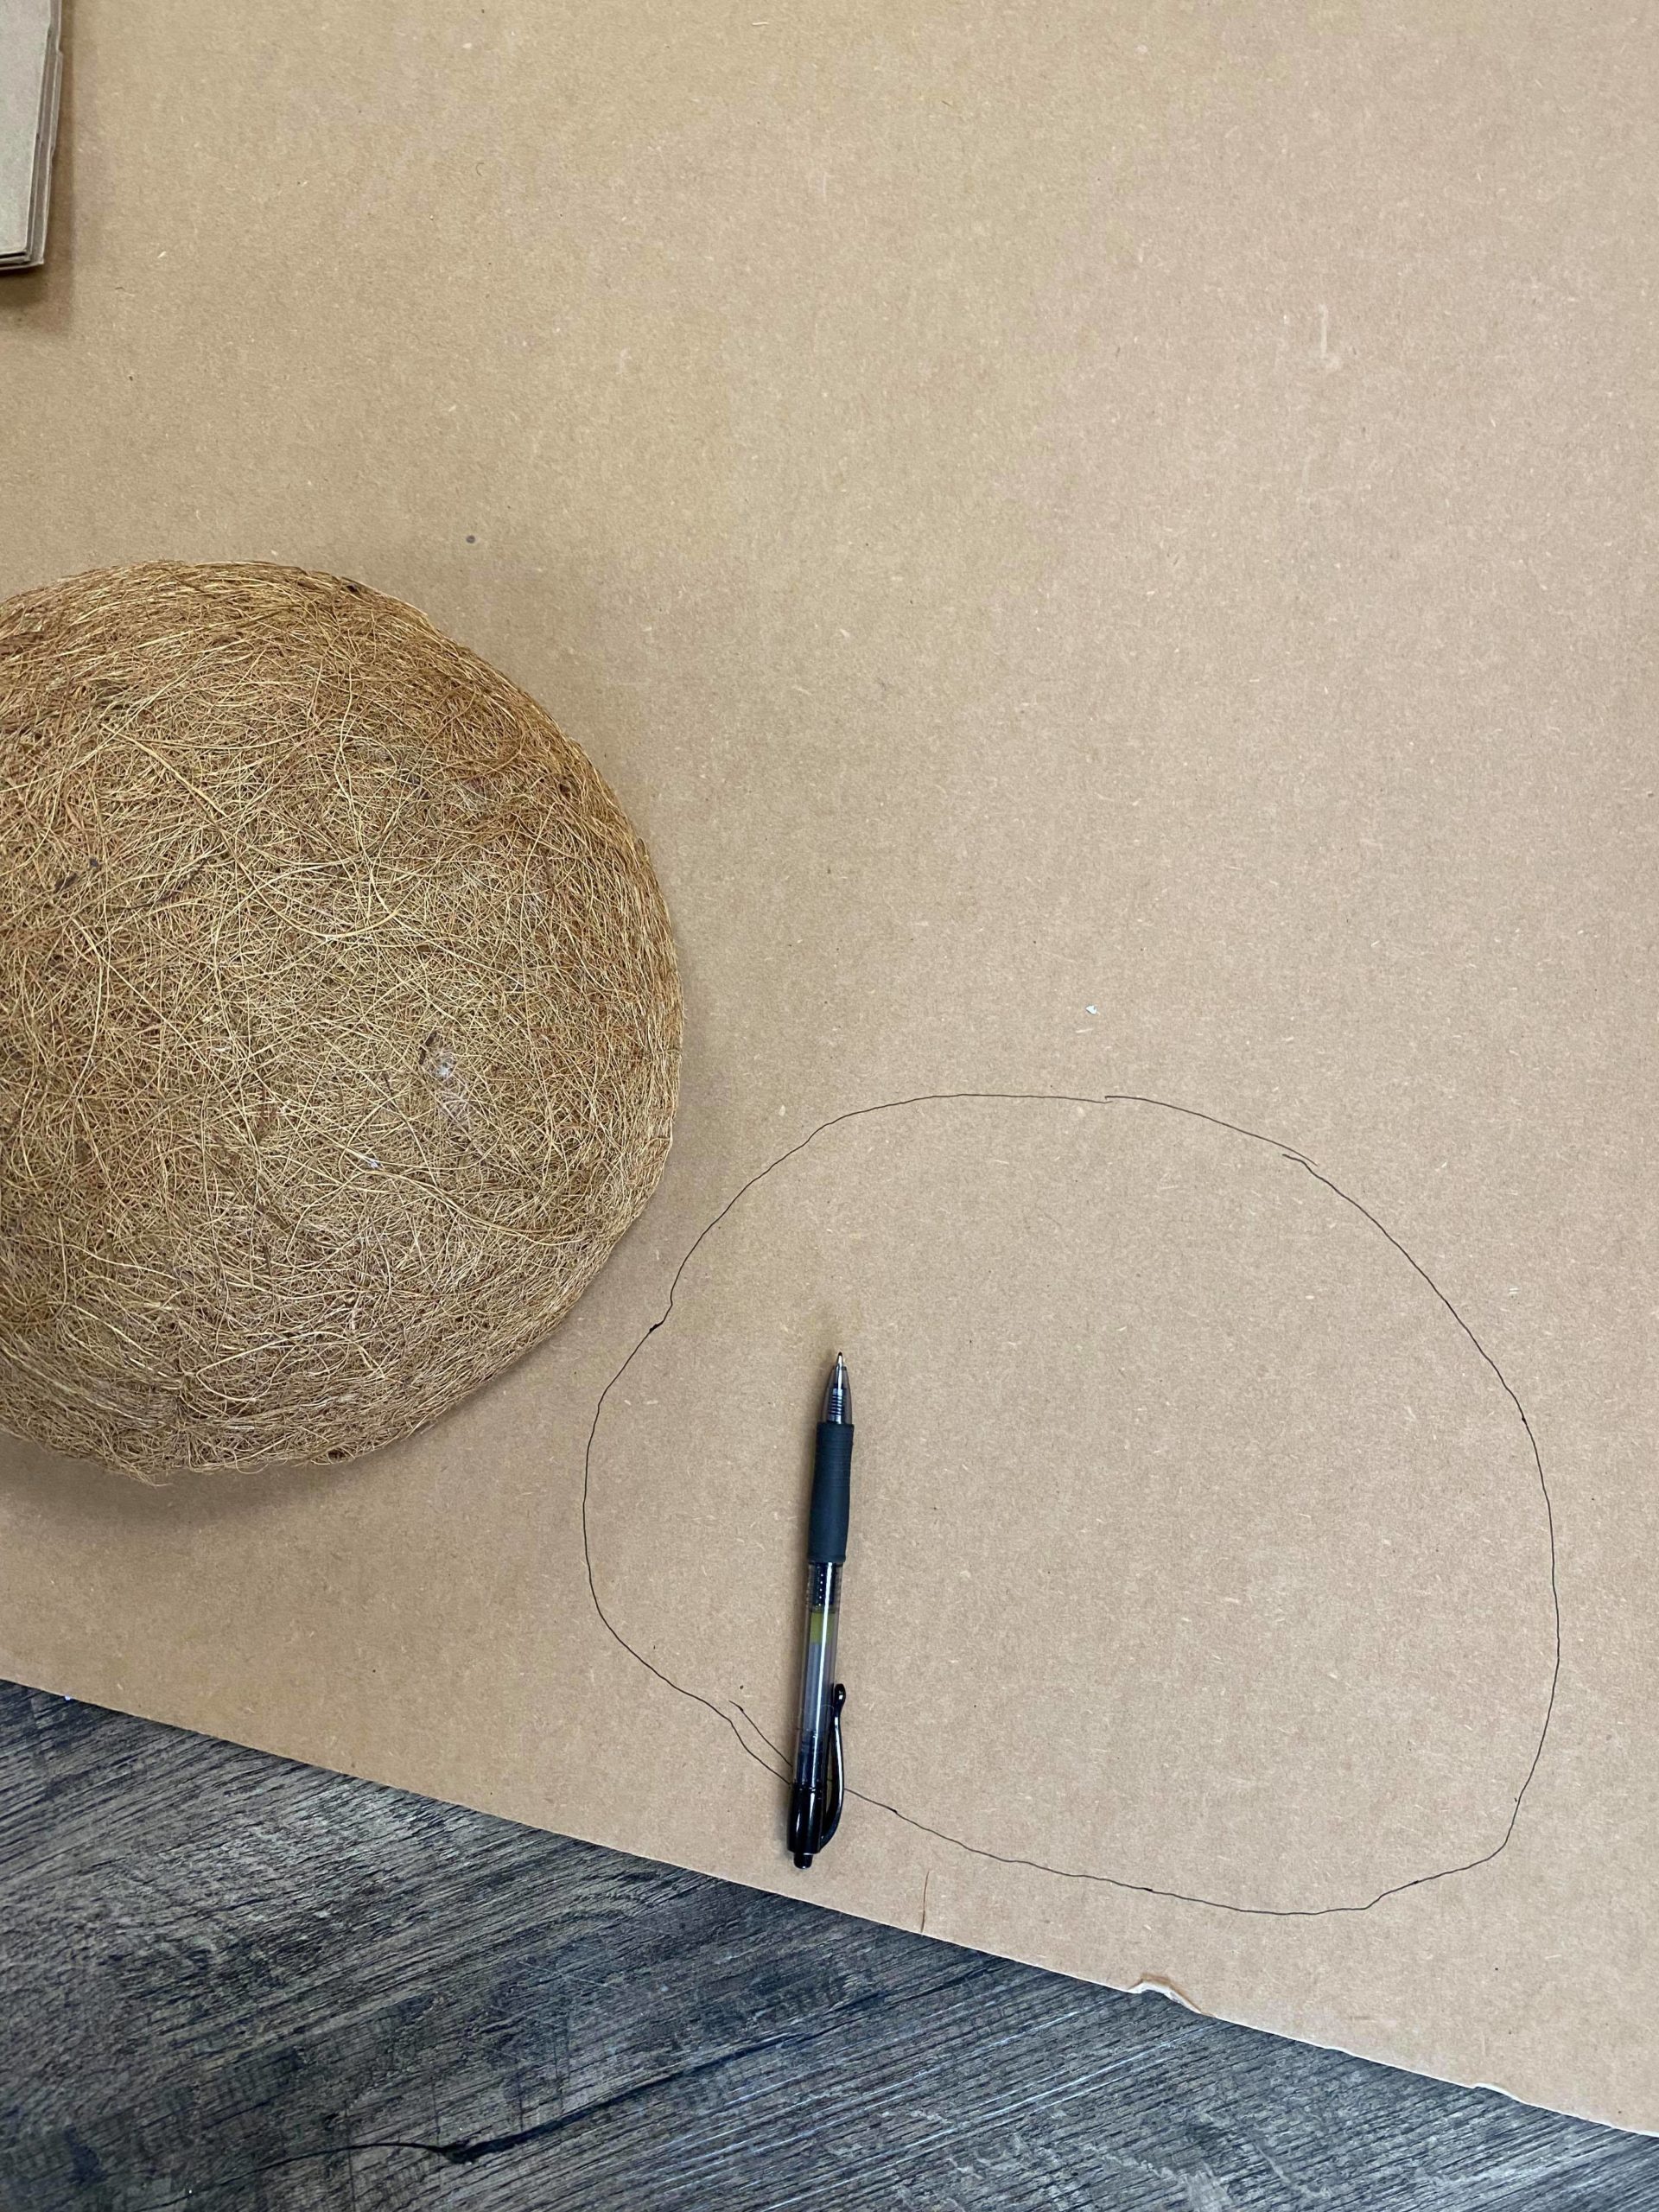
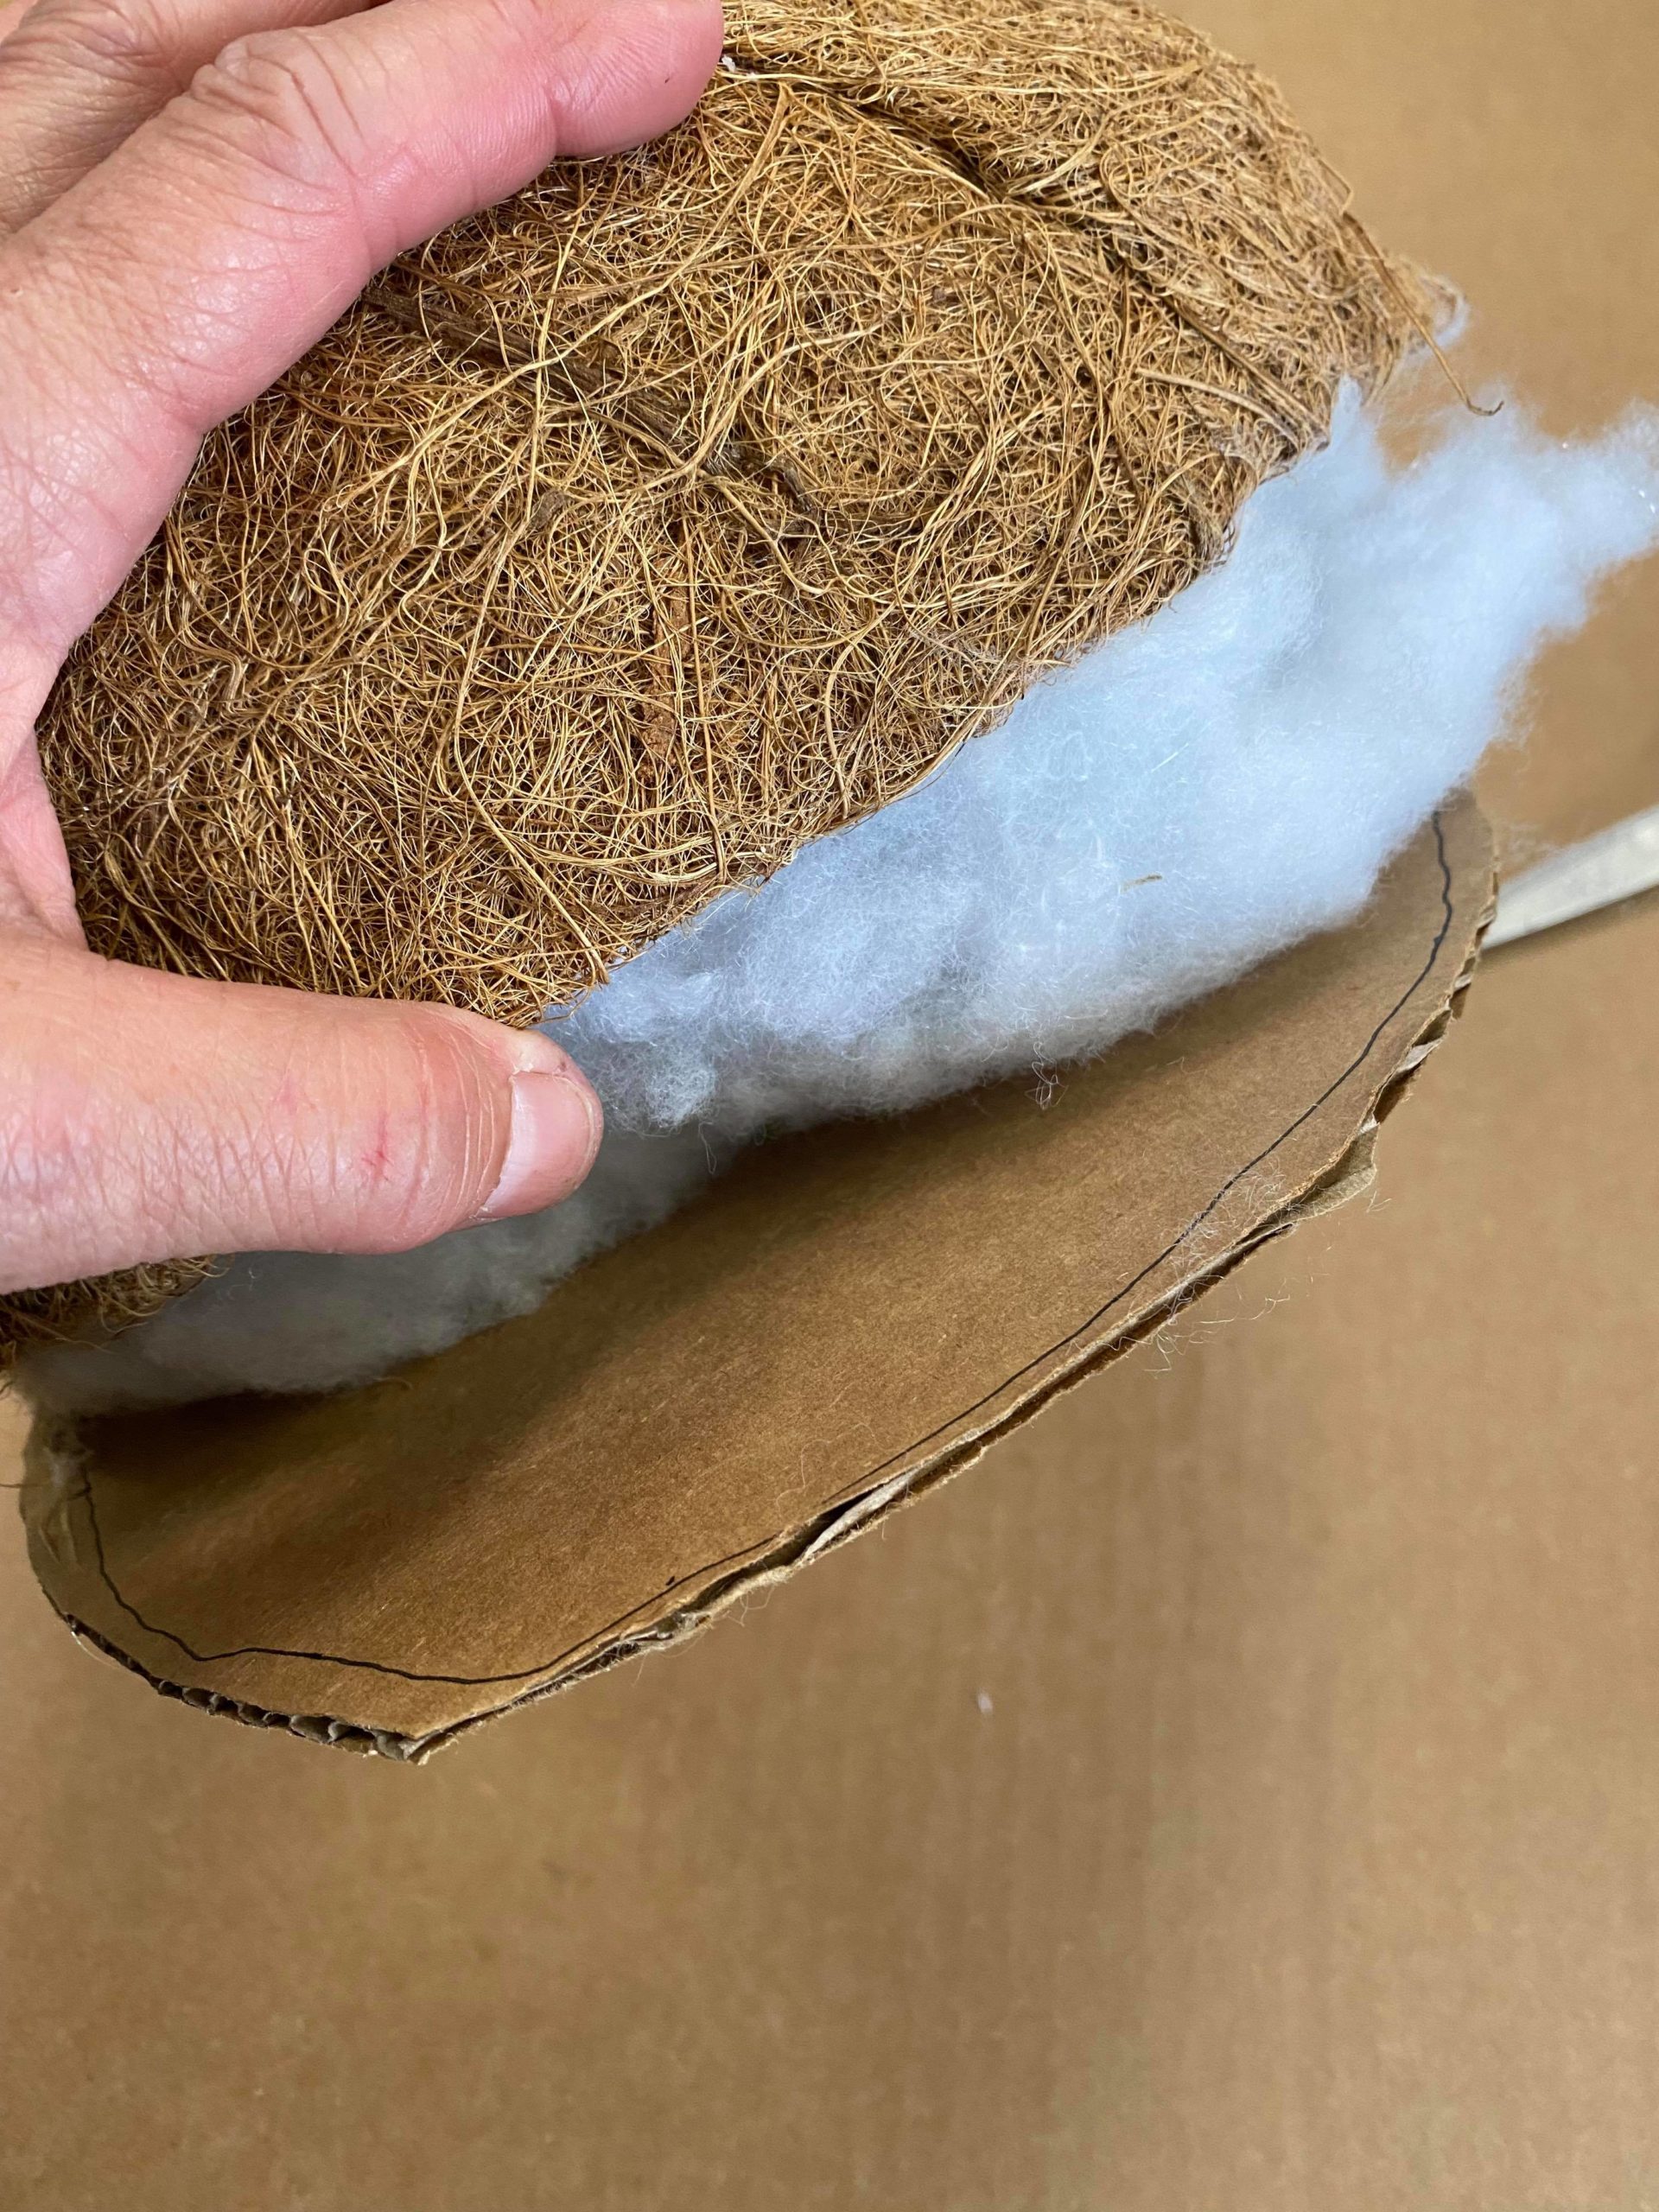
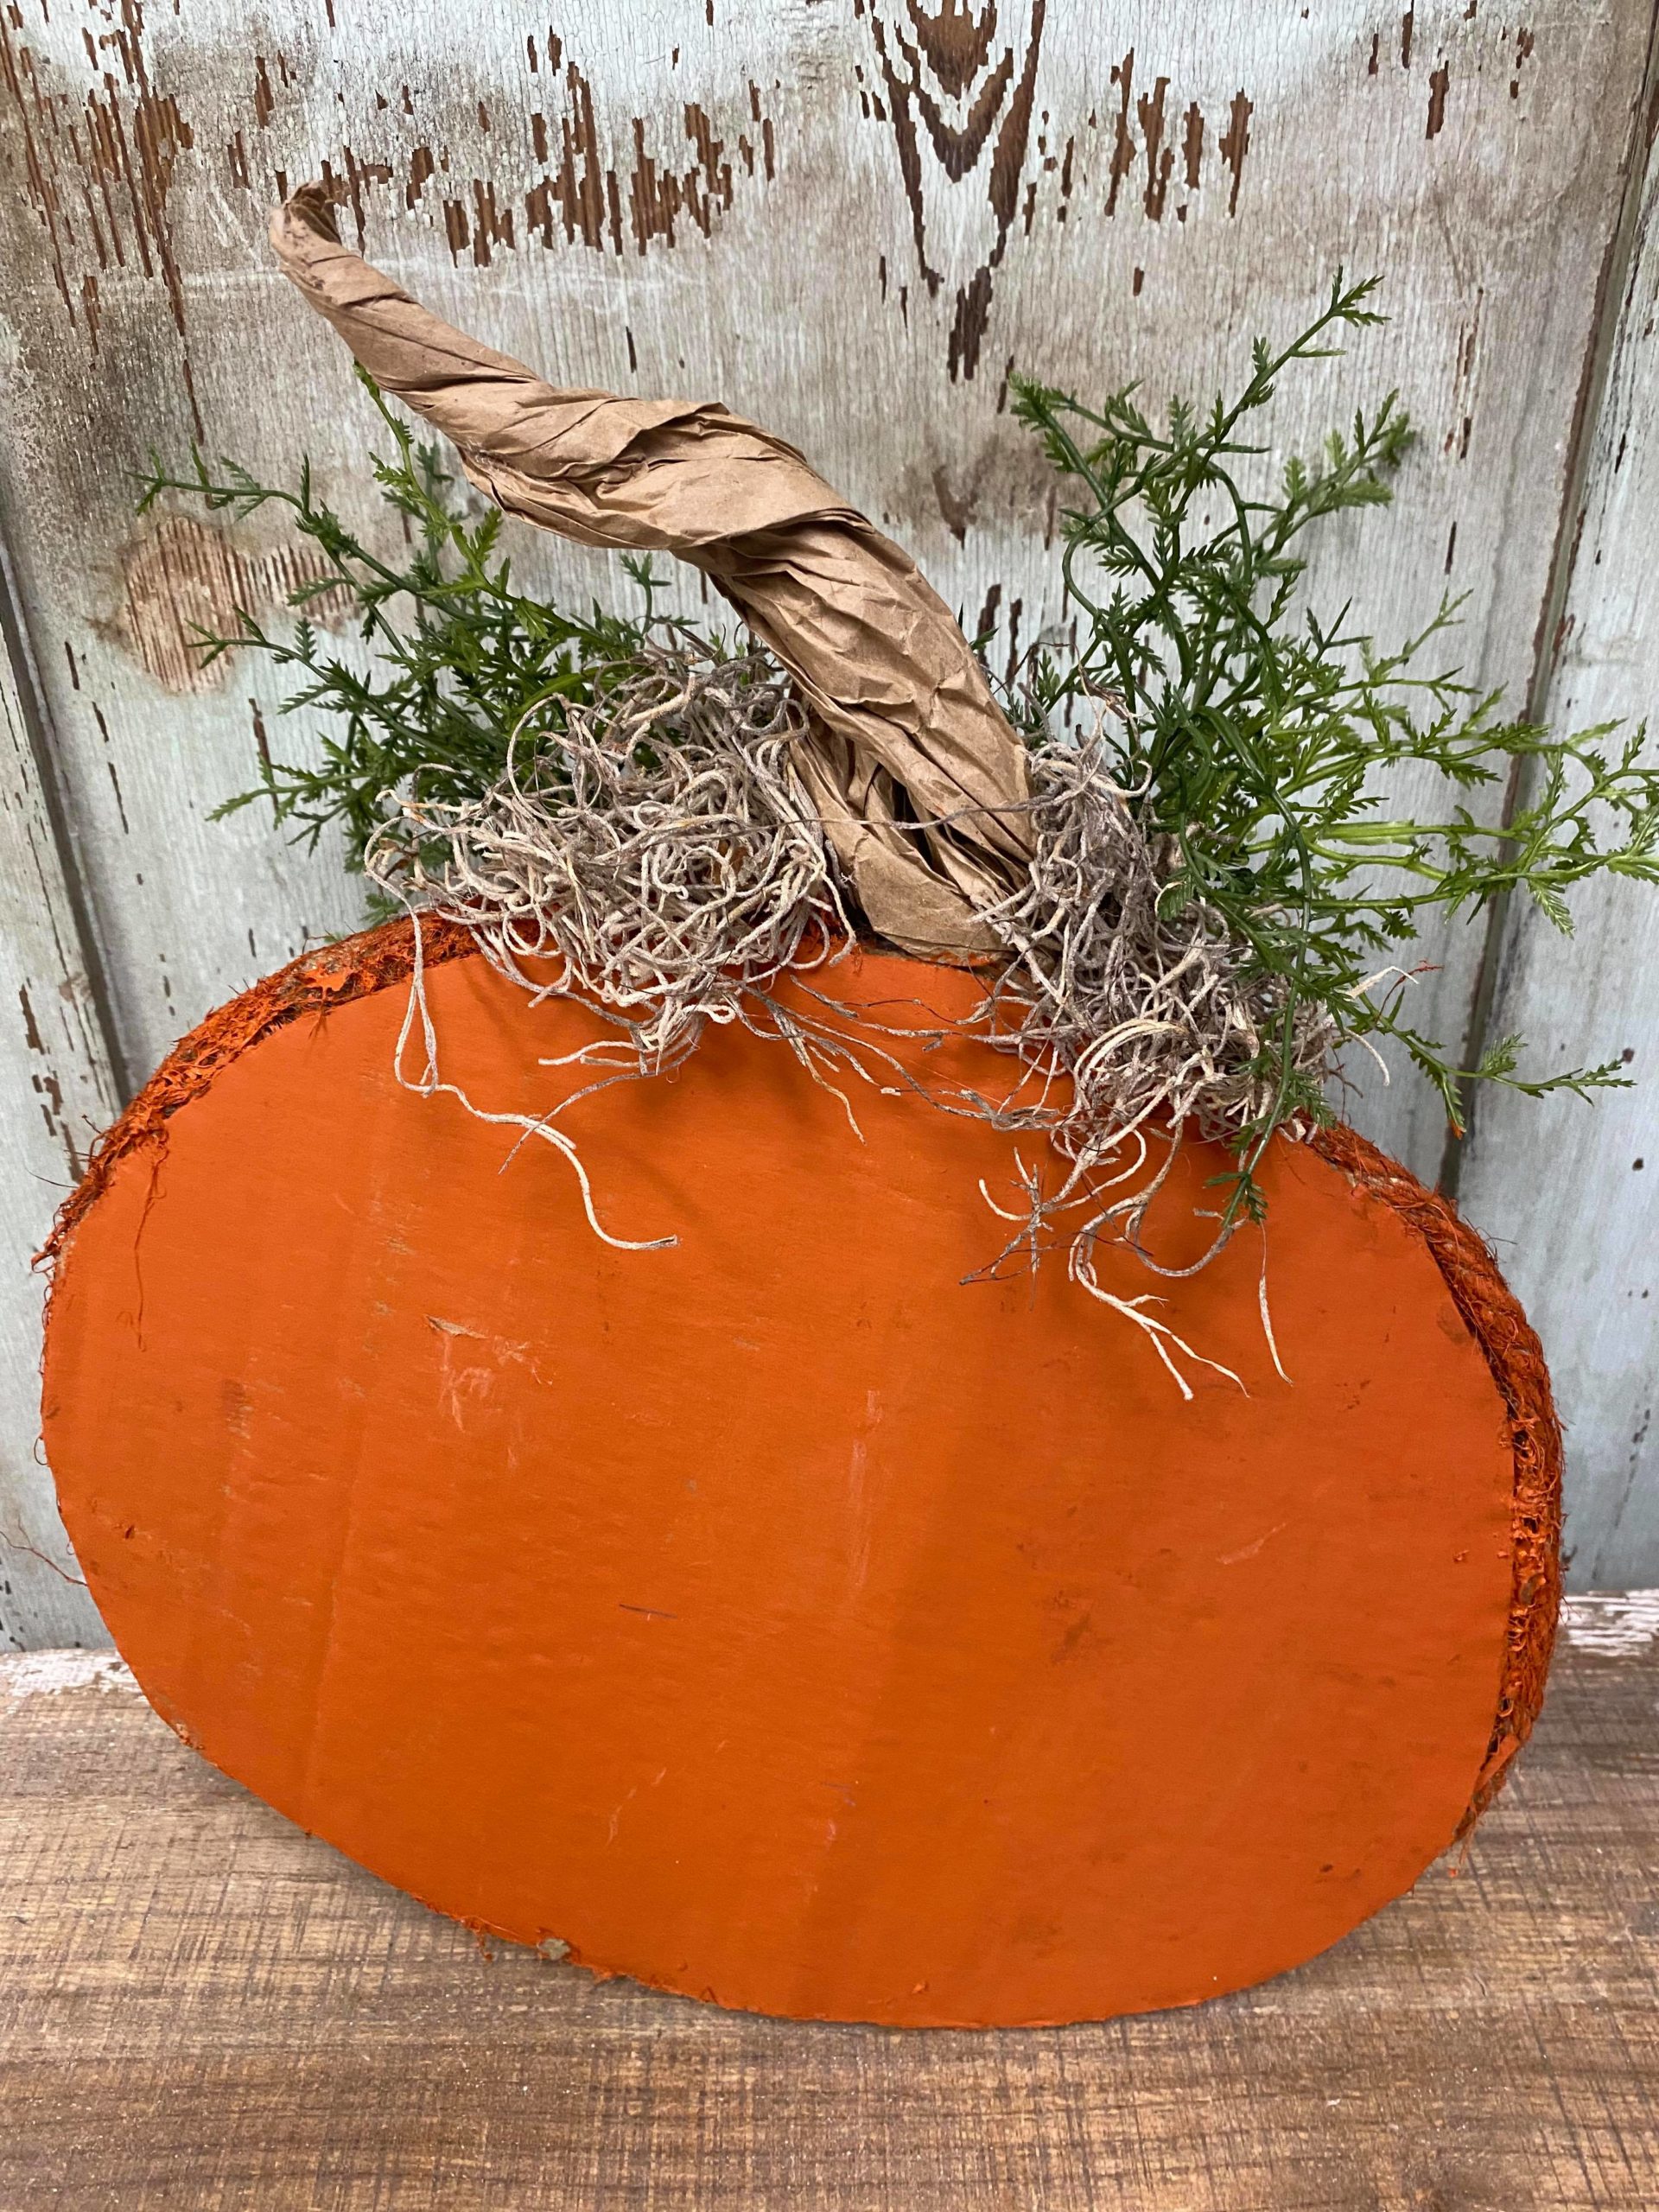
The first step is to place the coco liner onto a piece of cardboard. I formed the coco liner to the shape if the pumpkin that I want. You will then trace the coco liner onto the cardboard.
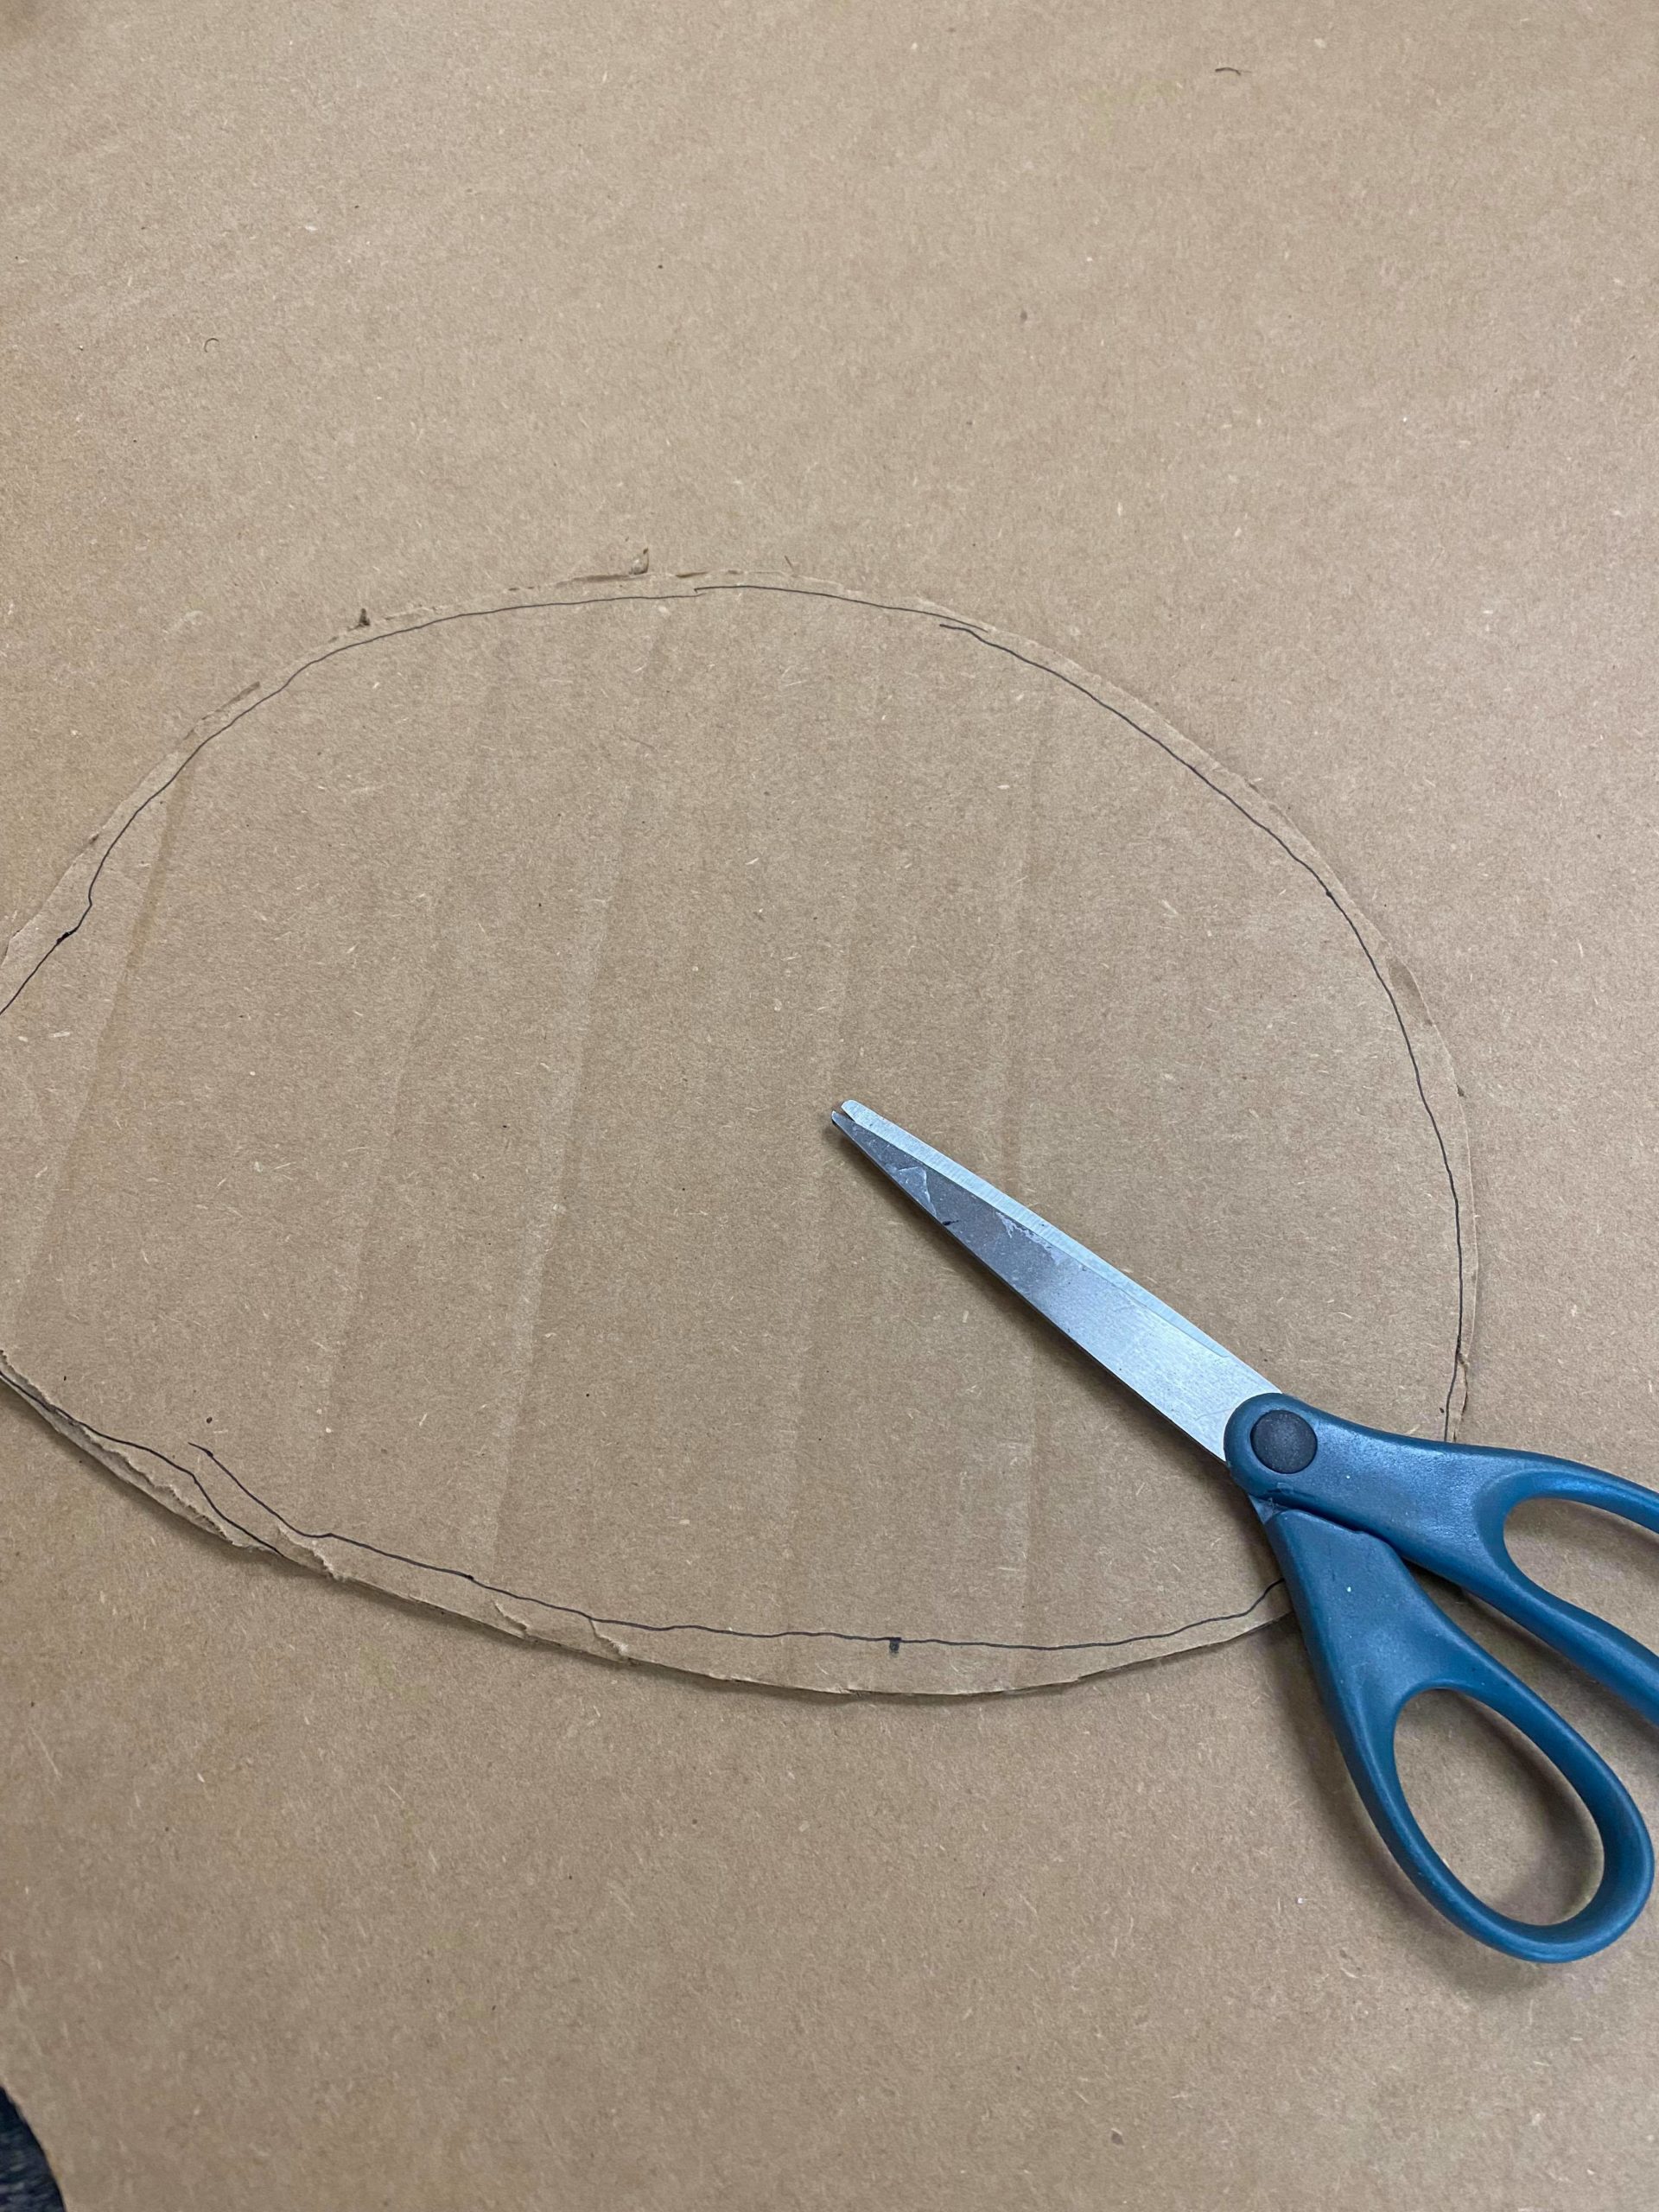
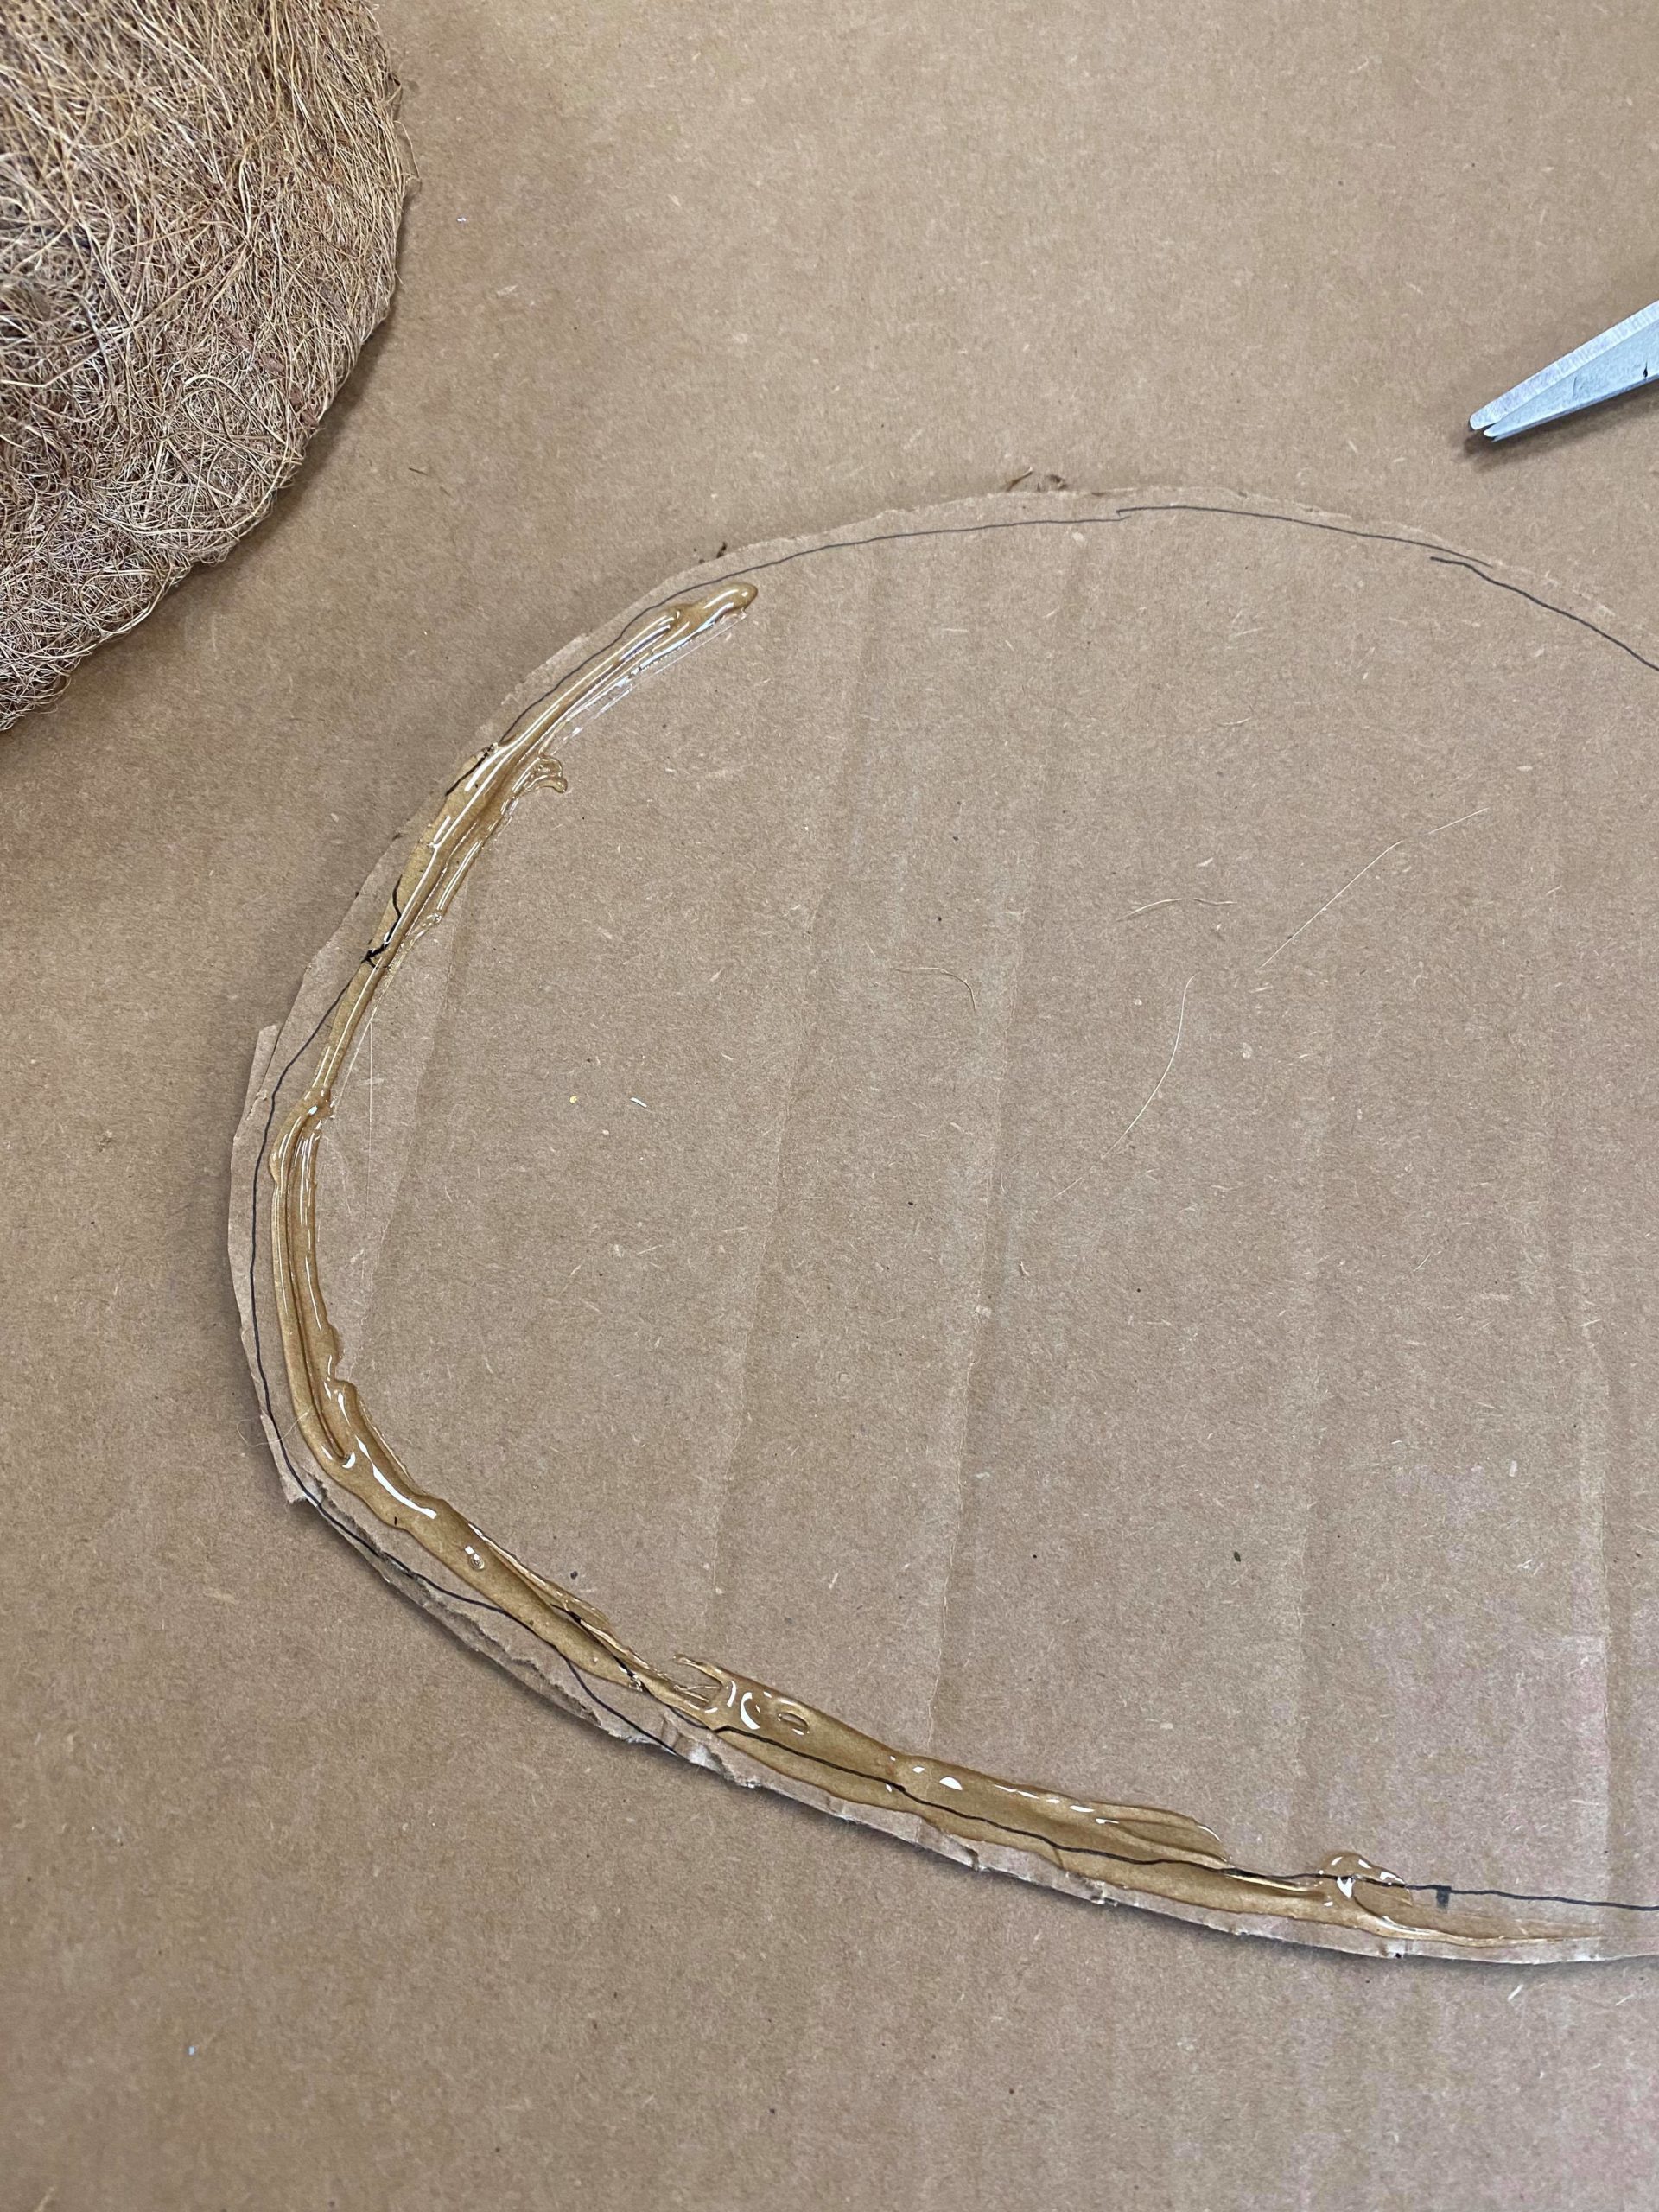
Once the cardboard is cut you will then start to glue the coco liner onto the cardboard. You will want to leave the top area opened so that you can add the stuffing and stem.
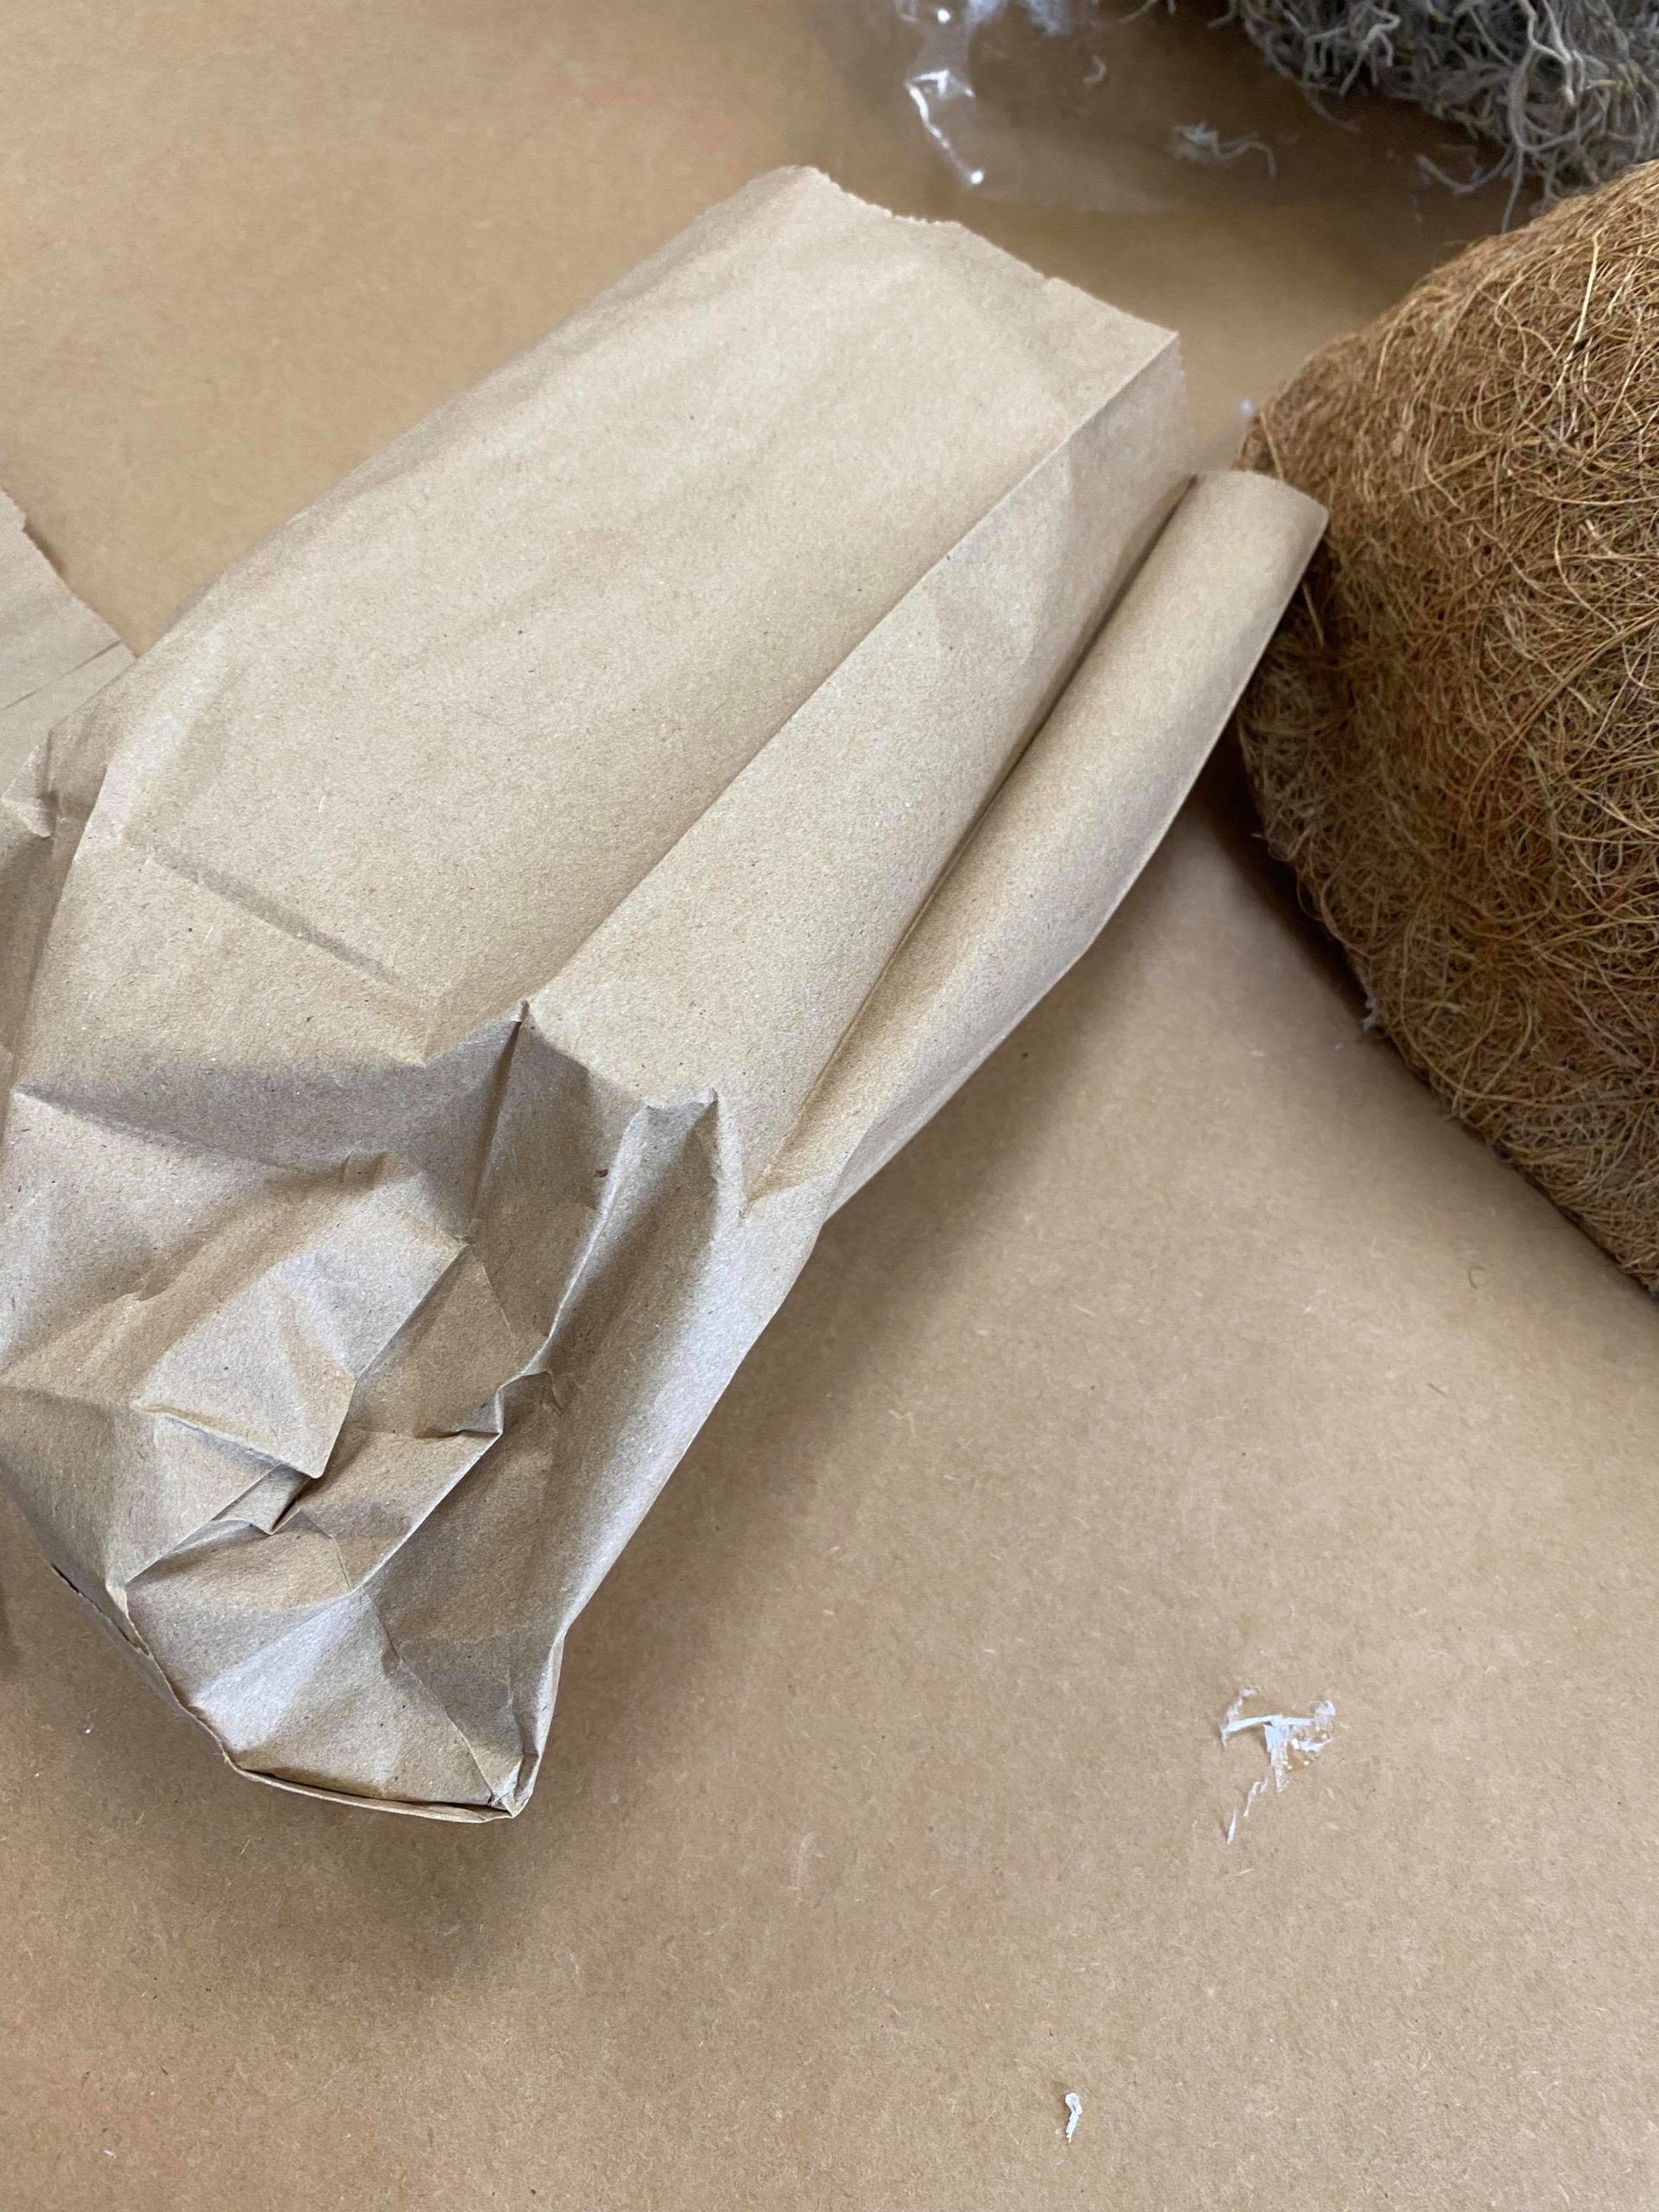
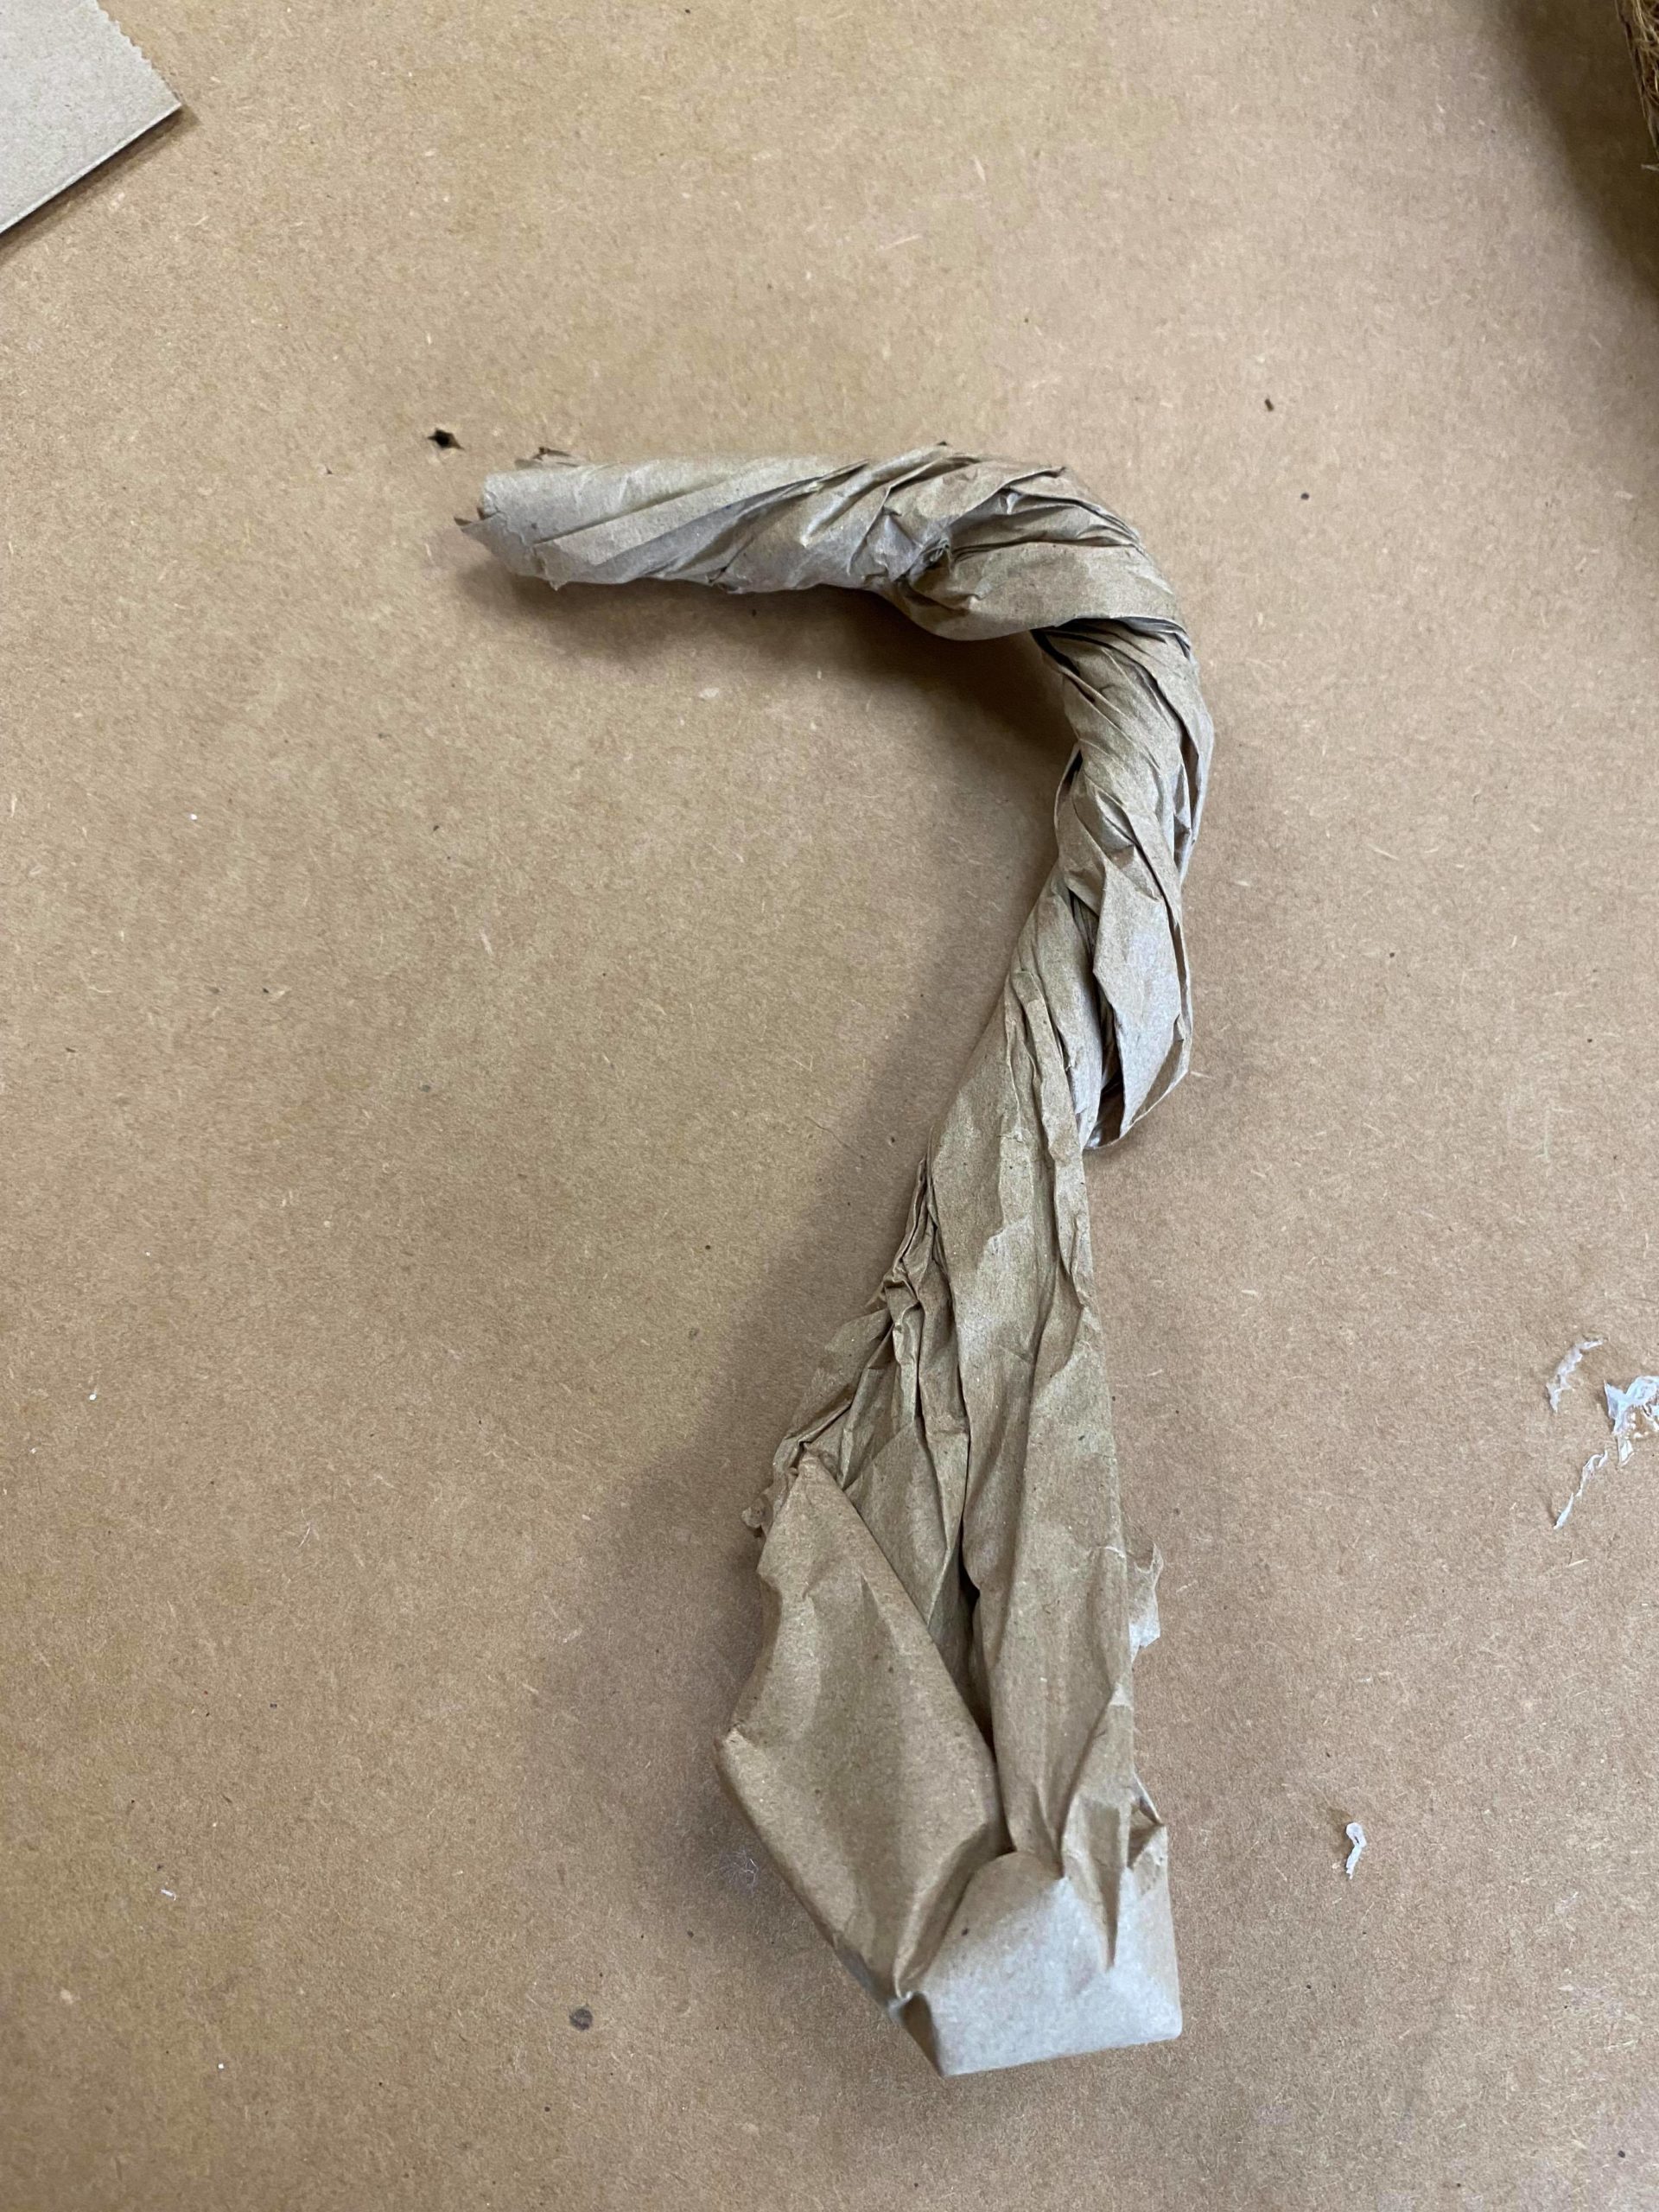
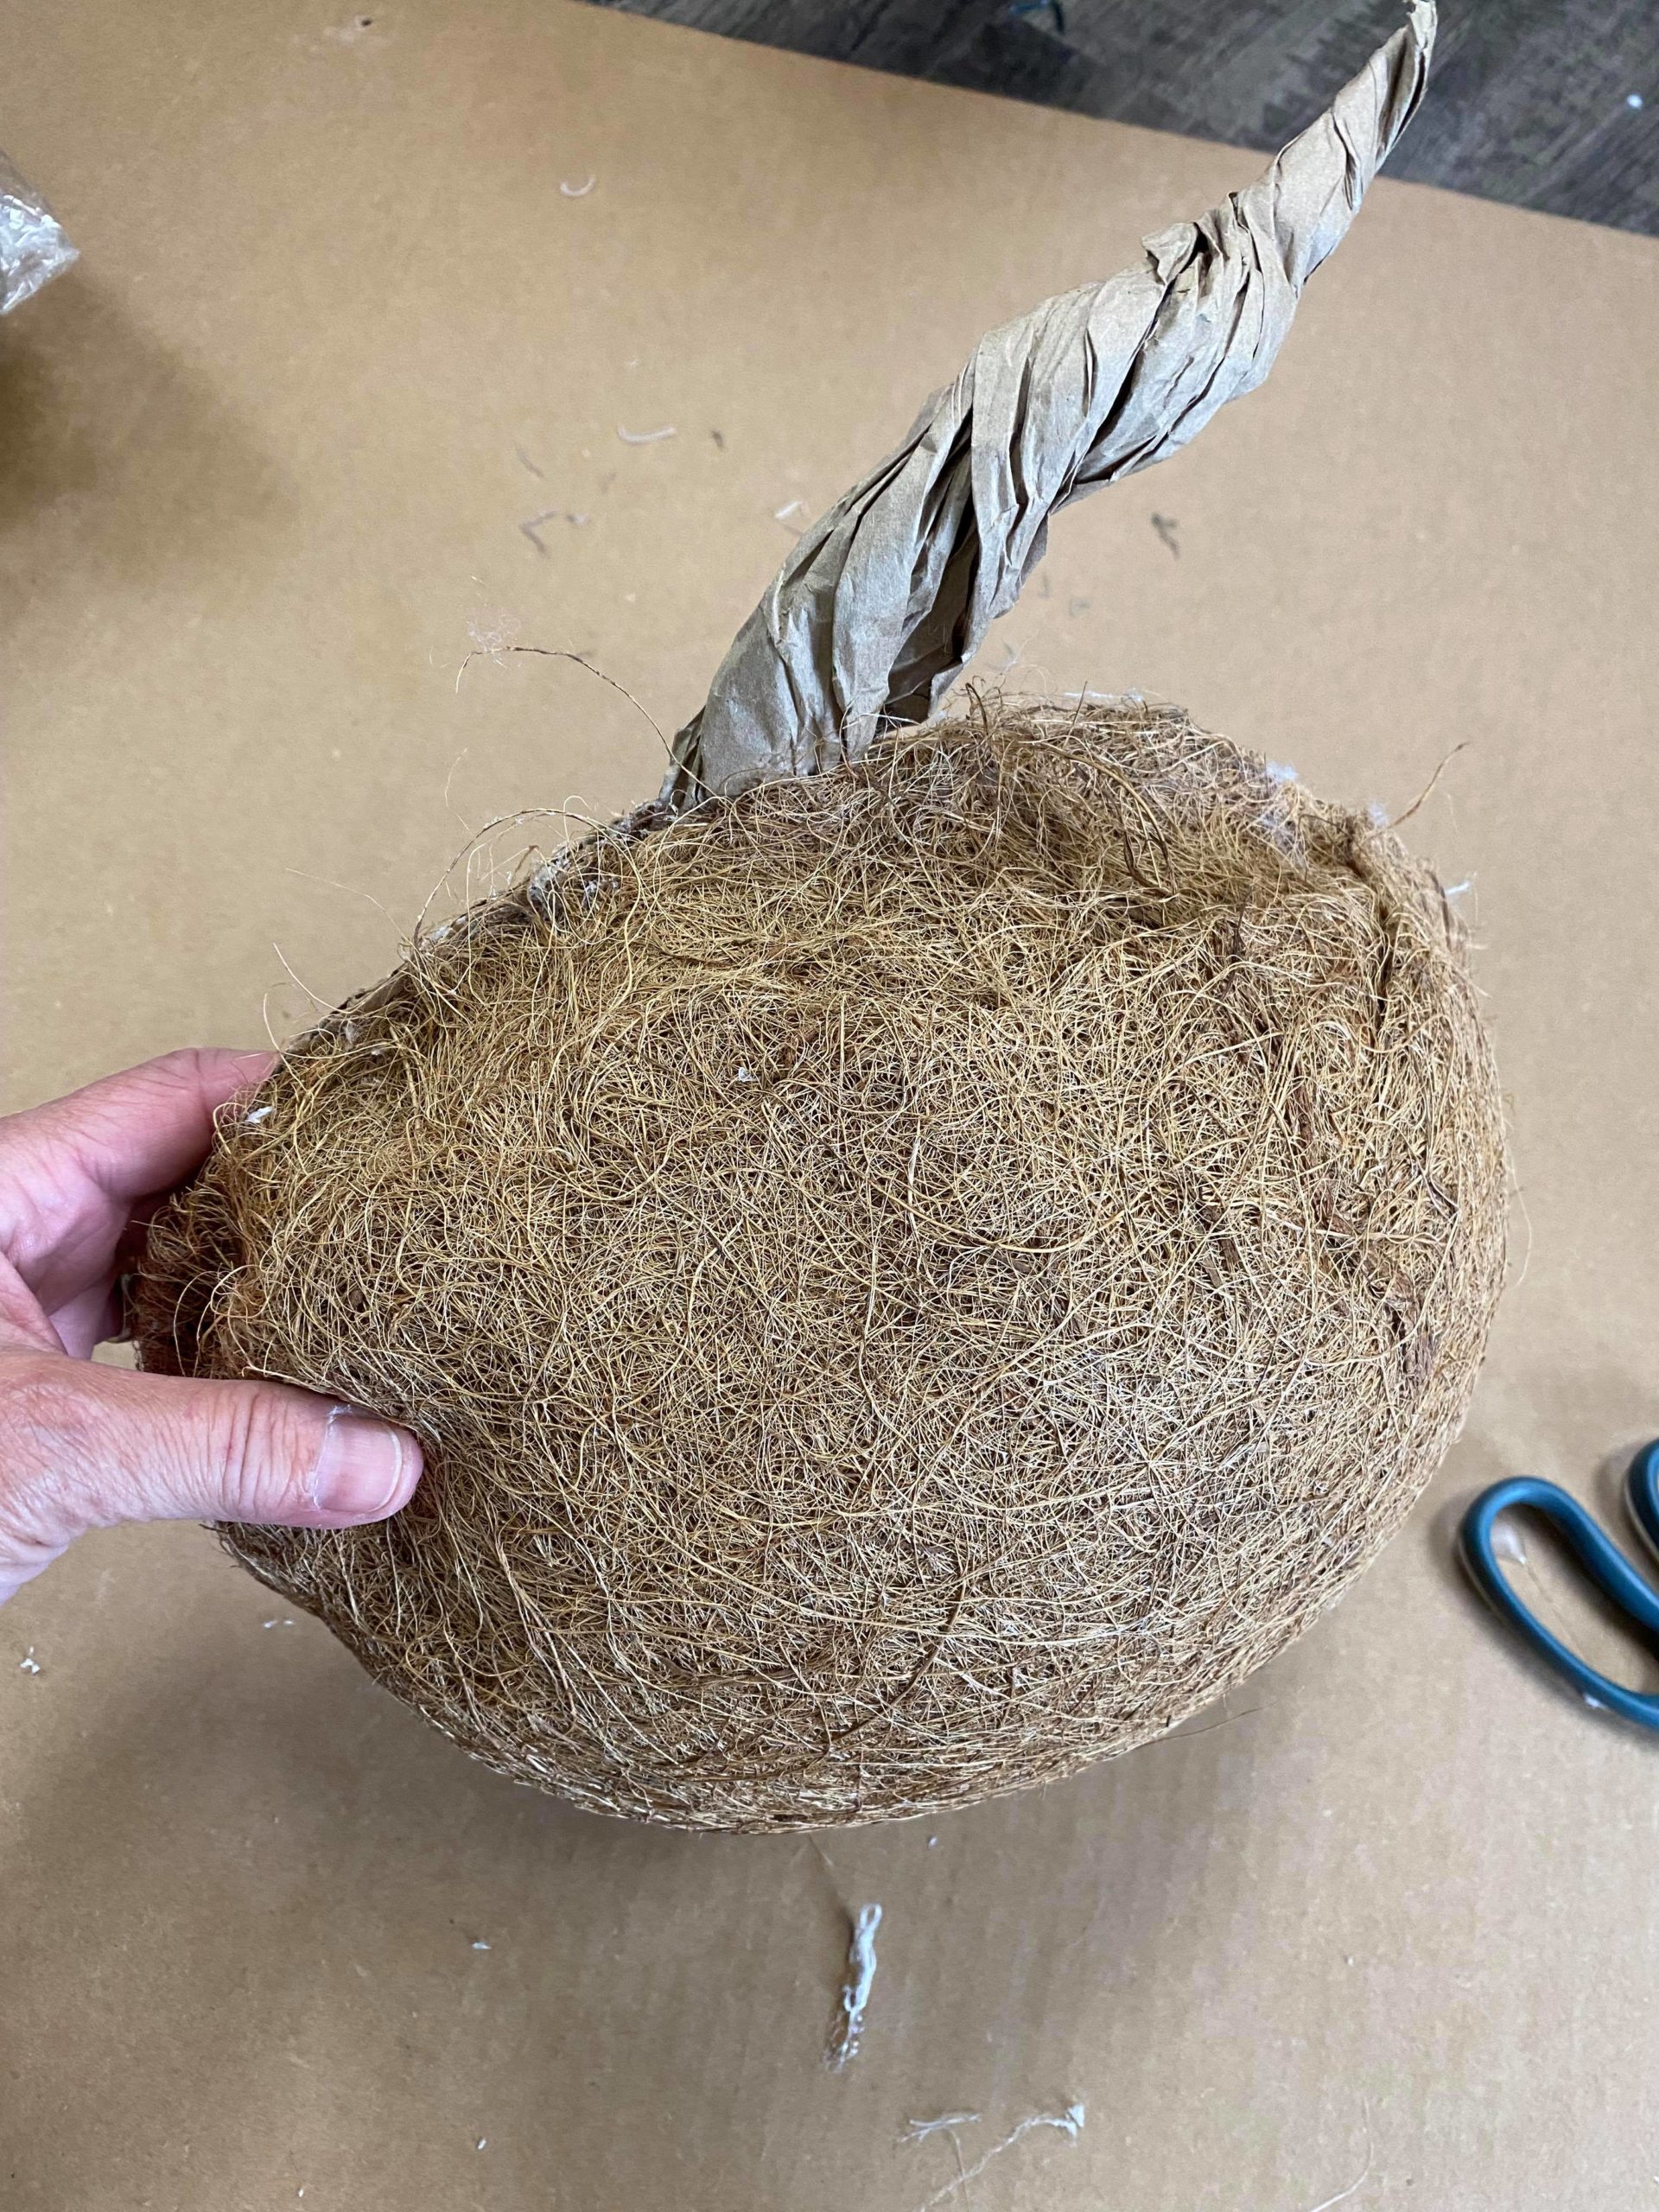
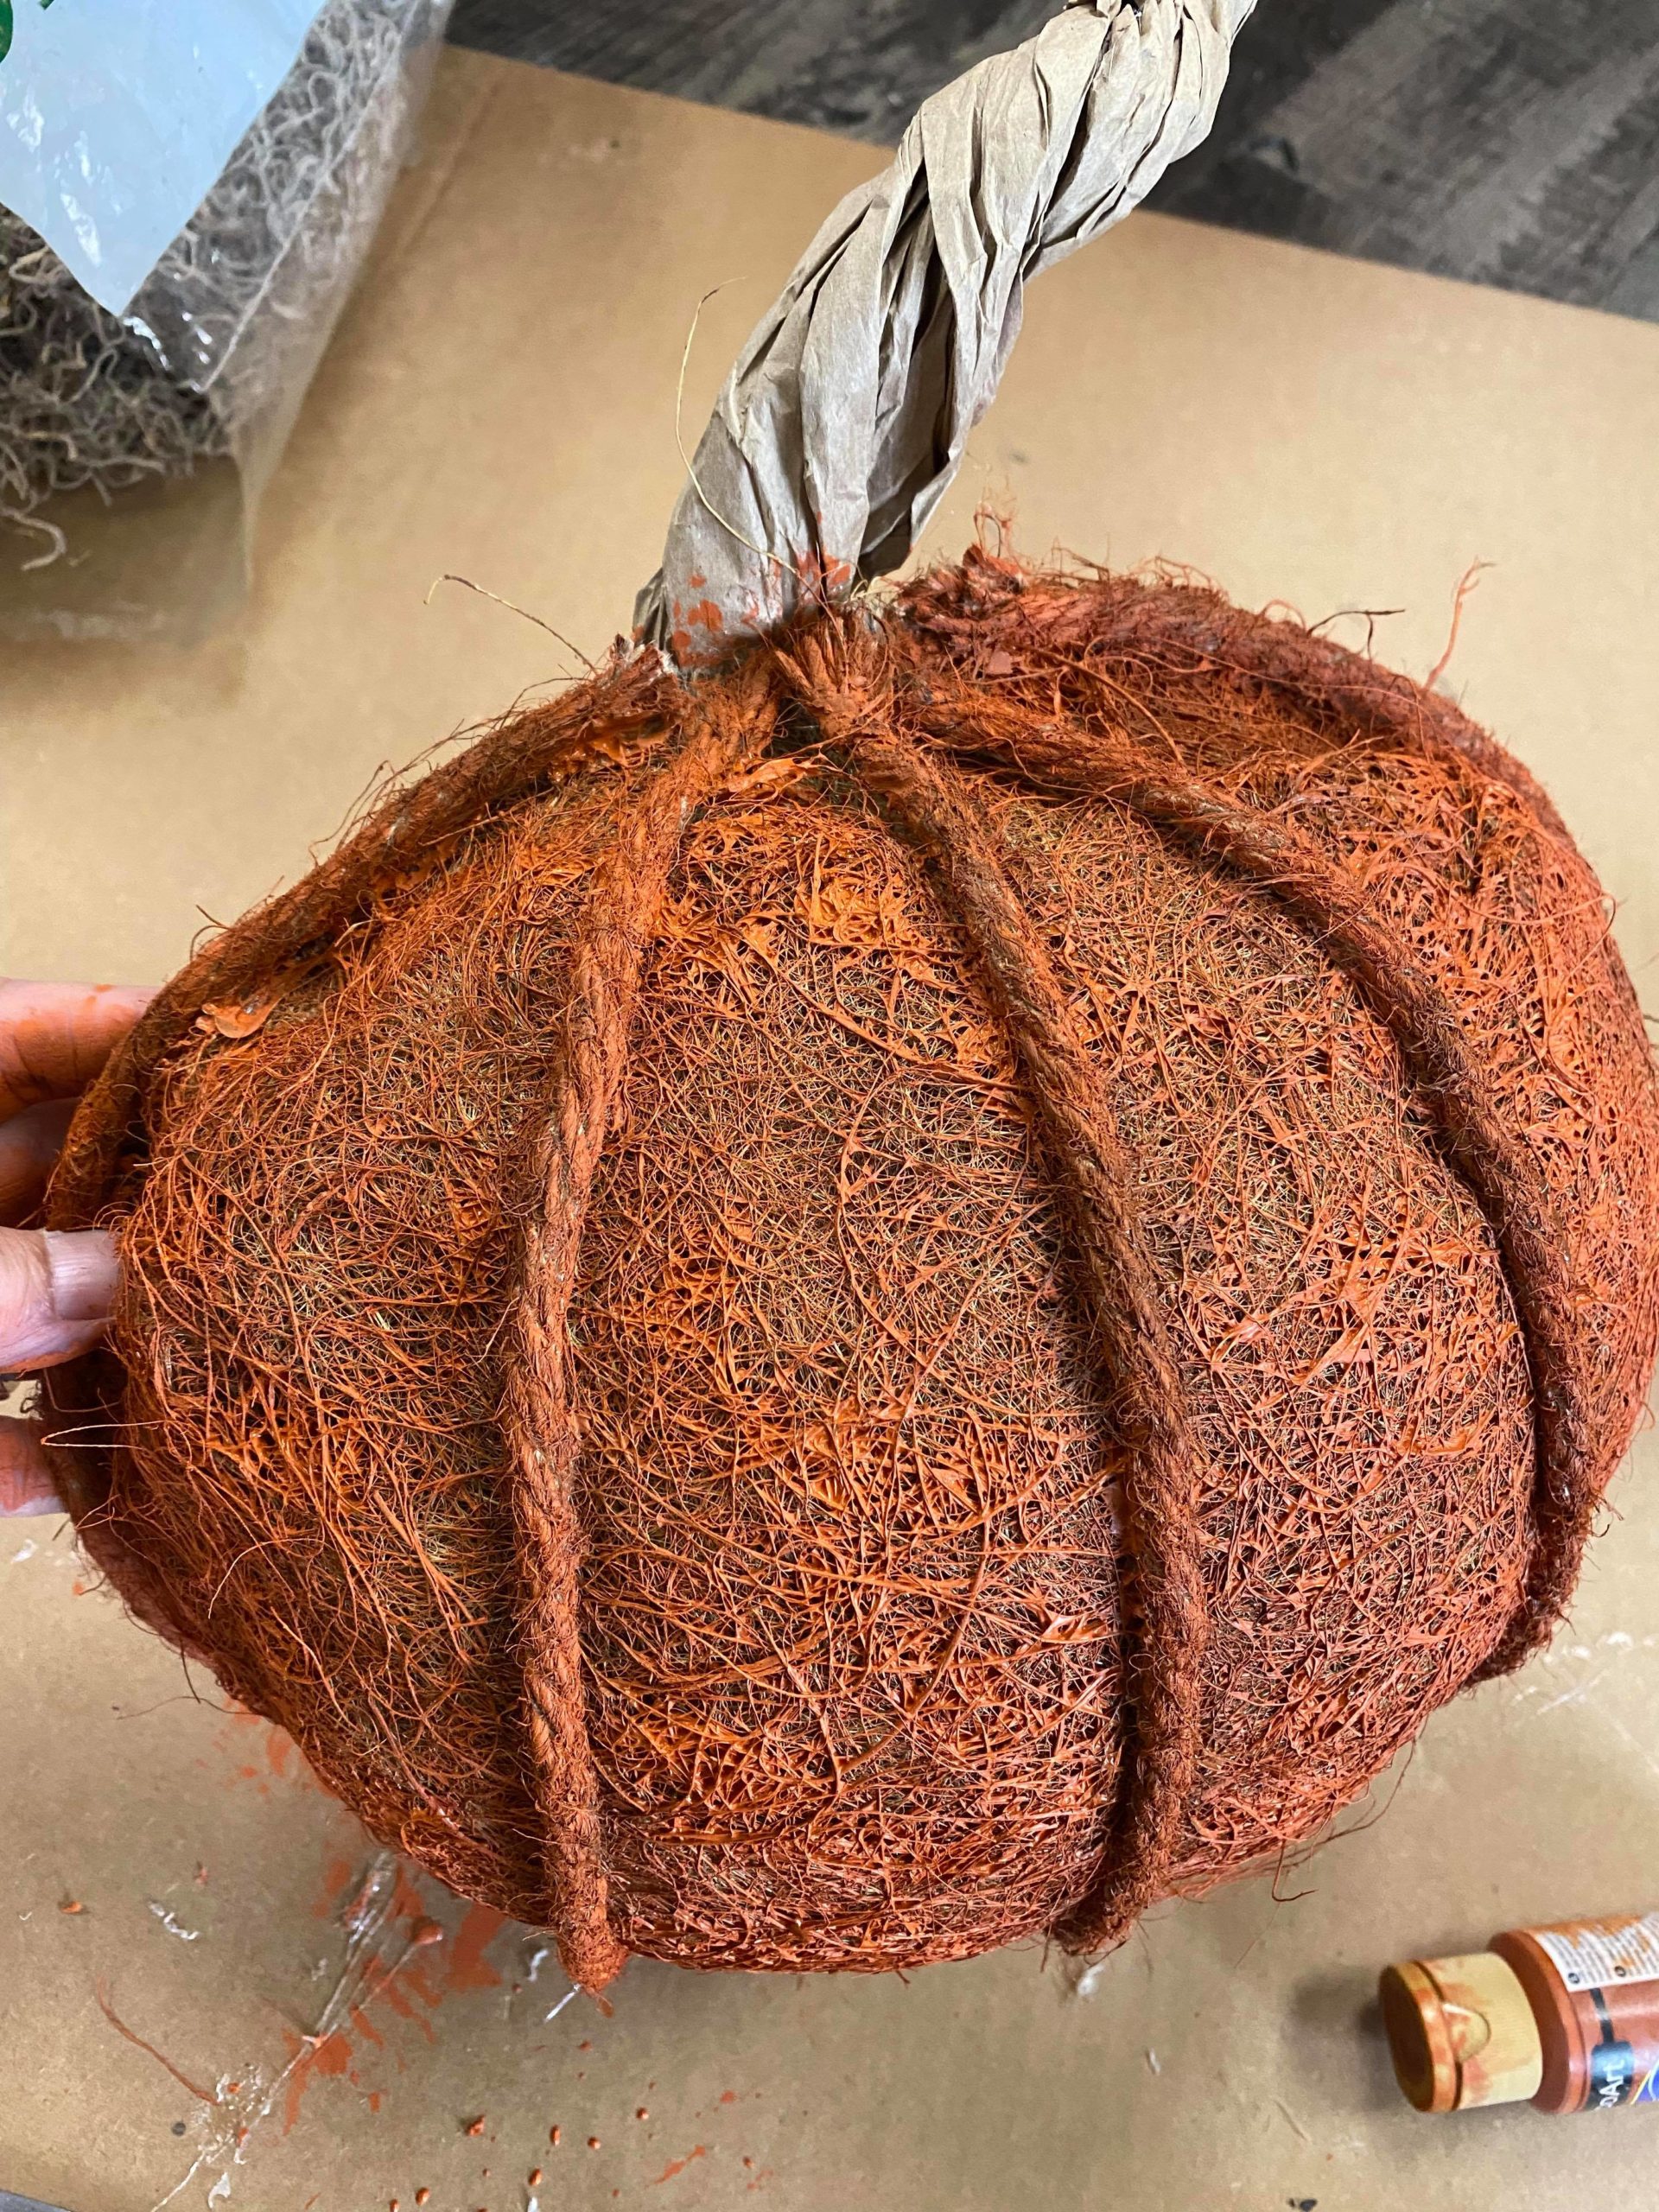
You will want to twist the brown lunch bag to form the stem to your pumpkin as shown in photos below.
You will then glue the stem to the top inside of the pumpkin.
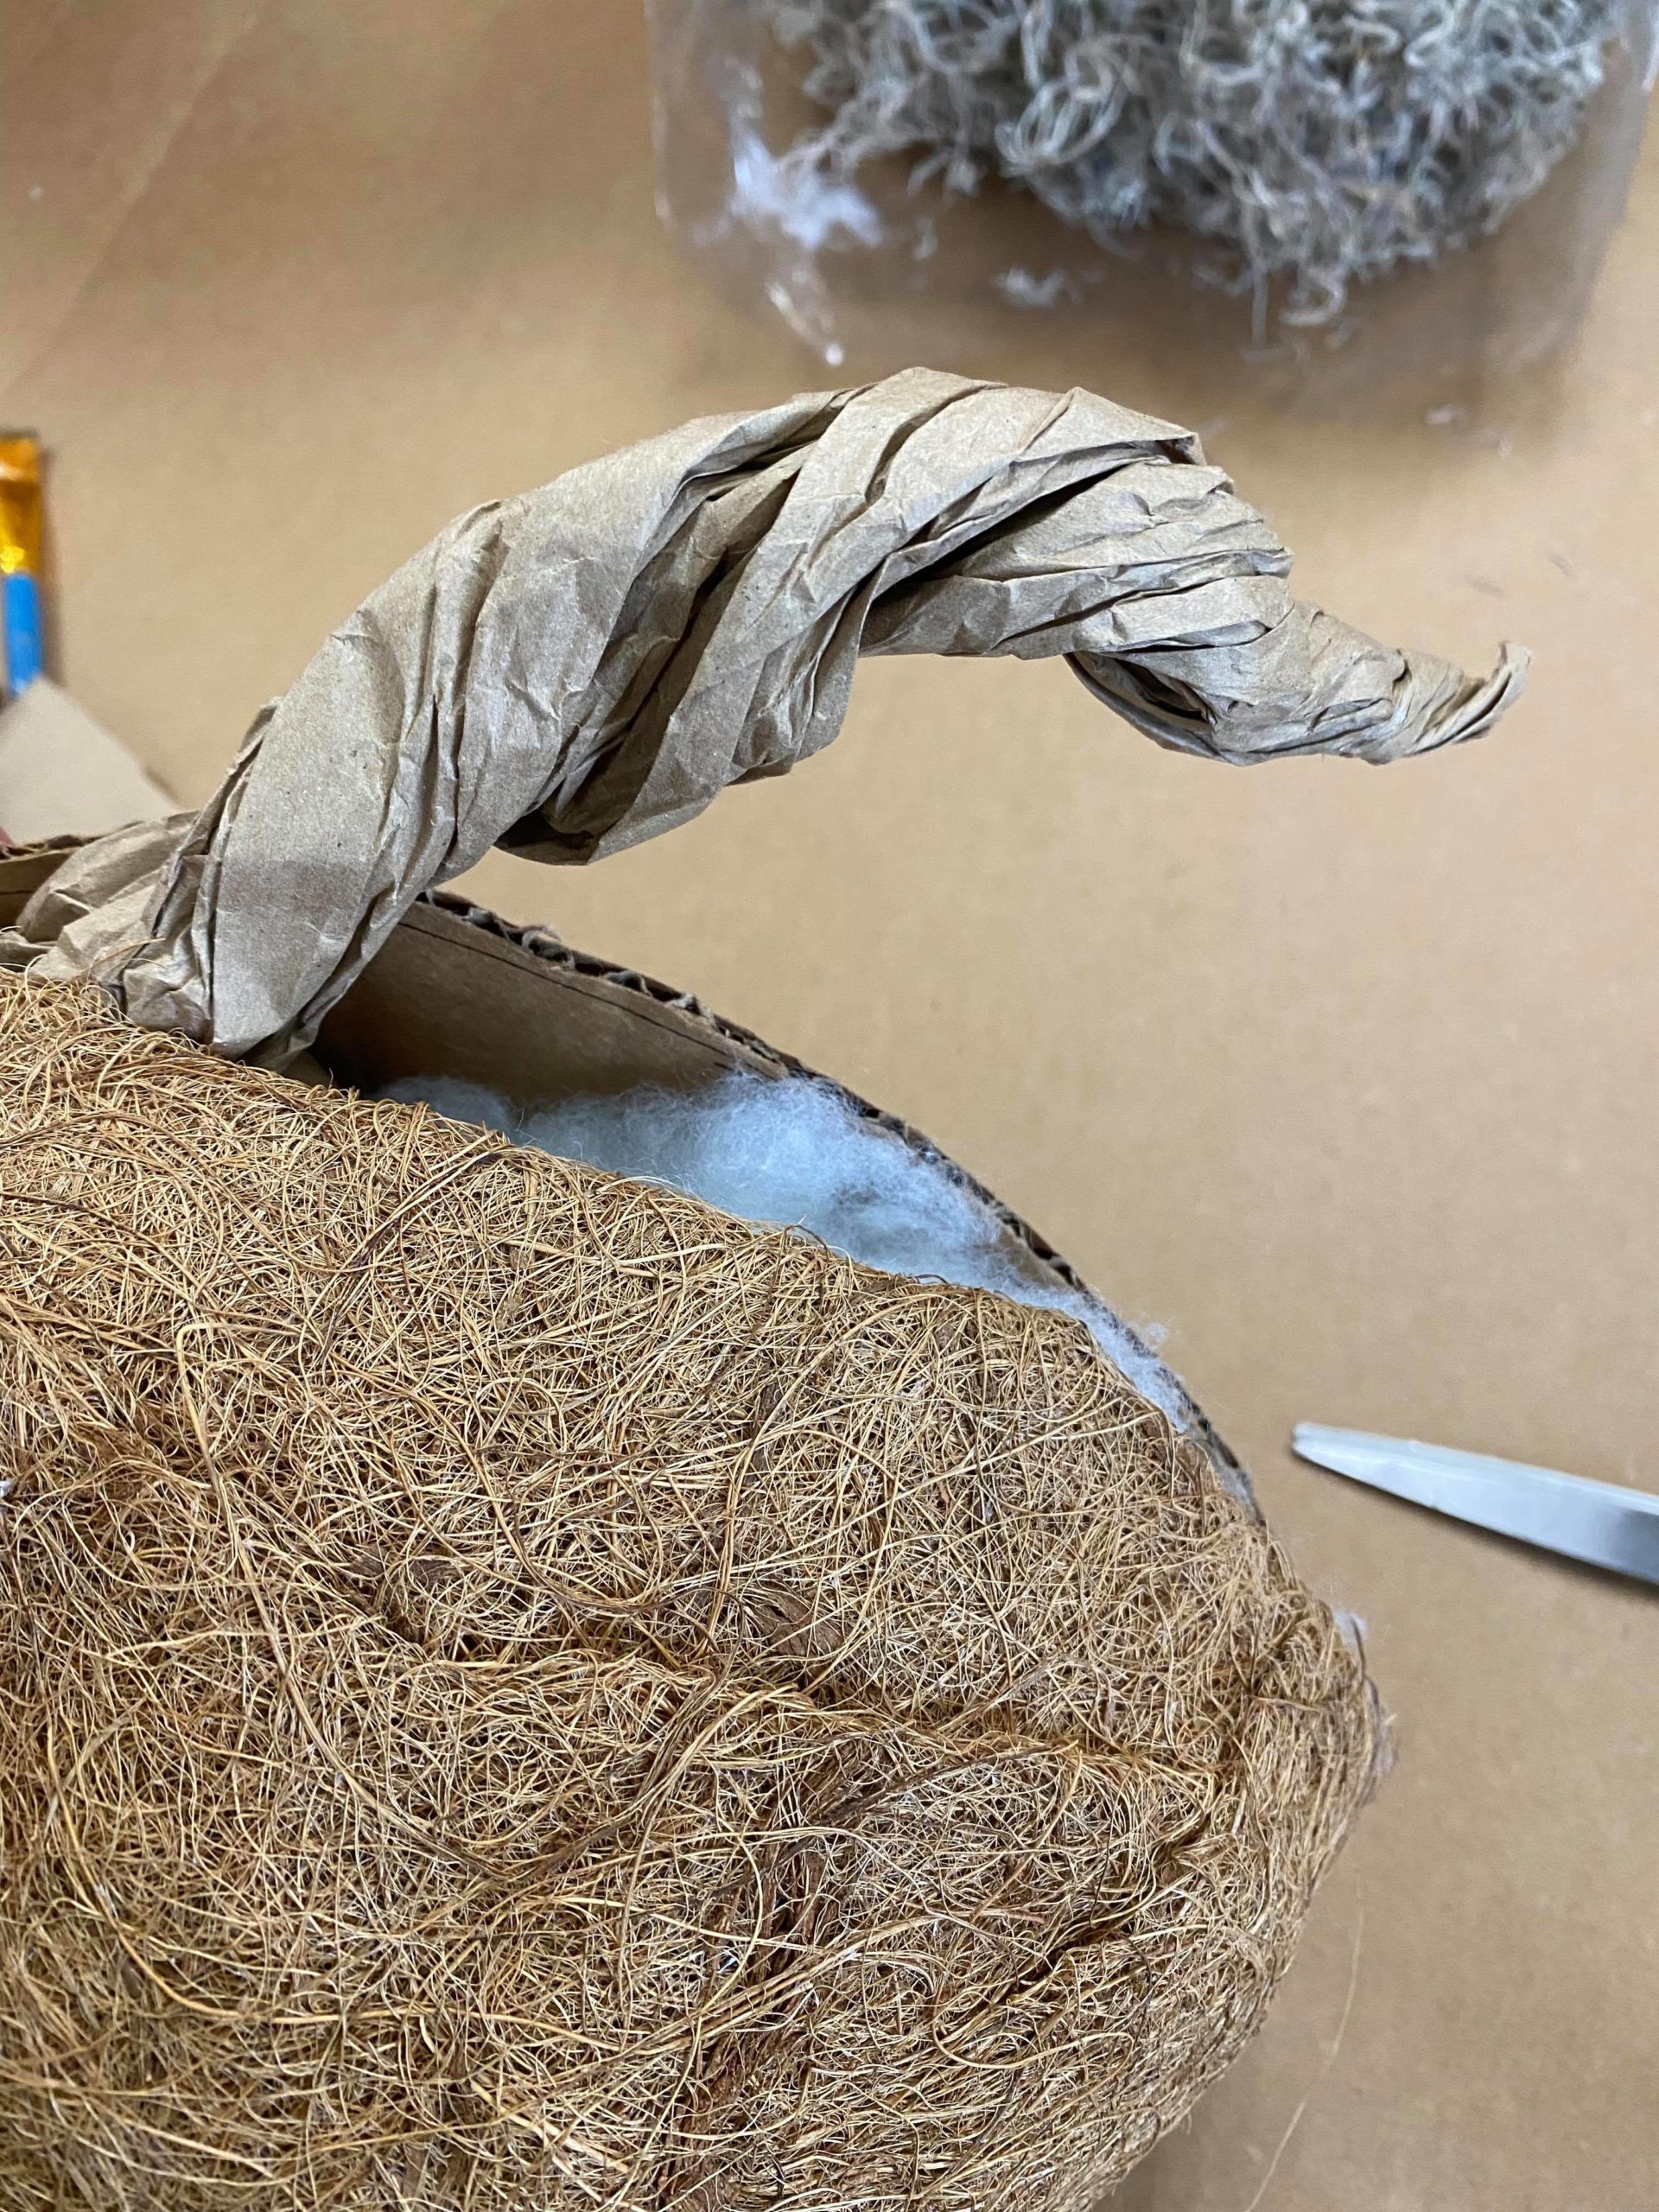
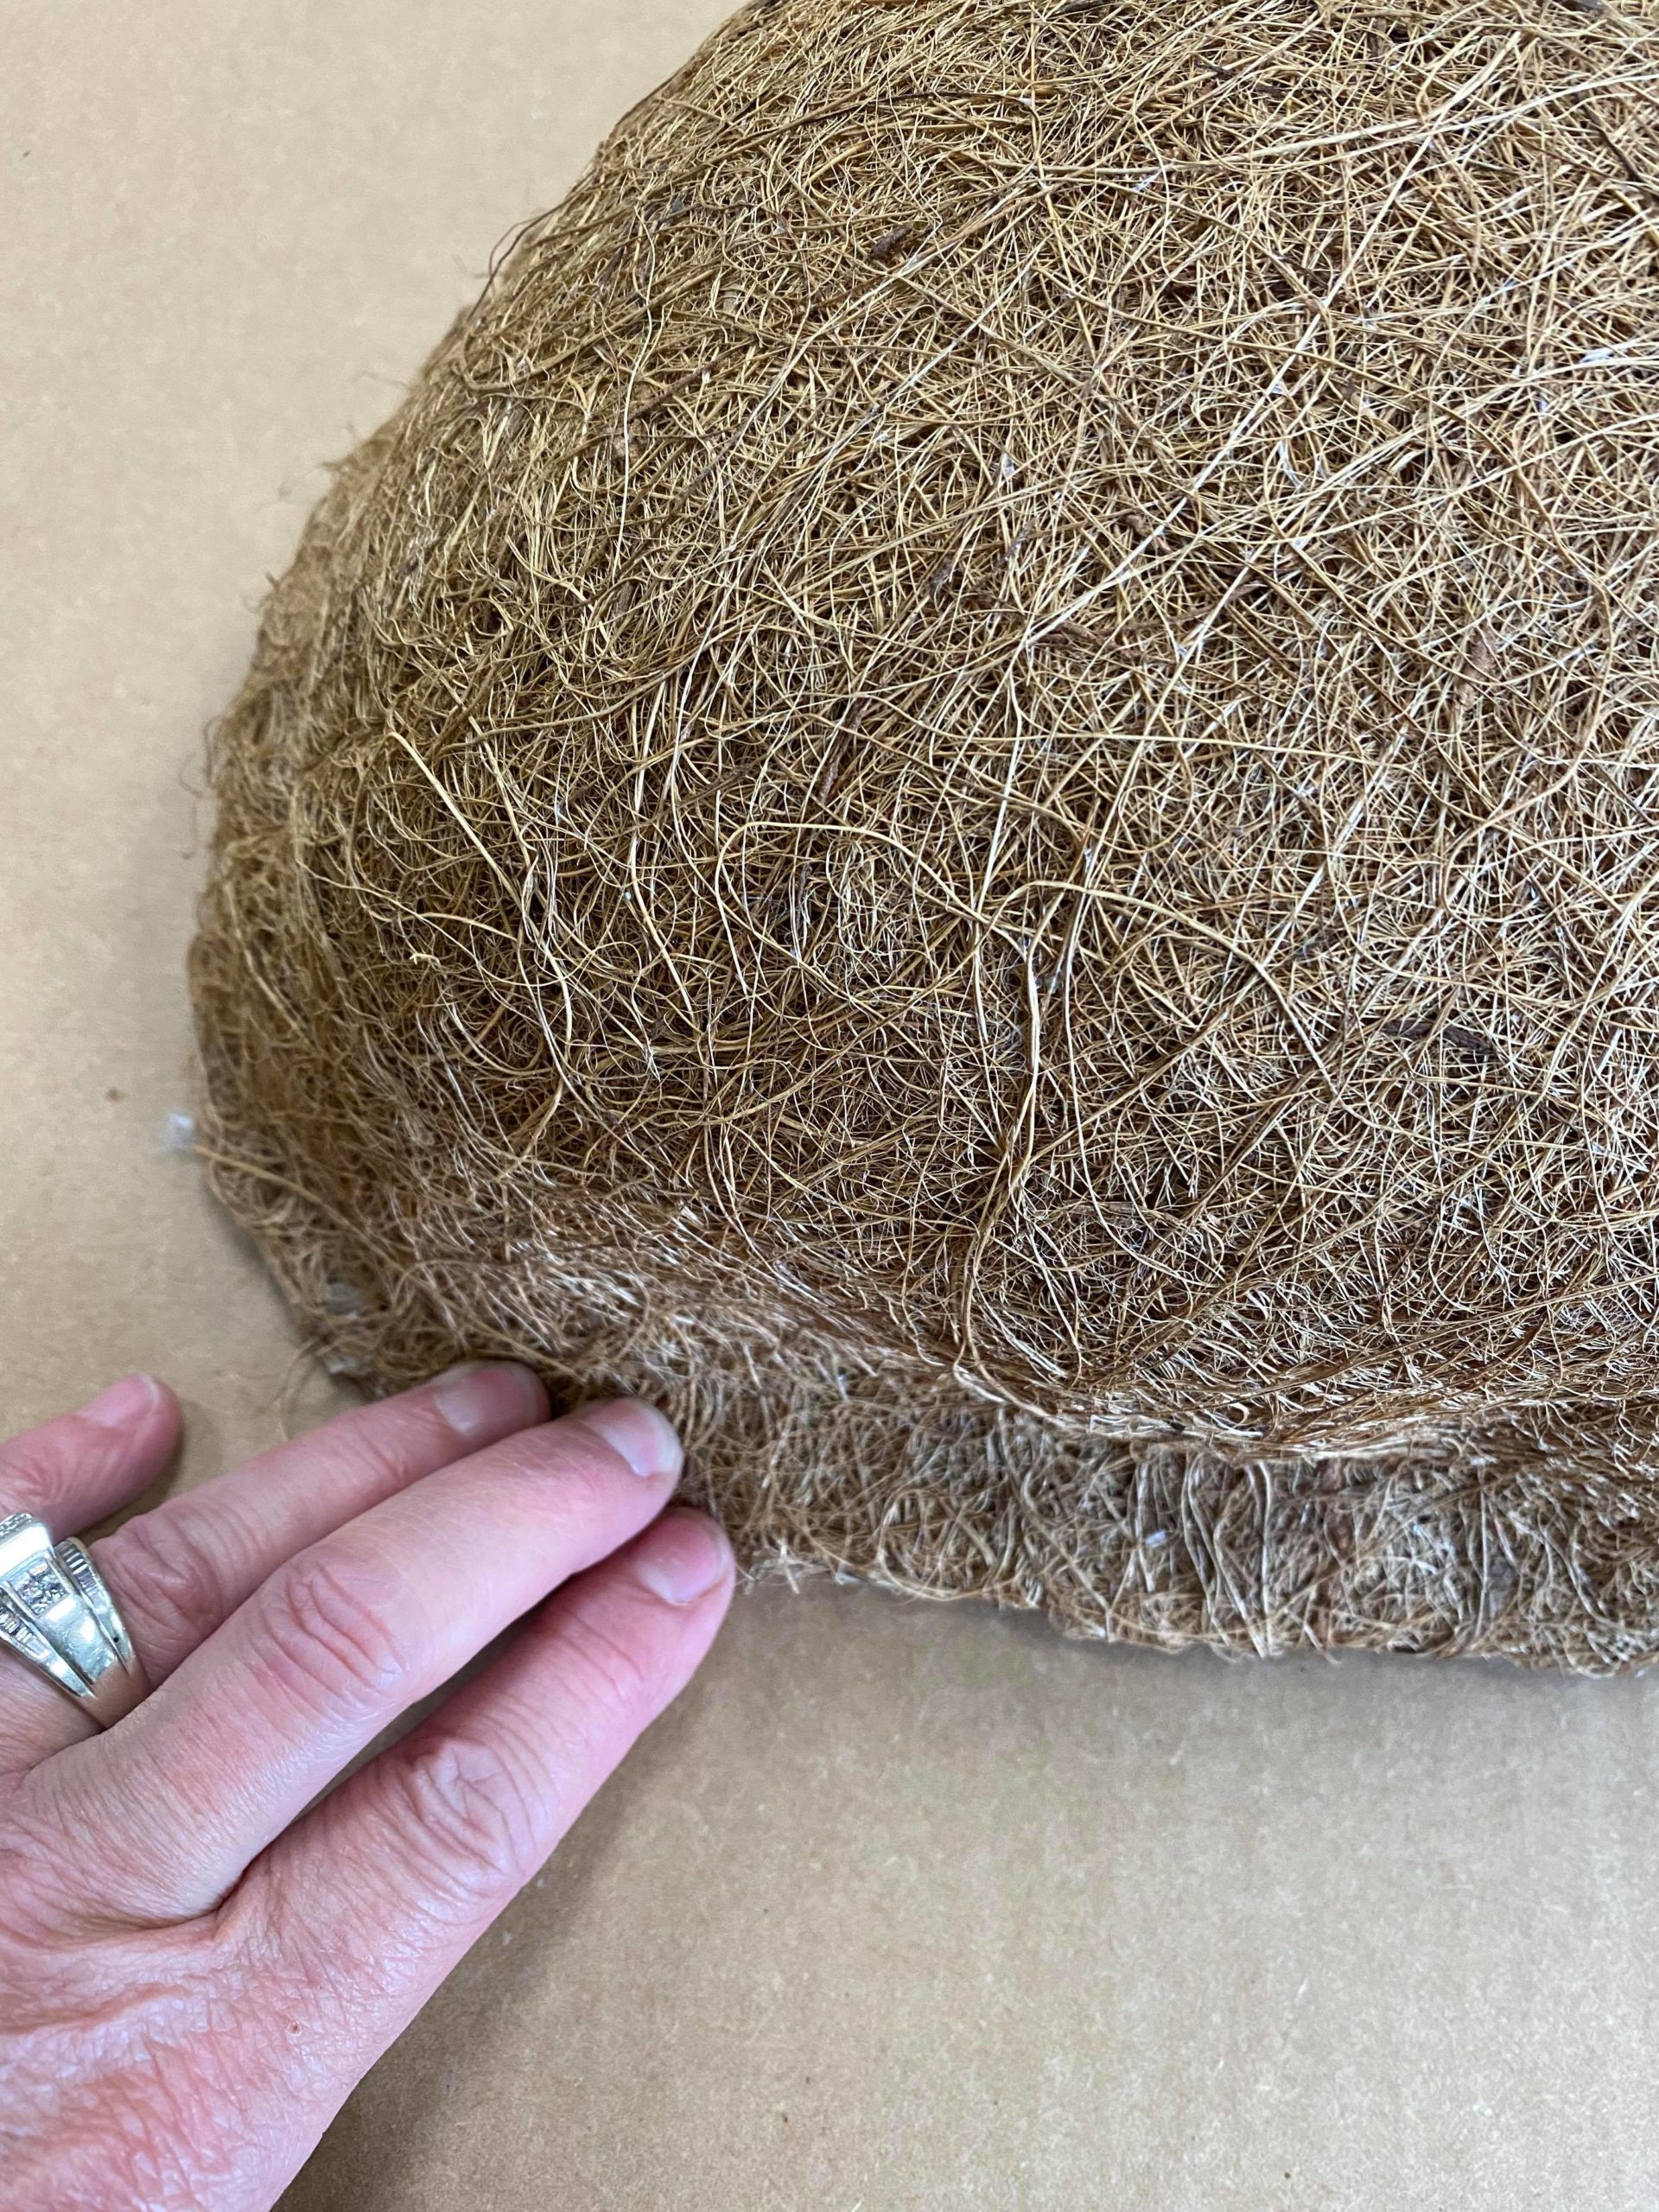
You can add the stuffing before adding the stem or after the stem but be sure to stuff the pumpkin. Once you have the stuffing added then glue the opening closed.
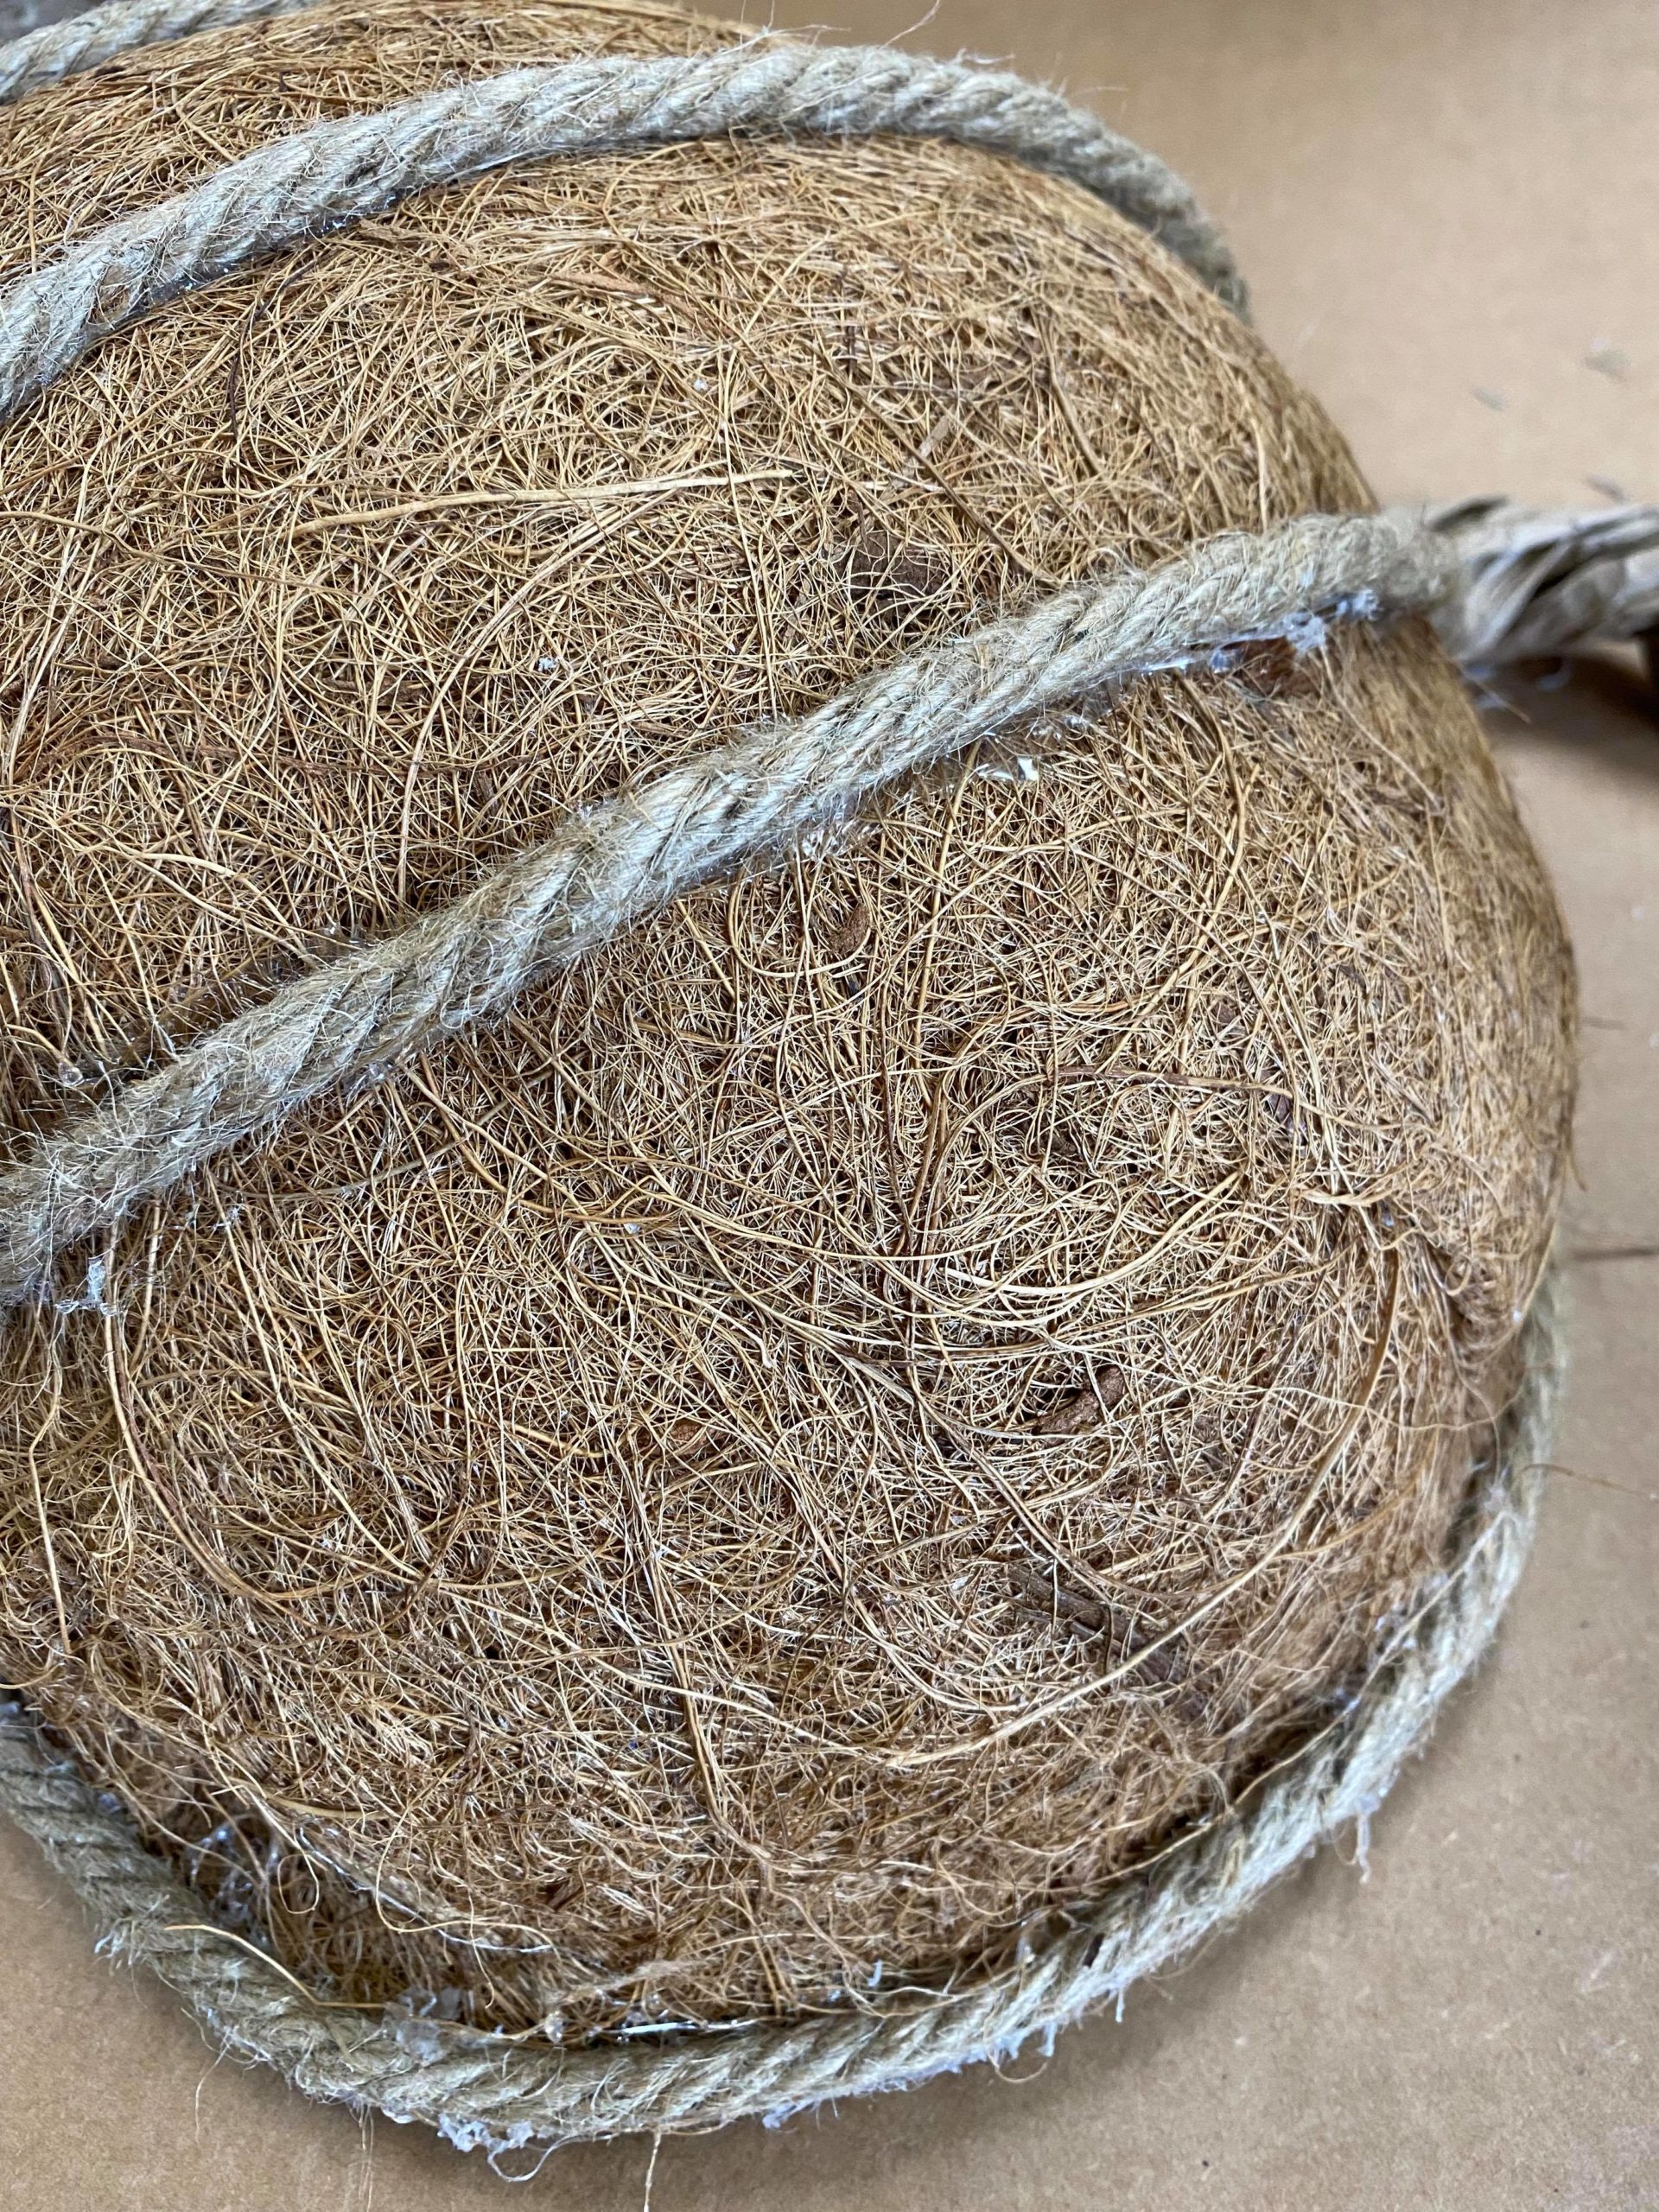
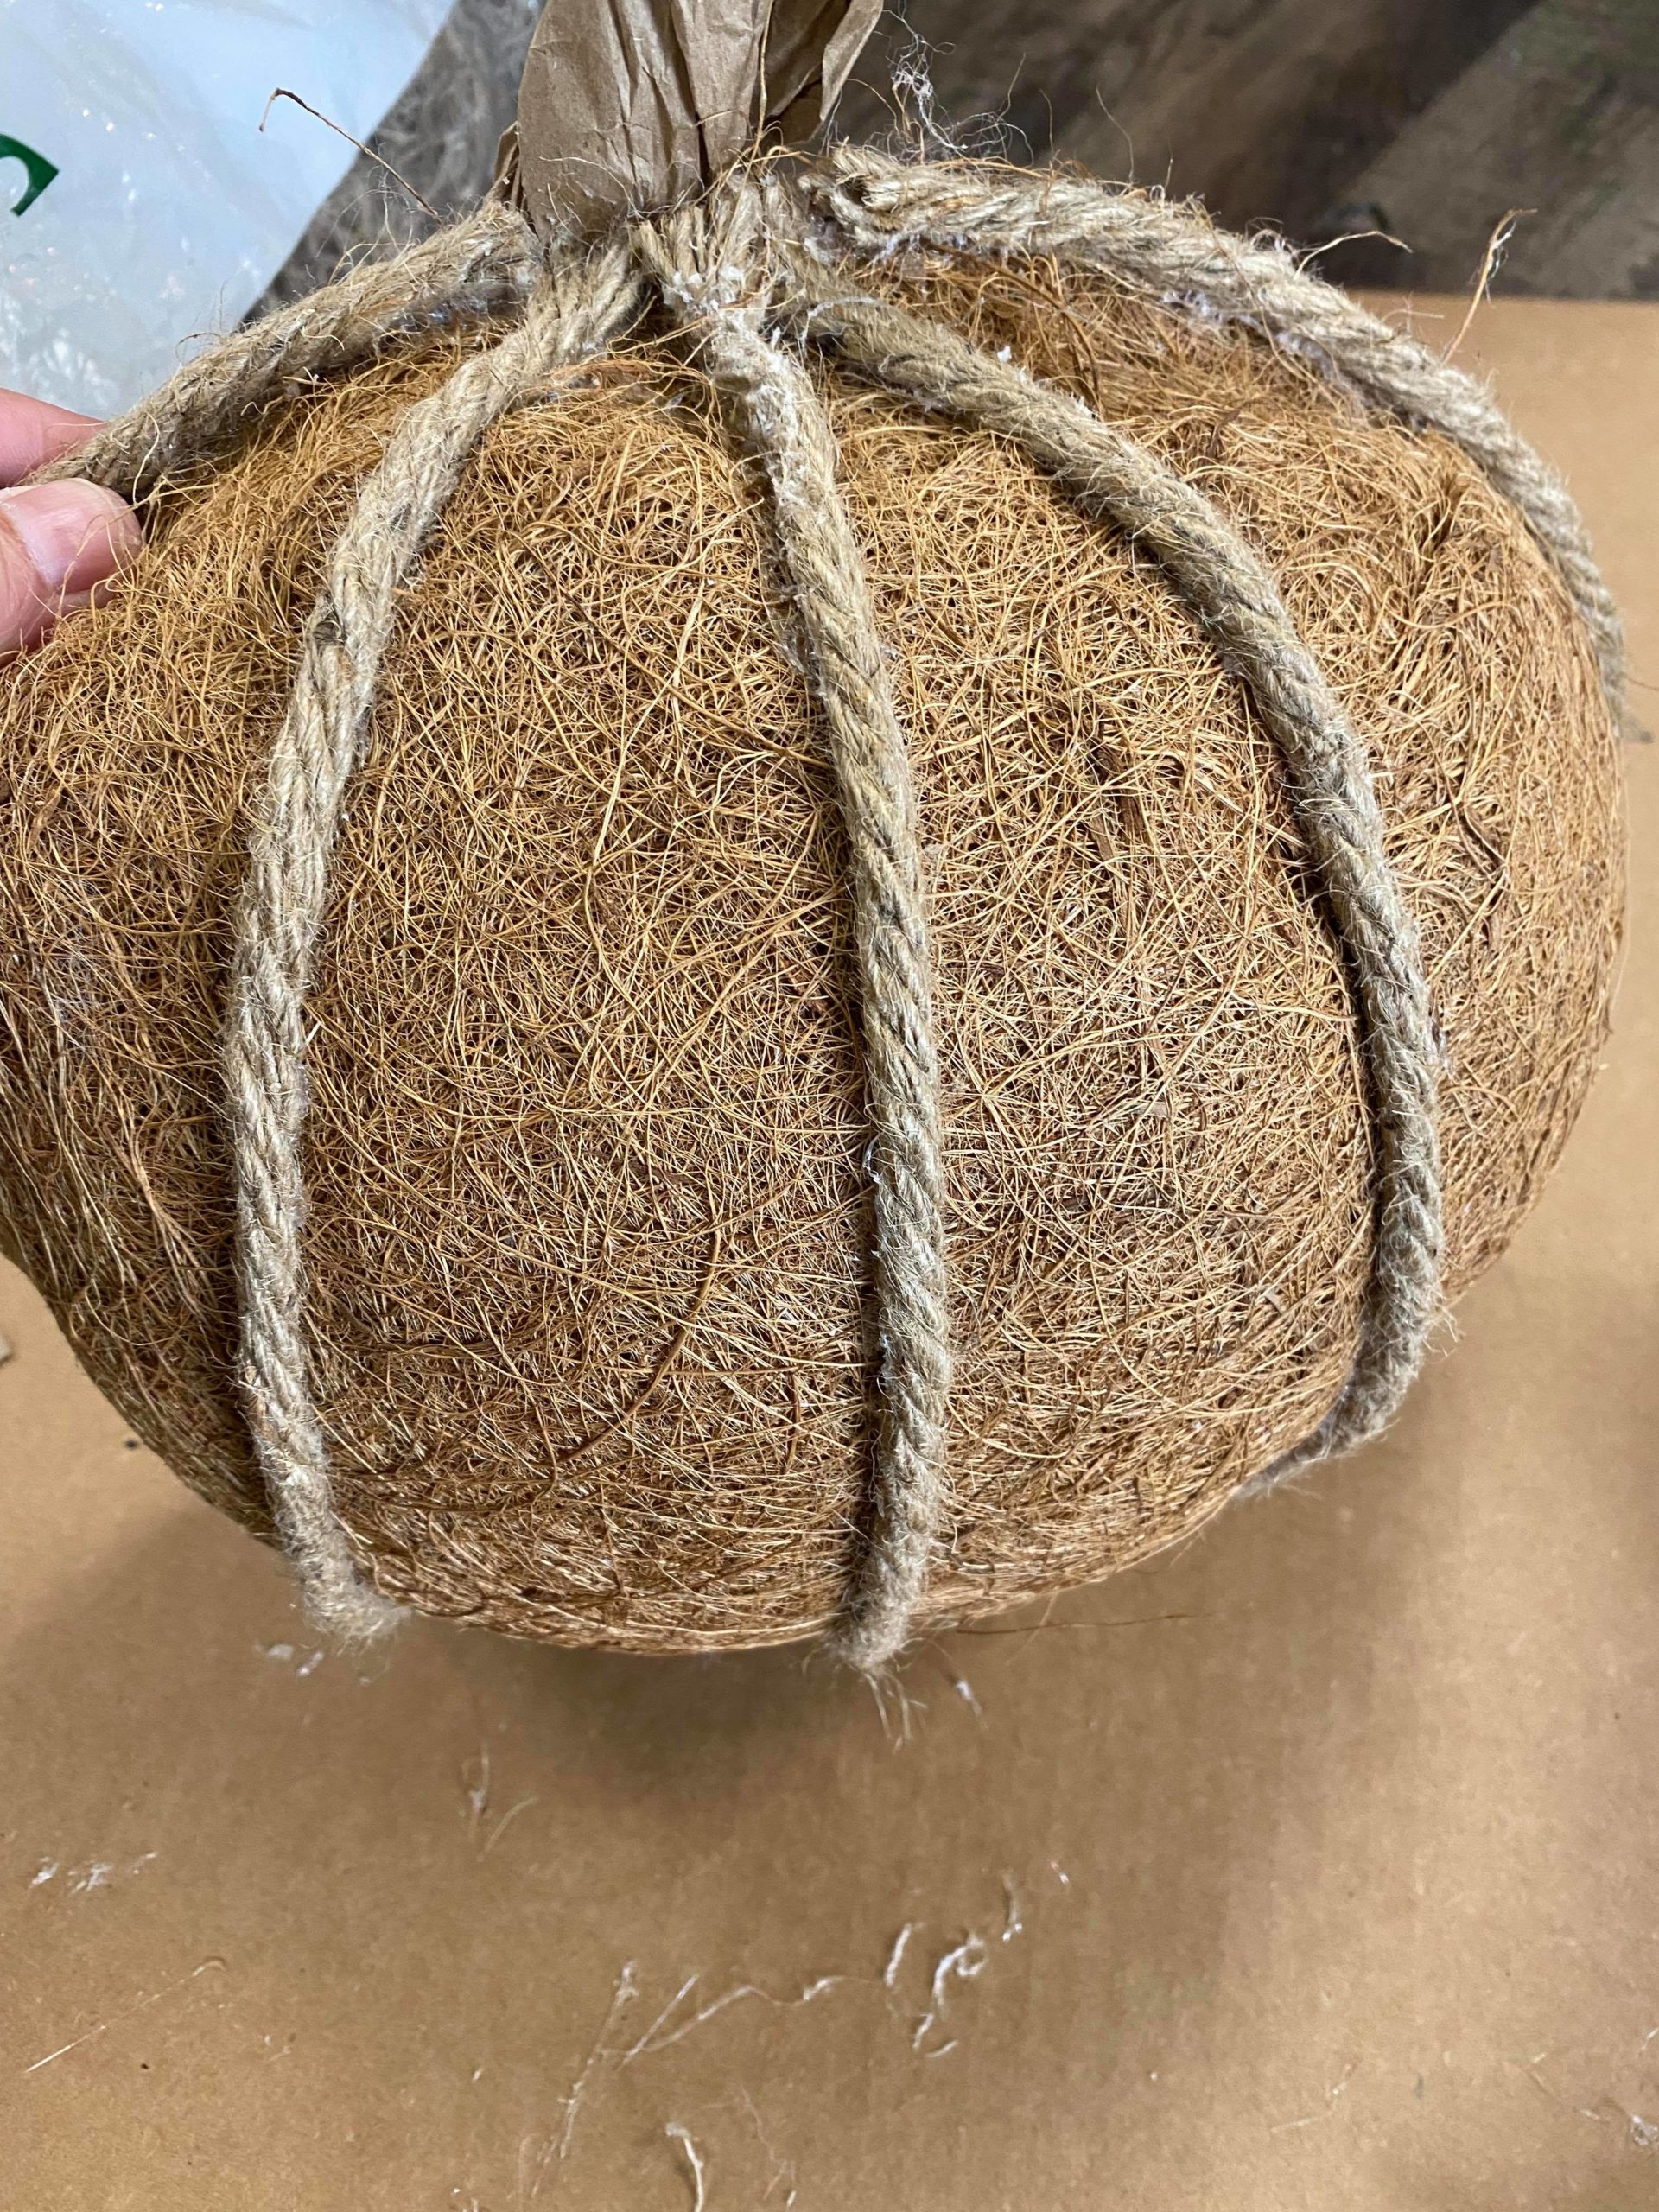
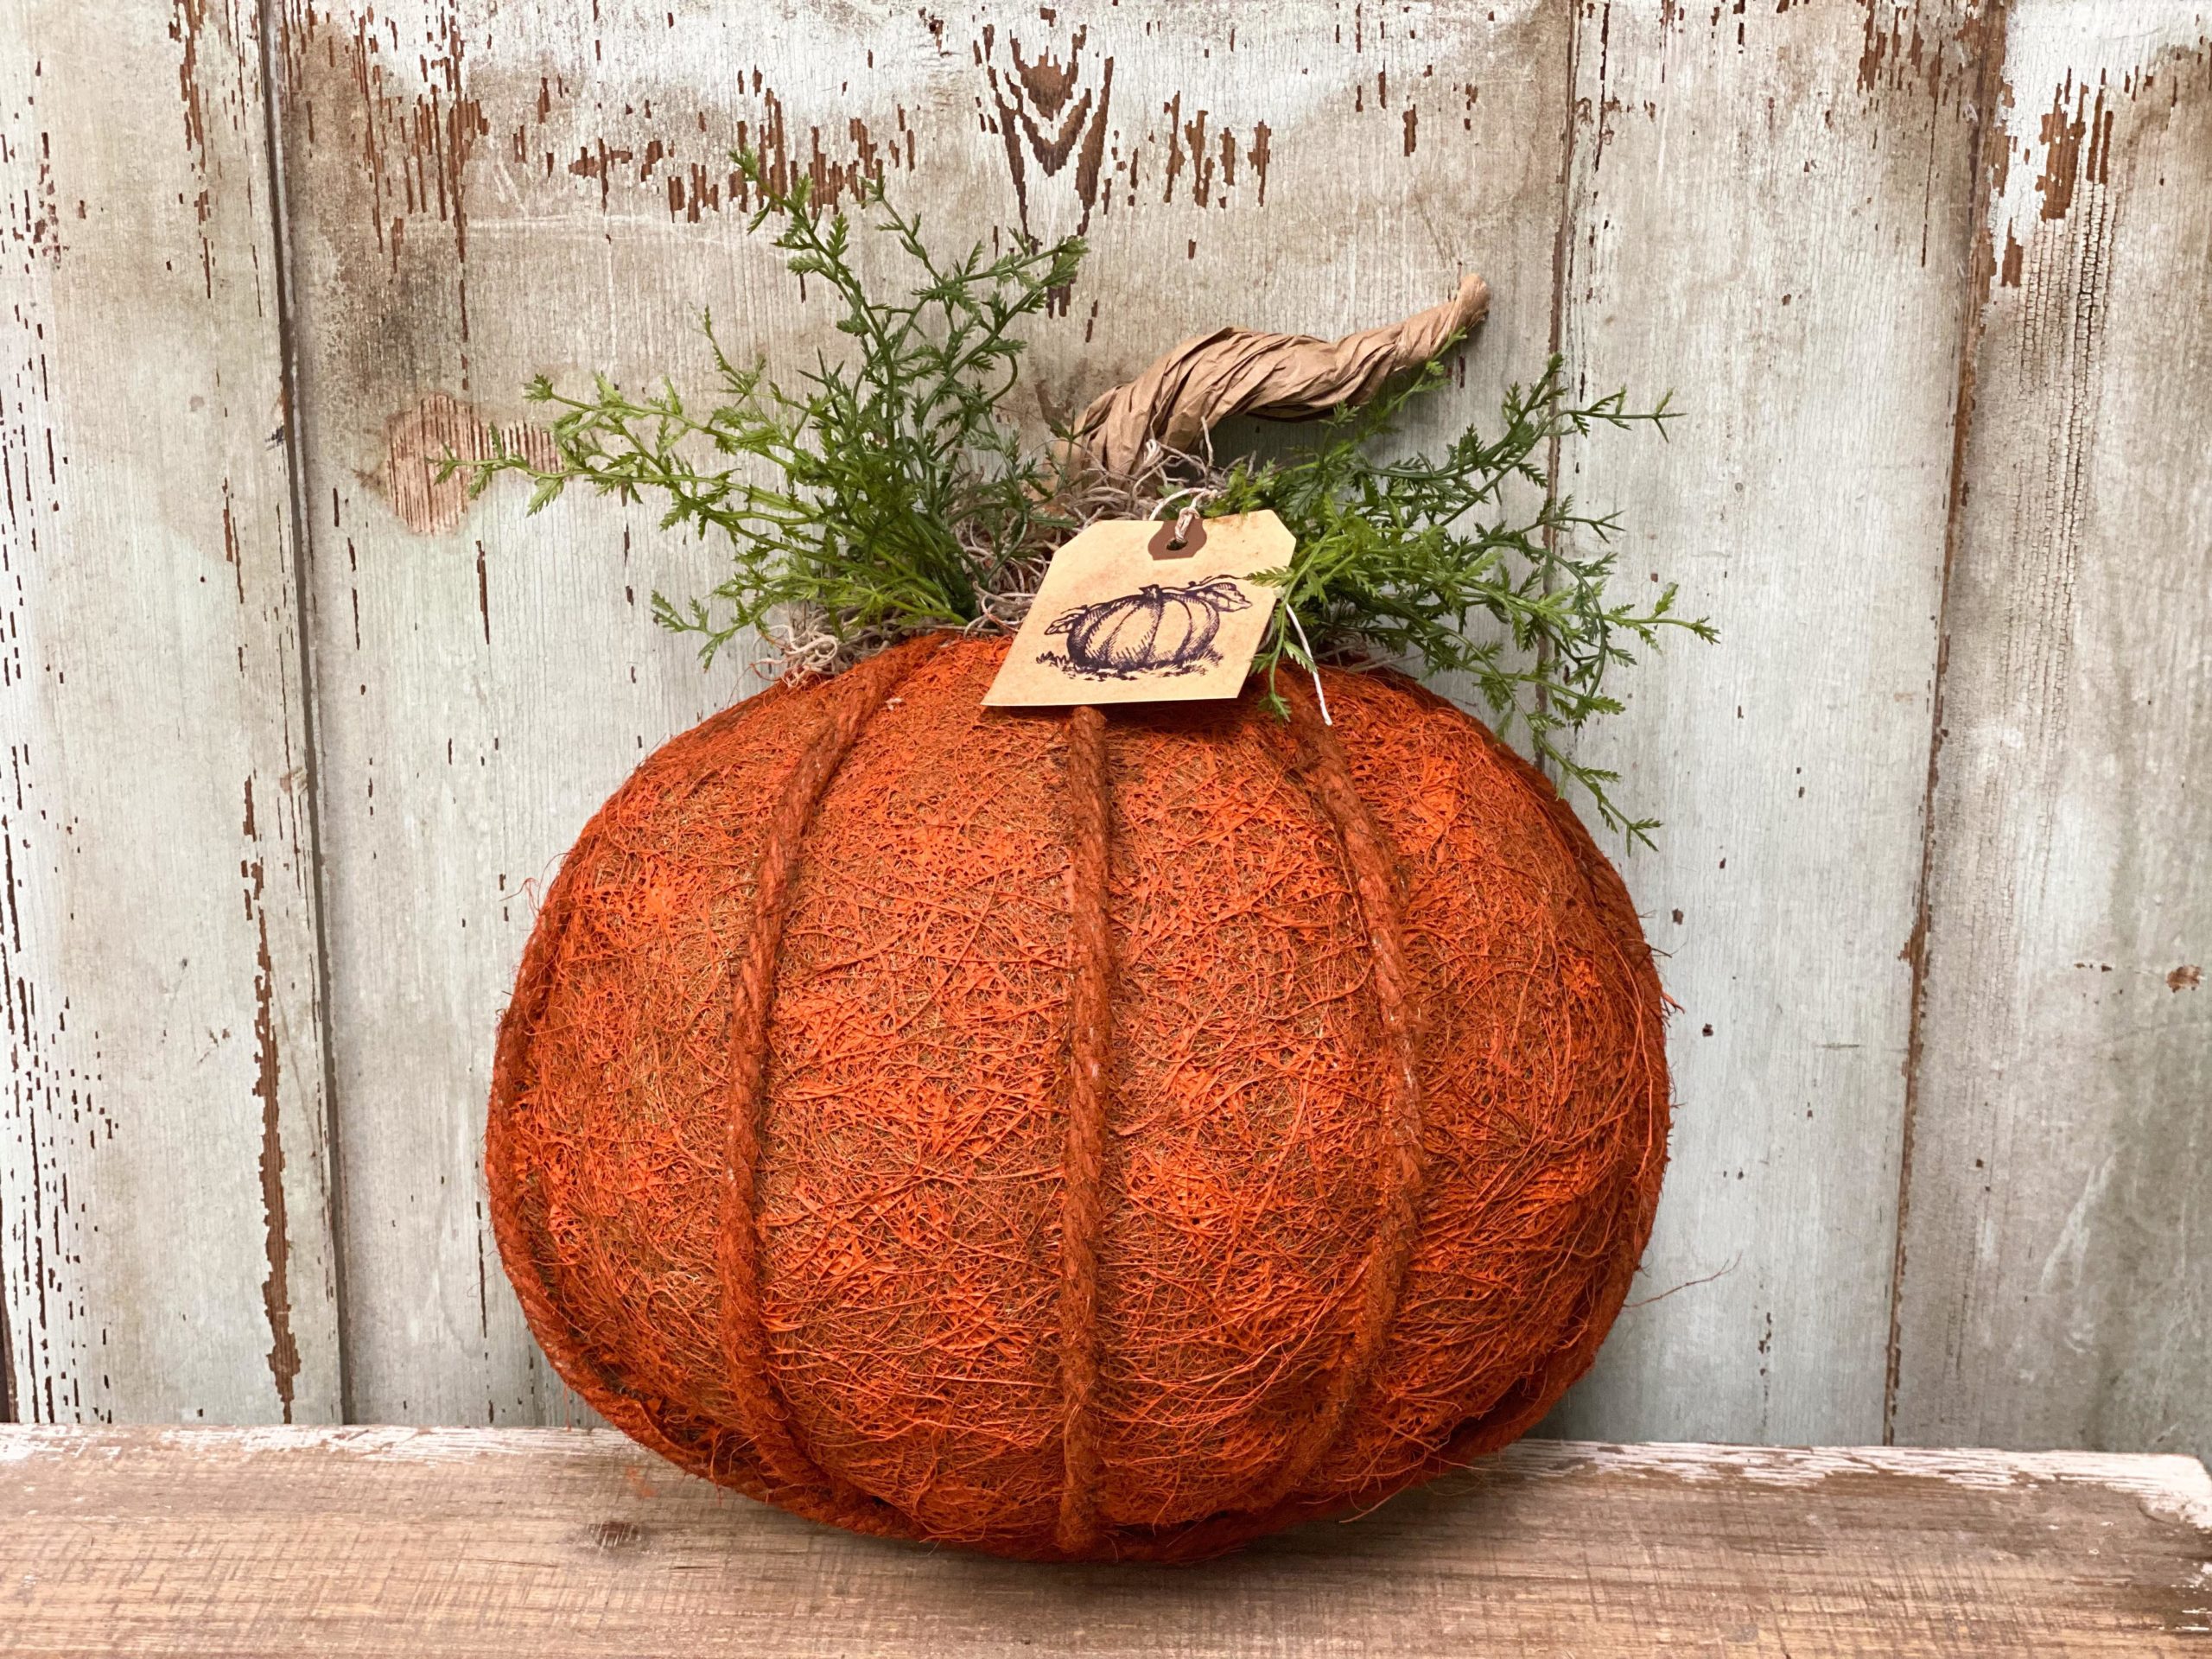
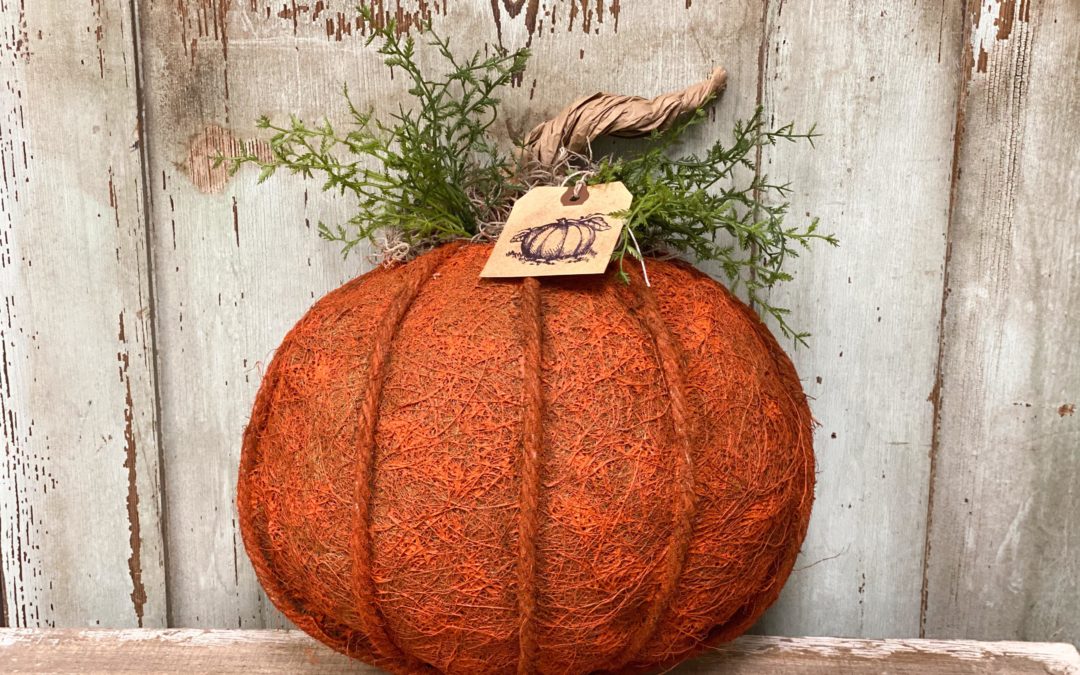
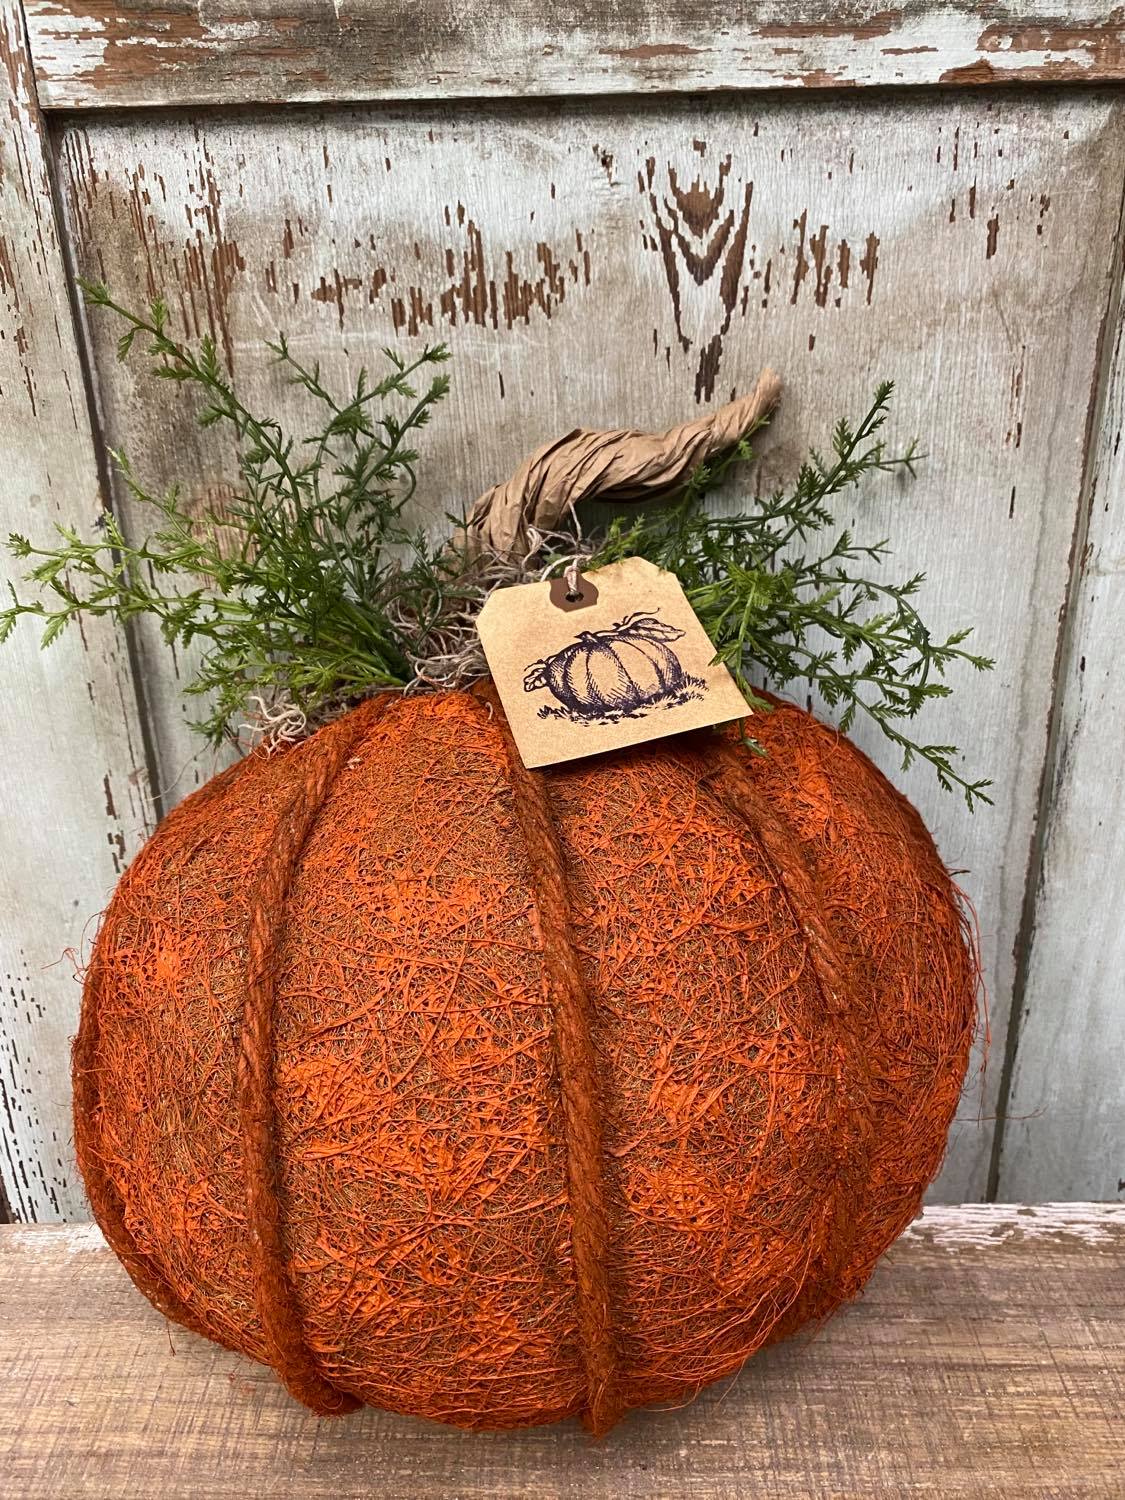
You can add strips of the nautical rope to your pumpkin as shown in photo above. I just hot glued these onto the coco liner.
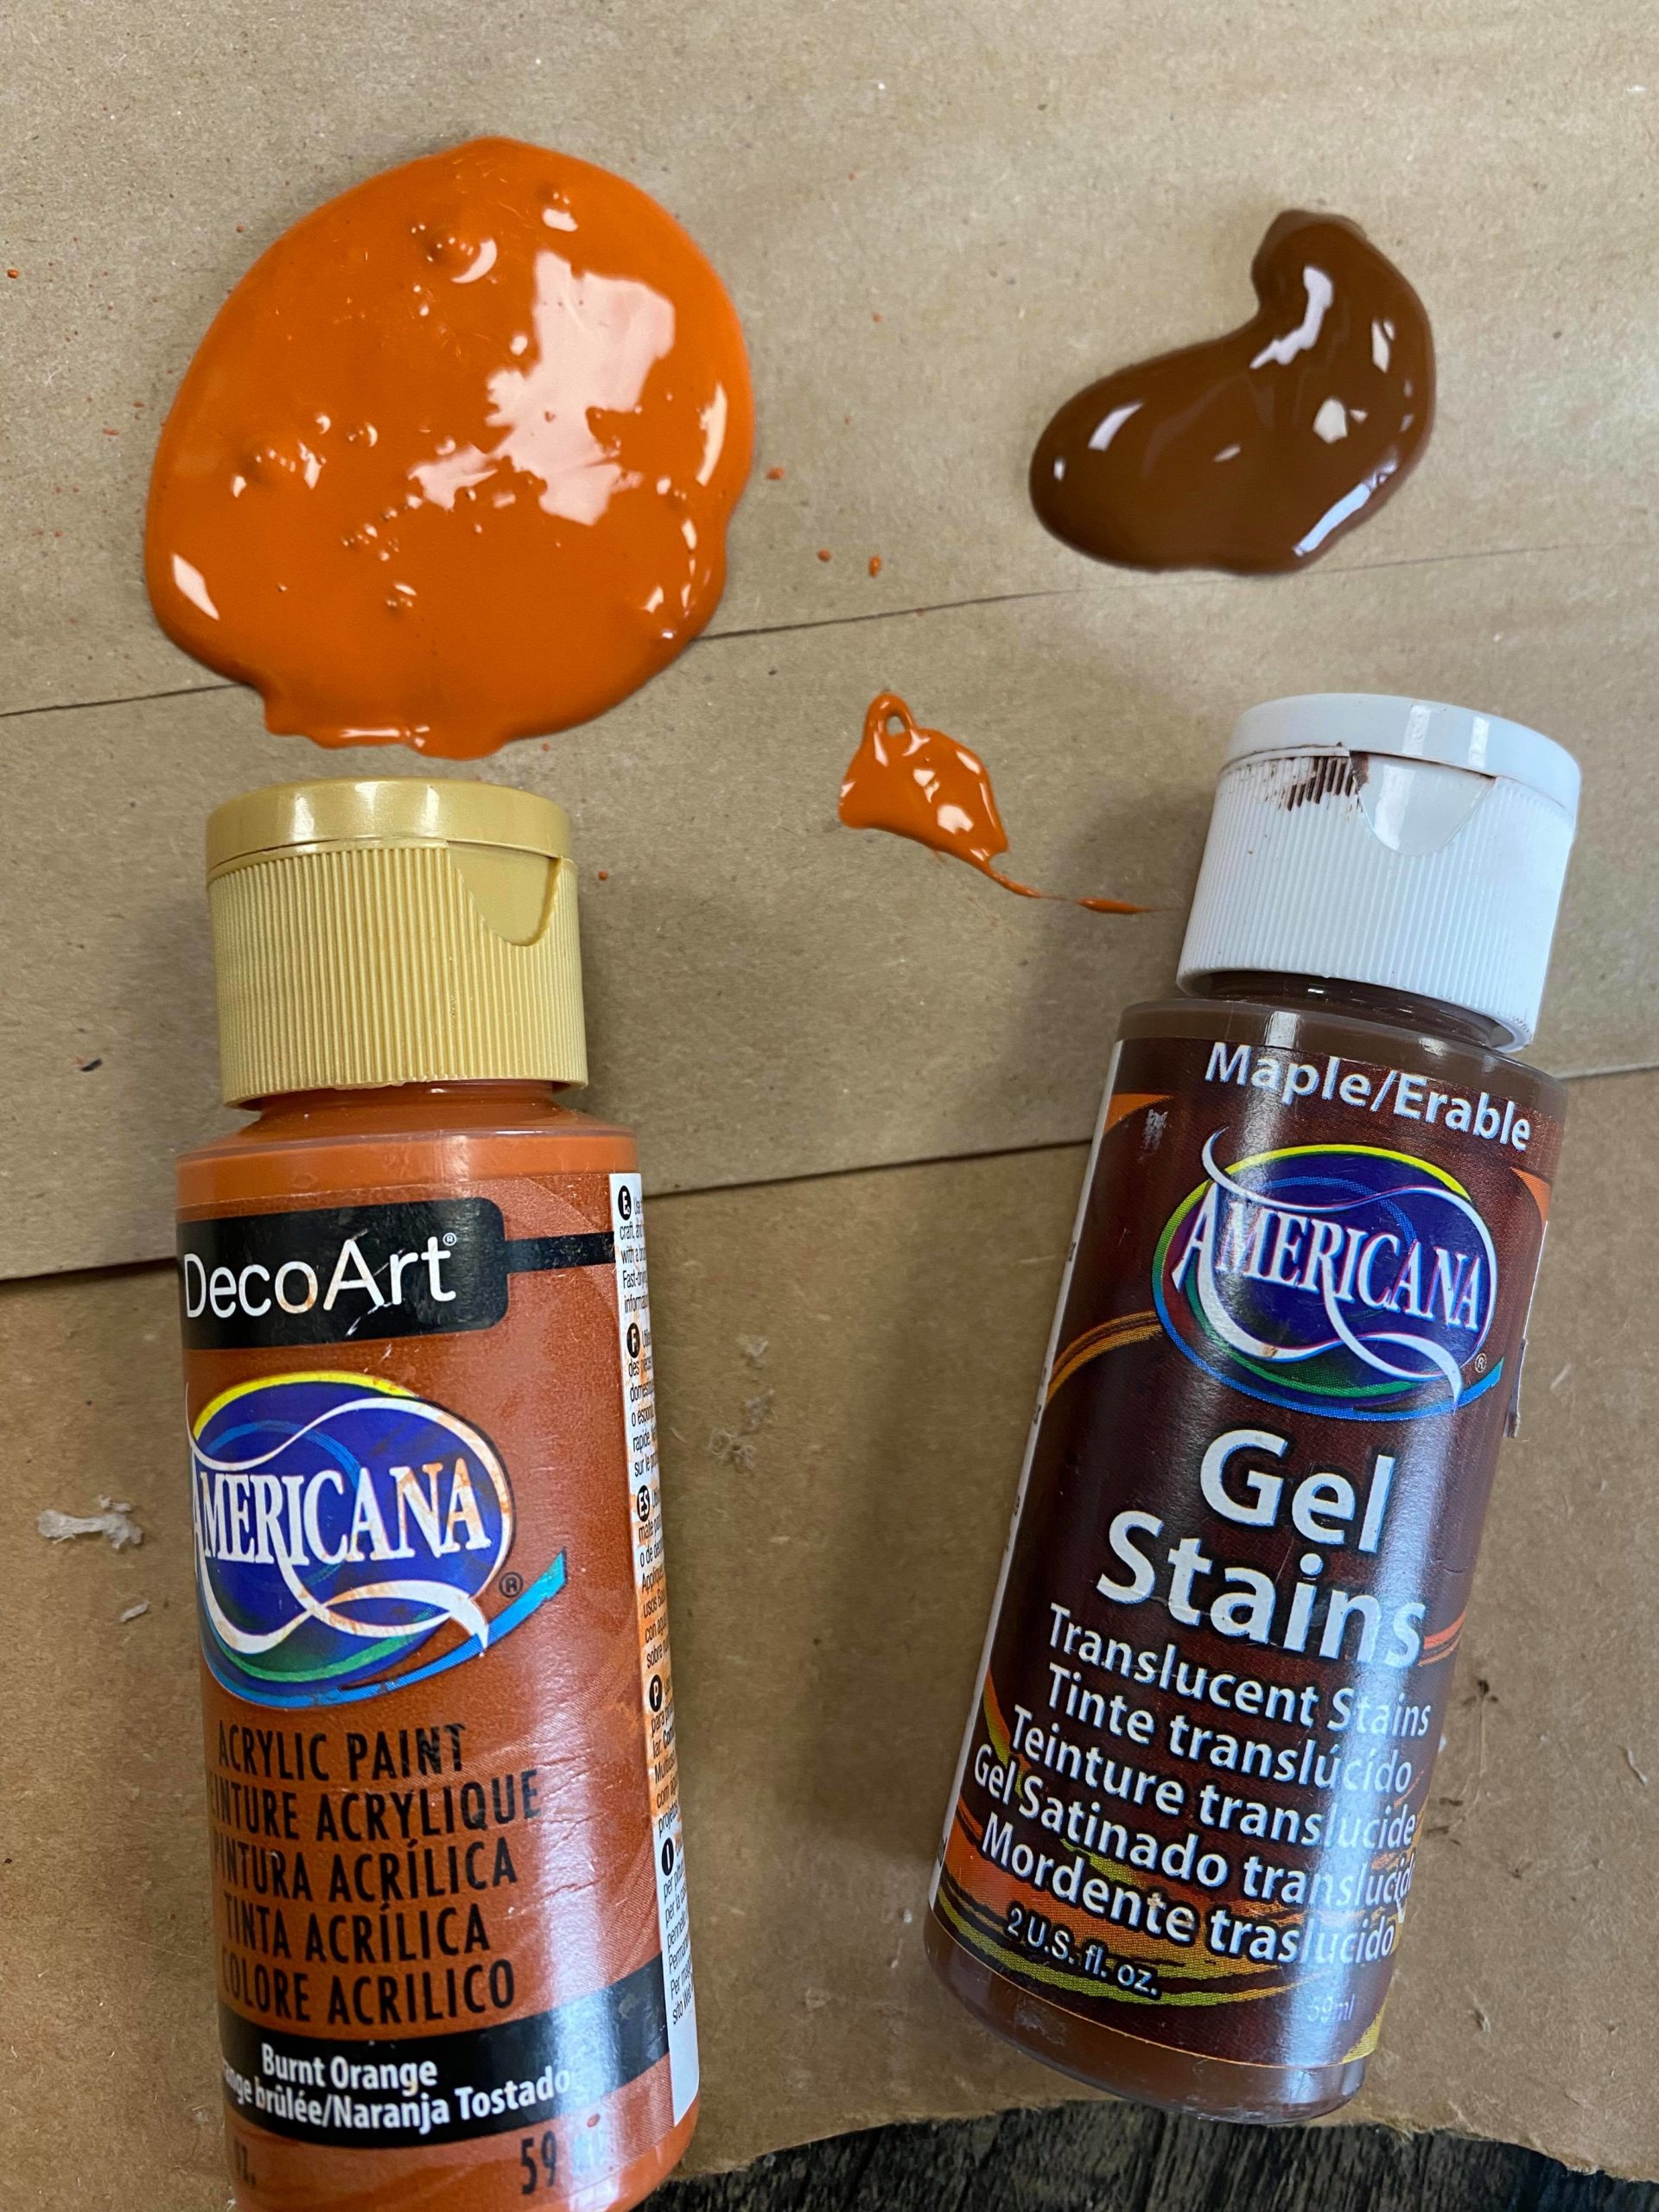
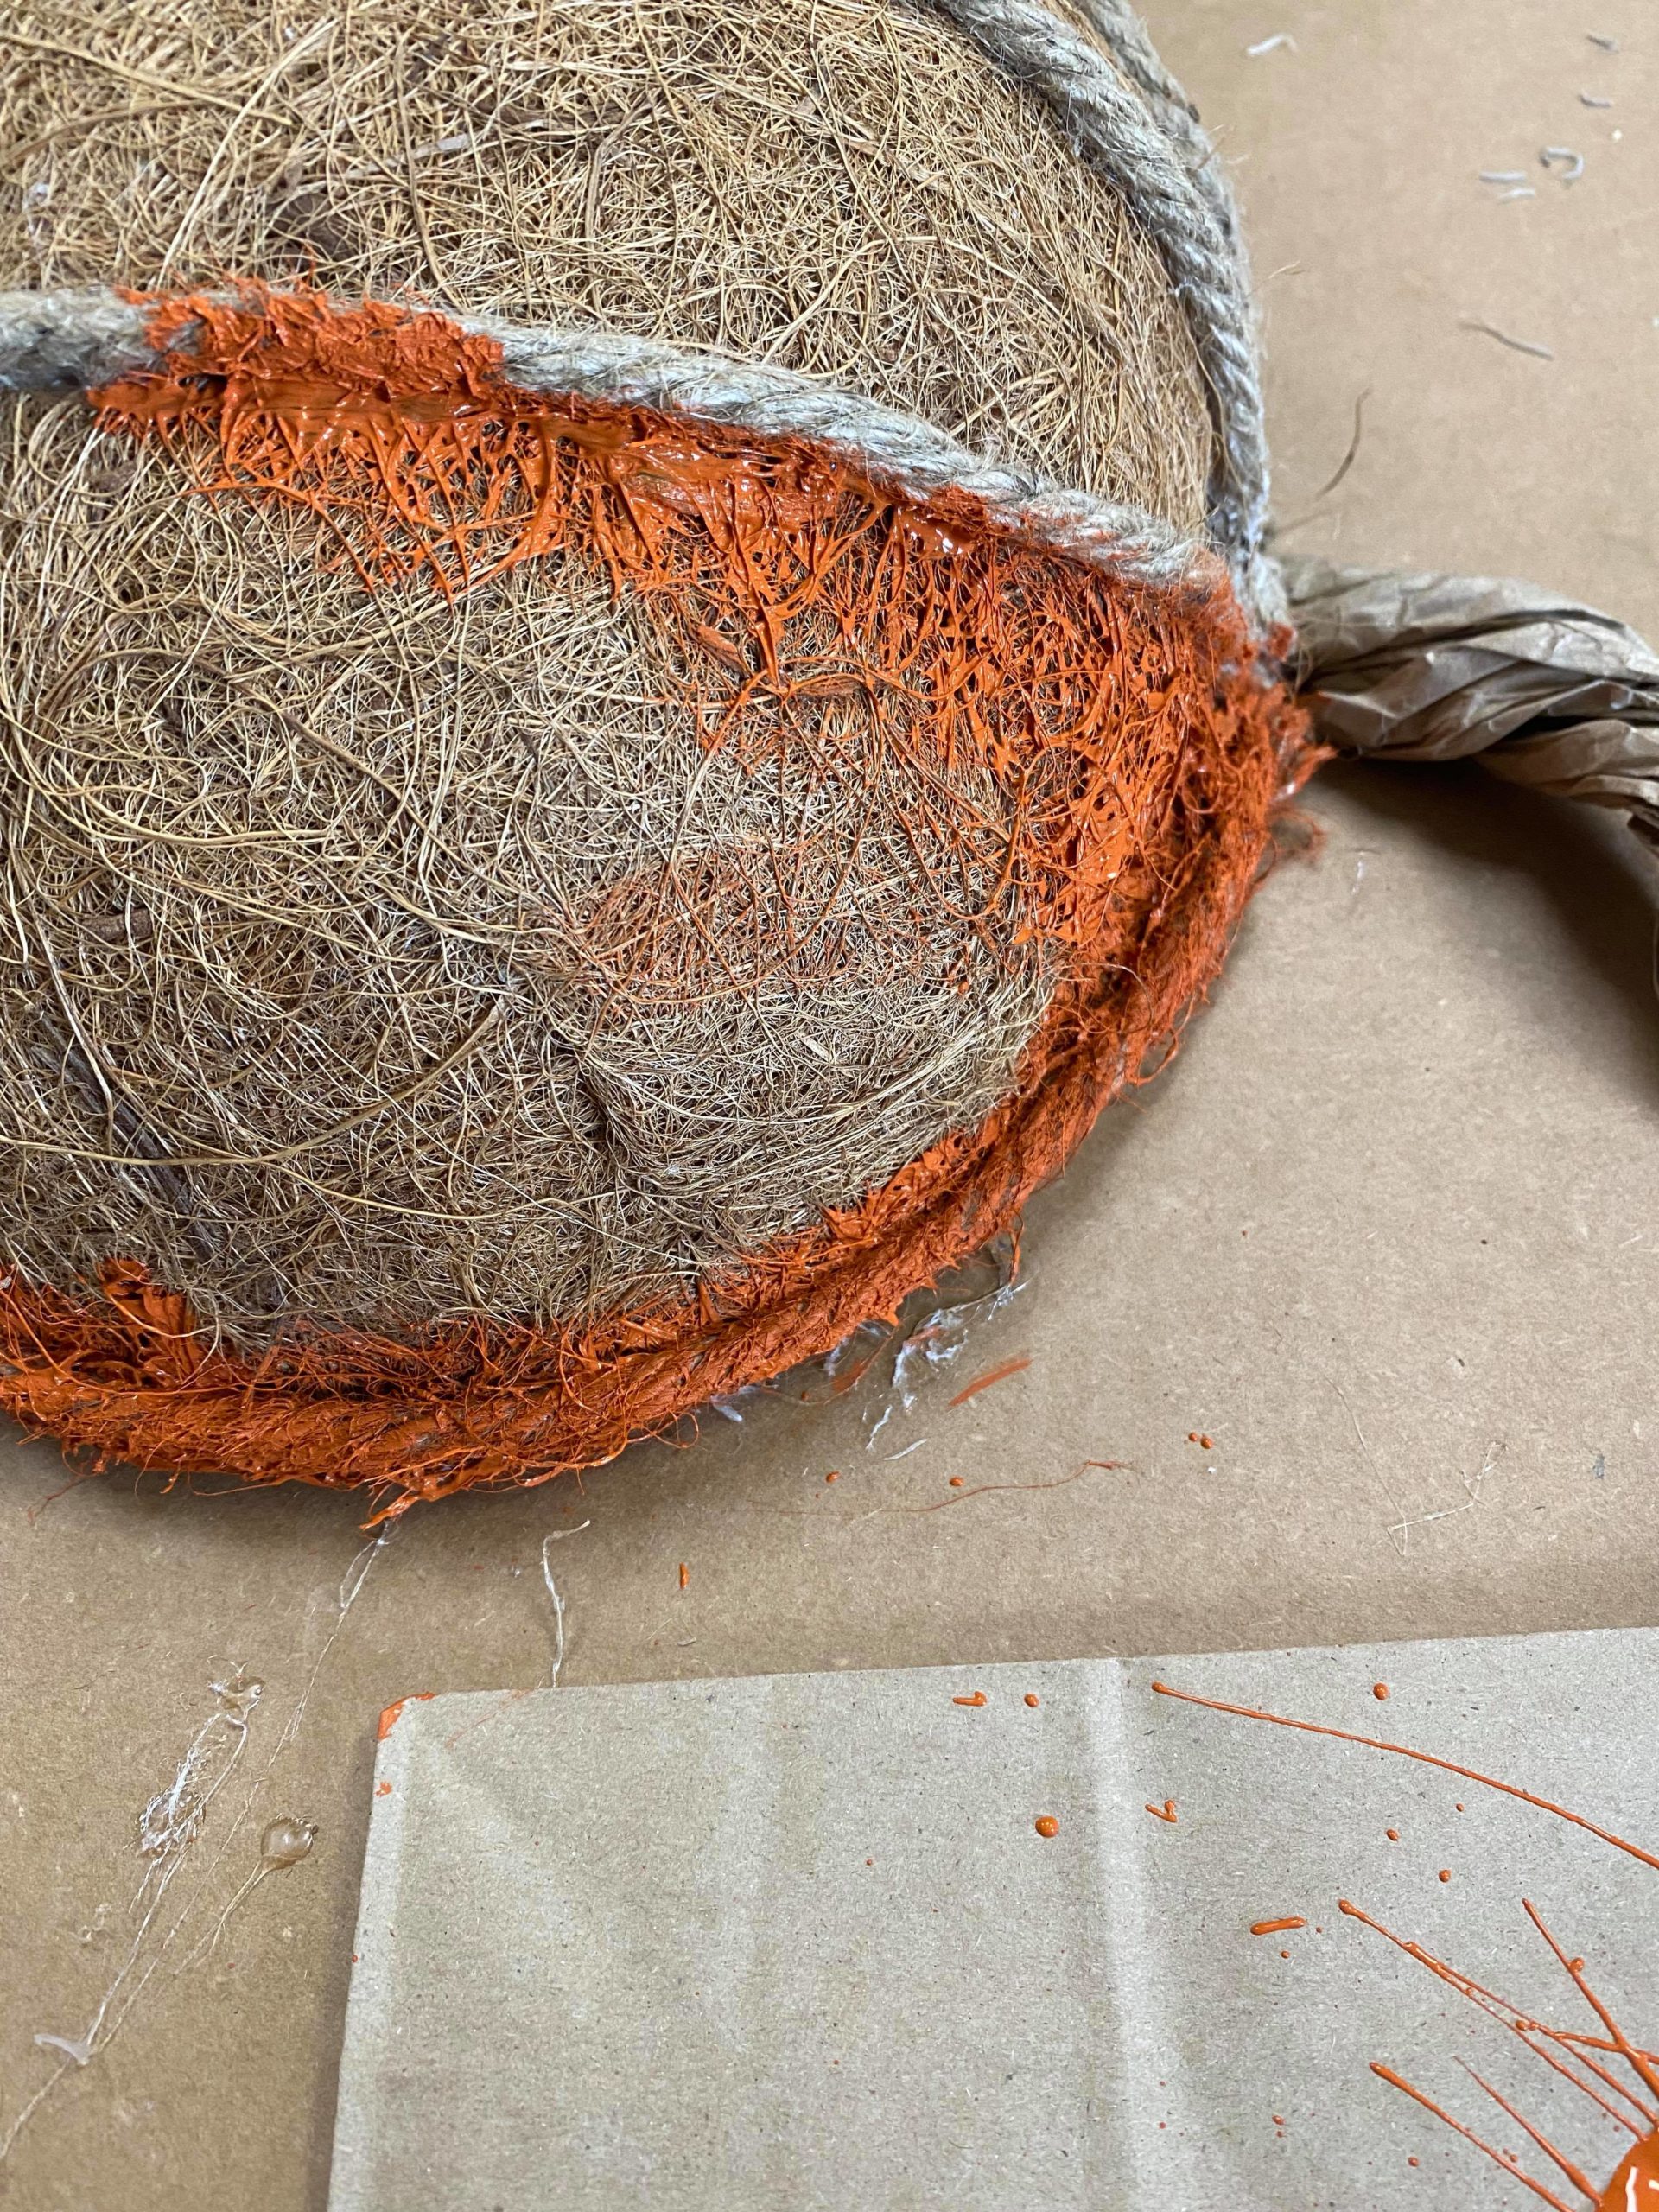
I painted the front and backside of the pumpkin with the burnt orange paint. You can add some of the maple gel stain here and there to give it a more rustic color.
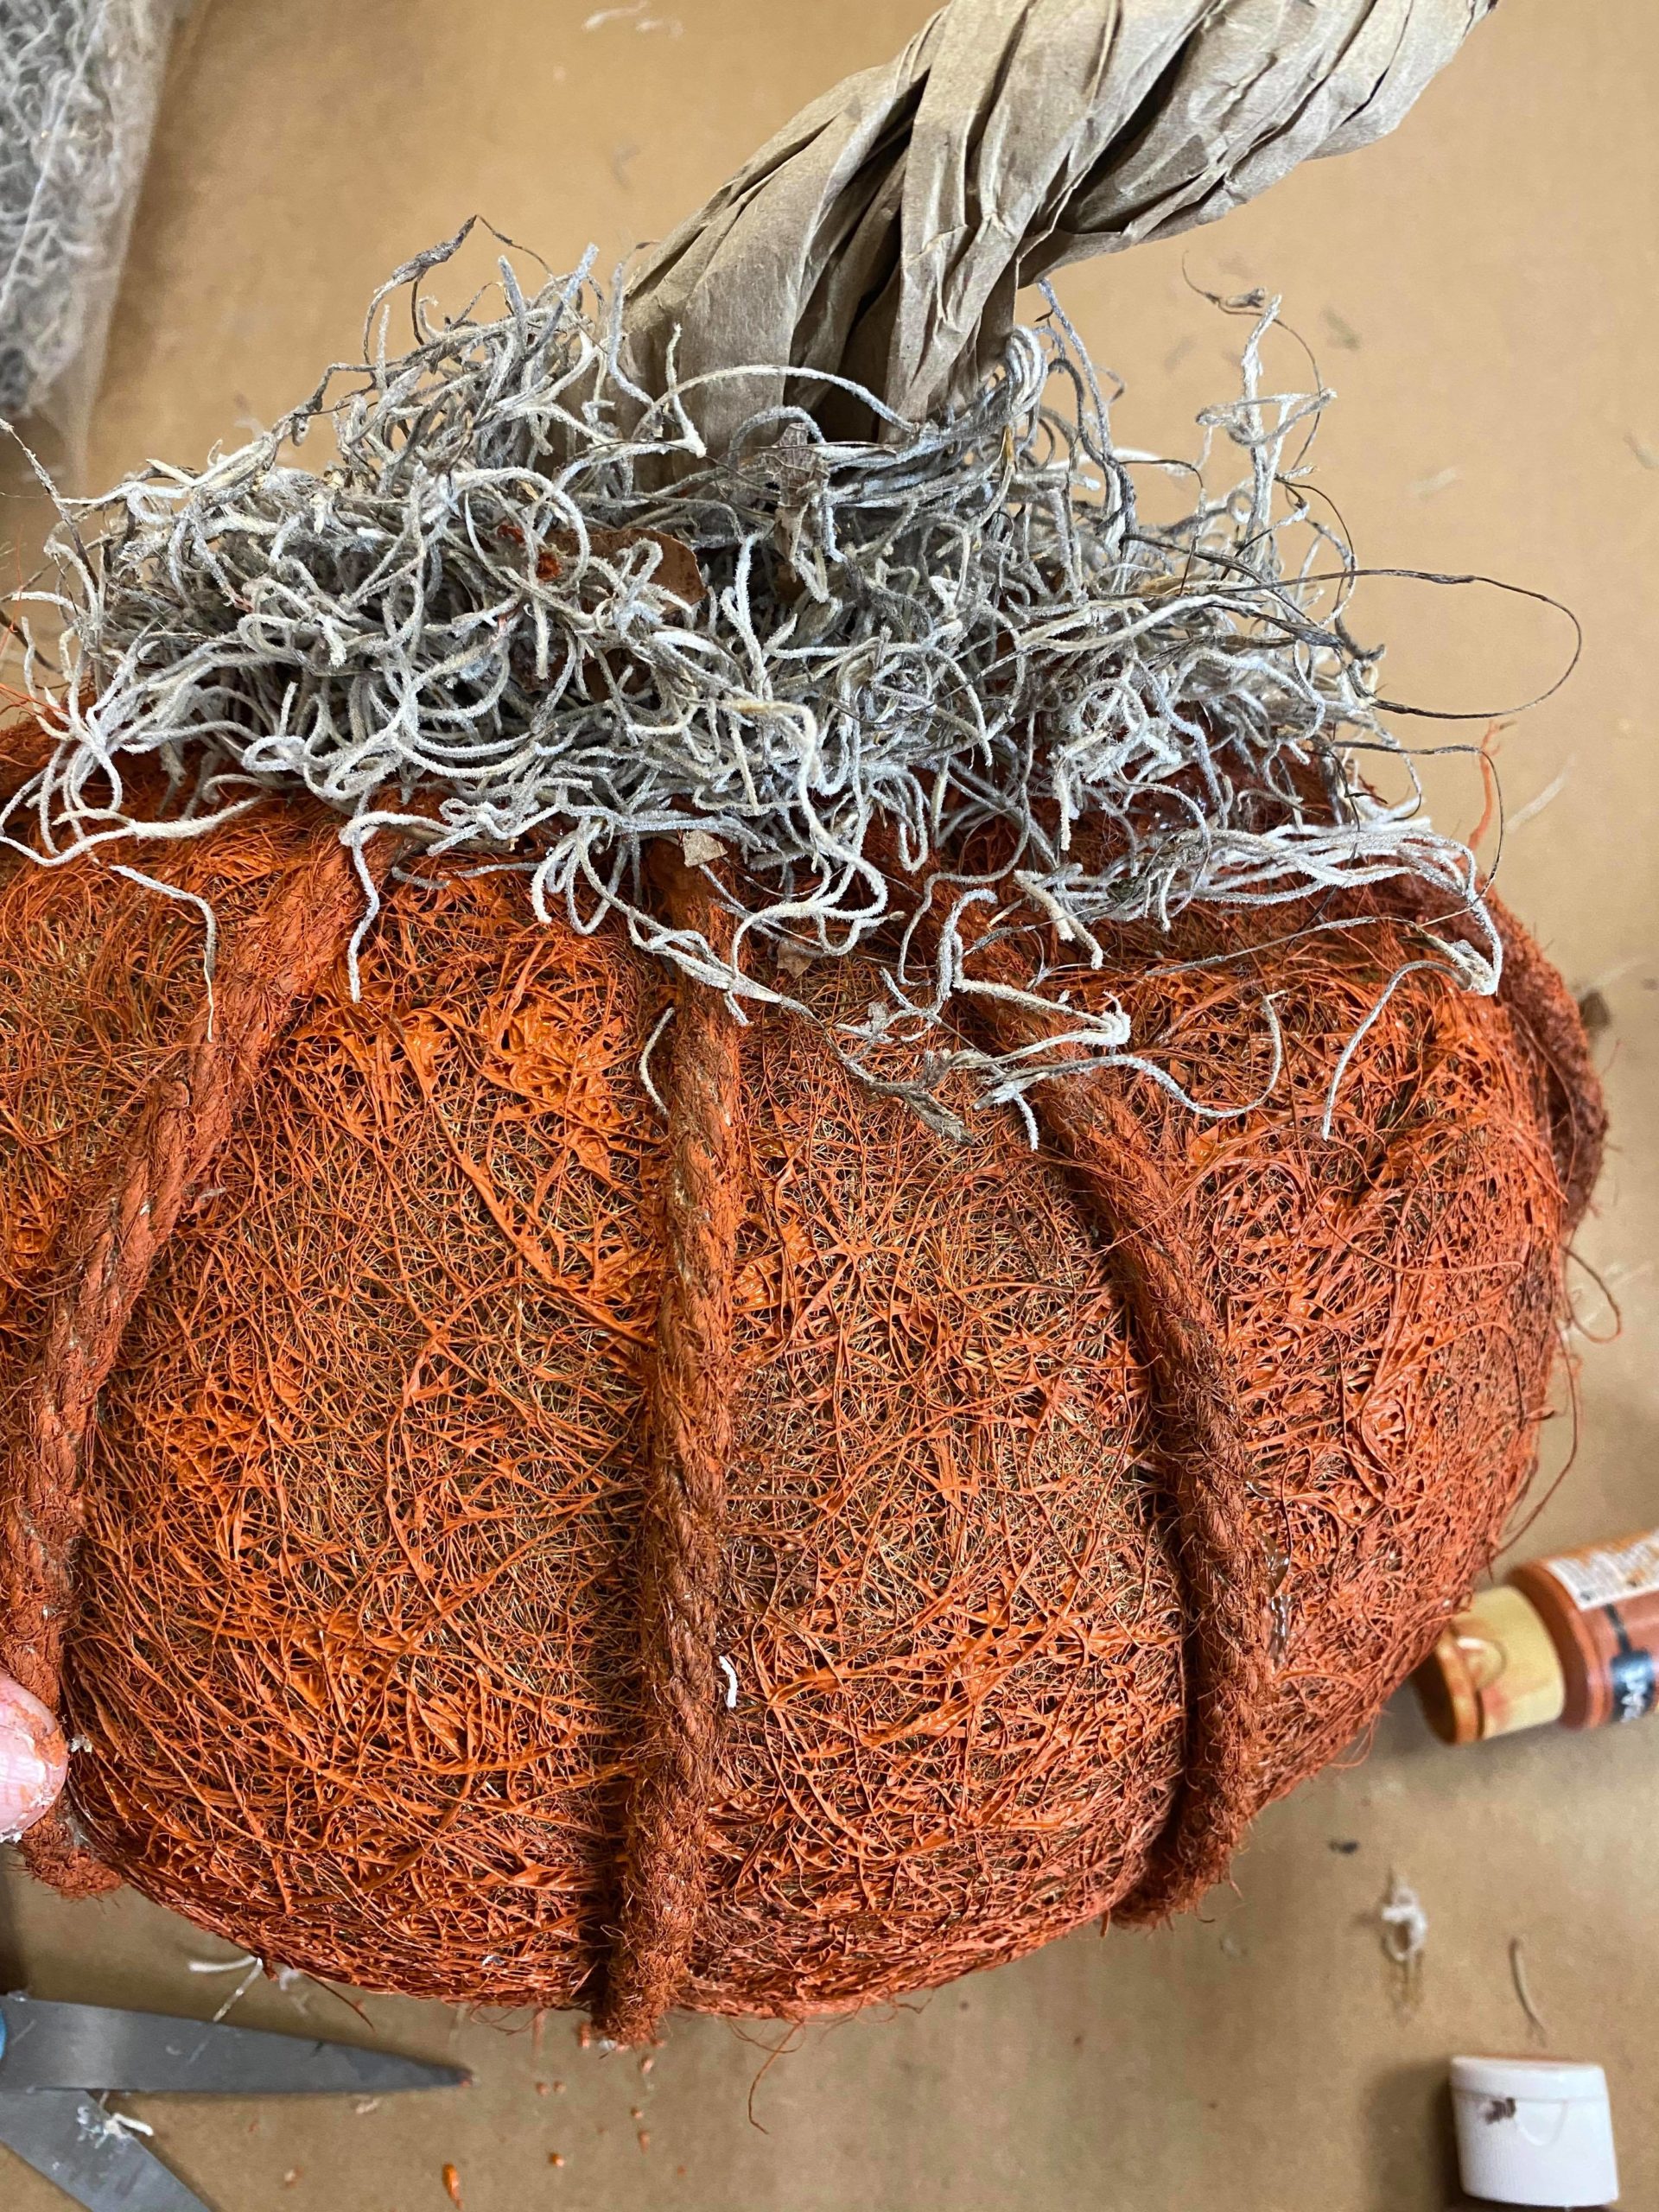
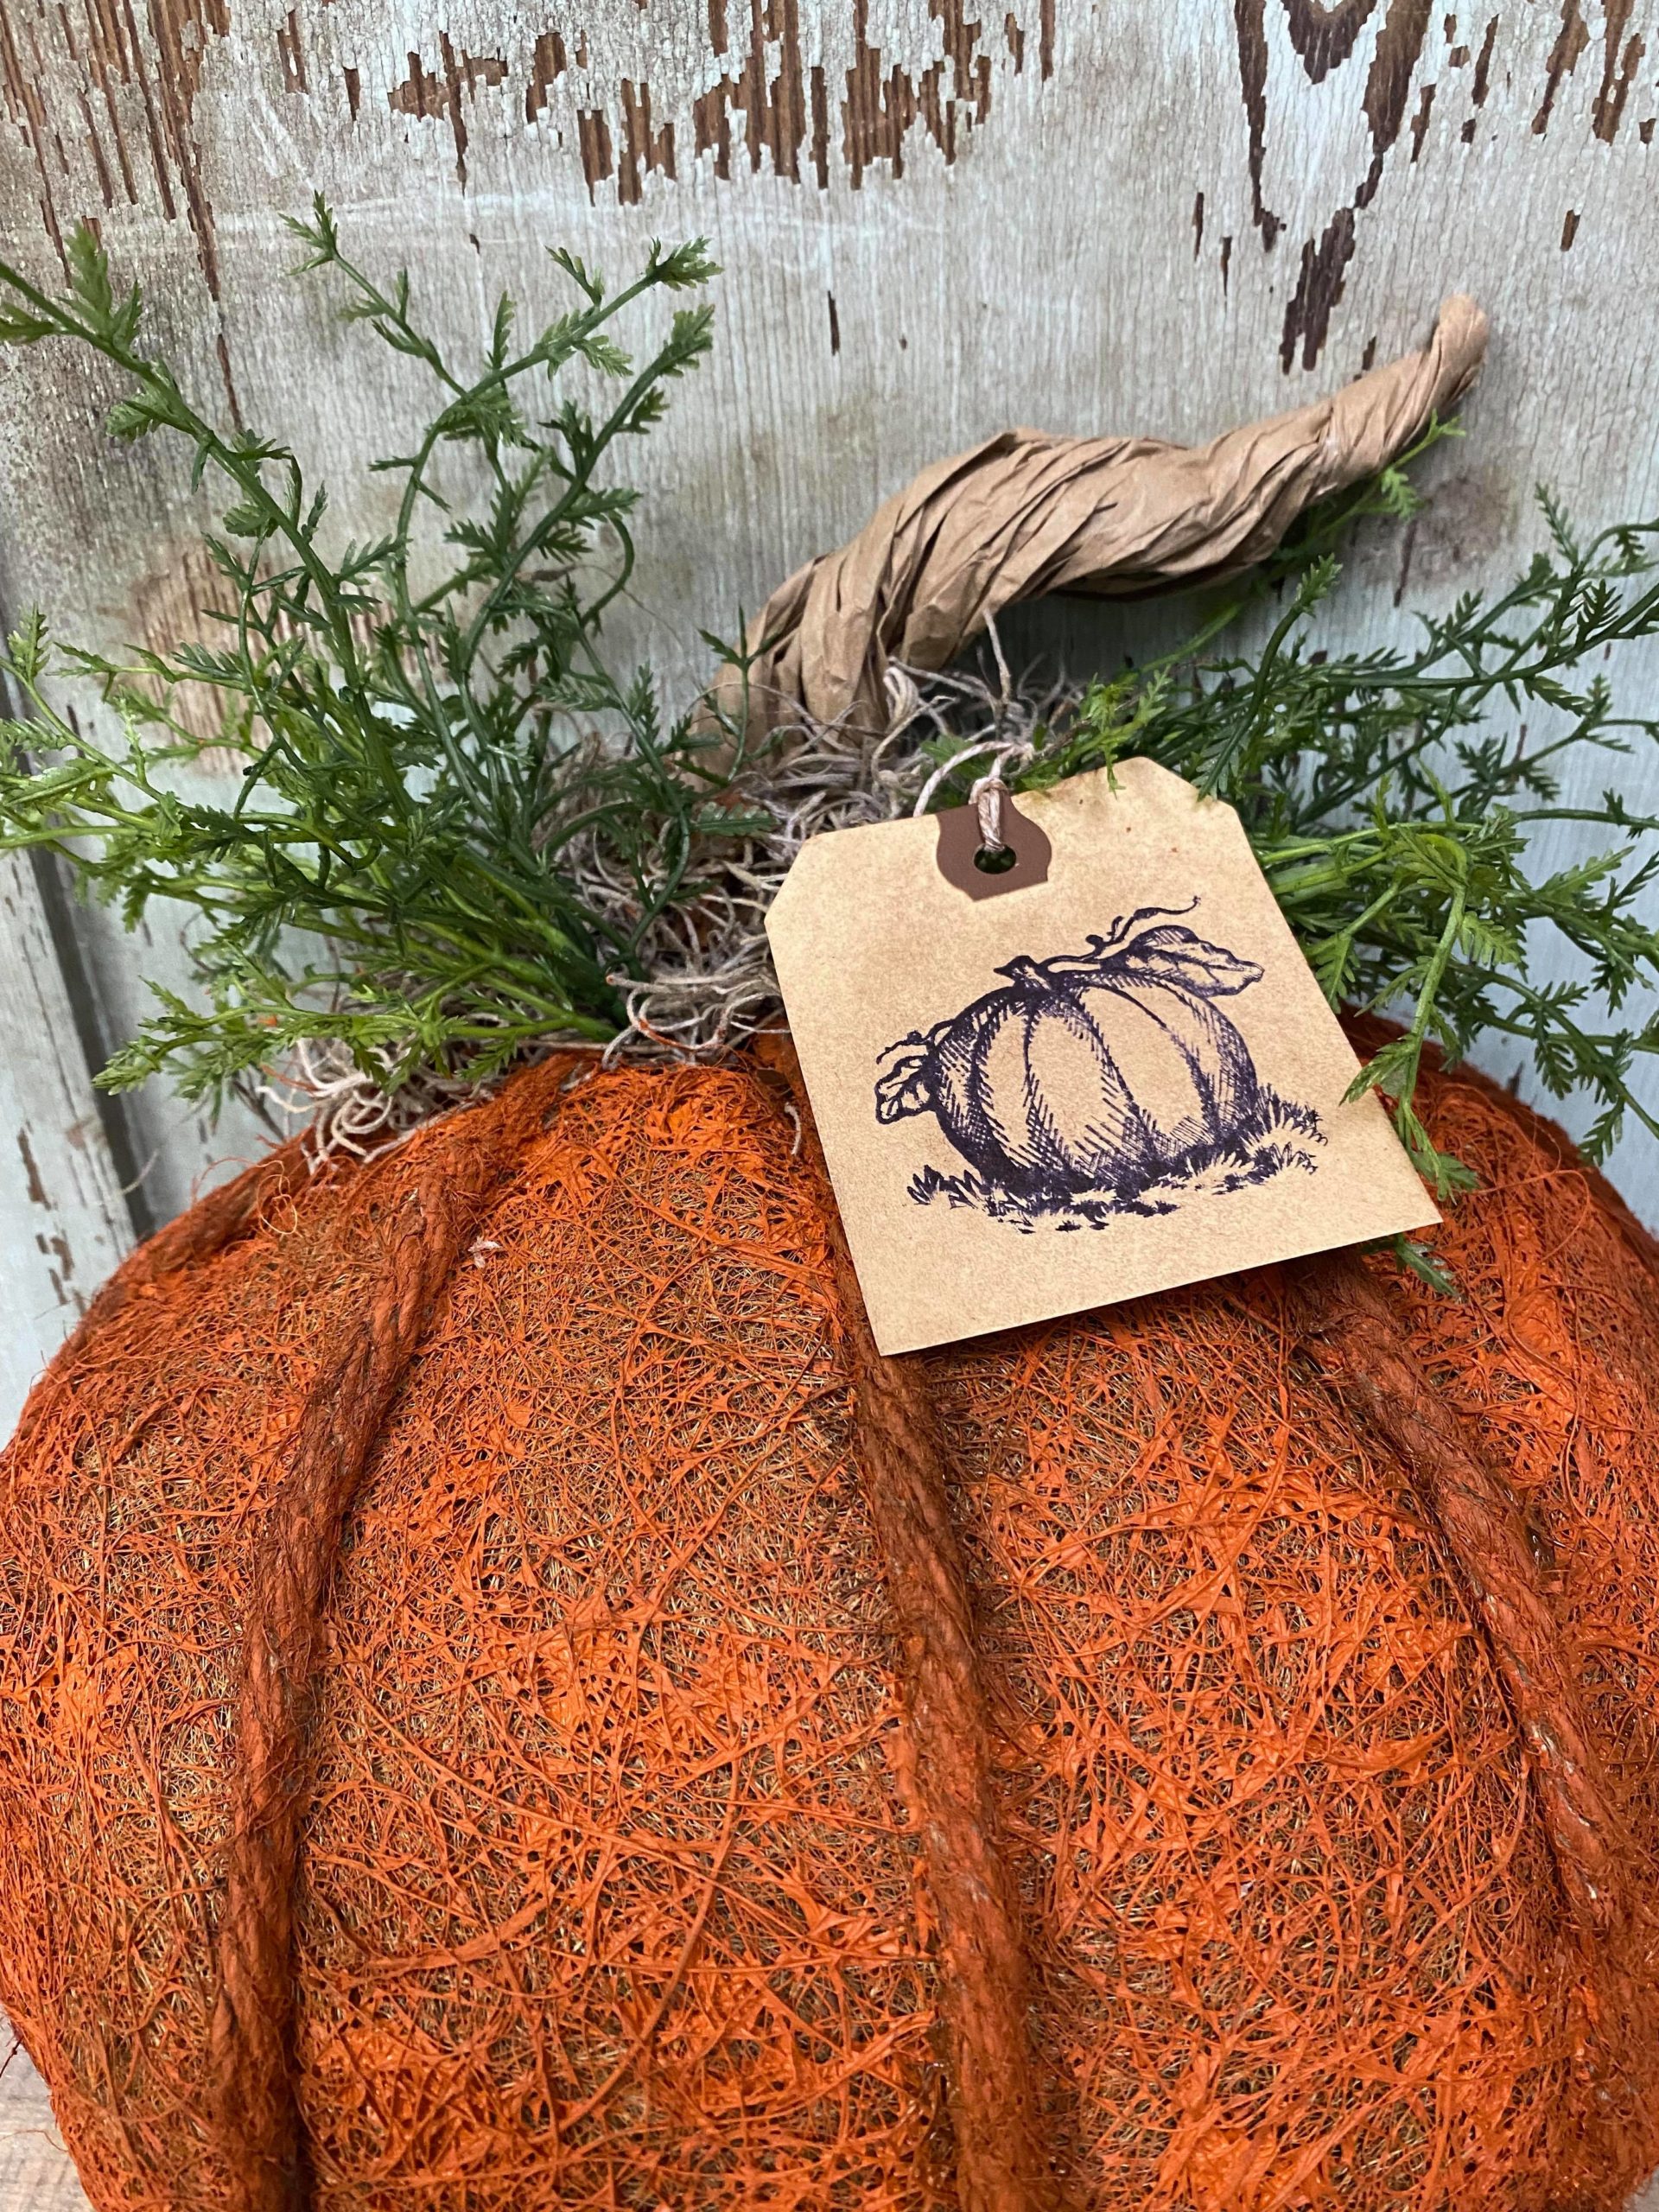
I hot glued some Spanish moss to the top of the pumpkin.
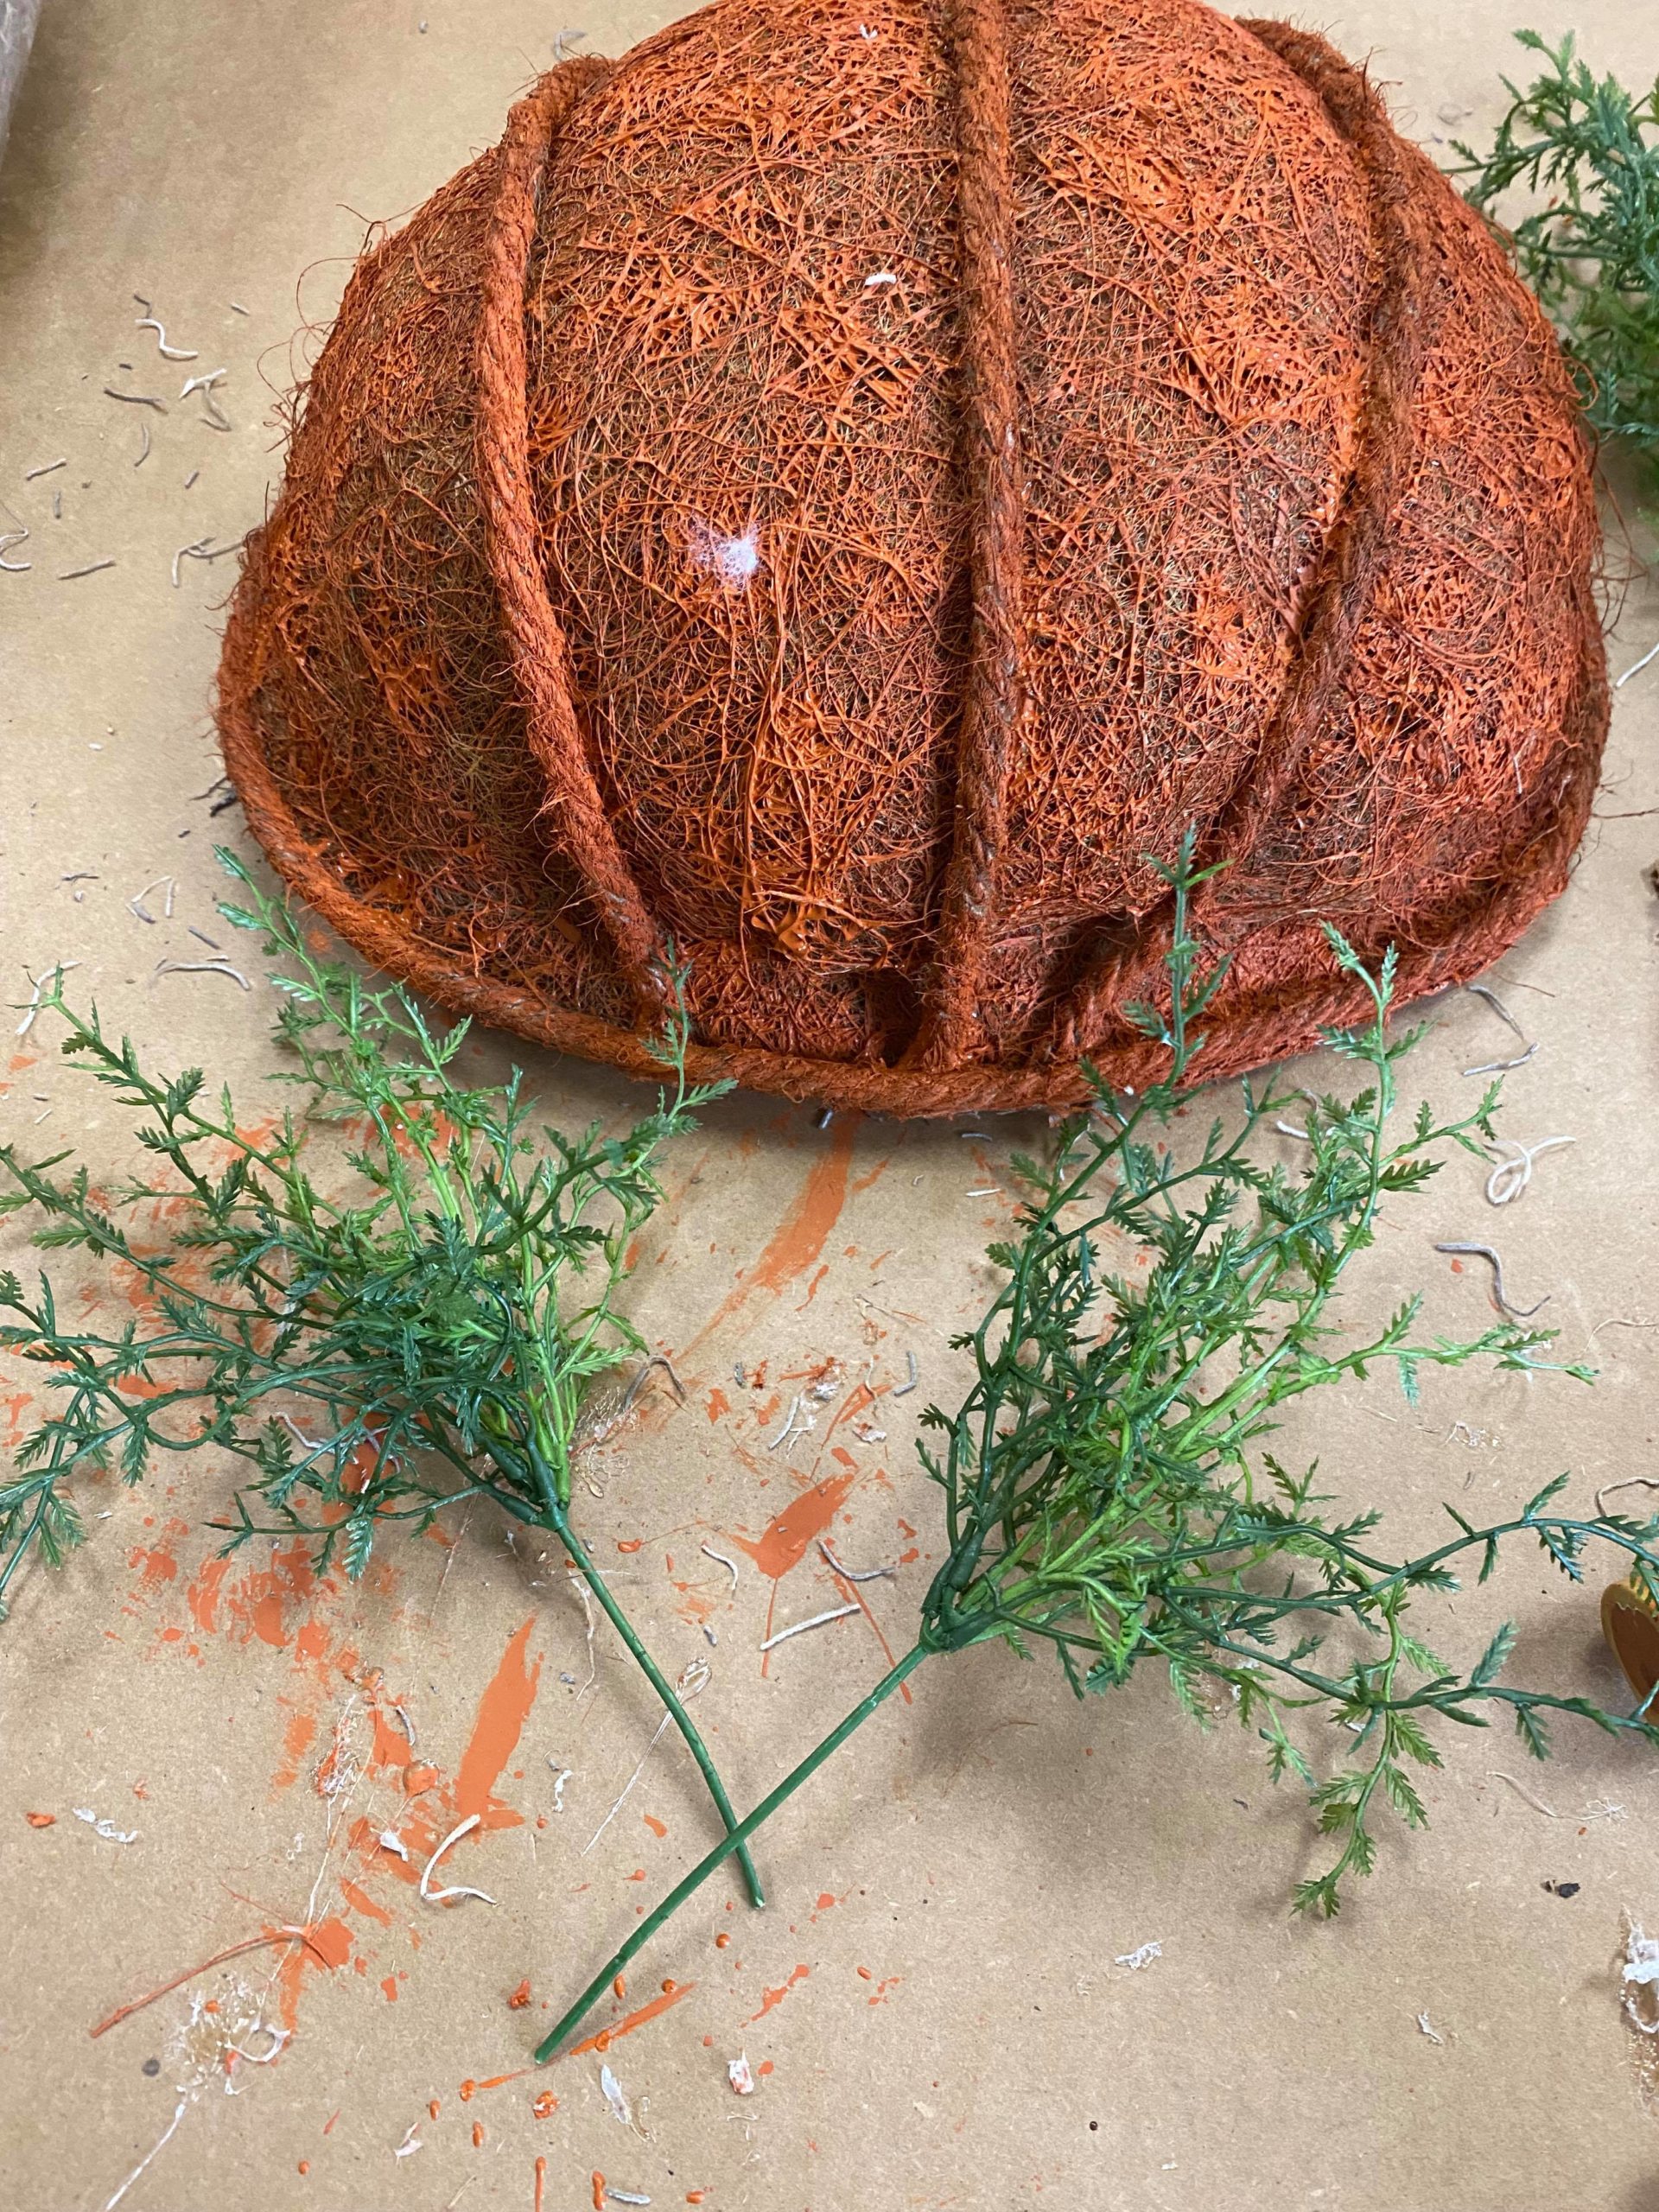
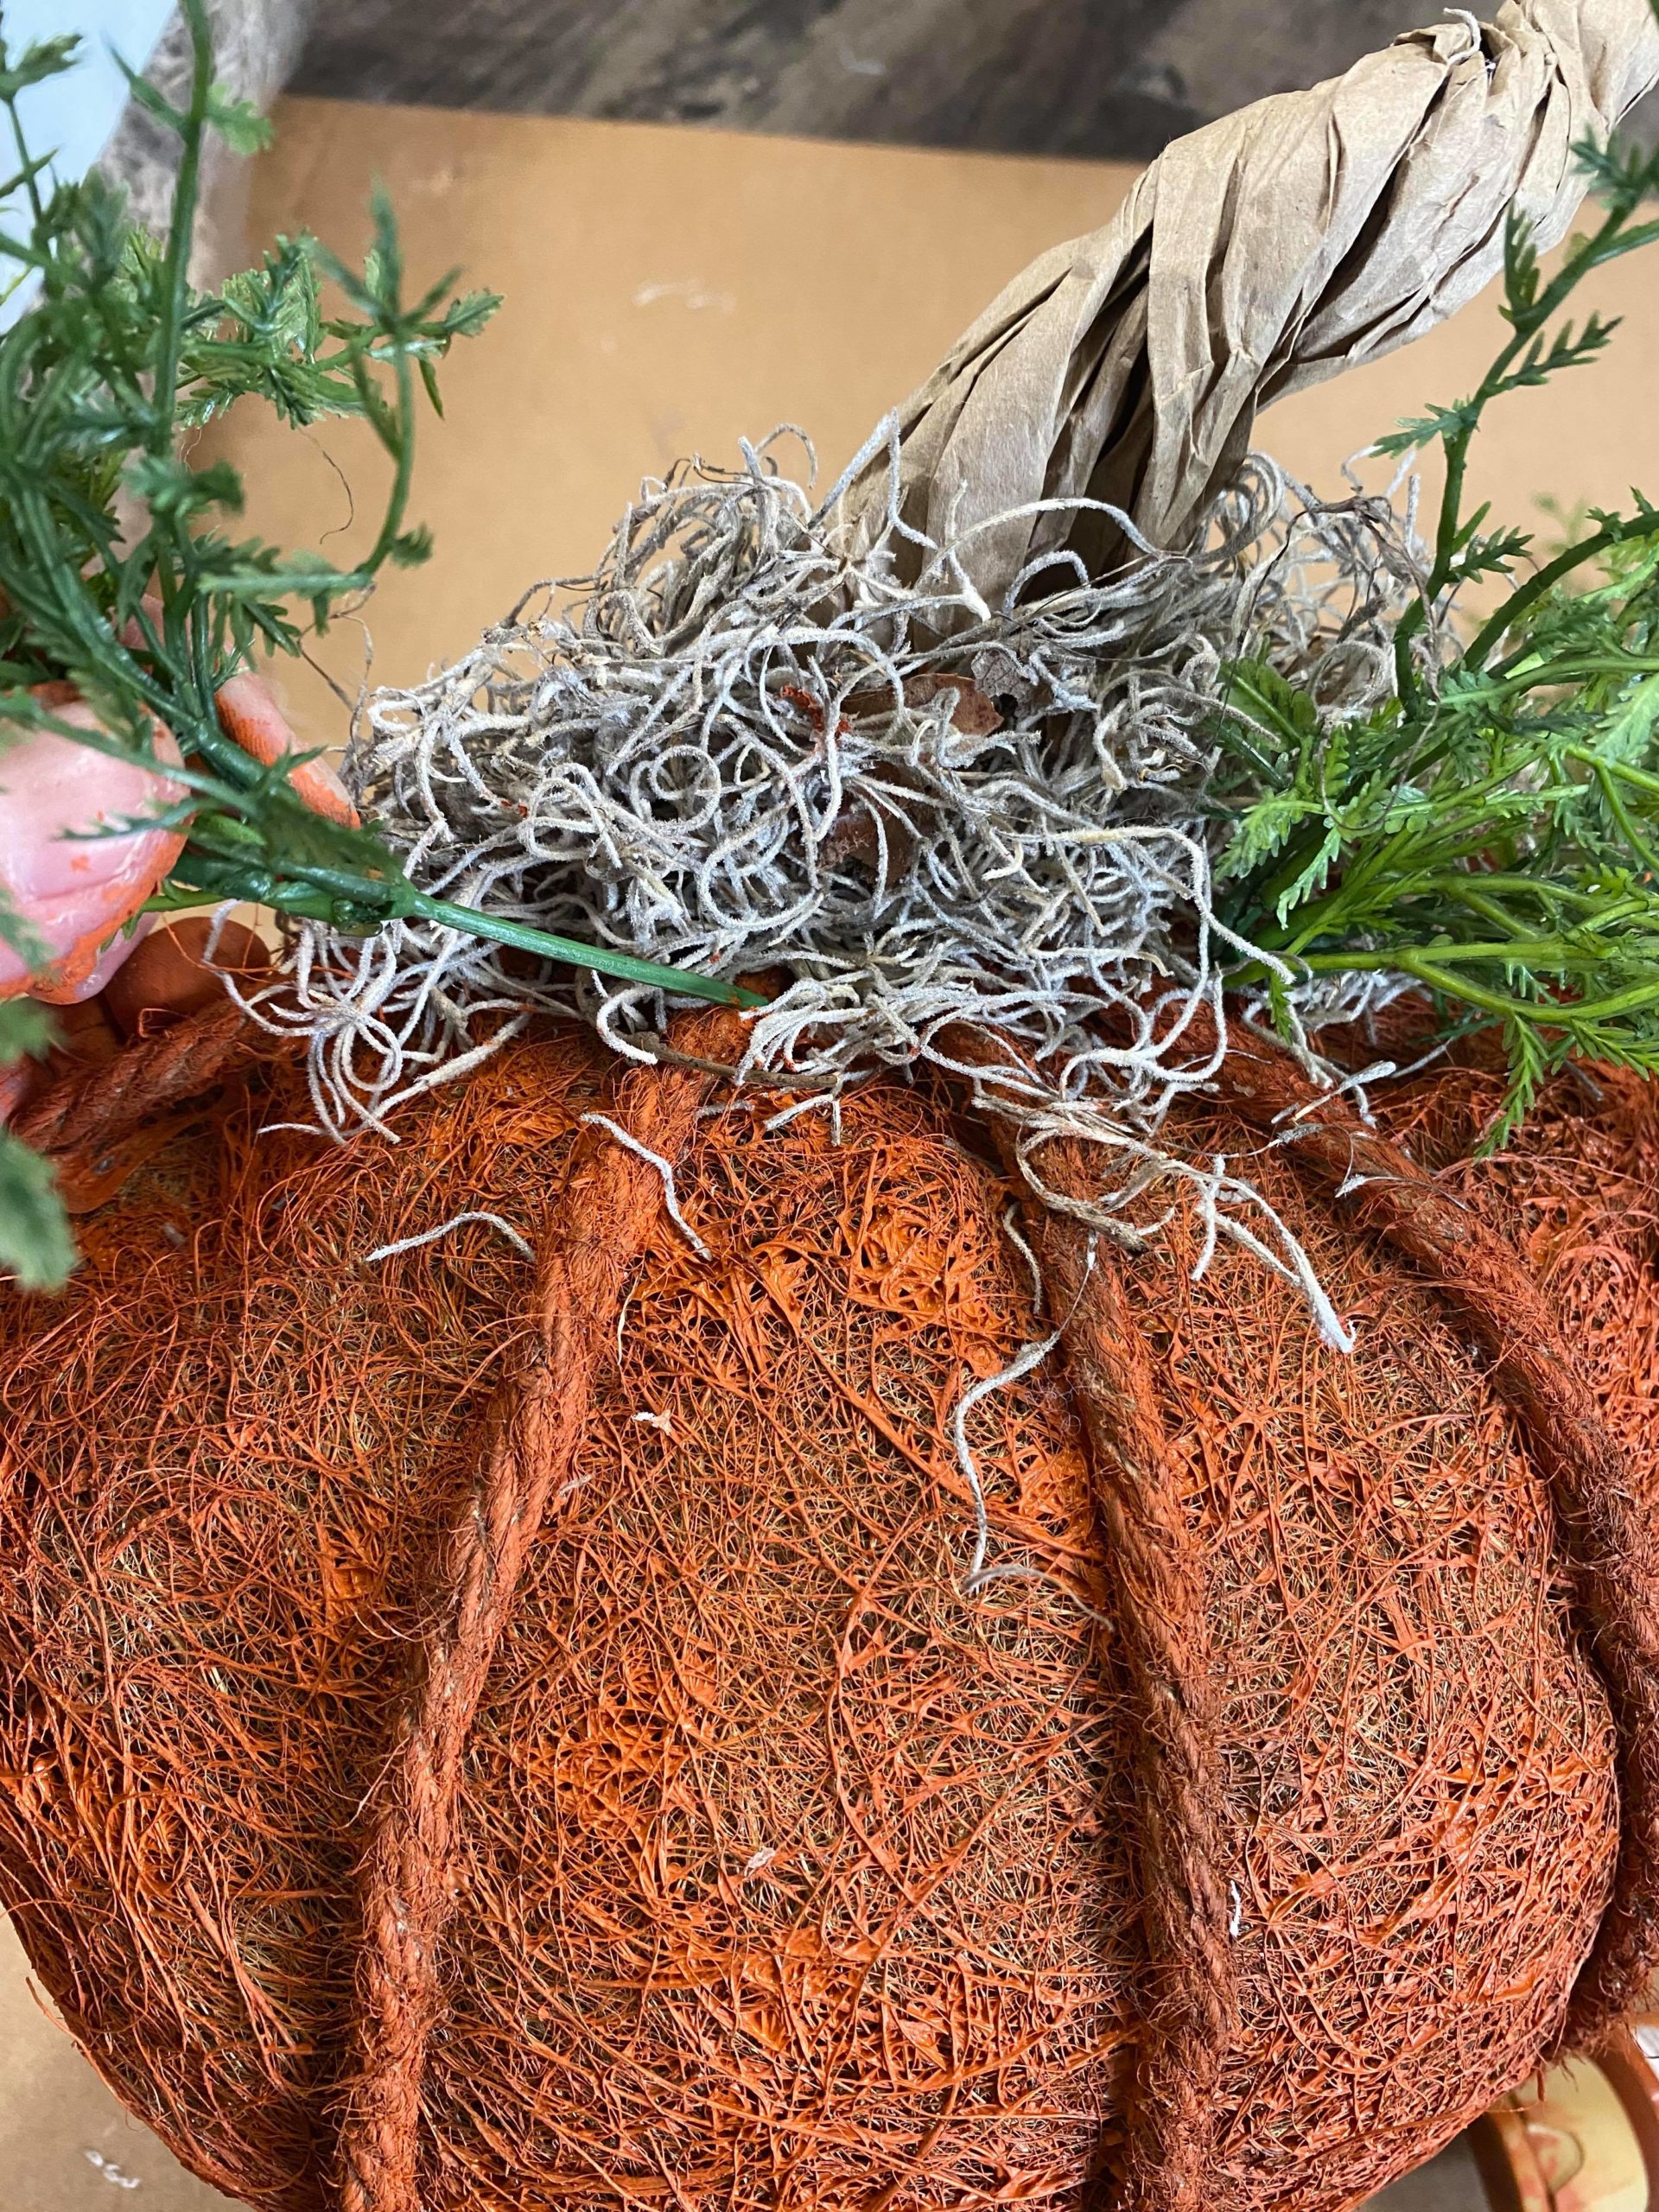
You can insert the stems of the greenery into the coco liner.
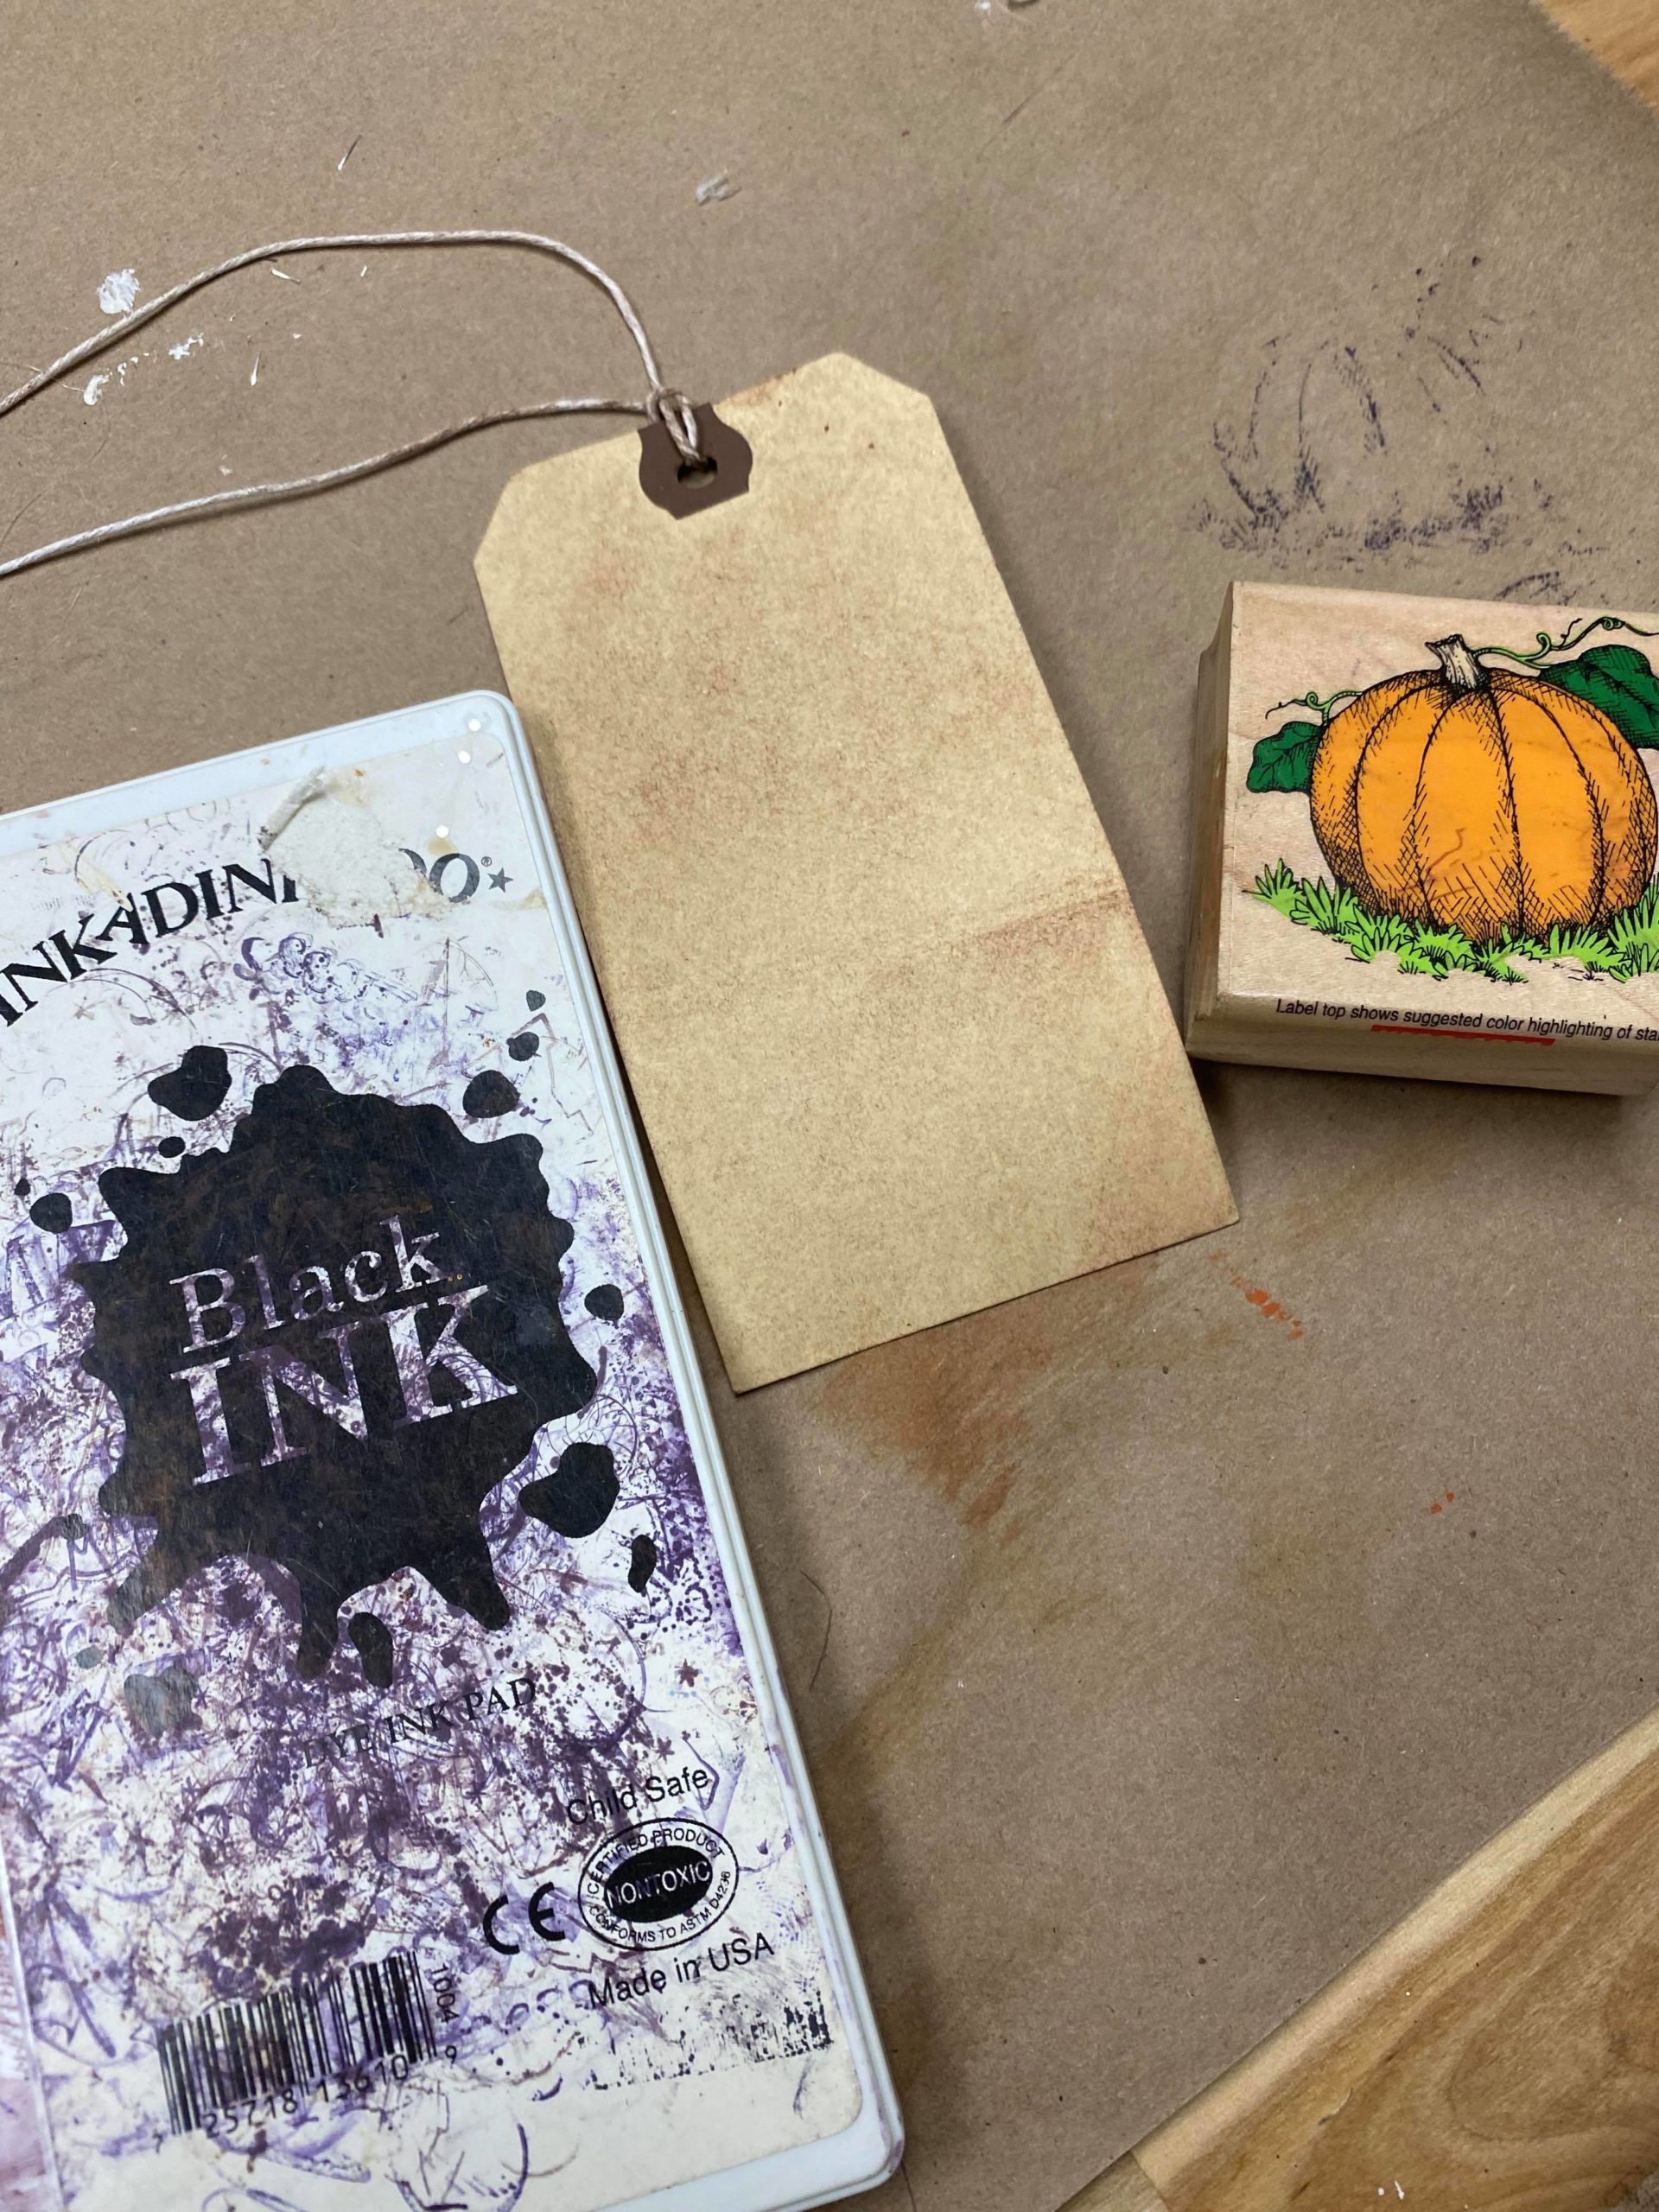
I added a stamped hang tag to the top.
This pumpkin is so easy to create and will look amazing any where in your home. You can hang this pumpkin on a front door for a Fall decoration. I hope you will all get creative and give this a try.