I have been doing some spring cleaning throughout my home and I always like to use old wooden crates for storage. You can find all types of wooden crates in a variety of stores and sometimes they can be pricey. I did a little research and realized that we can create the look of wood by using foam board. I love this idea for a variety of reasons. This will allow me to create my own crates without having to spend a lot of money on wood and I don’t have to use any type of electrical saw. I can create these crates any size that I want without spending a lot of money.
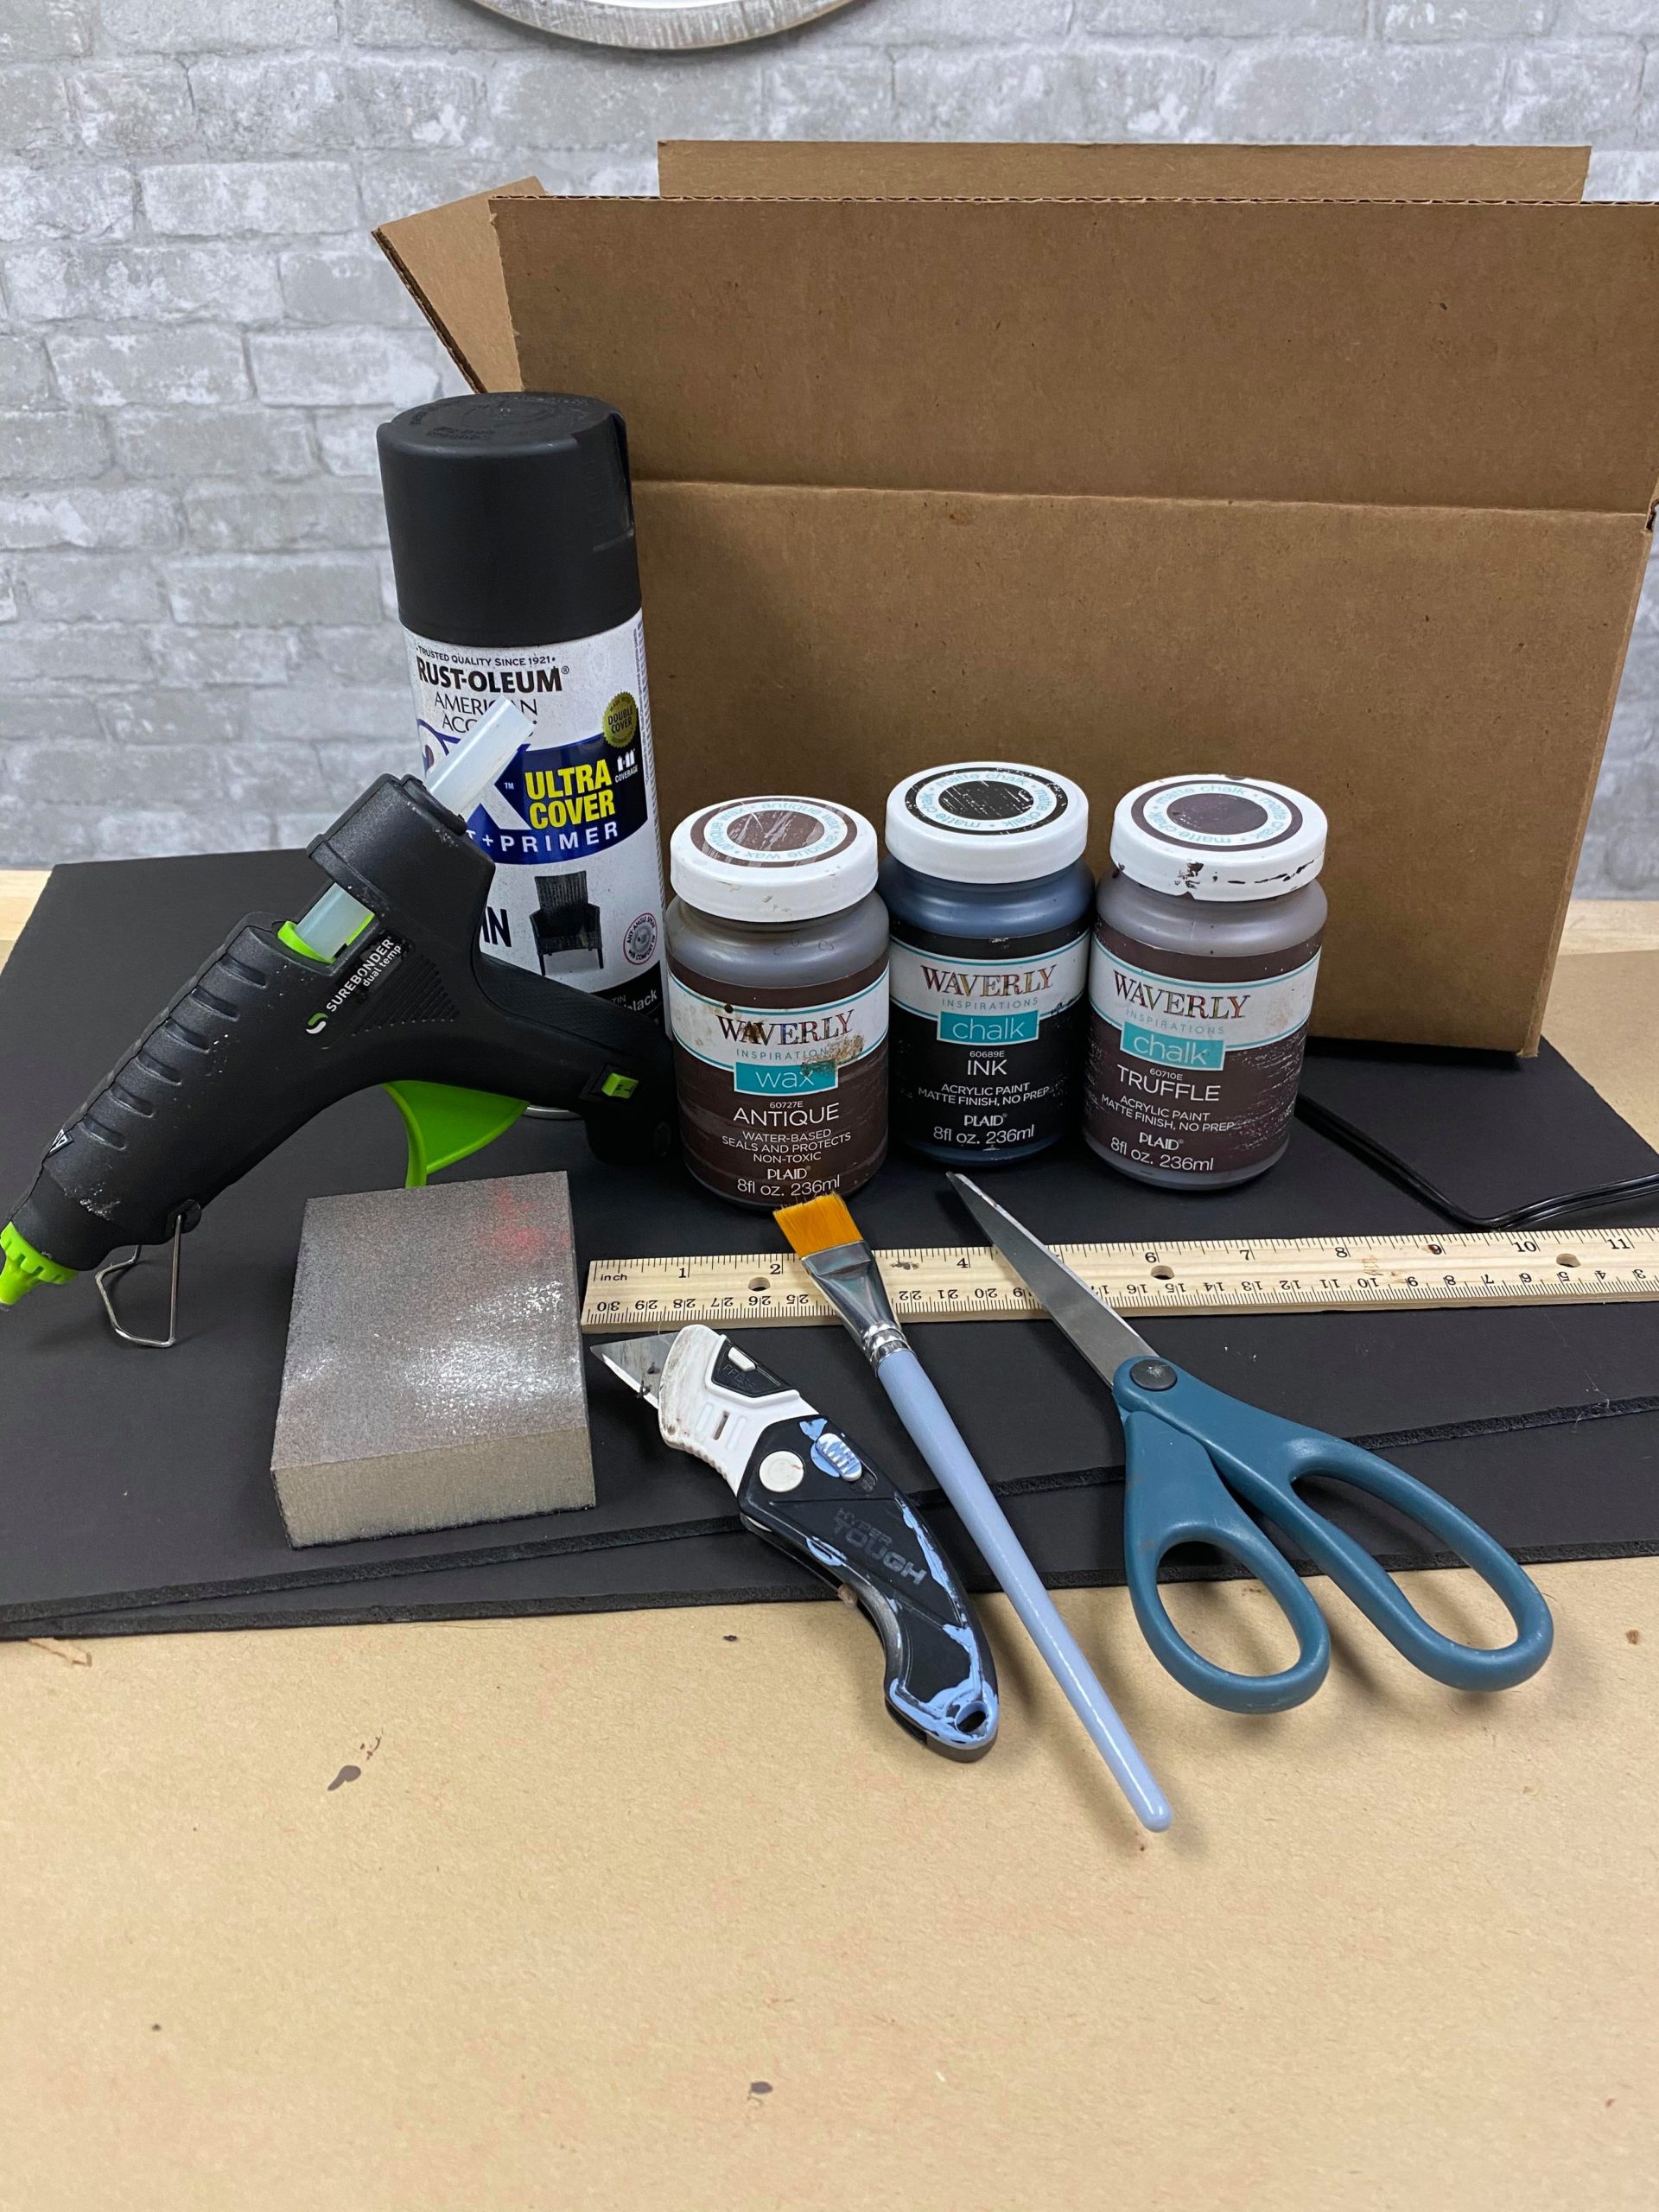
The supplies I will be using are:
1. Black foam board (I bought mine in Walmart)
2. Hot glue (I will be using the hot glue on a low temp)
3. Box cutter
4. Scissors
5. Black spray paint
6. Waverly chalk paint (colors ink and truffle)
7. Waverly antique wax
8. Paint brush
9. Sanding sponge
10. Cardboard box
11. Paint brush
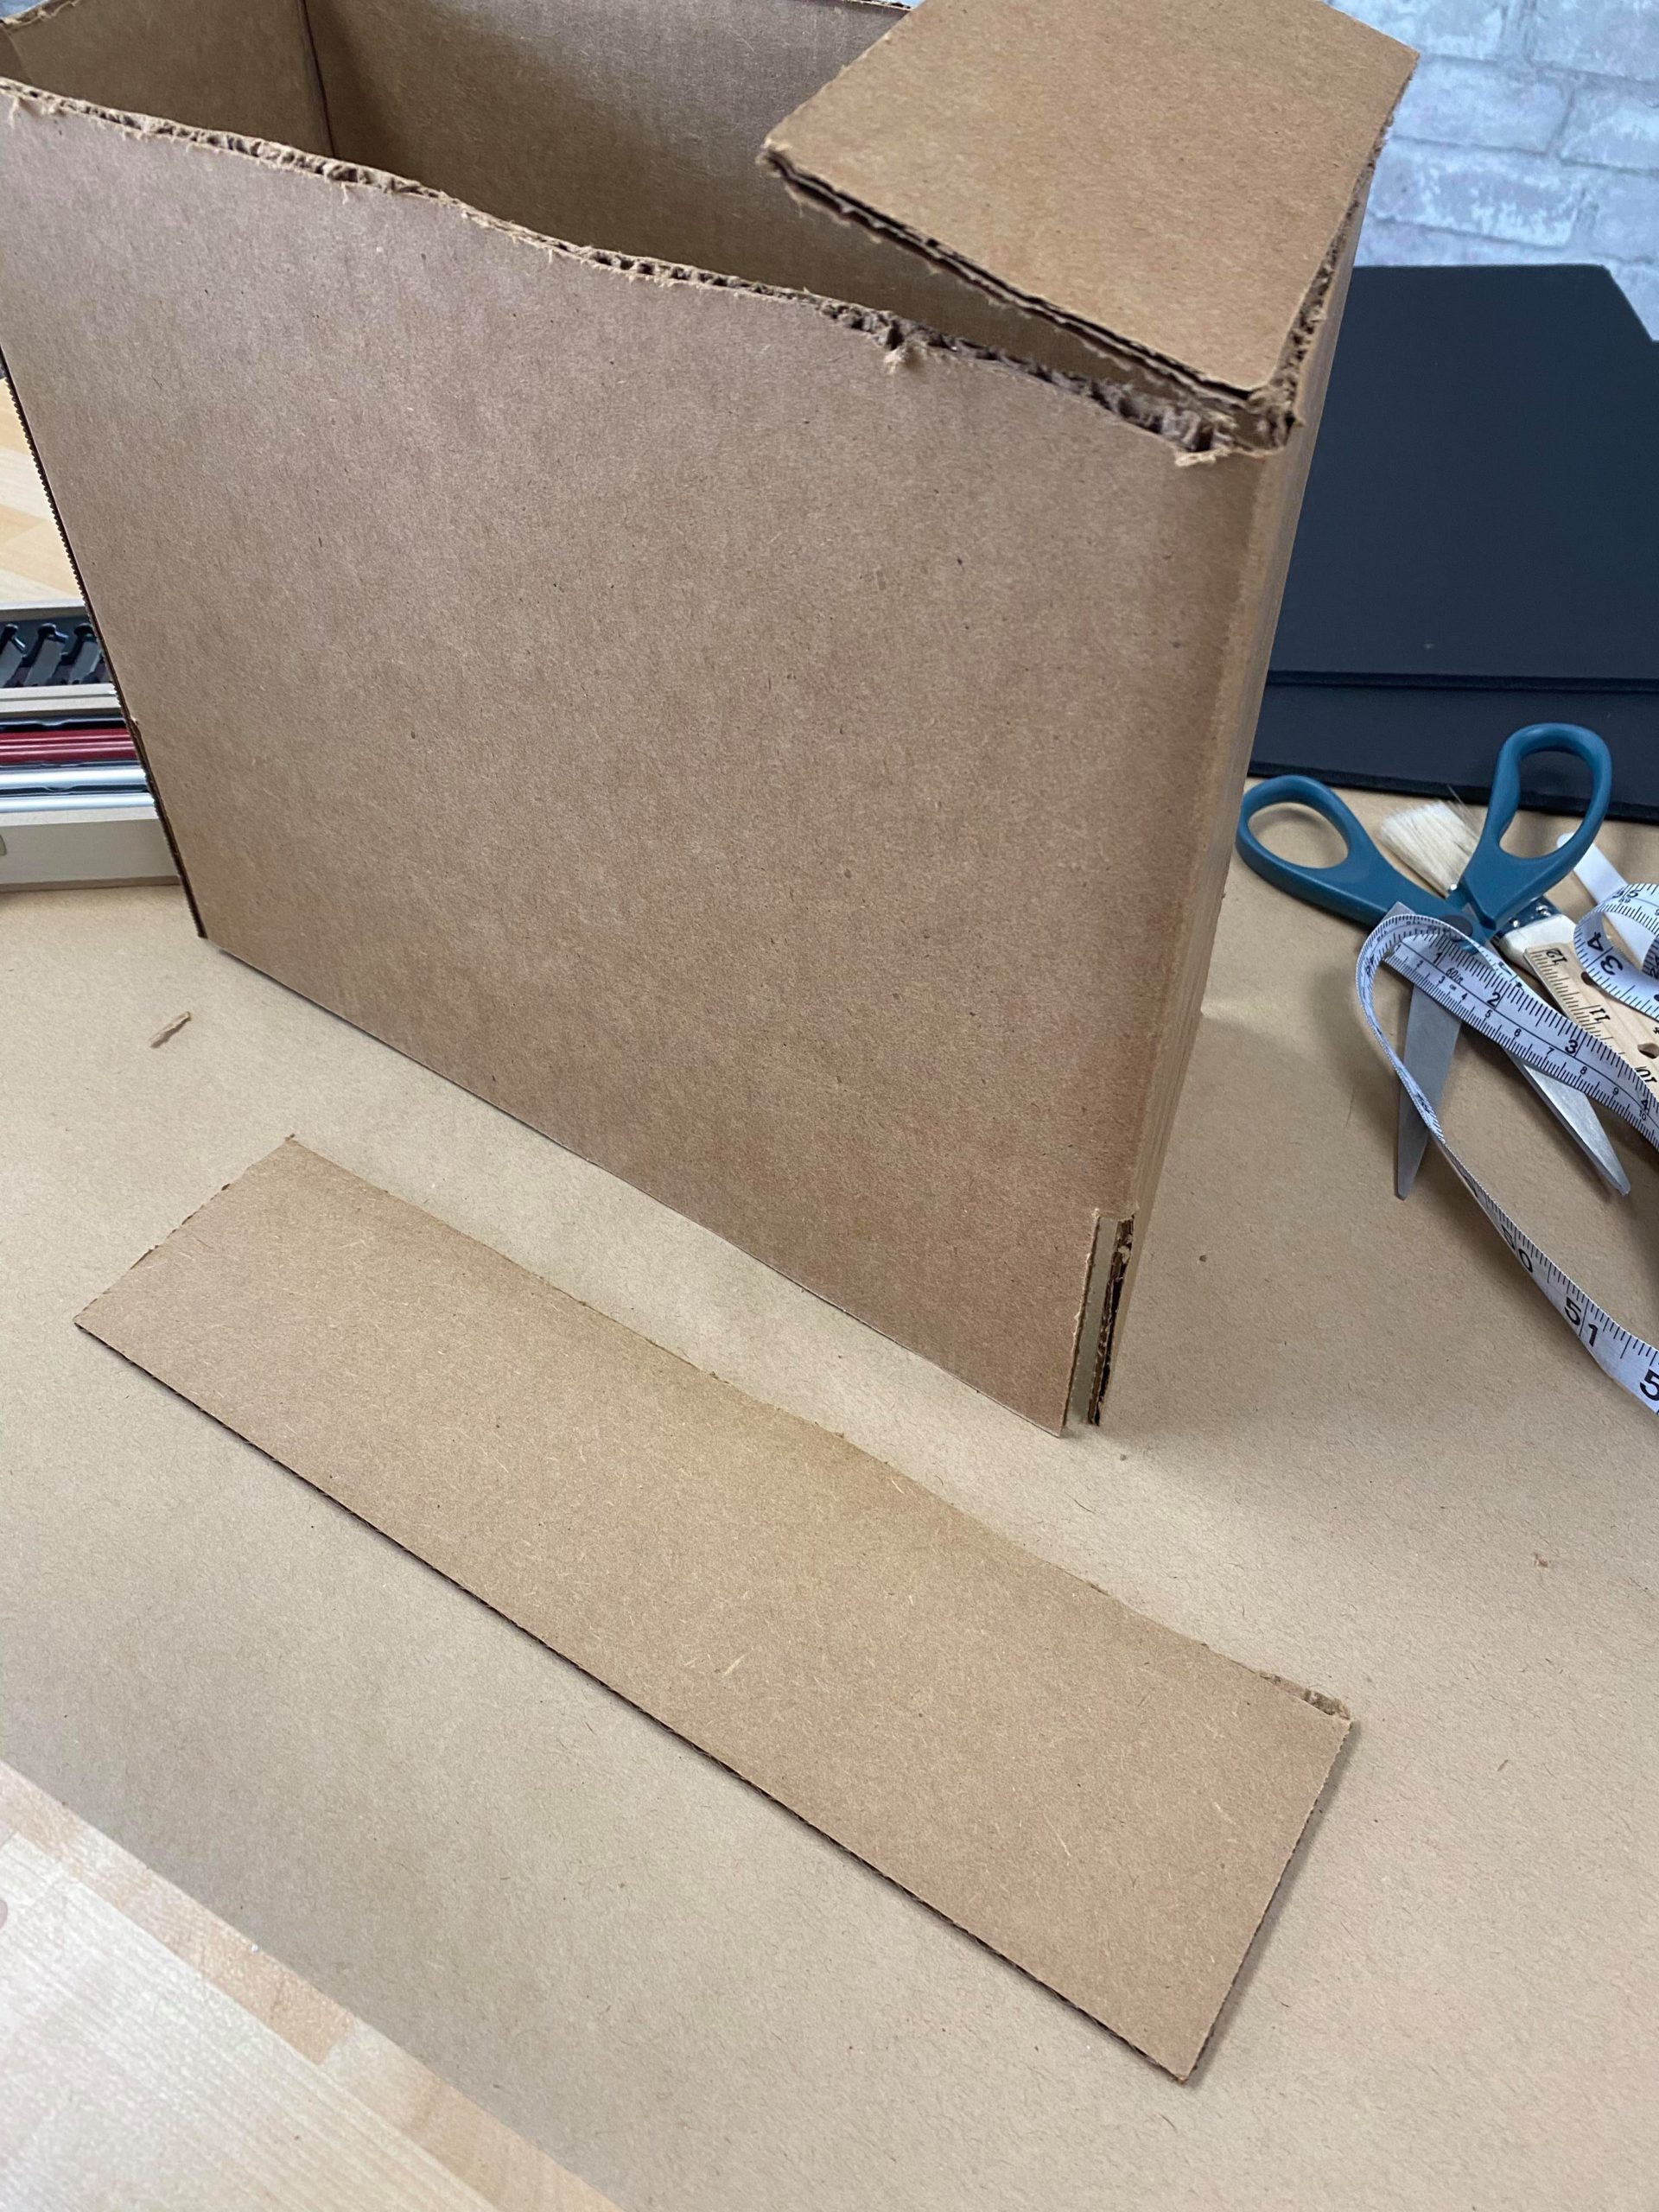
The first step is to decide on what size box you want to use. I will be glueing the foam board pieces to the box to create the wooden crate. You can use any size box that you want. I will be using a 12x6x6 to create my crate.
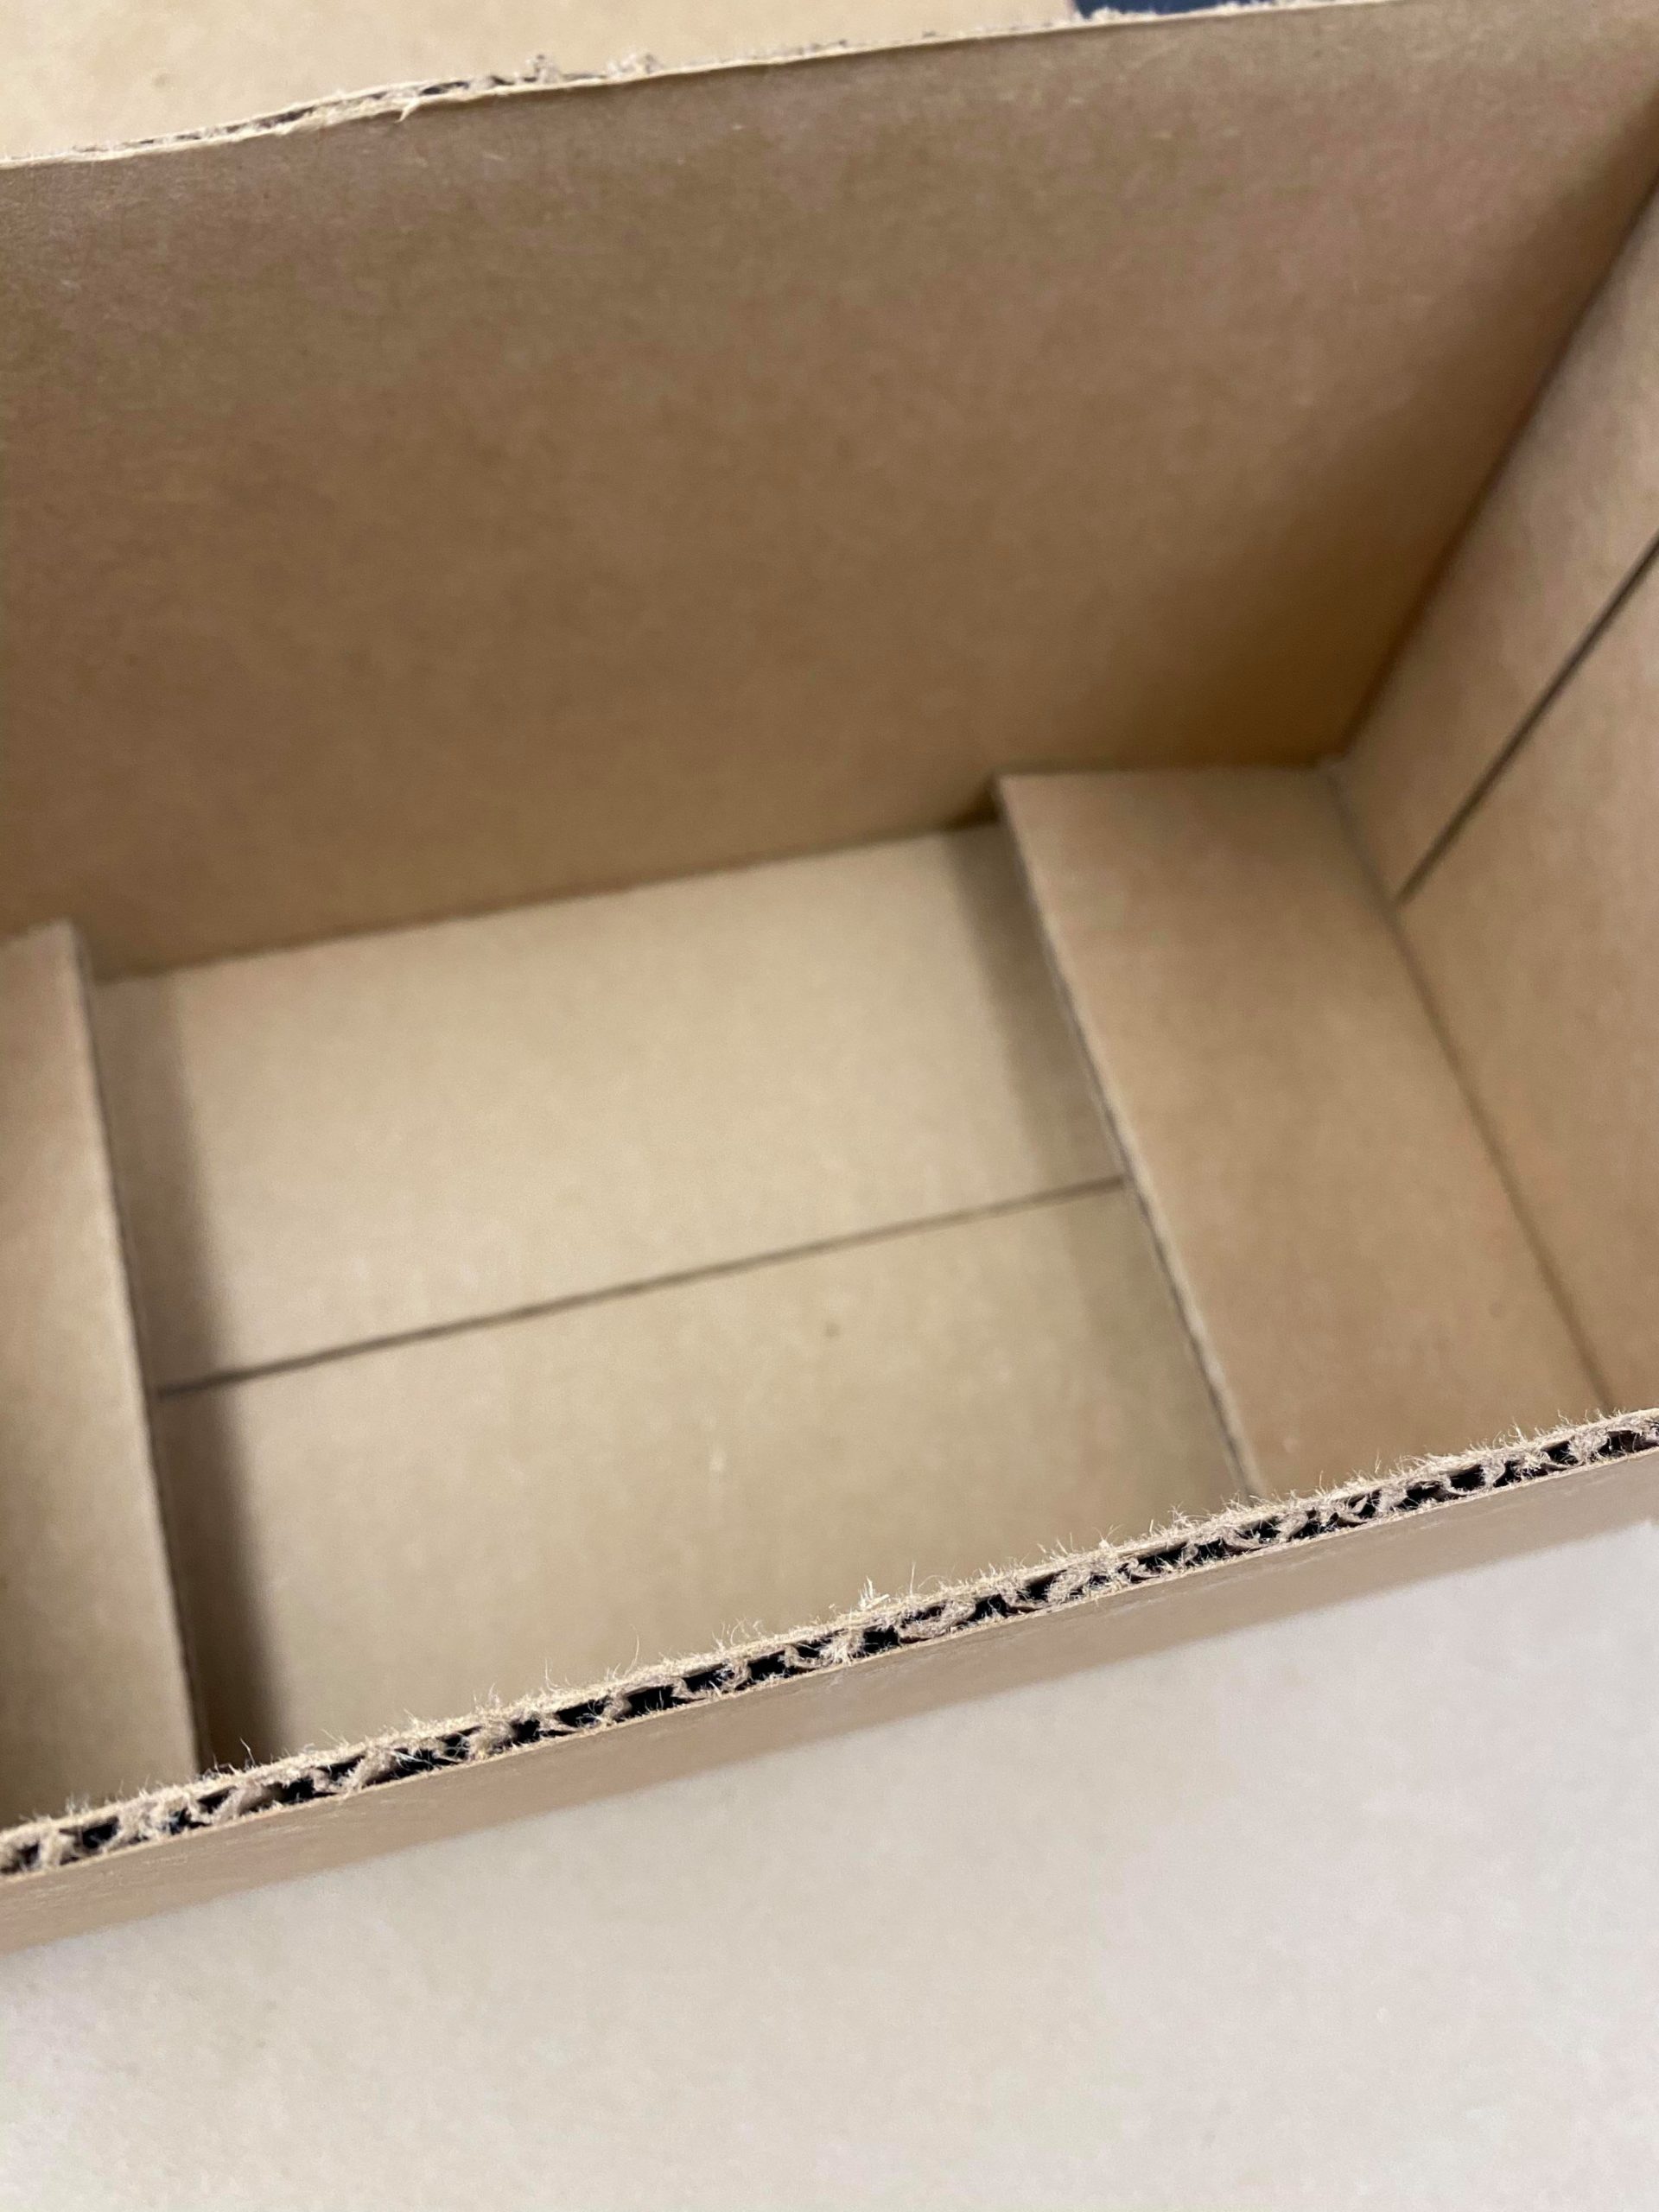
I formed my box and I cut the top flaps off of the box and then I spray painted the box black.
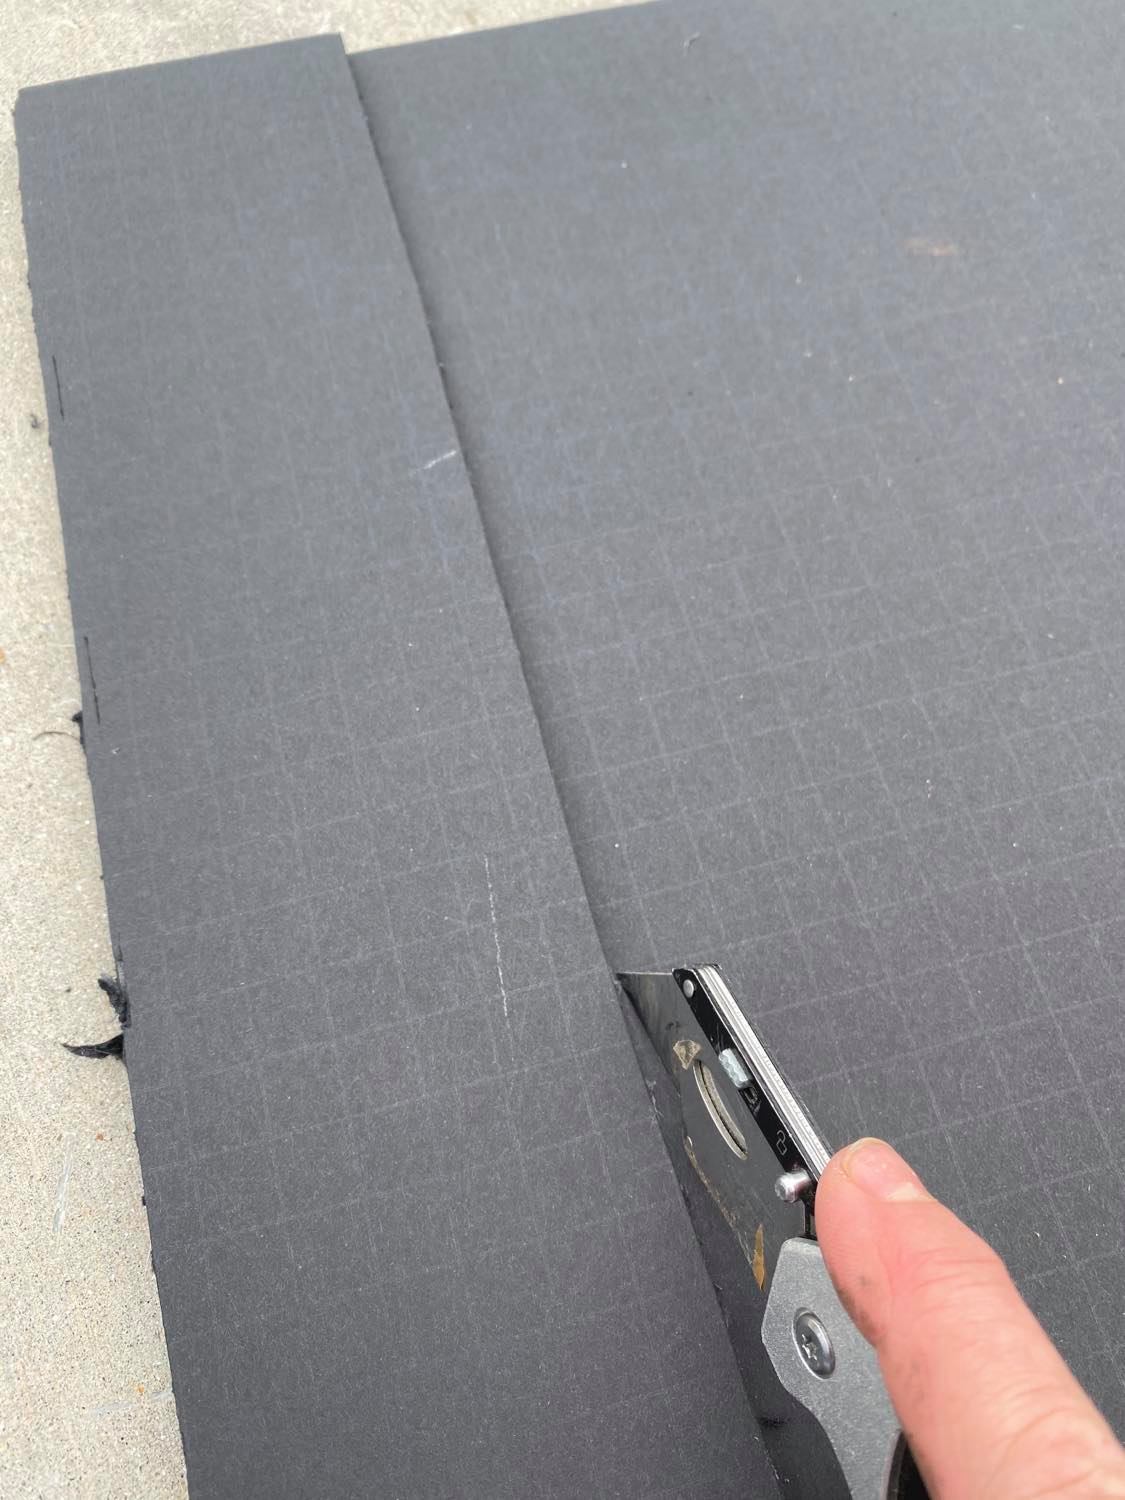
Once your box is spray painted you will want to cut your pieces of foam board. I will be cutting my foam board in strips and I will be placing two strips on each side of the box.
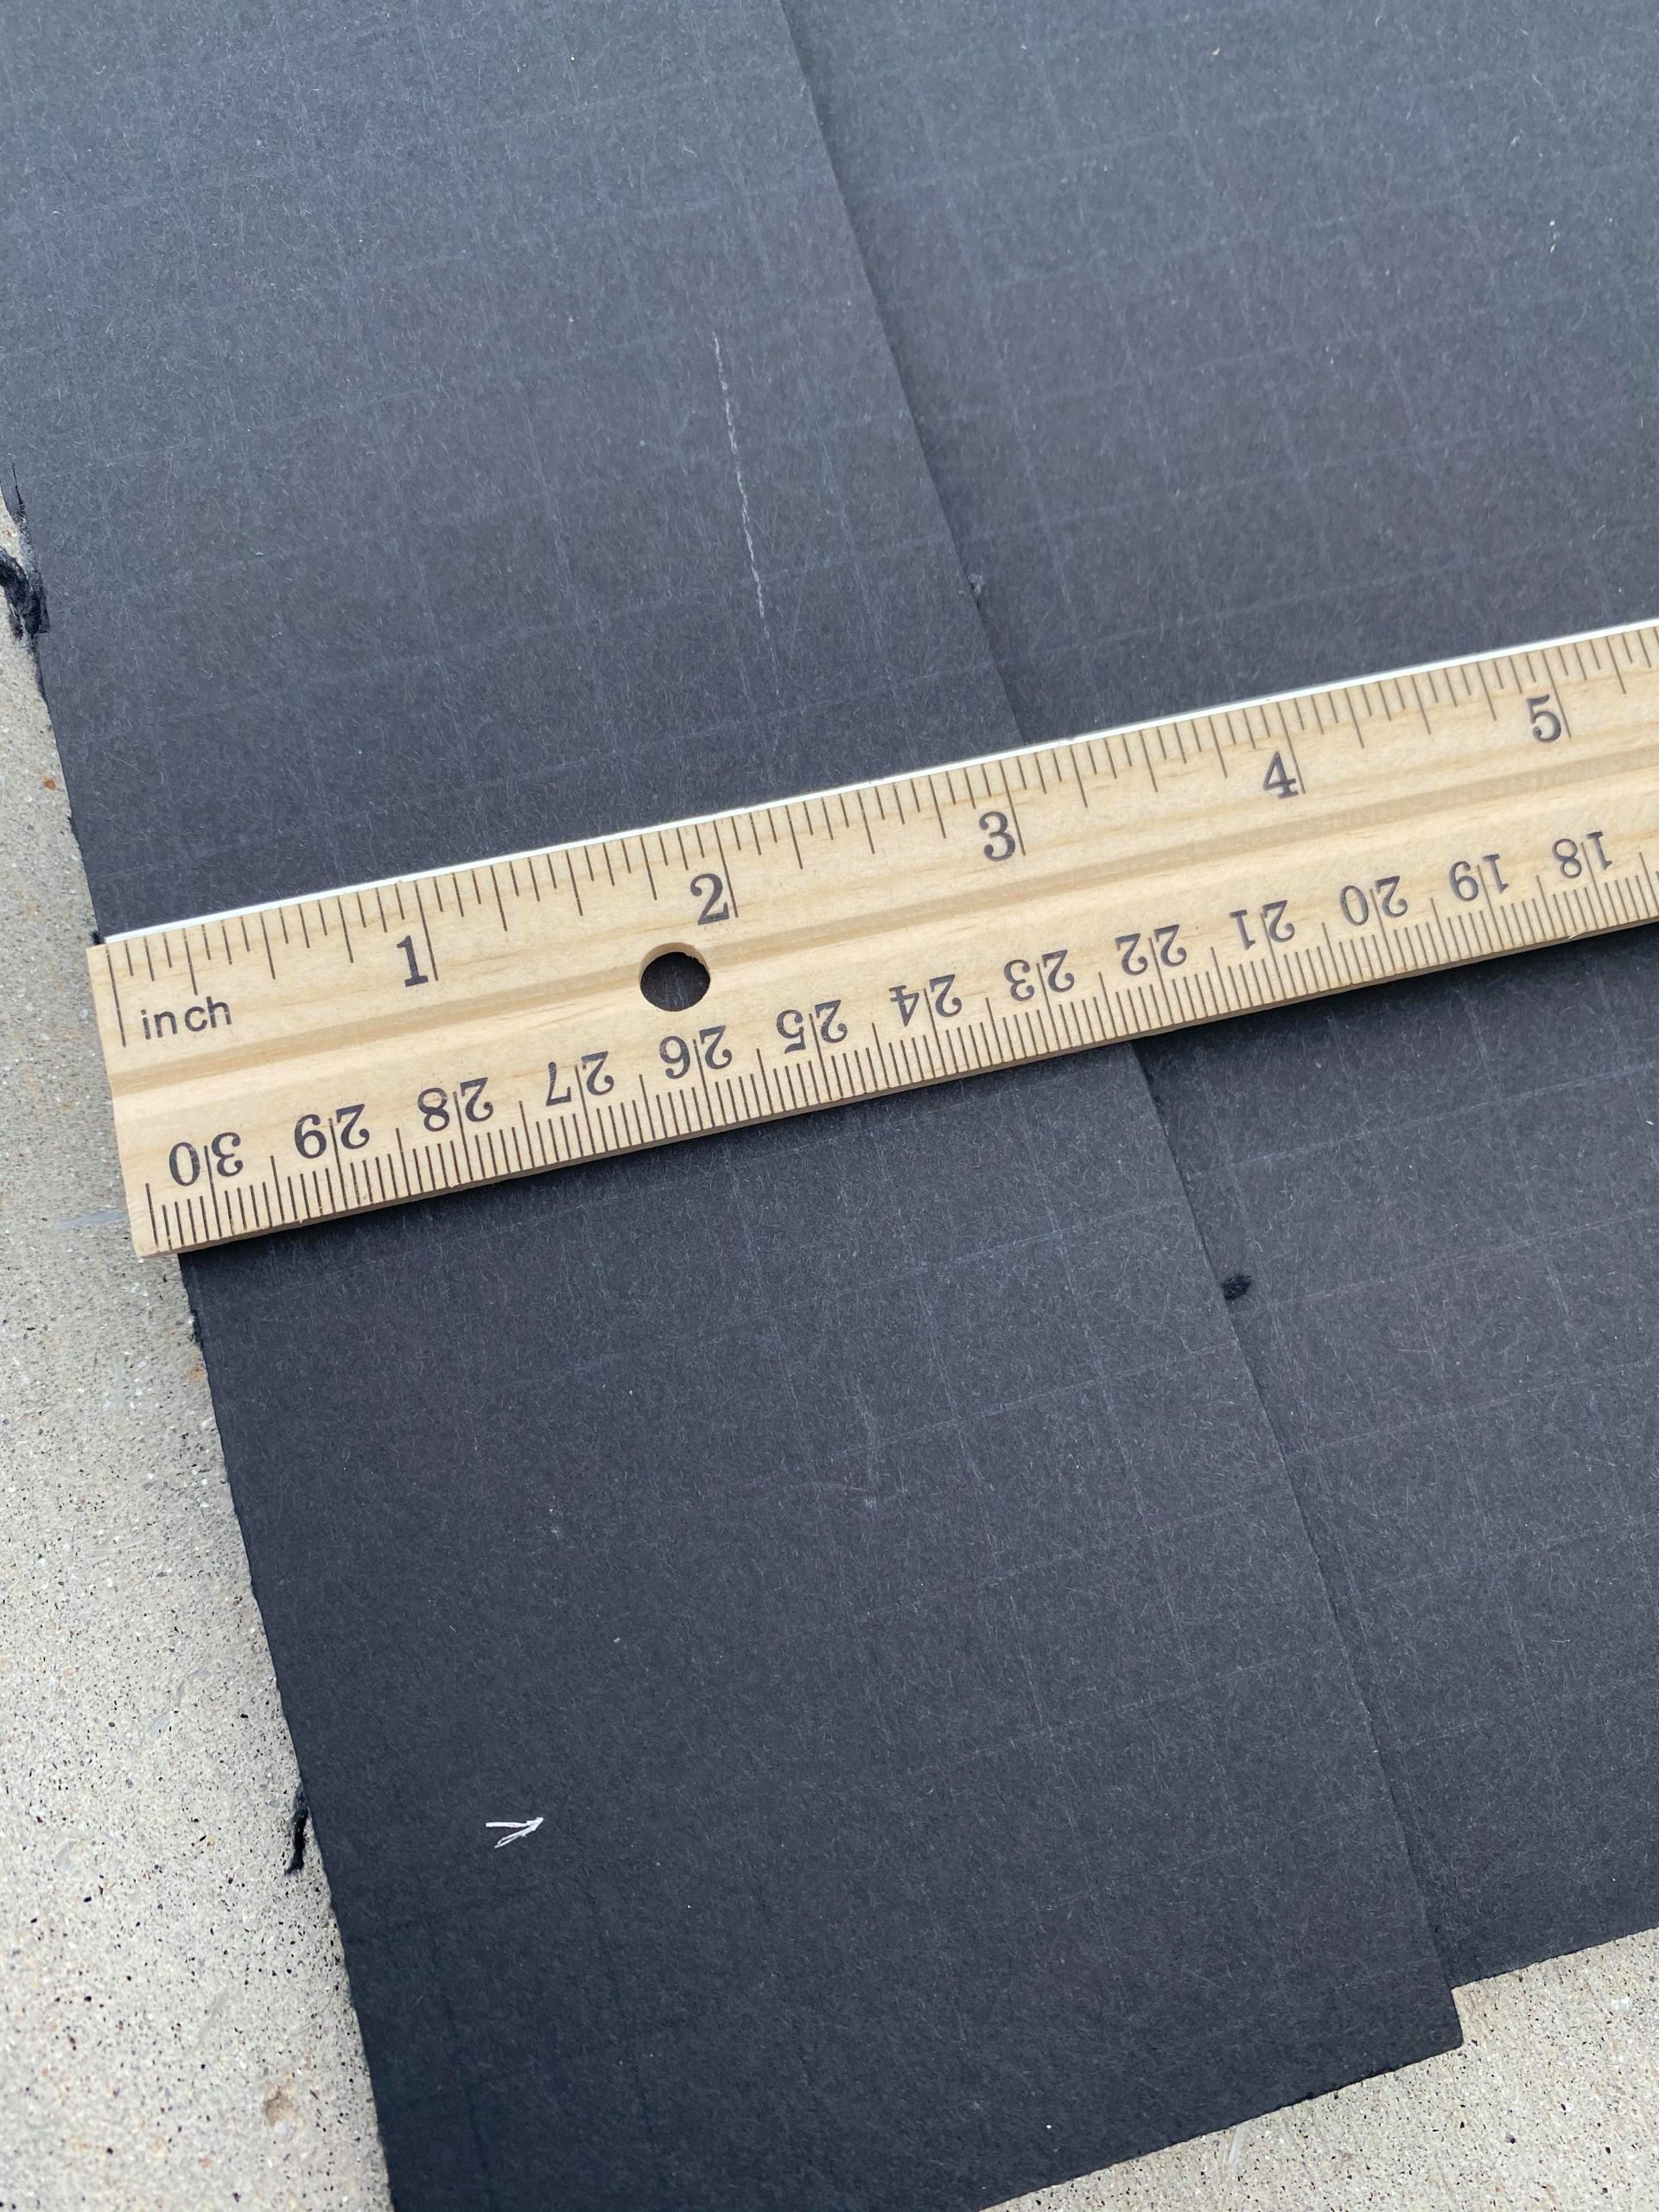
My strips are just over 3 inches wide.
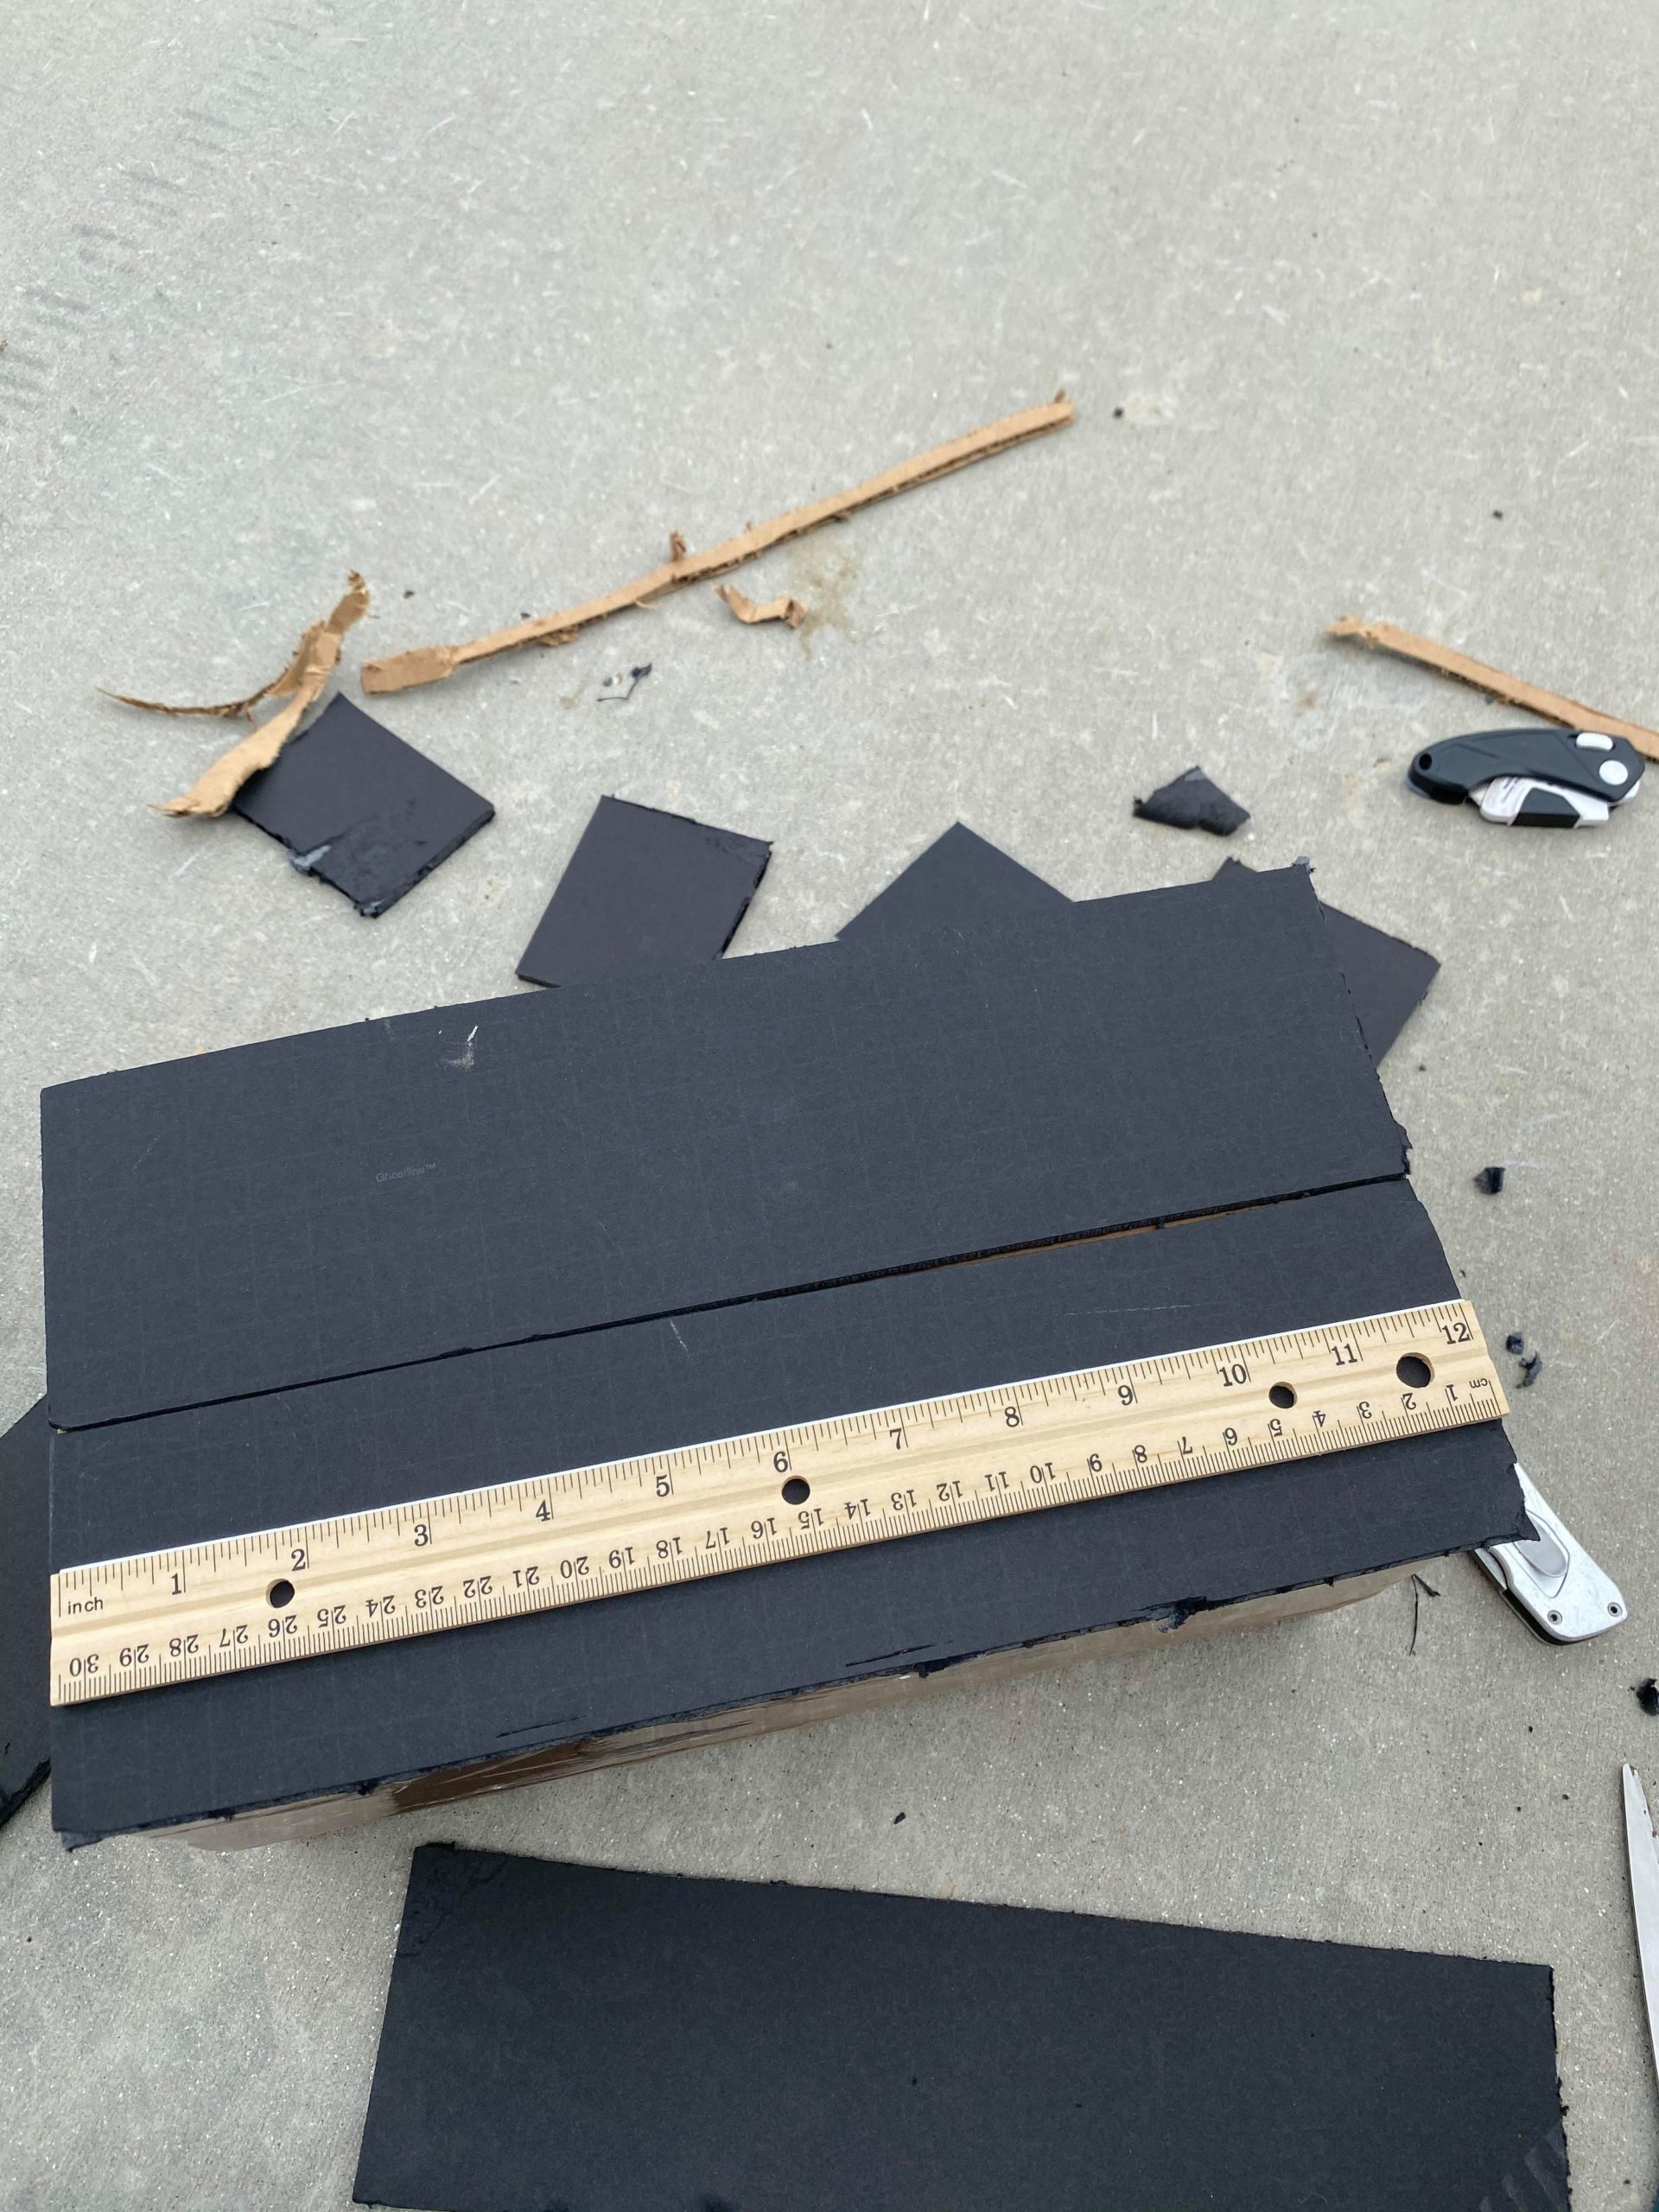
You will want to cut your strips to the length of the box and then your side strips will be cut the width of the box.
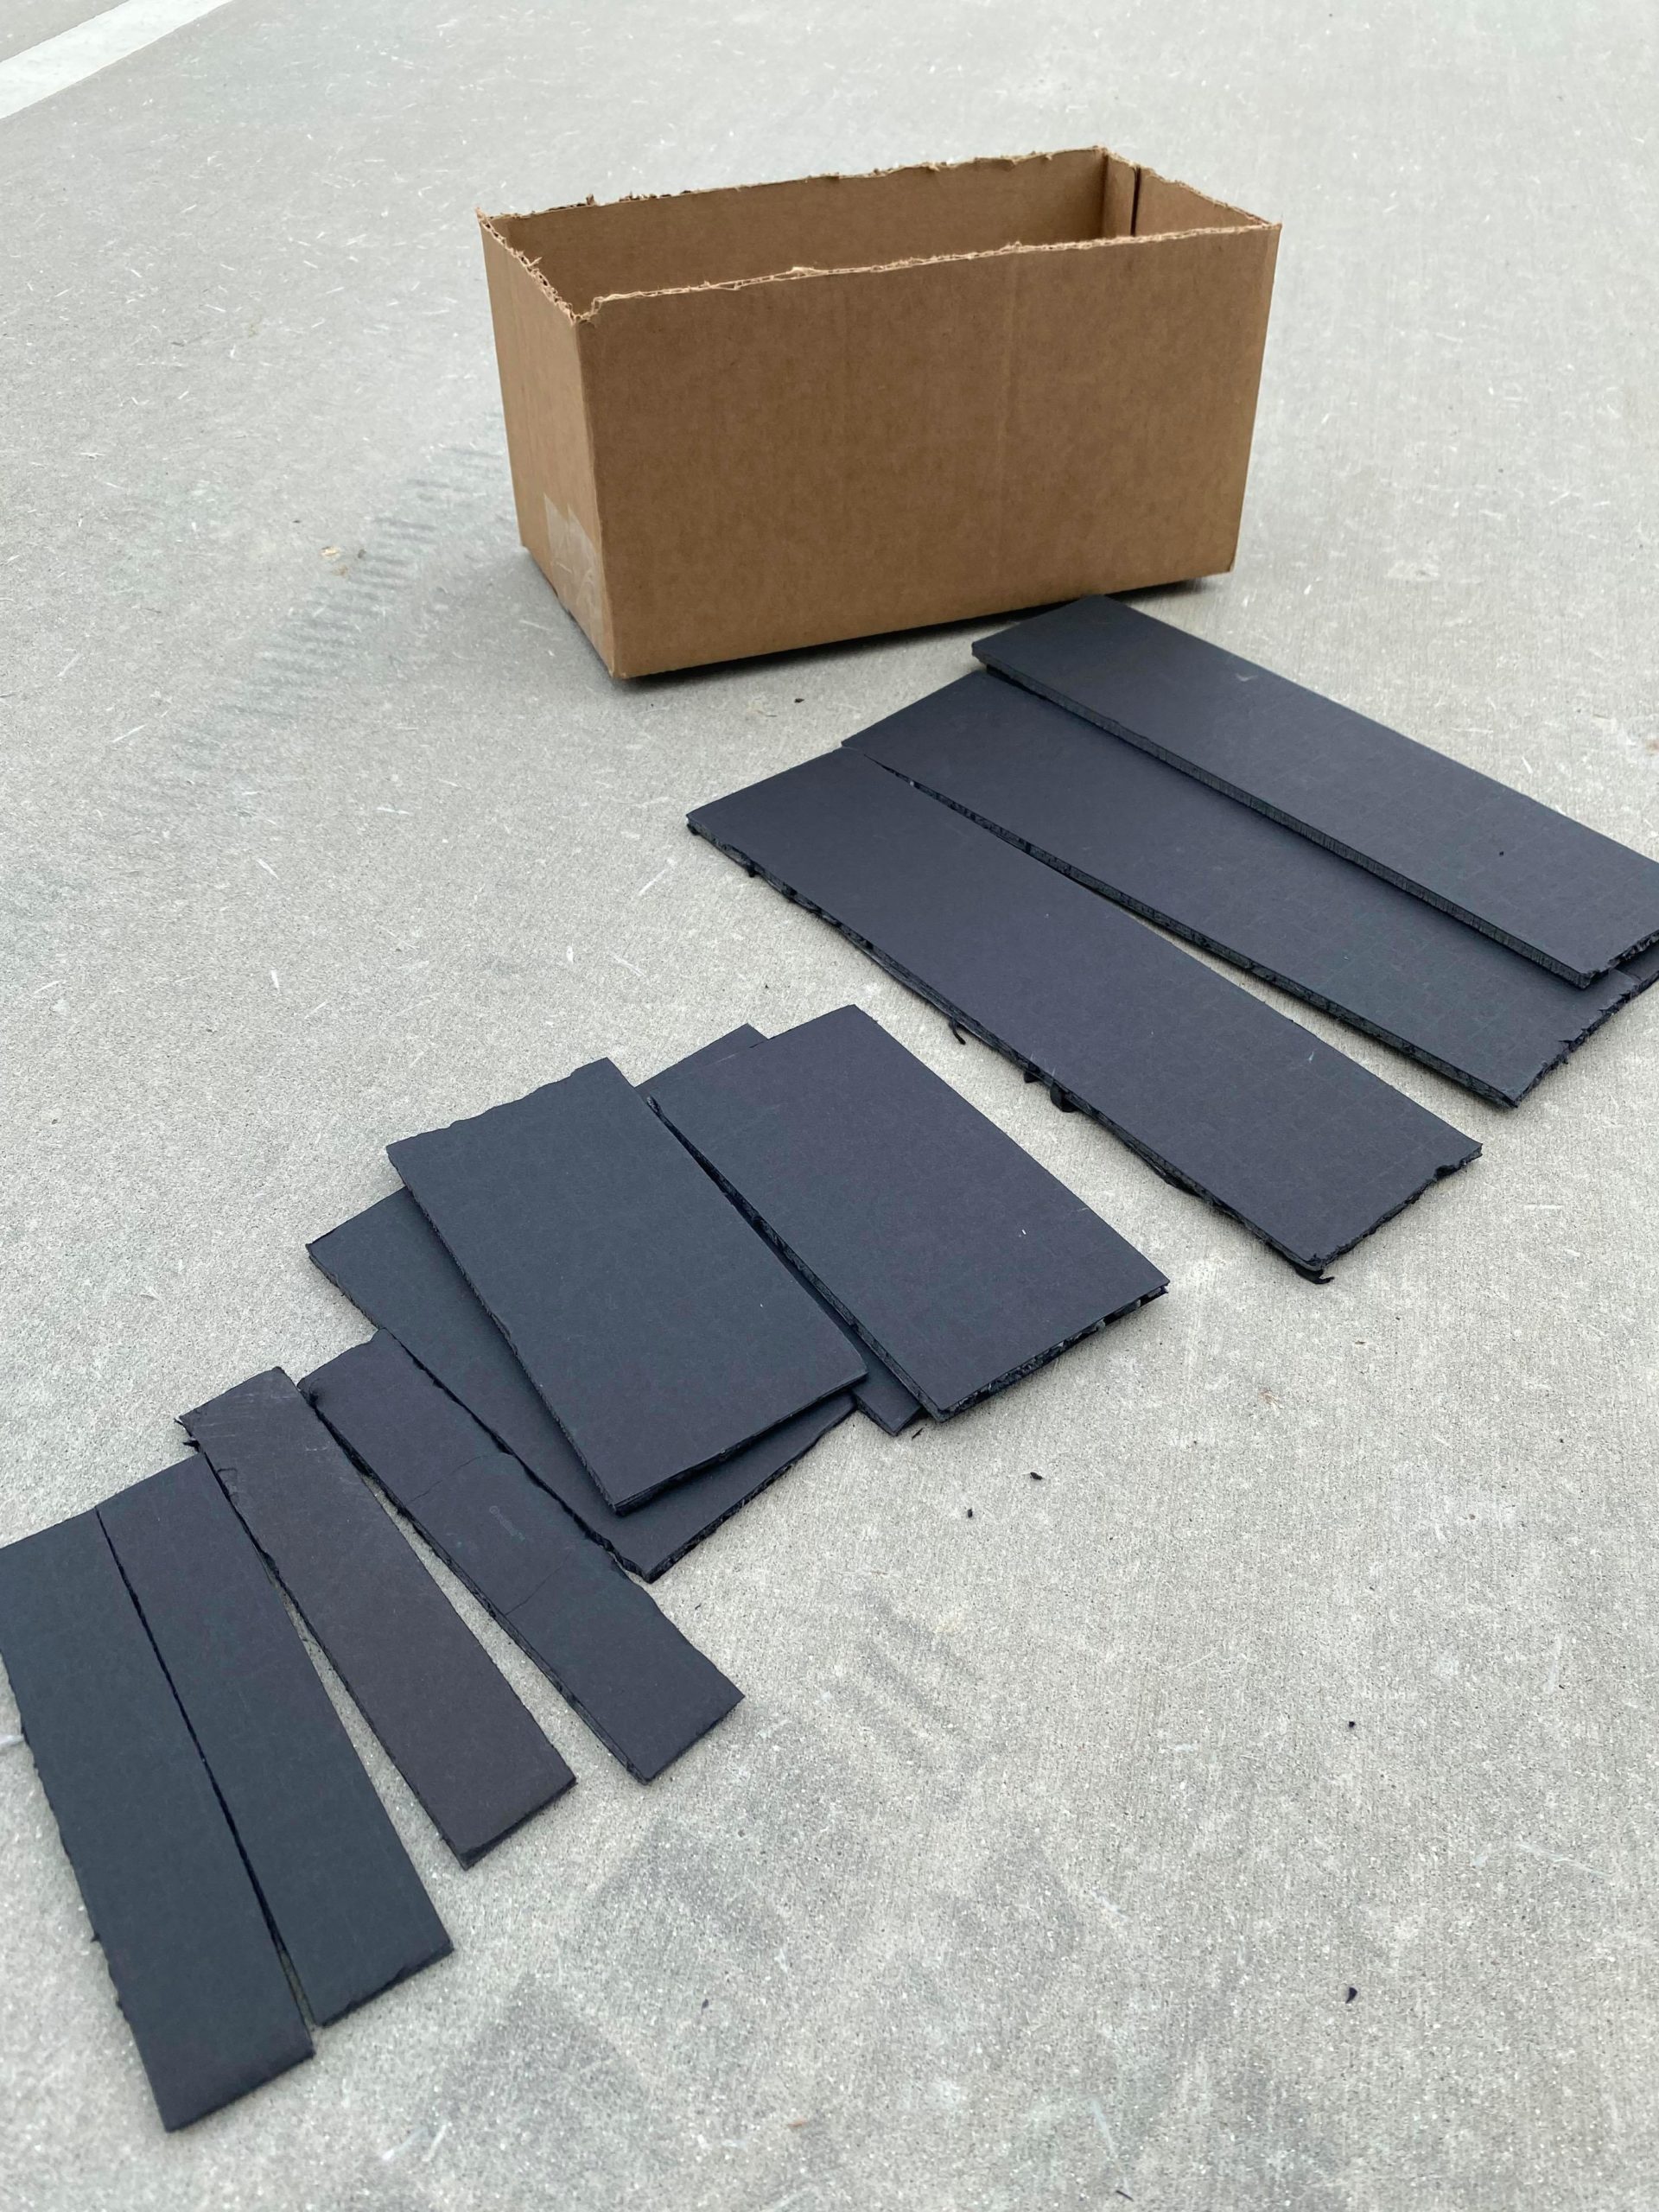
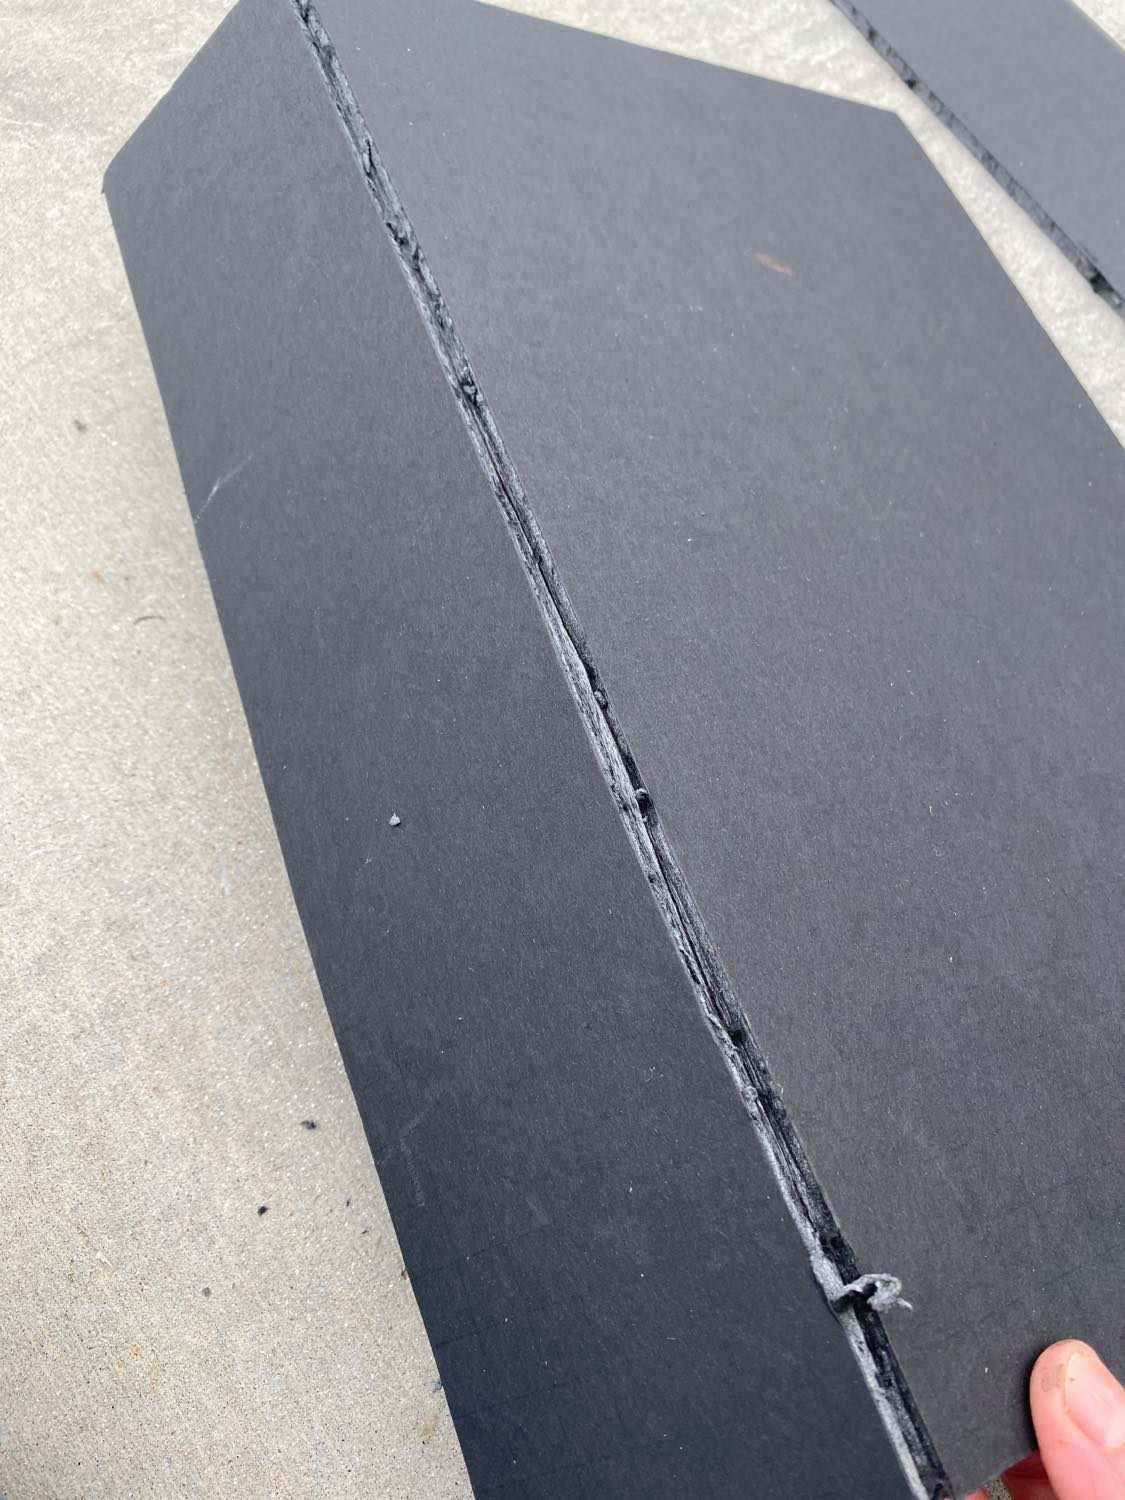
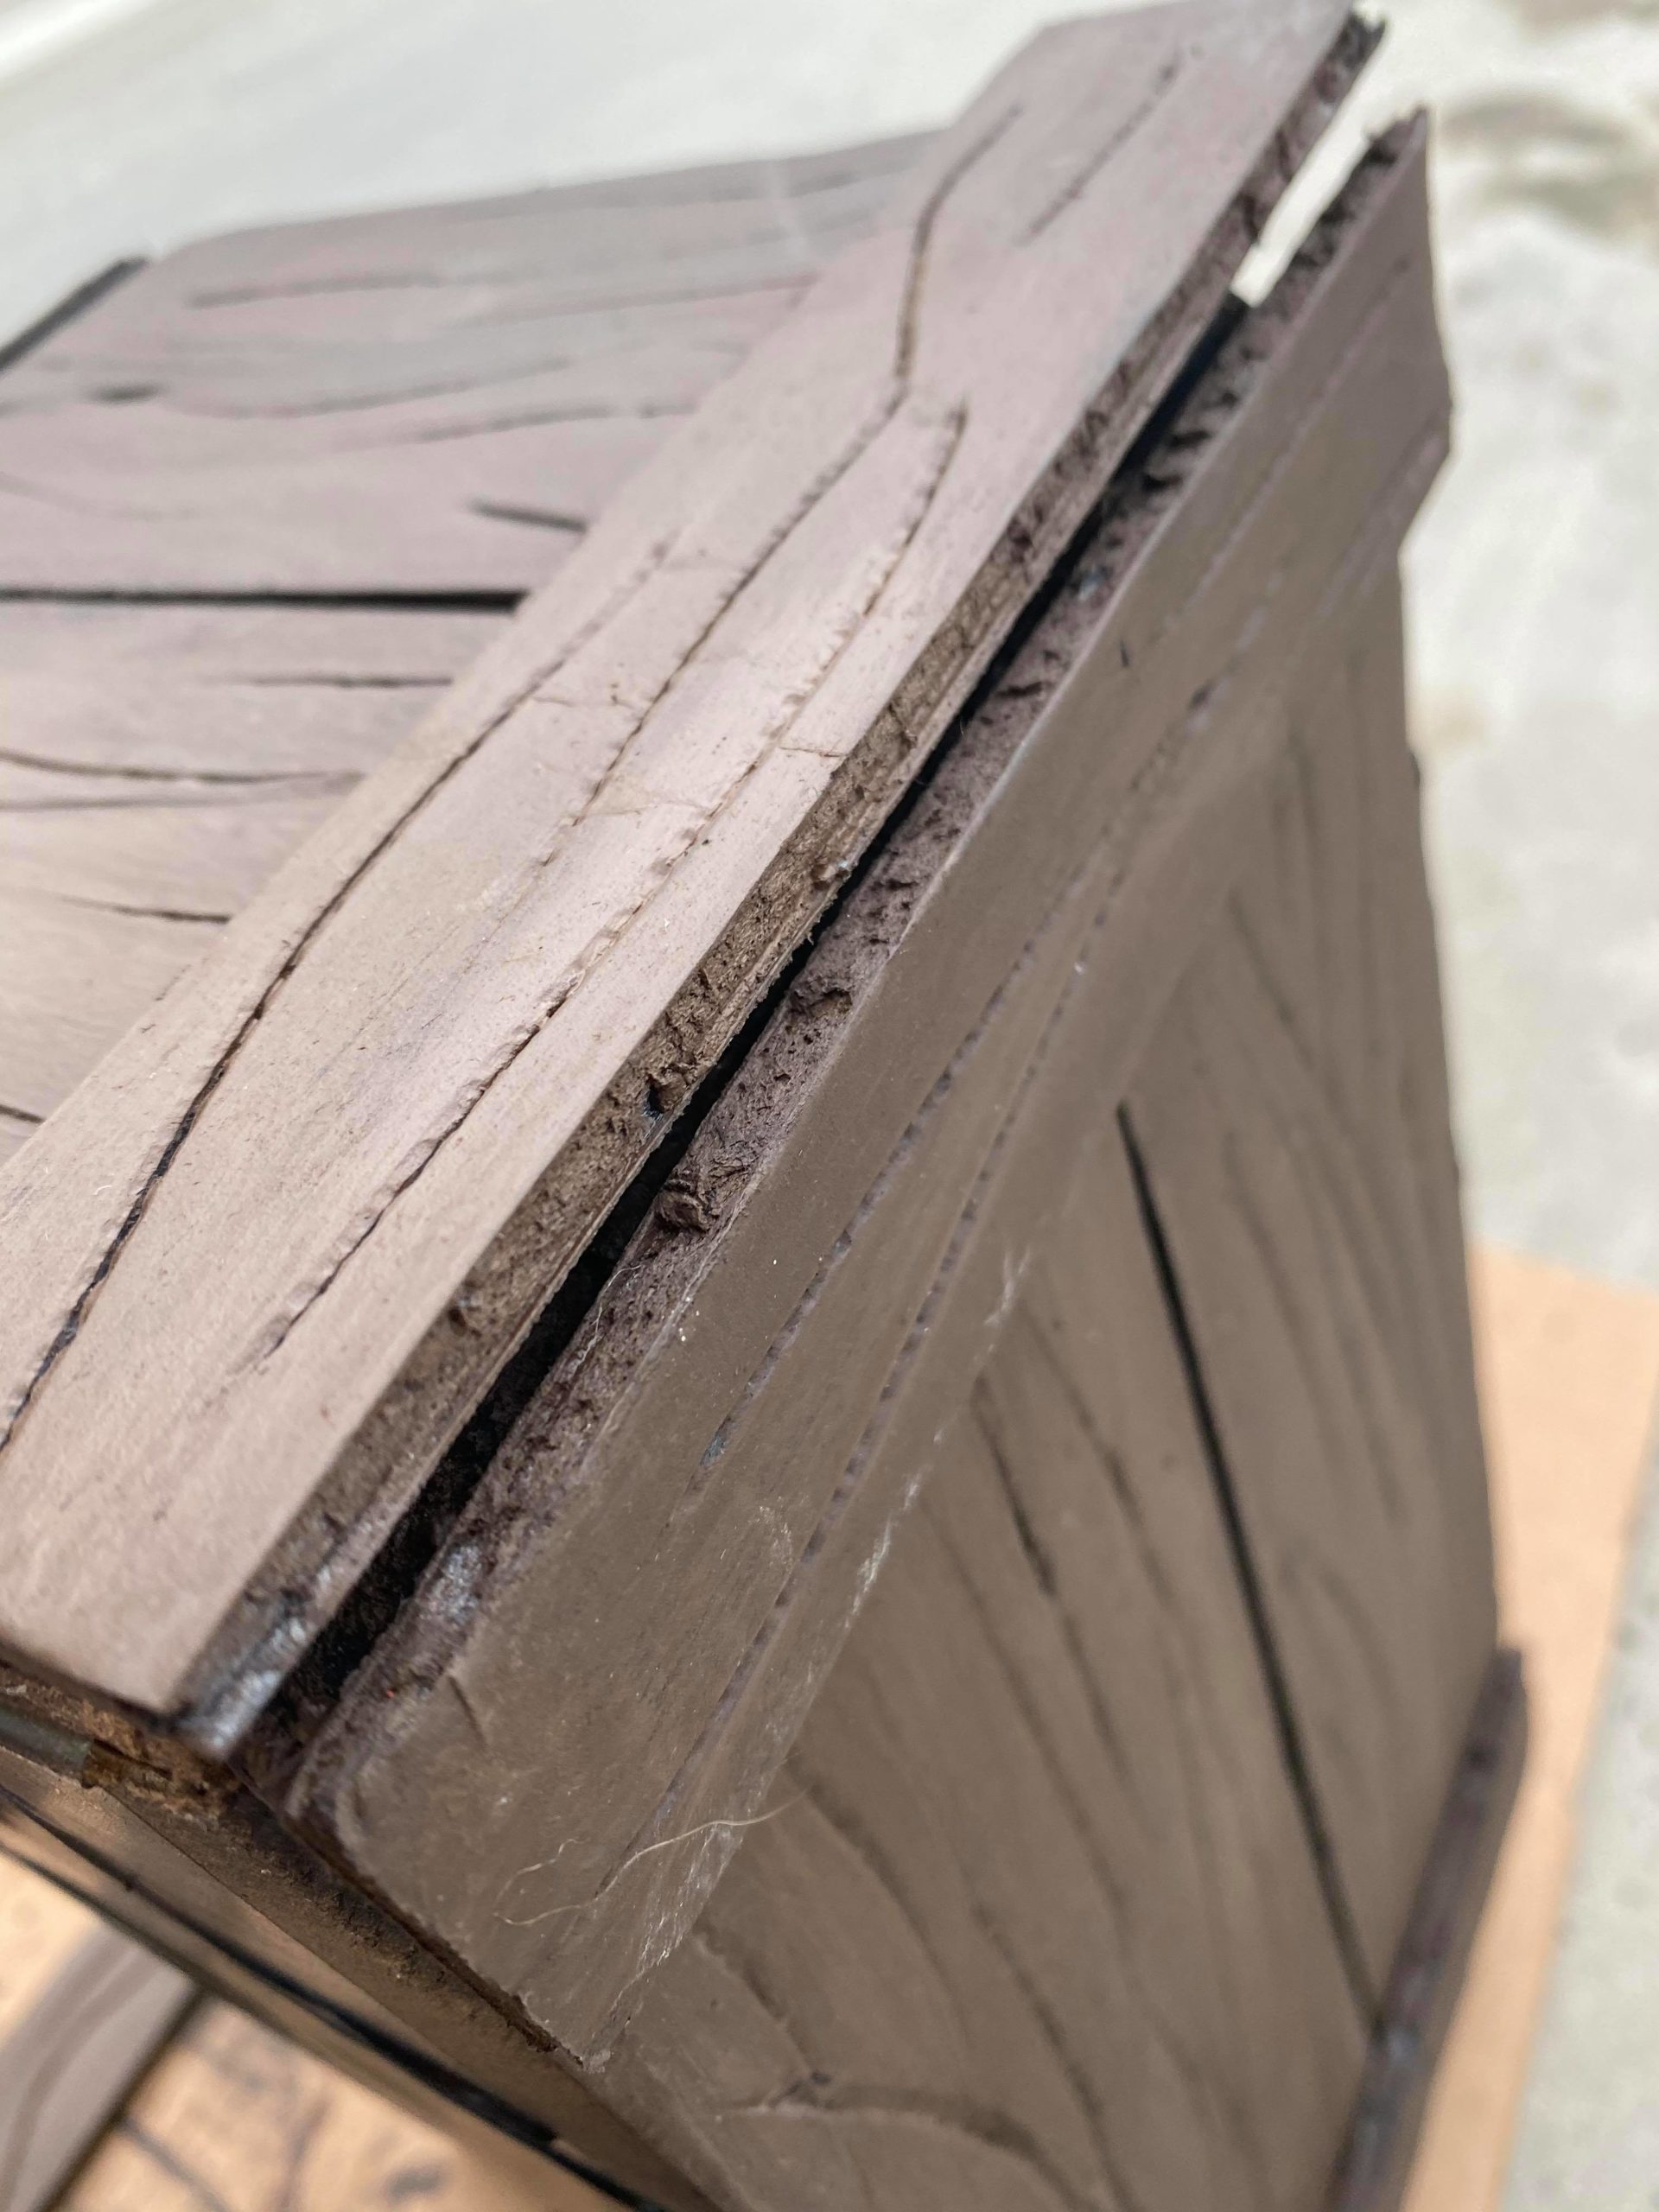
I cut four strips for the front and back, four strips for the sides and then I cut 8 smaller strips to over lap on the corners. You only see four in the photo above but I cut four more giving me eight.
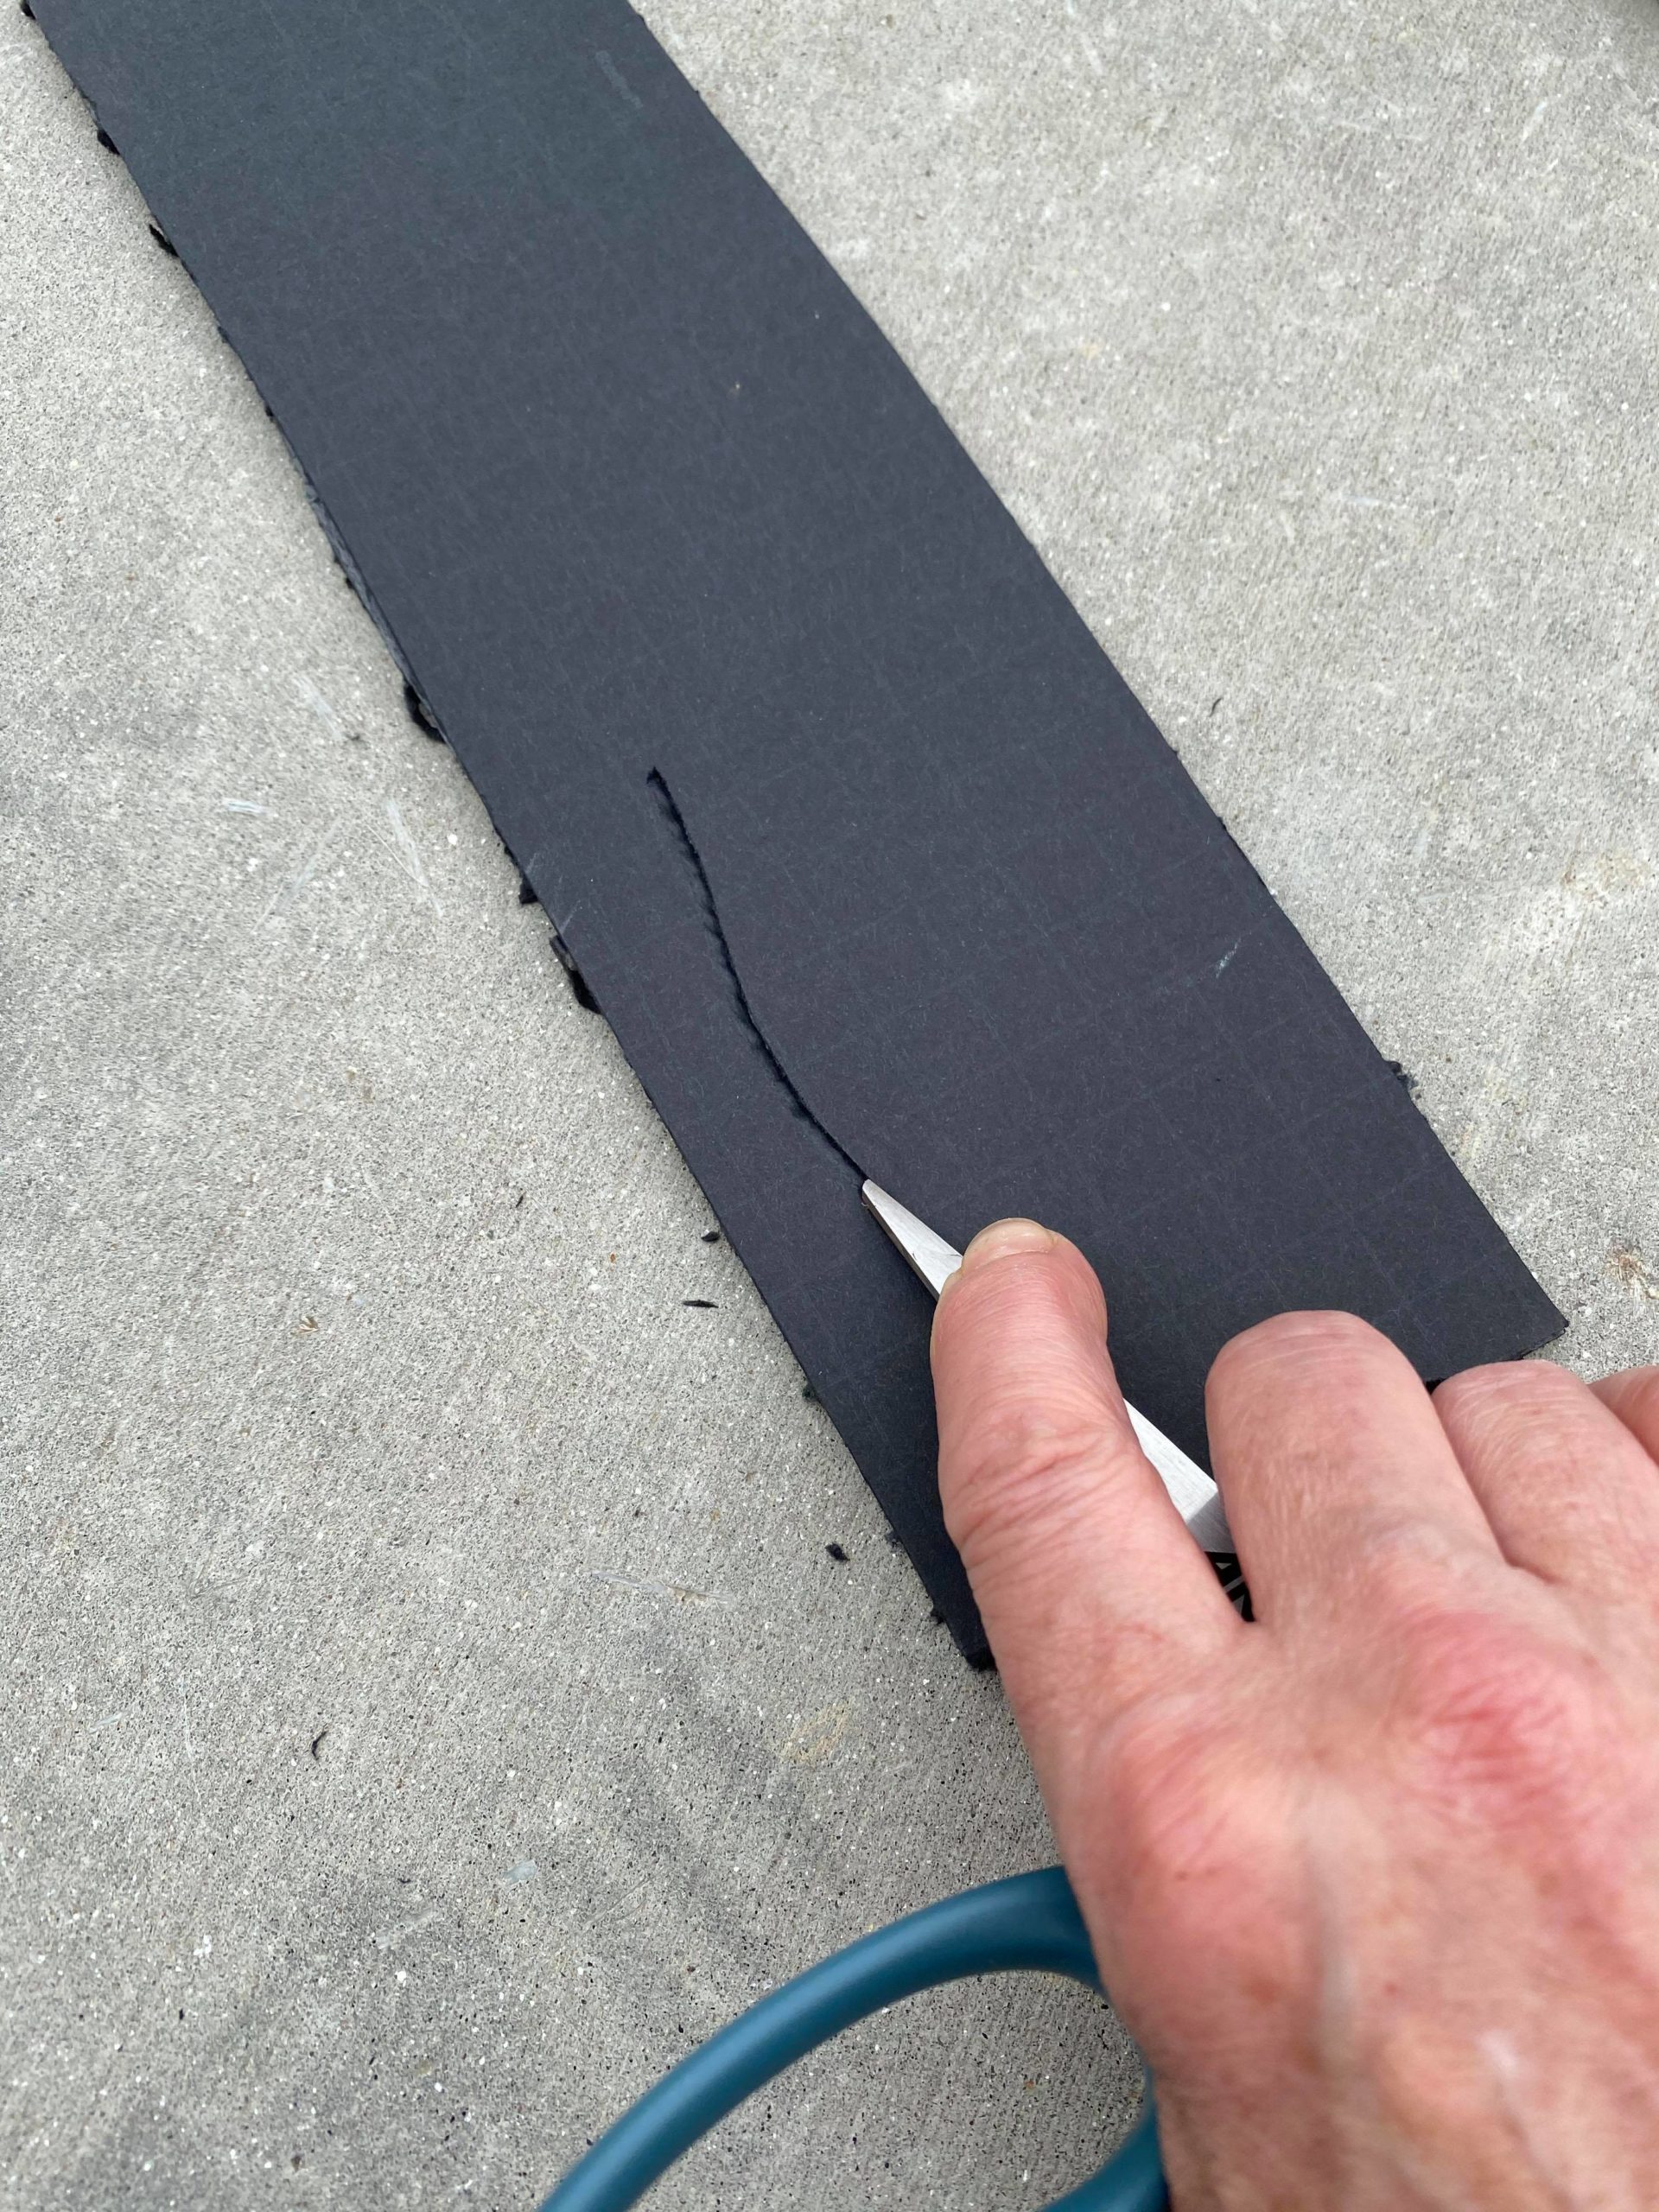
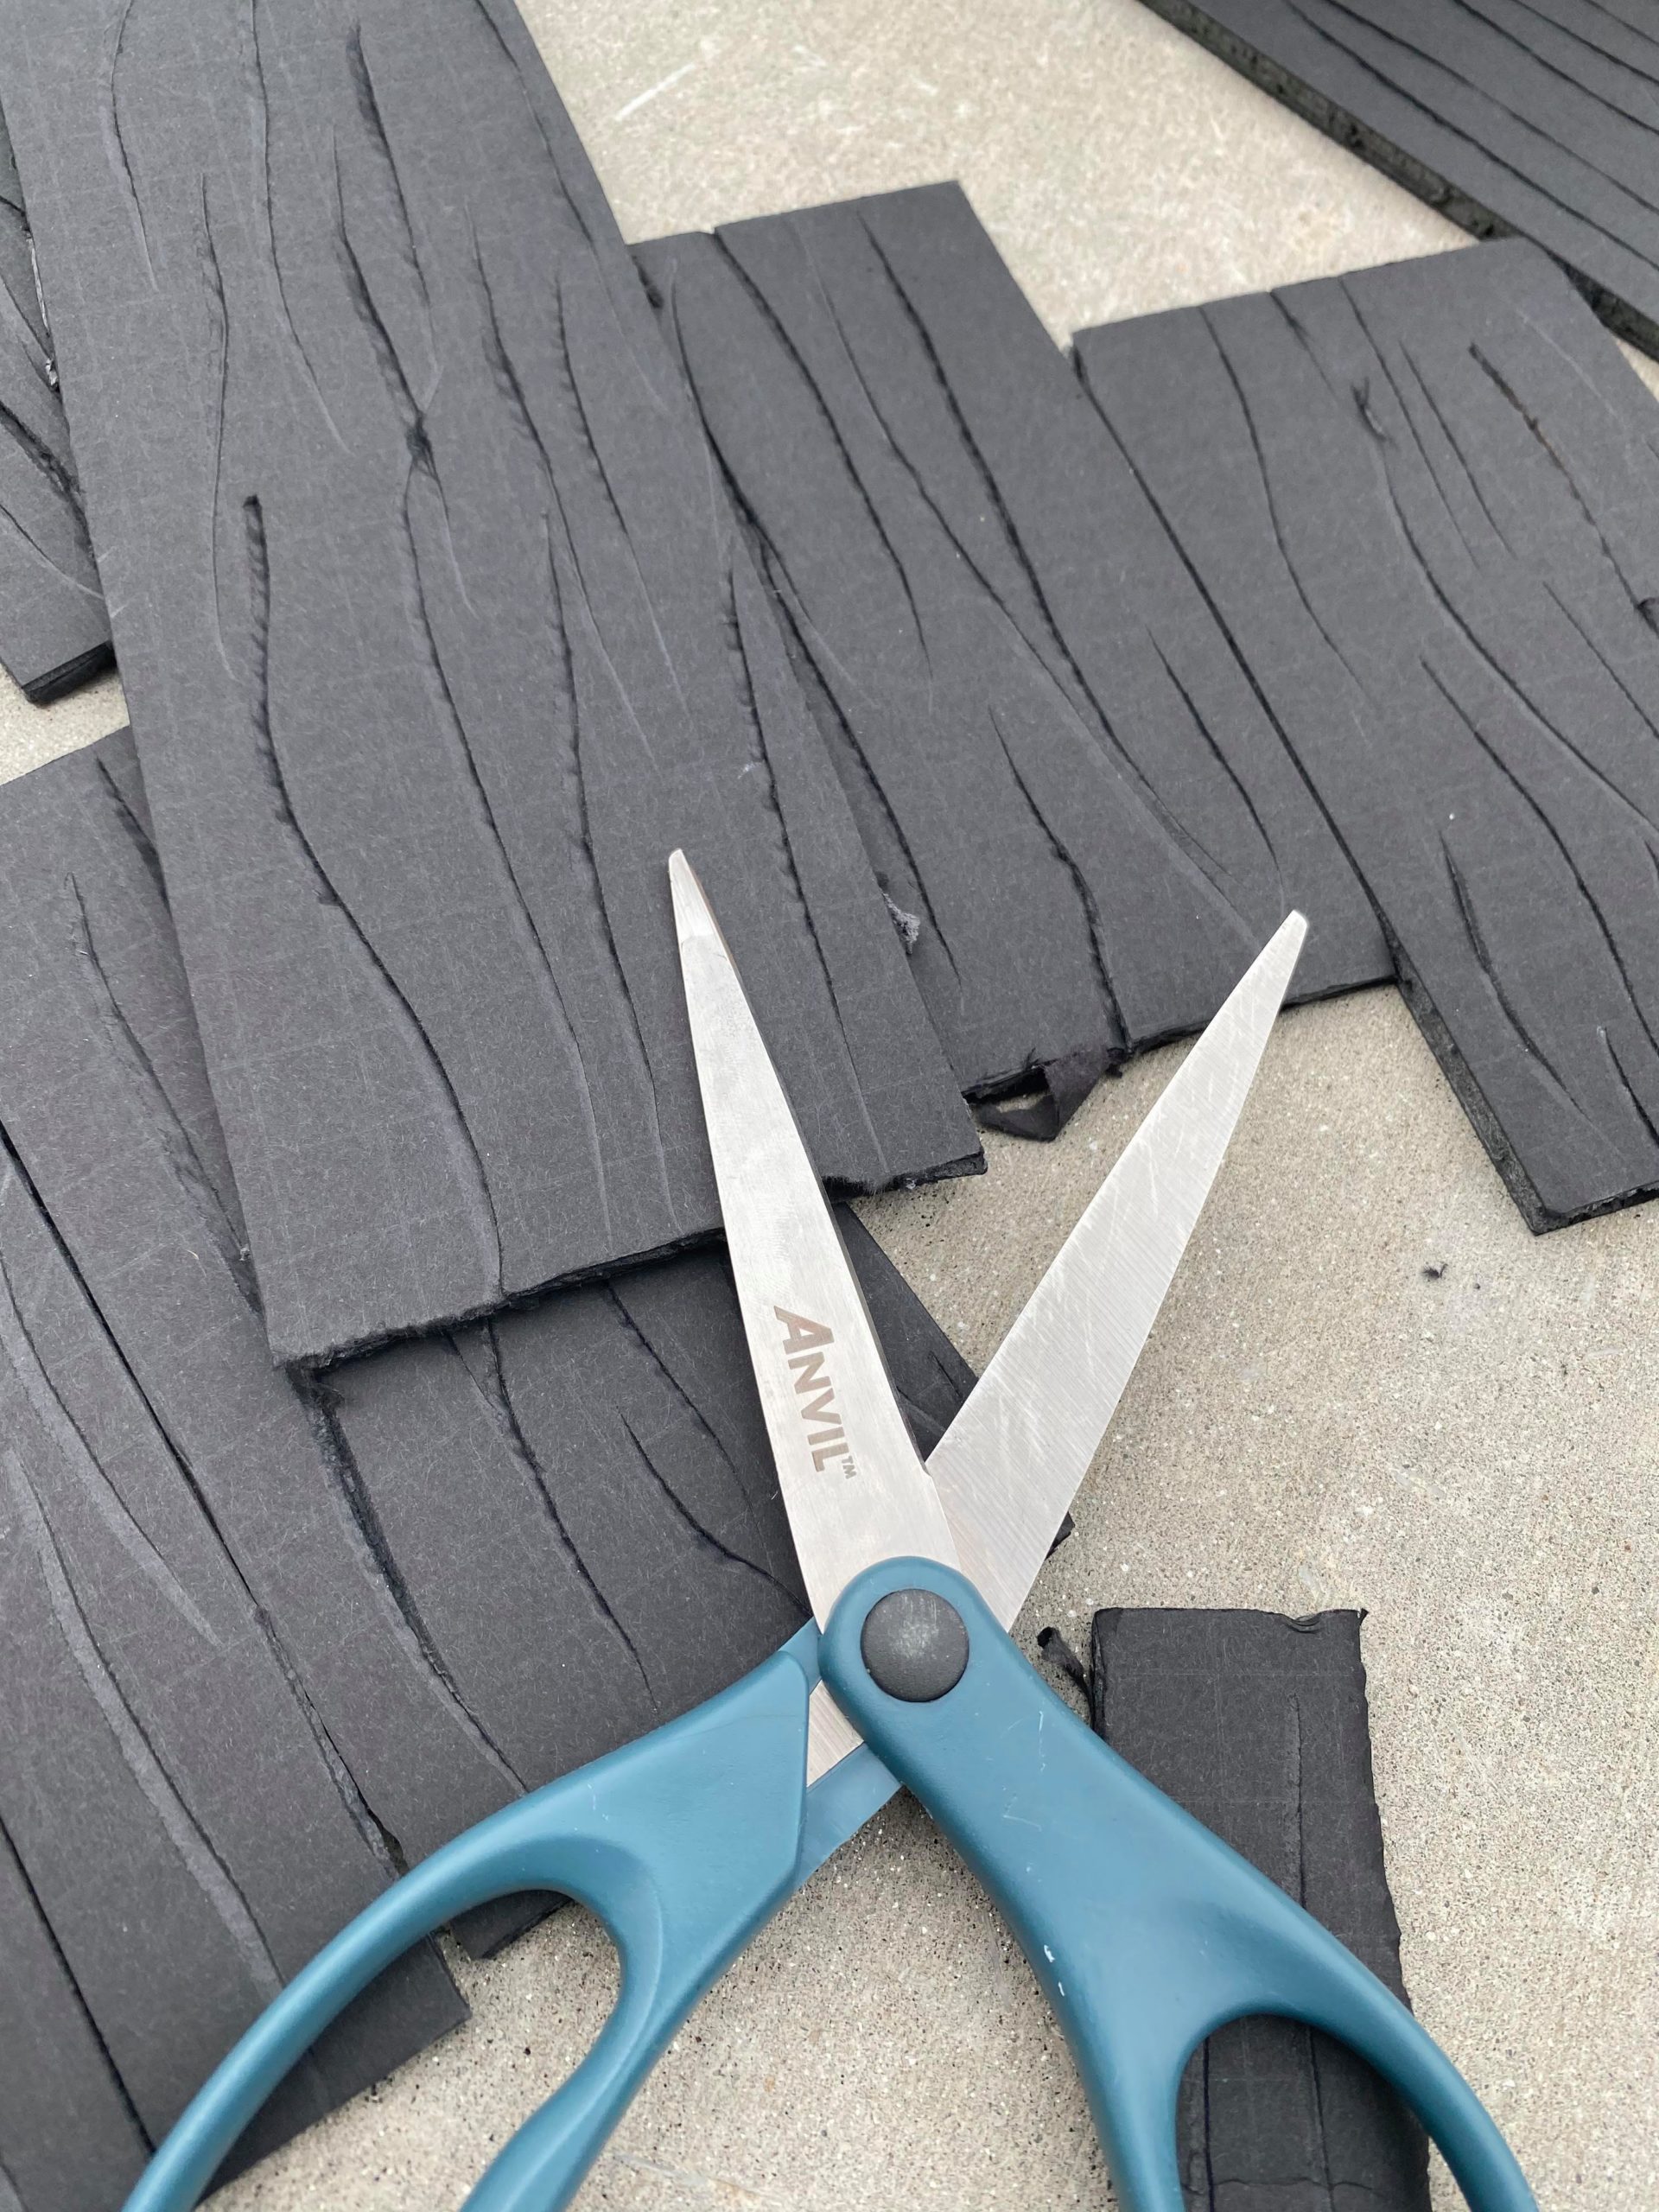
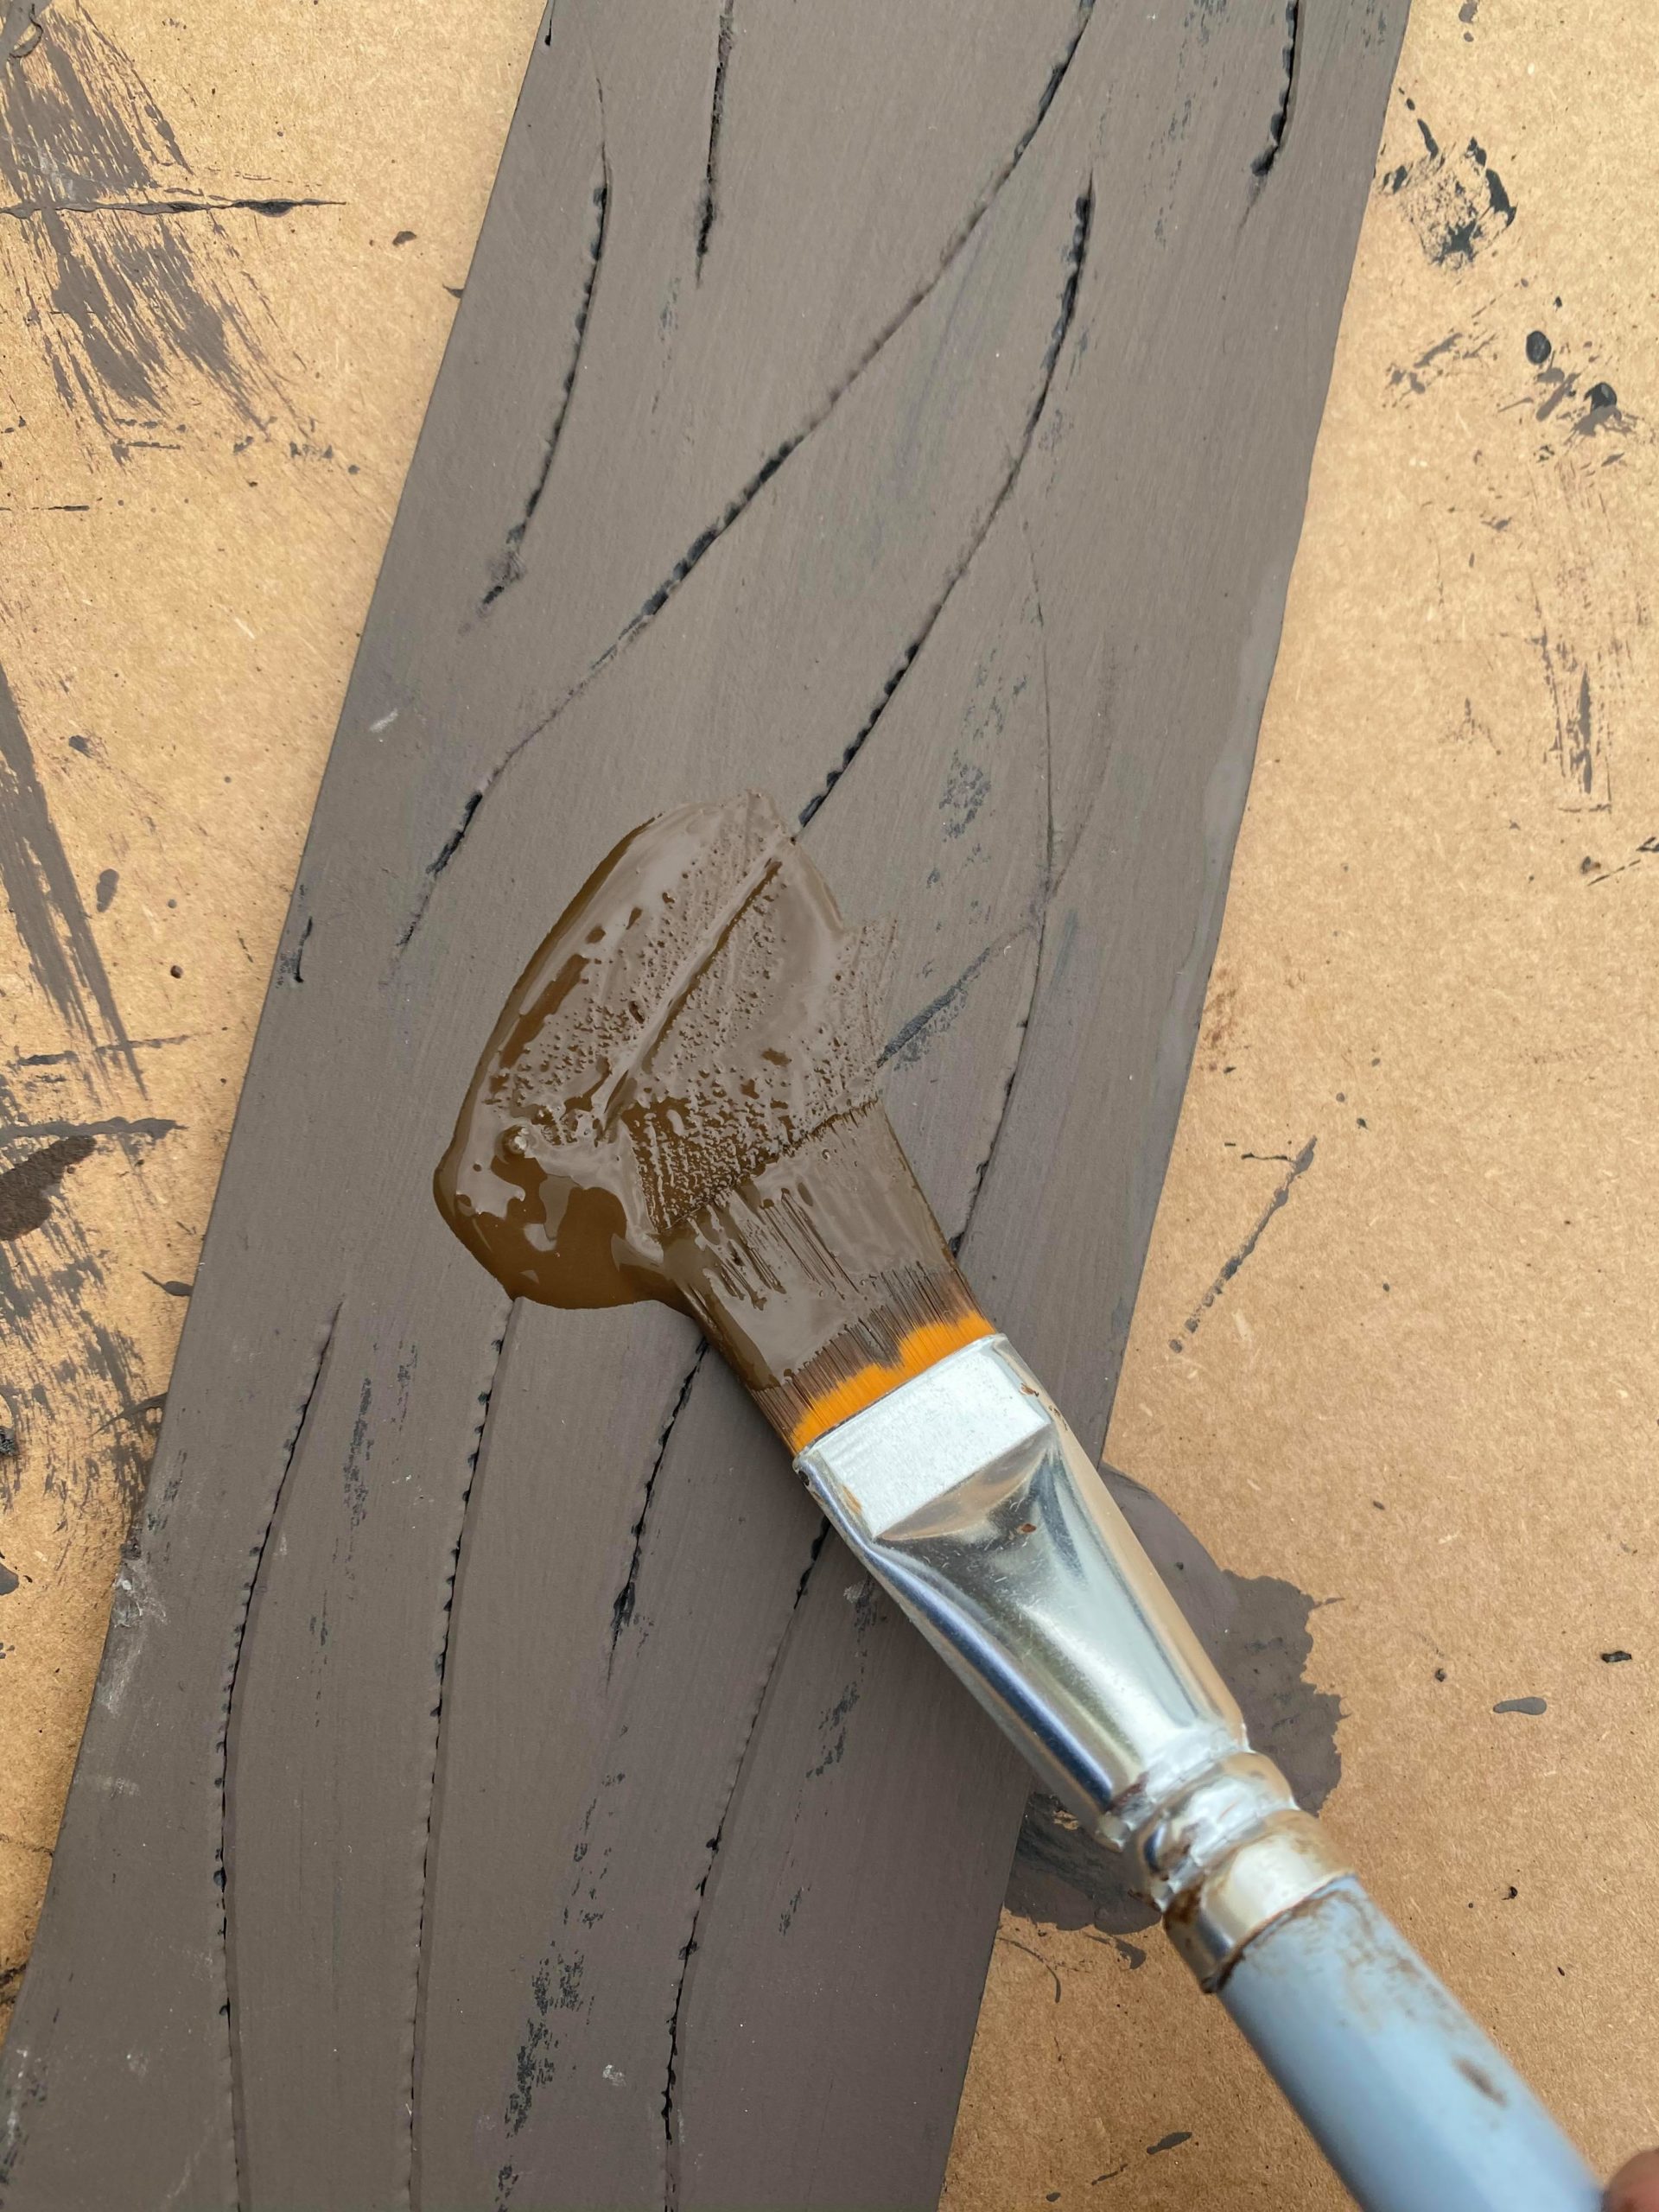
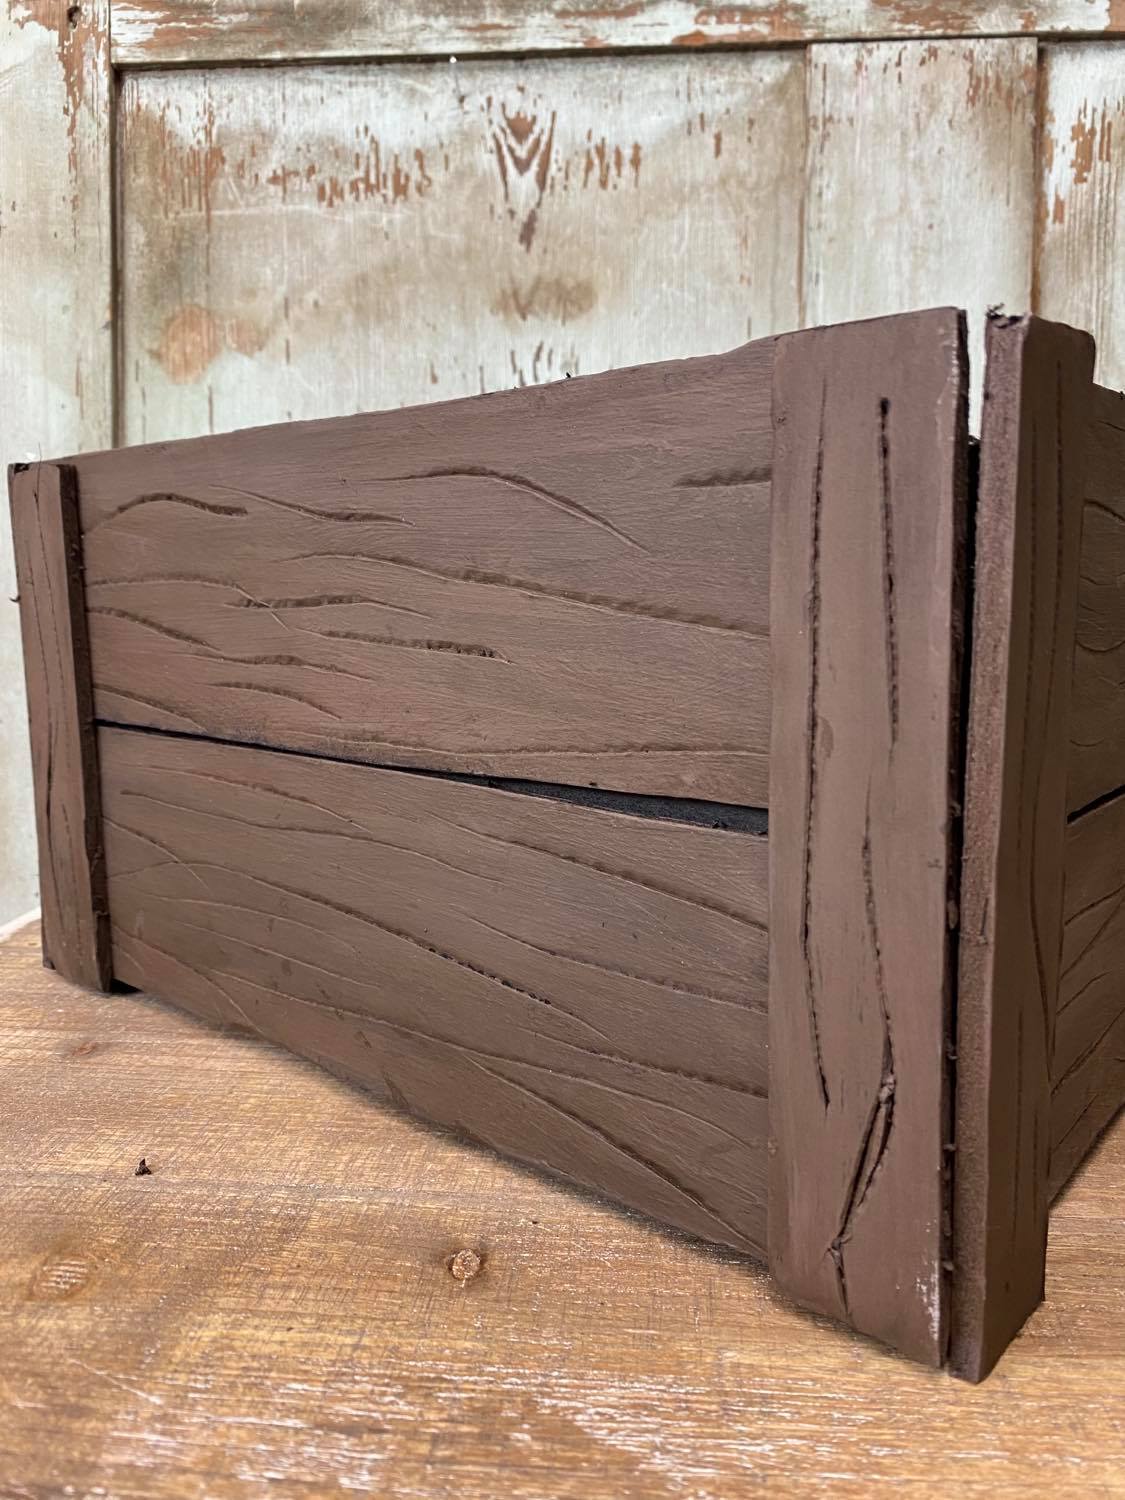
You now need to get creative and use the scissors to create the look of wood grain into the foam board. I used the end of the scissors and just pushed into the foam board and ran different lines across the foam board.
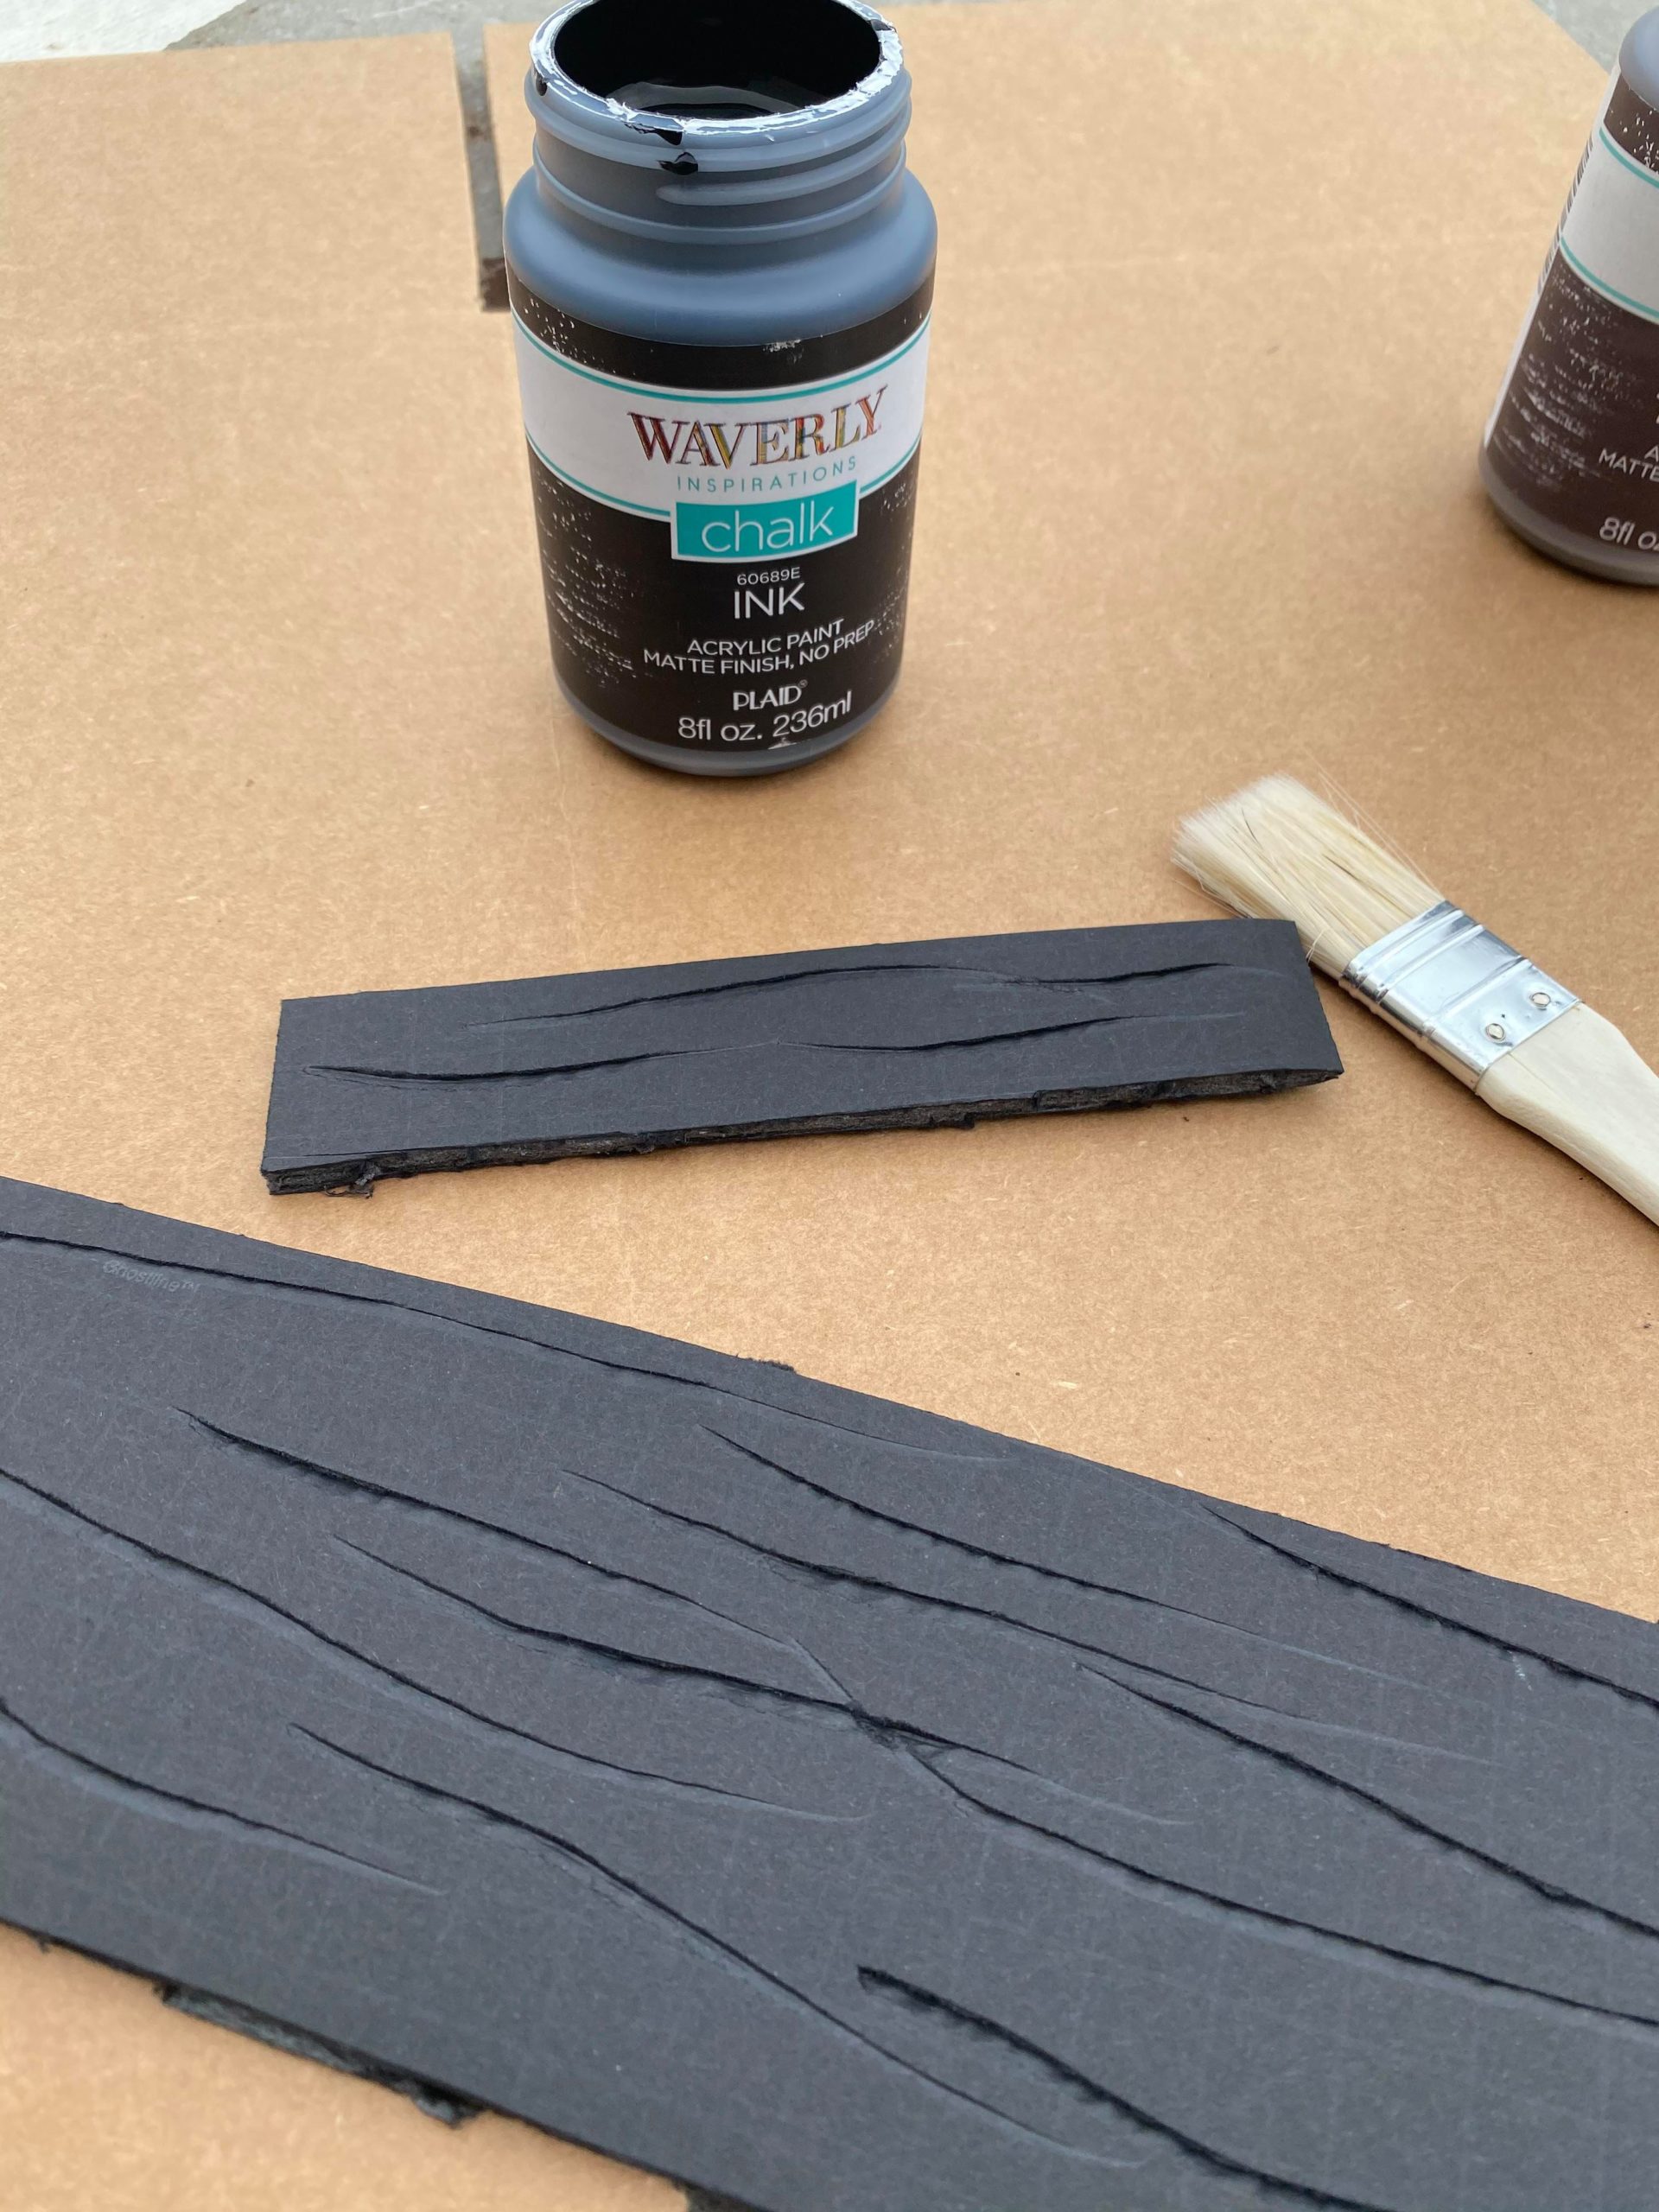
I added a coat of the ink chalk paint to all of the pieces of foam board.
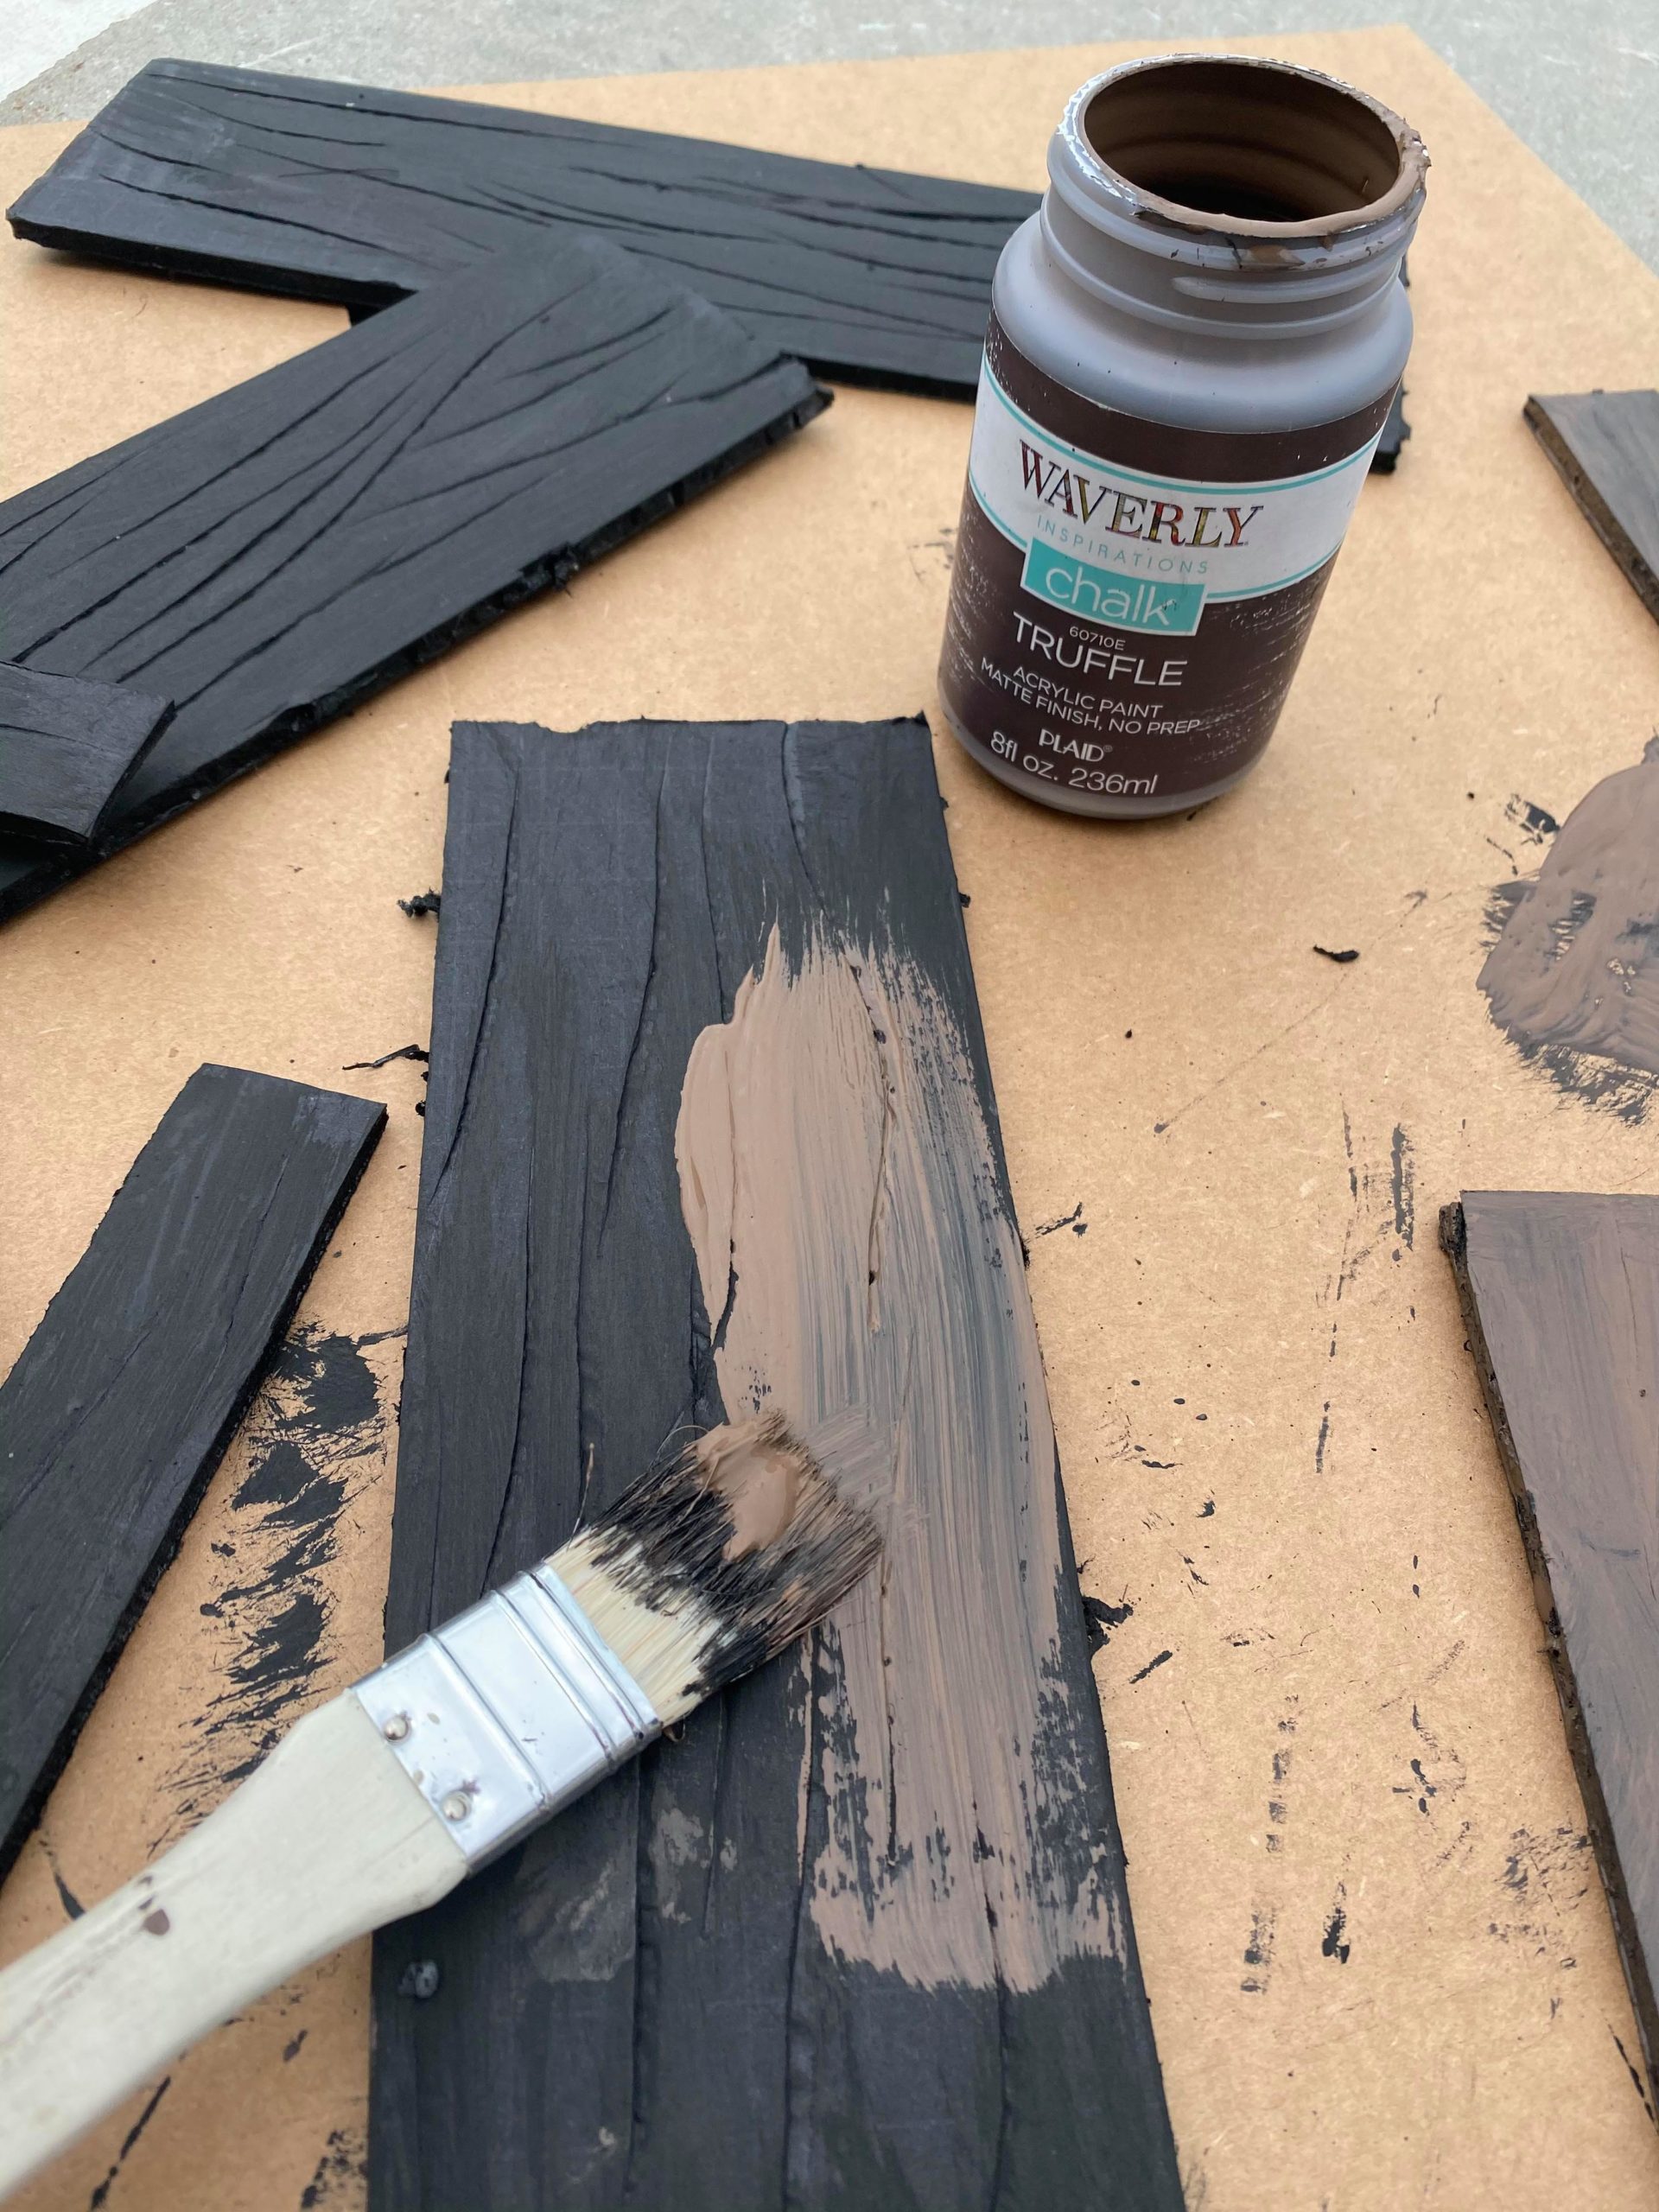
Once that was dry I then painted the truffle chalk paint over all of the pieces.
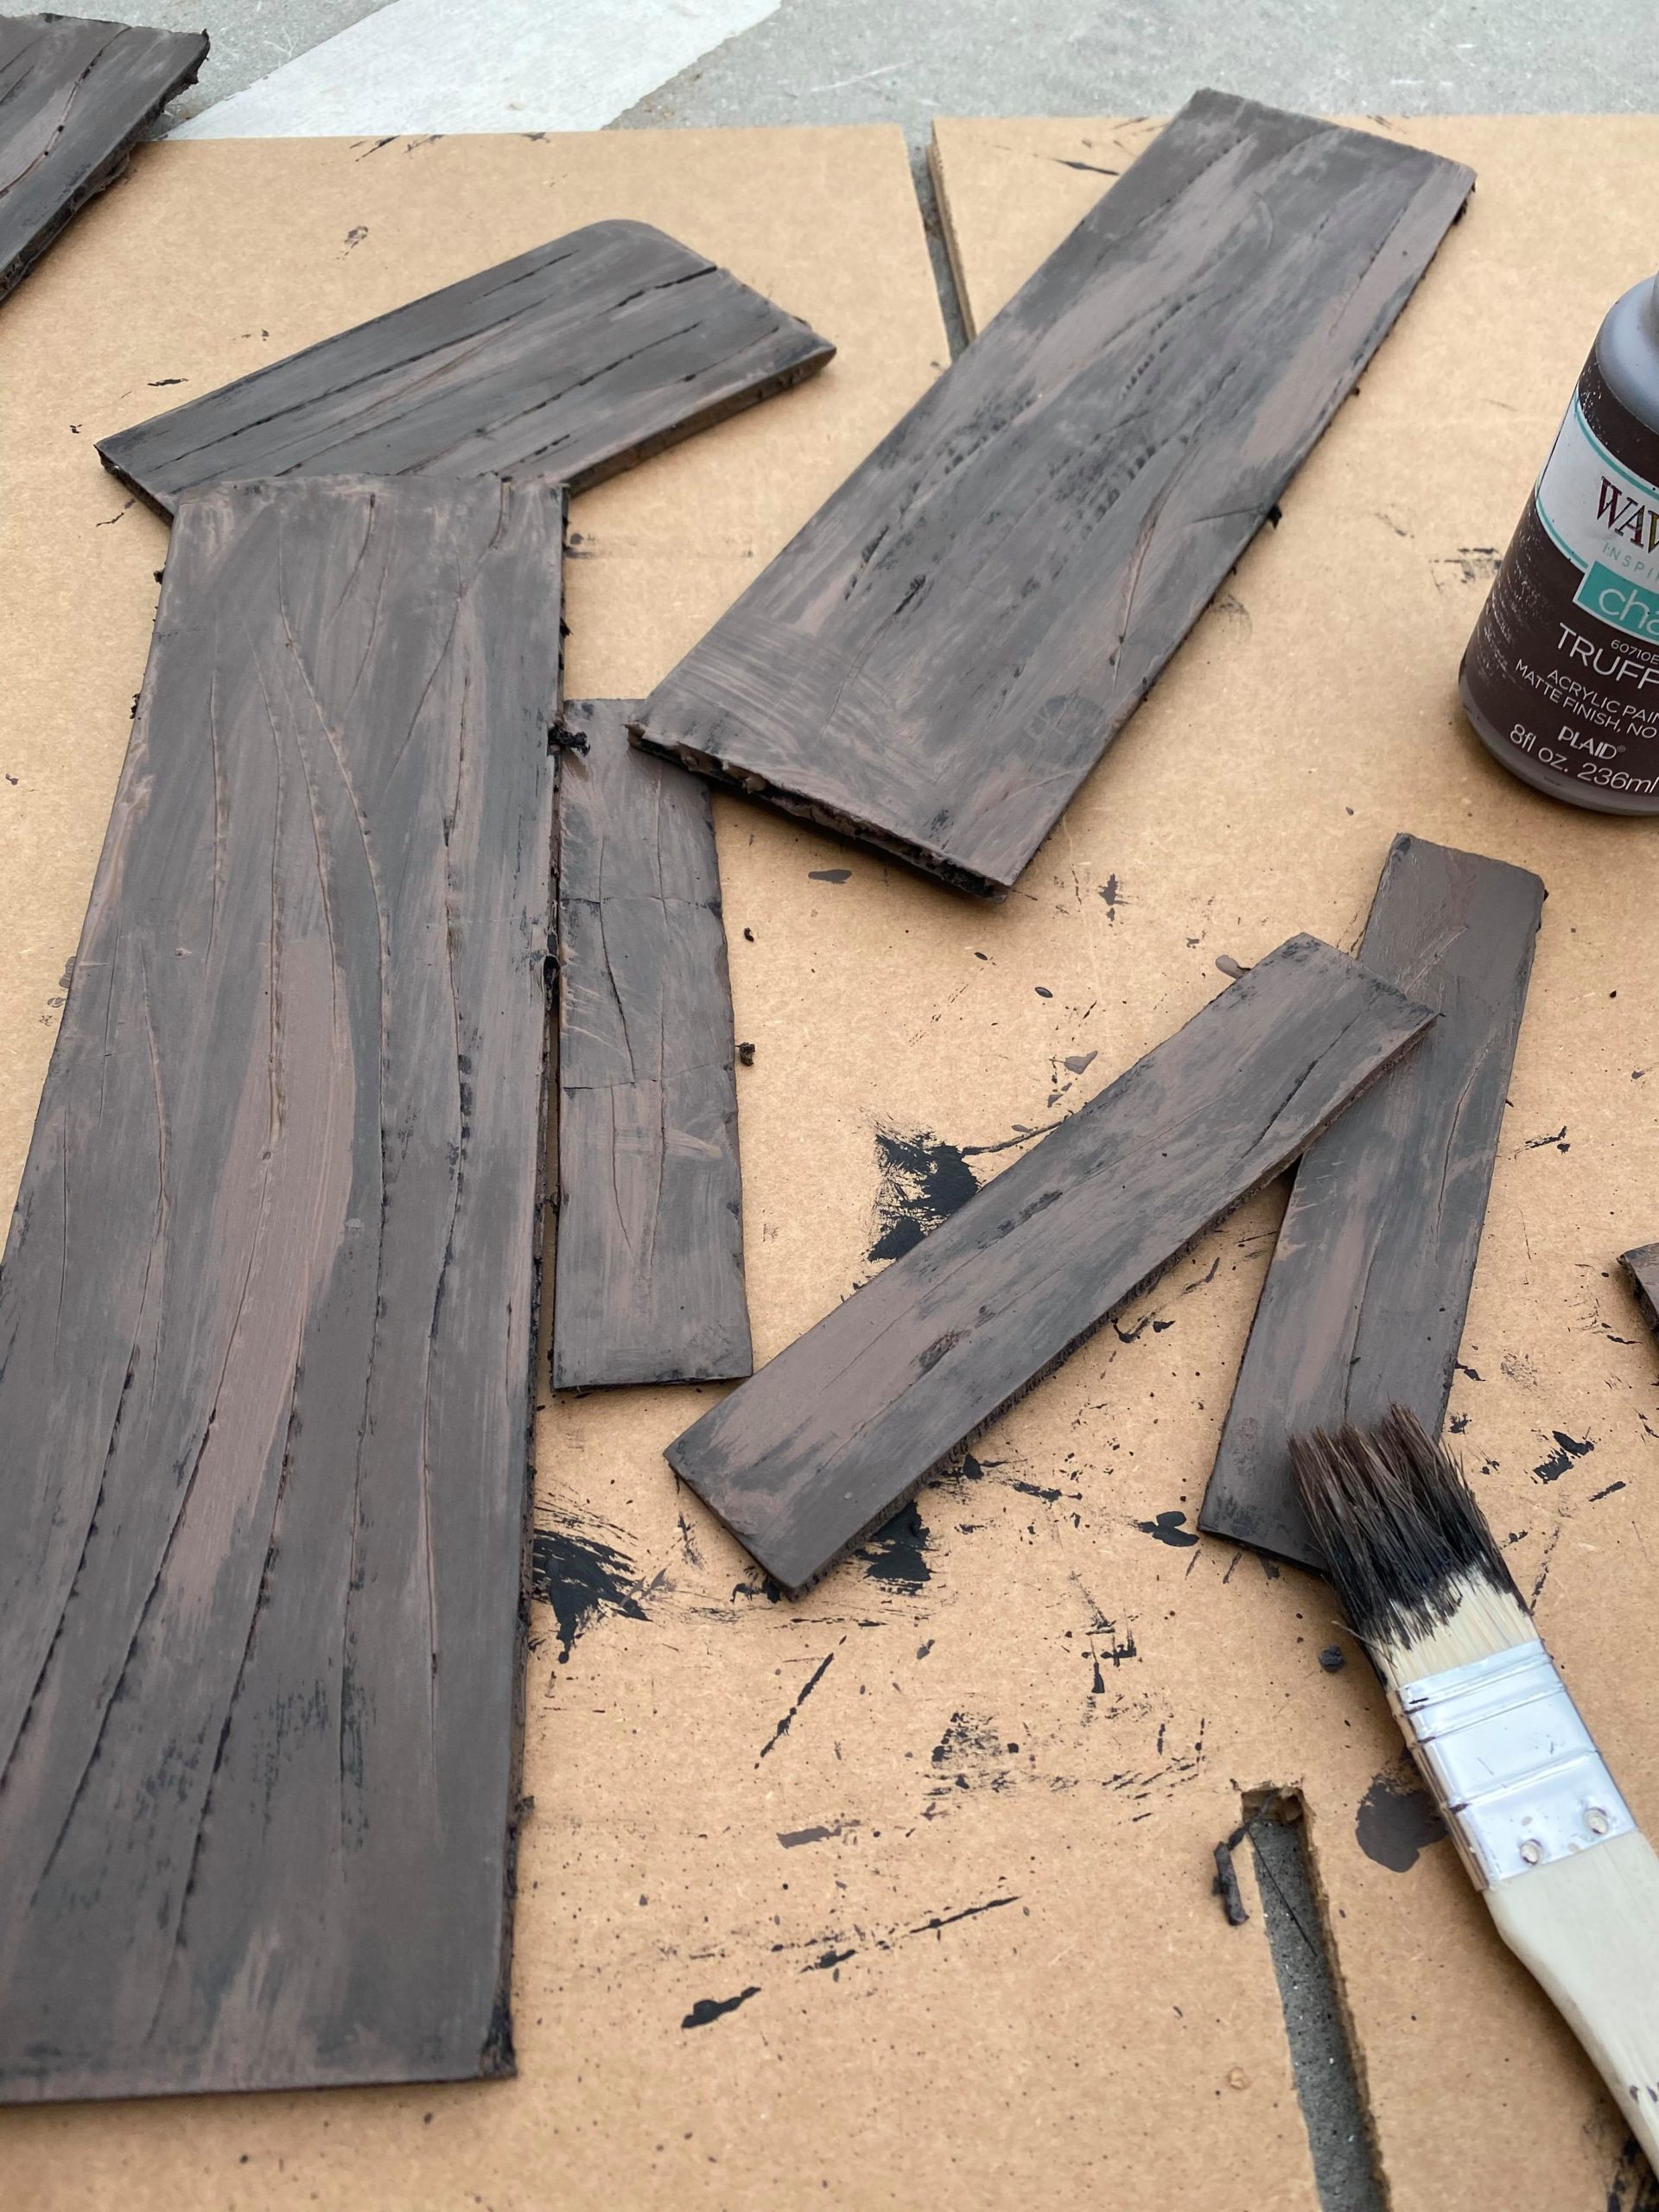
Once the truffle paint was dry I then added the antique wax.
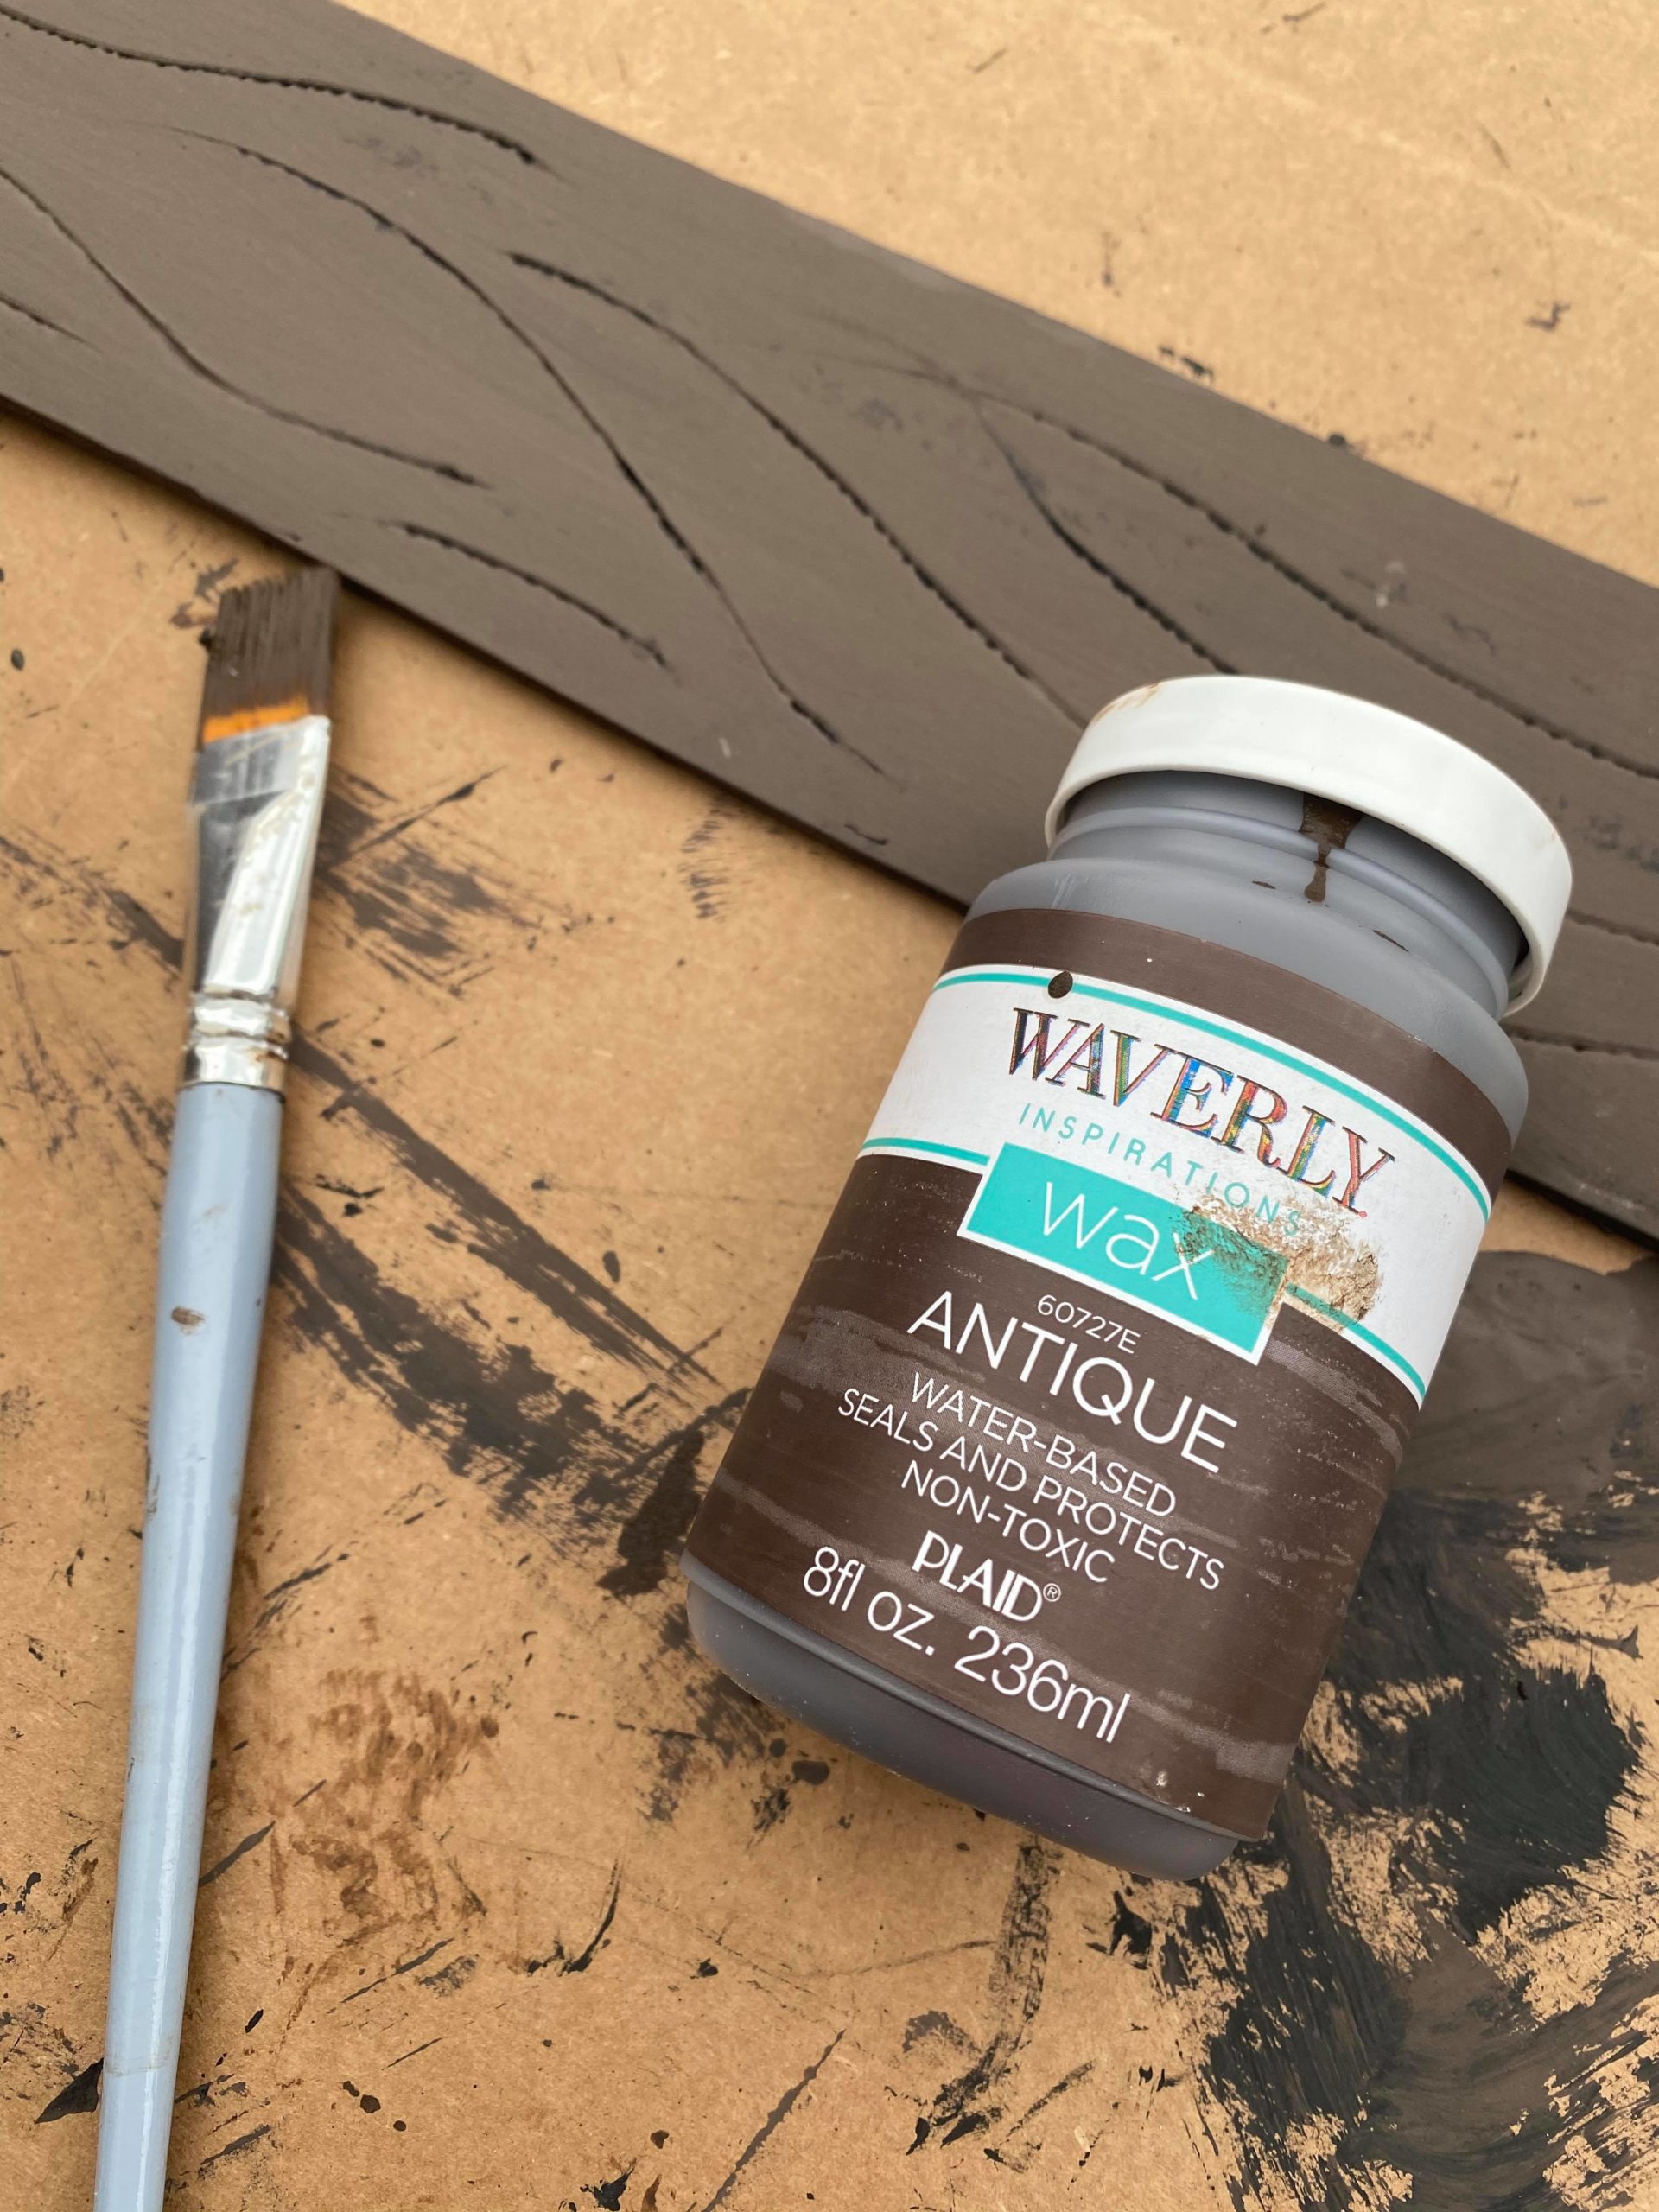
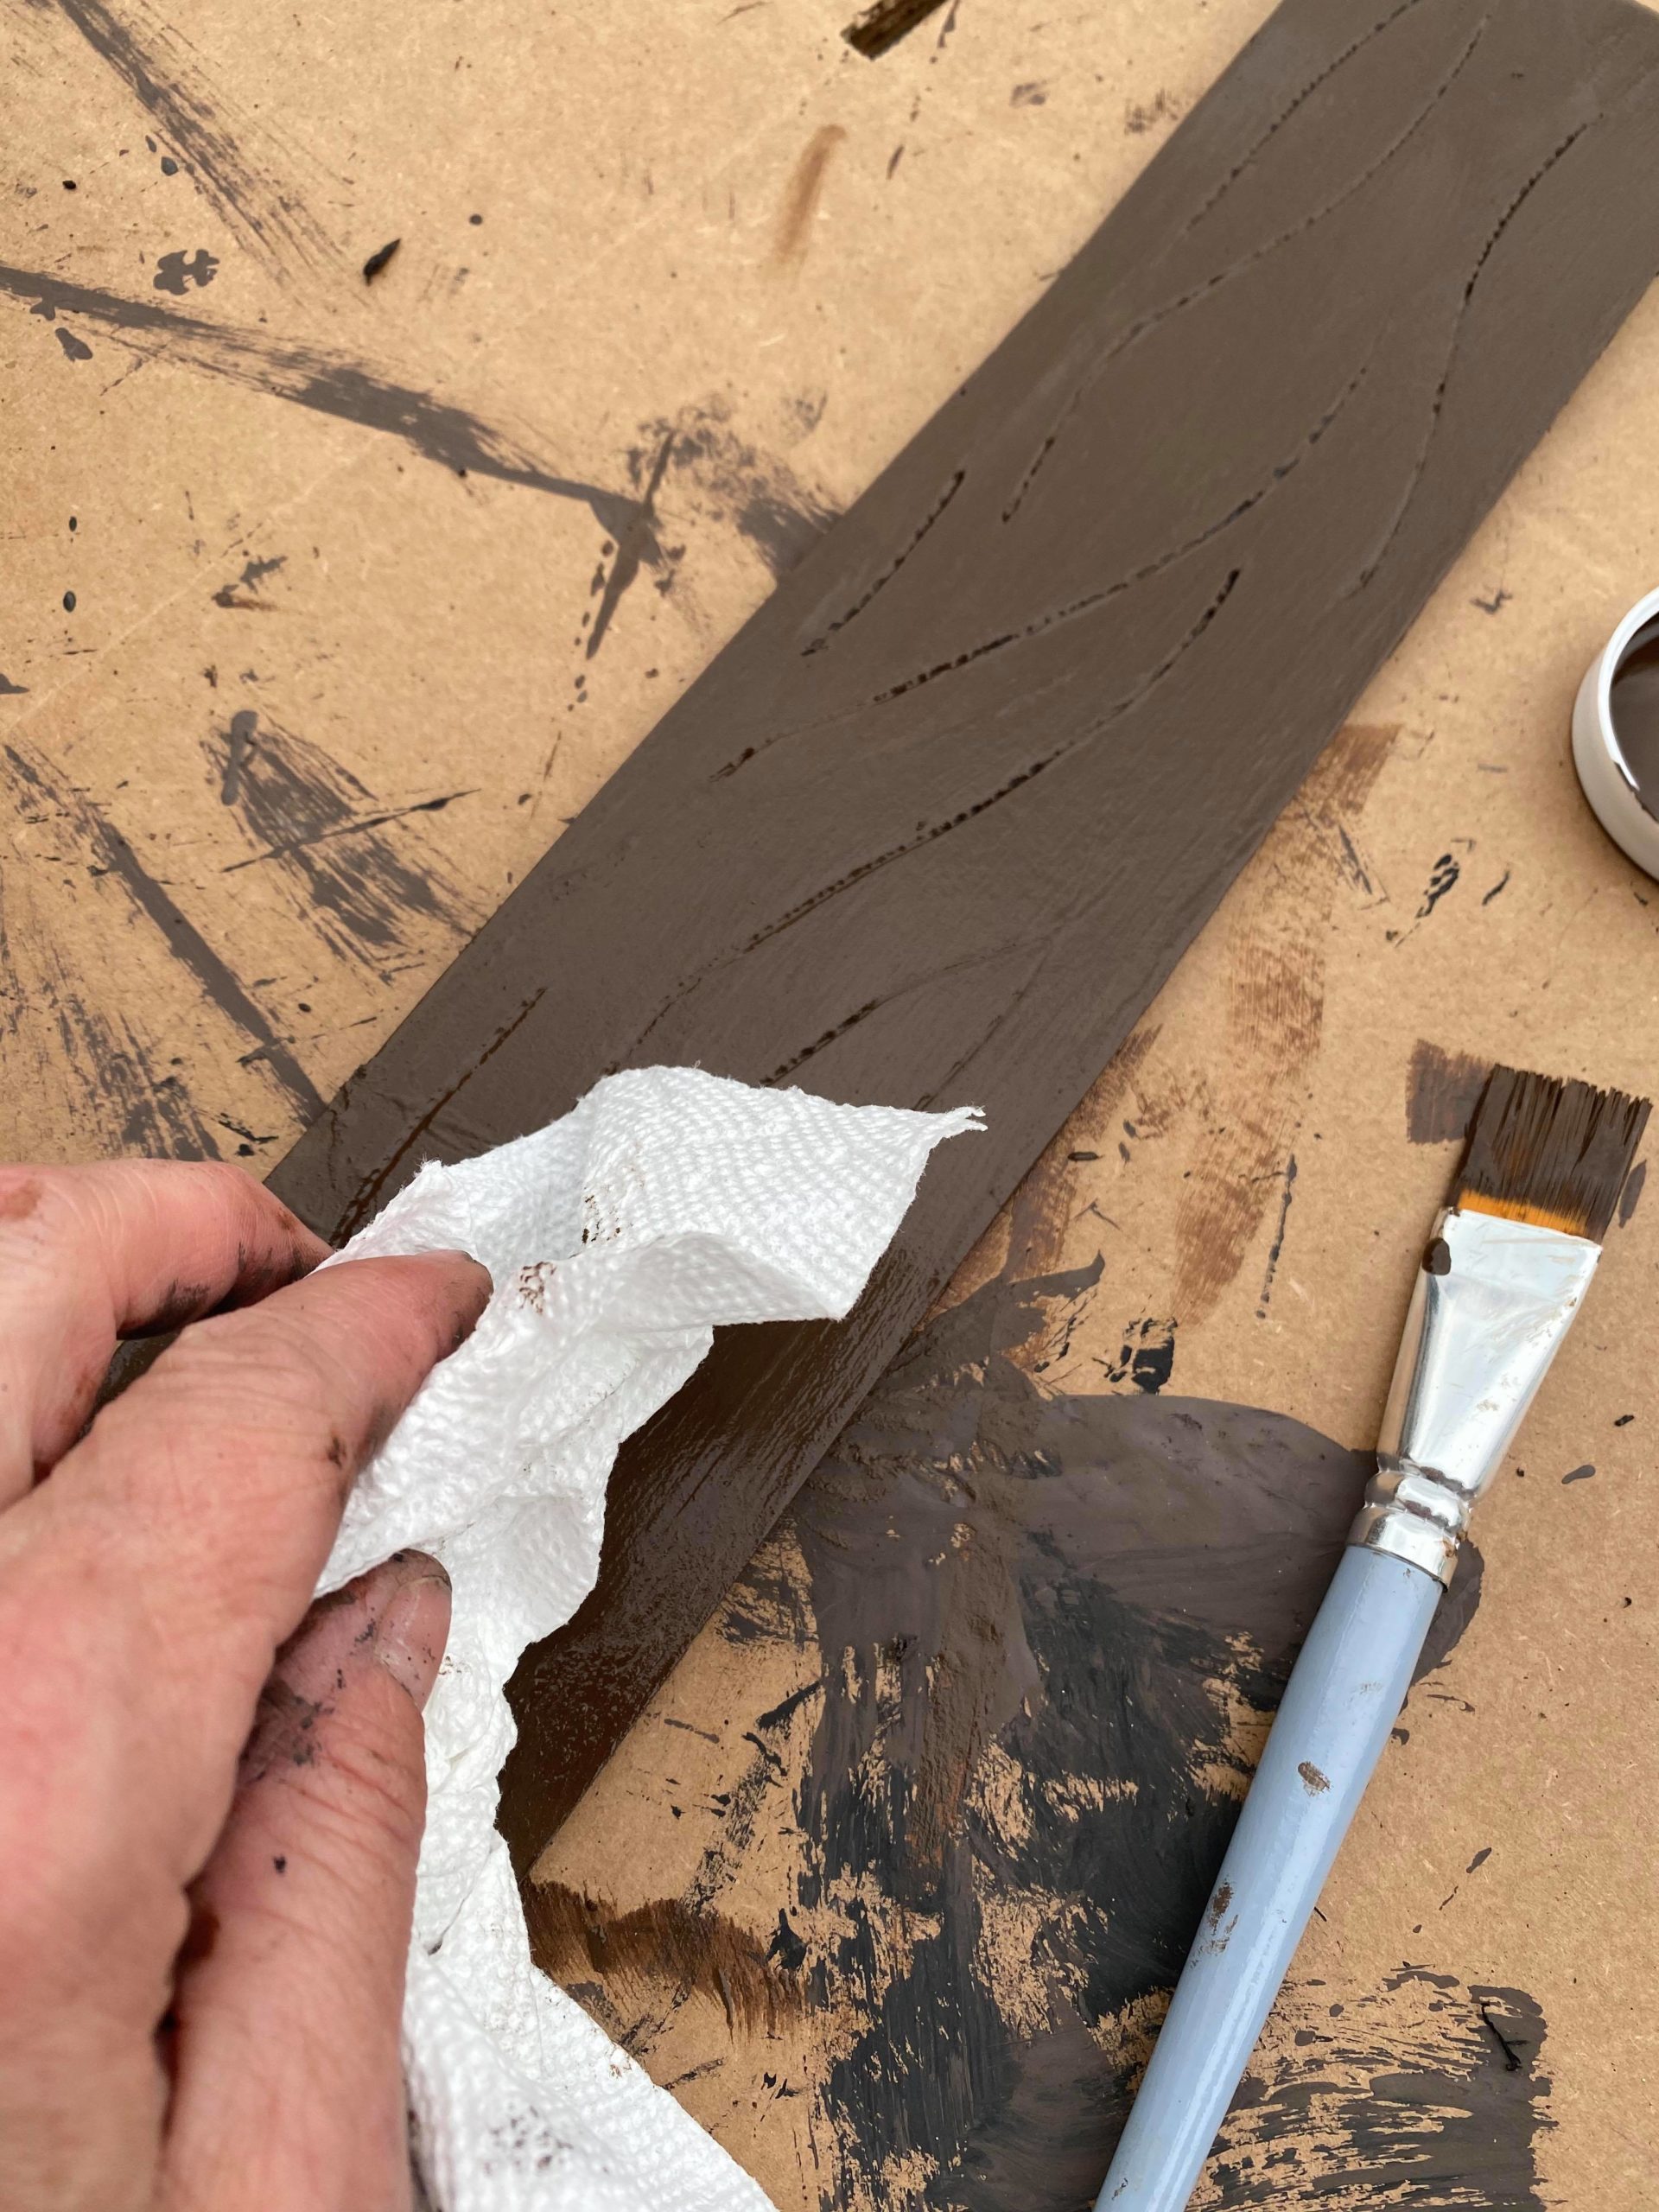
You can wipe some of the antique wax off as you go.

I used the sanding sponge to sand off any strands of paper that was hanging.
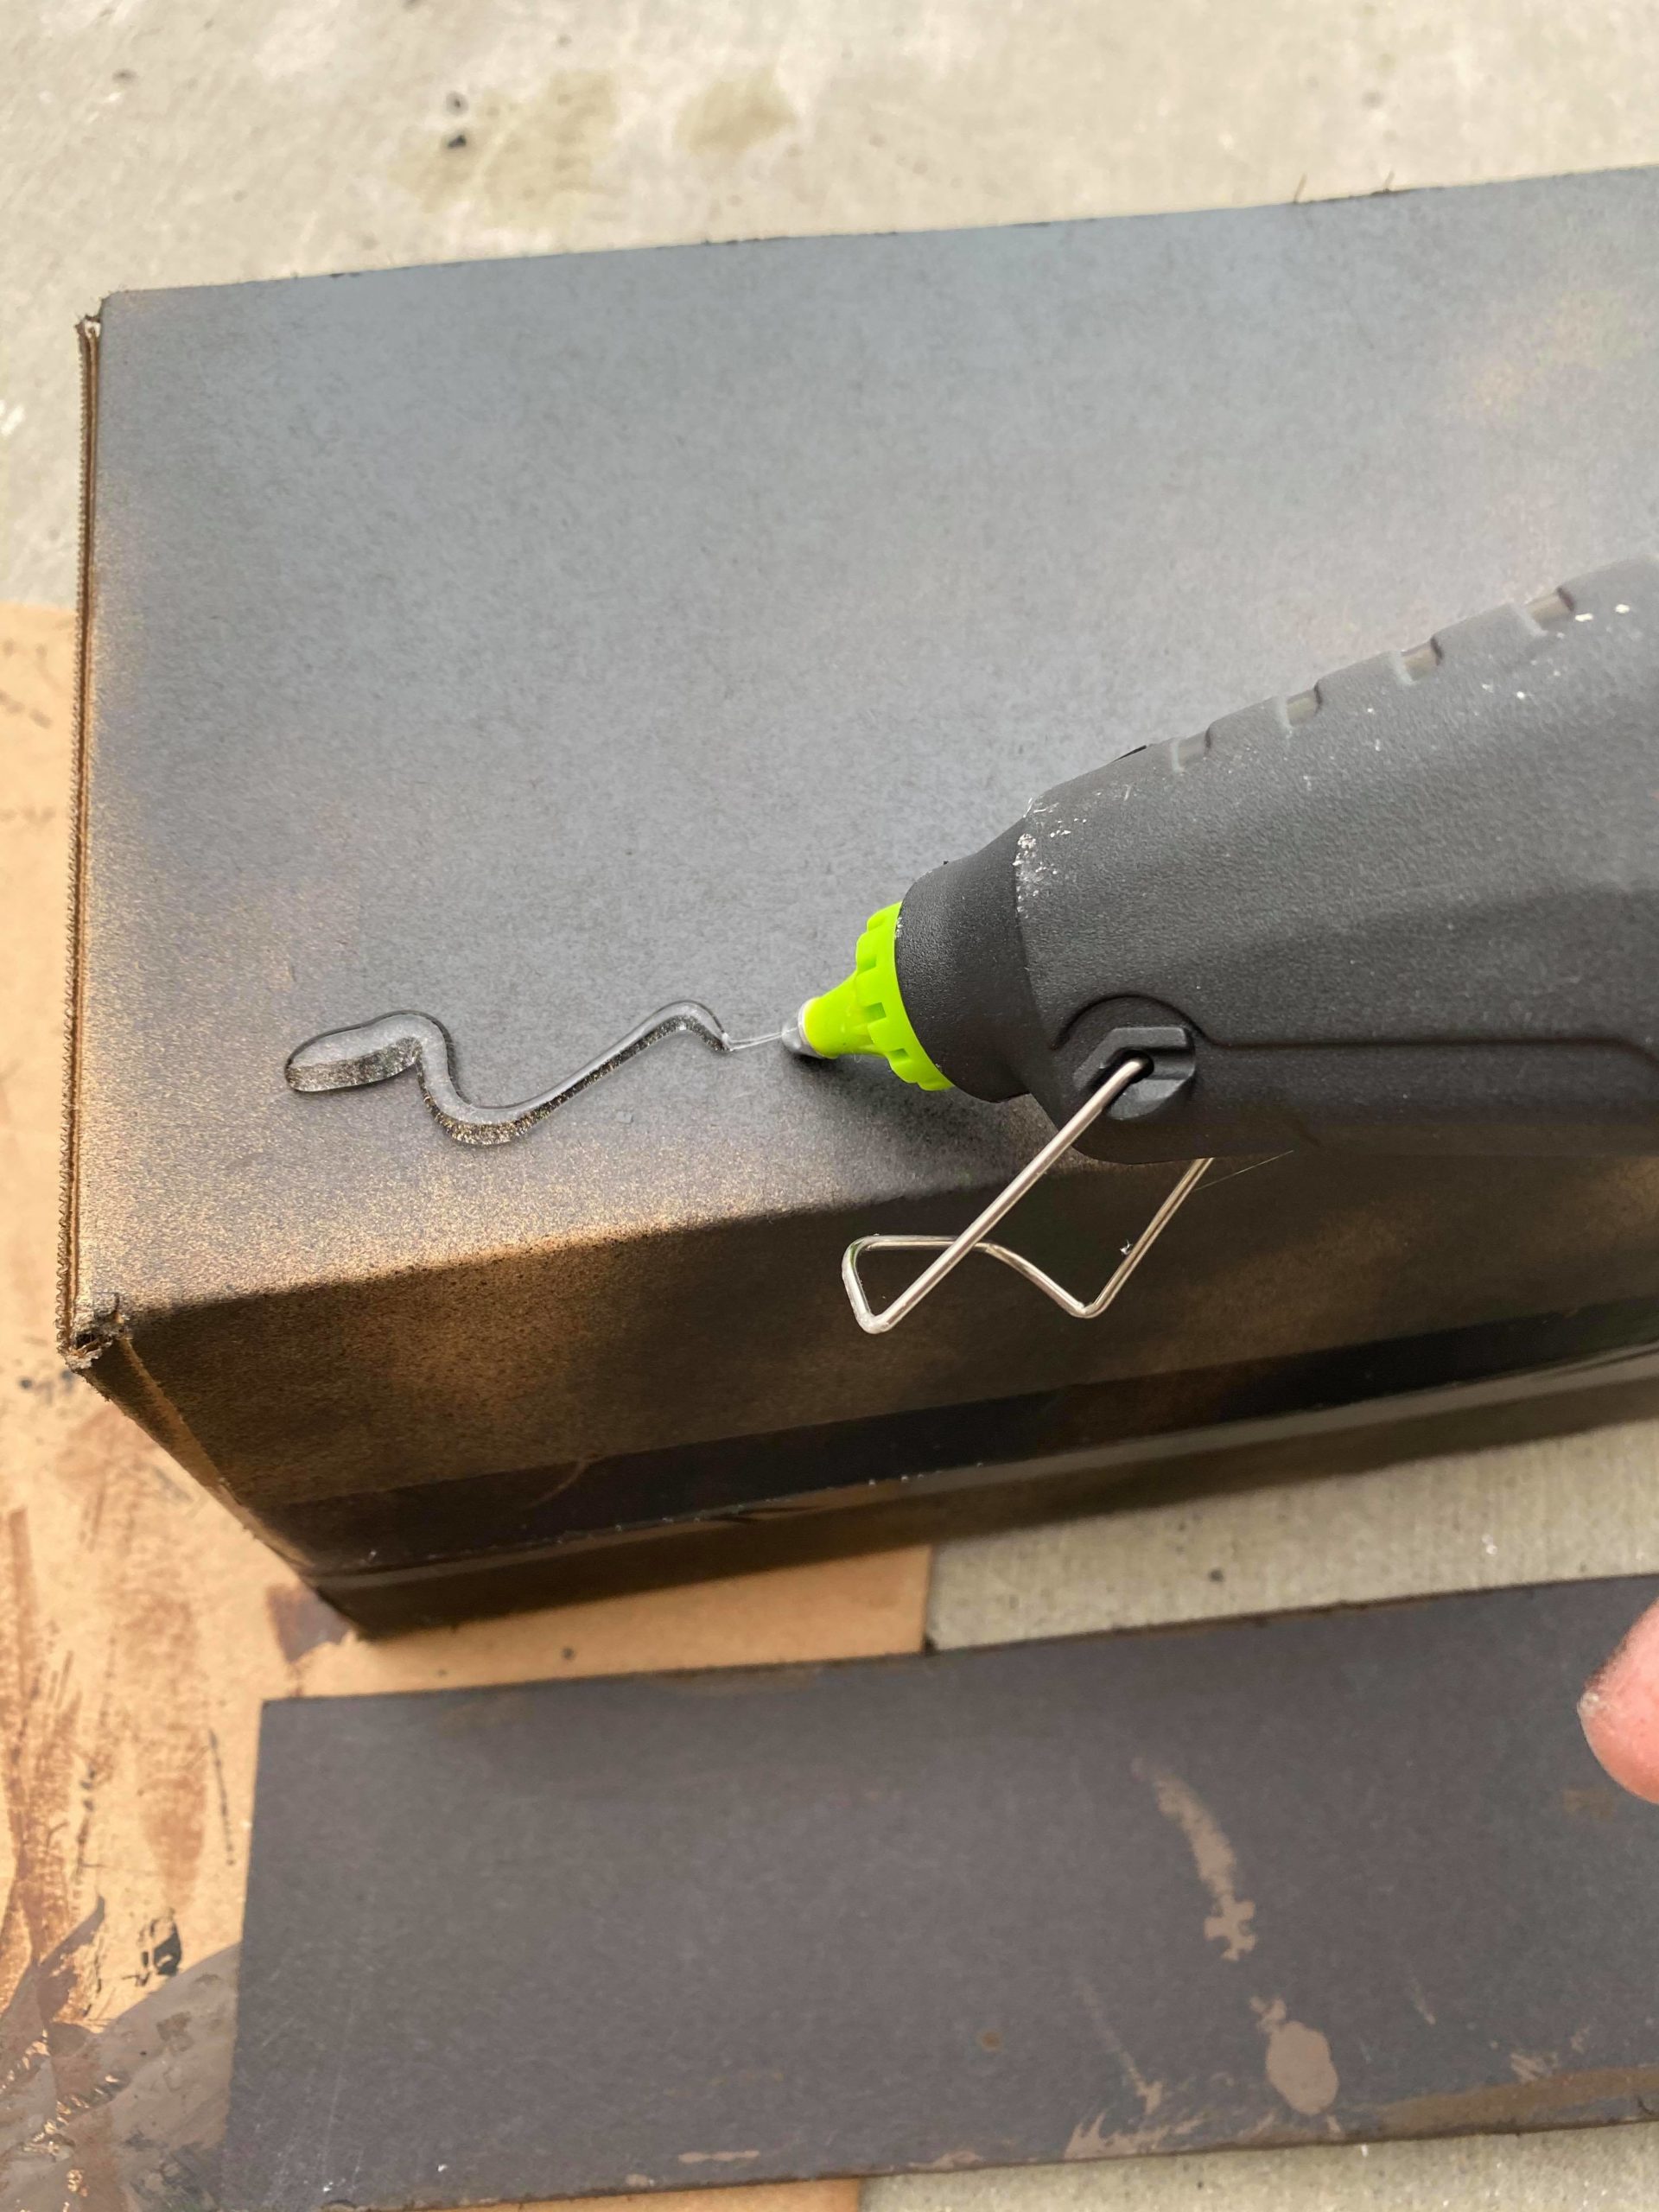
It is now time to glue your foam board pieces onto the box.
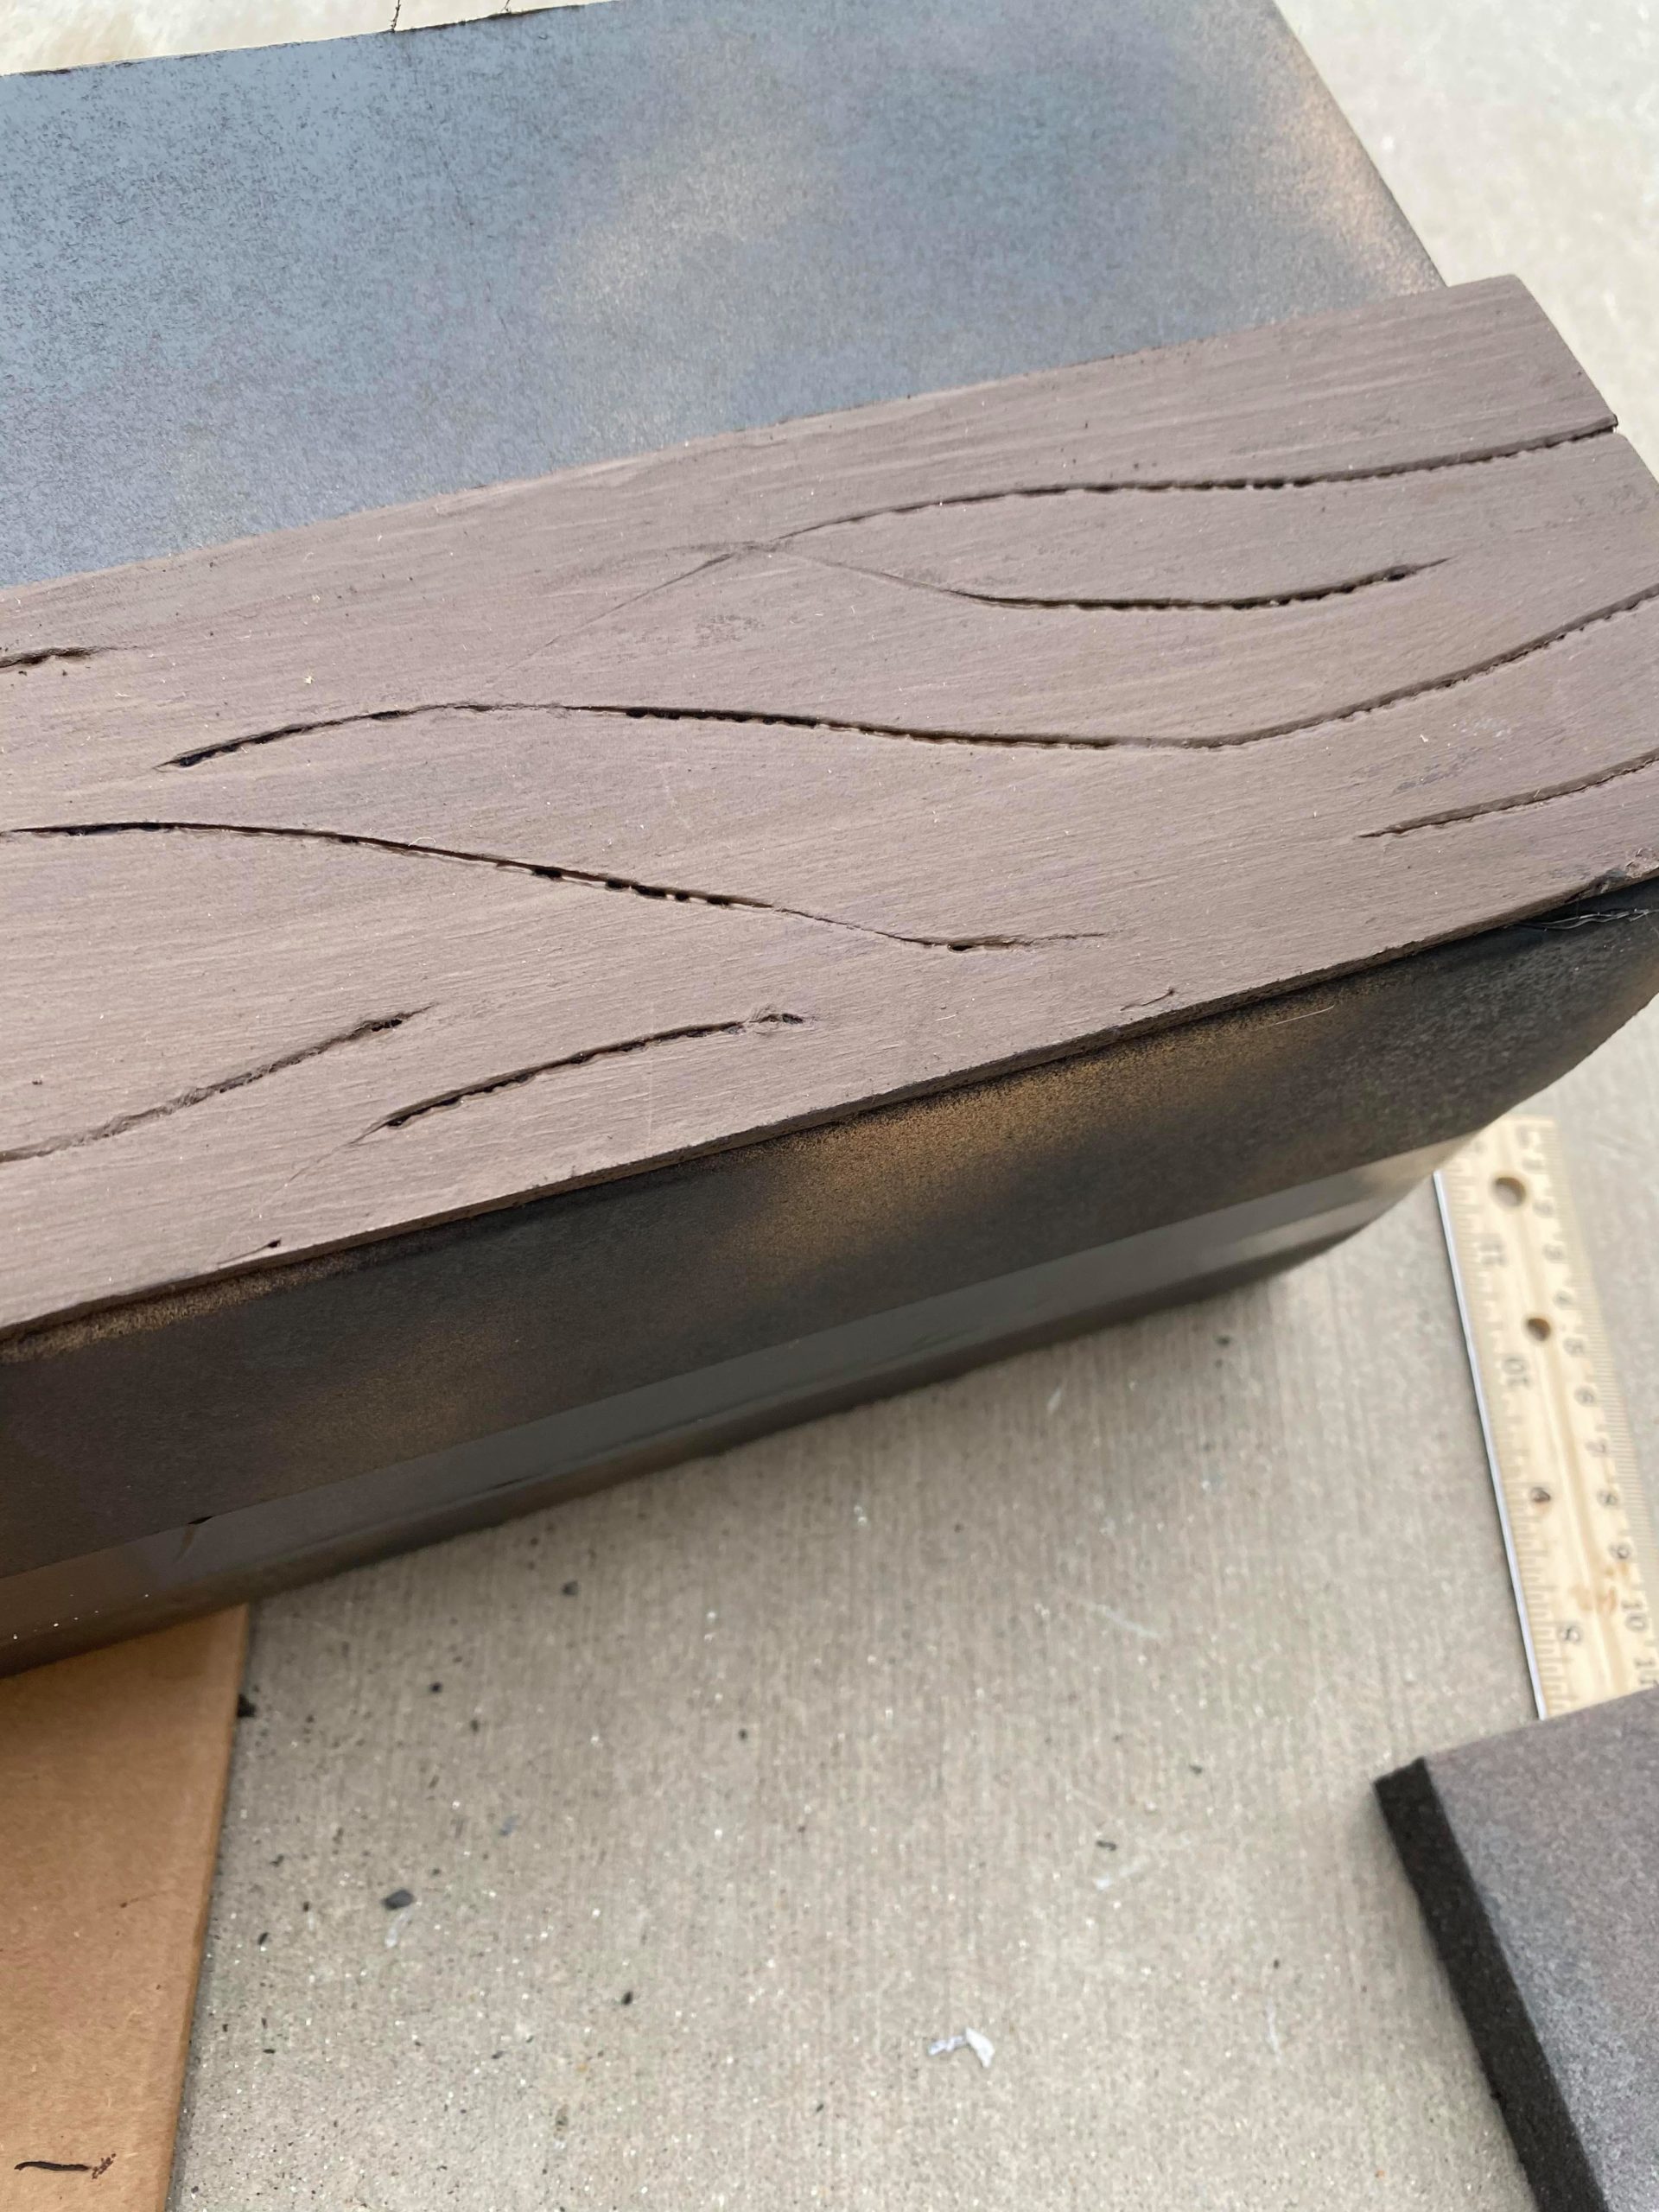
Once I had all the side pieces glued in place I then added the corner pieces.
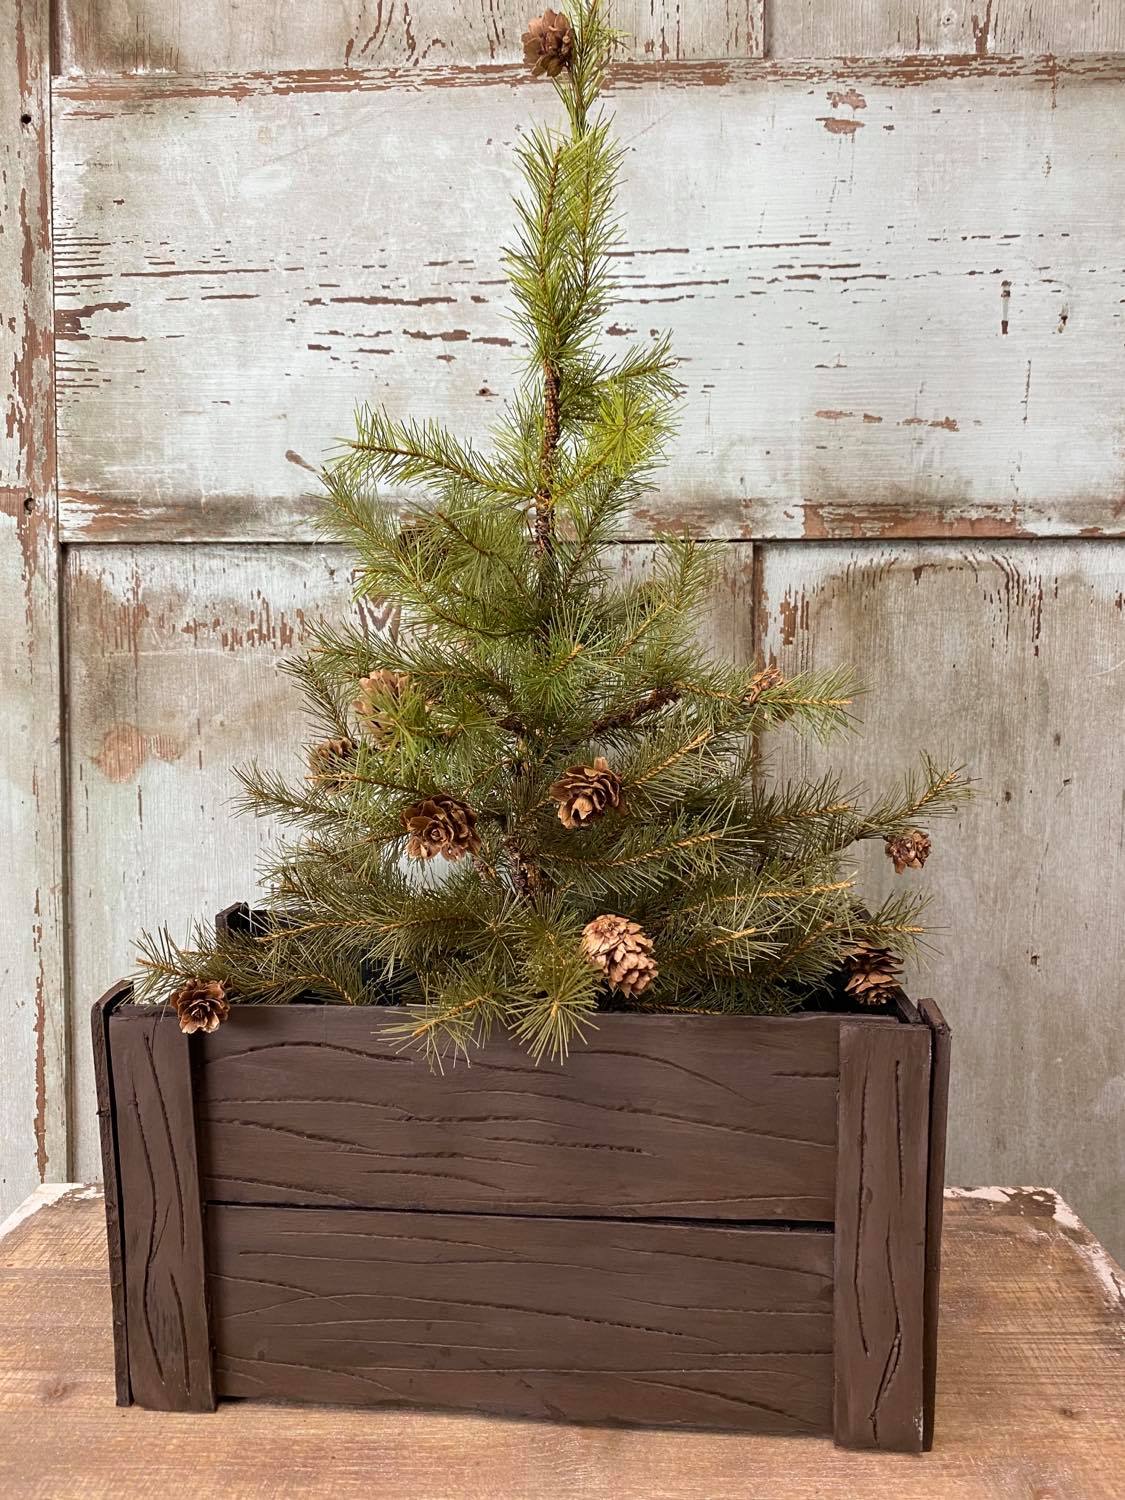
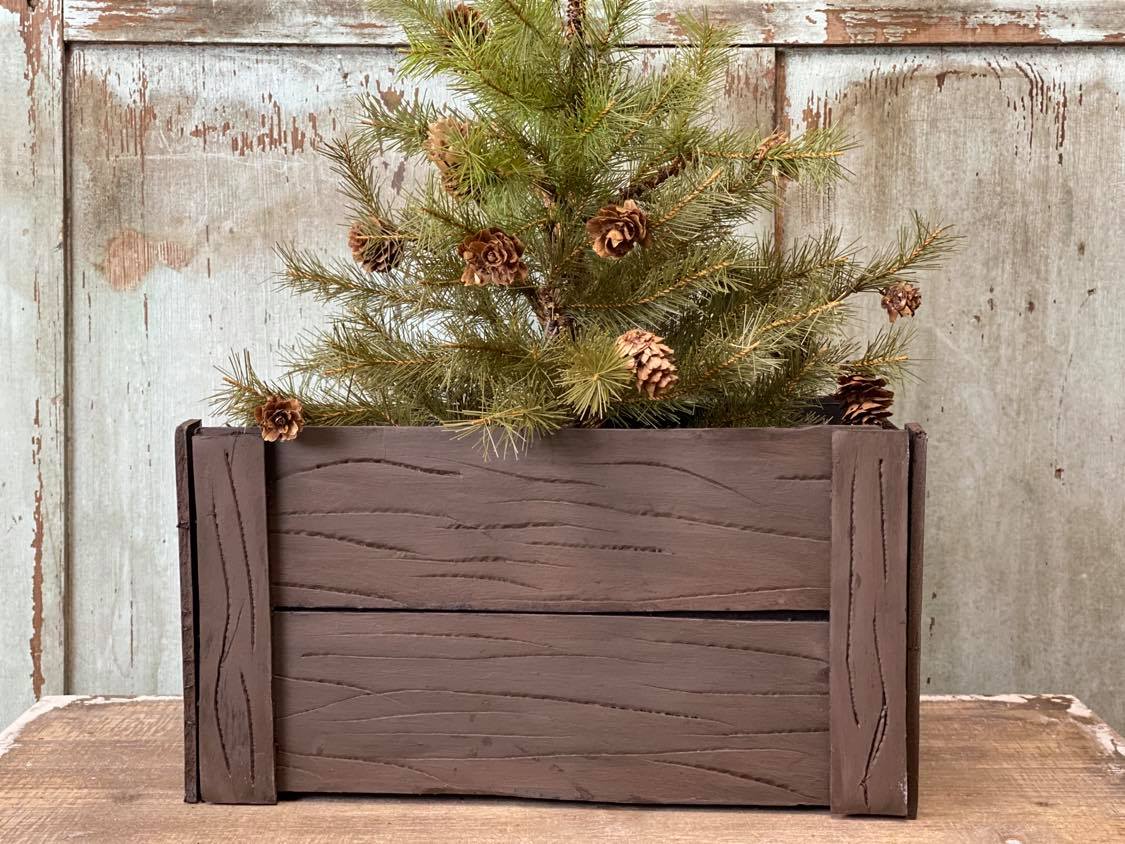
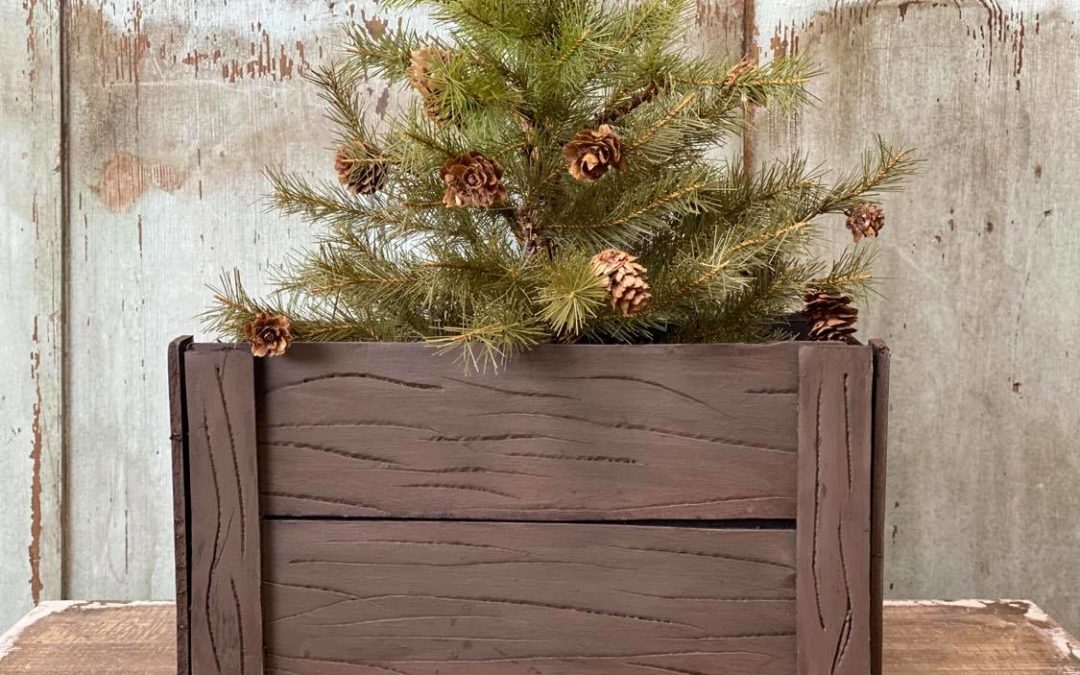
This is so easy to make and I just love how it turned out. You can get so creative with this and use these foam board pieces for so many things. I hope you will all have fun and give this a try.