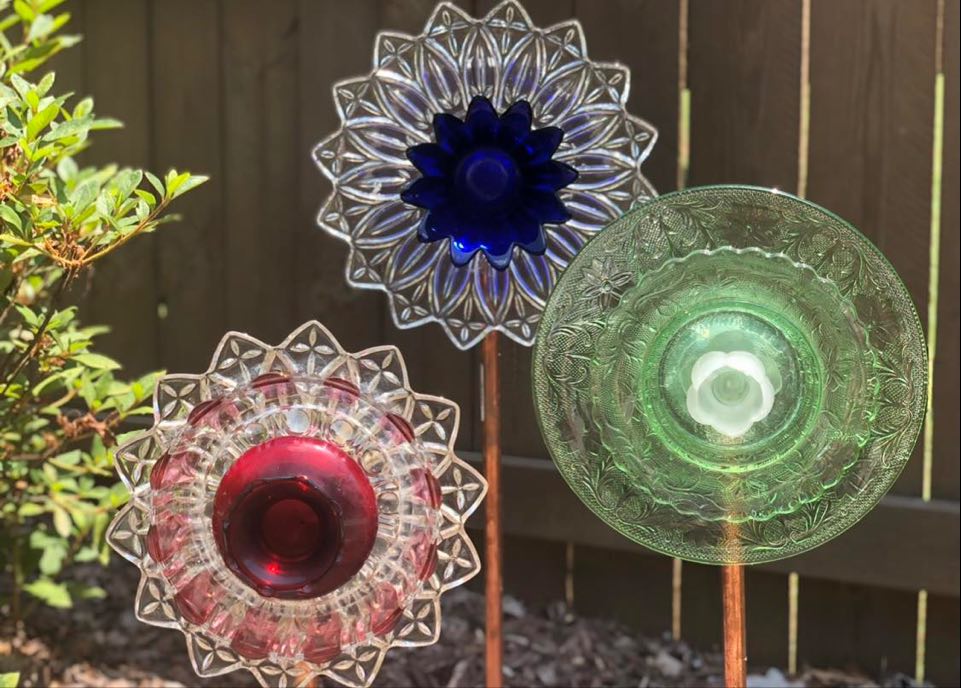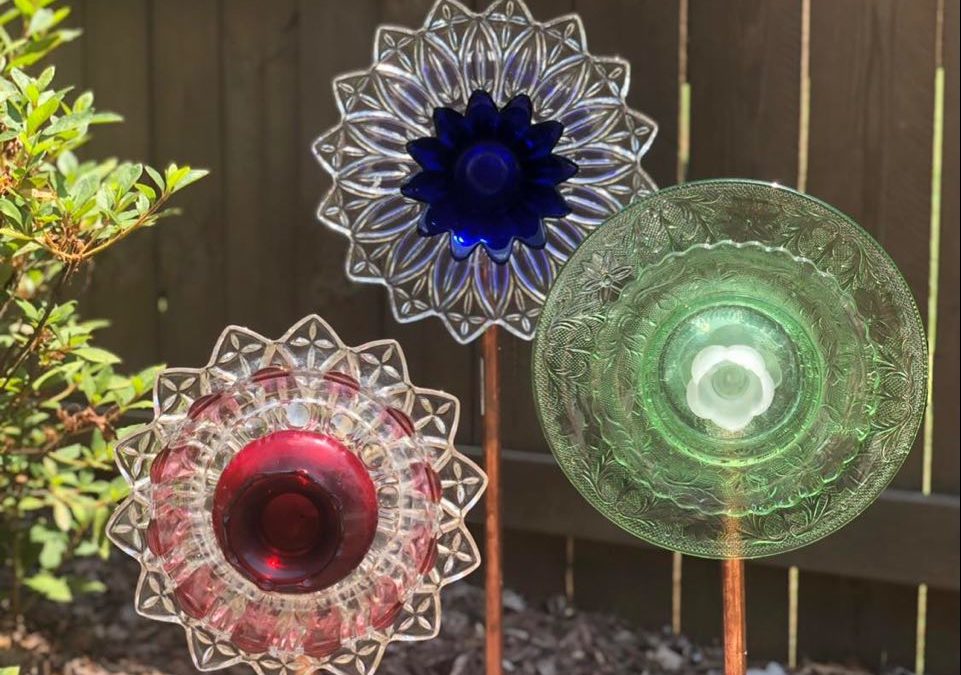
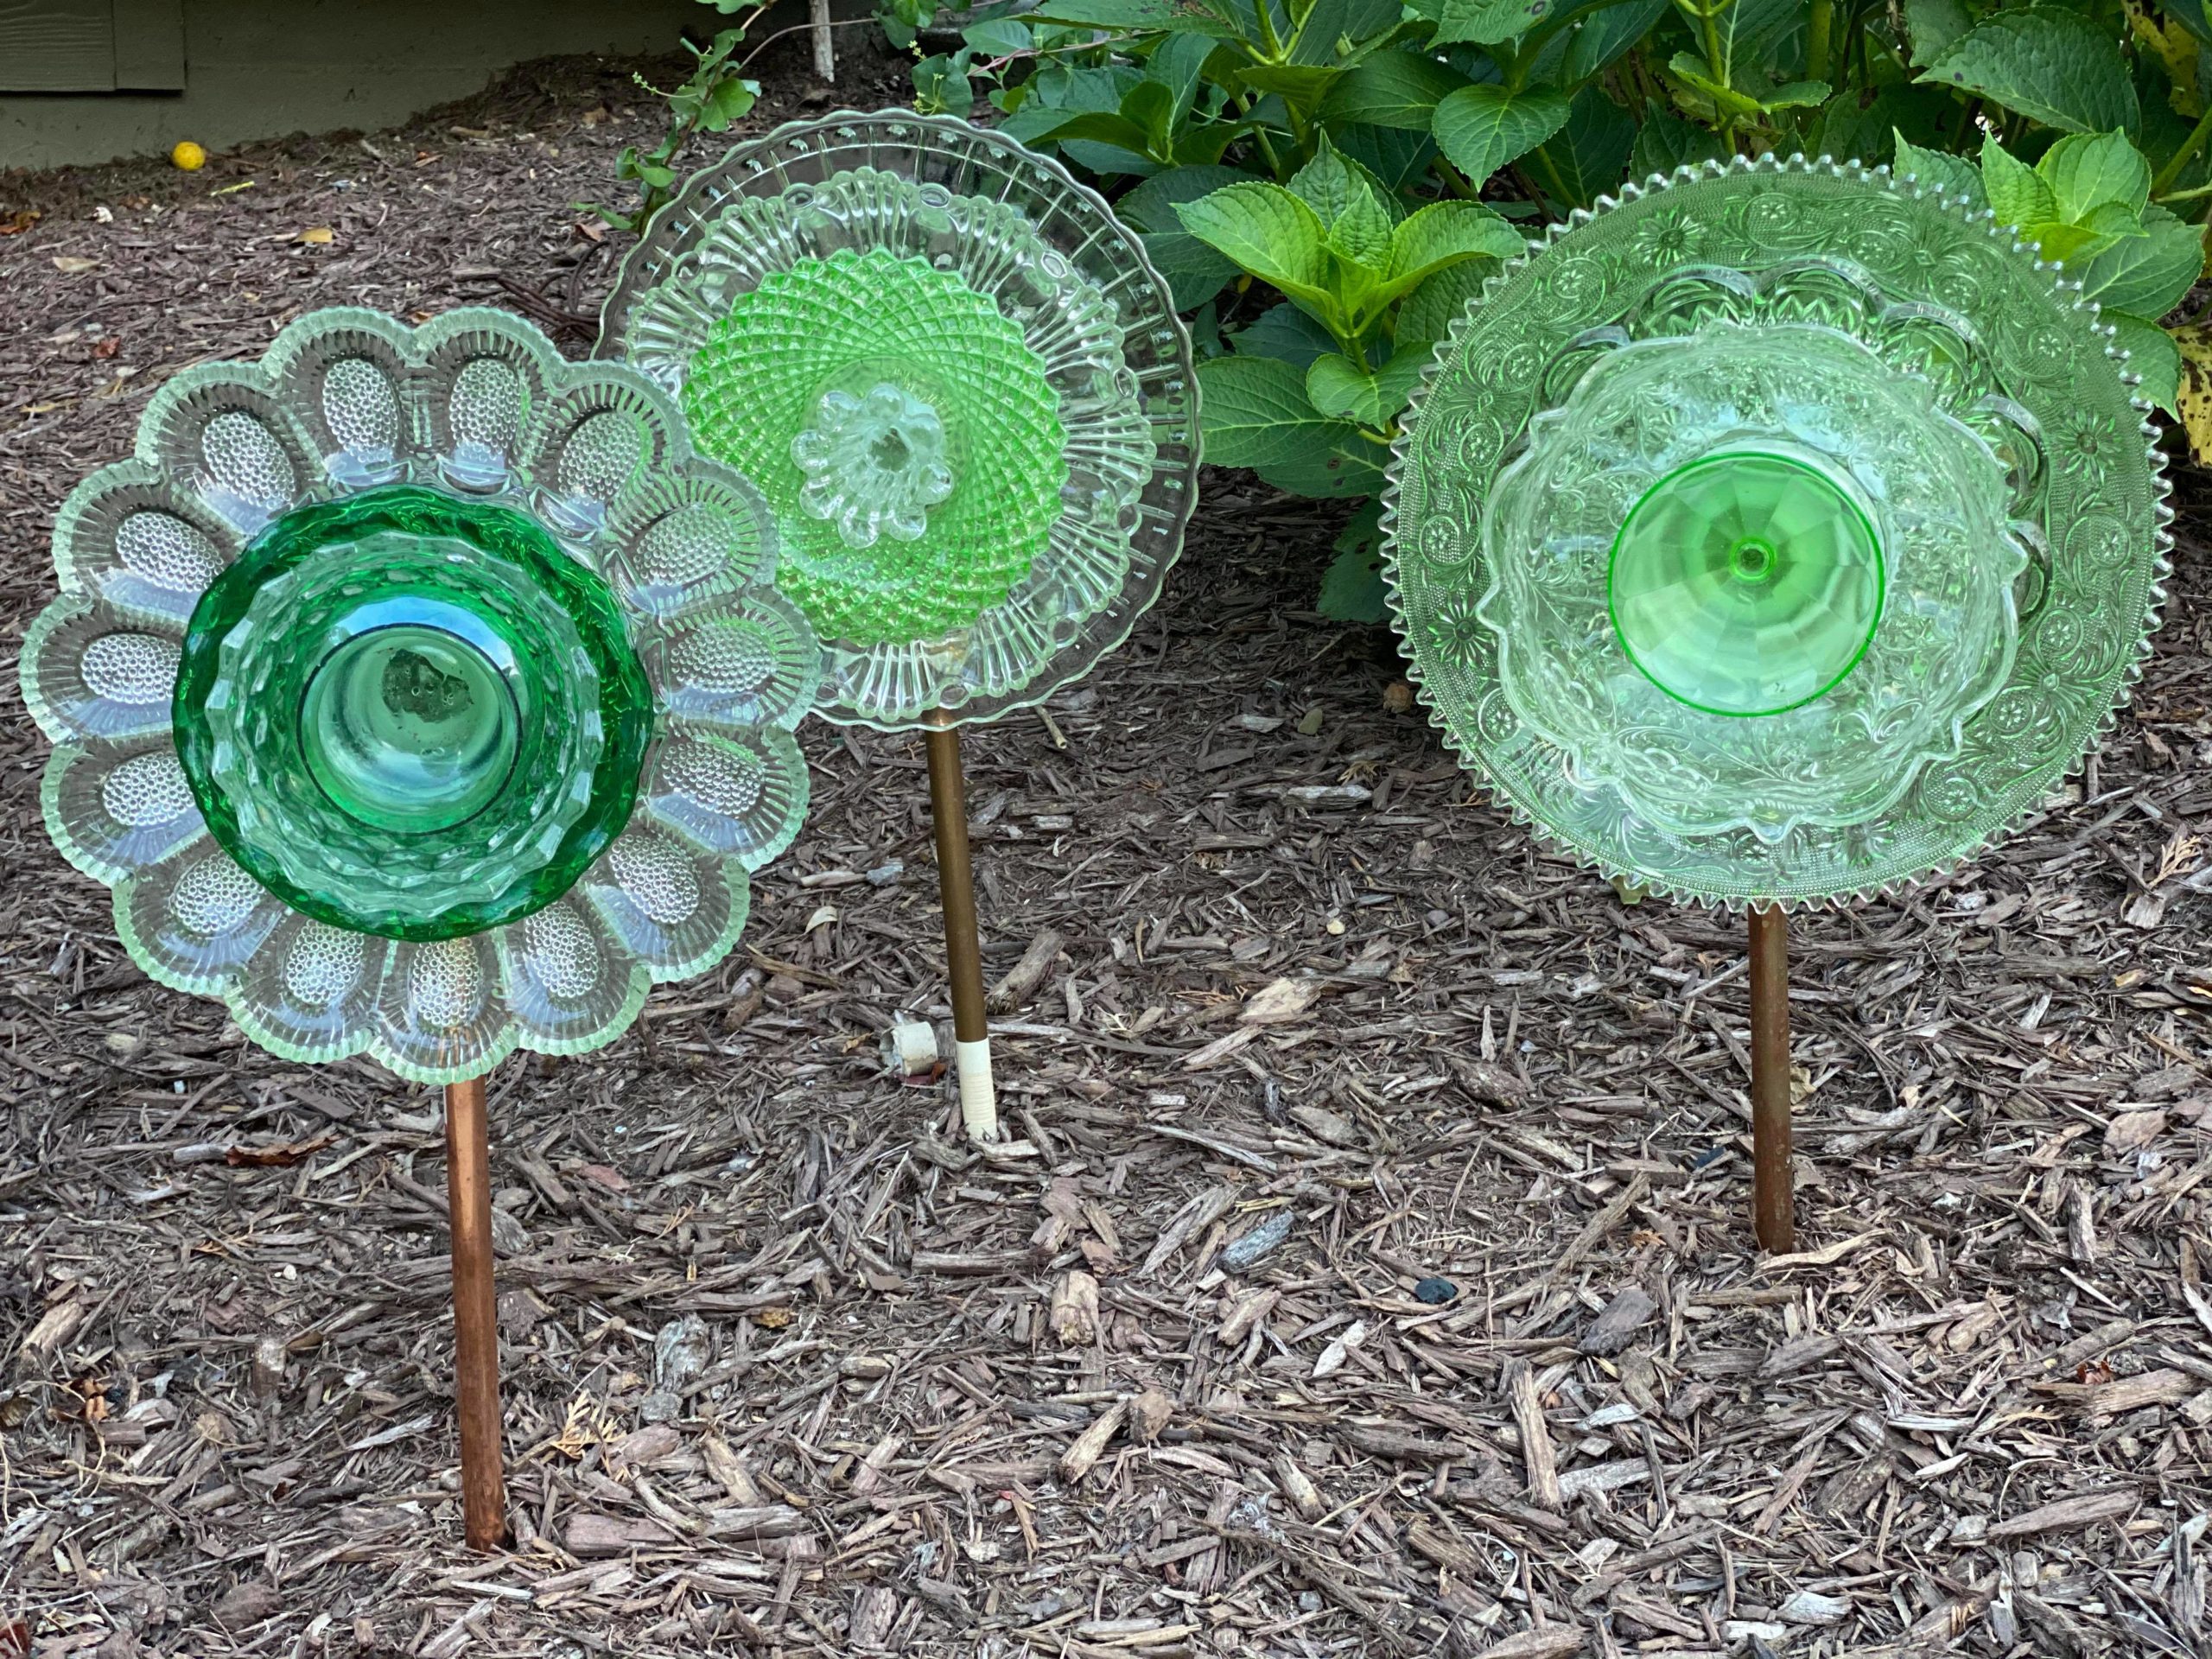
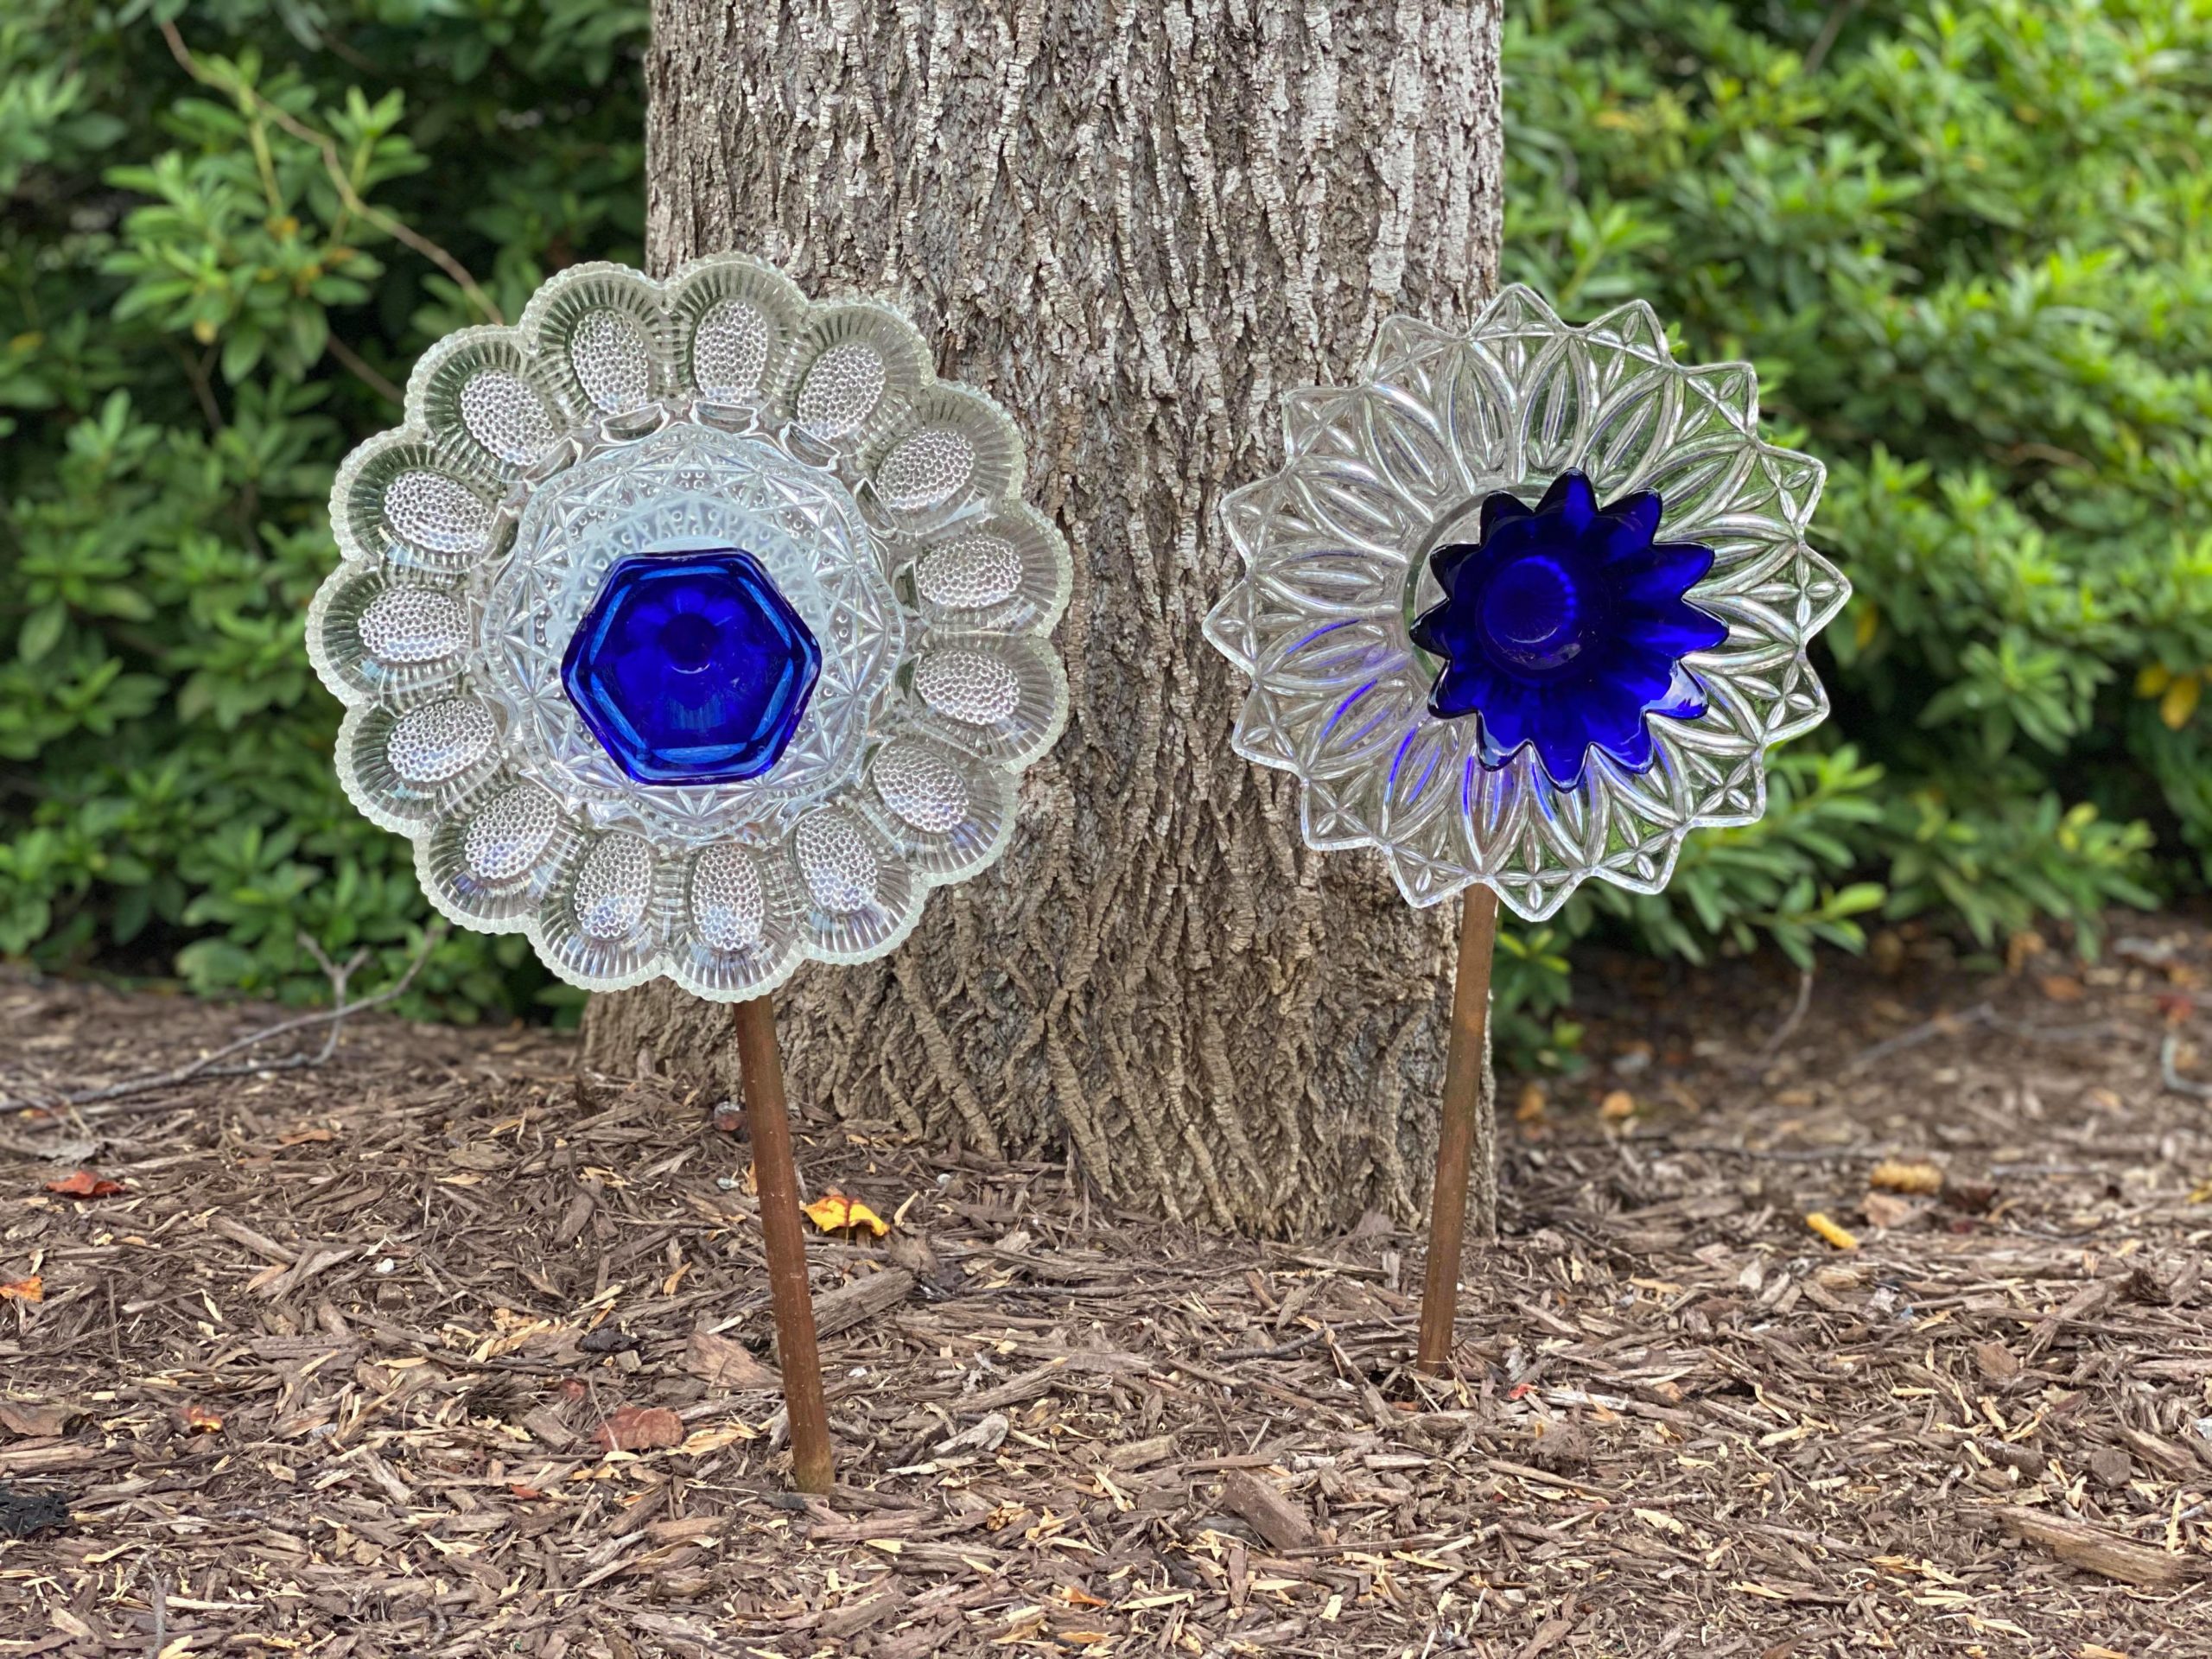
I find myself in thrift stores and antique stores a lot and I seem to have accumulated a lot of colorful glass items. After putting all of my glass items together I decided to try and create a few flowers for my yard. I have tried many different ways to make these flowers and I am here to share what worked best for me!
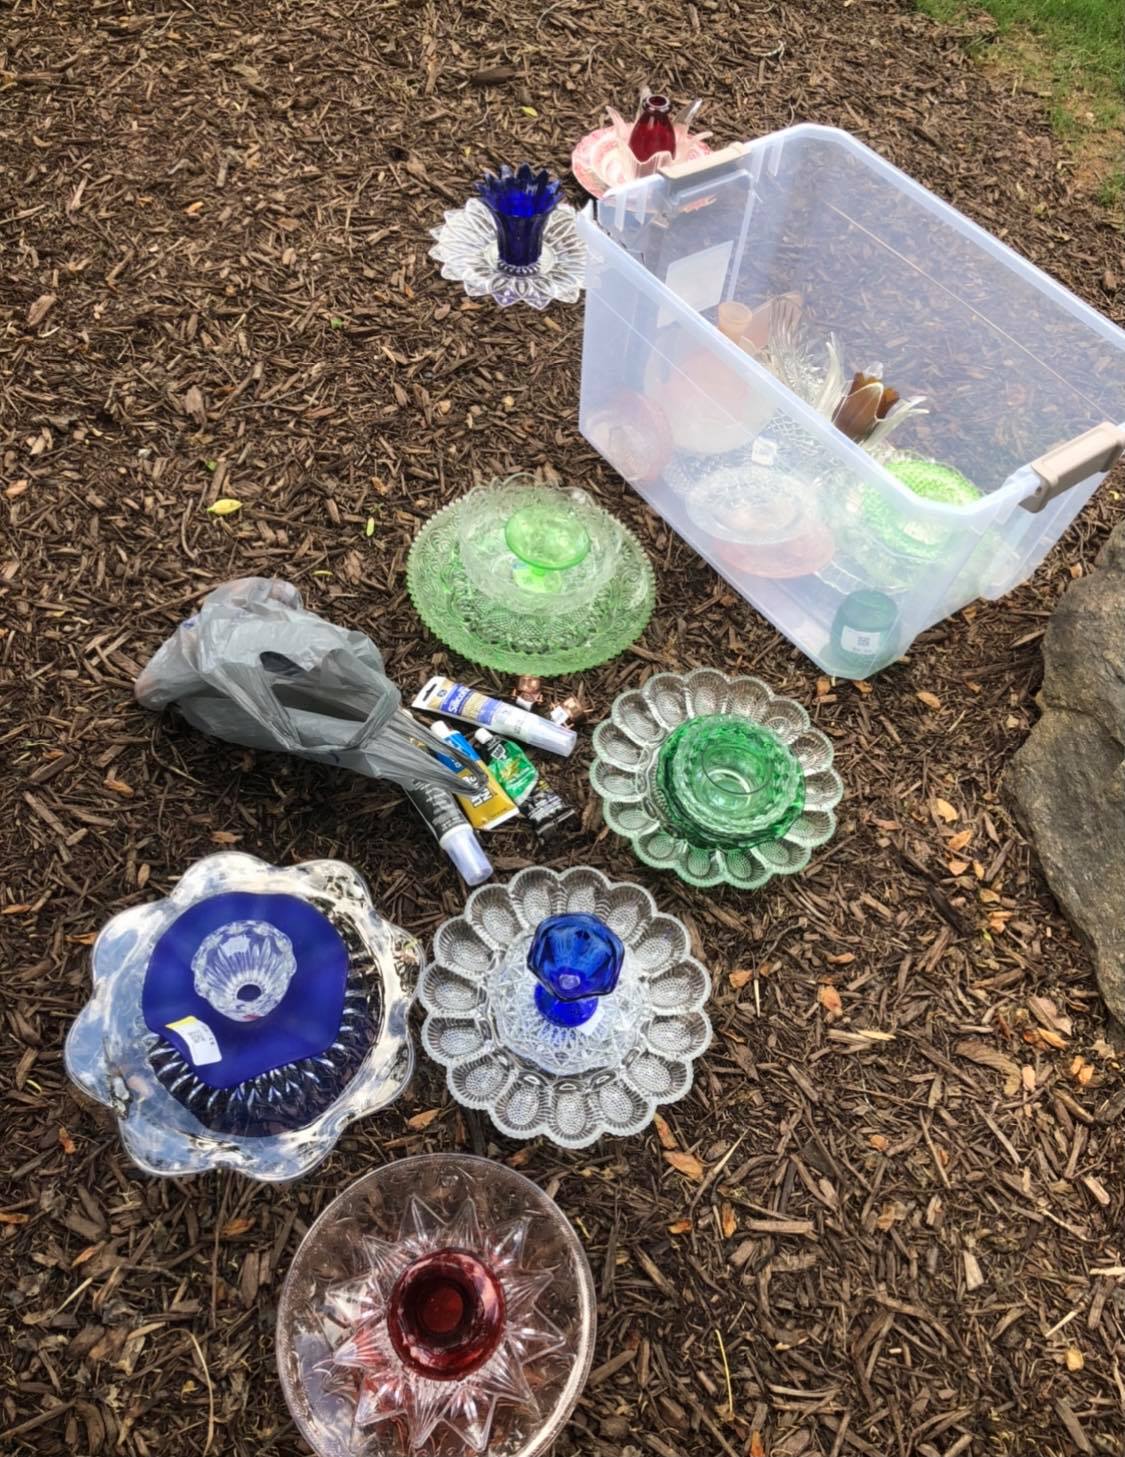
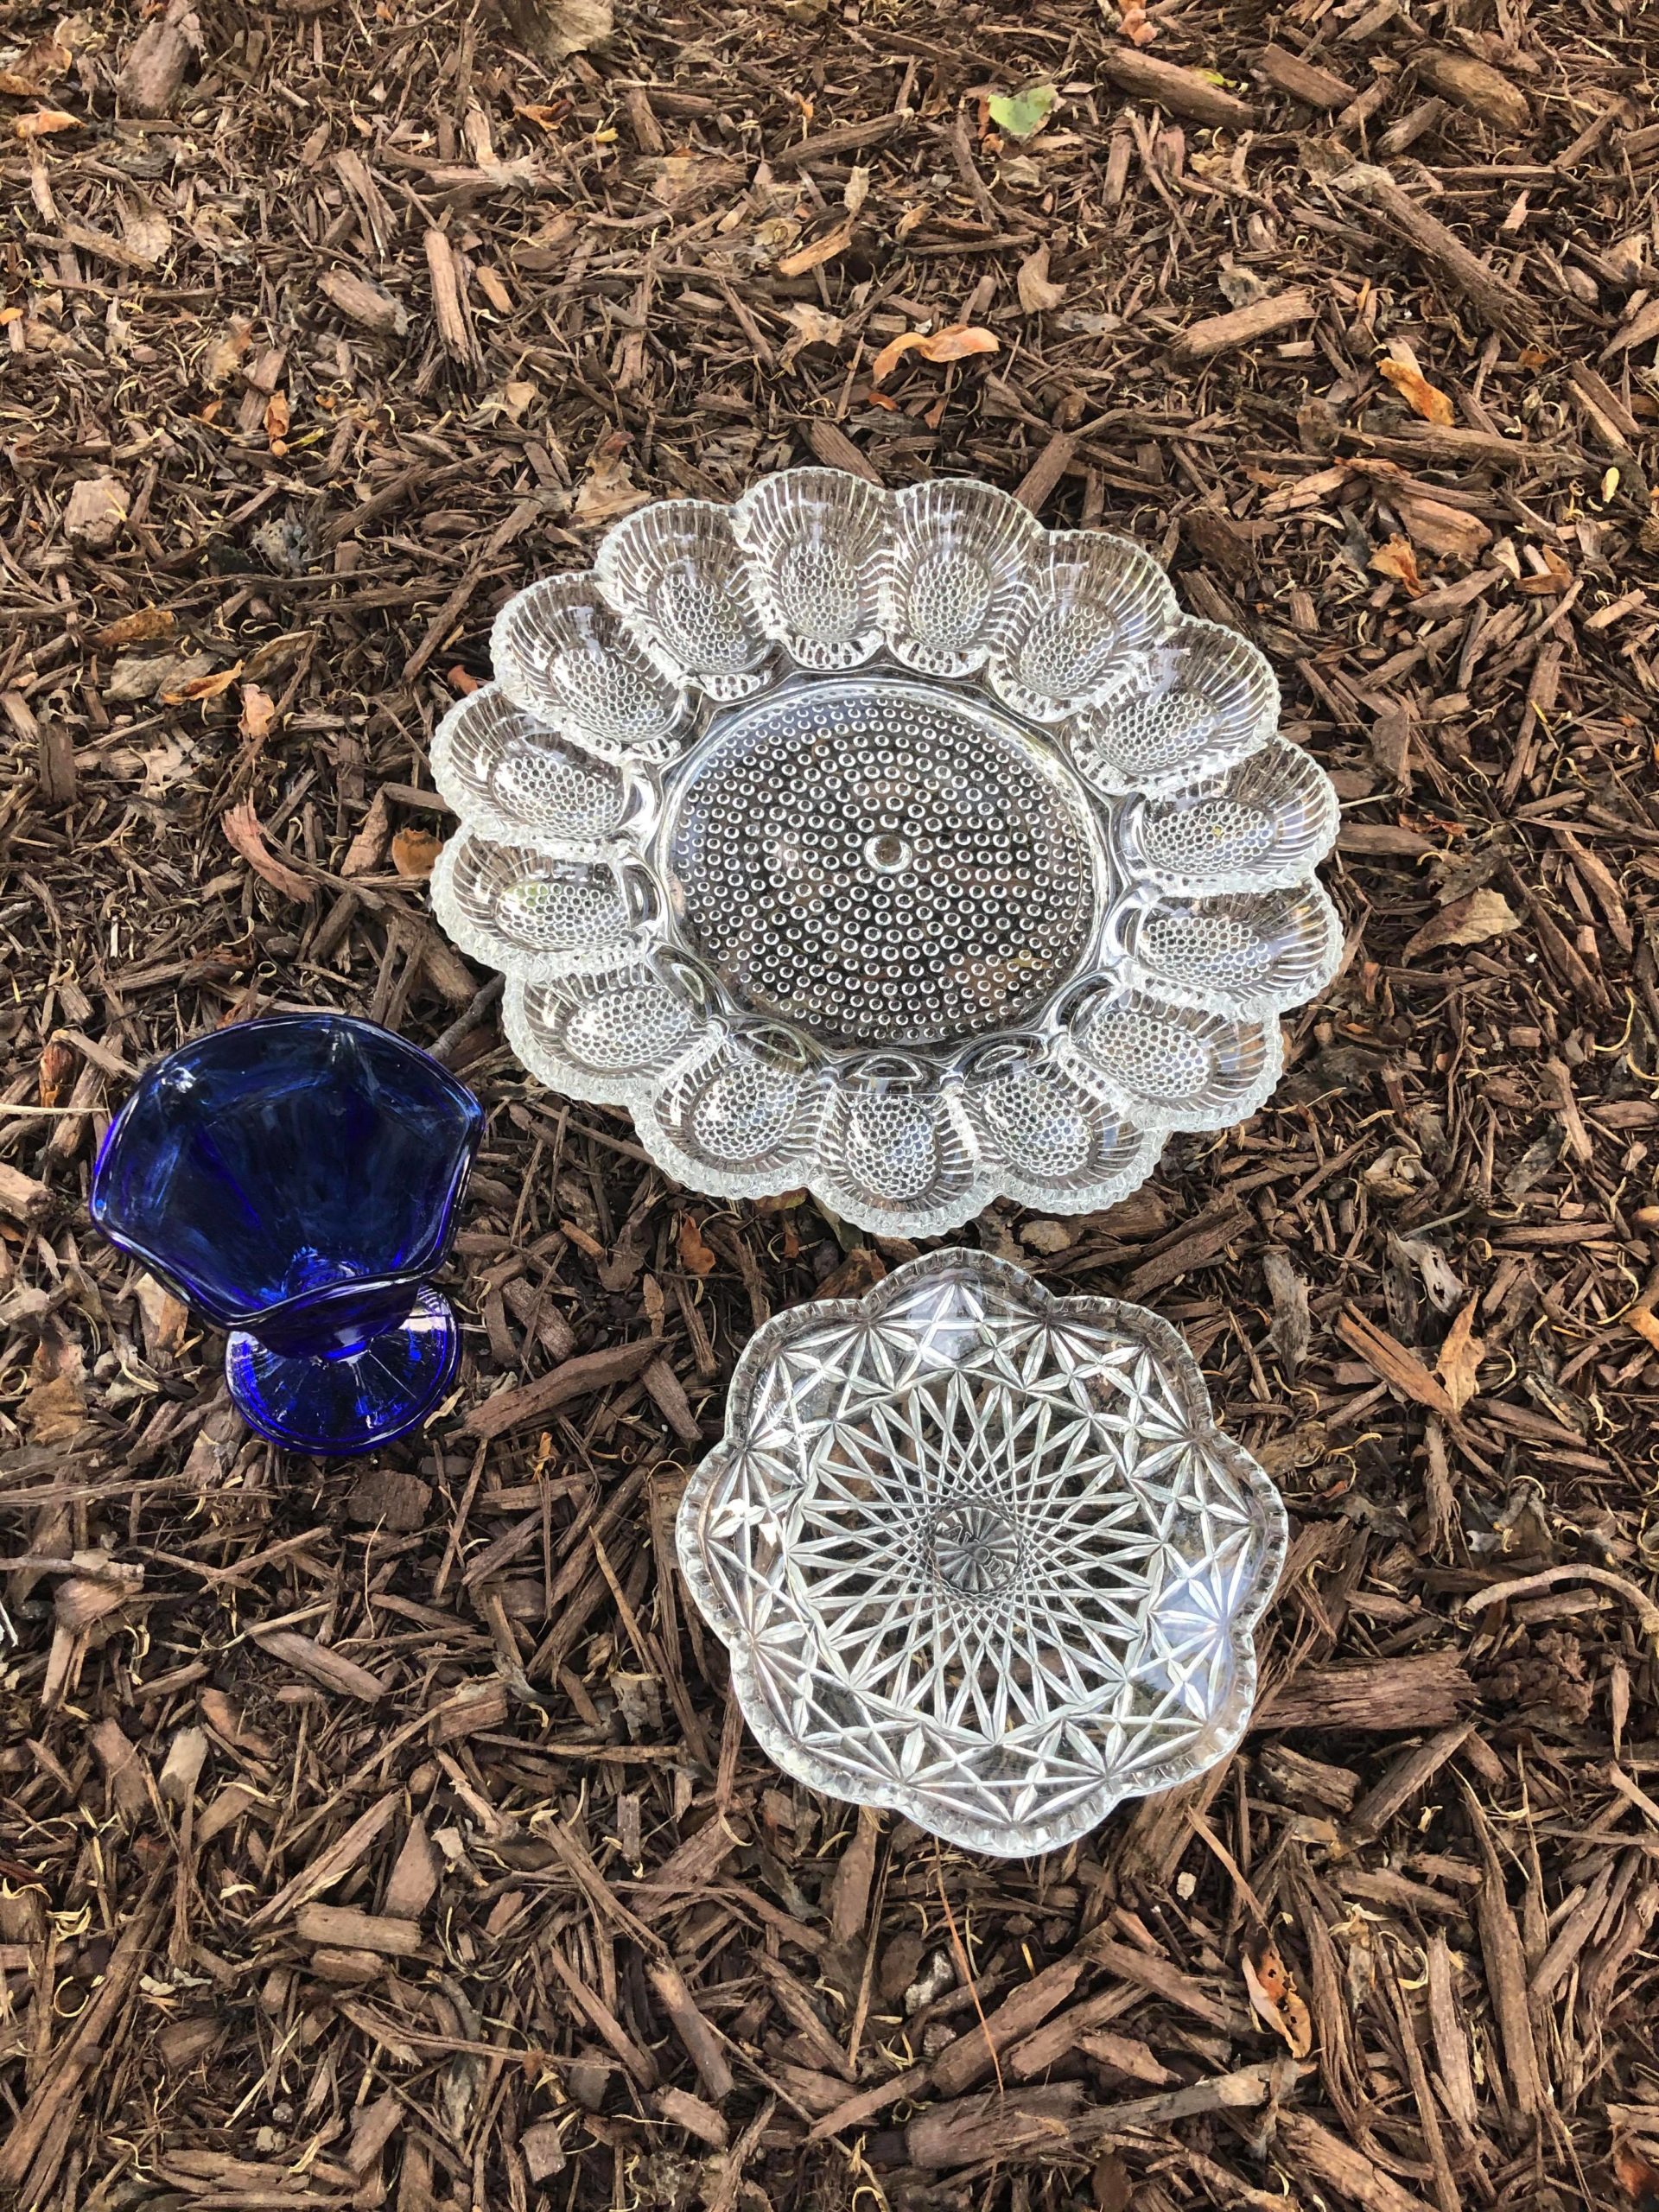
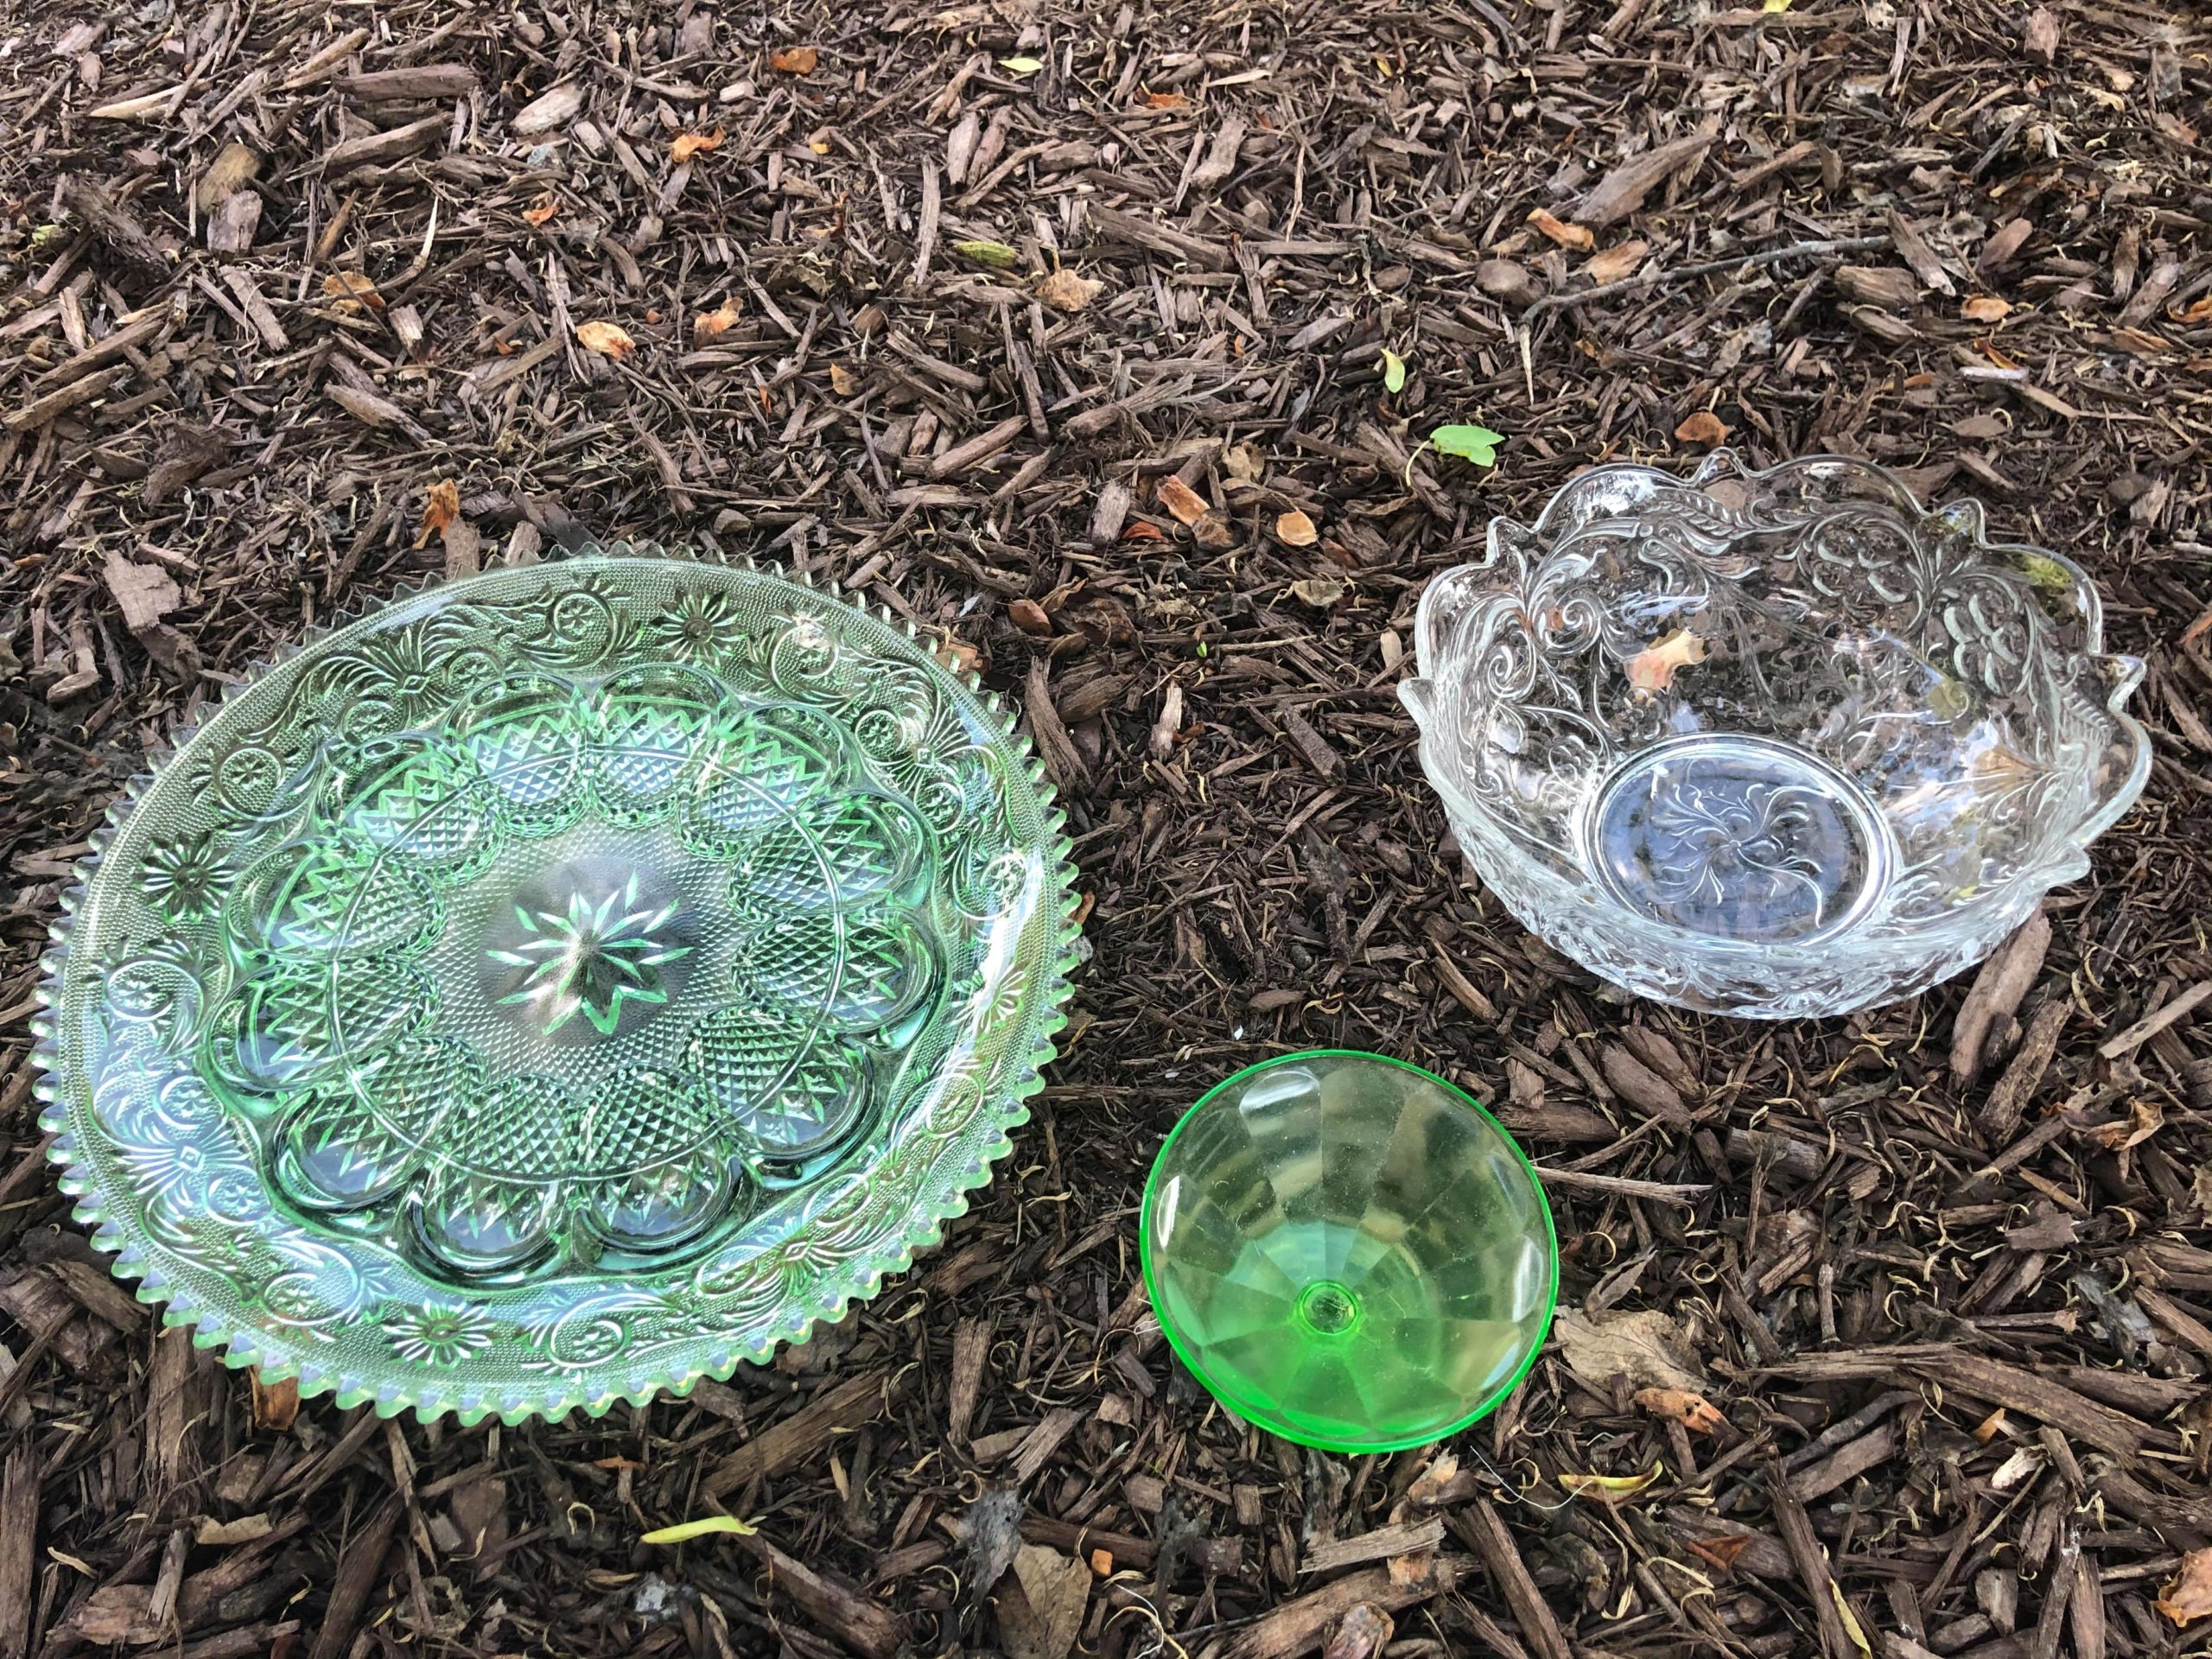
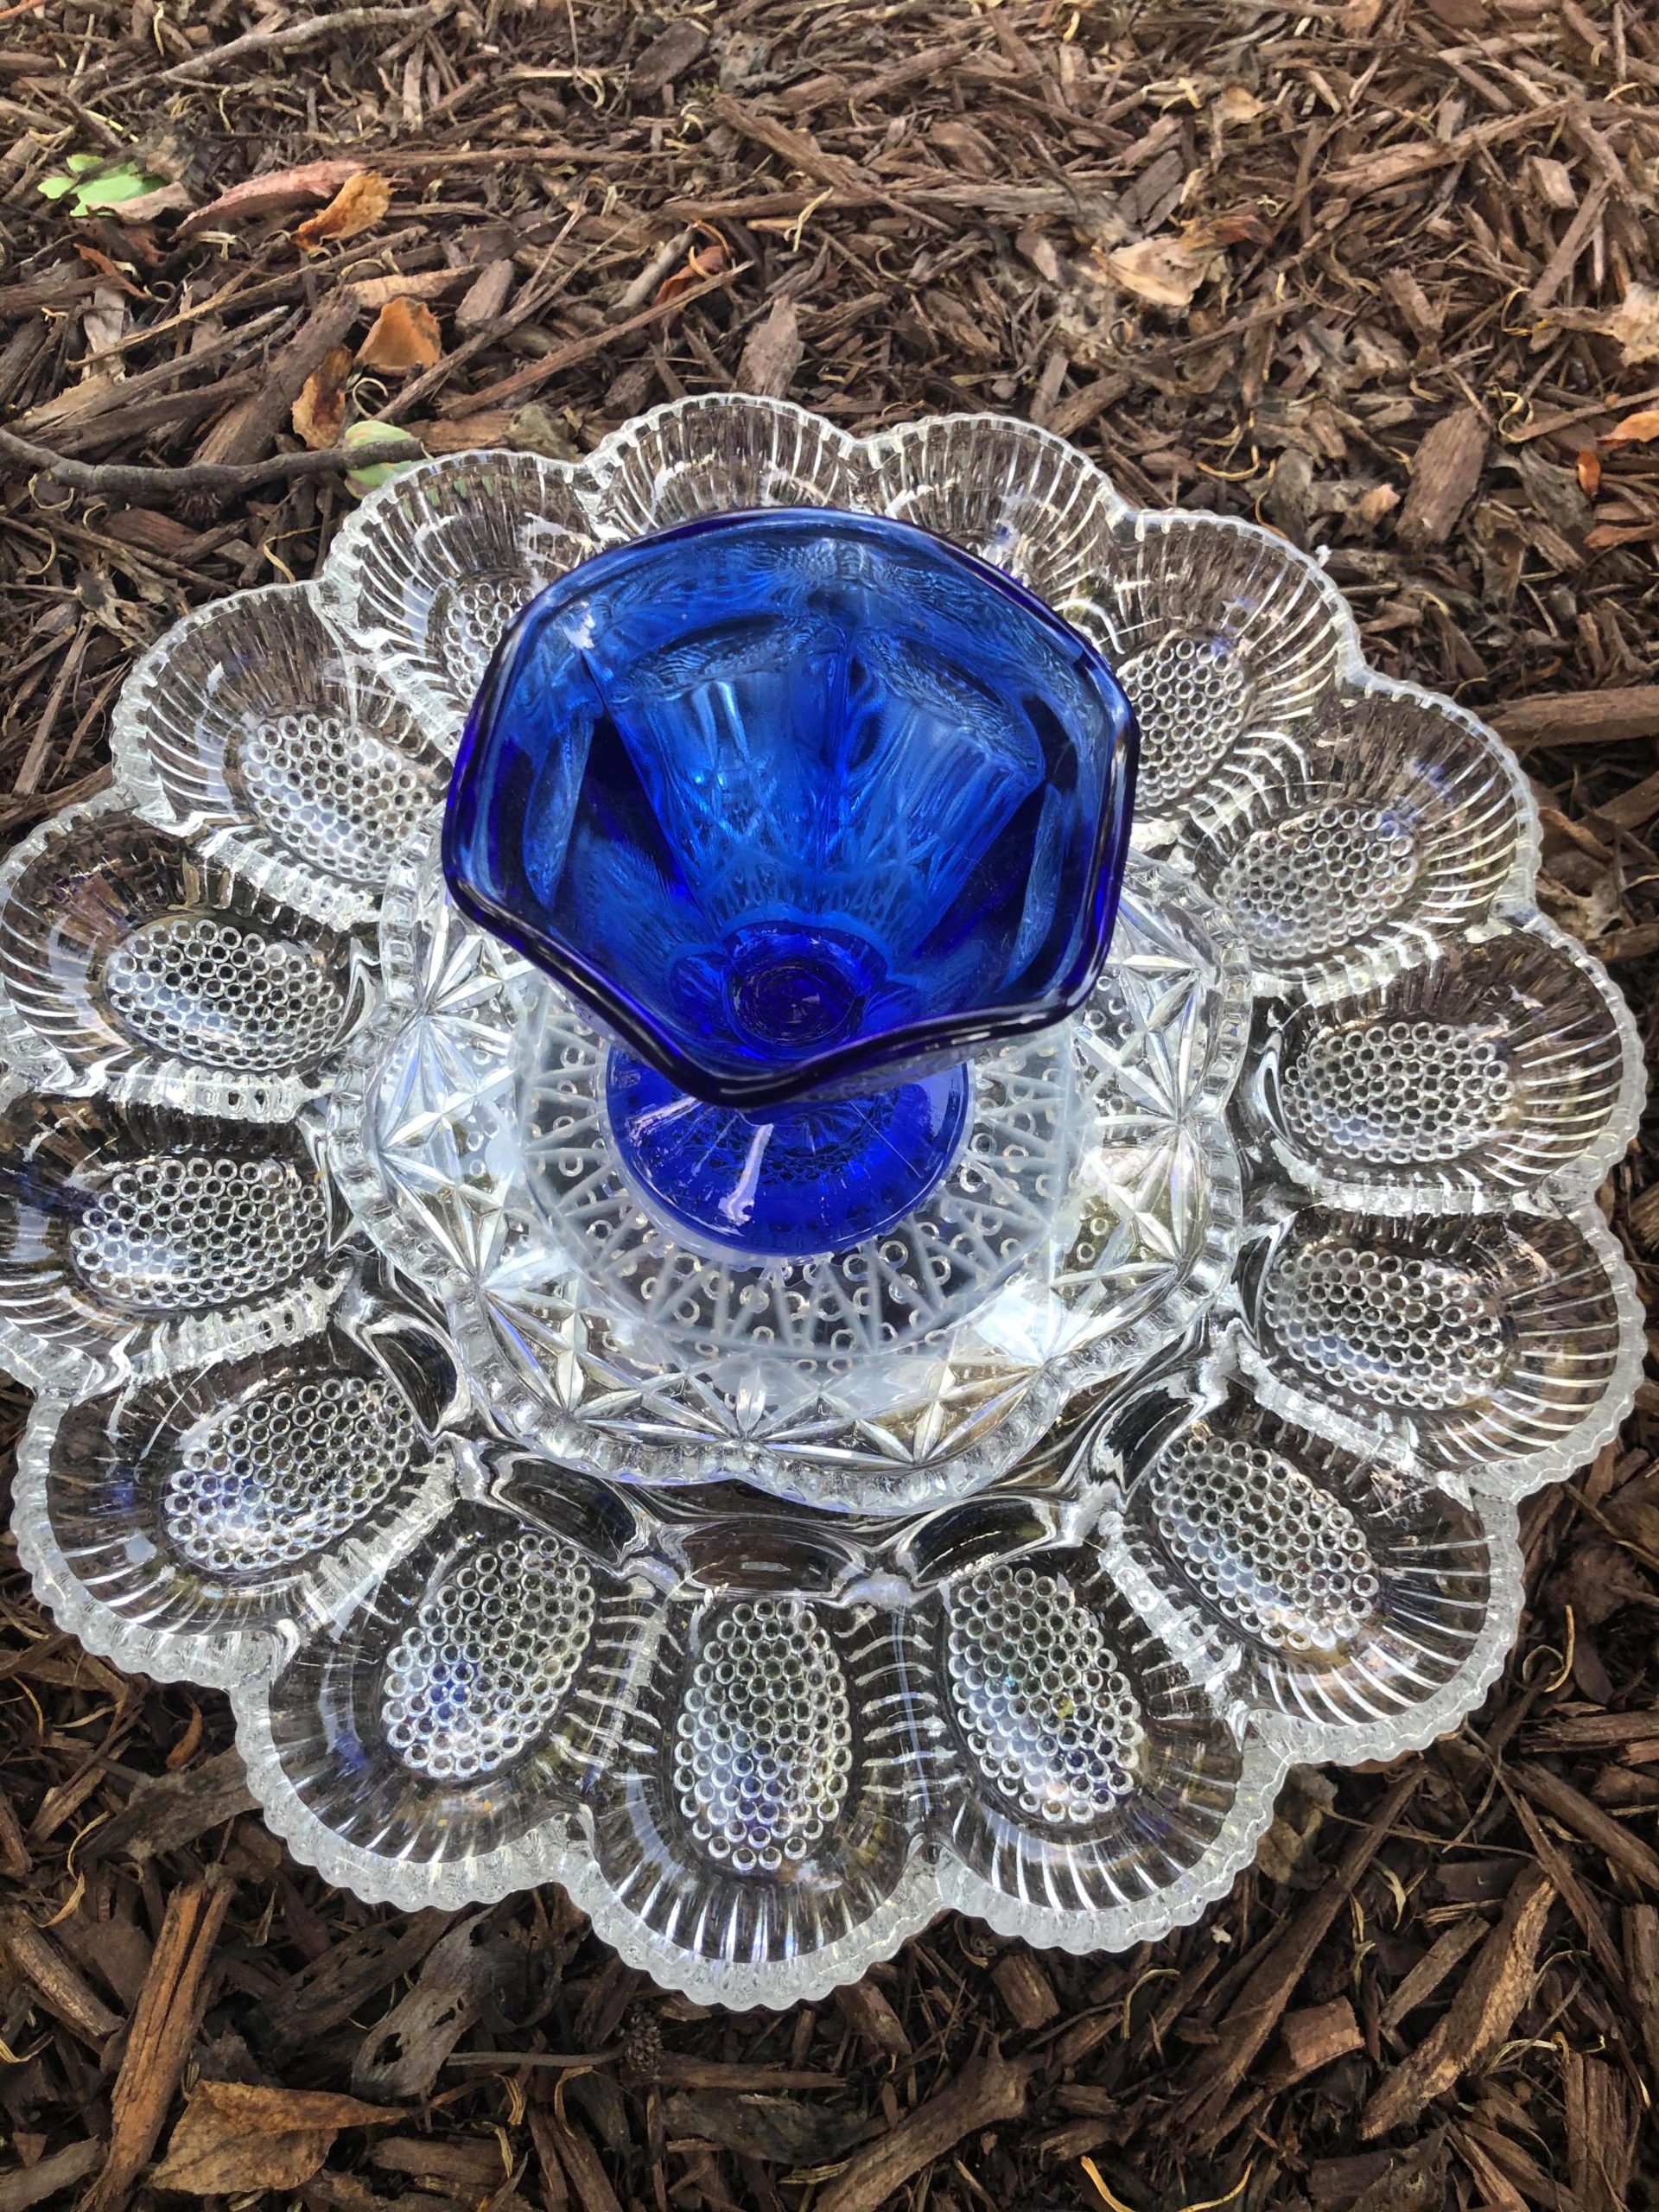
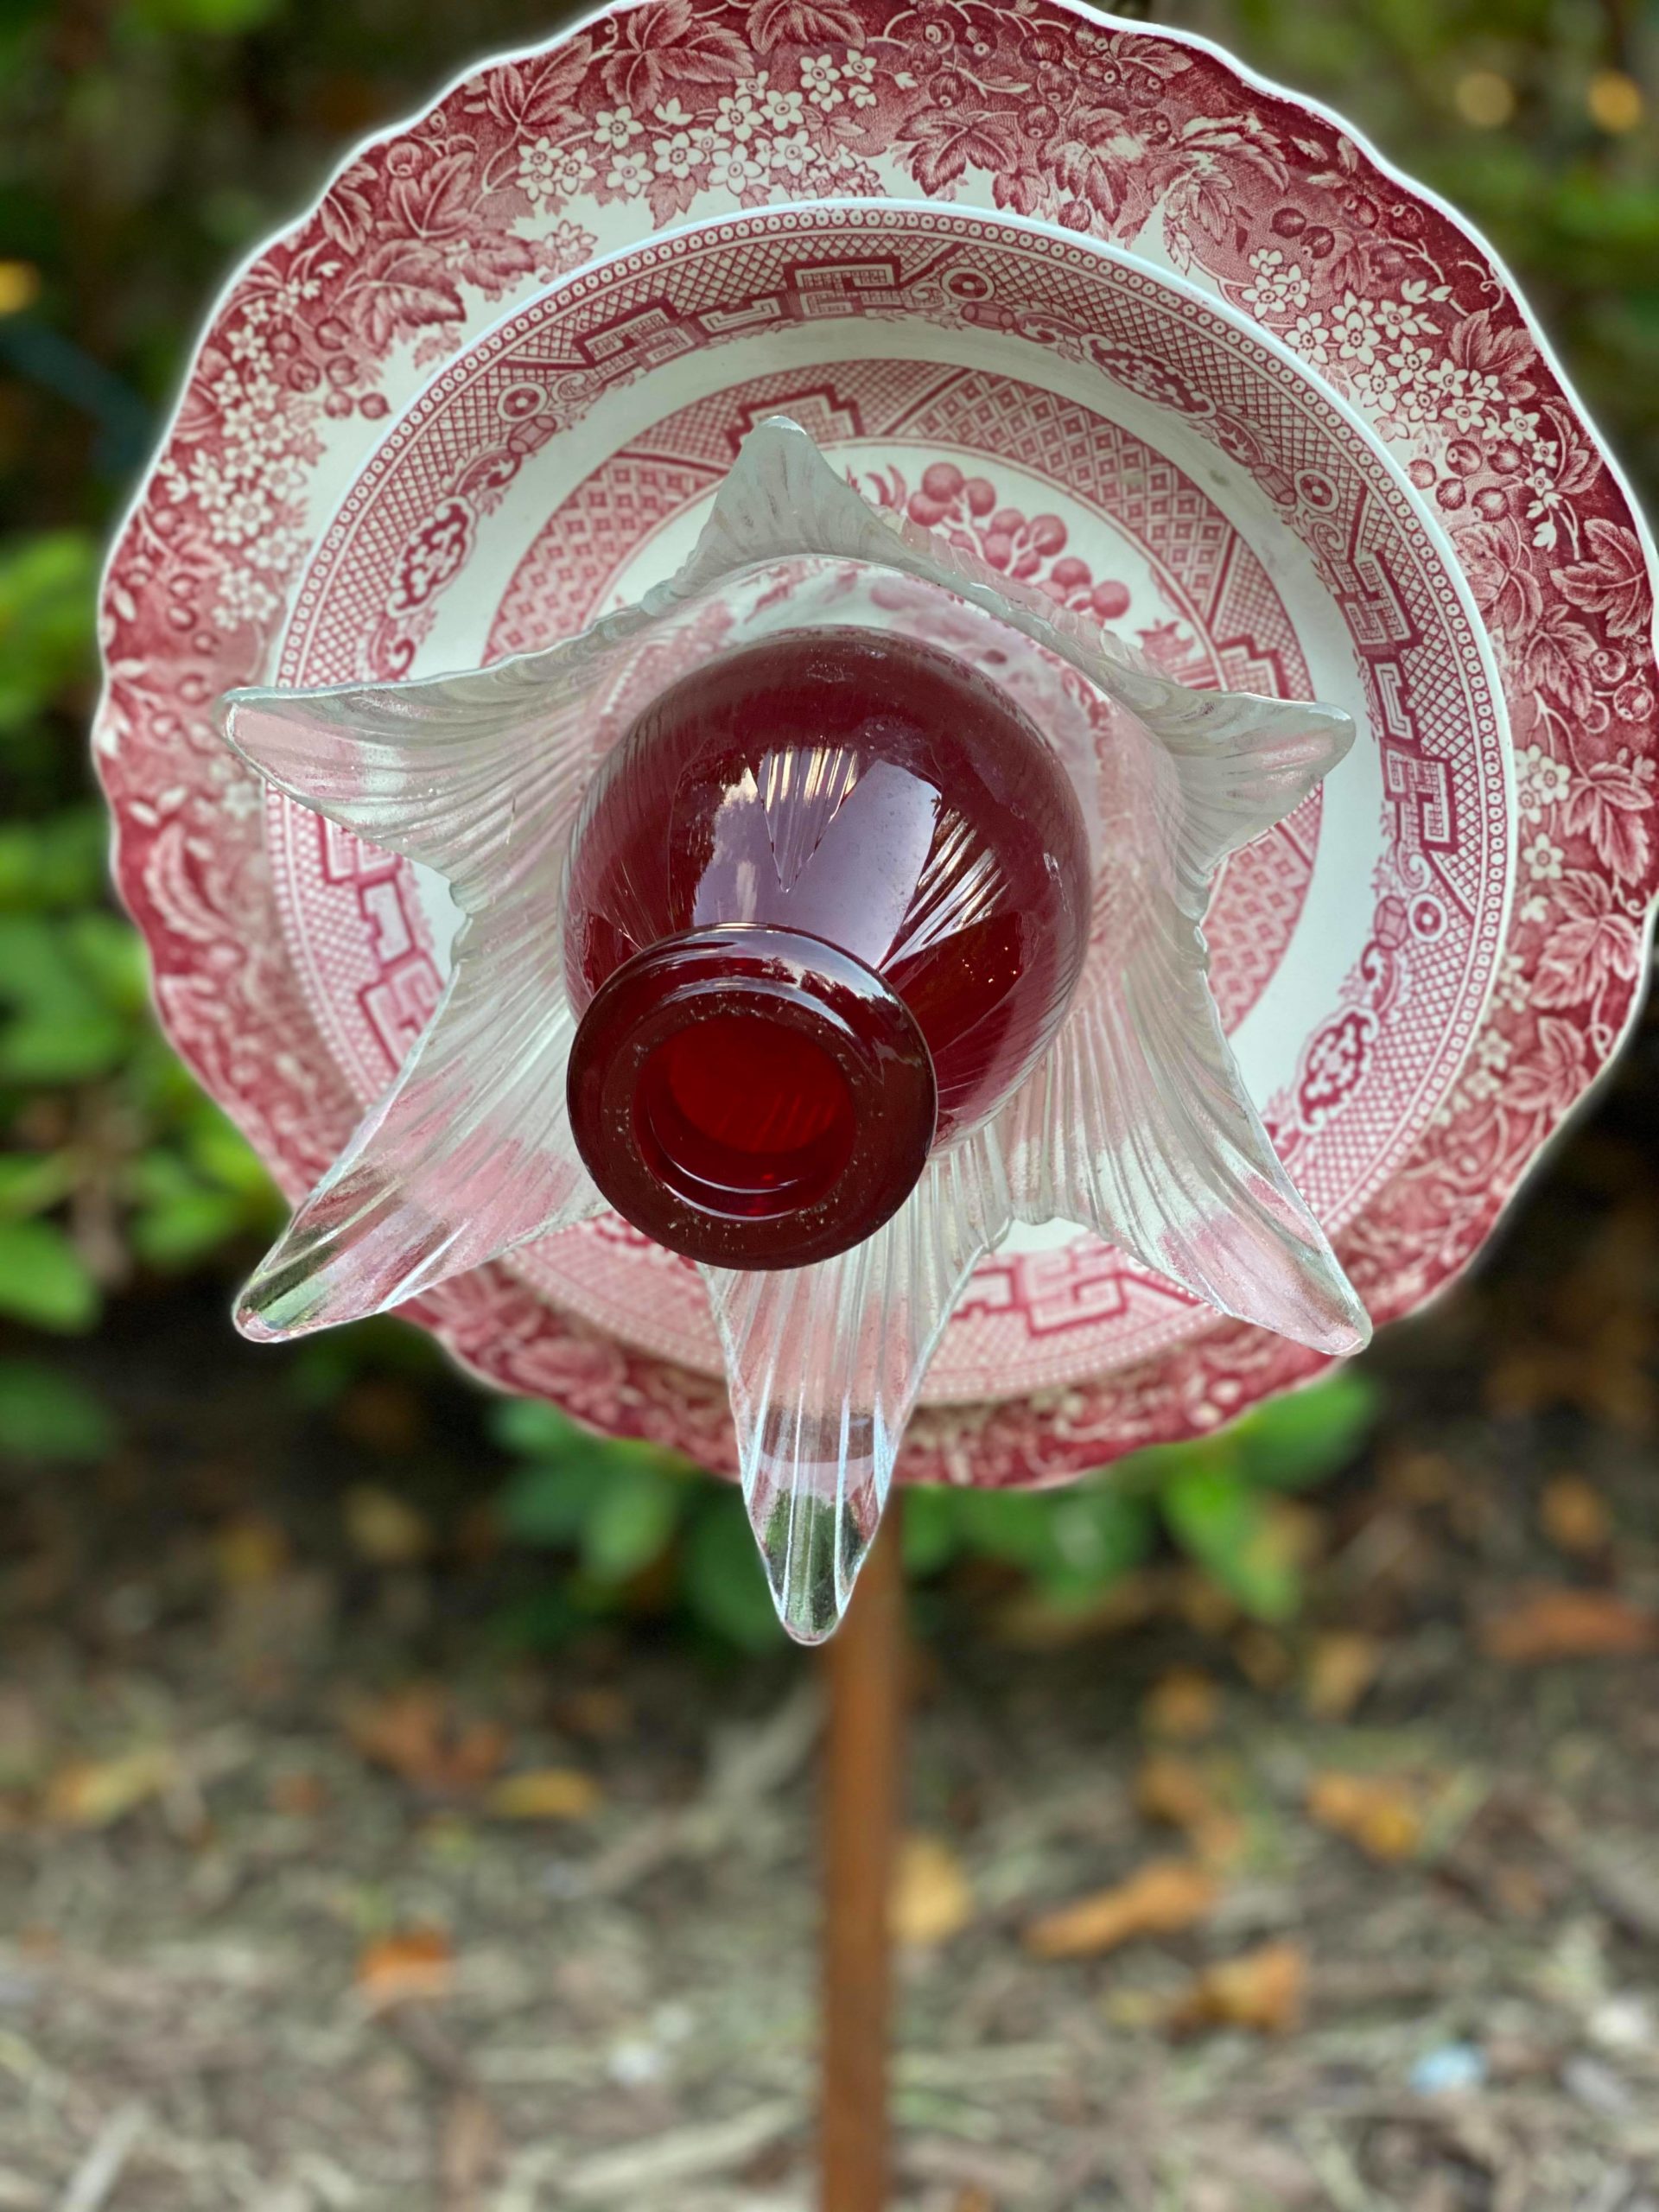
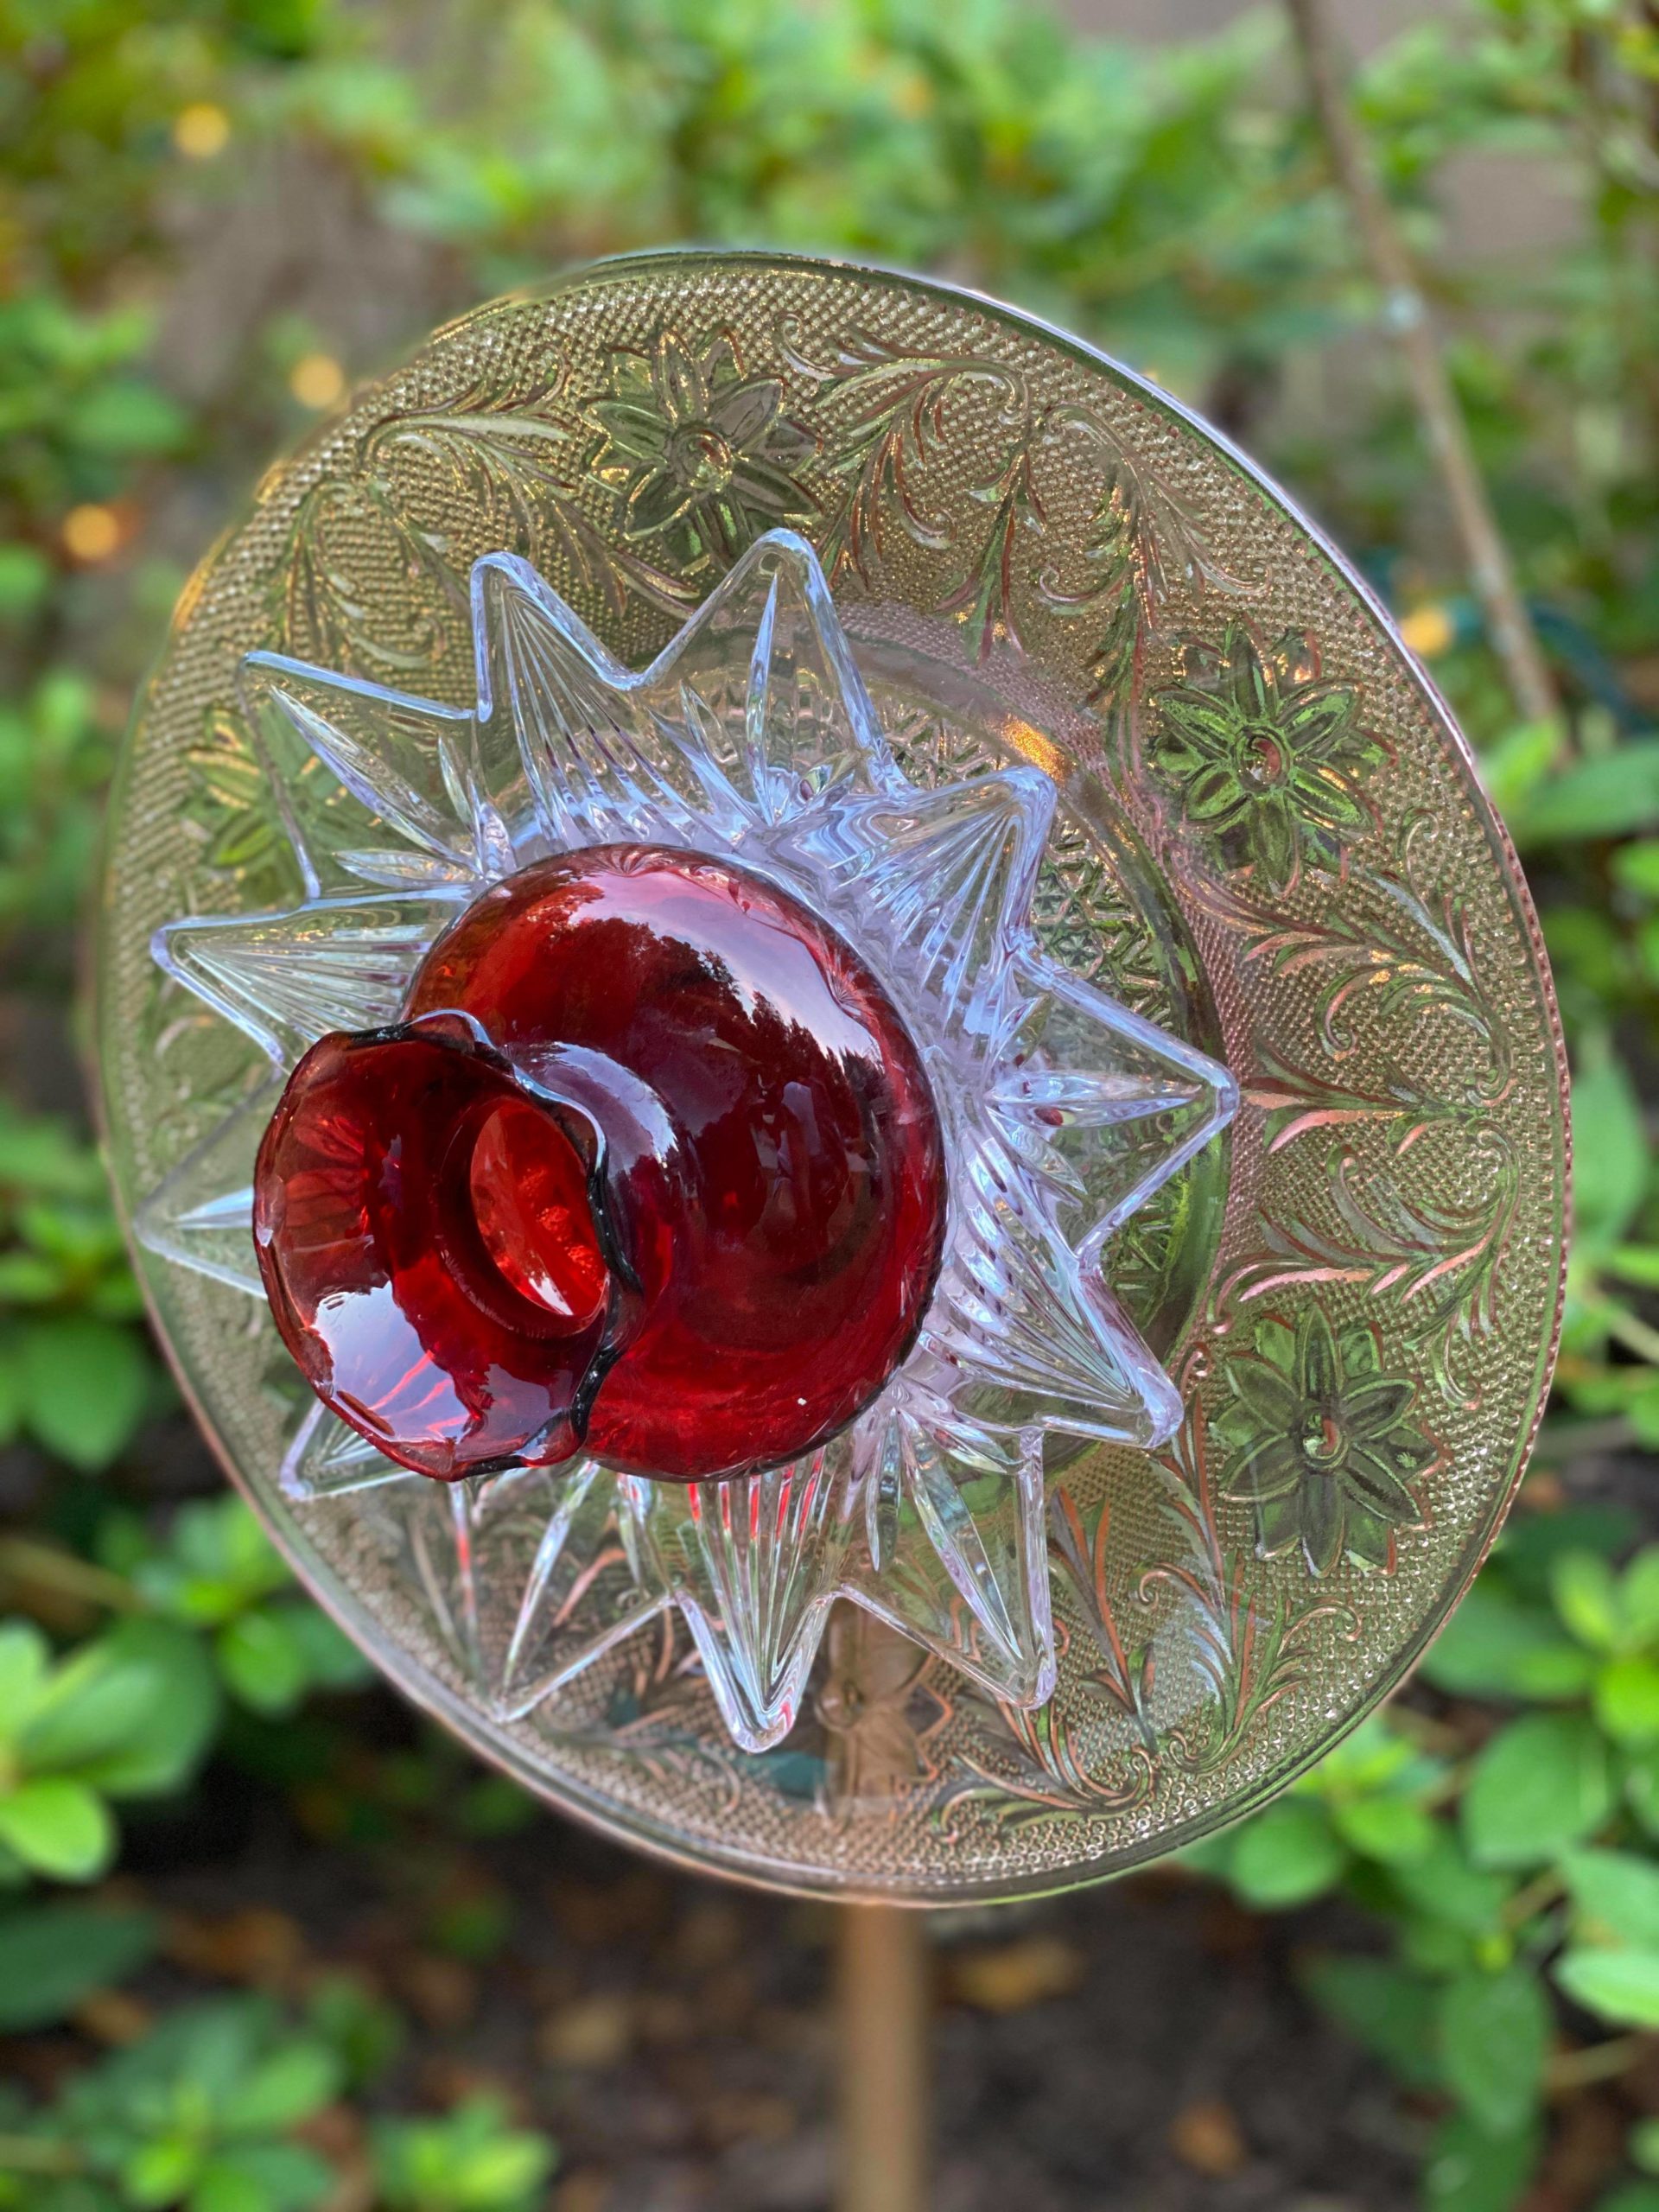
The first thing you will need to do is find your glass pieces to create your flower. I have a variety of glass items that I put together to form different flowers. My favorite flowers are the ones that have a pop of color to them. You want the center of your flower to come outwards. I like to find small vases or bowls for the center of my flowers.
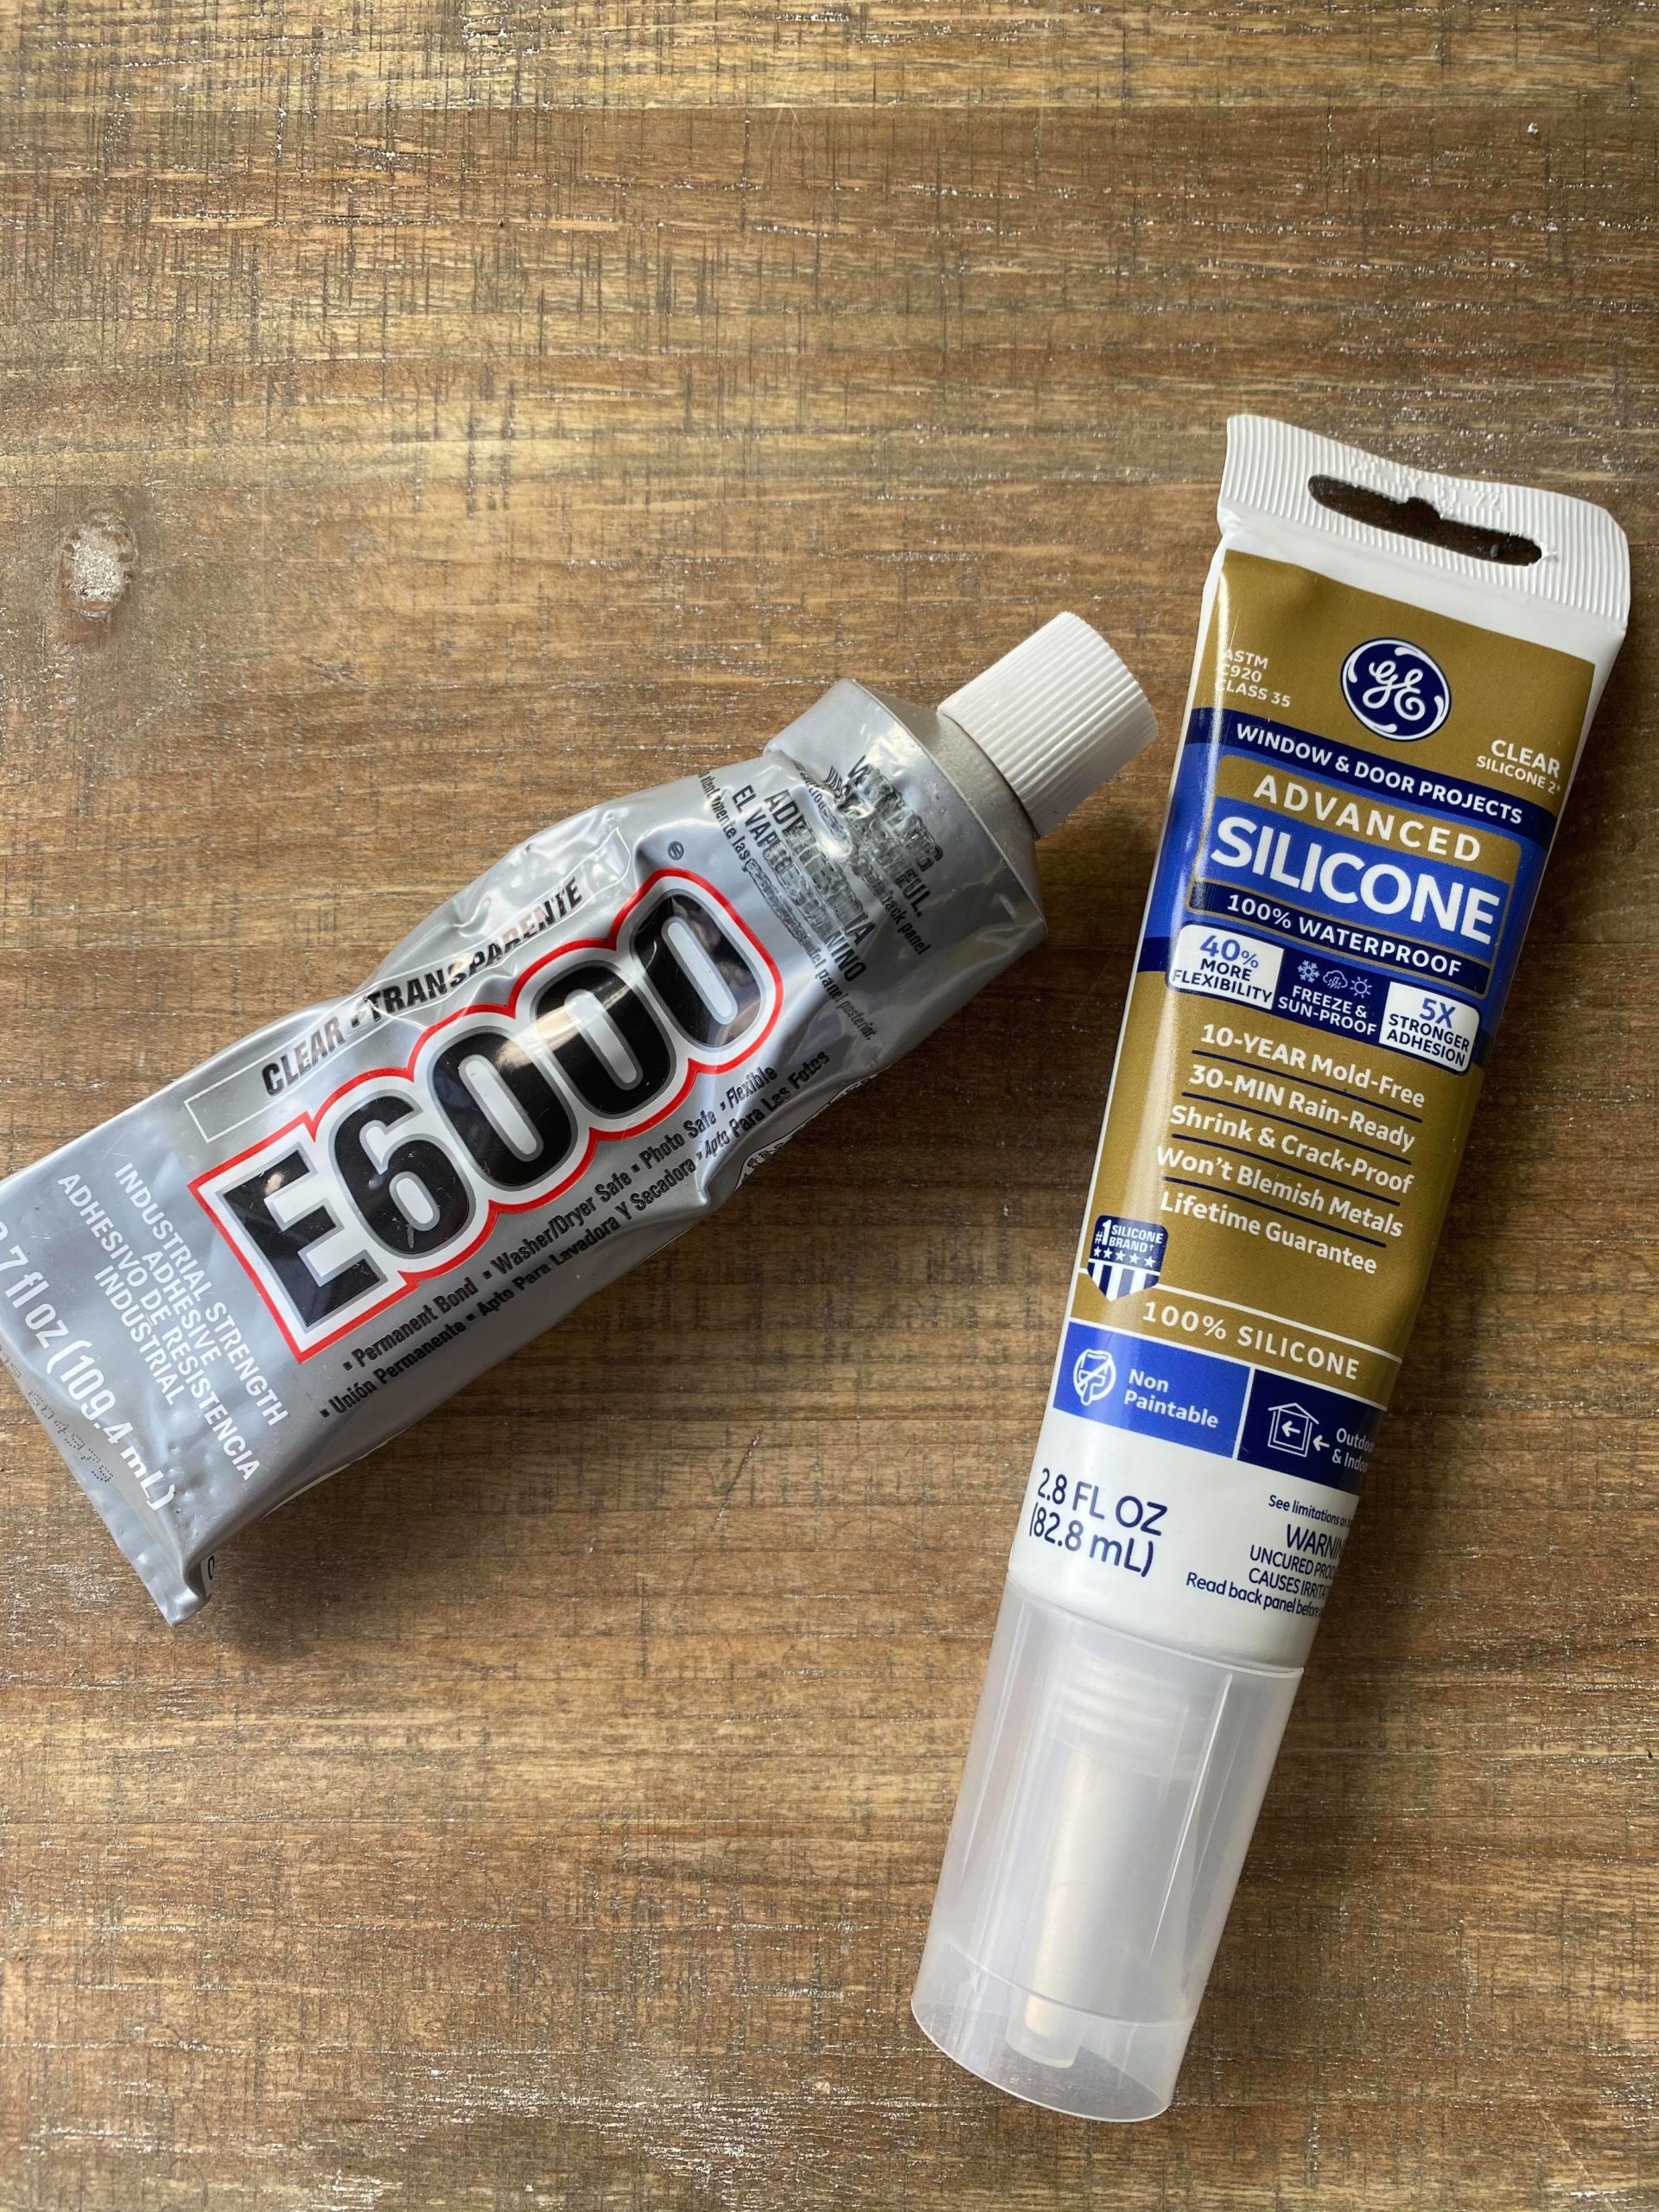
I have experimented with a variety of glues for these flowers. After a lot of test runs I will tell you that a silicone is the best thing to use to attach your glass pieces together.
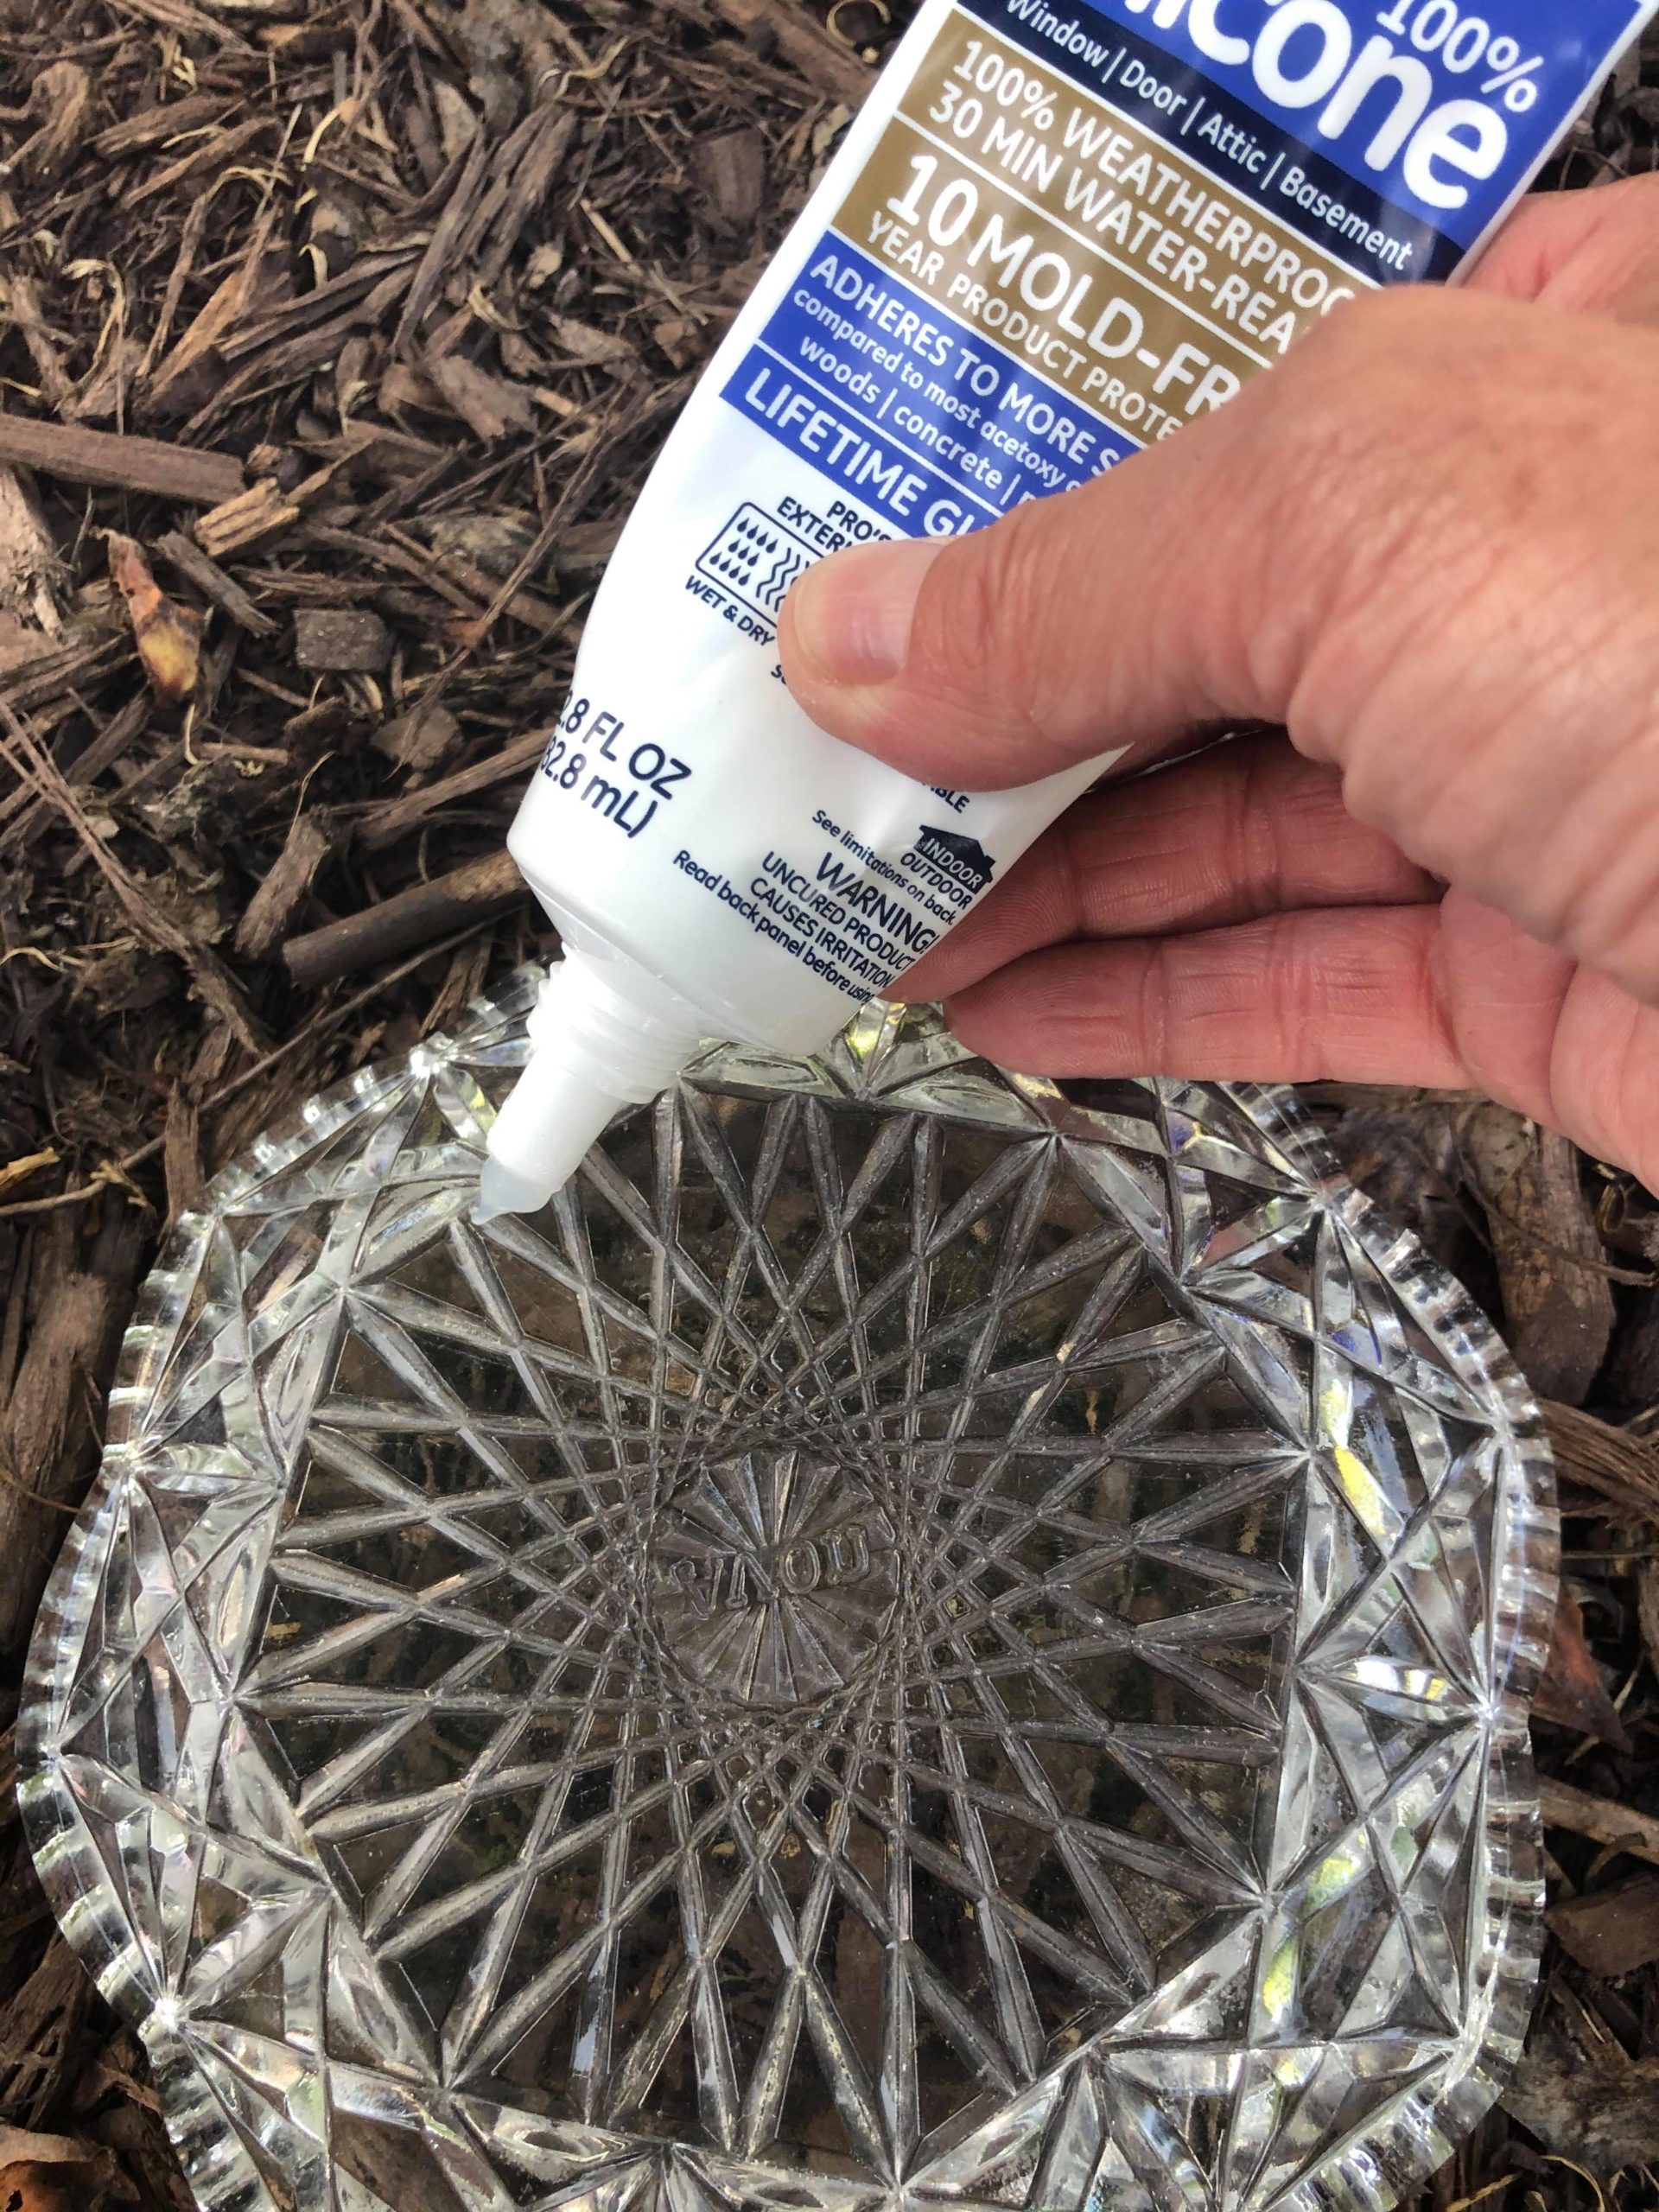
I purchased the silicone from Home Depot but you can also find it in Walmart or any hardware store. You will want to place the silicone in between each glass piece and then press then together.
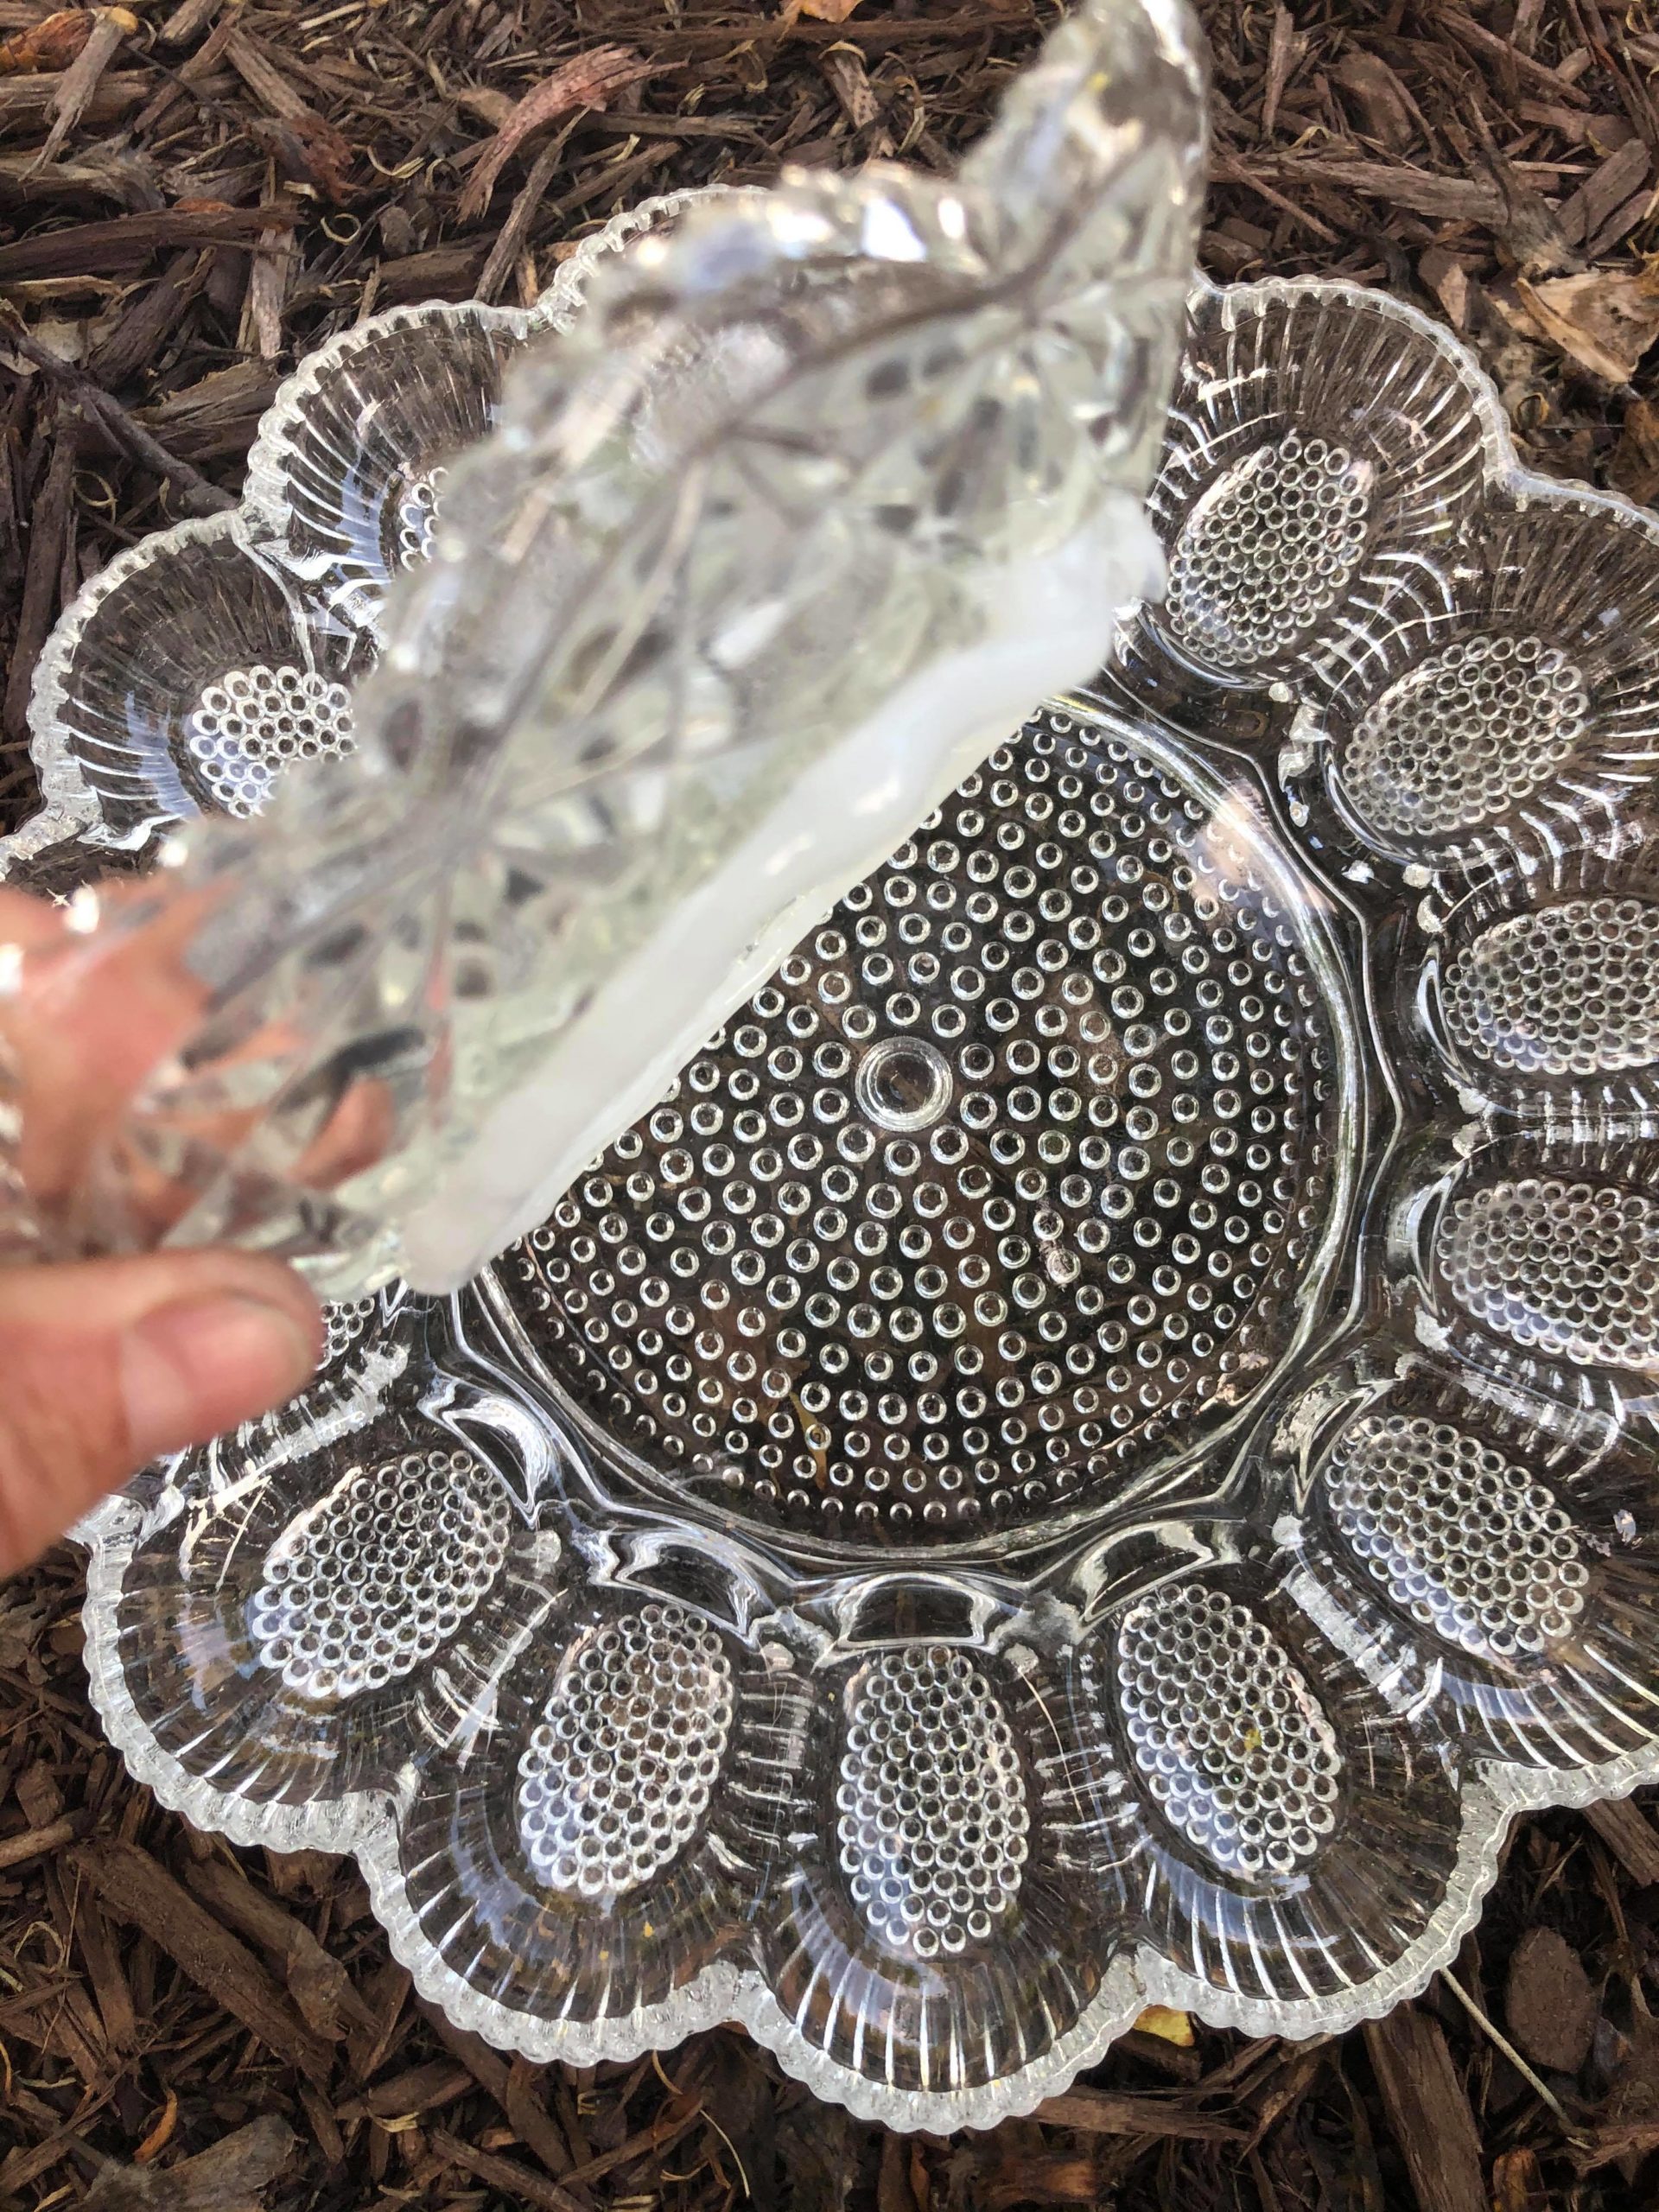
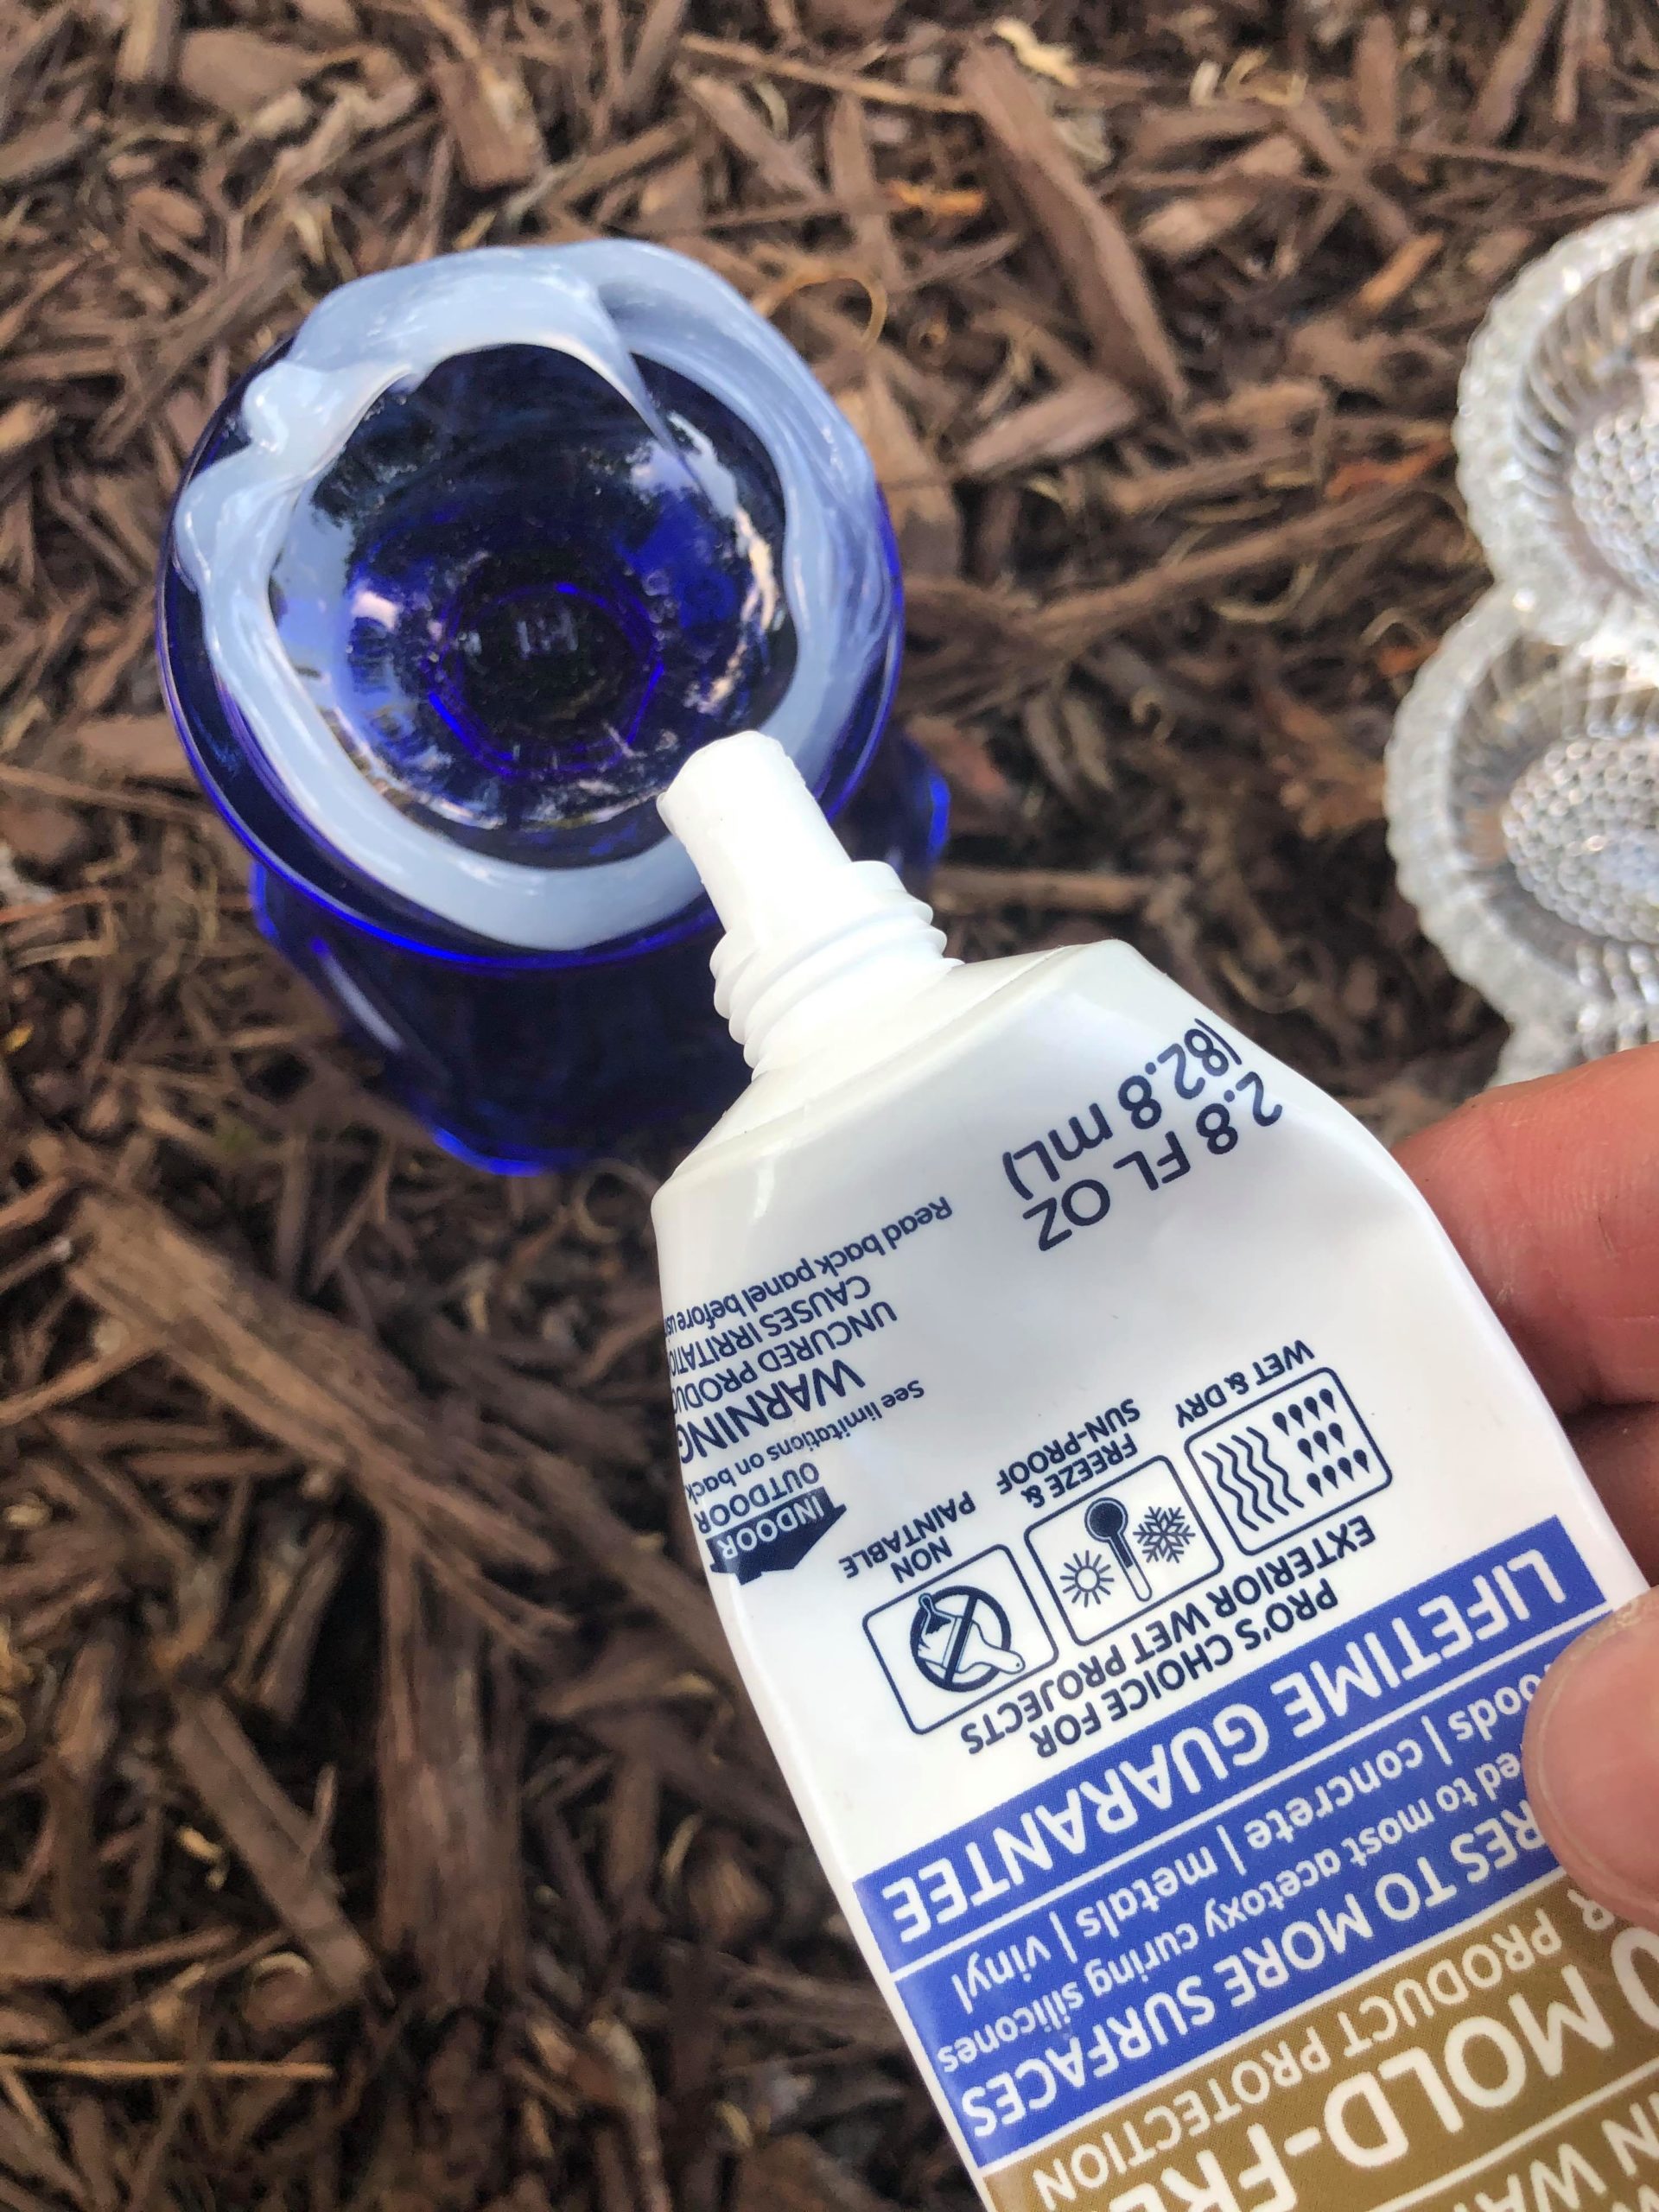
Be sure to add a good amount of silicone to each glass piece.

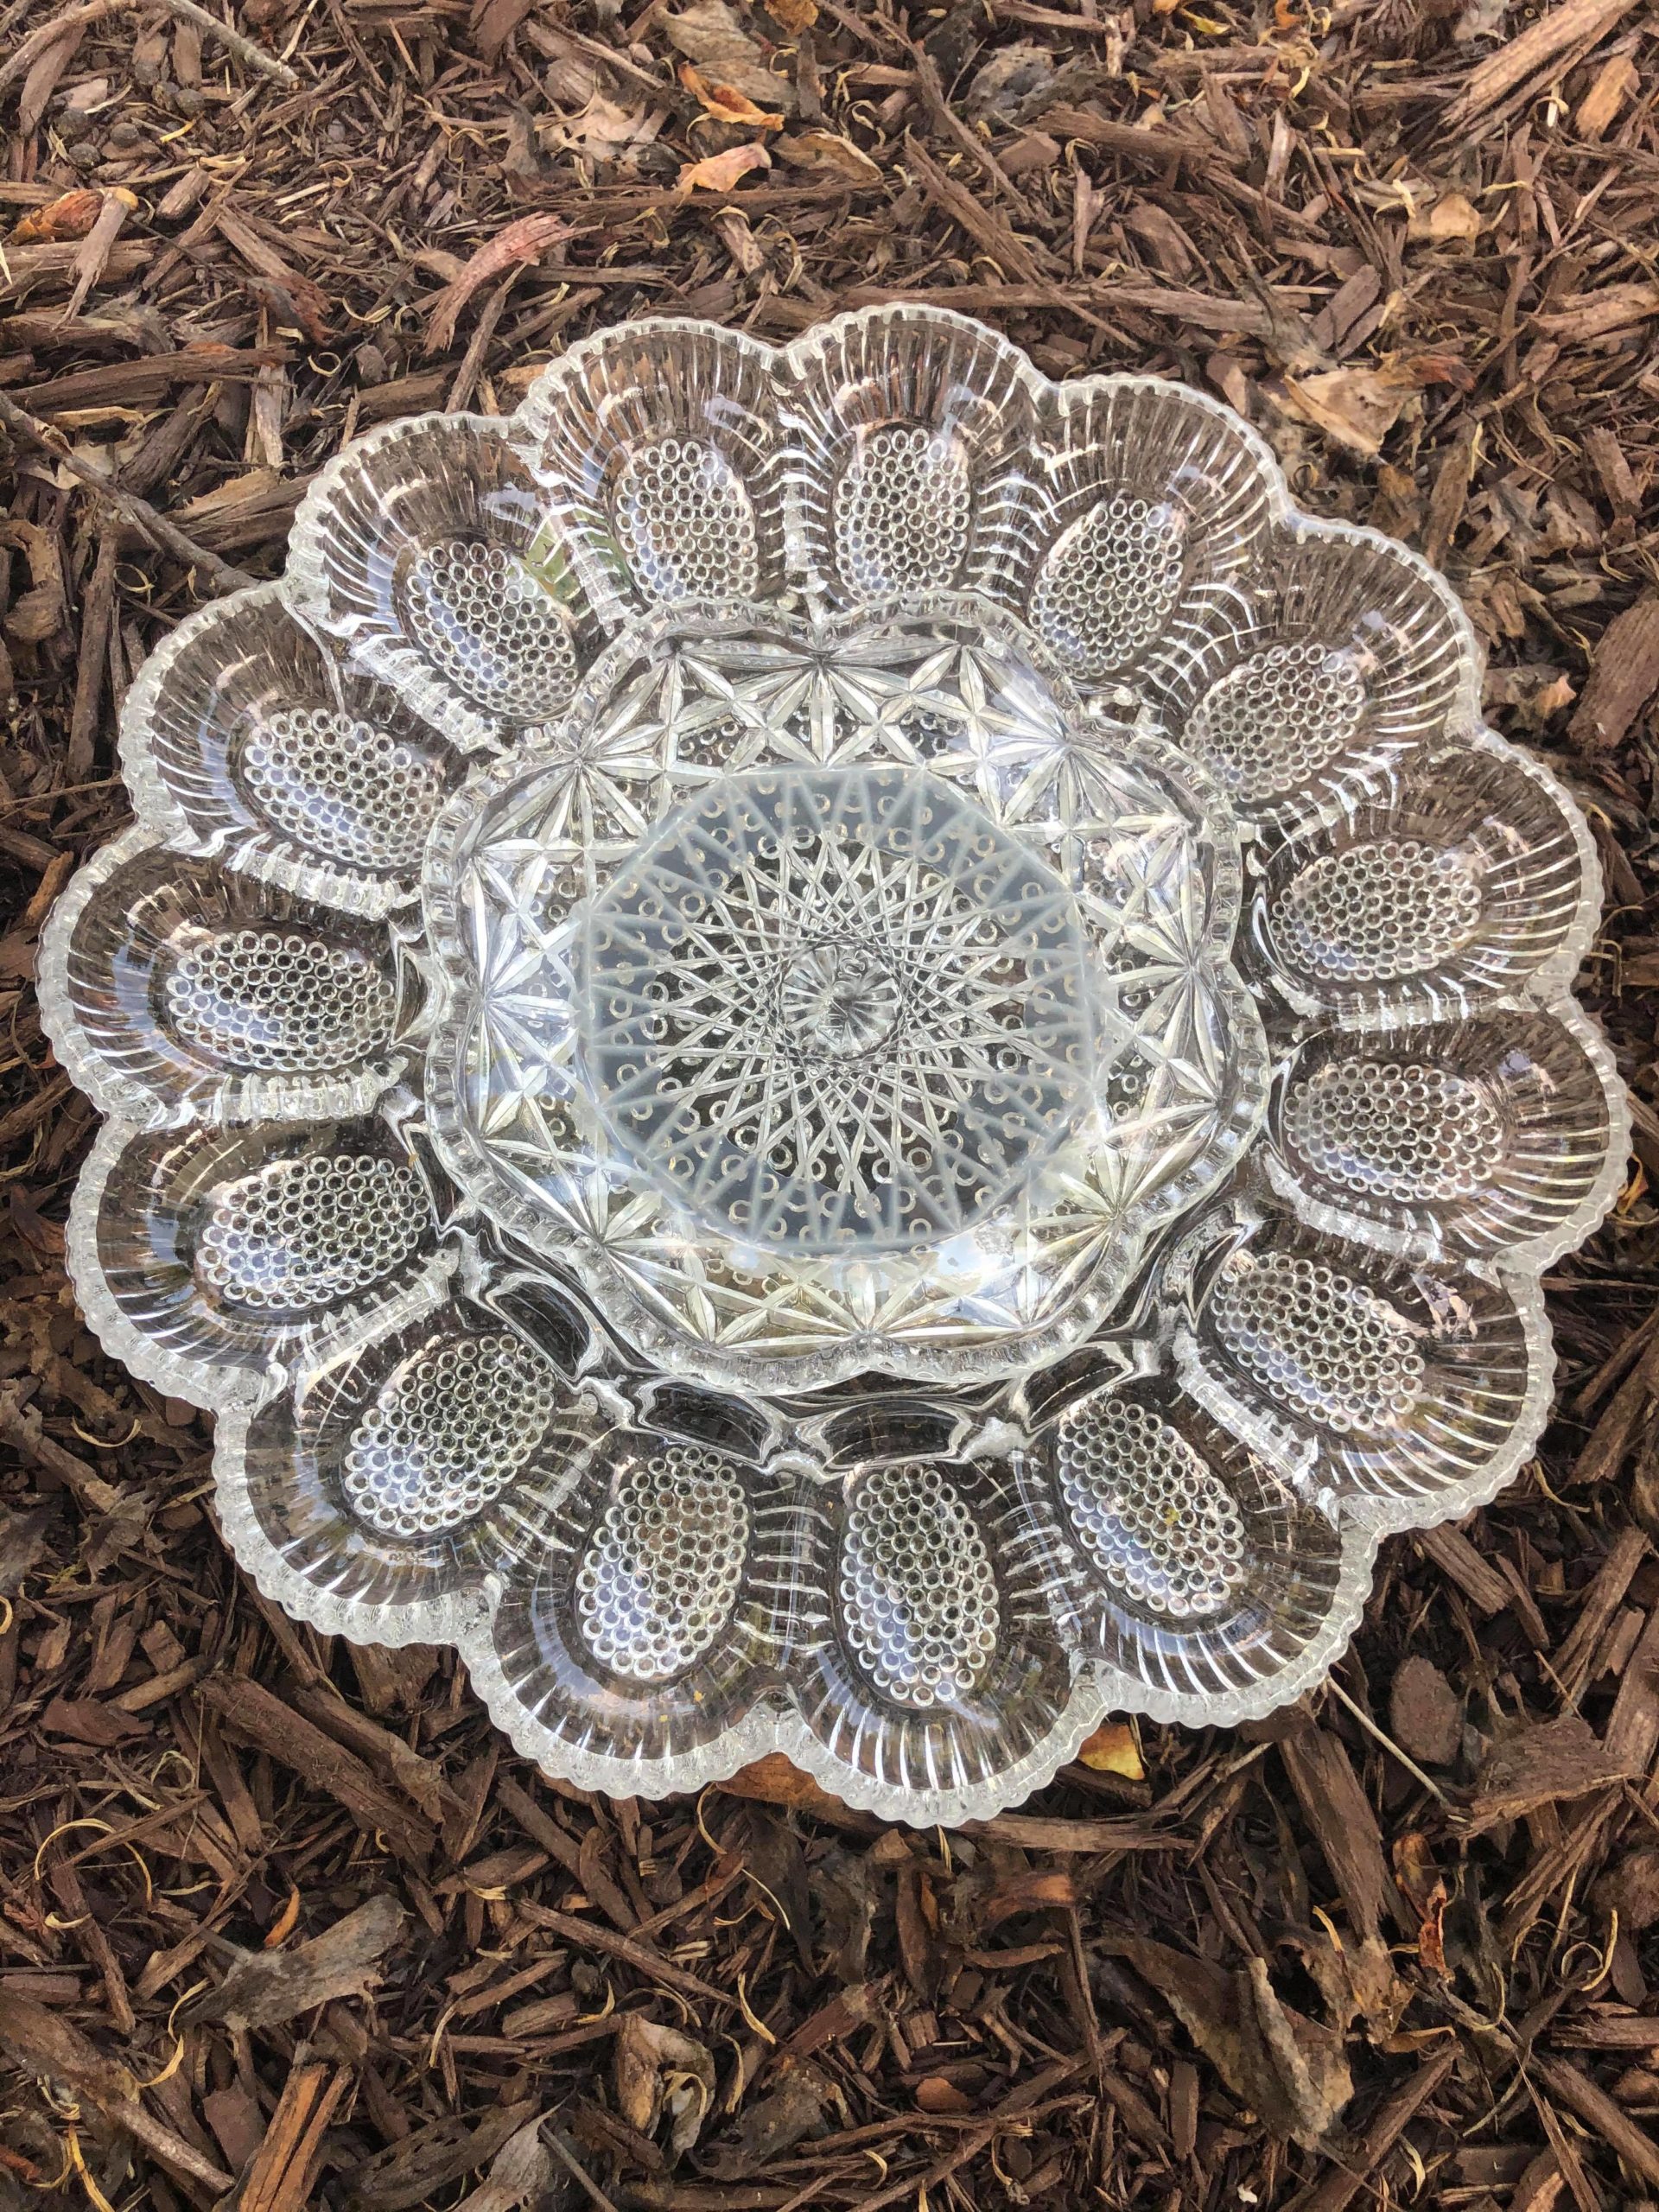
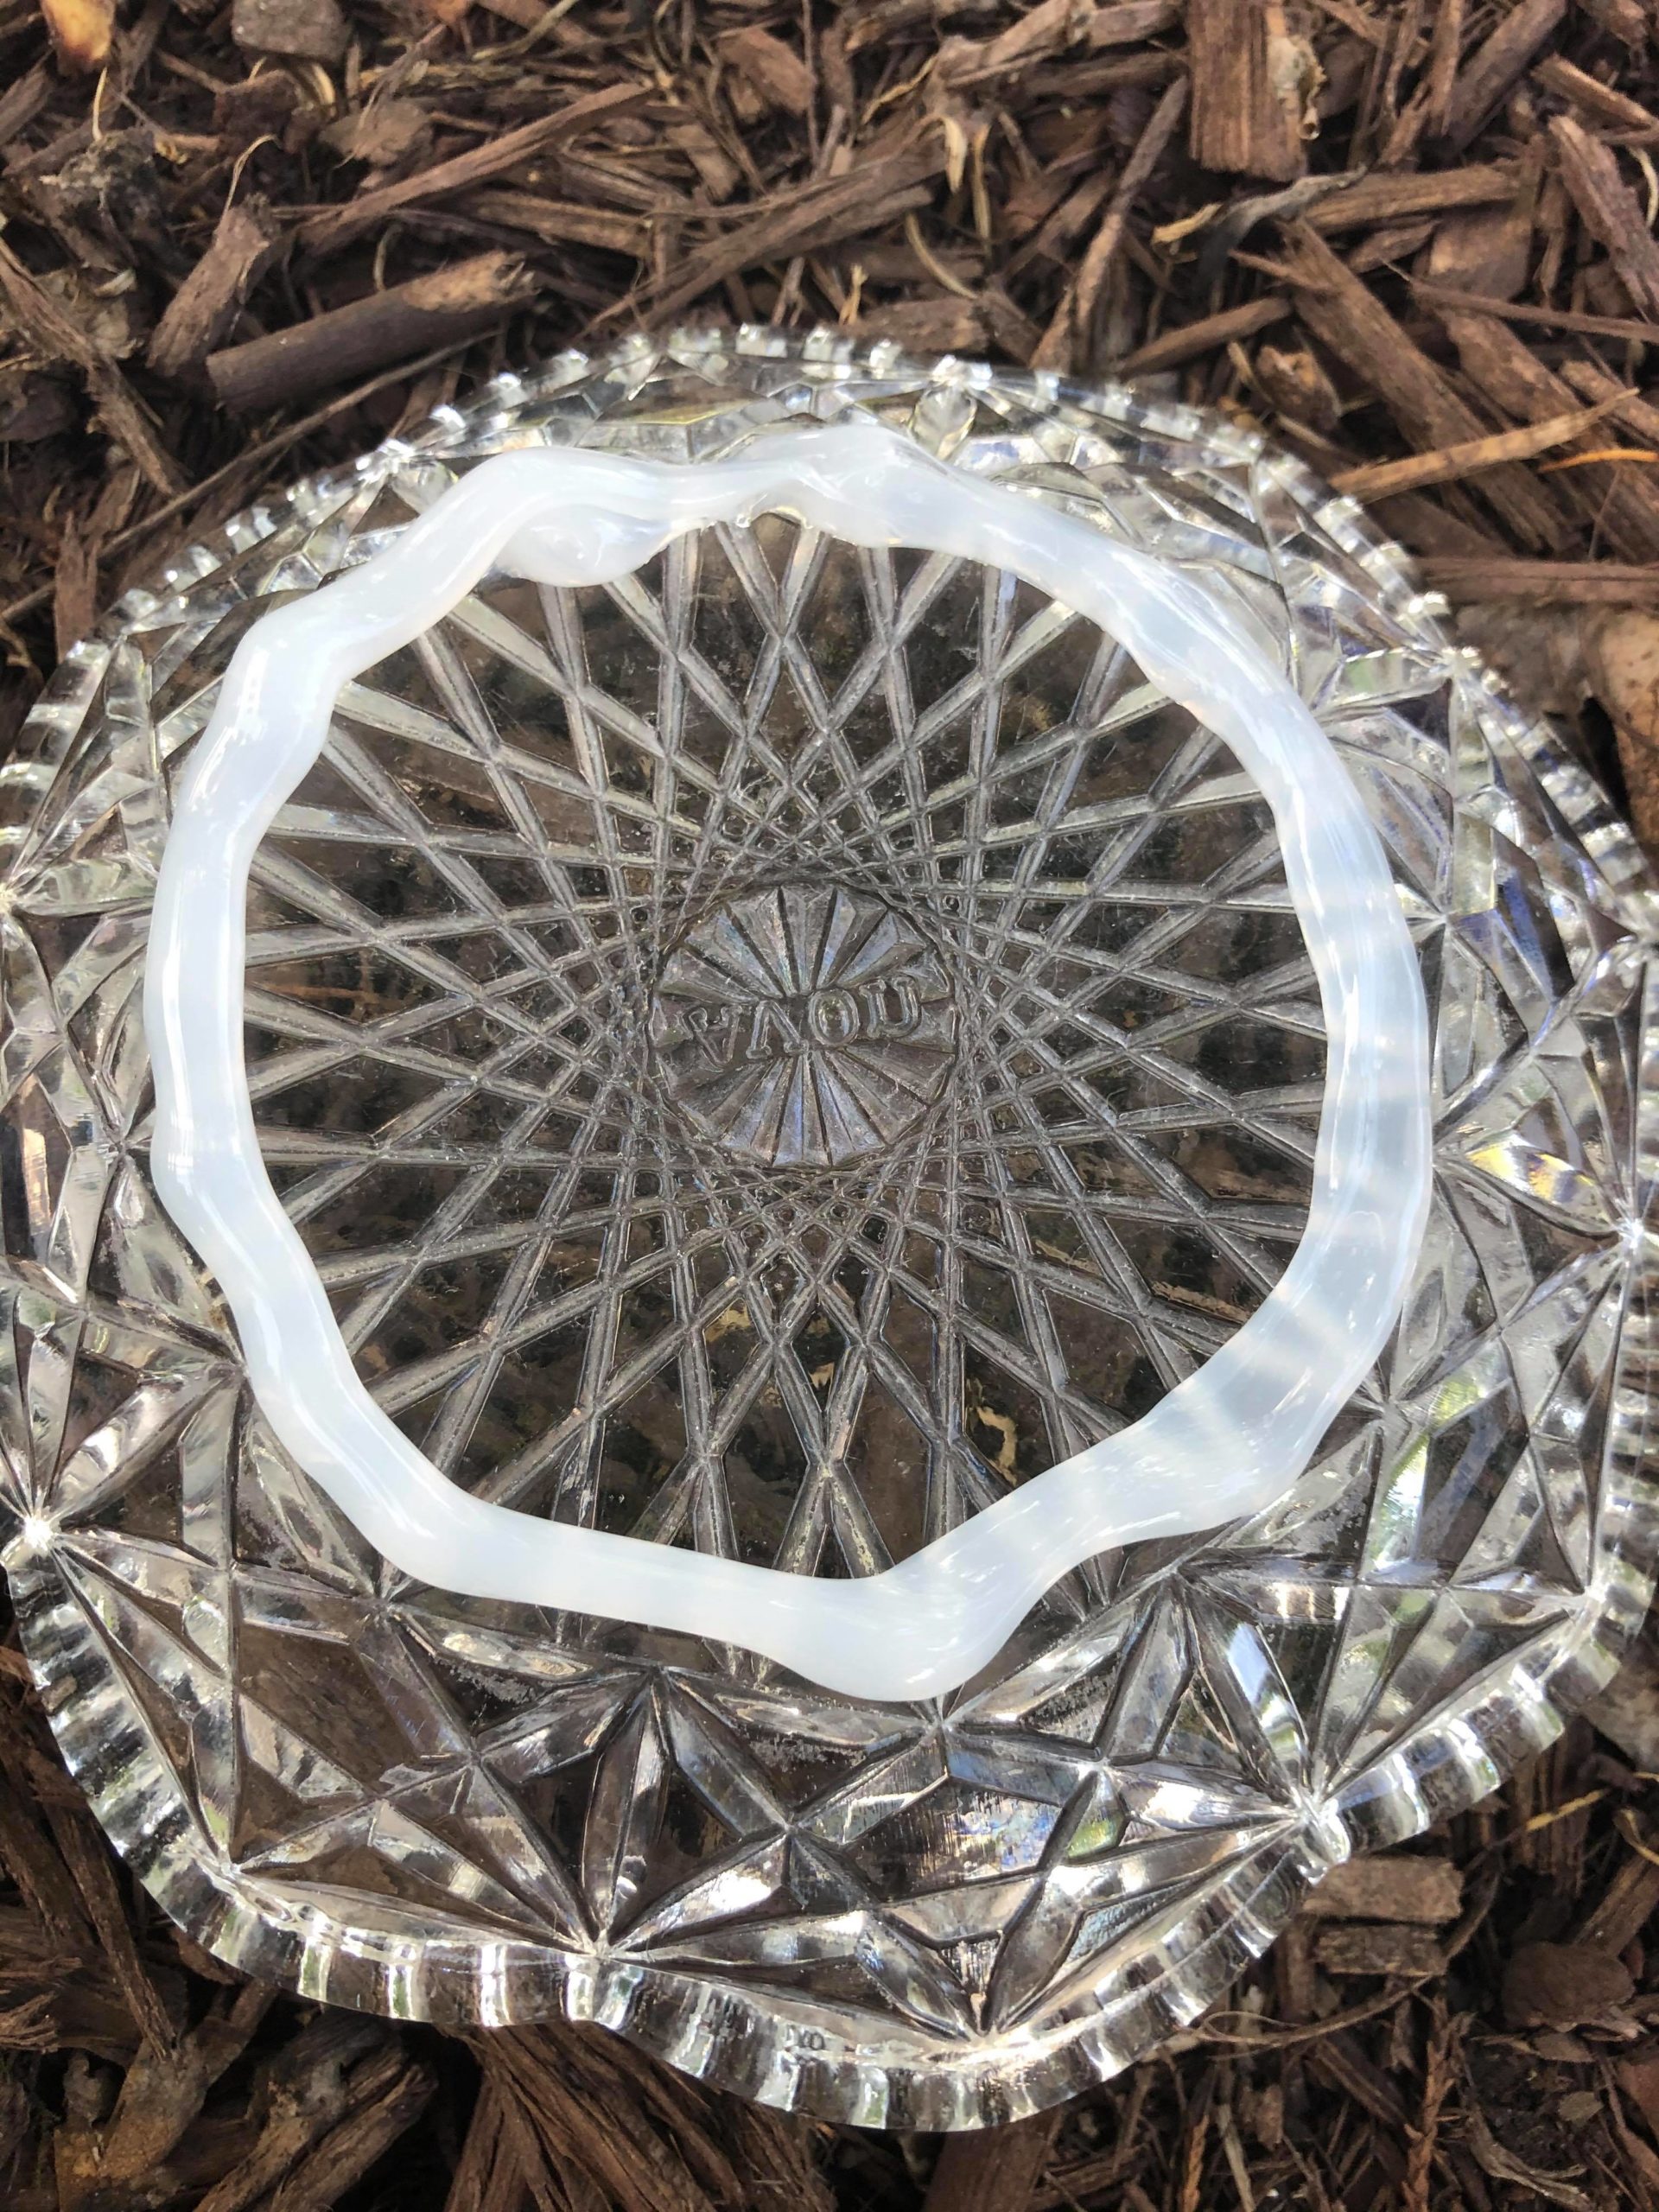
You will want to use the silicone to attach all your glass pieces together to form your flowers. I gave the silicone one full day to dry before moving on to the next step.
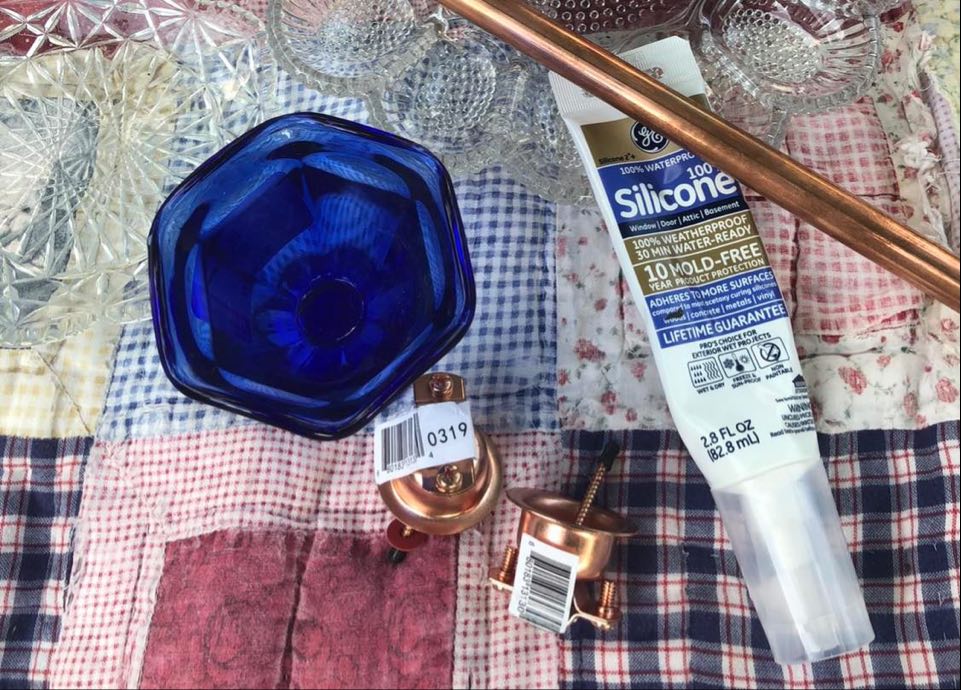
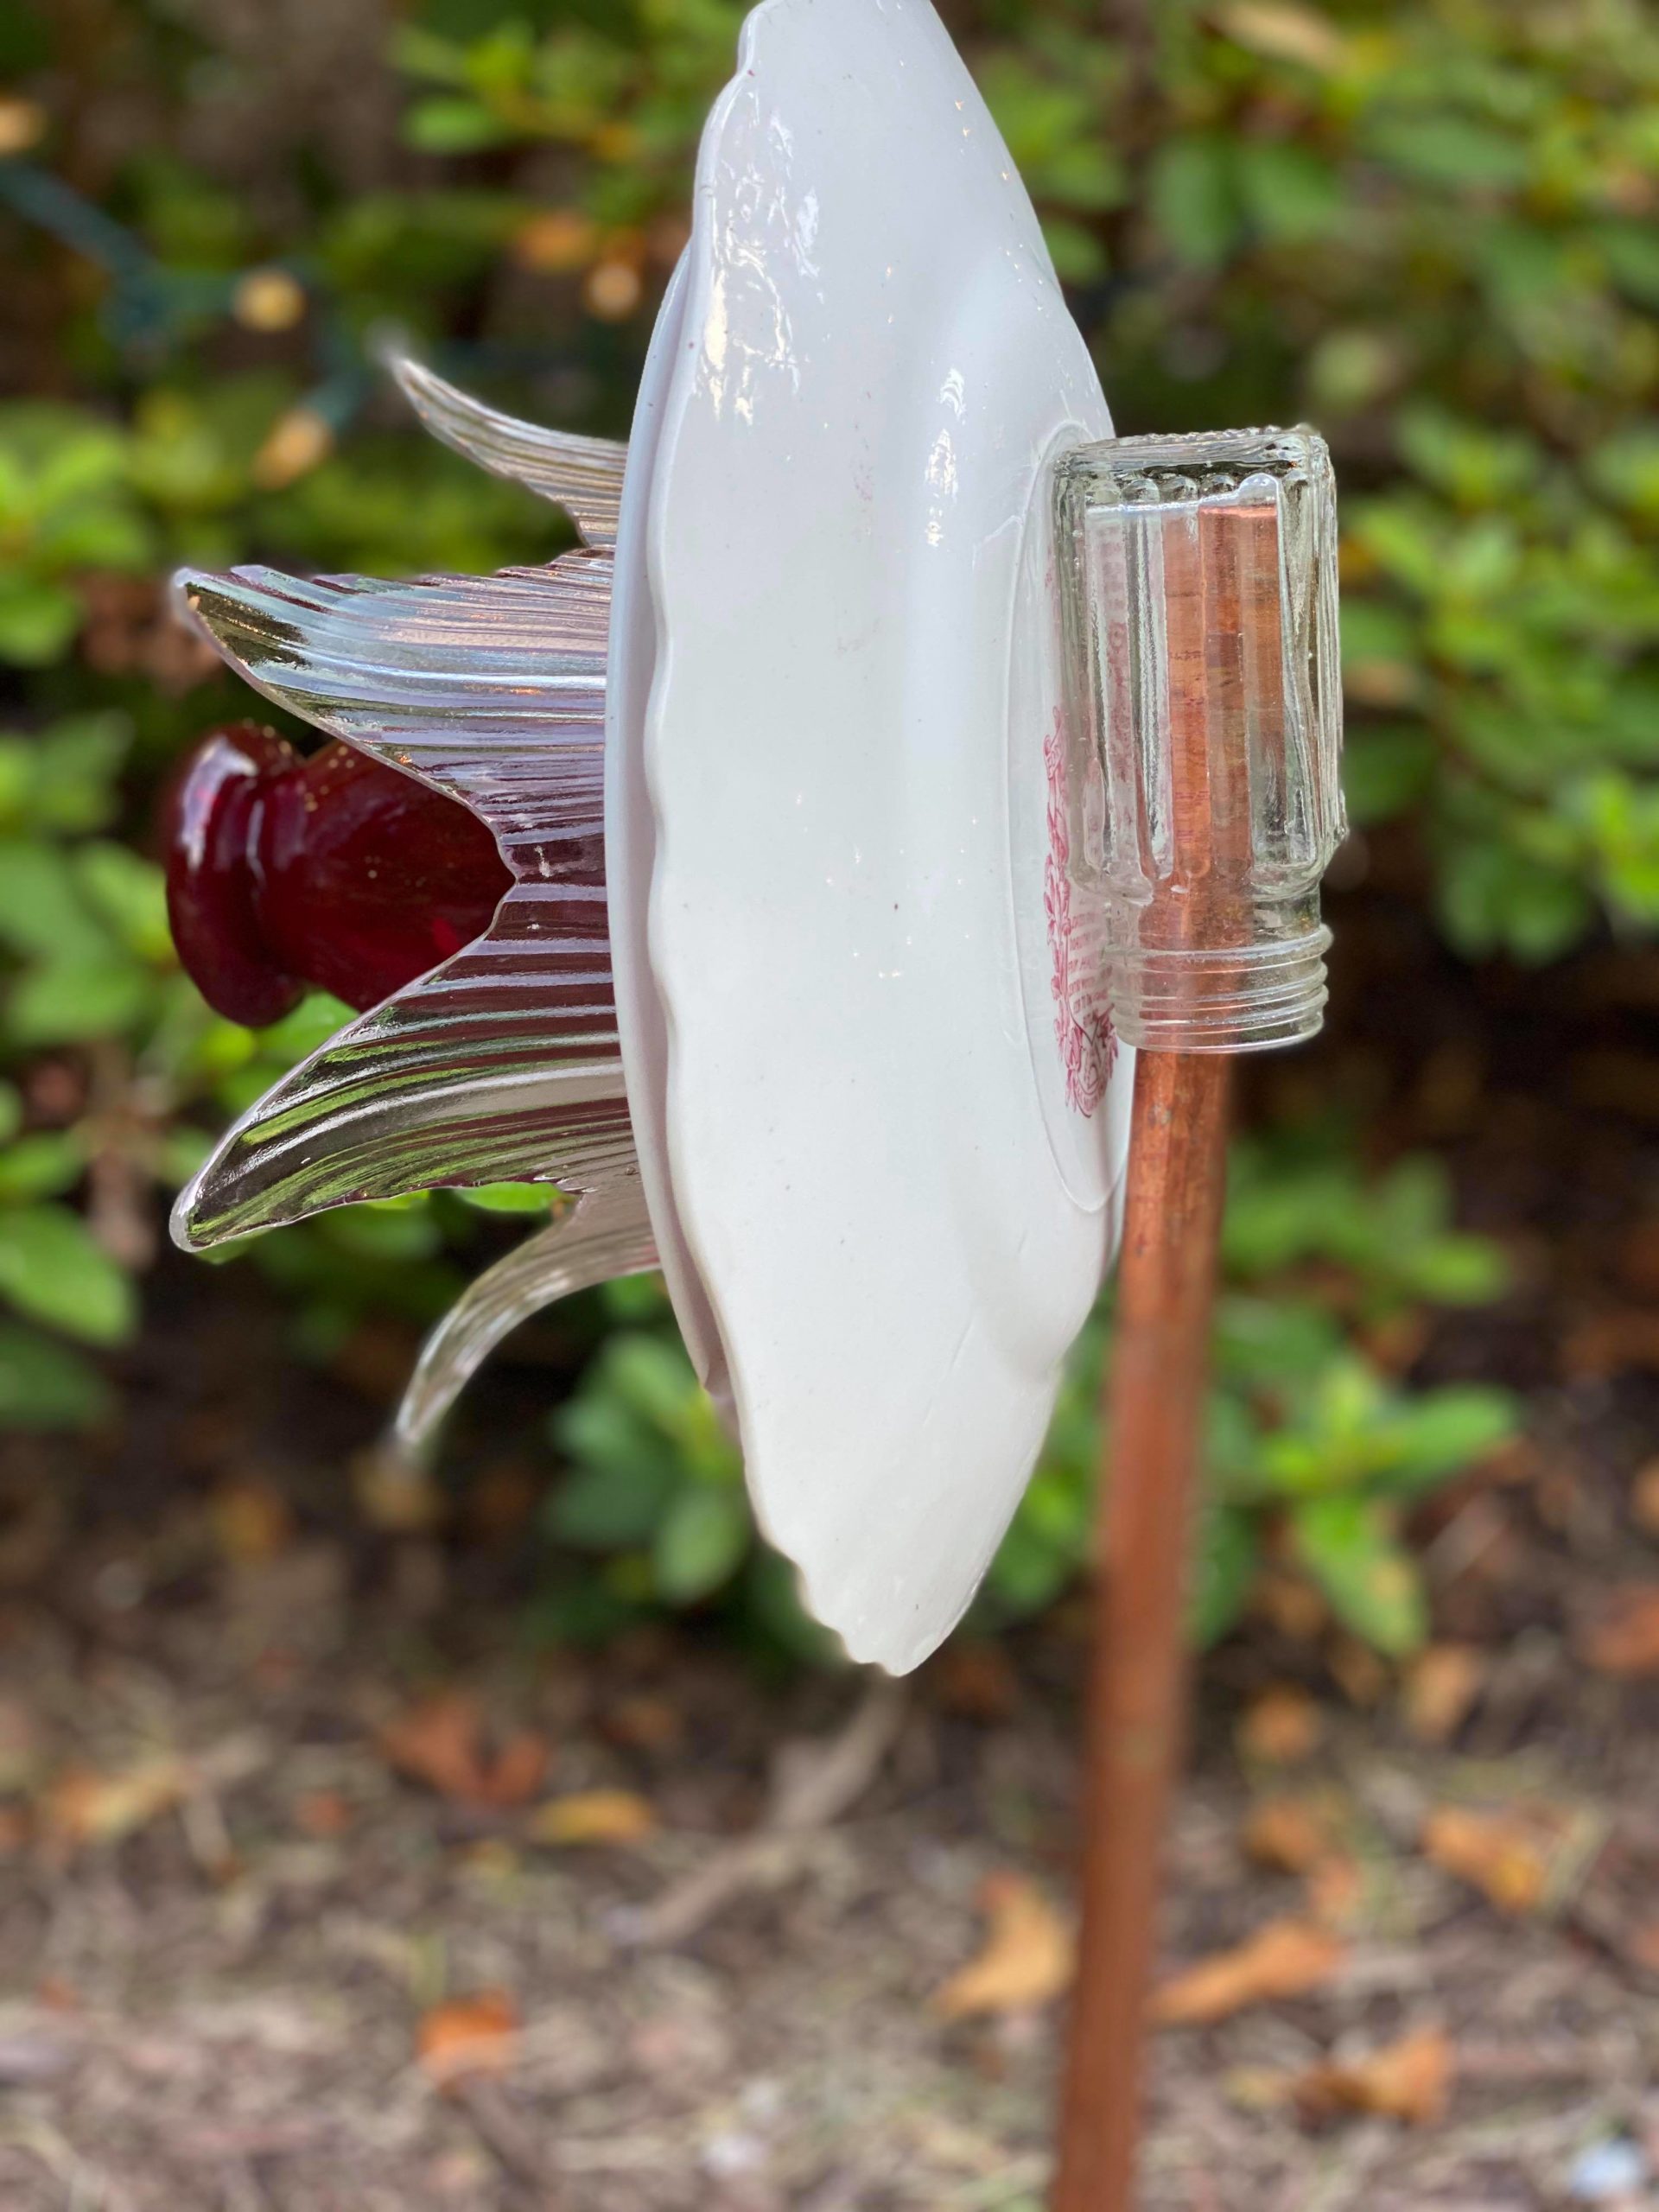
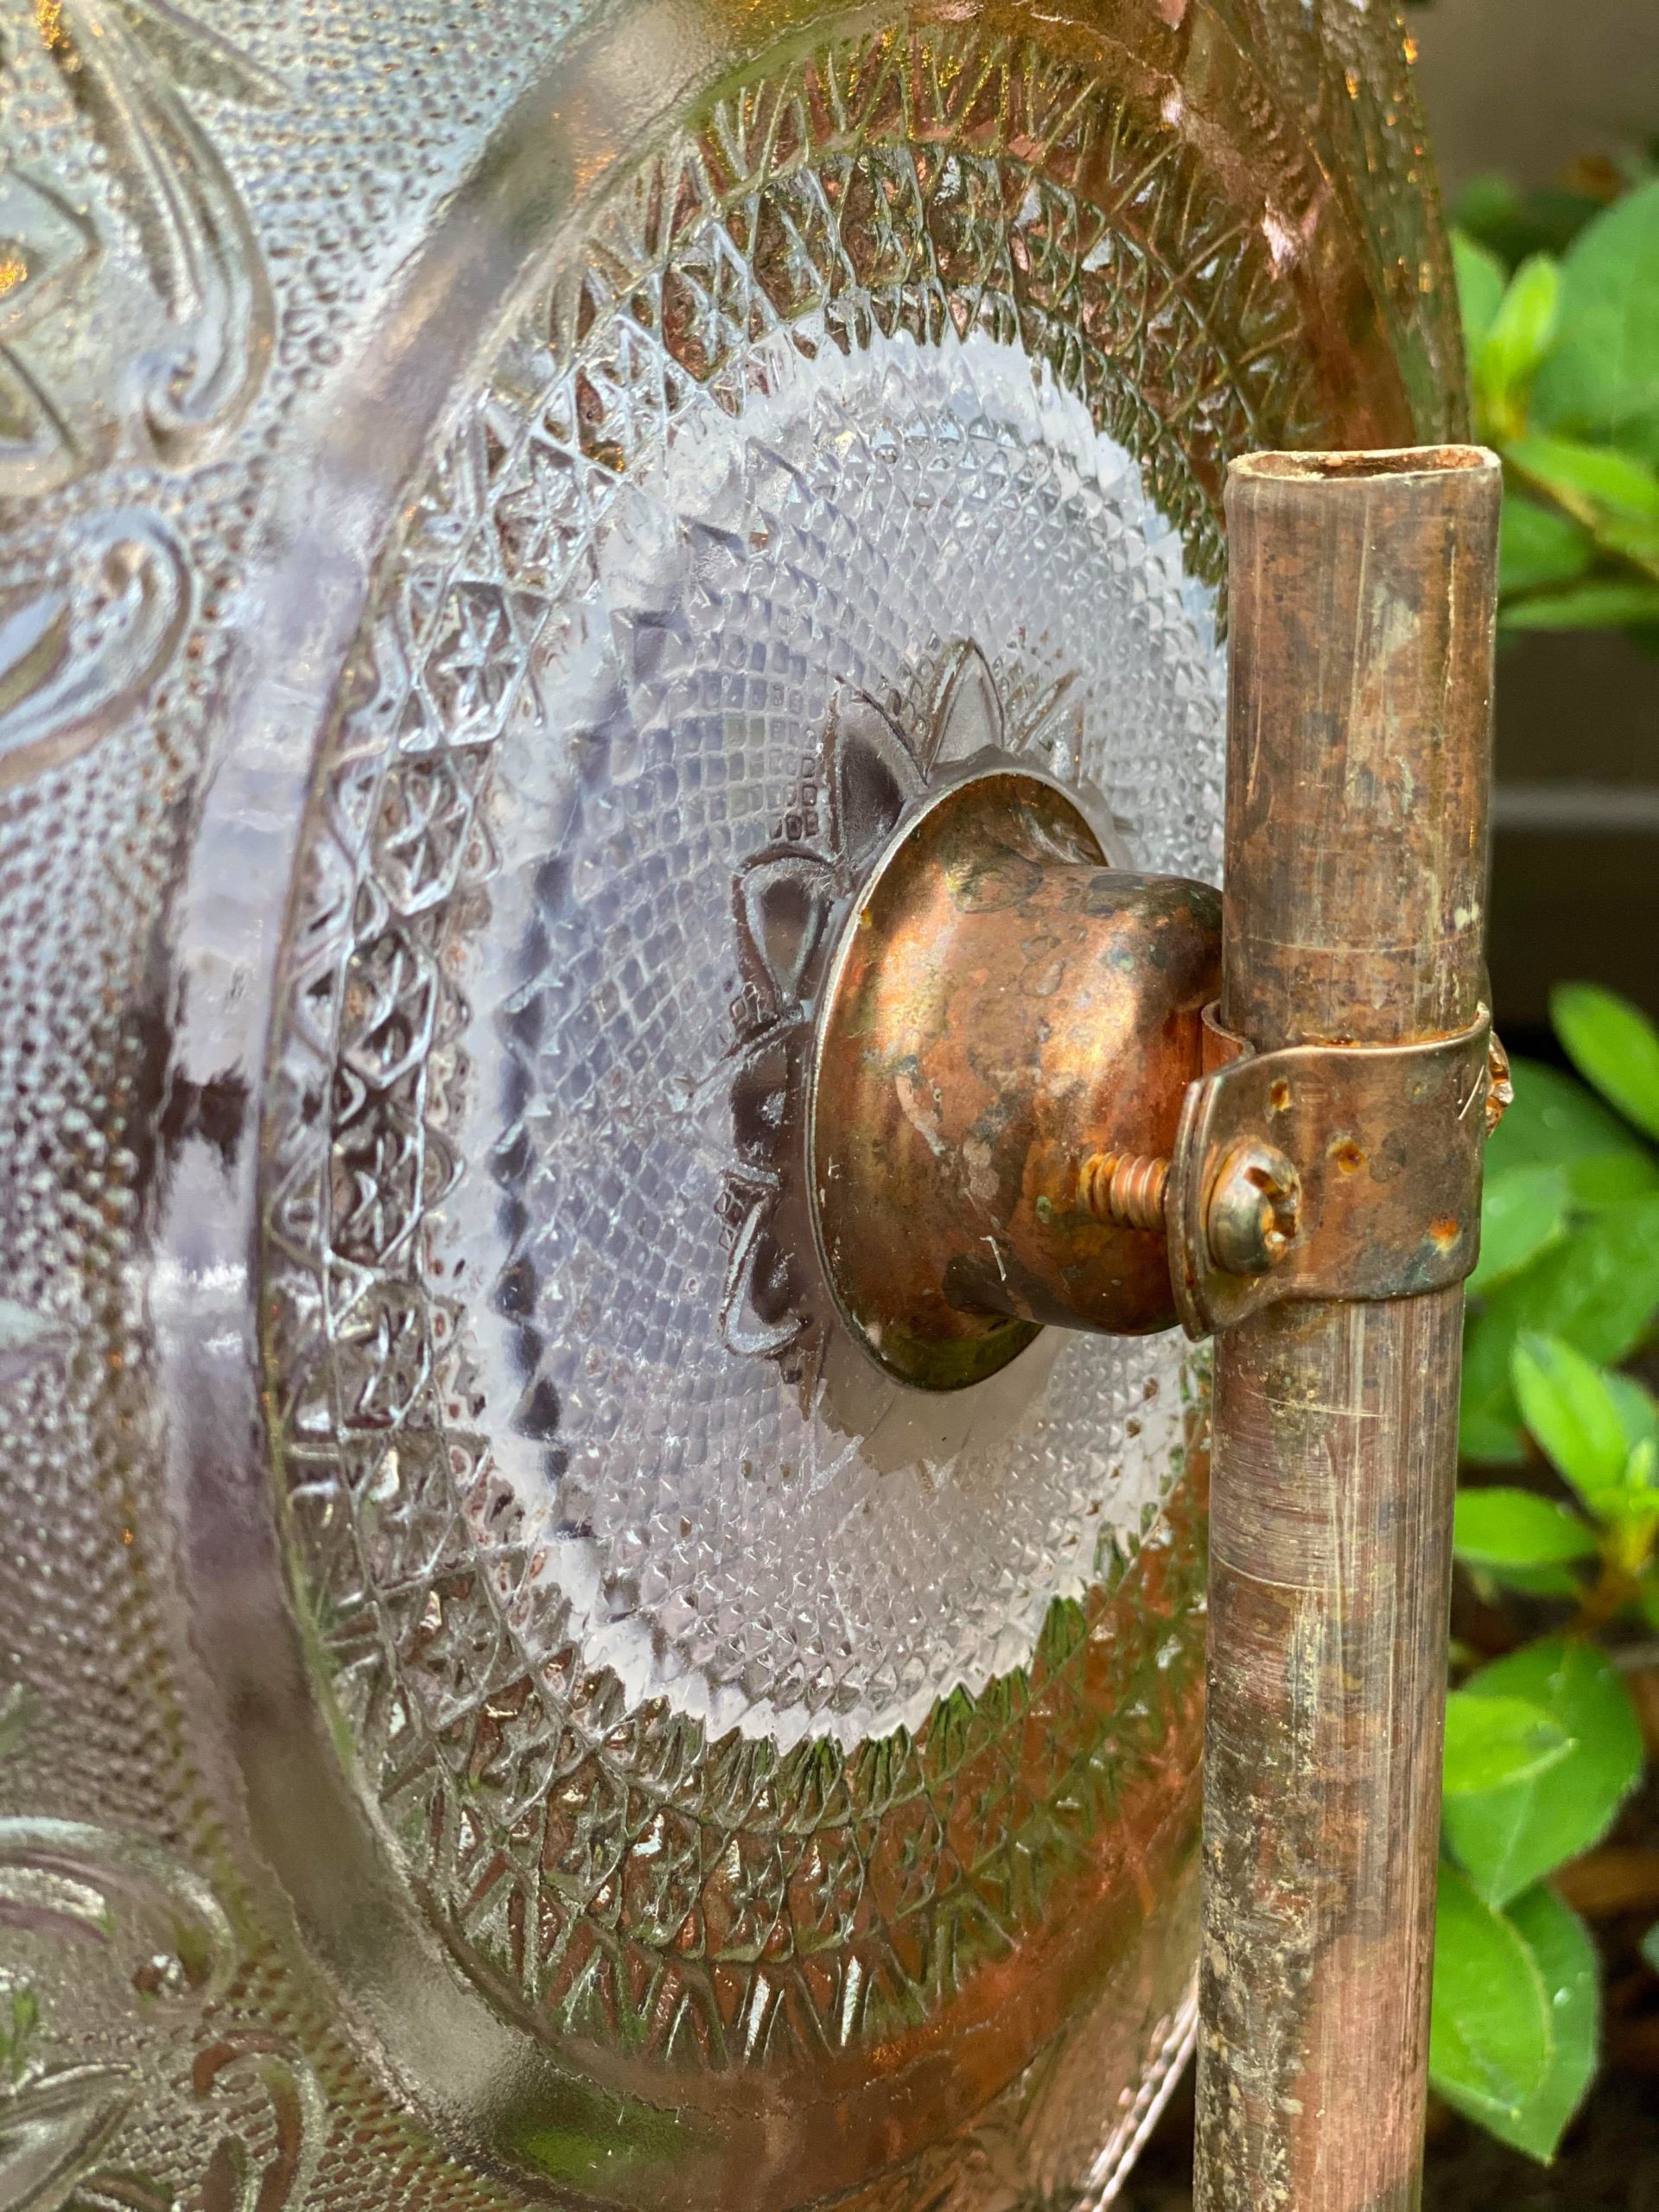
It is now time to attach your flower to some type of pole. I am here to tell you what I found to work best. I originally used a copper bell attachment which you will find in a hardware store in the plumbing section. If you decide to use the copper bell attachment you will want to get a copper pipe that is the same diameter. Your pipe can be as long as you want the stem of your flower to be.
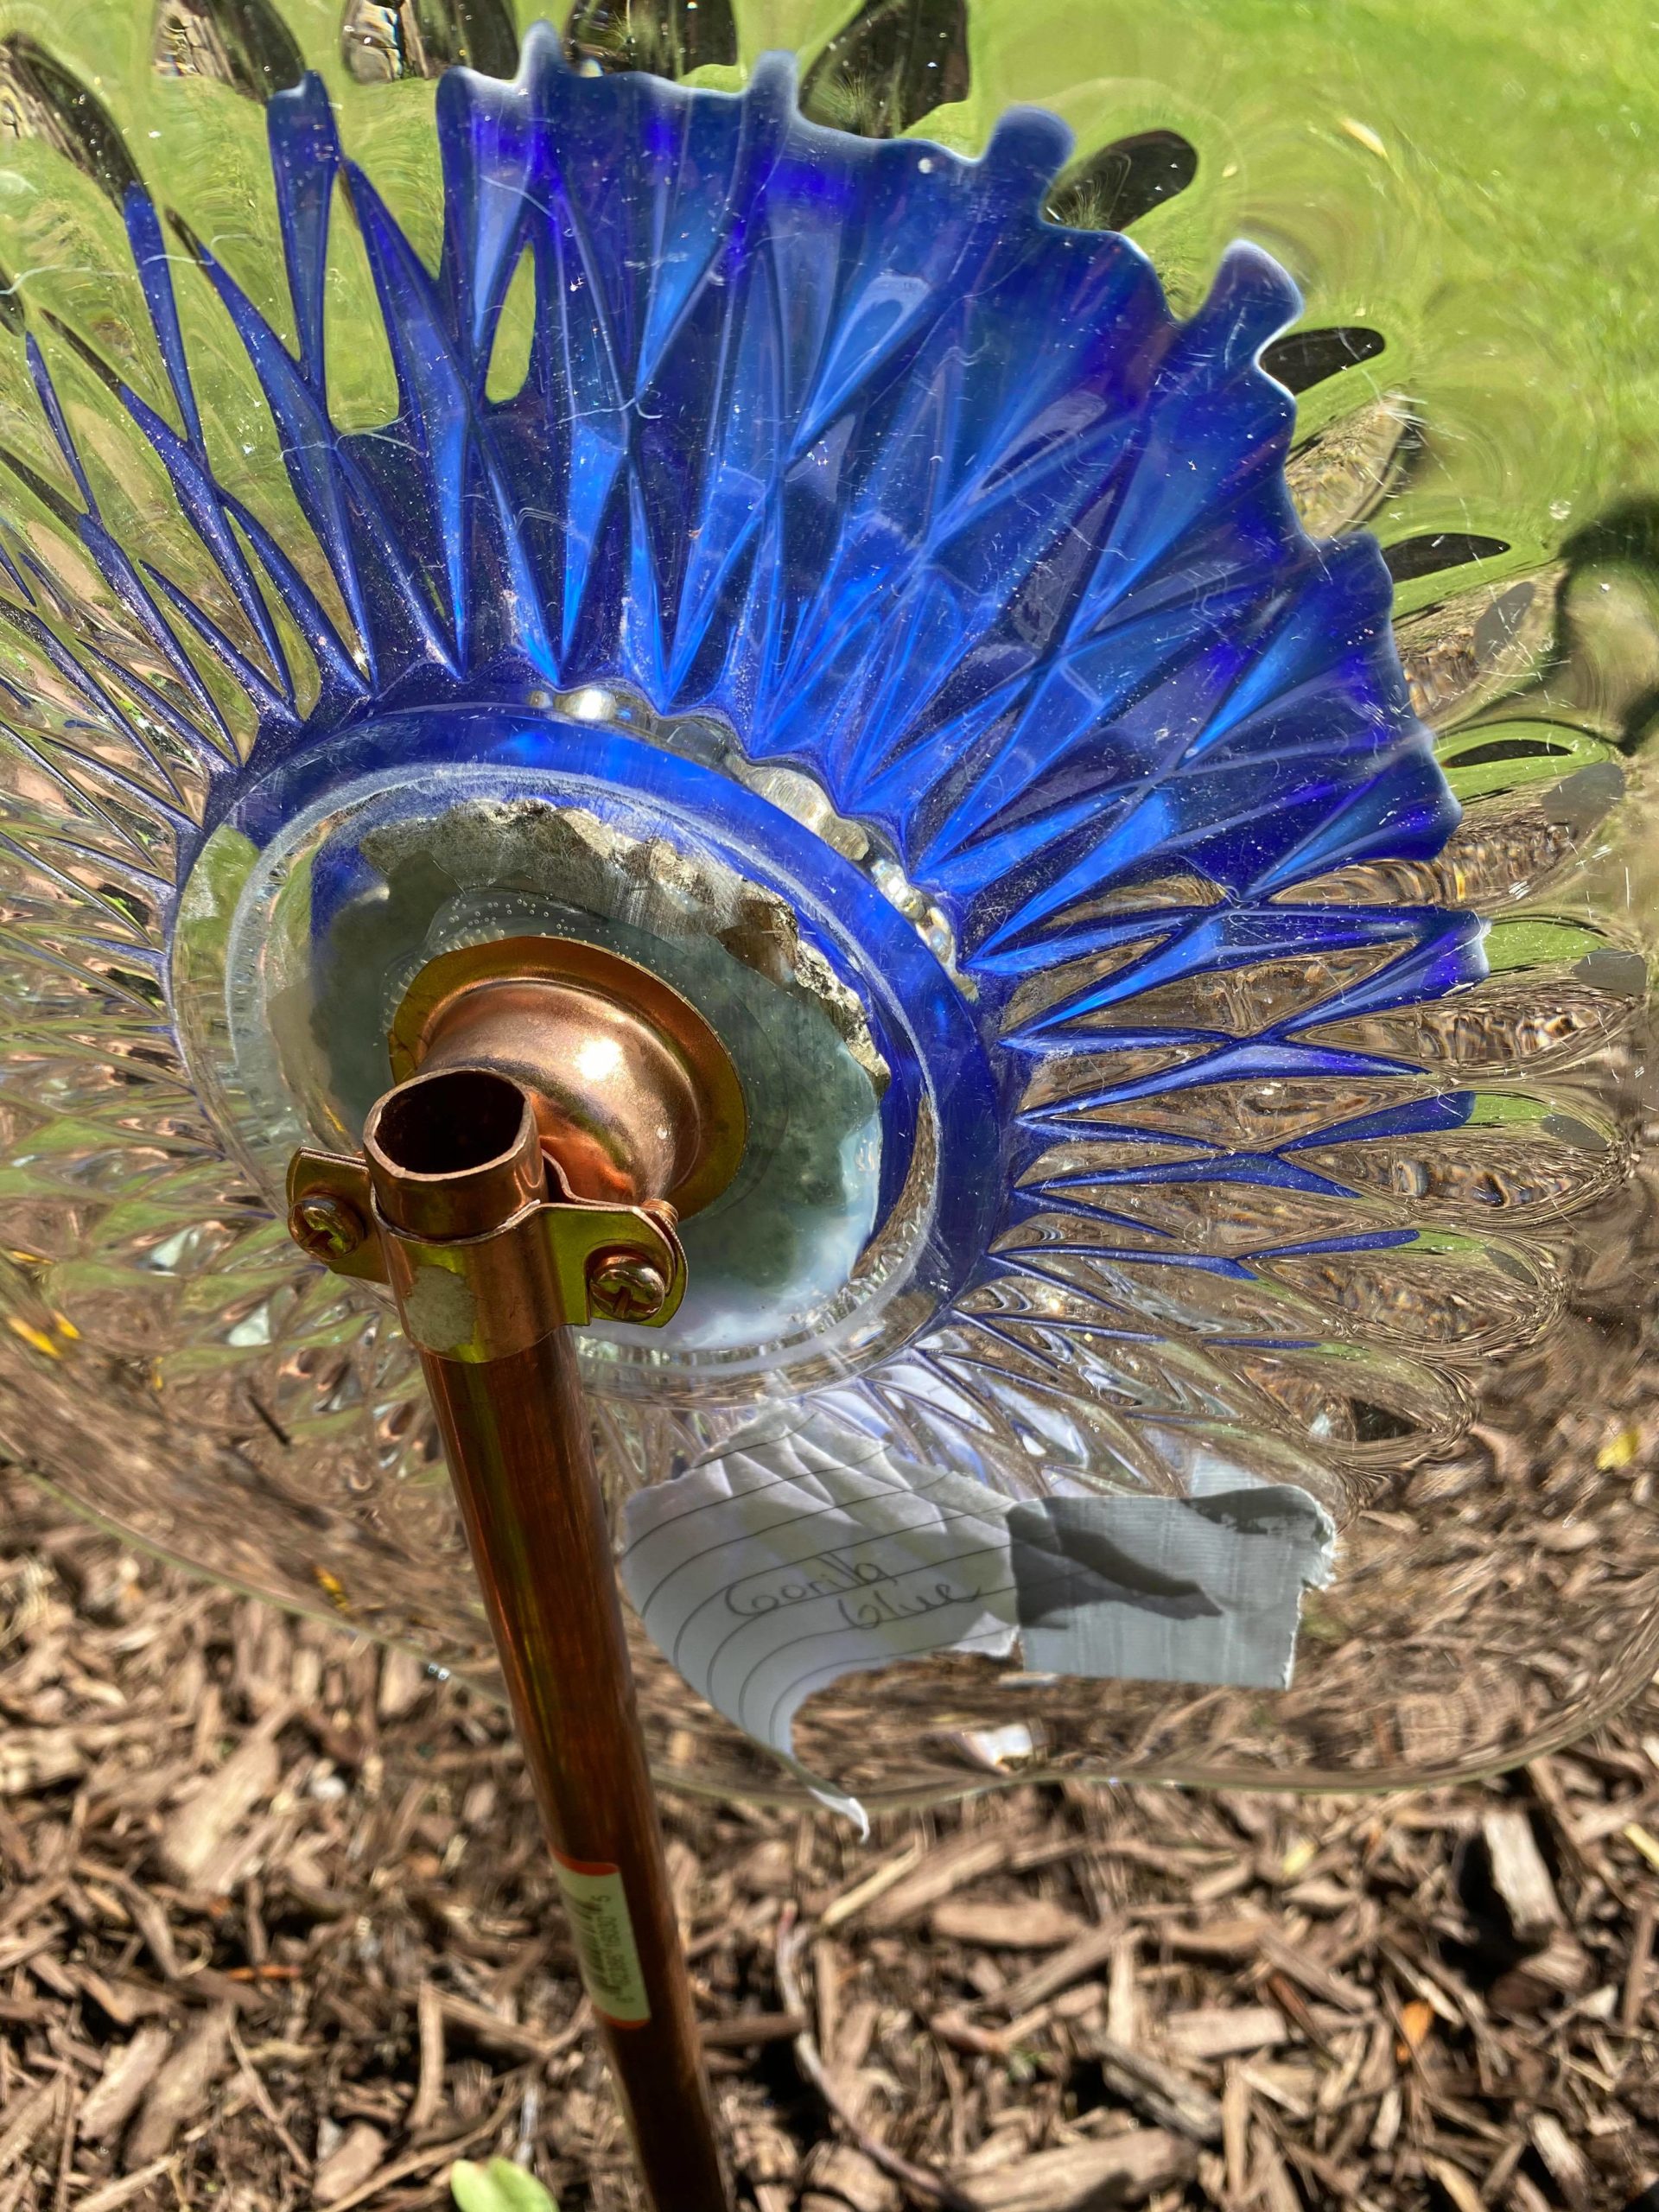
I used a variety of glues to attach the copper bell to the back of the flowers. I gave them a day to dry and then I attached them to the copper pipe. I labeled all of the flowers with which type of glue I used. I found this very time consuming and some glues worked and some didn’t. Attaching the copper bell to the back of the flower with the silicone seemed to work the best out of all of the other glues I tried. The heavier my flower was the harder it was to get the copper bell to stay attached to the flower.
I suggest using a hockey puck for the back of the flower since this method was the easiest and worked the best for me.
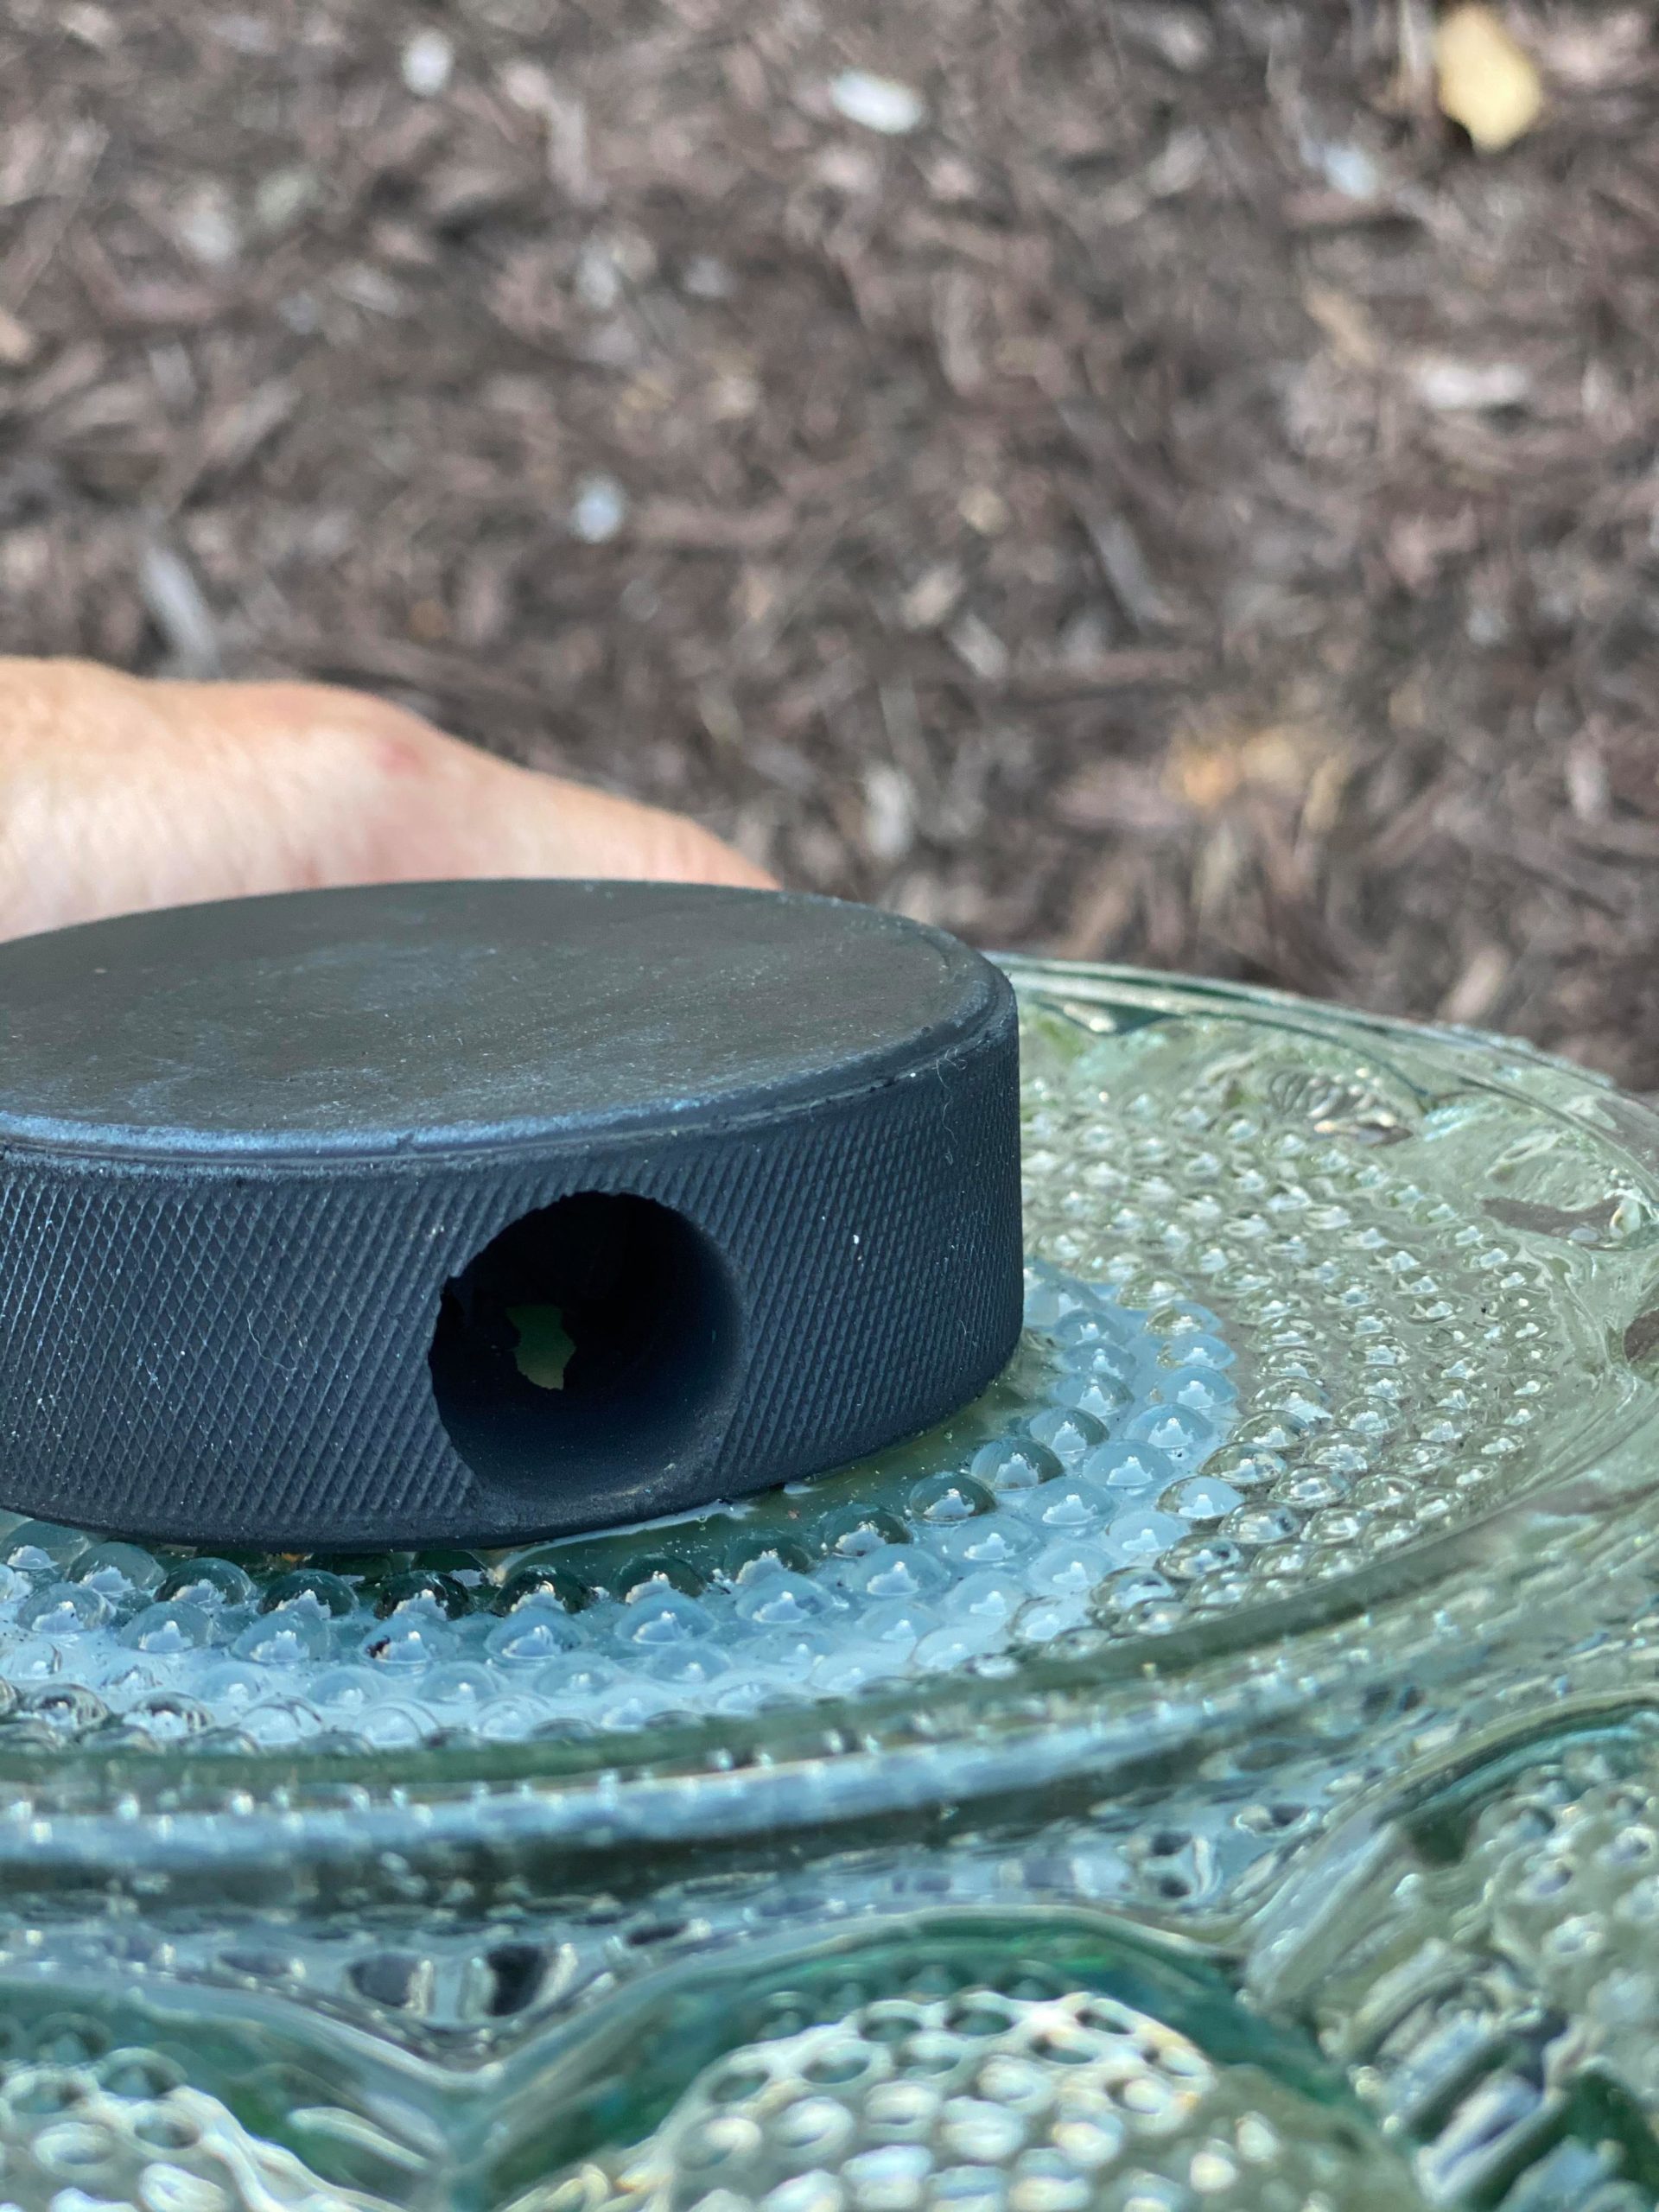
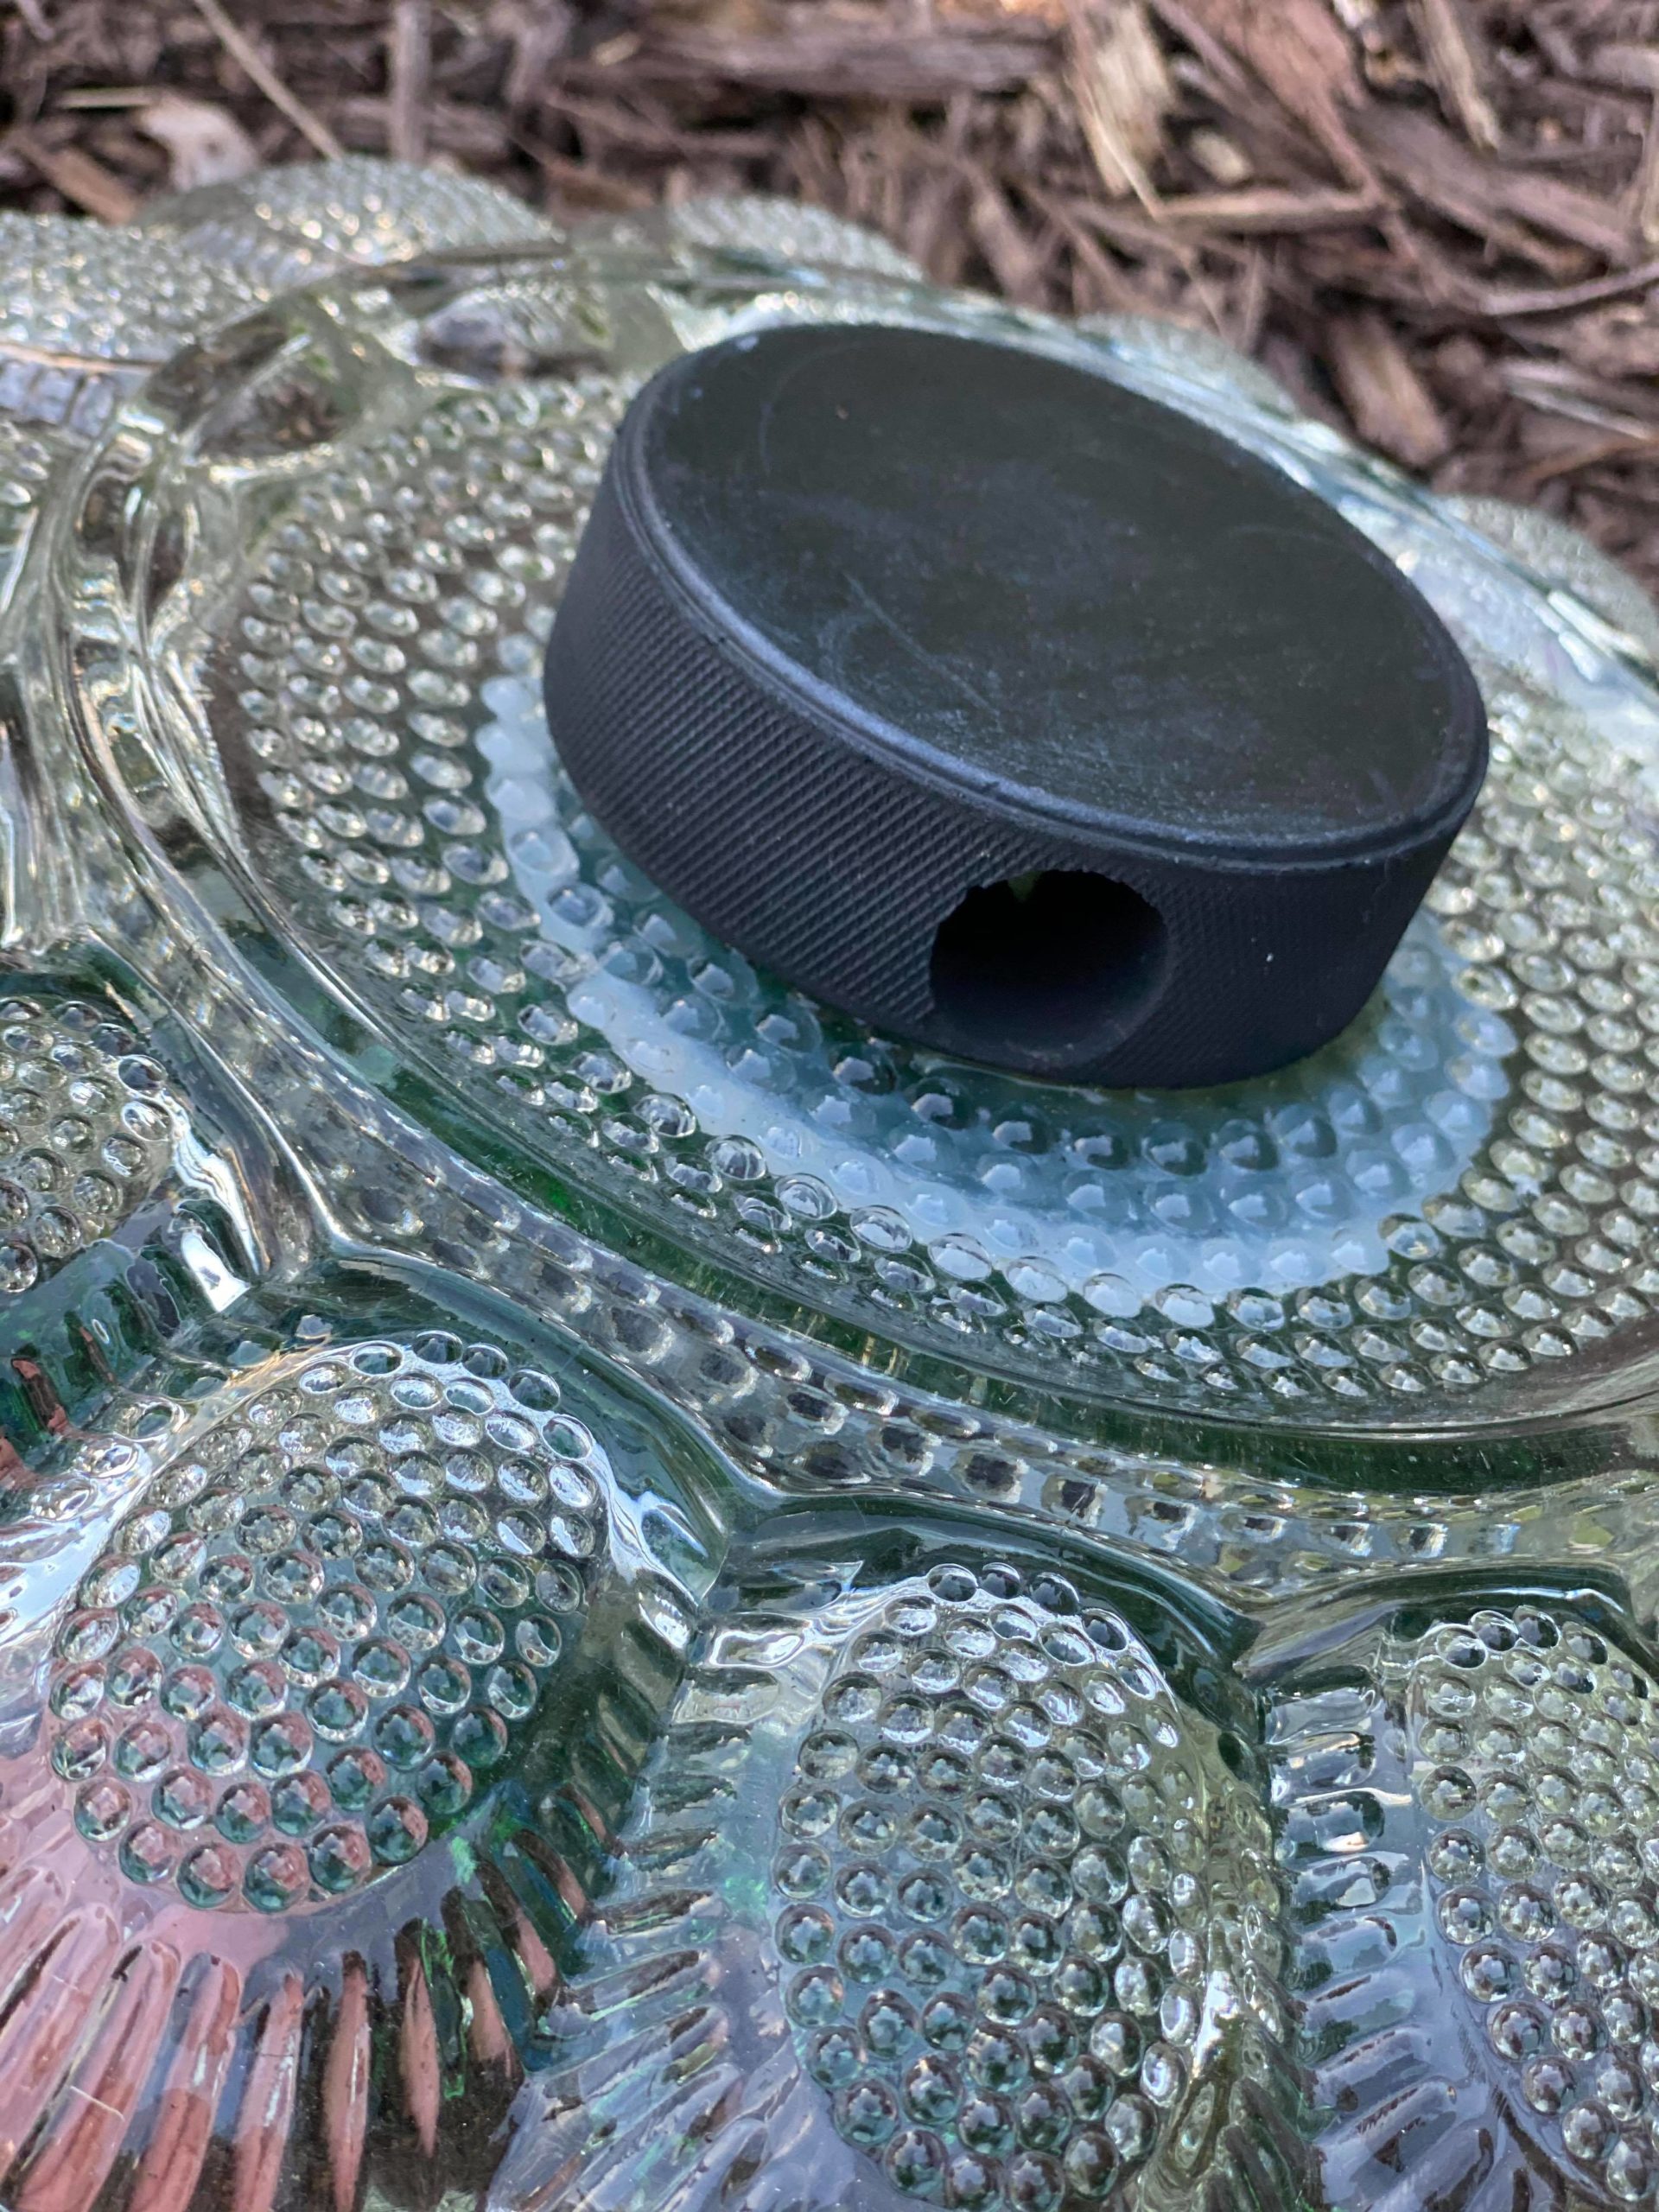
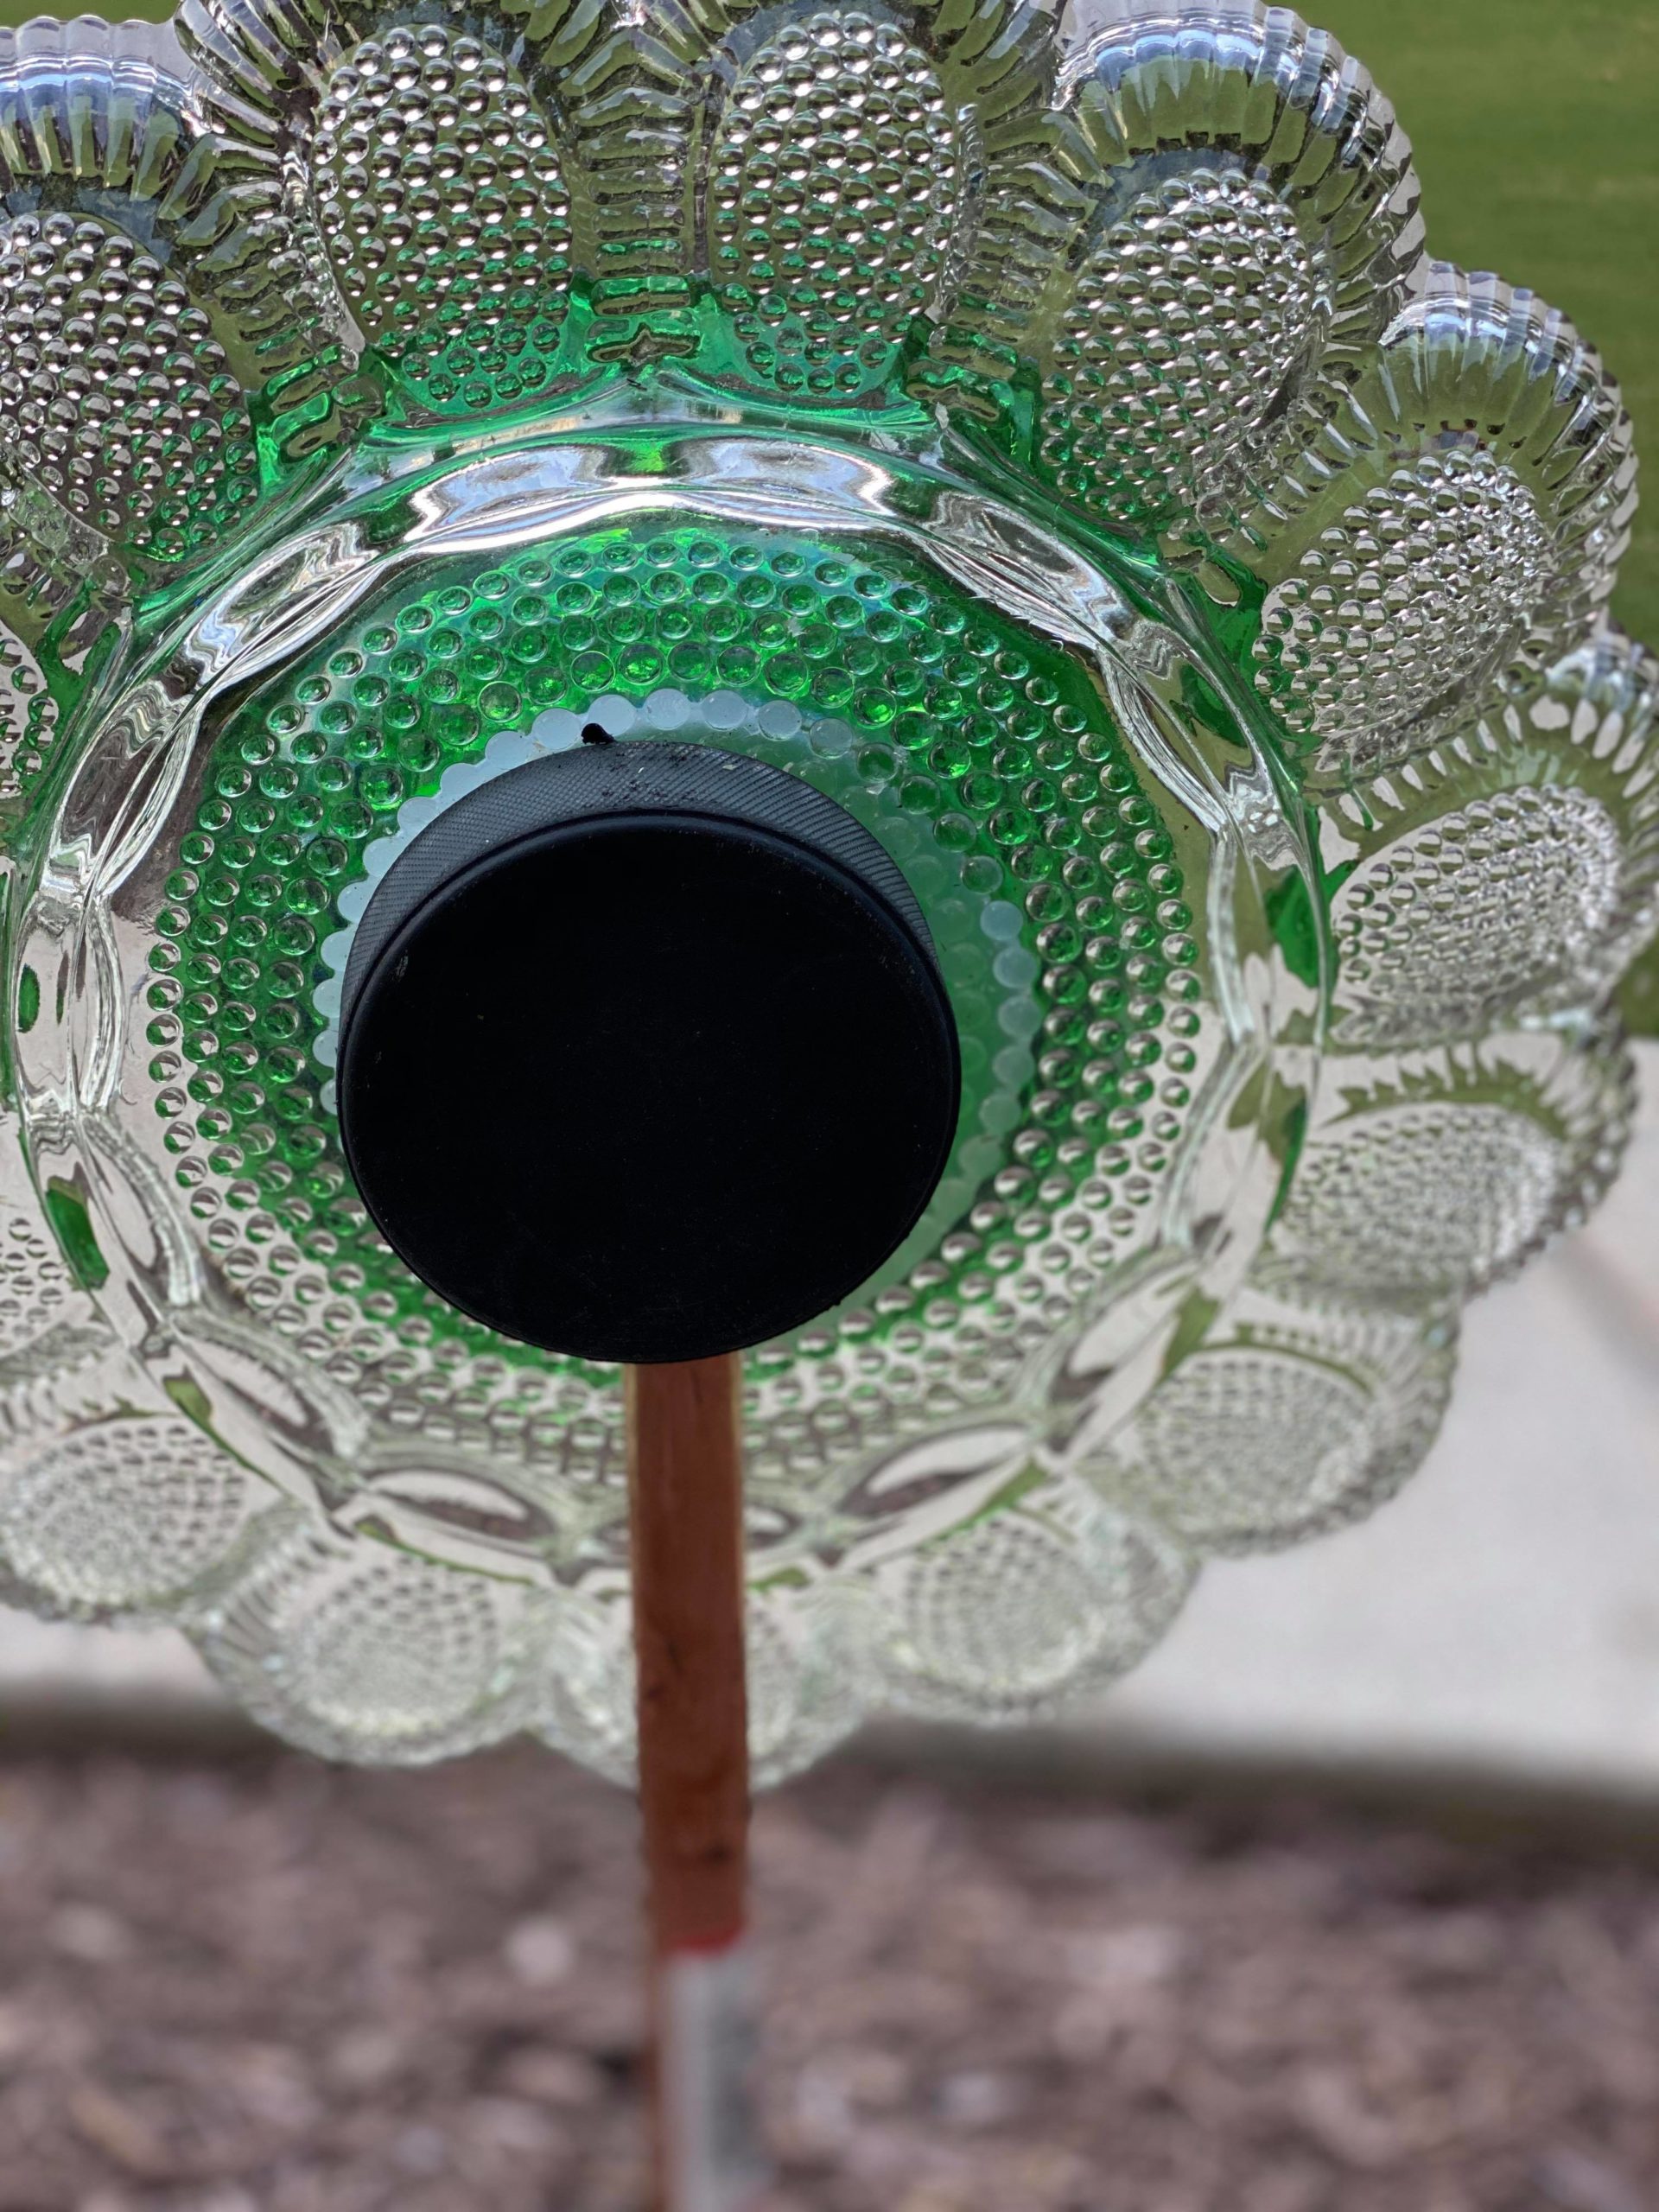
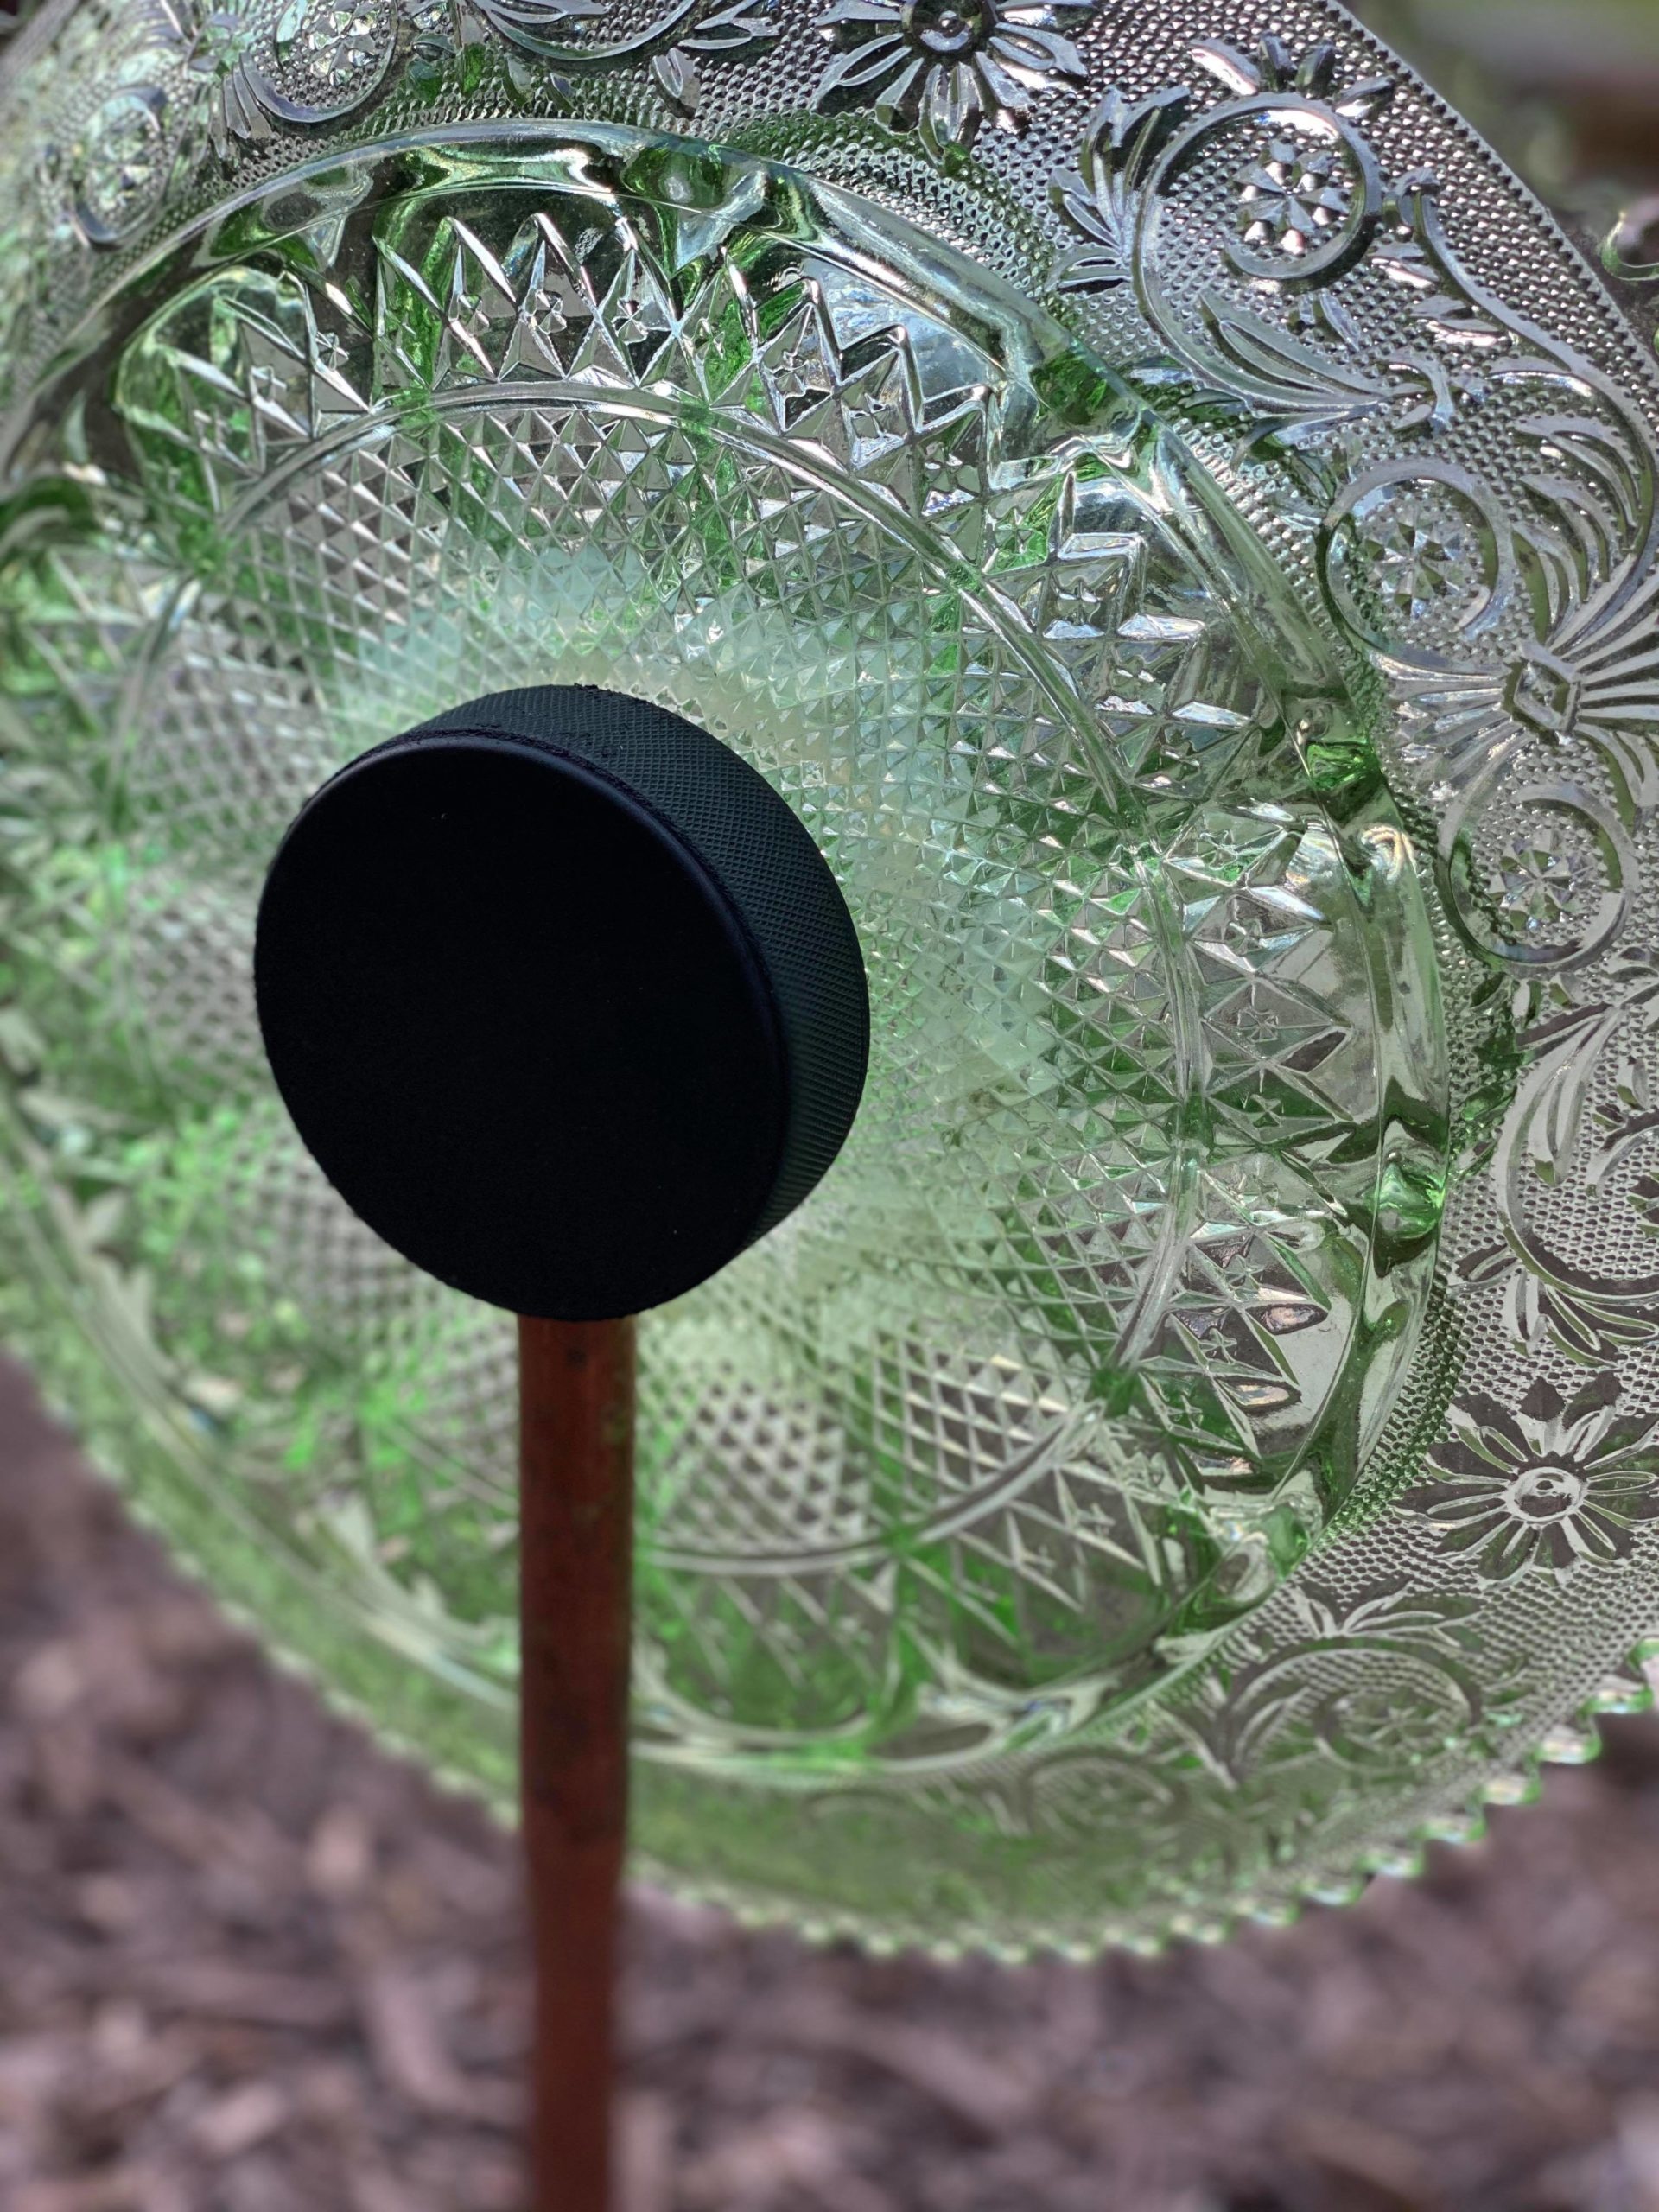
Drill a hole into the hockey puck. You will want to drill the hole to the diameter of the stem you will be using. You can use a stick from your yard, a piece of pvc pipe or a copper pipe for the stem to your flower.
I attached the hockey puck to the back of the flower using E6000 glue. I even tried glueing a salt shaker to the back of a flower using E6000 glue. This works but I did not like how my flower leaned slightly forward with this. You can create theses flowers so many different ways which is what I love about them!
If you want to make these flowers here are my tips:
– Wipe all your glass pieces with rubbing alcohol first
-Attach all glass pieces together using silicone
– Use a hockey puck for the back of the flower
– Attach the hockey puck with E6000 glue
– Use a copper pipe for stem
I ordered my hockey pucks from Amazon. You can check out the ones I ordered out with my amazon affiliate link here: https://amzn.to/3veZstN
These flowers are fun to make and turn out amazing. I live in Georgia so I leave mine out all year long. If you get bad weather in the winter you will want to store these away. I hope you will keep your eye out for some fun glass items and give these flowers a try!