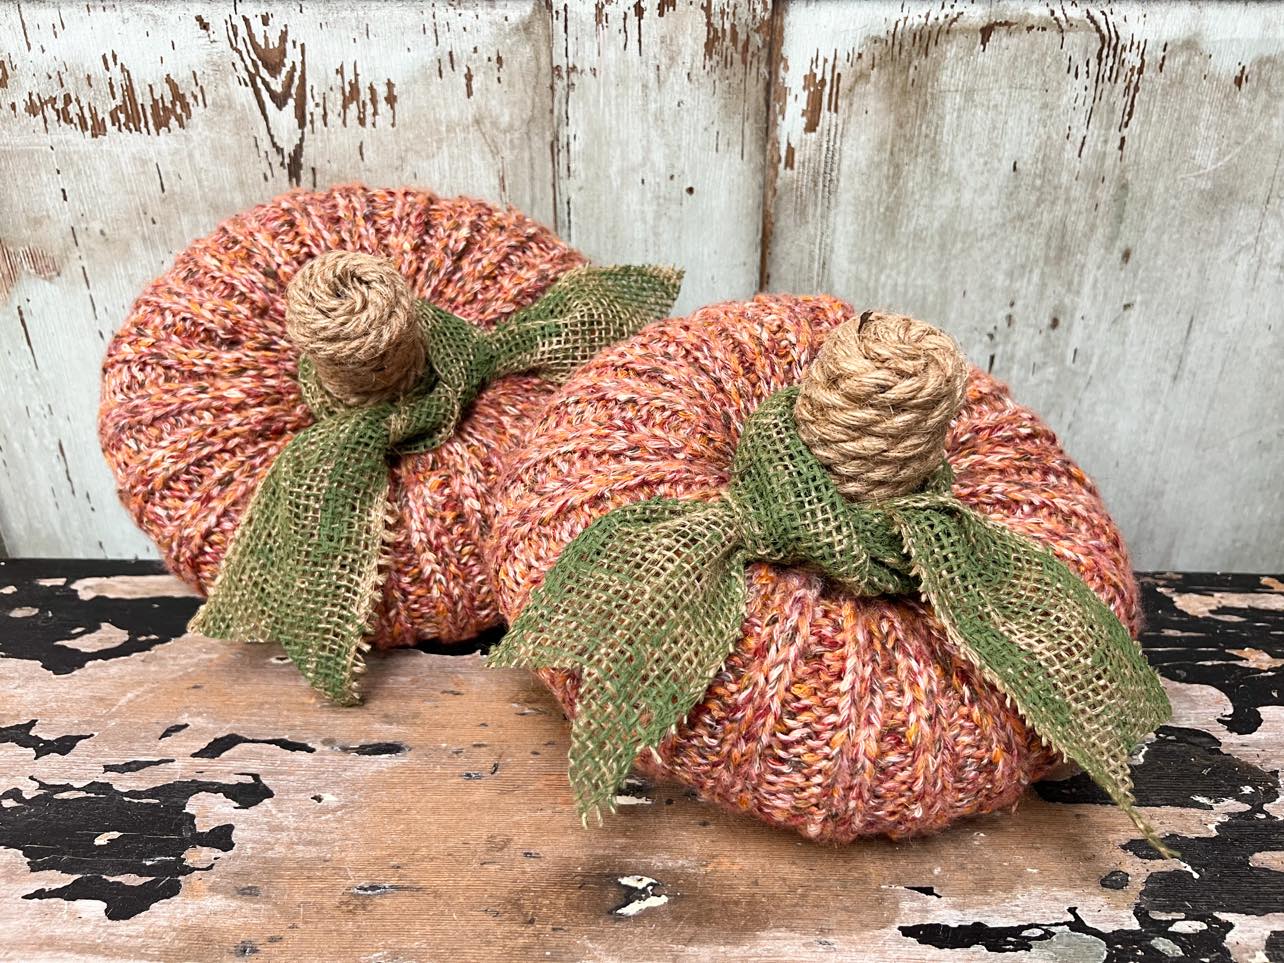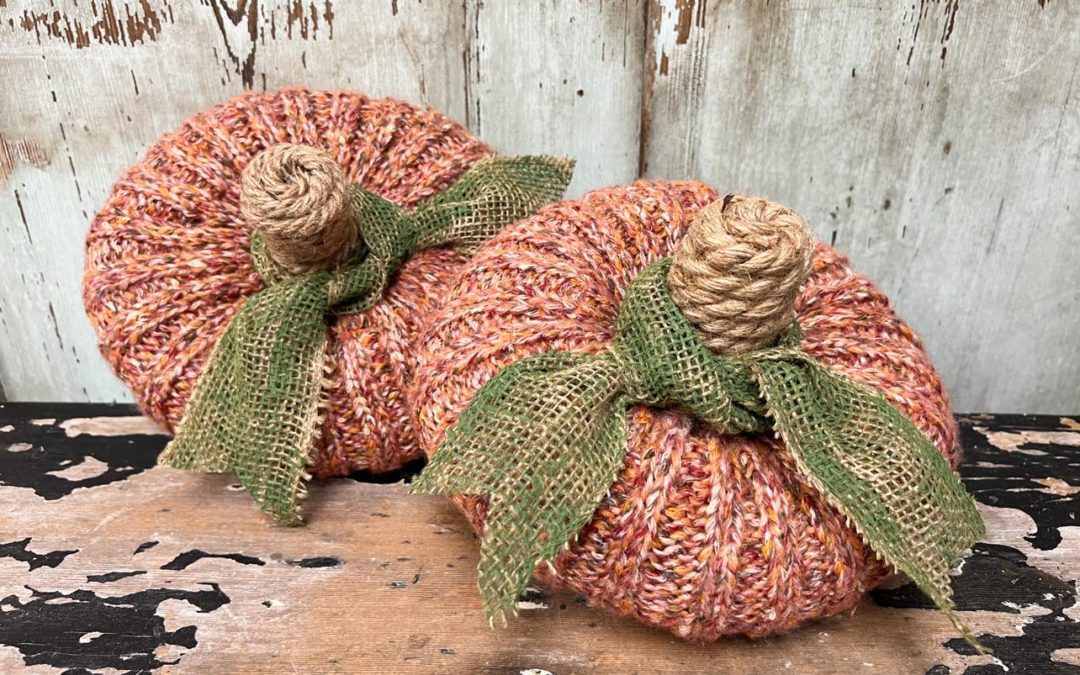
I was in Walmart and I found beanie hats that were marked down ti $2.00. As soon as I saw them I knew that we could turn them into a very easy pumpkin.
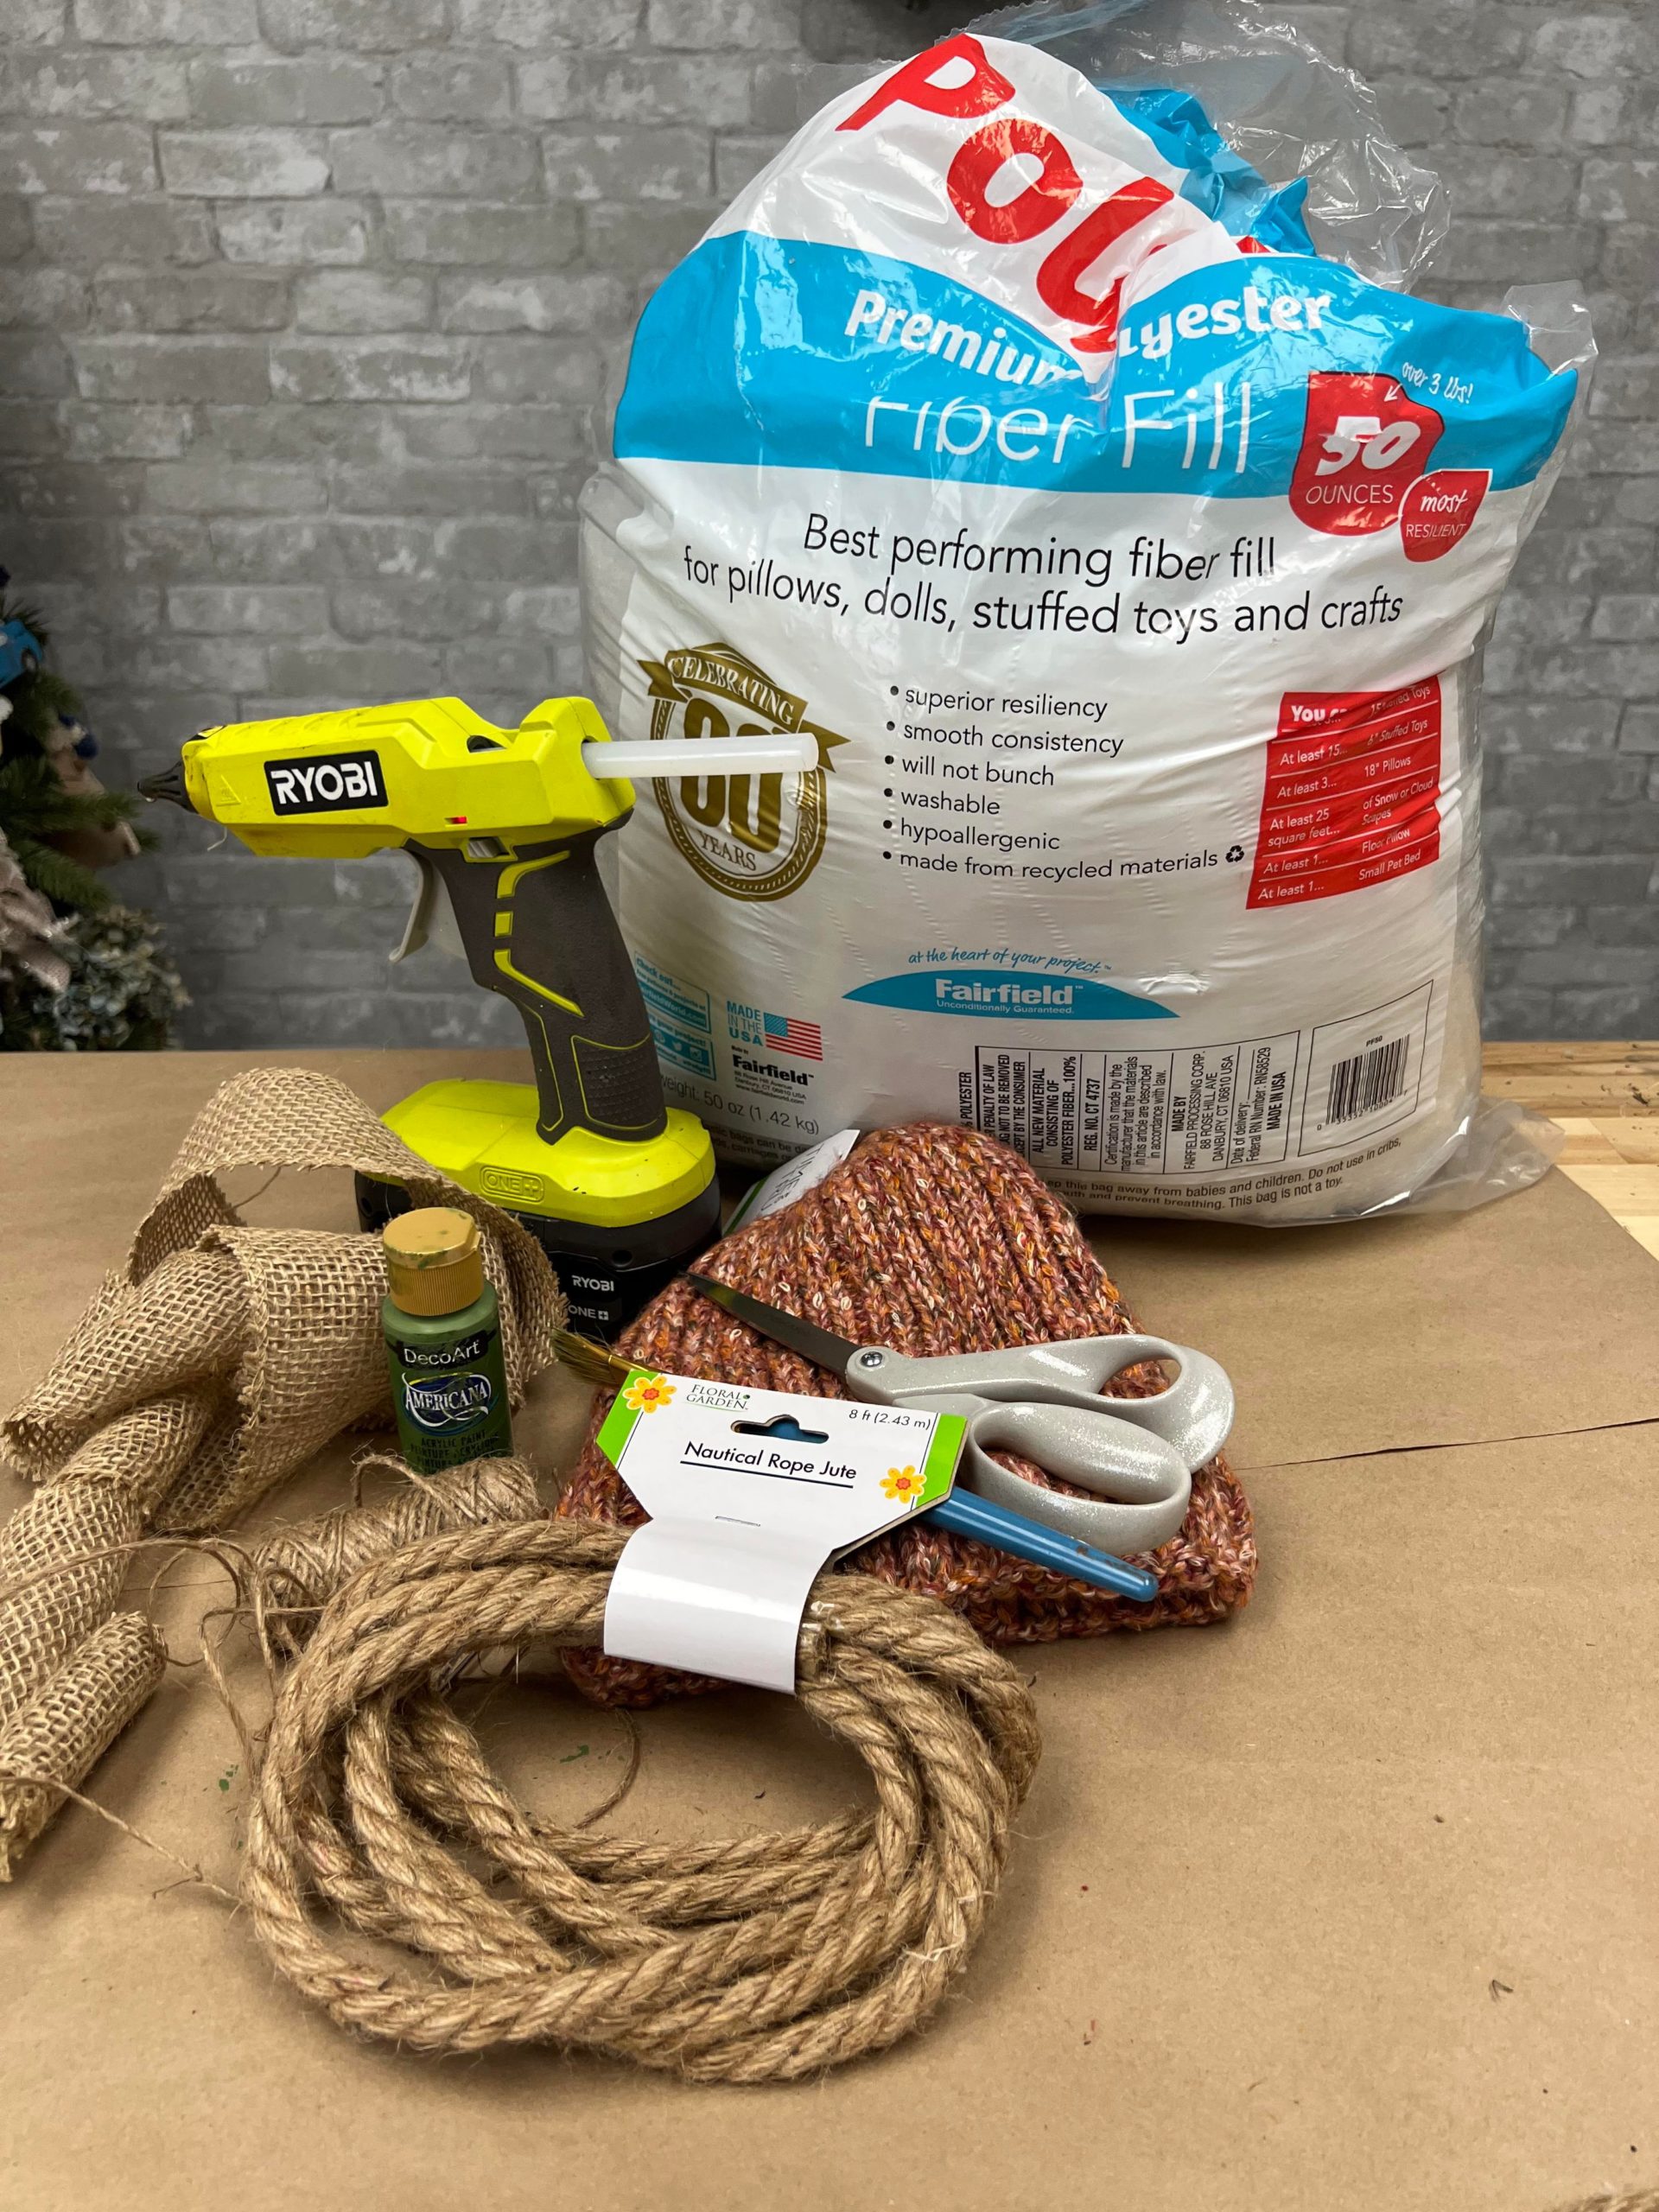
The supplies that I’ll be using are :
1. One beanie hat from Walmart
2. Poly-fil
3. Hot glue
4. Scissors
5. Nautical rope
6. Twine
6. Twine
7. Yarn needle
8. Burlap ribbon
9. Green paint
10. Paint brush
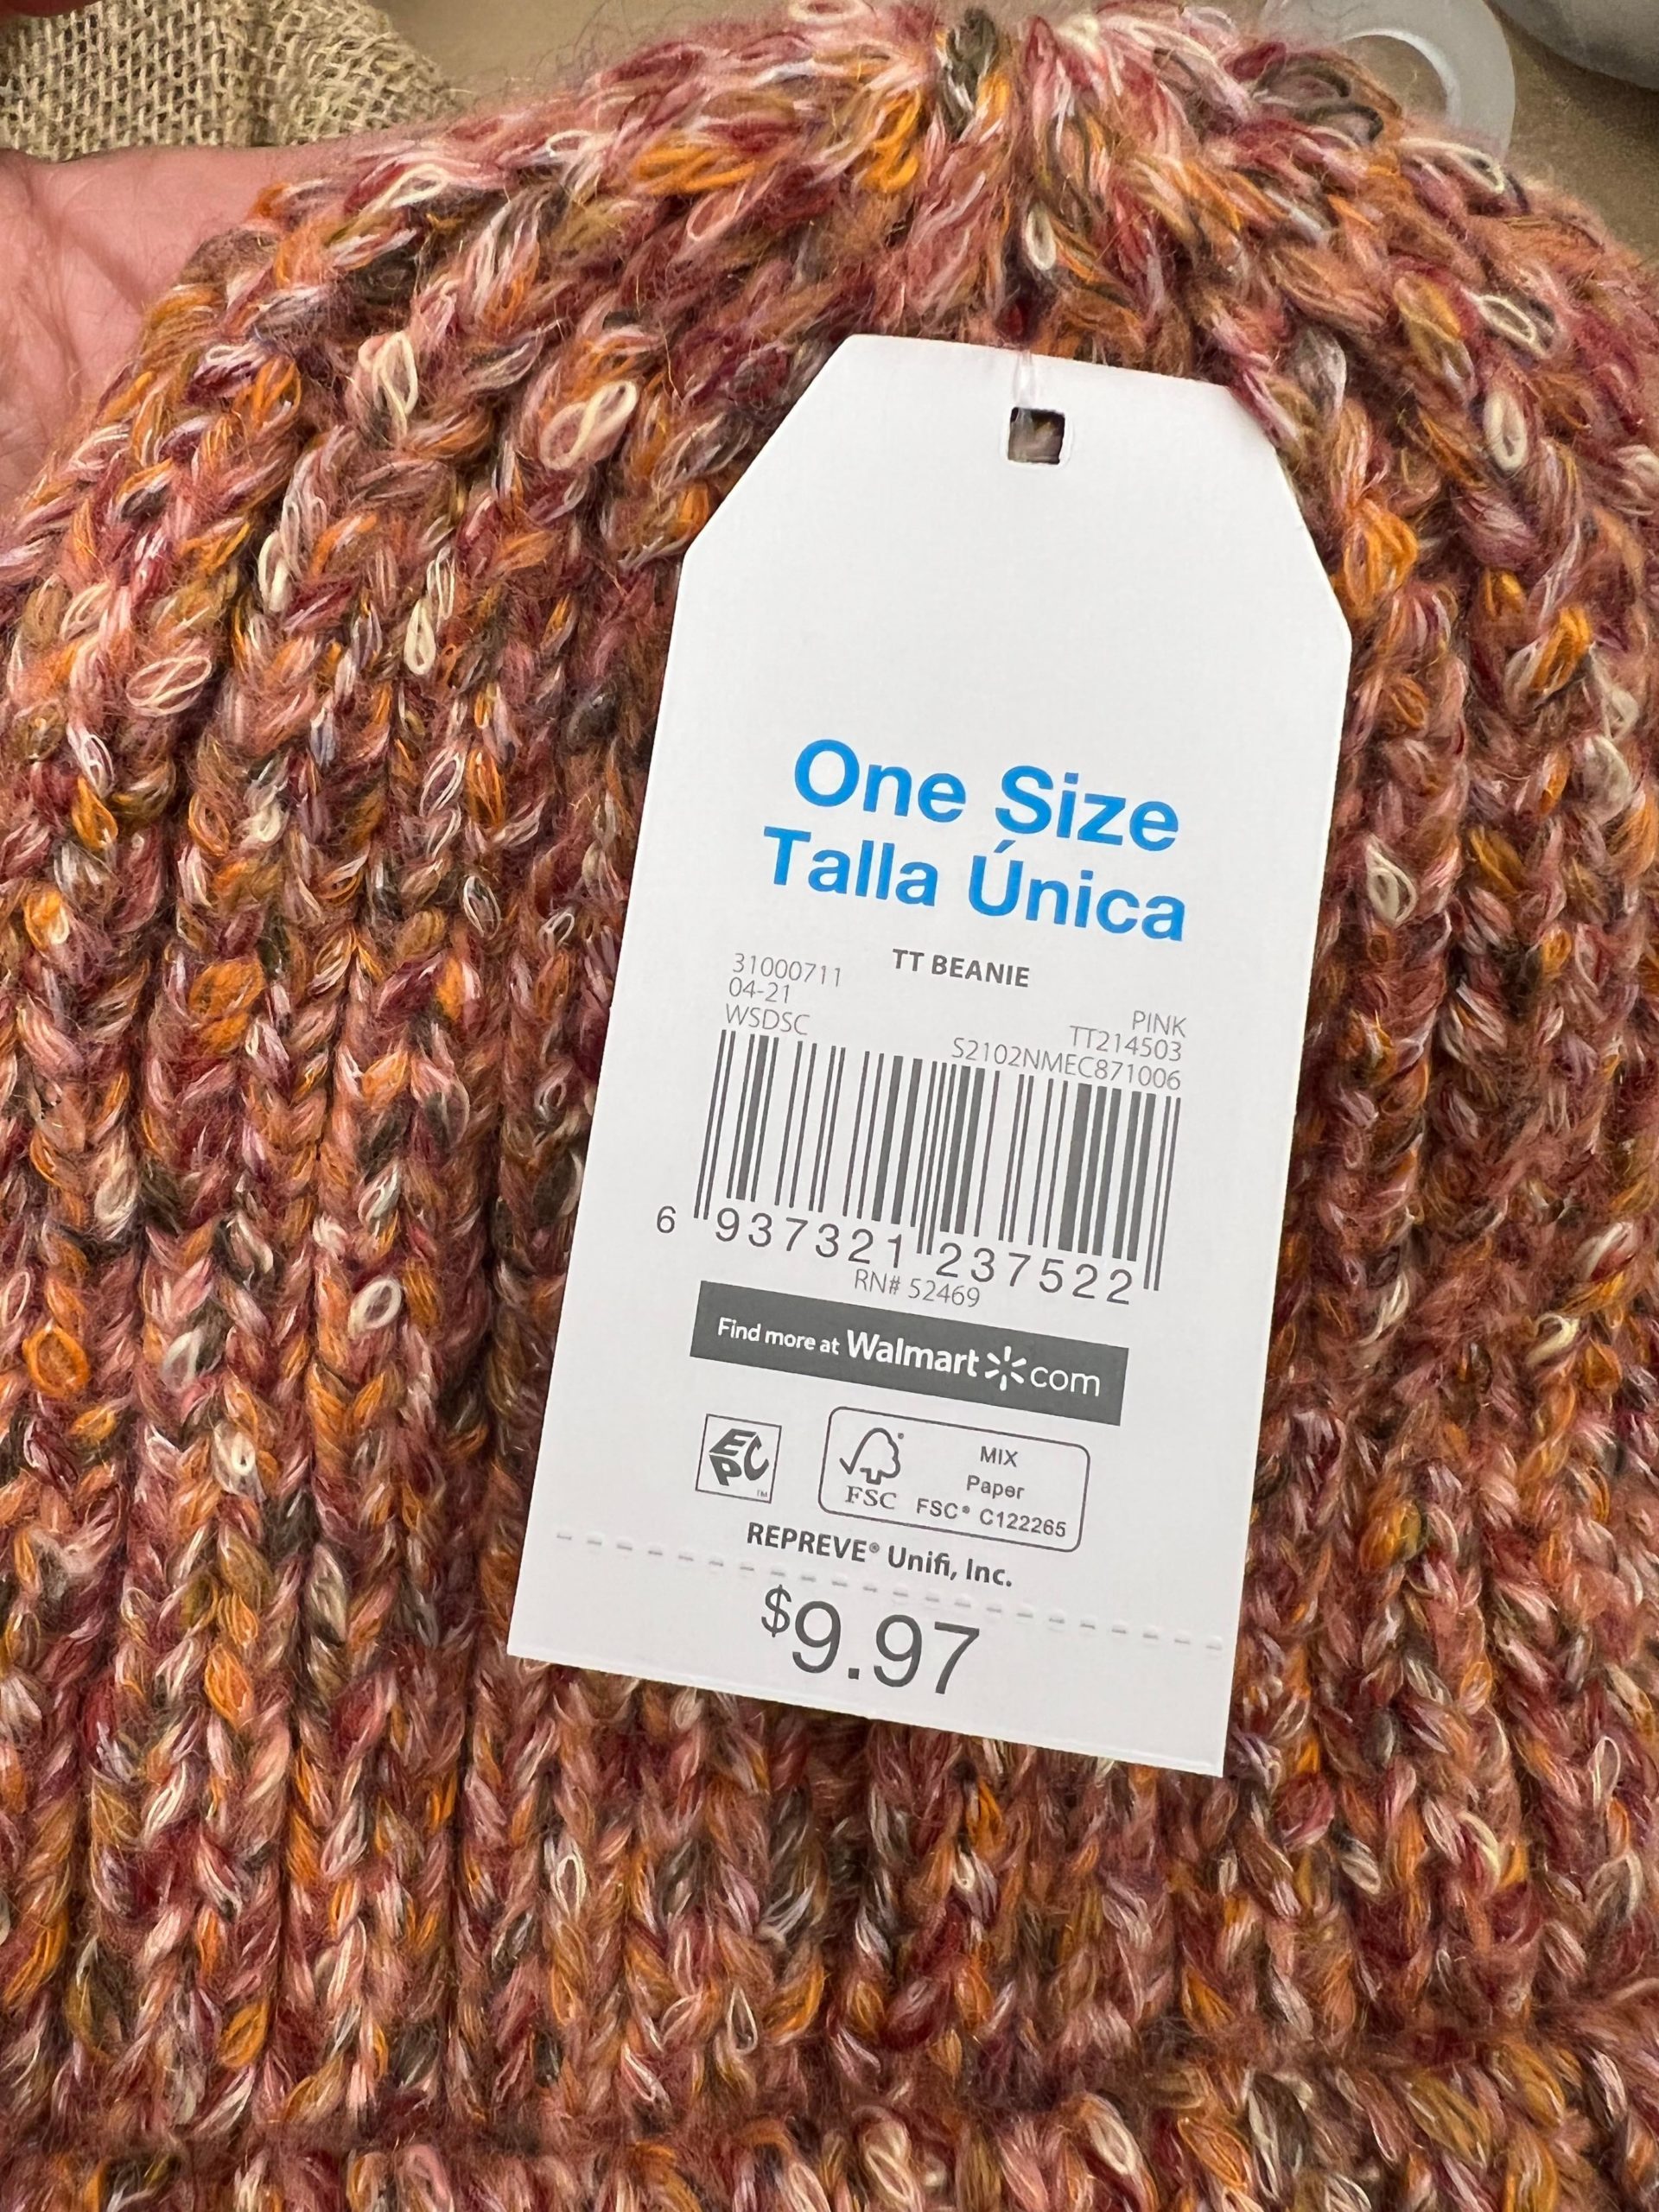
I purchased my beanie hat from Walmart. It was marked down for $2.00.
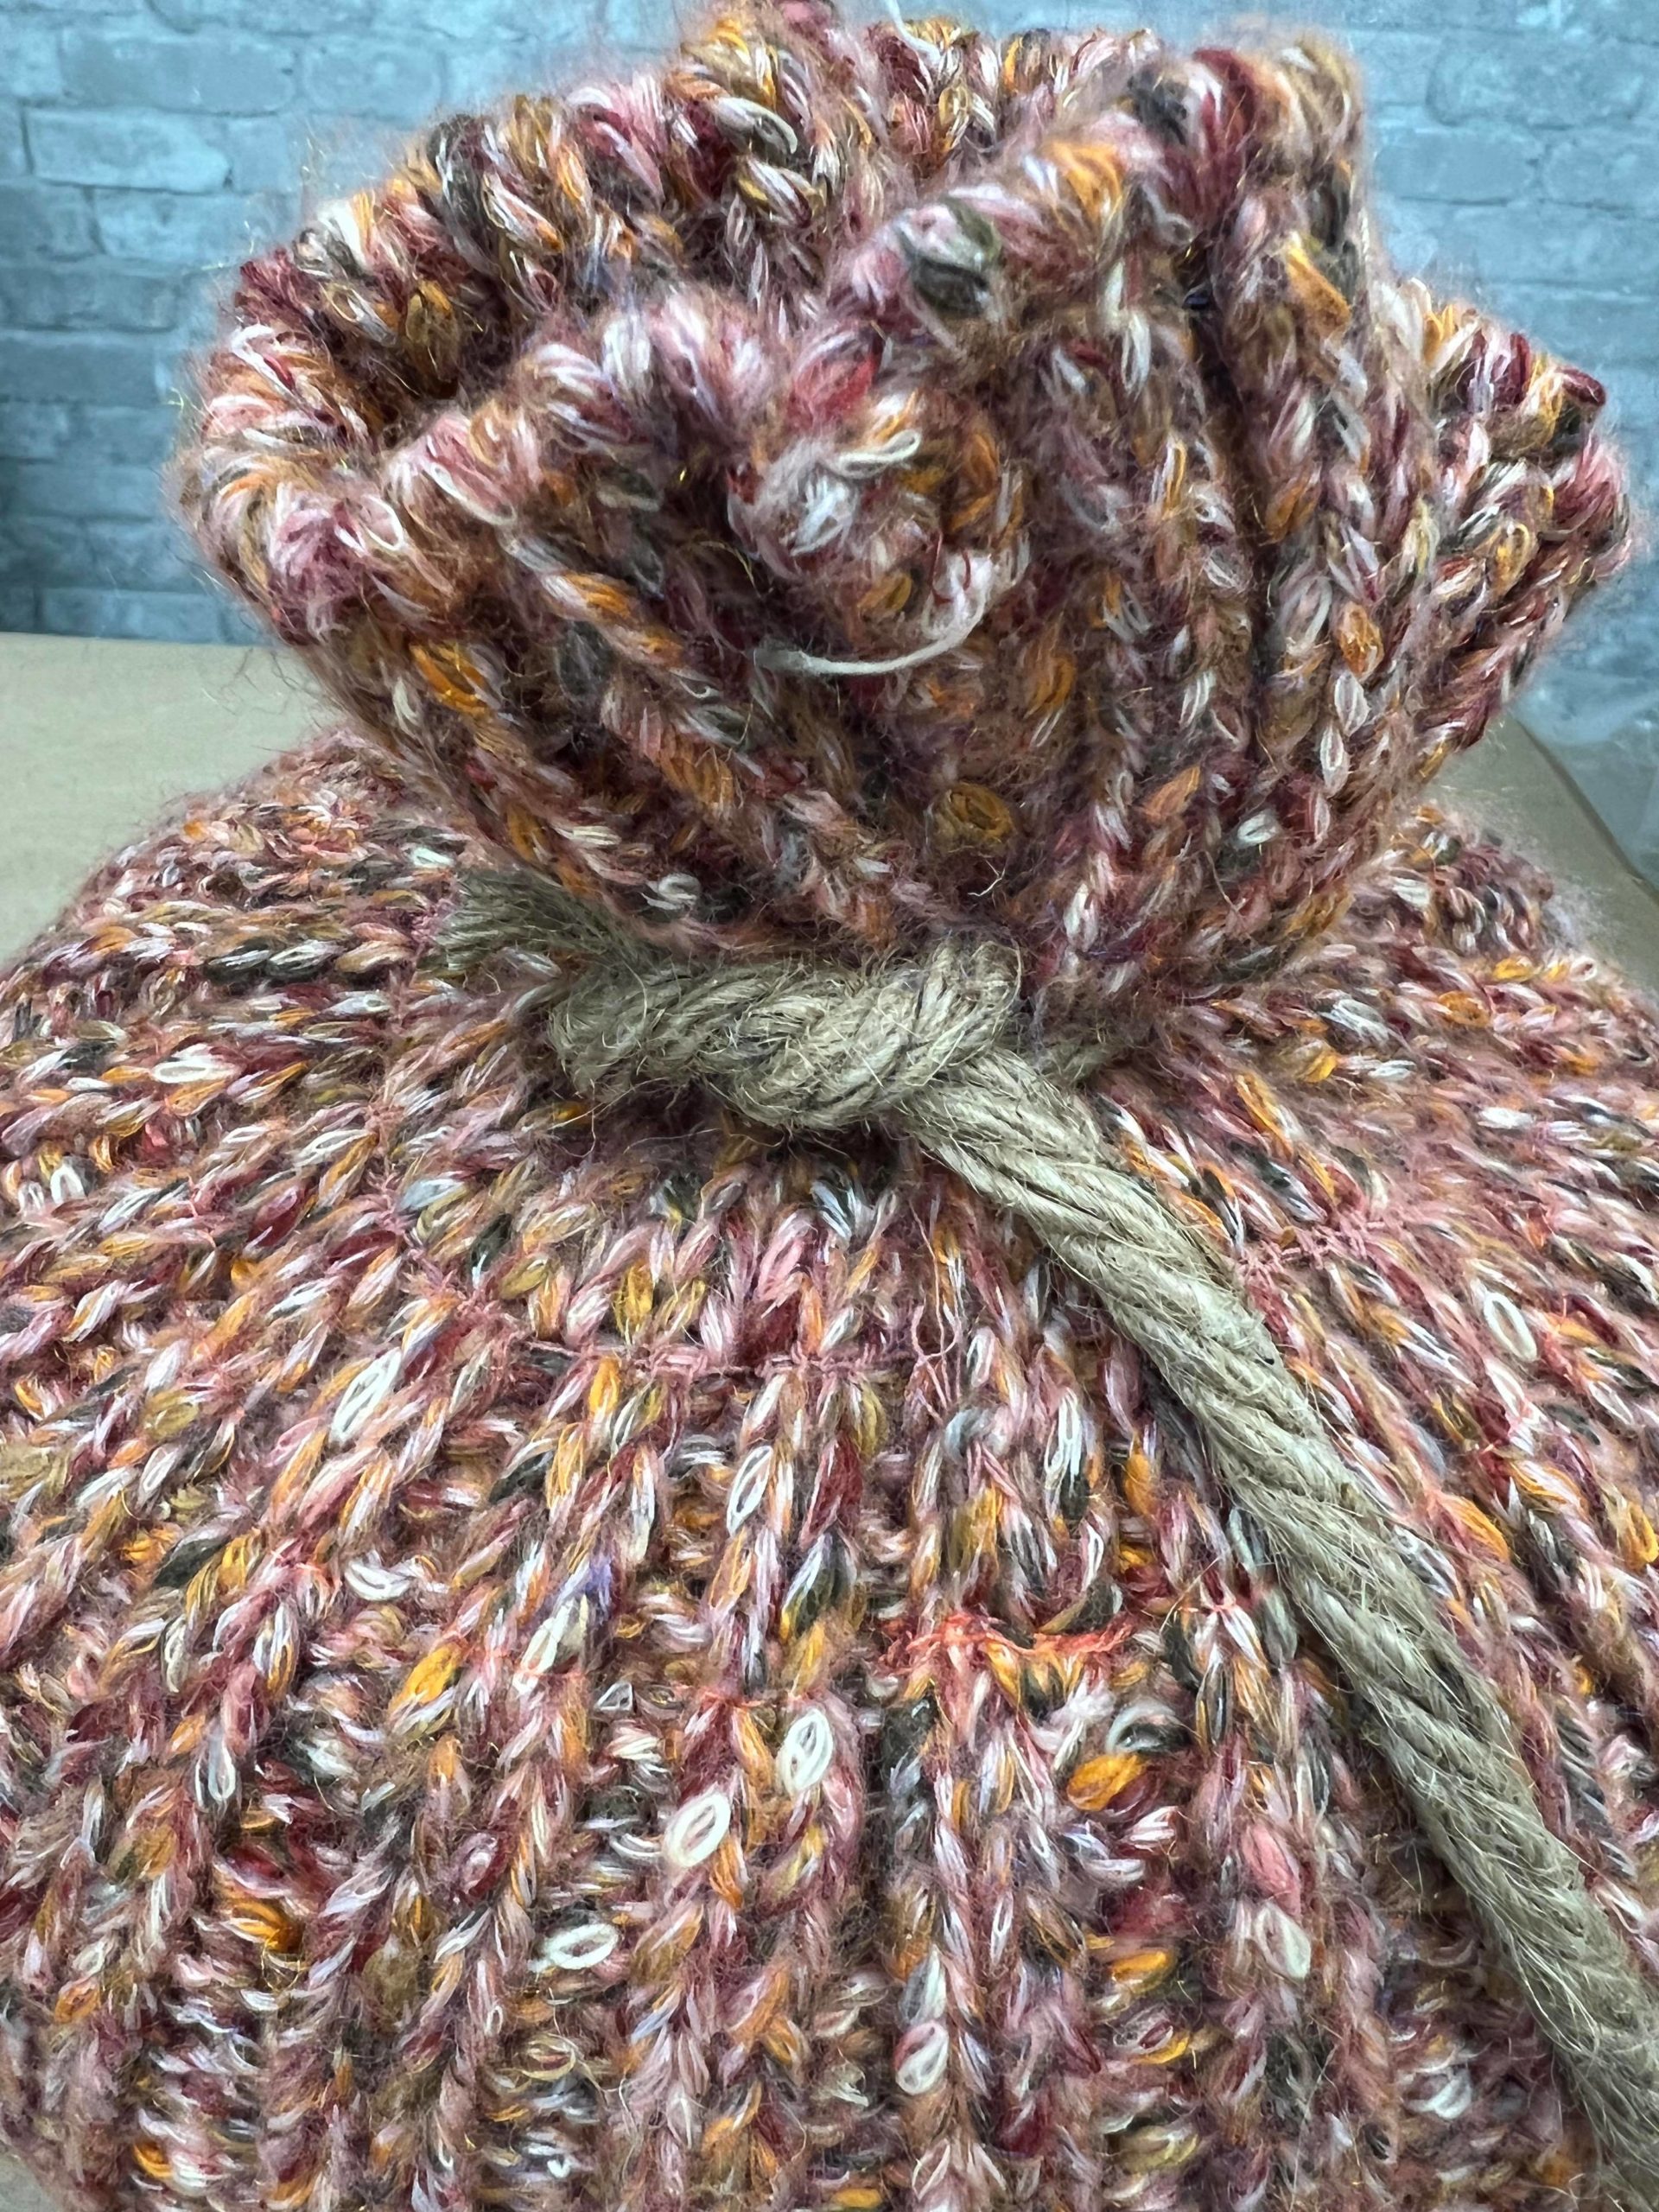
You will stuff the beanie hat with the poly-fil. Once you have the beanie hat stuffed you will then knot the nautical rope around the top part of the hat as shown in photo above.
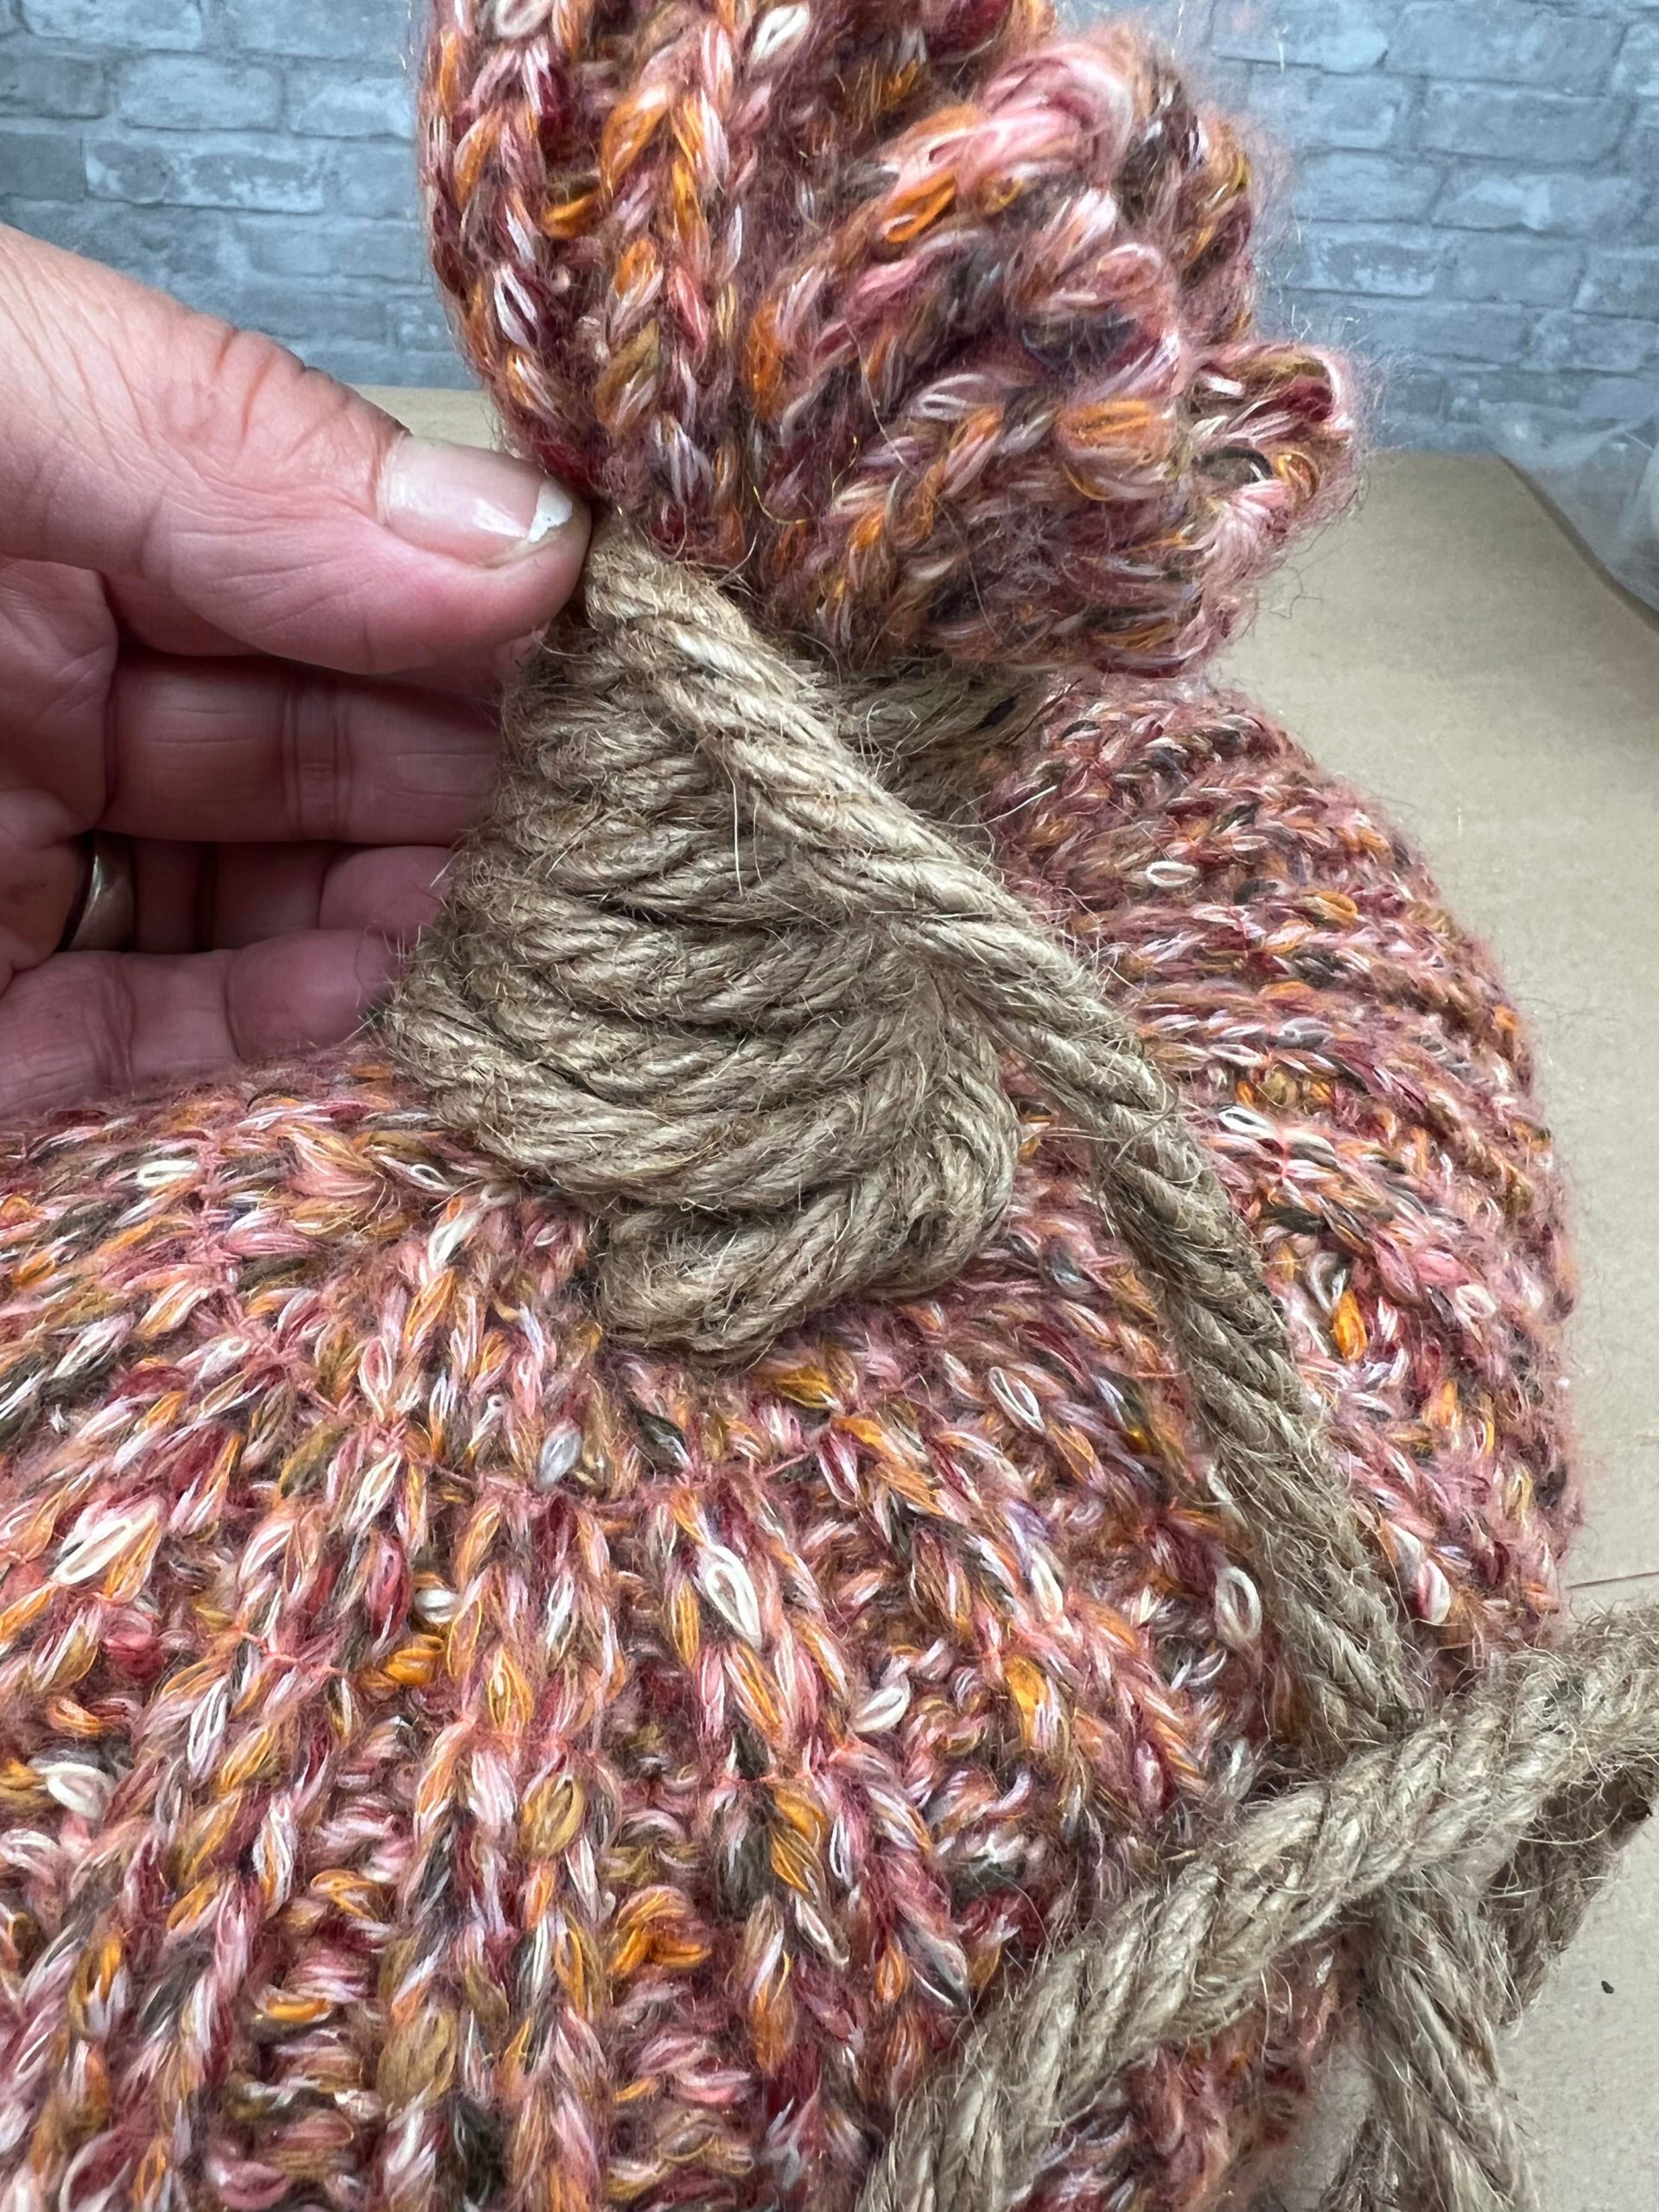
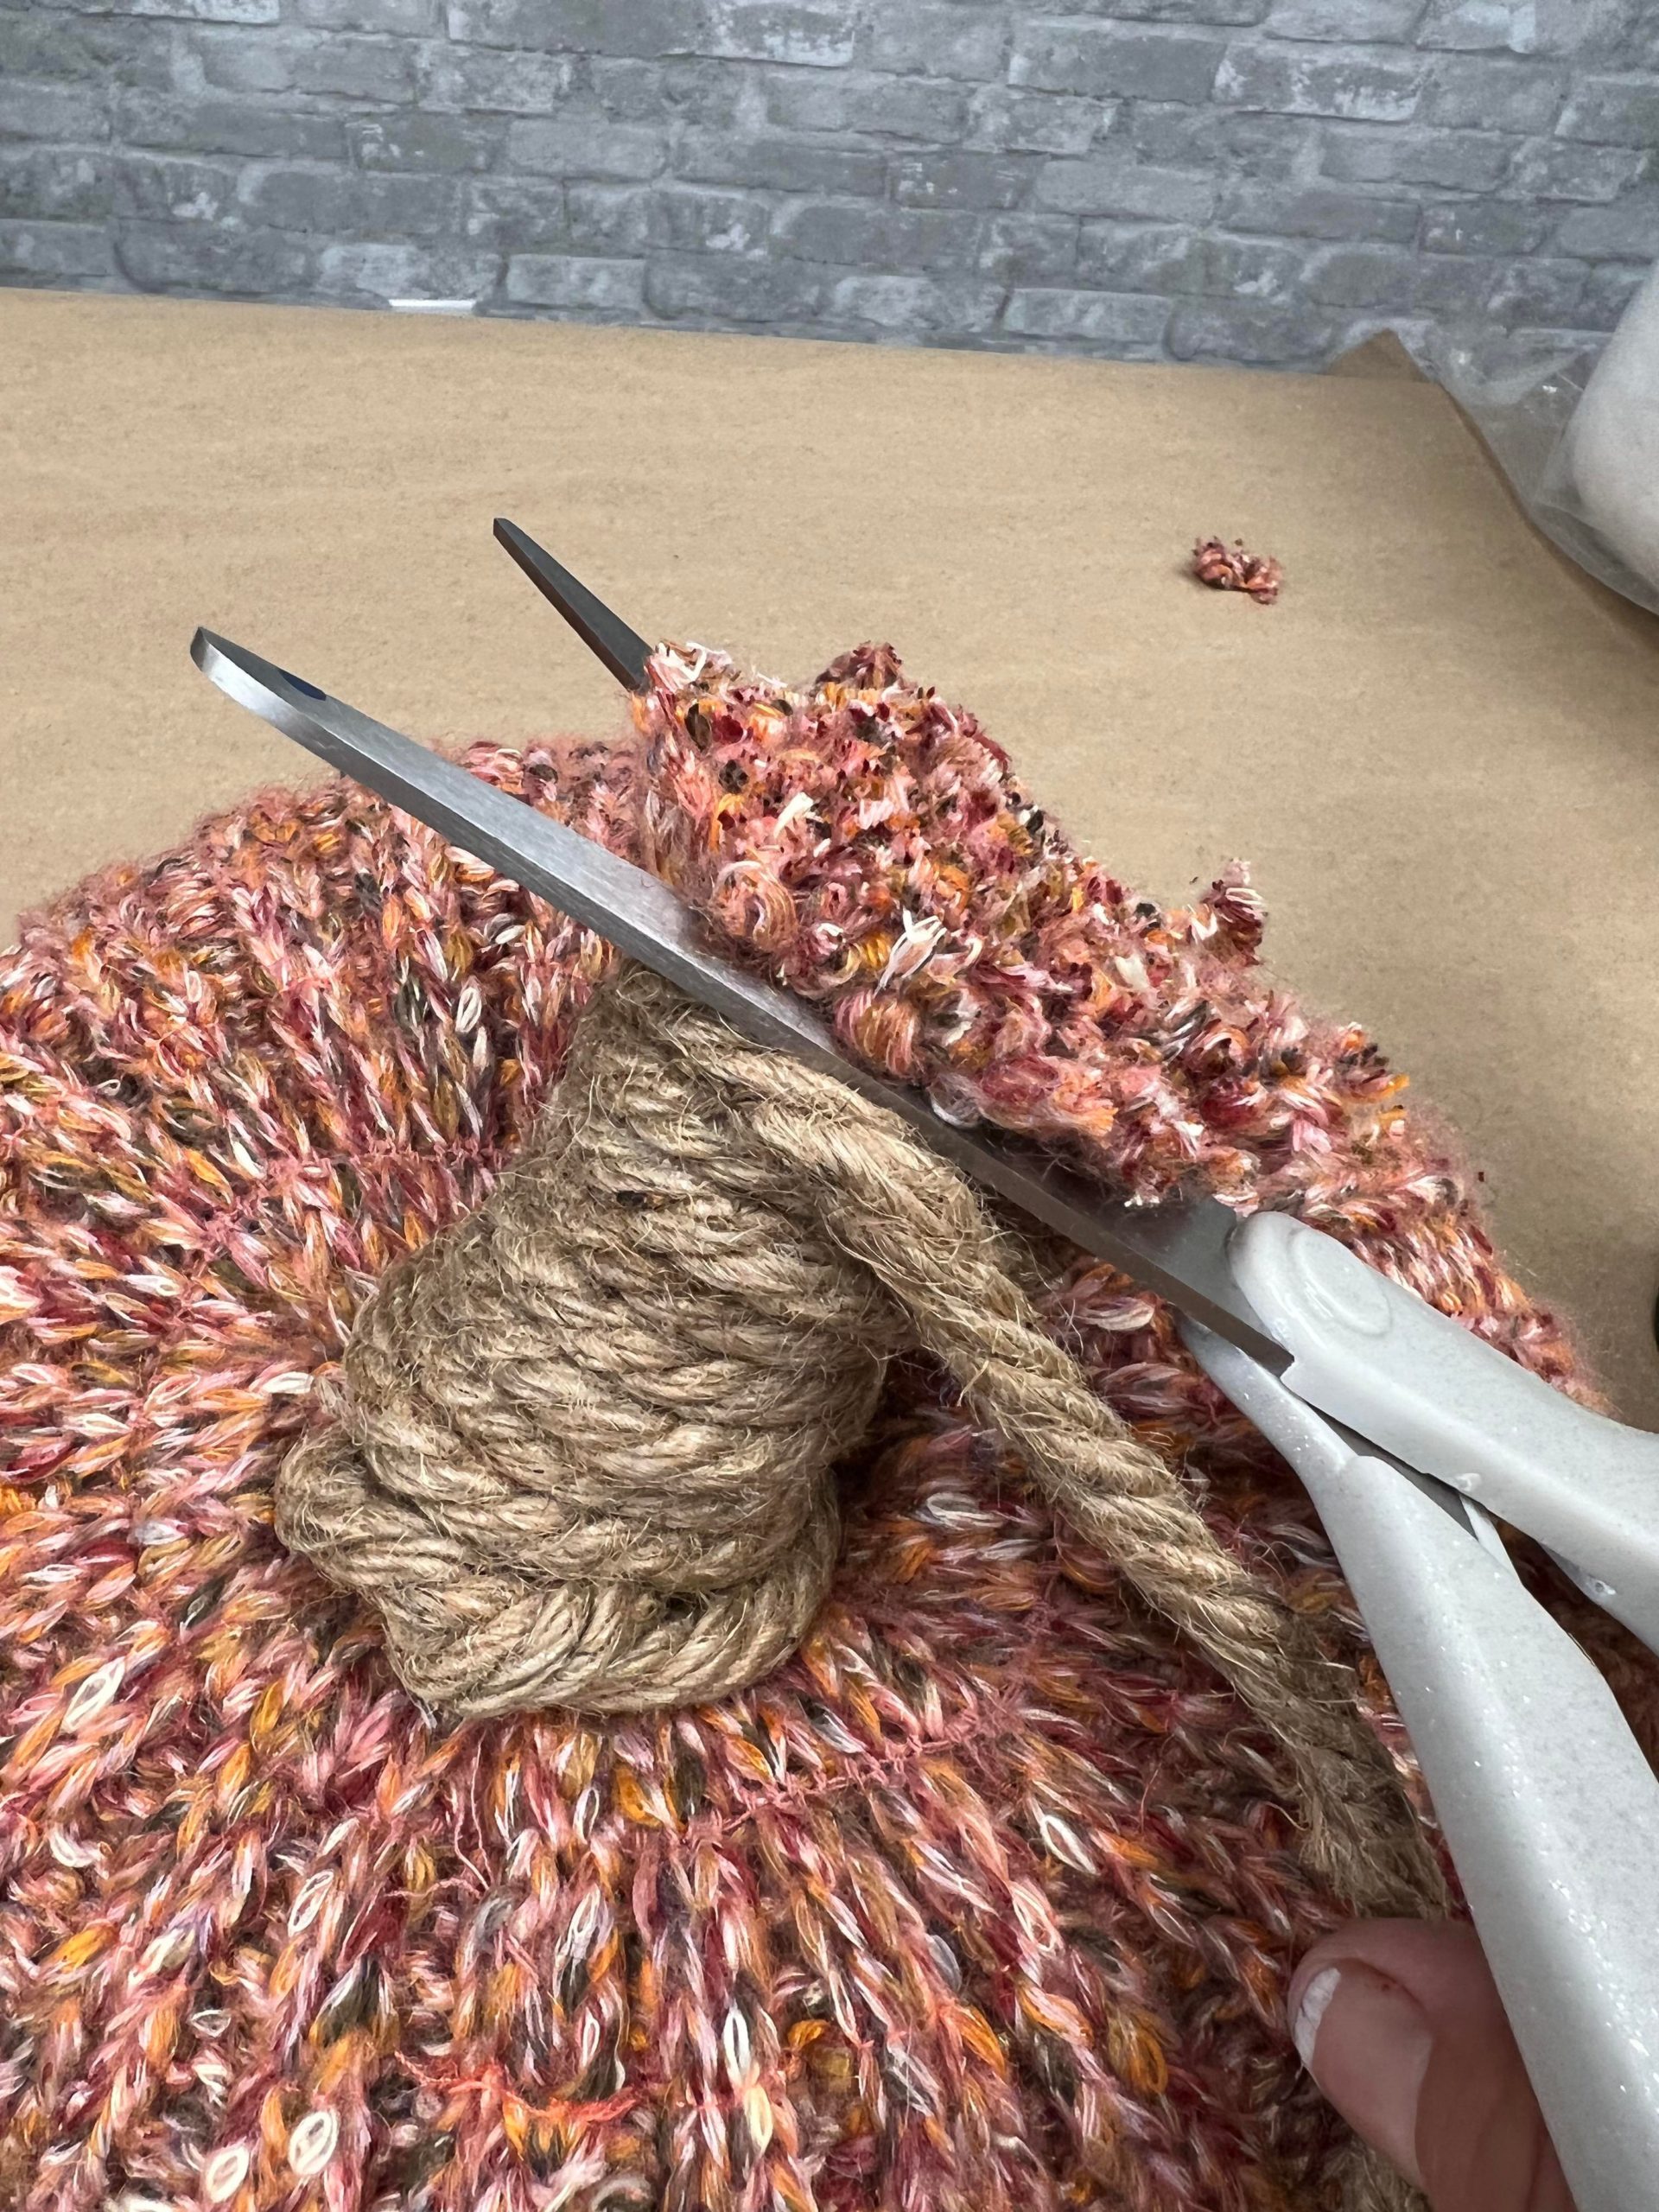
Add just a little hot glue as you wrap the nautical rope. Once you have the size stem that you want you will then cut the excess hat off.
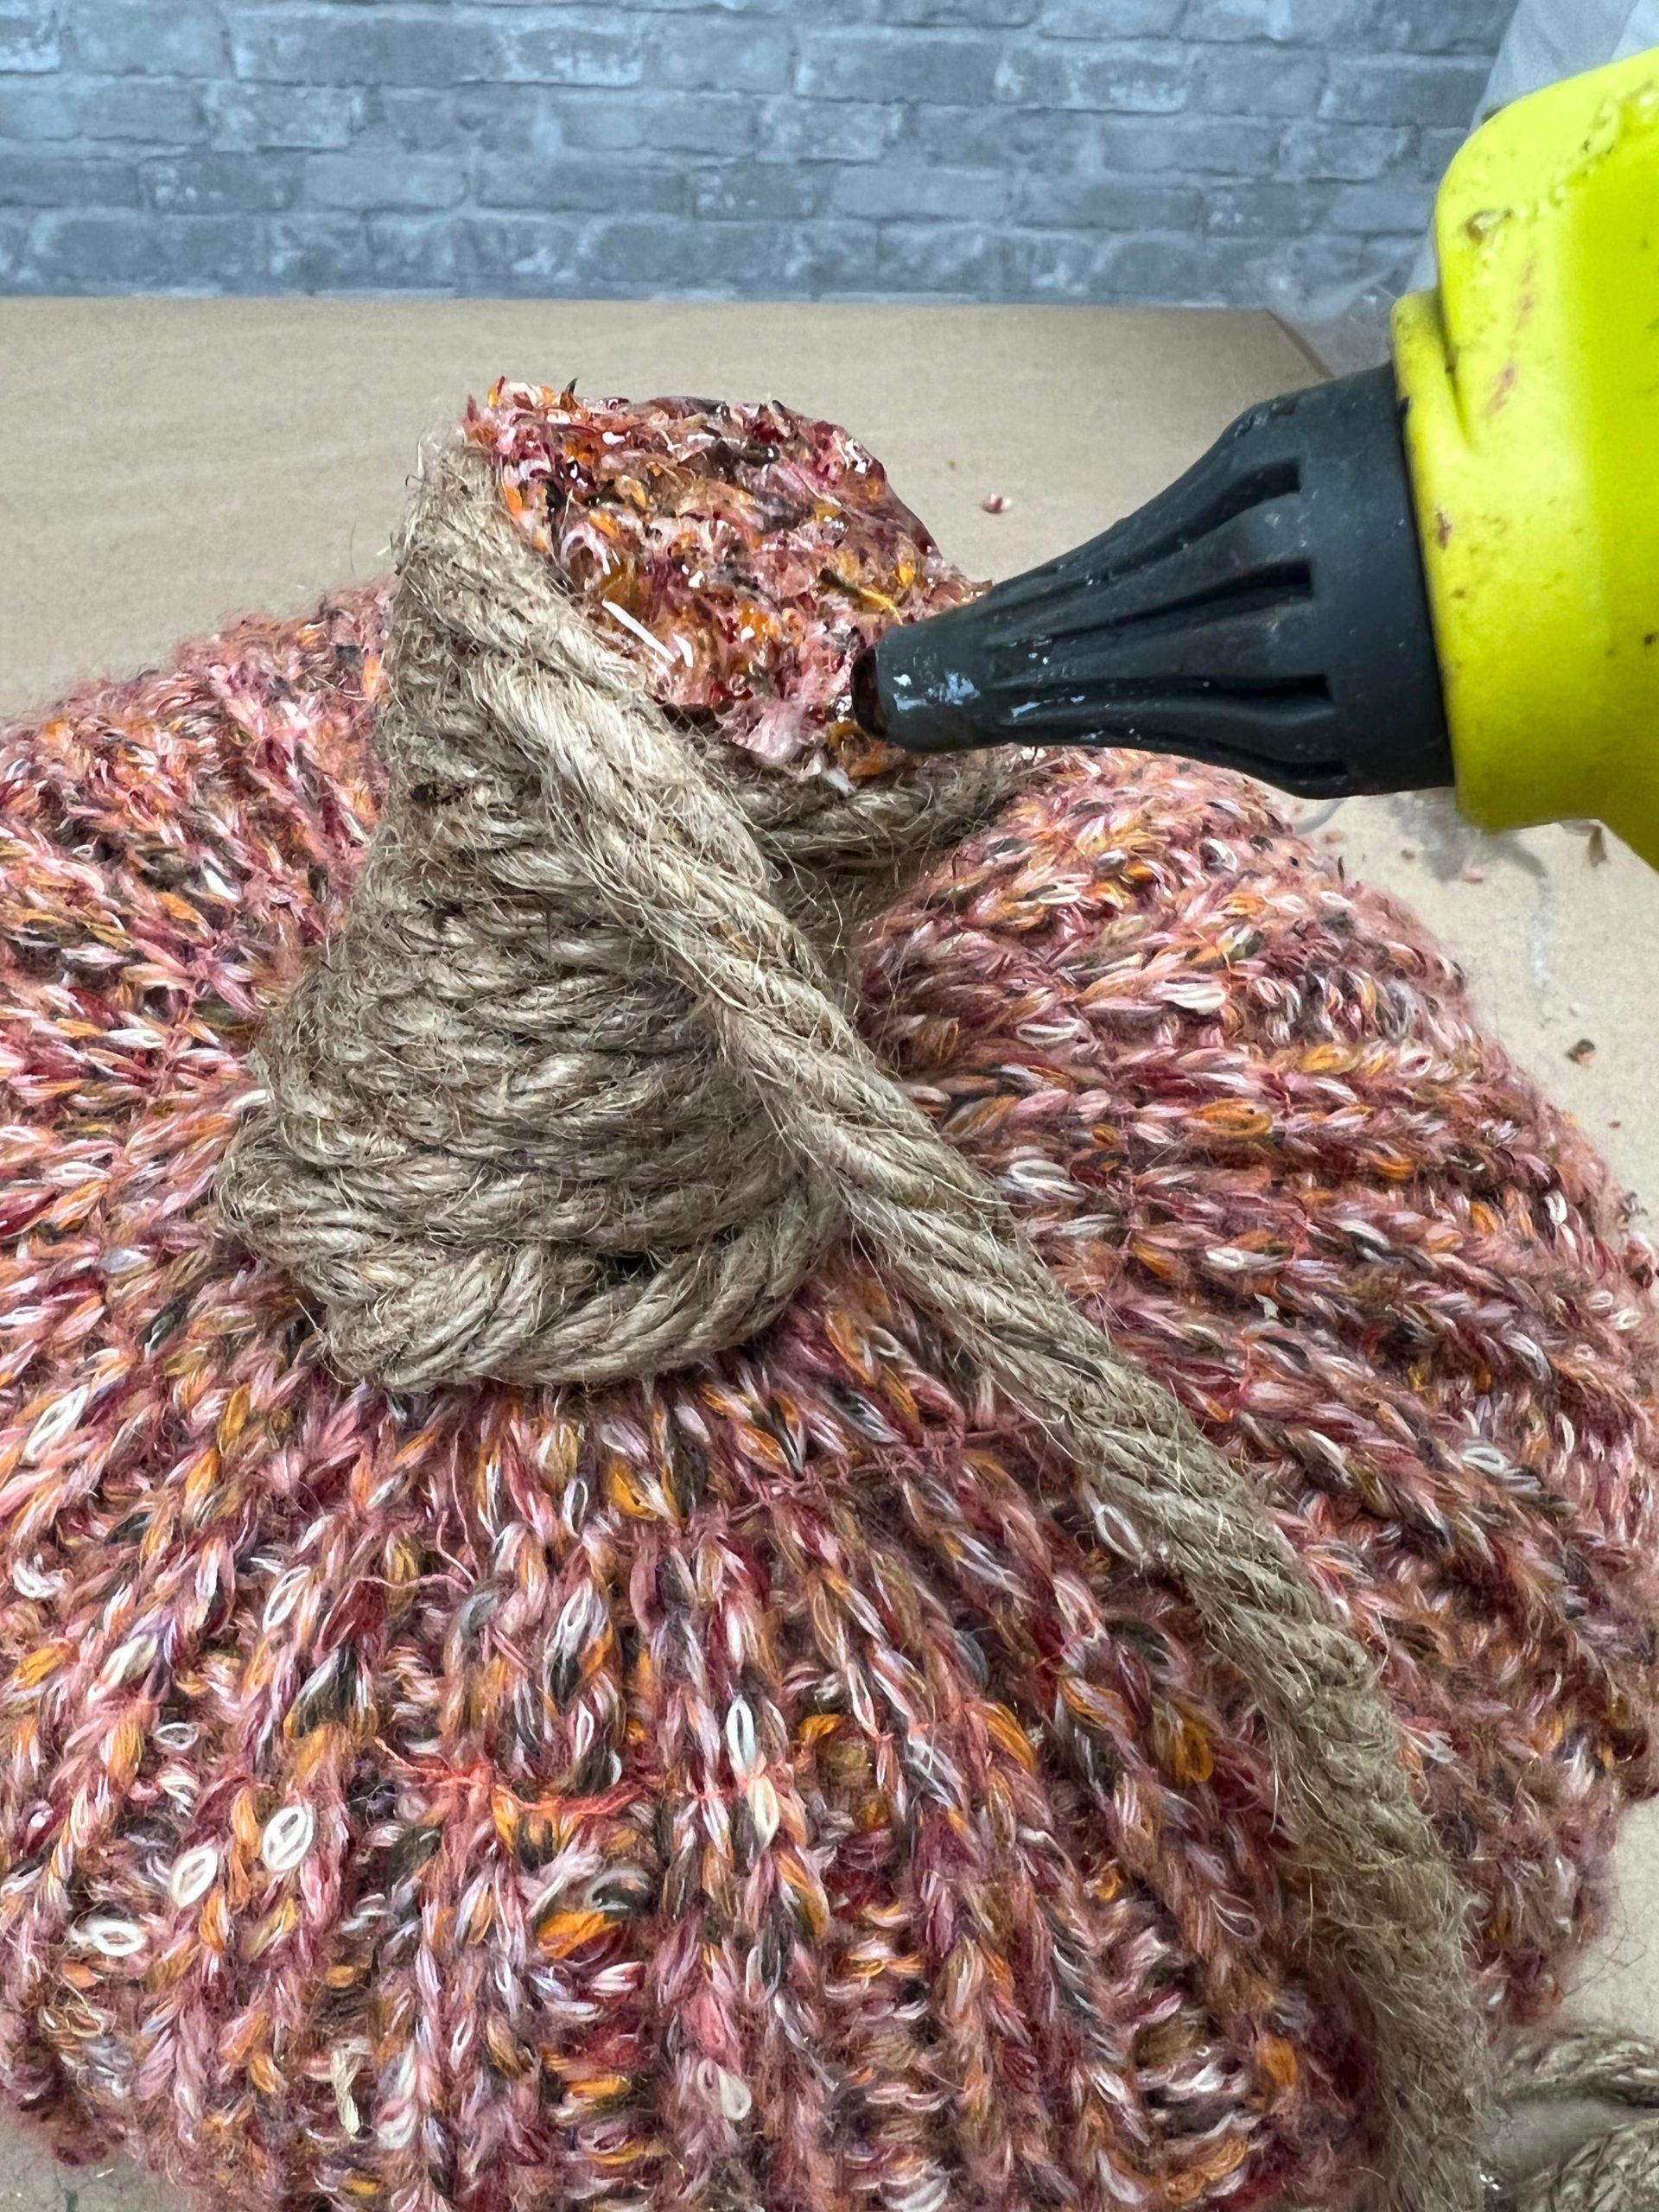
Add more hot glue to the top and continue wrapping the jute.
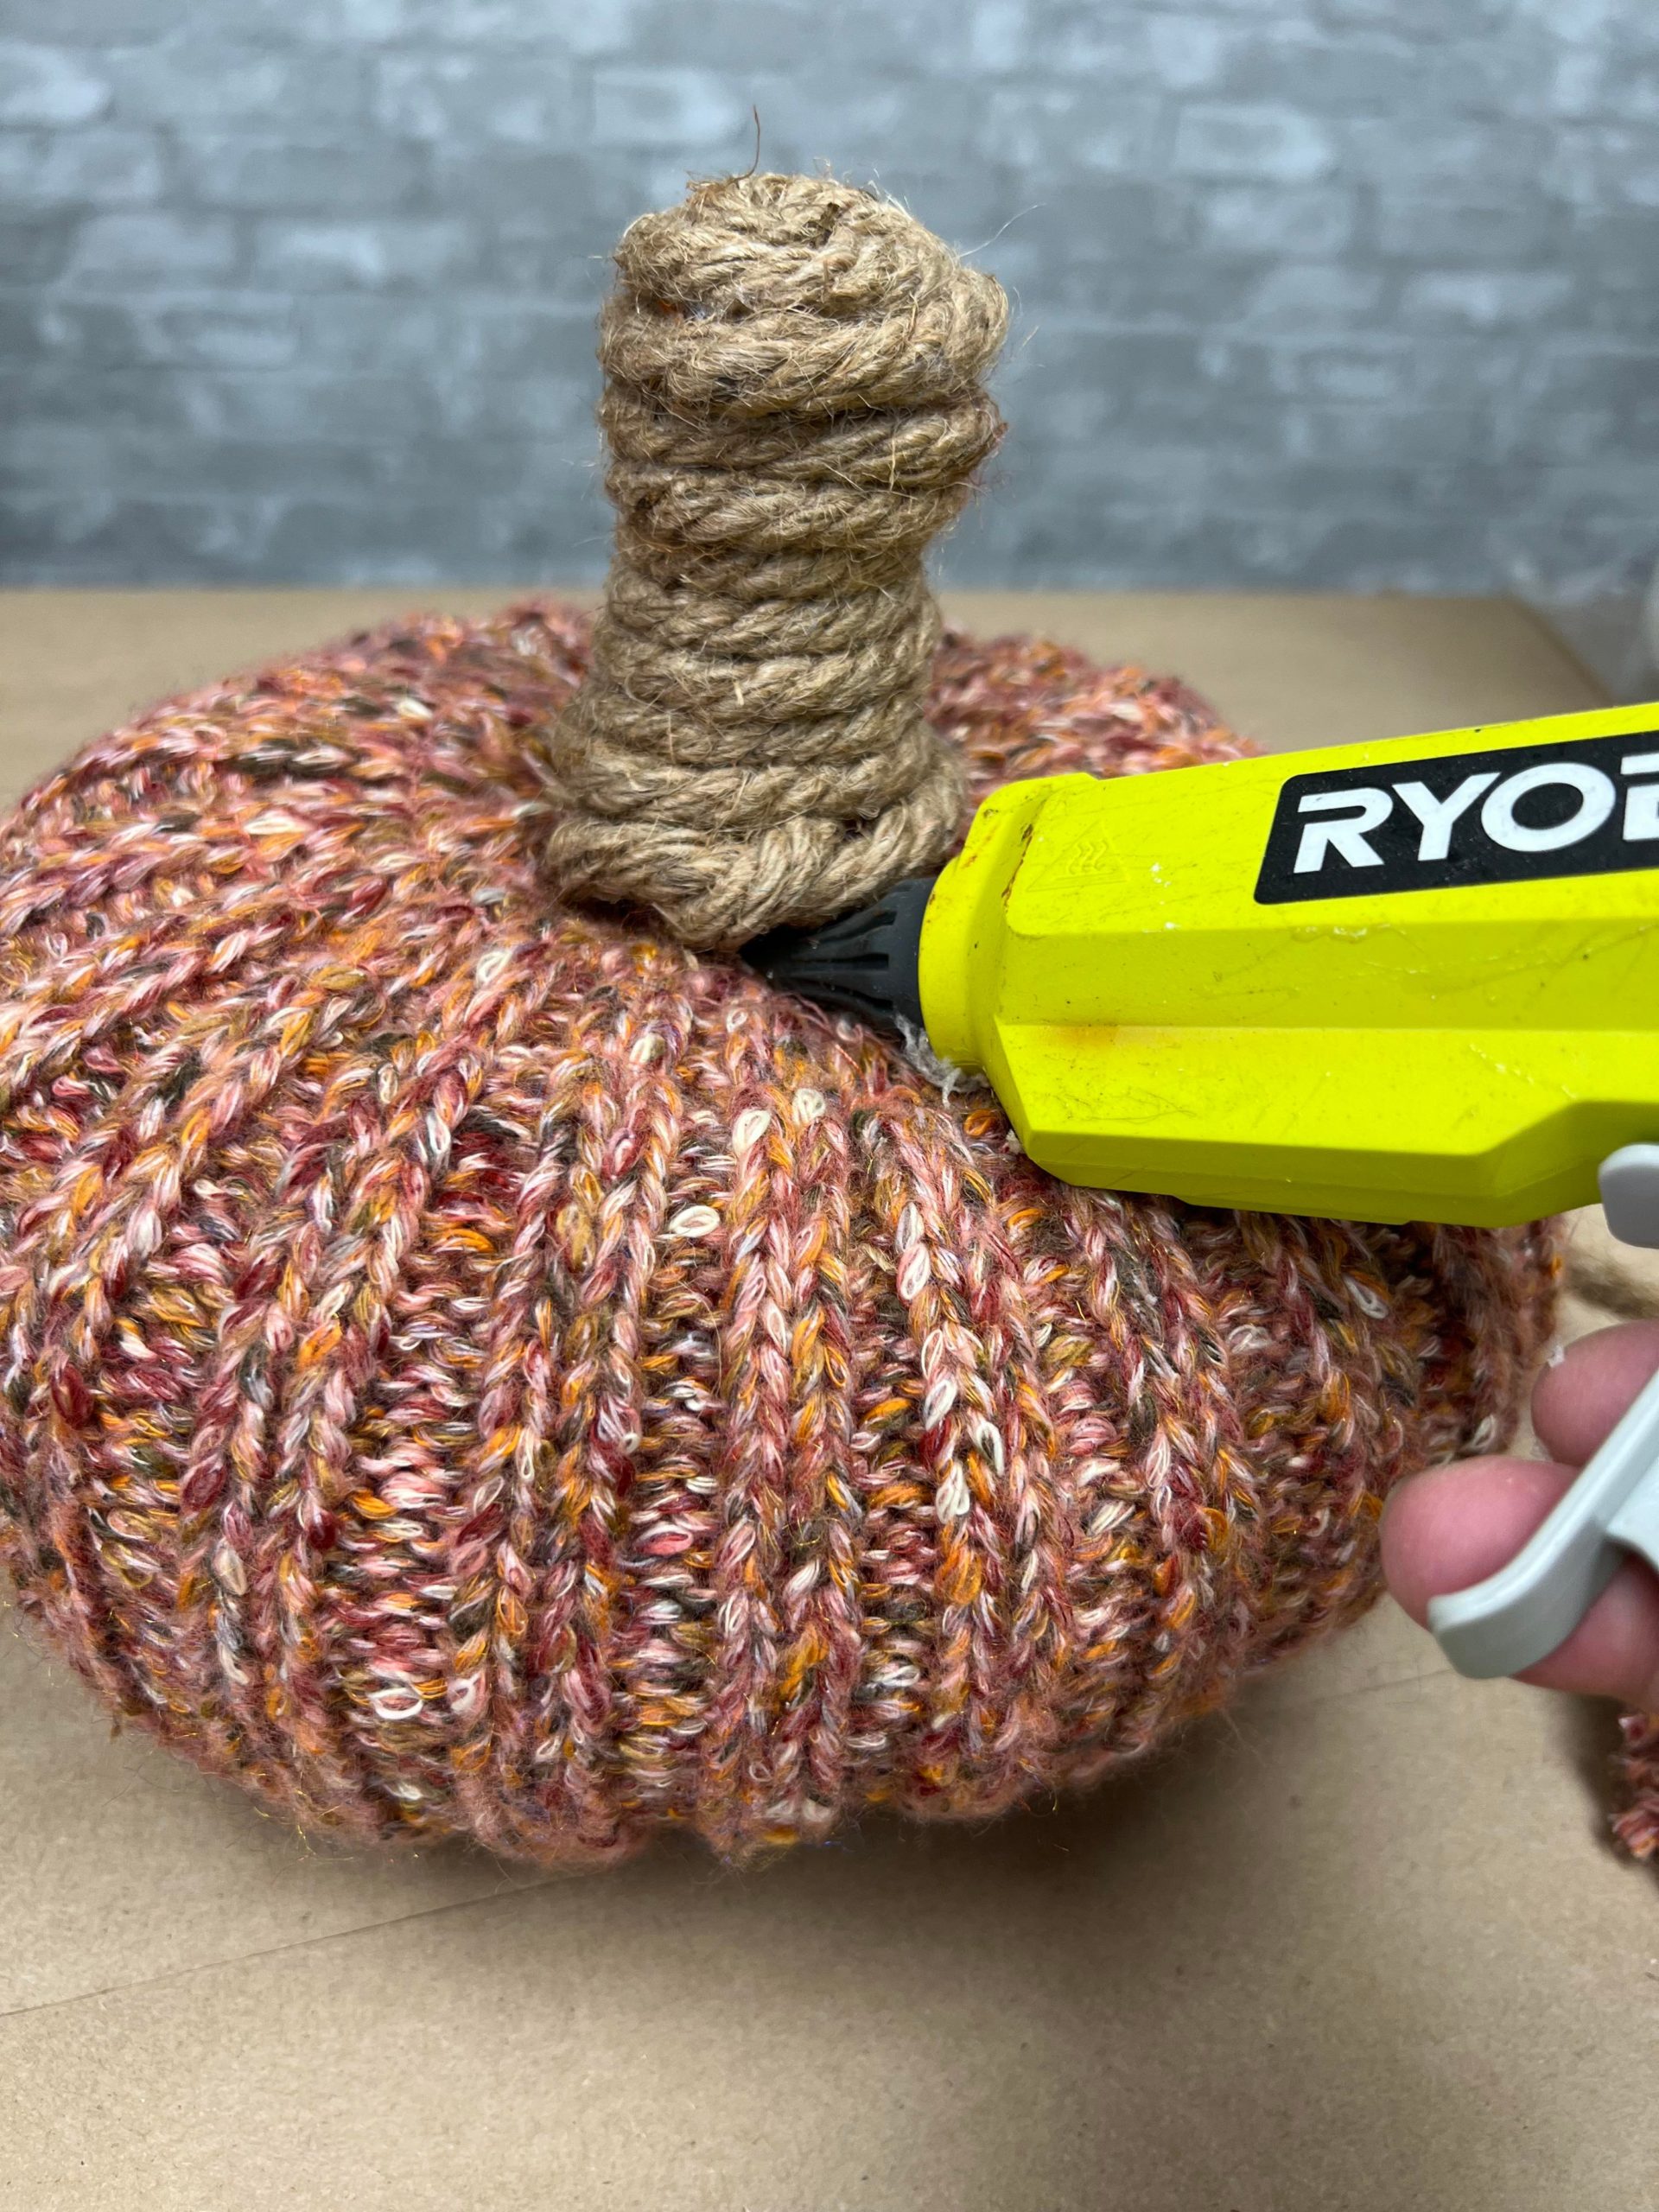
I added a little hot glue under the base of the stem.
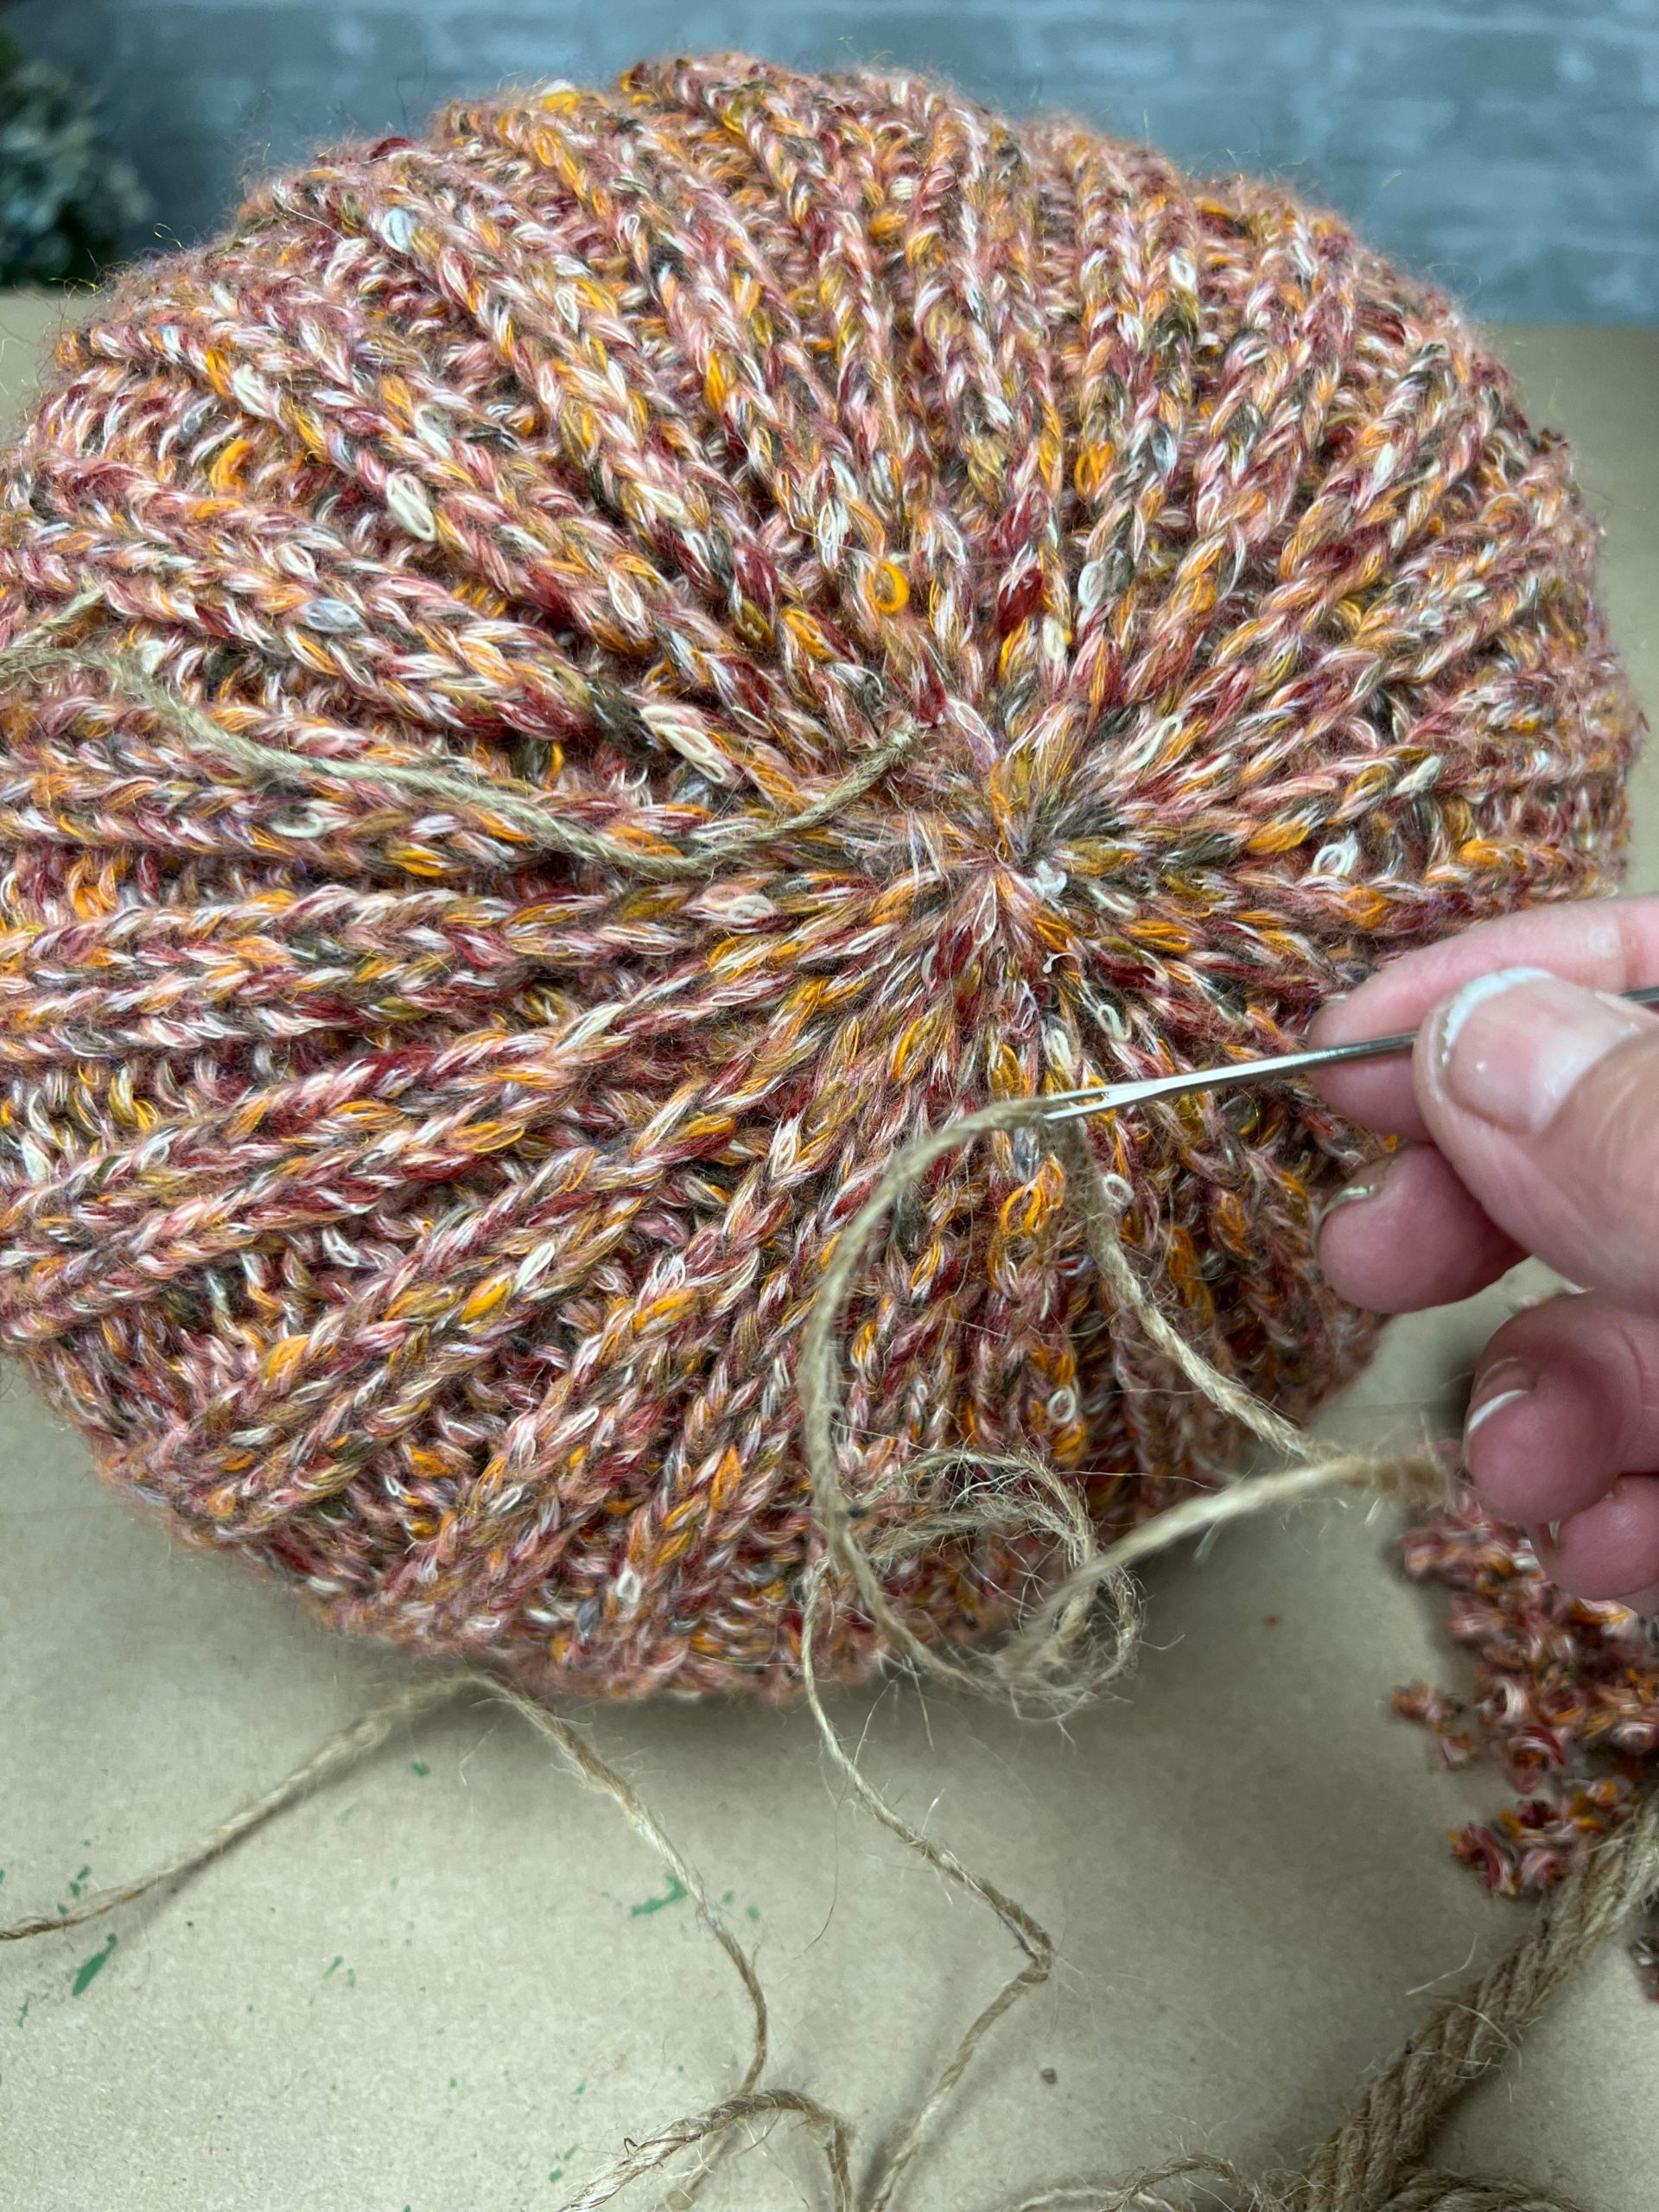
I decided to sew through the pumpkin to pull the top center of the pumpkin down.
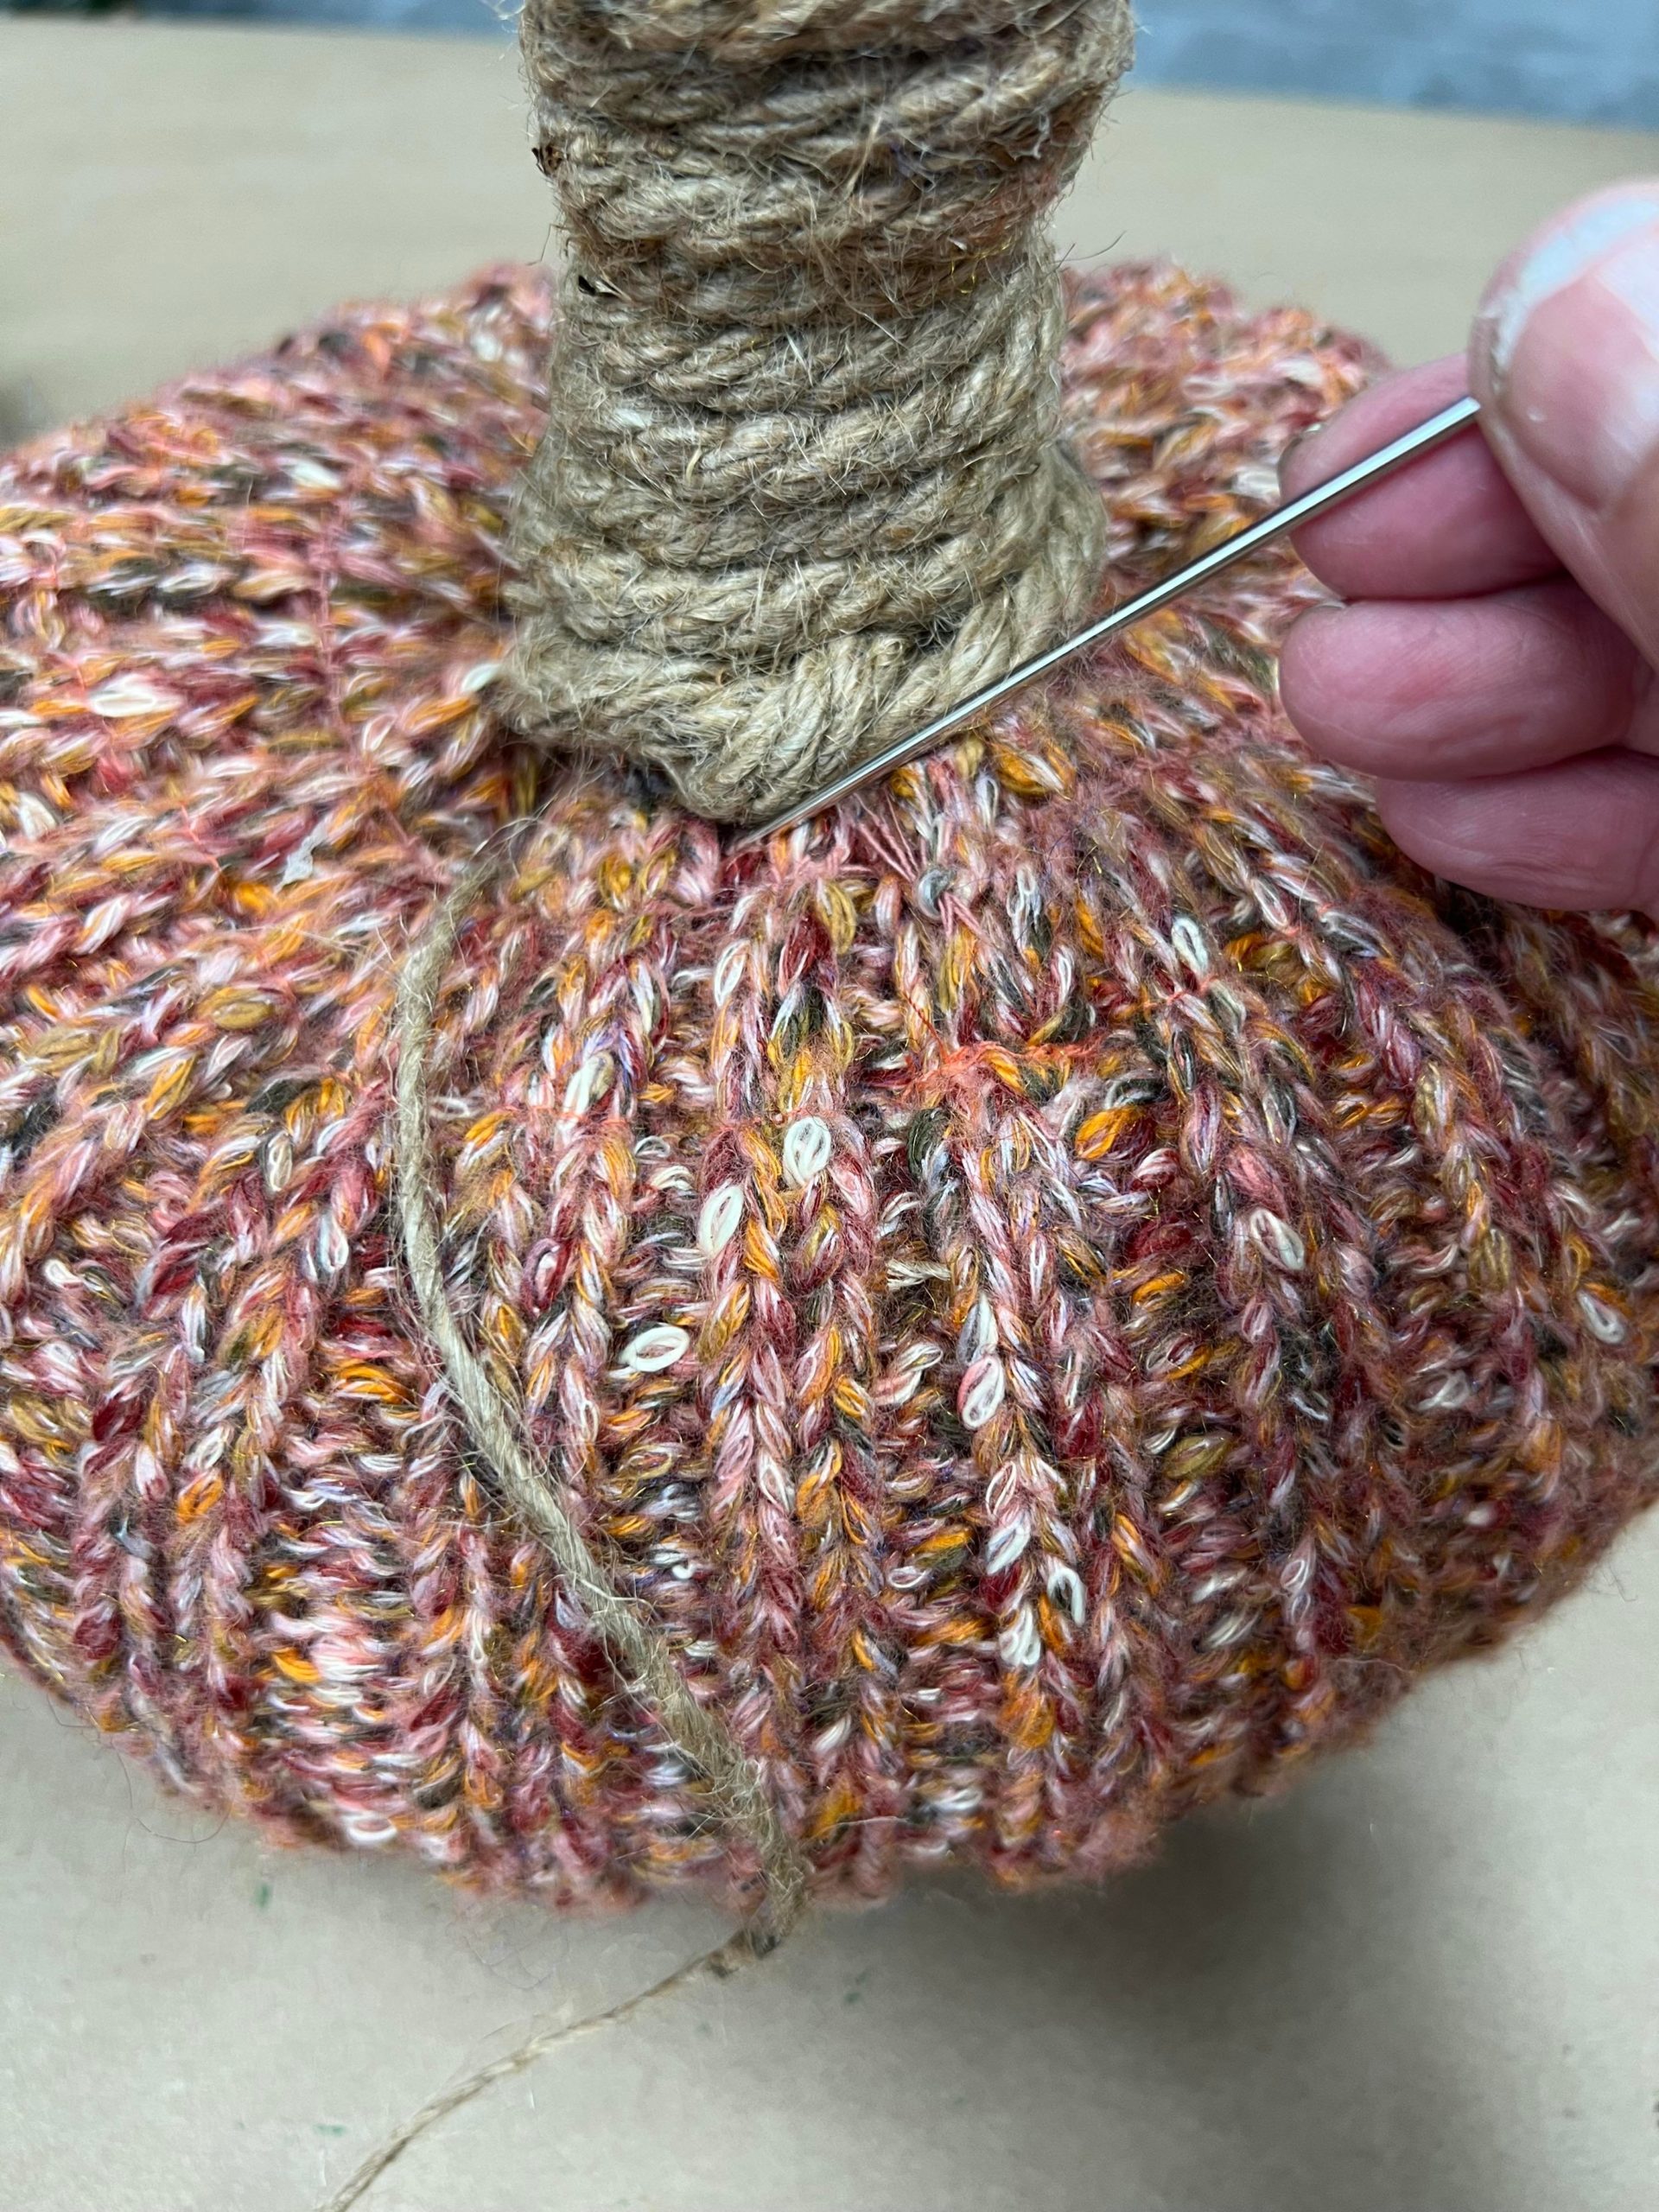
You will use the twine and jute and you will want to tie your starting knot at the bottom of the pumpkin. This is an optional step but I like the look that it gives the pumpkin. I went up and back down a few time going around the stem and pulling tight as I went.
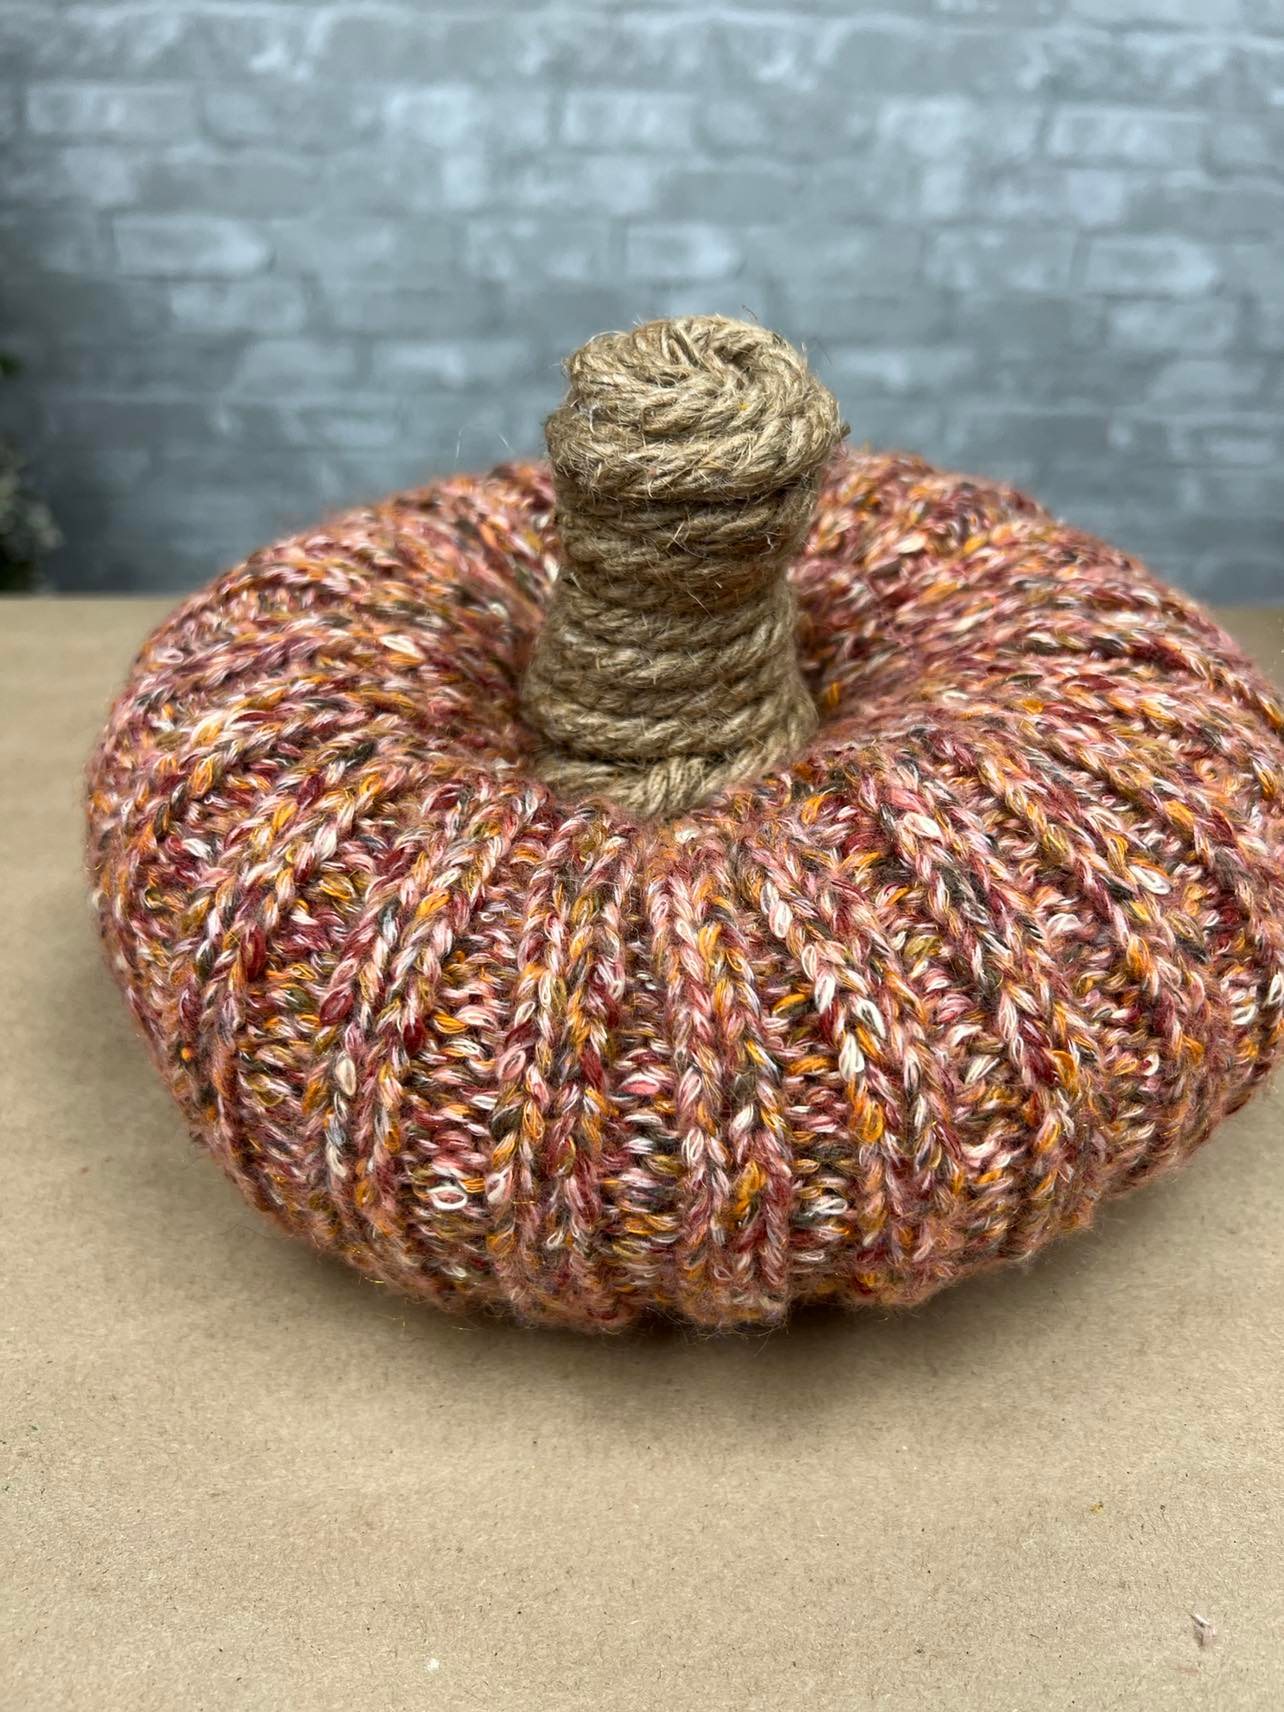
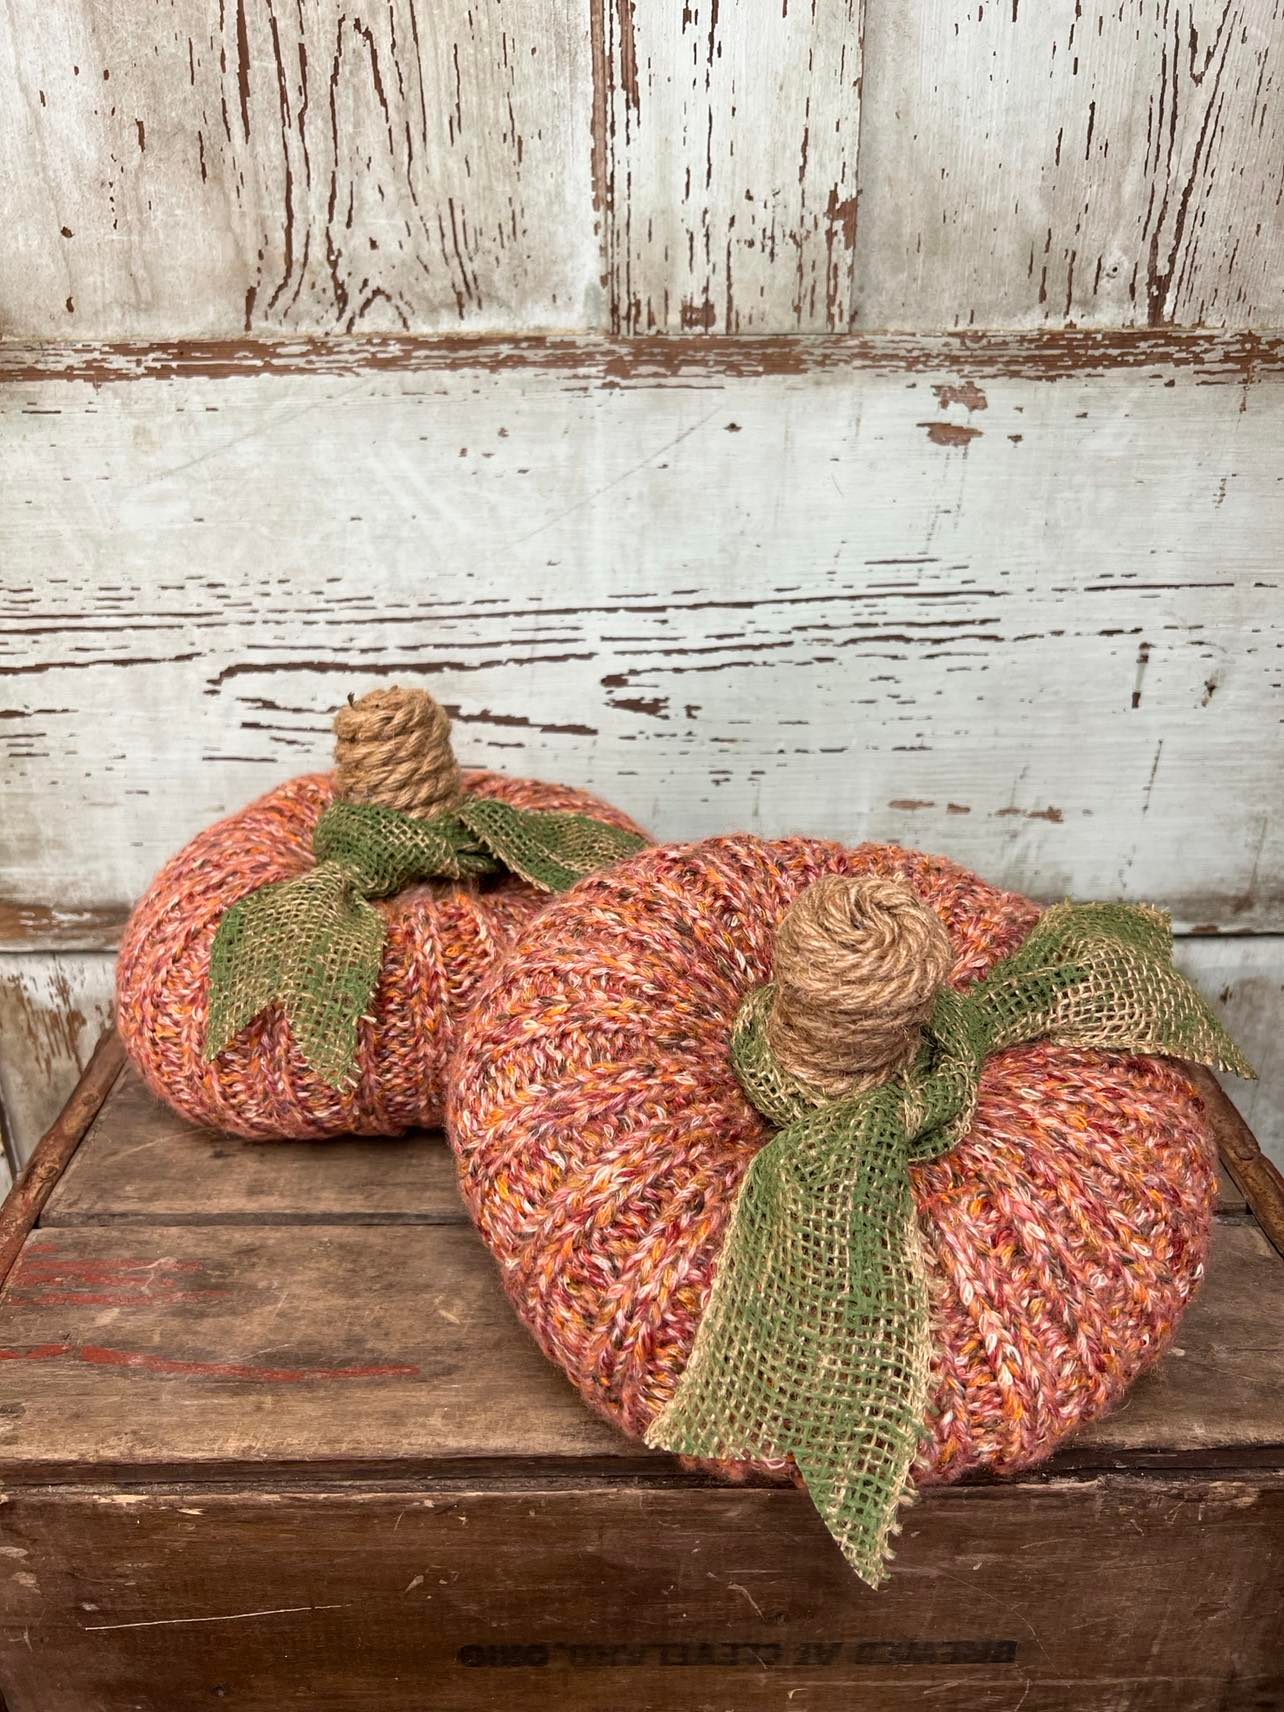
I painted a strip of the burlap ribbon with some of the green paint and tied it around the stem. This pumpkin is so quick and easy to make. I hope you will get creative and give this a try.