
Summer is here and I have been seeing so many different types of decor with bumblebees. We have made a few bumblebee items here at The Shabby Tree but I wanted something different. We have recently made a few fun and unique items using socks so I thought we would give a bumblebee a try.
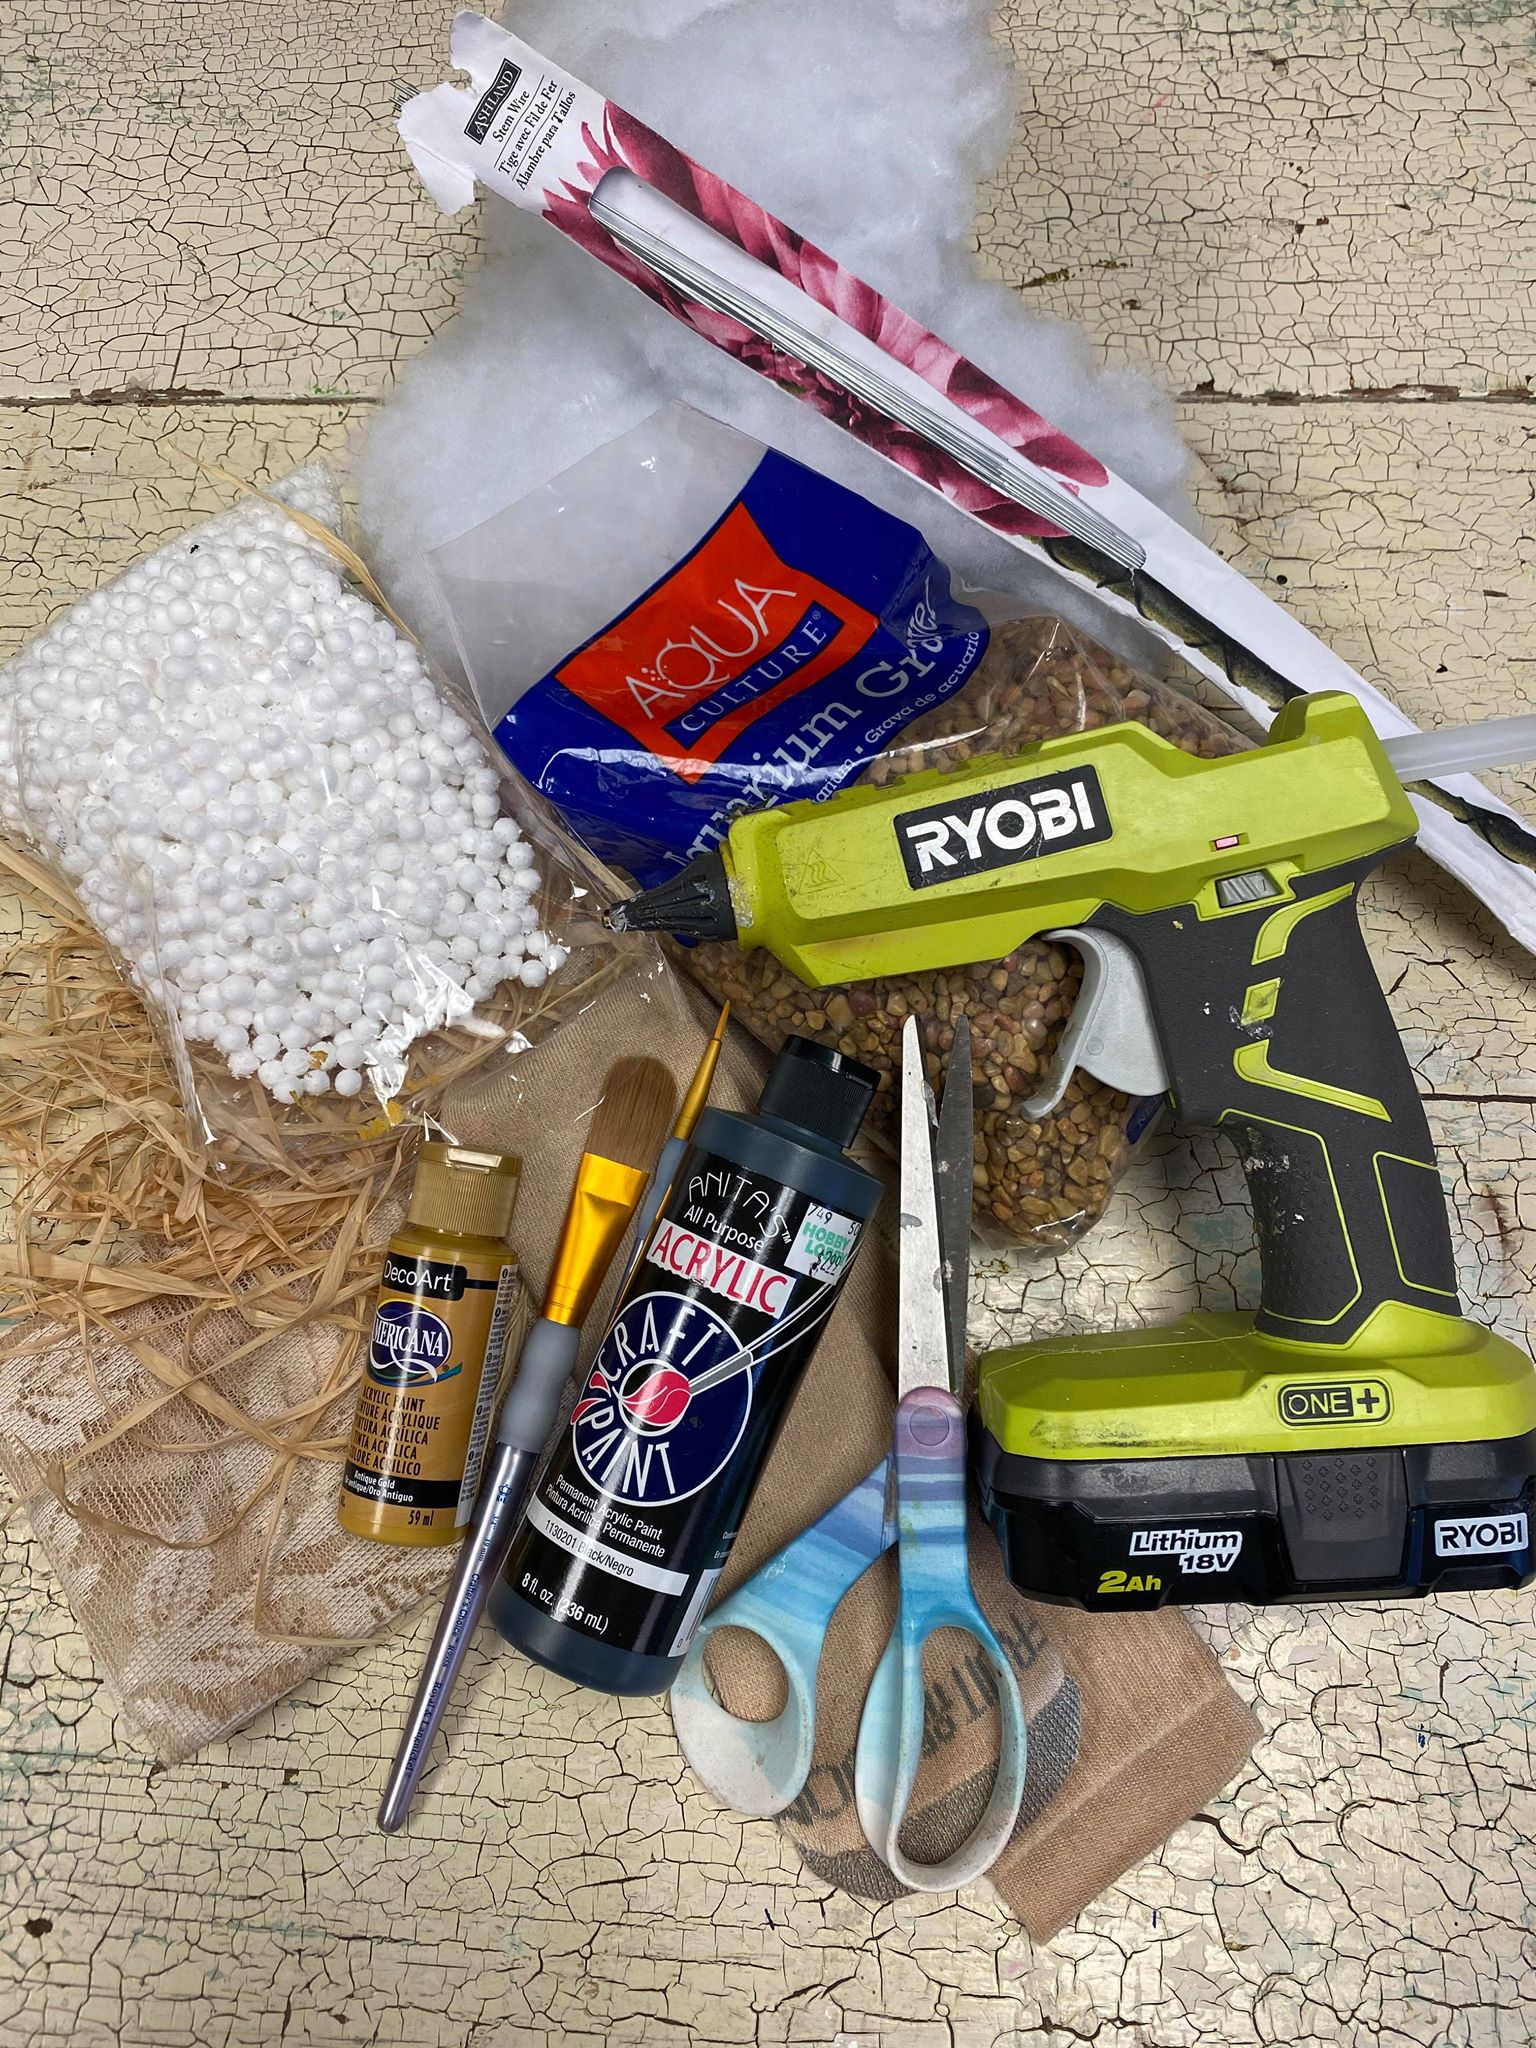
The supplies you will need are:
1. A sock (I coffee stained my sock)
2. Glue gun
3. Paint (black and yellow paint)
4. Polyester fiberfill
5. Scissors
6. Wire
7. Raffia
8. Small styrofoam beads
9. Gravel (I’m using fish tank gravel)
10. Piece of material (I am using a scrap piece of lace)
11. Rubberband
12. Twine
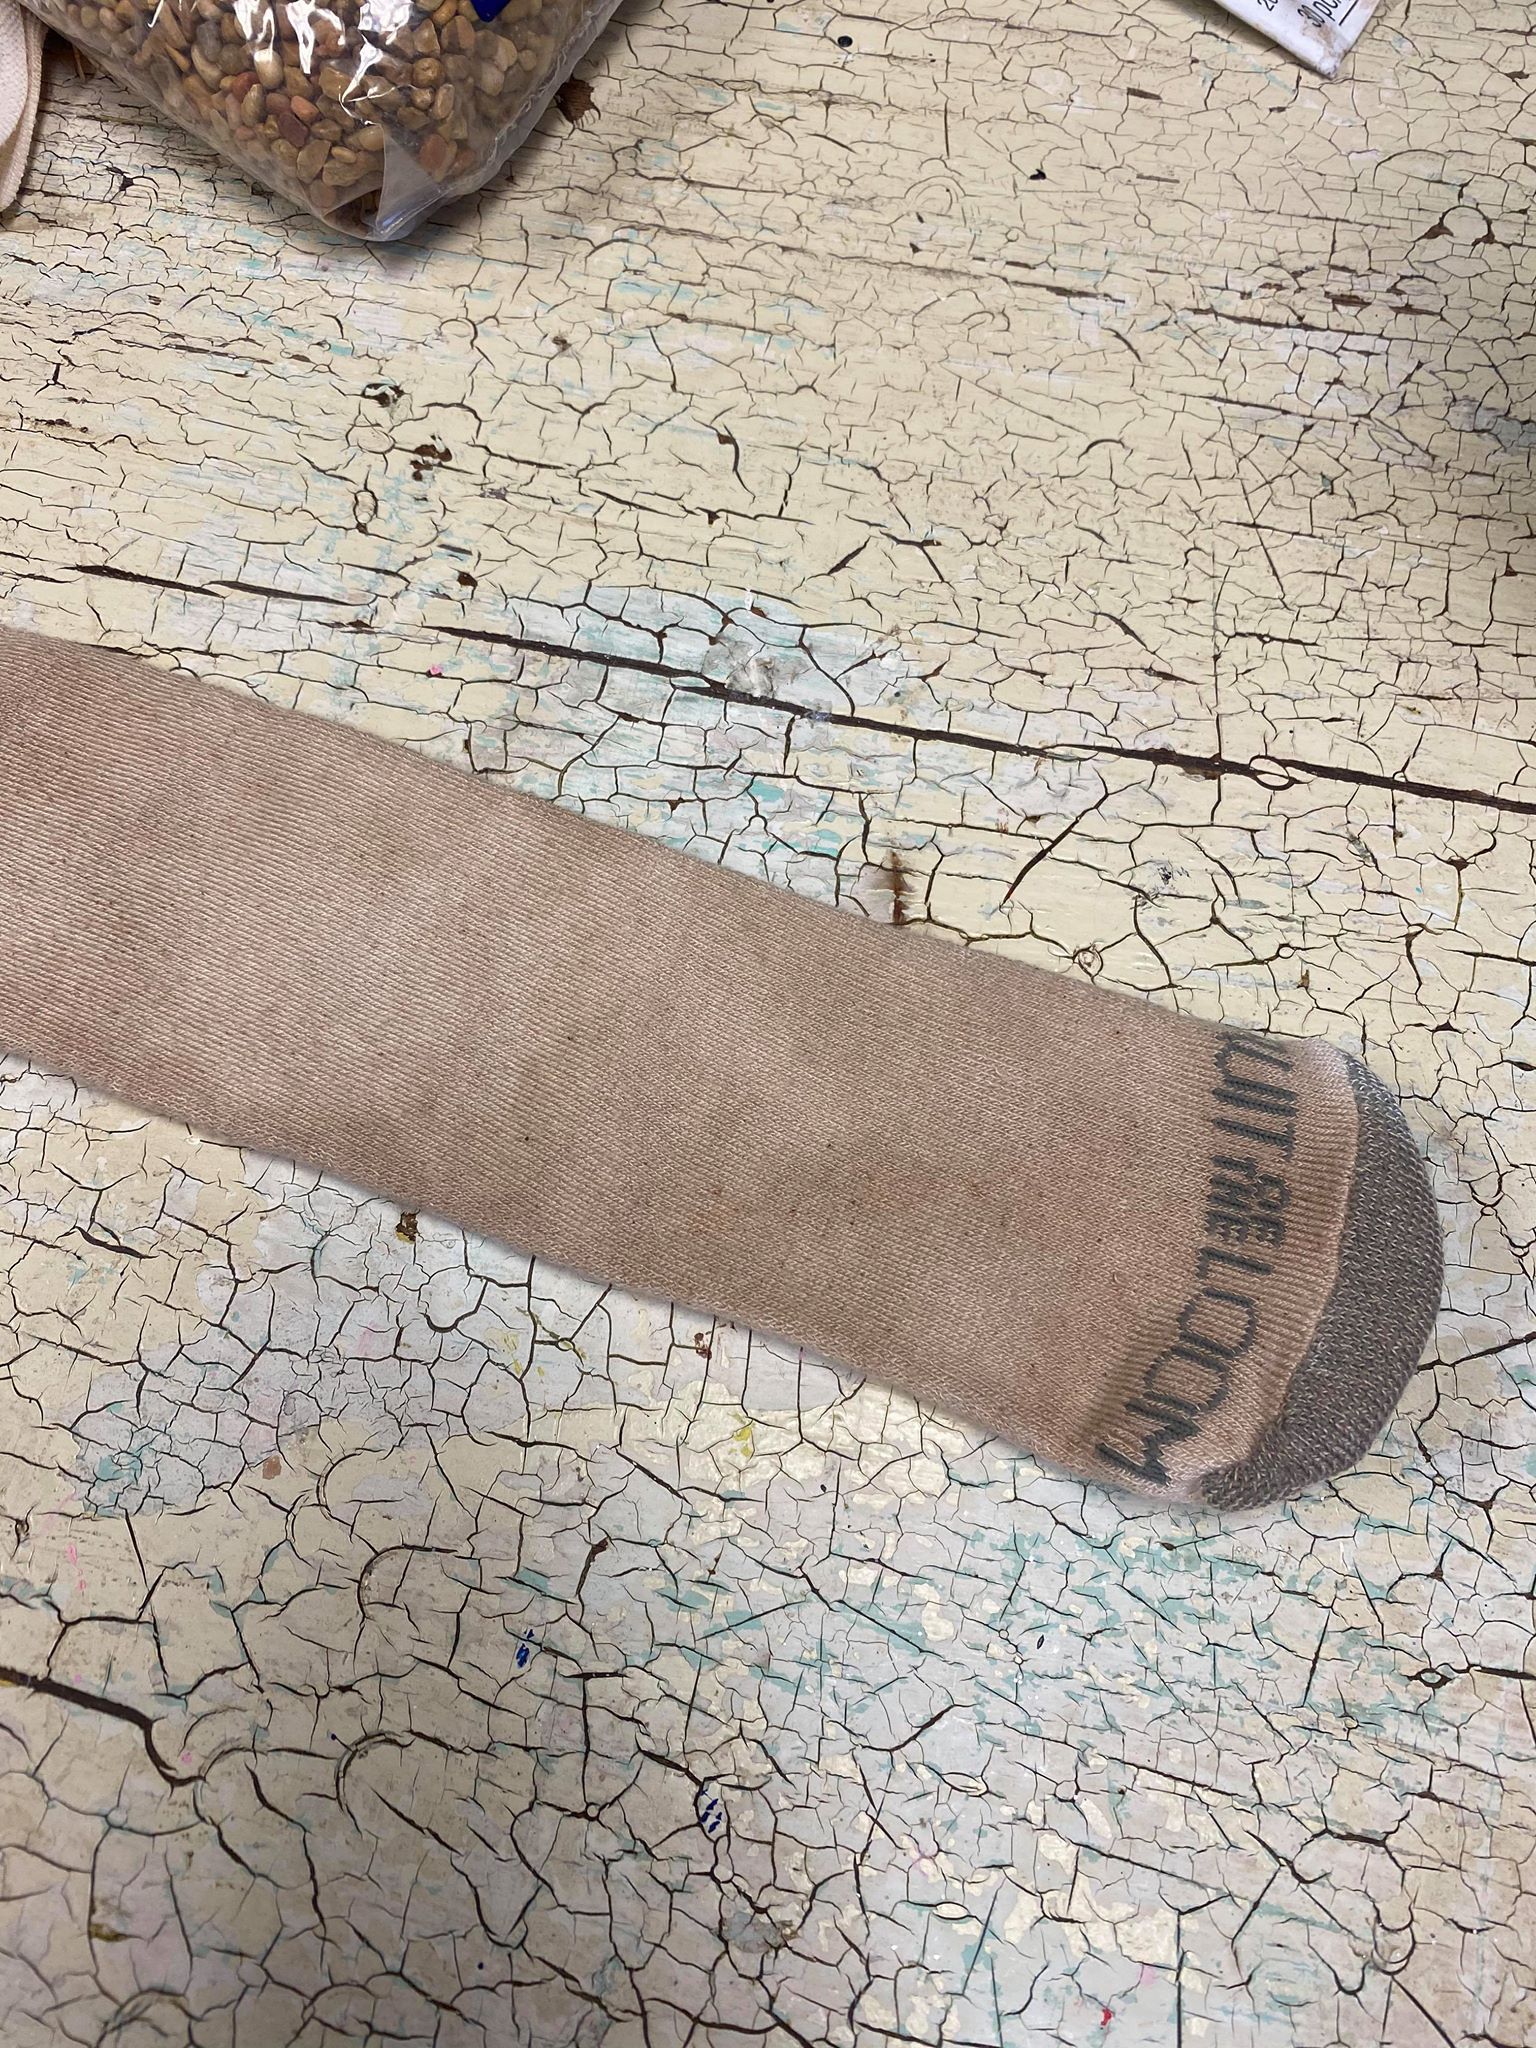
The first step is to cut your sock. I bought long fruit of the loom socks from Walmart.
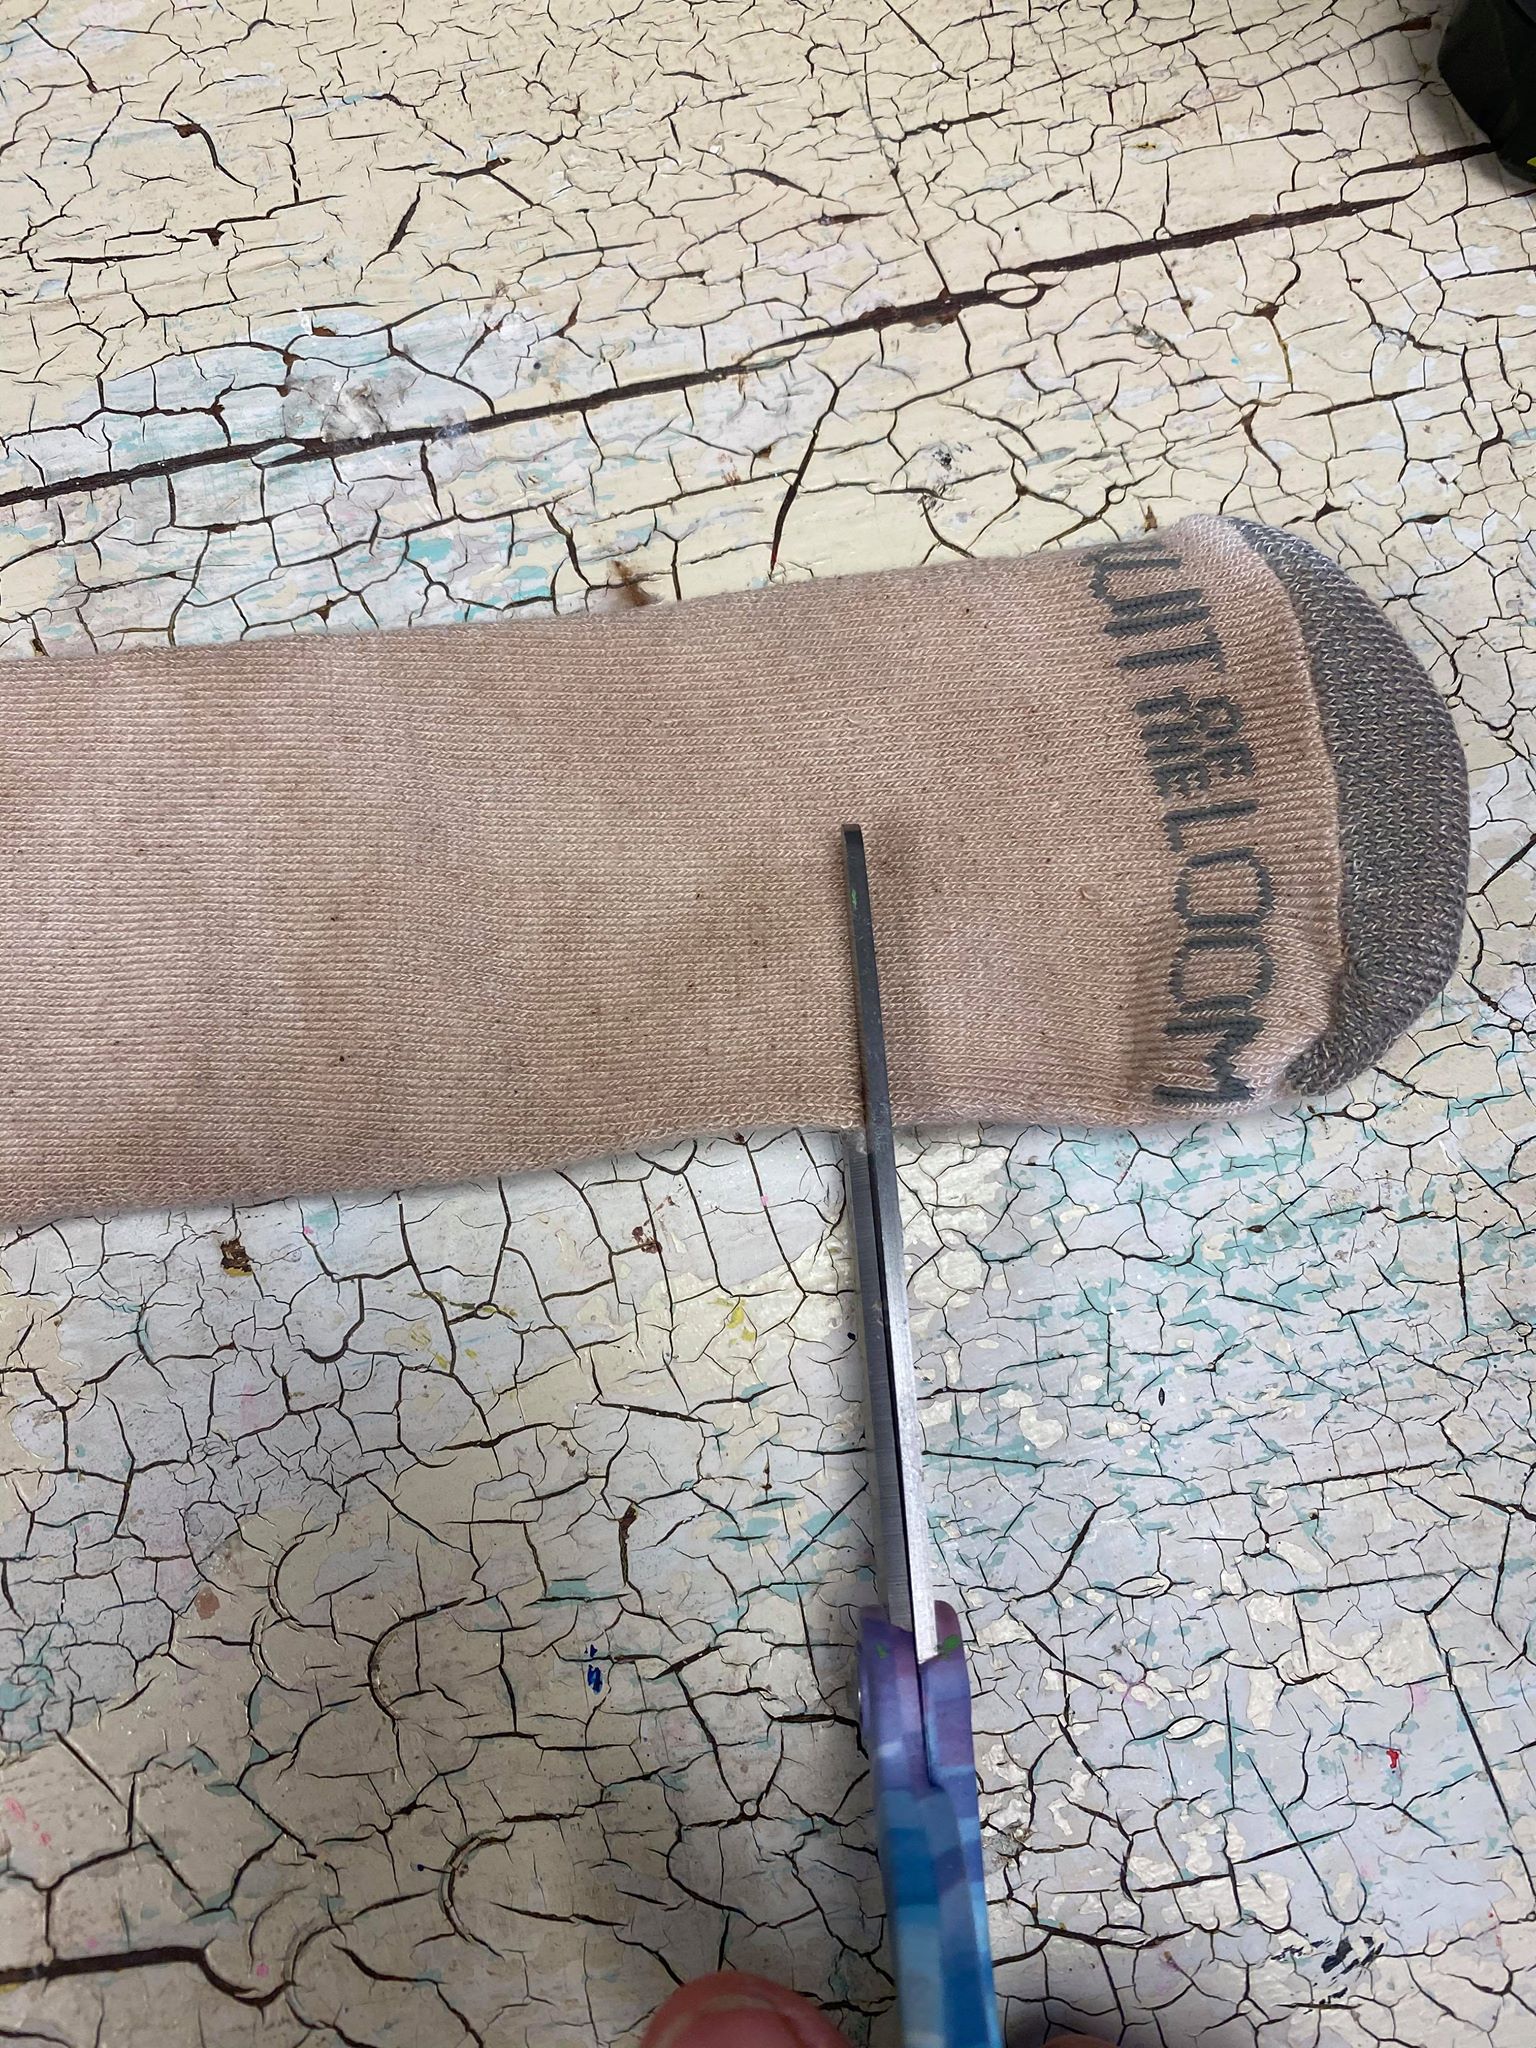

I first cut the toe area of the sock off. You will set this aside and we will use this part later.
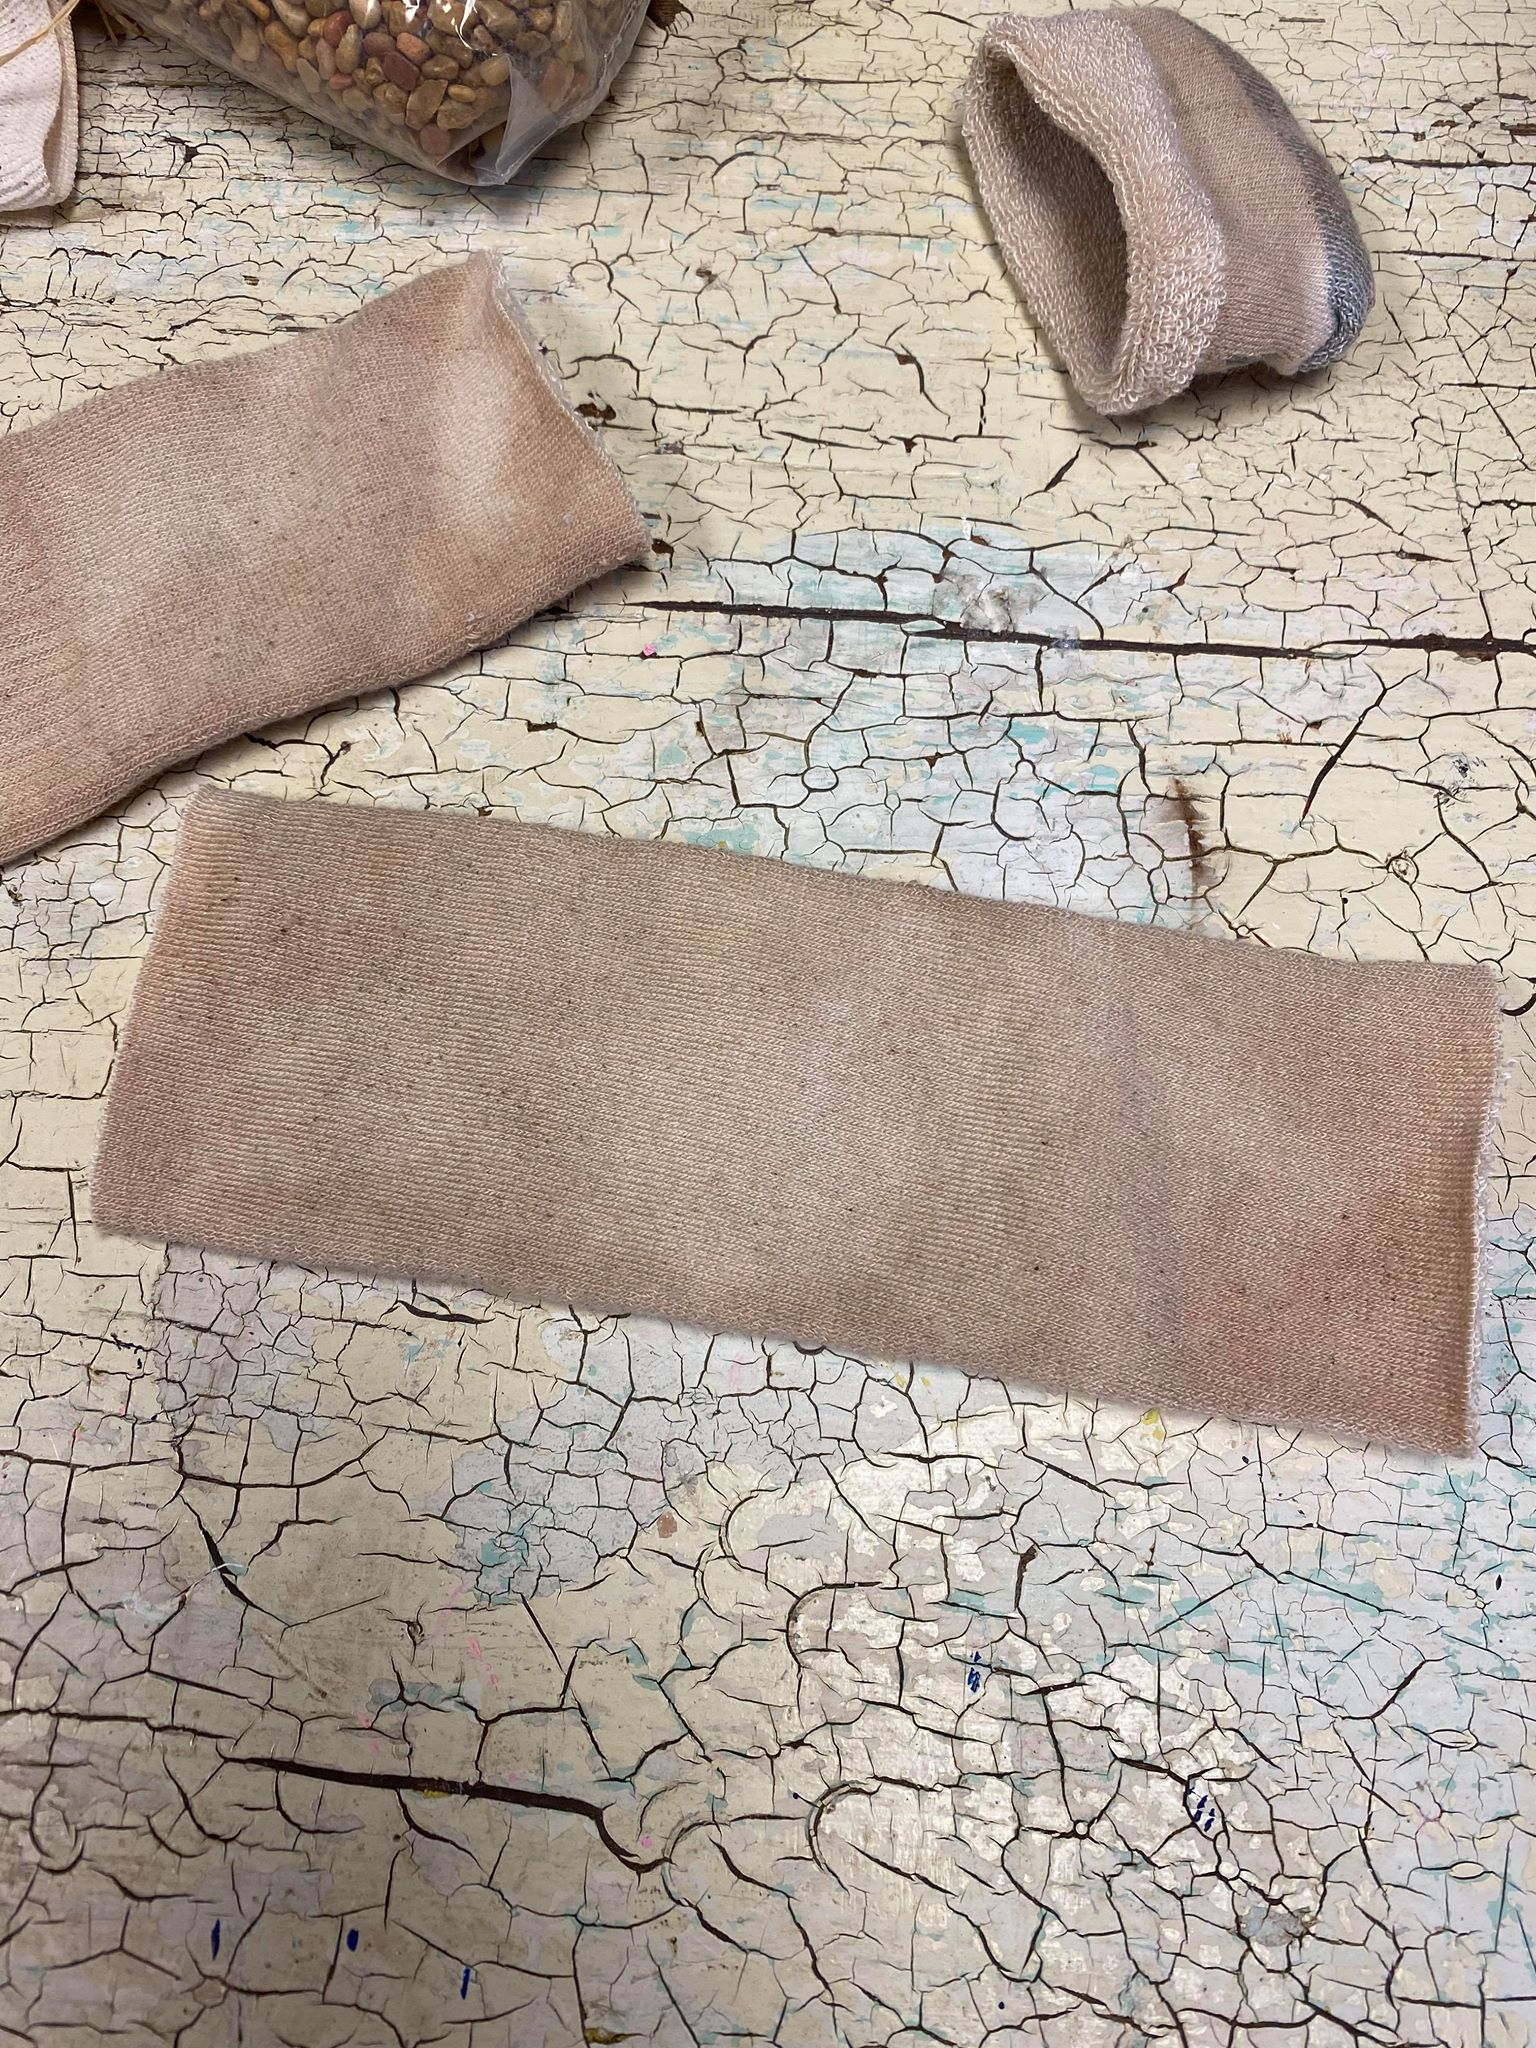
I then cut the upper top part off which gives me the center piece of the sock. This will be used to form the body of your bumblebee.
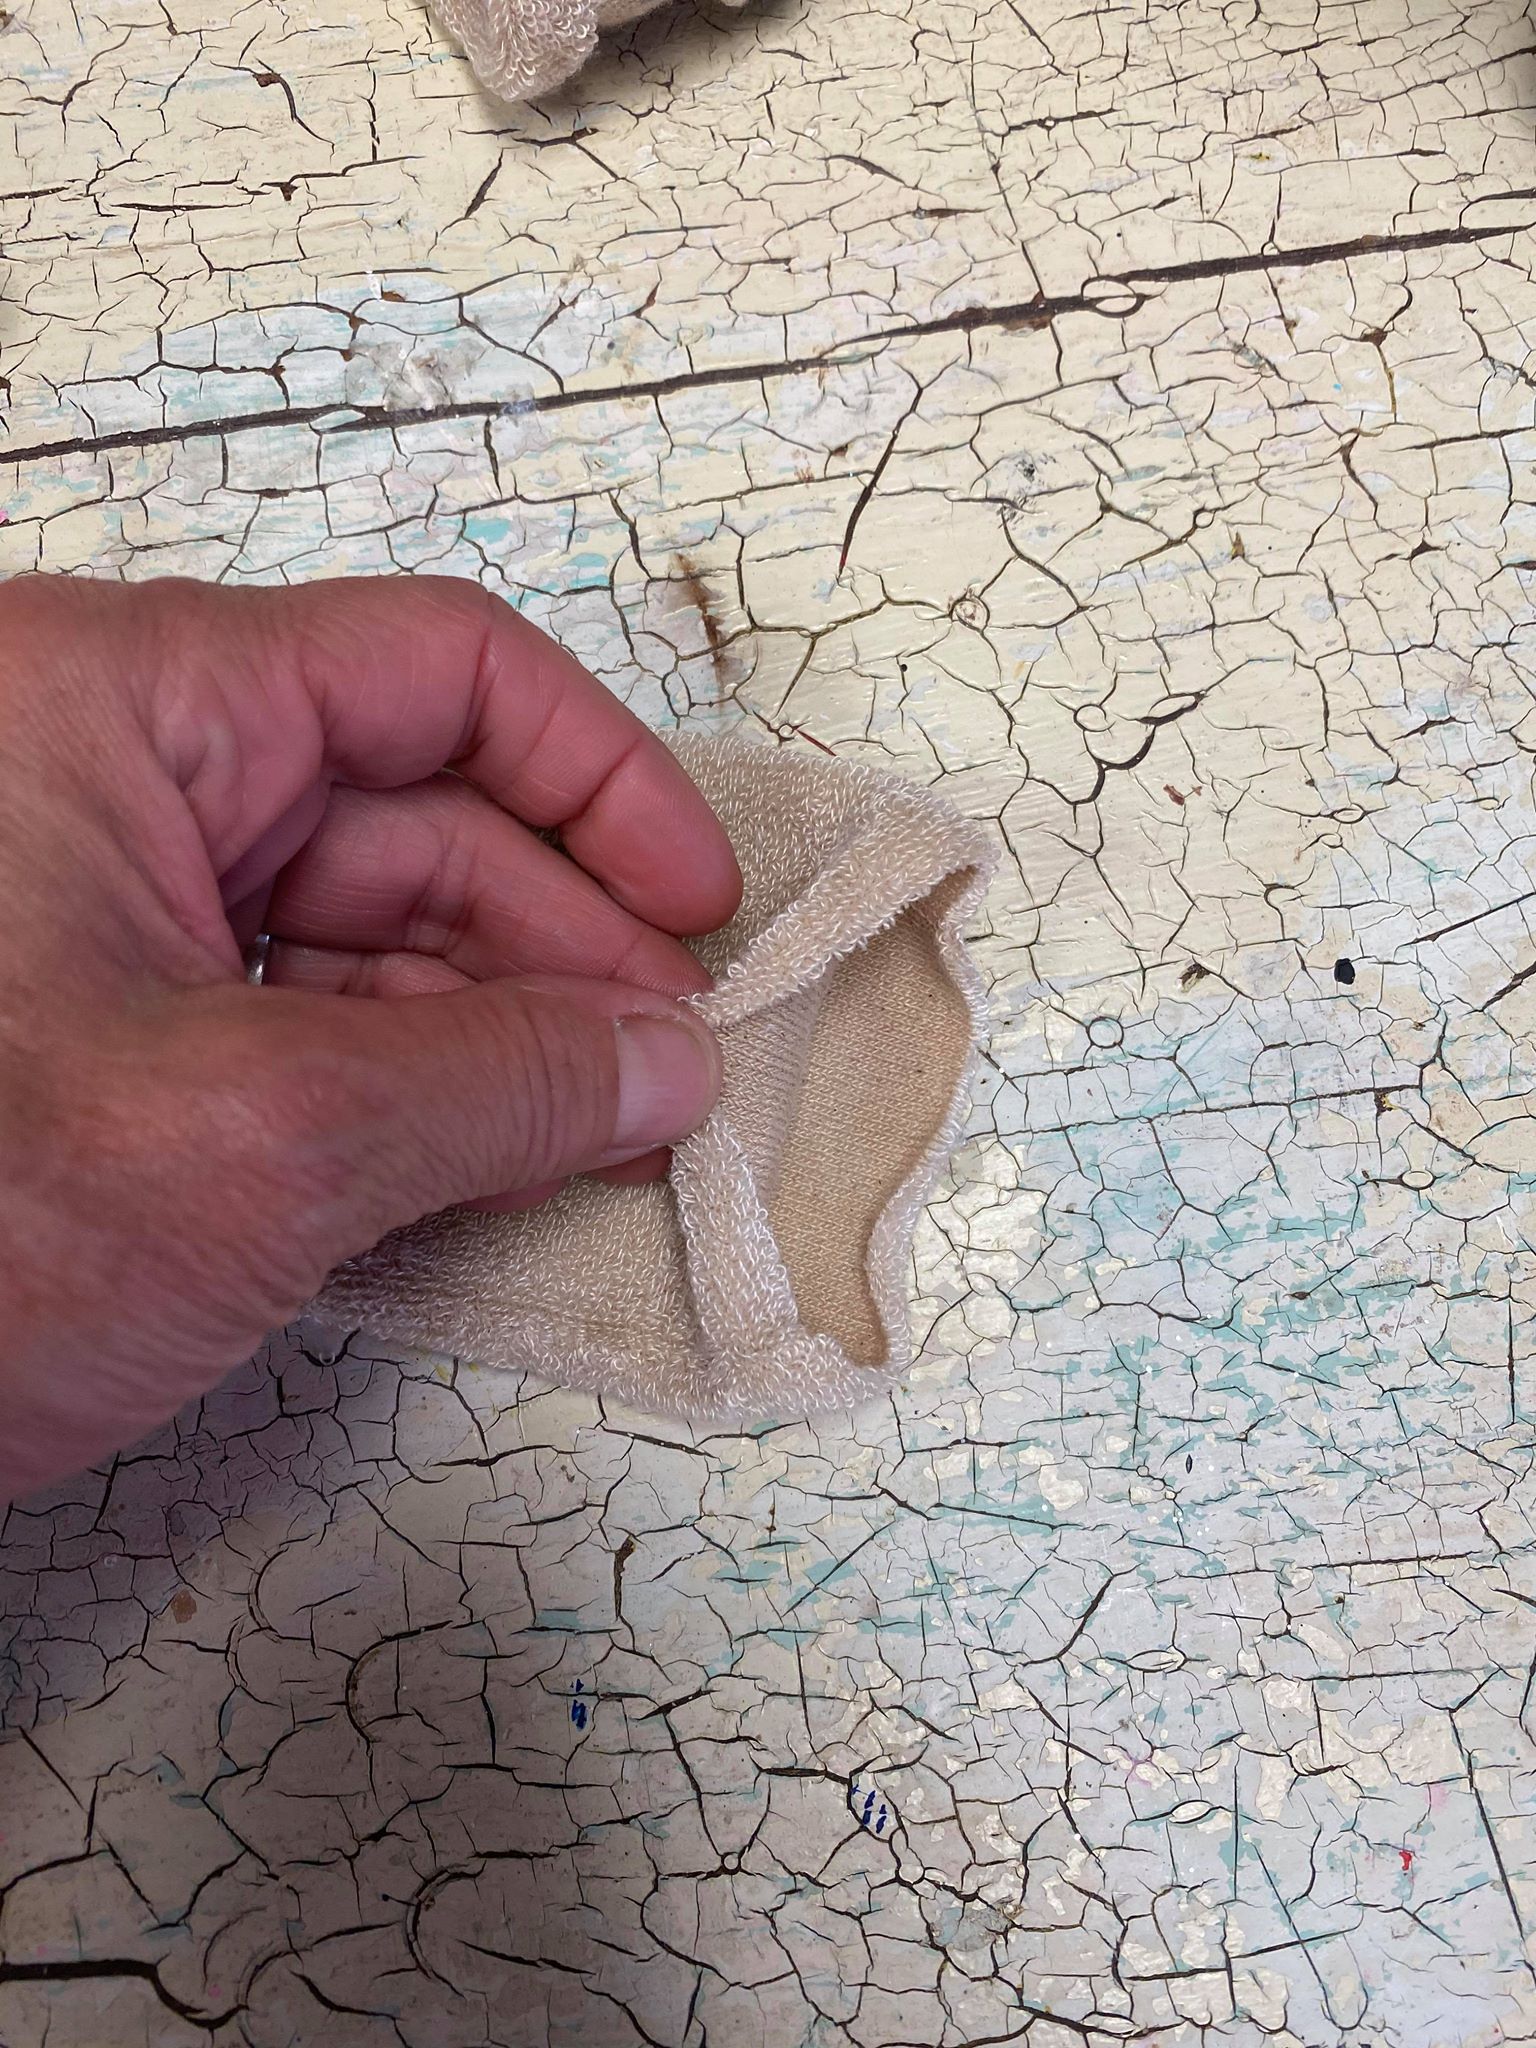
You will need to turn the sock inside out and glue one end together.
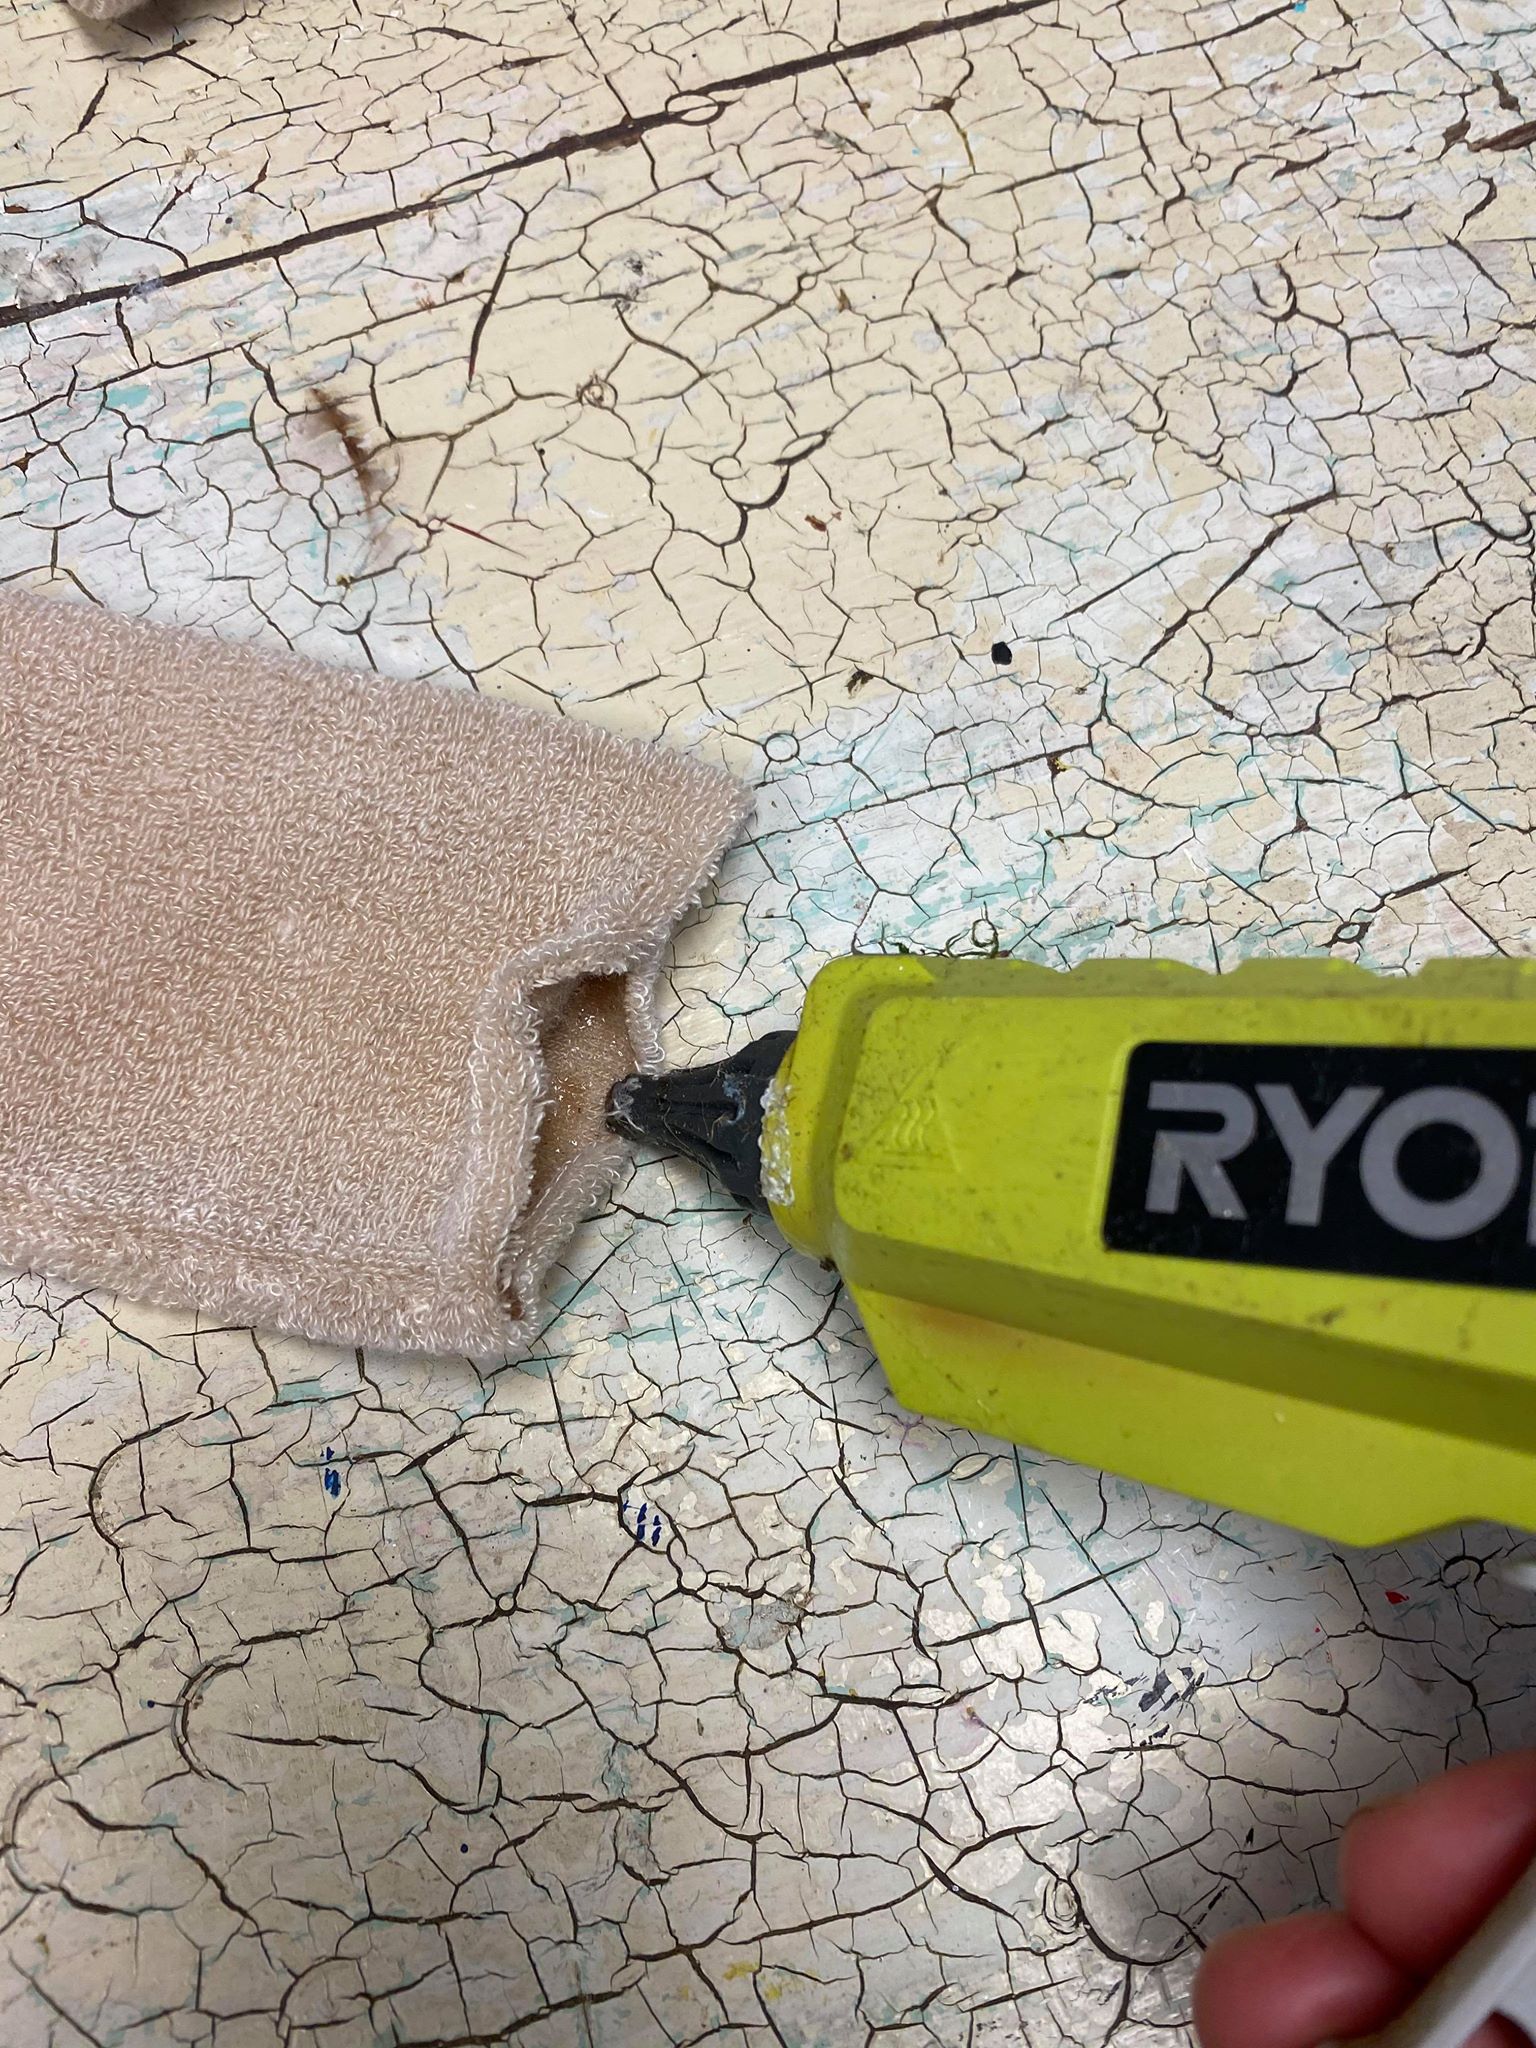
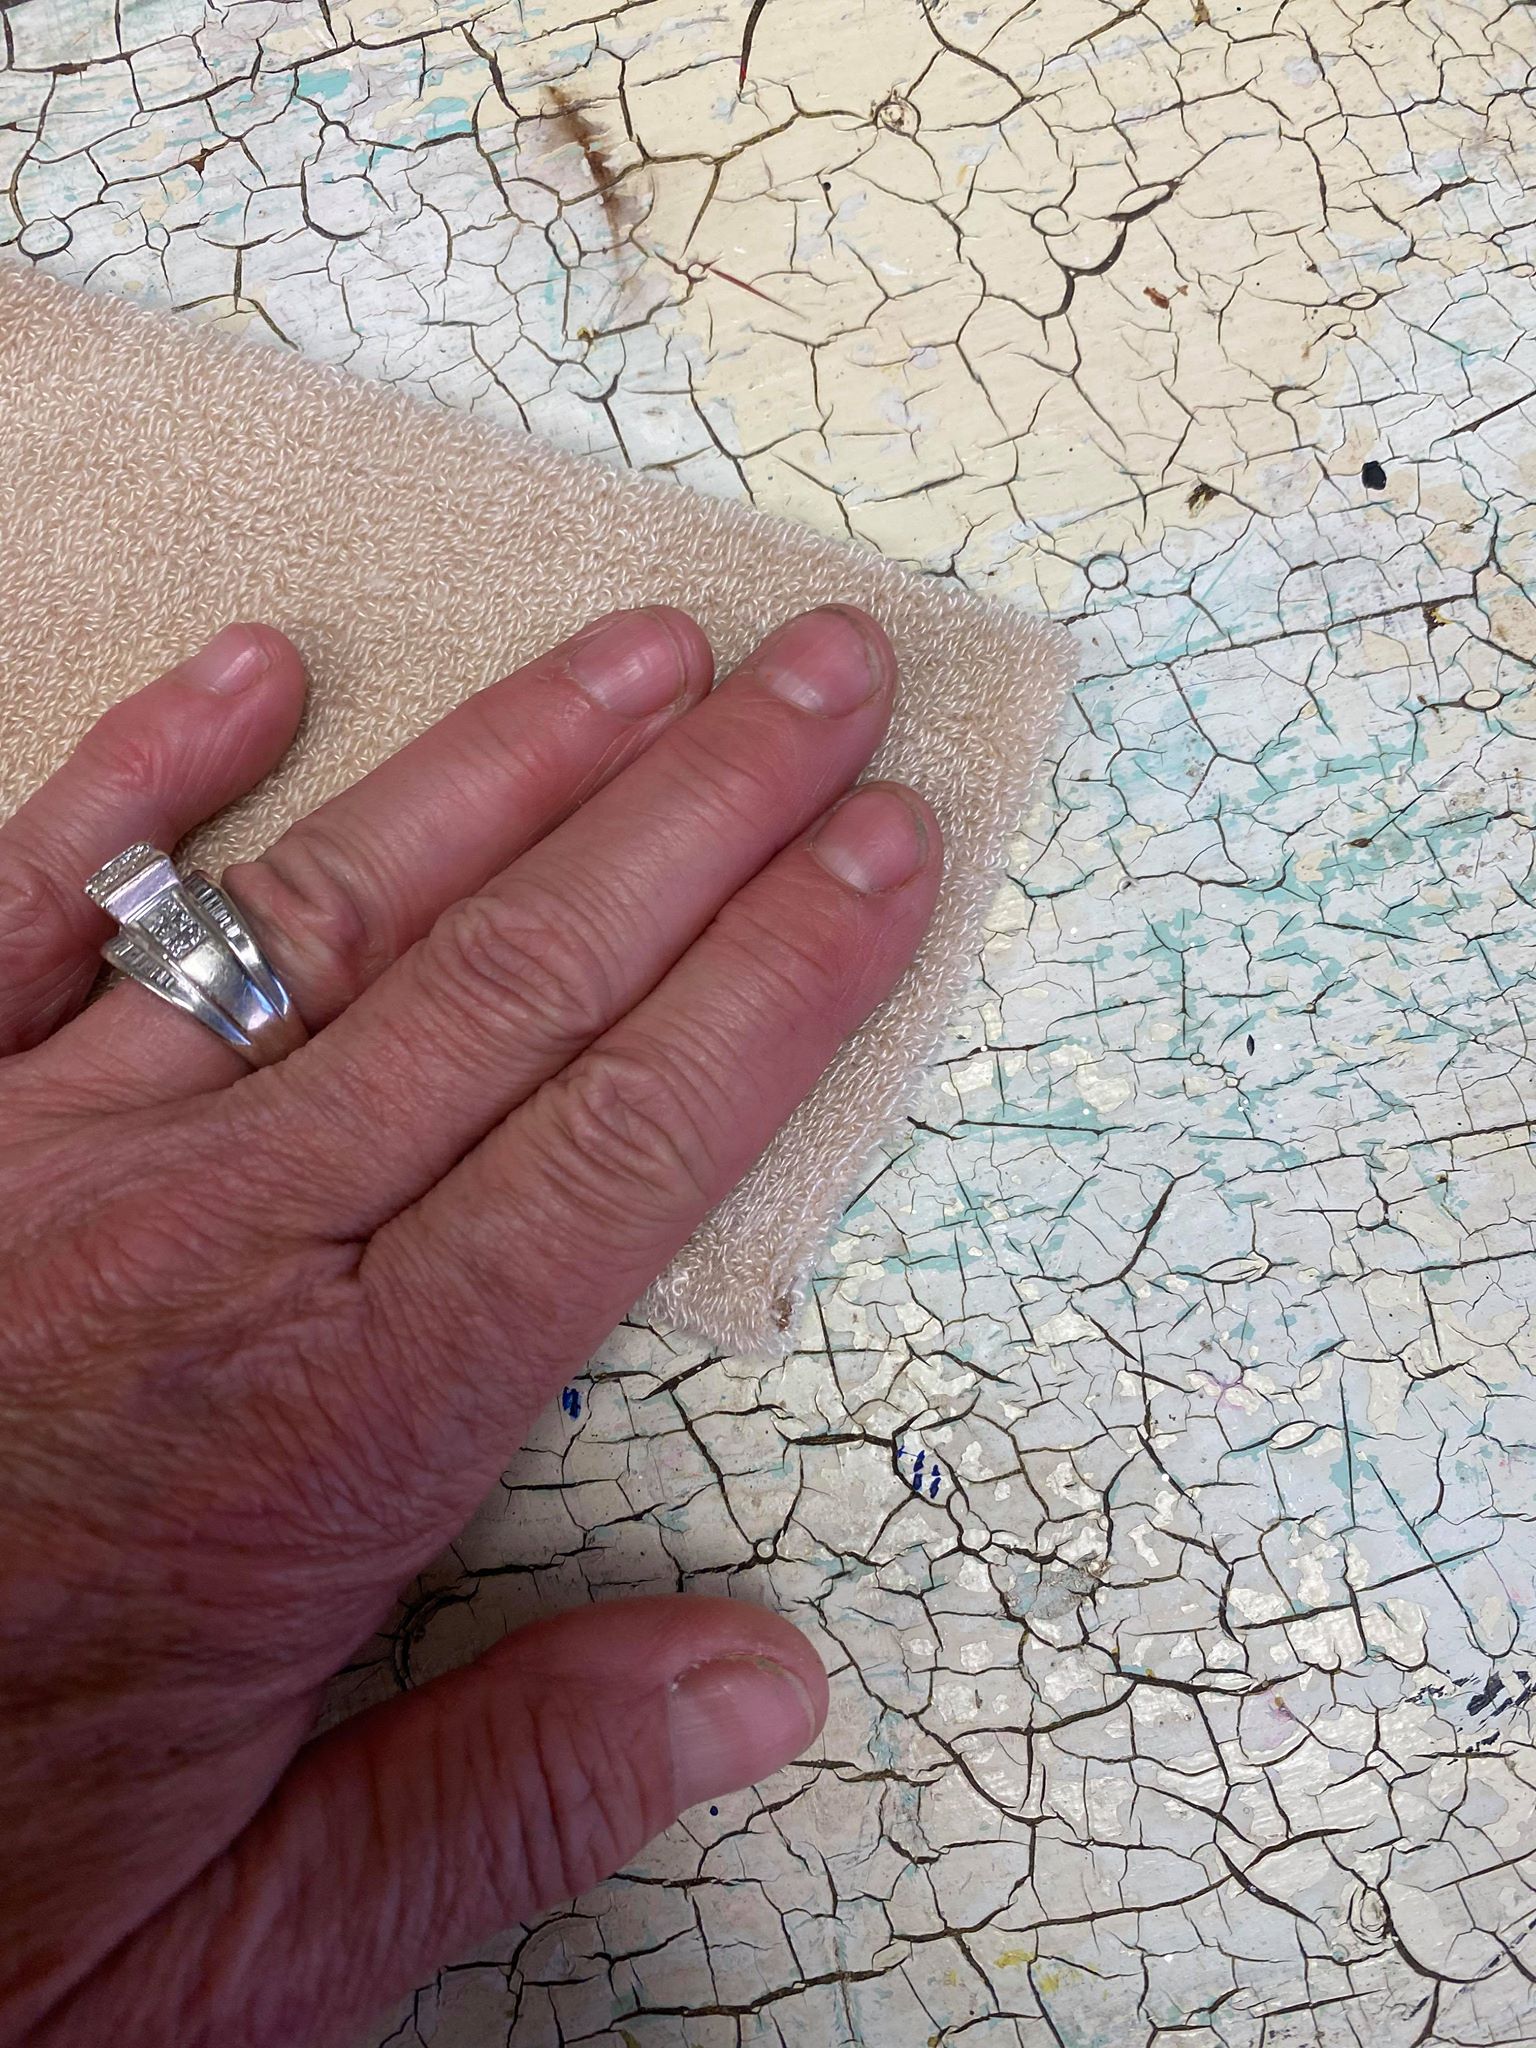
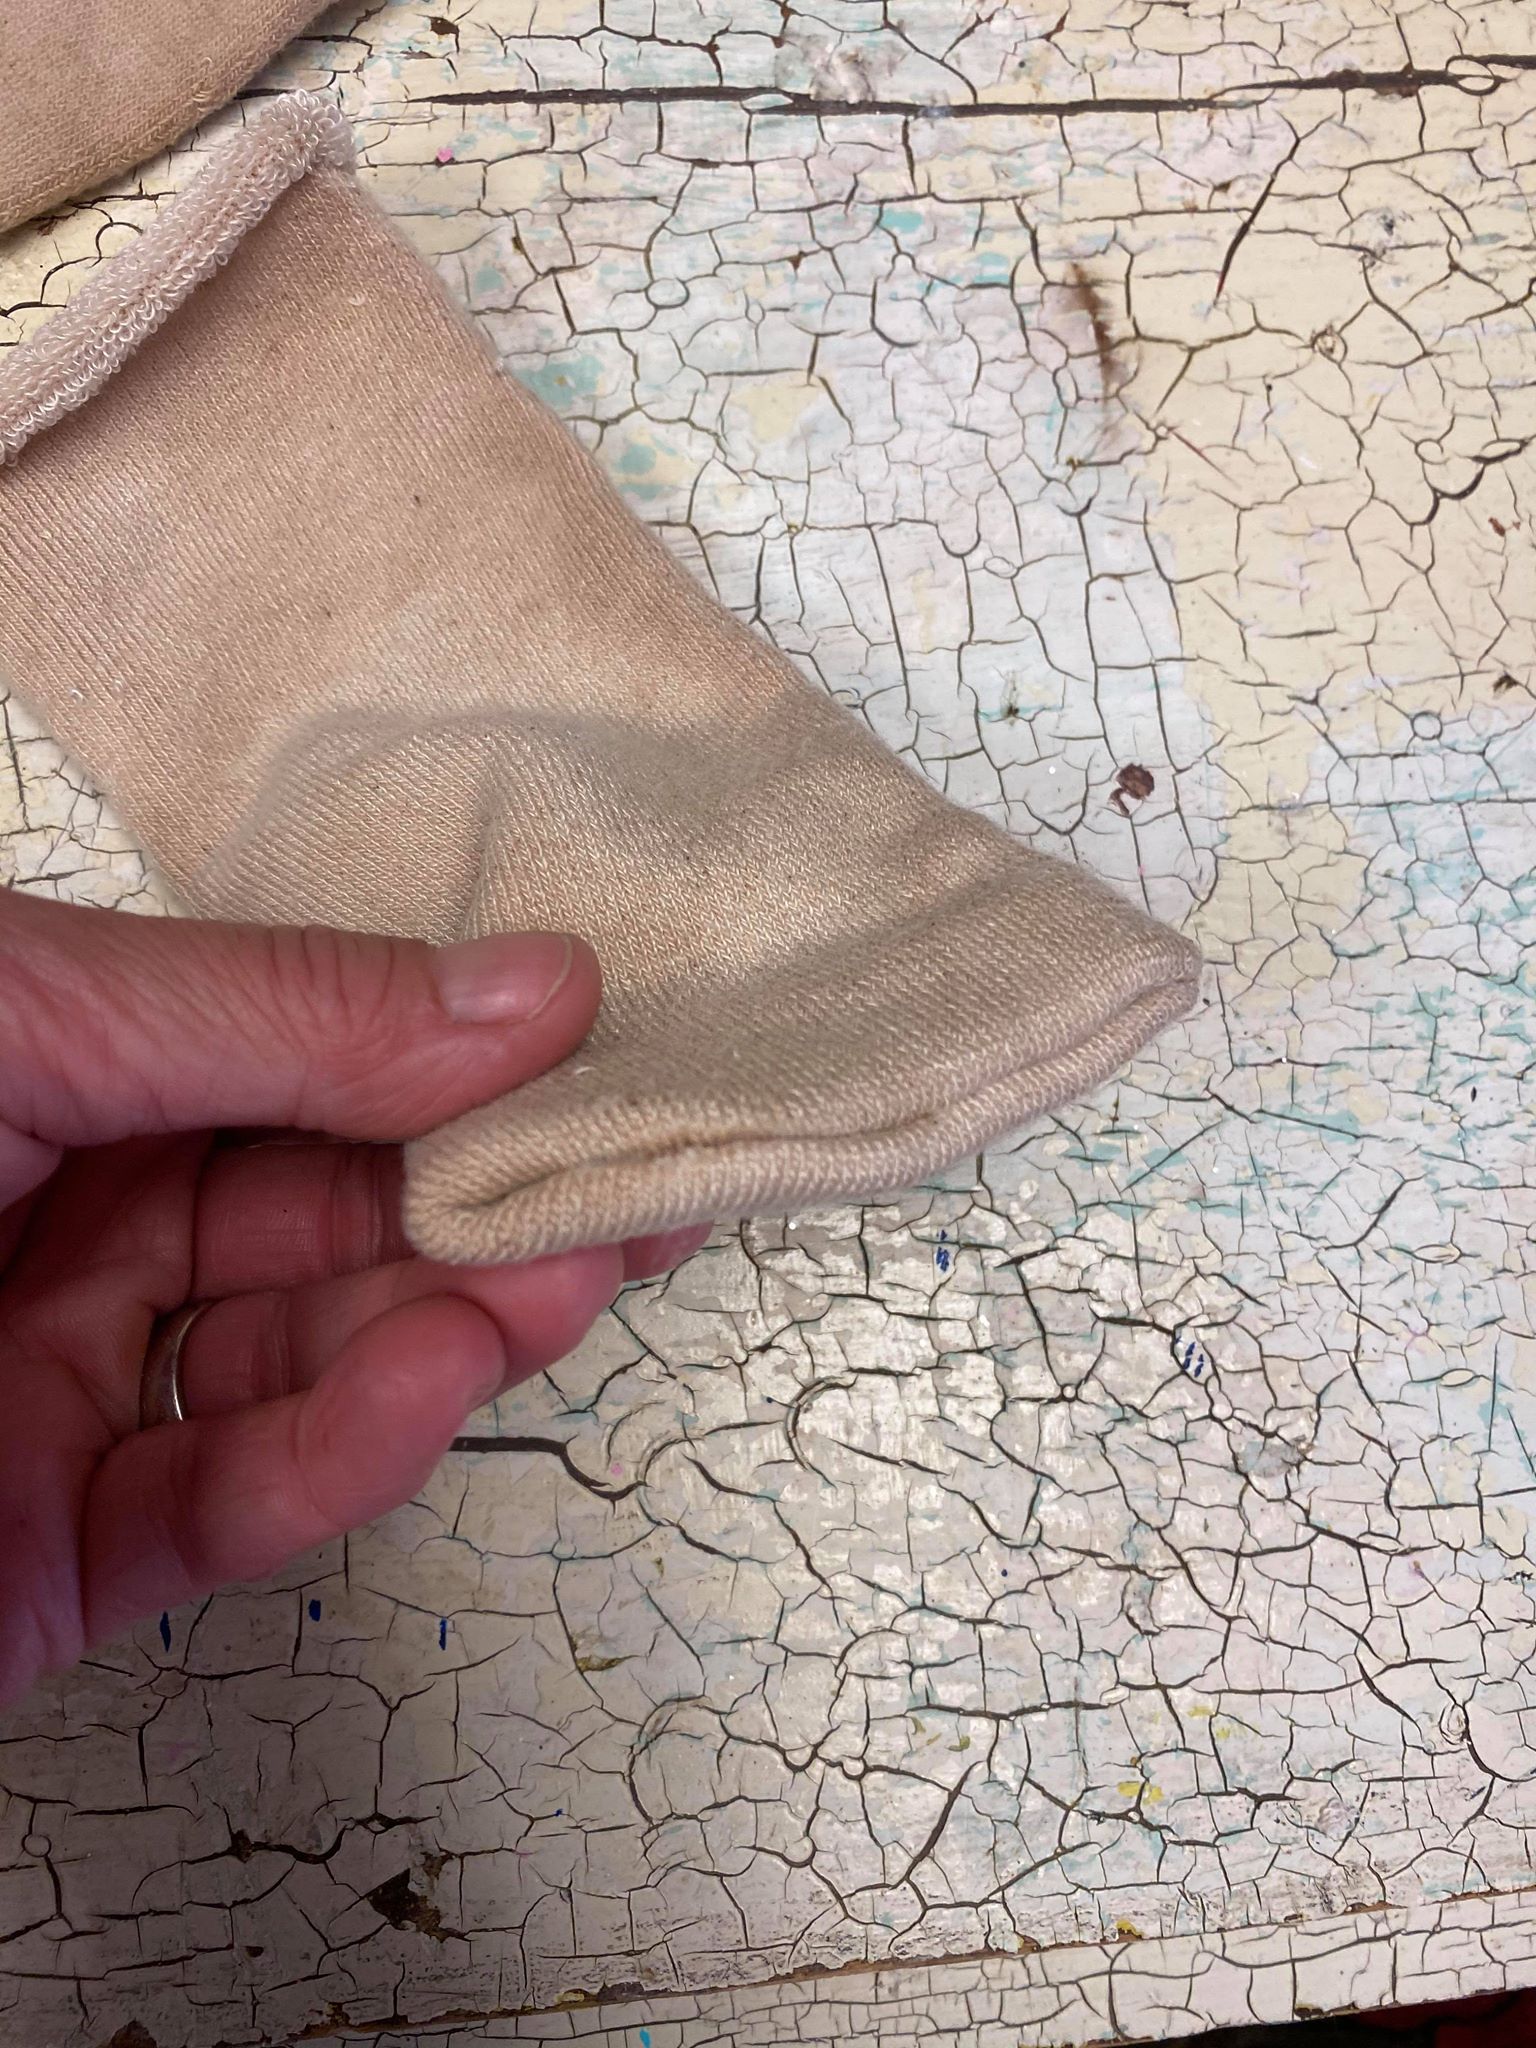
Once it is glued you will then flip it back out so that your good sides are facing out.
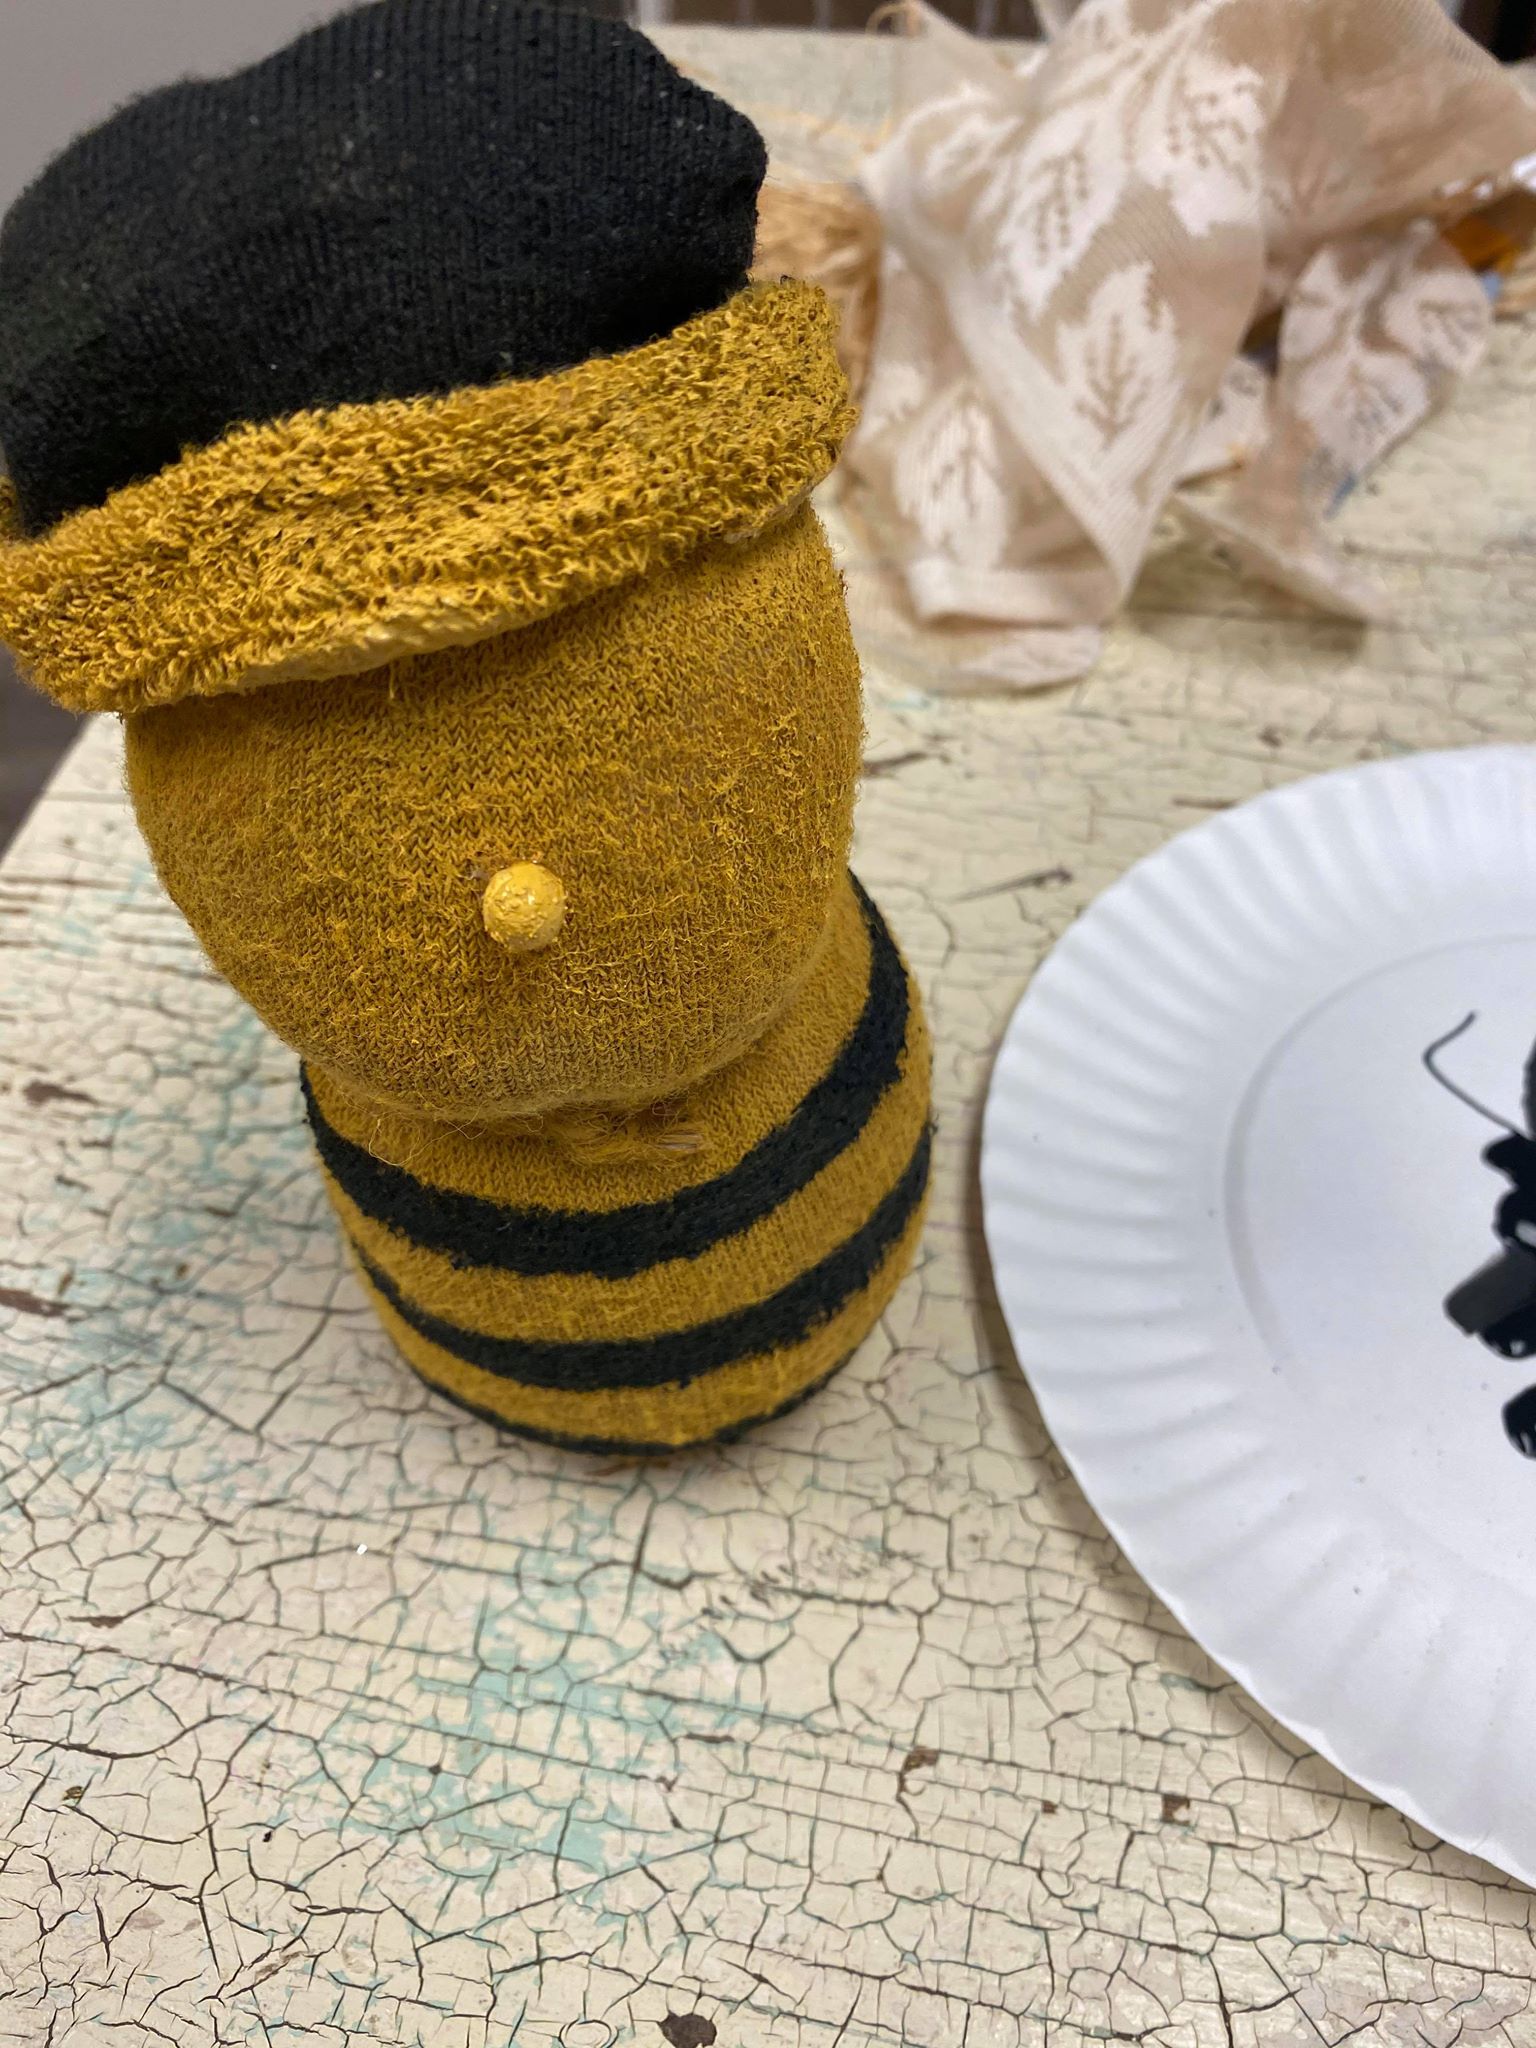
Now it is time to stuff the sock. I filled the bottom part with fish tank gravel. This will give weight to help stand your bumble bee in place.
I placed gravel on the bottom and then filled the rest with the stuffing.
You can glue the top closed or use a rubberband.
You will now need to paint your bumble bee. I painted the whole bumblebee yellow and gave it time to dry before painting the black stripes.
I lightly tied a piece of twine around the center of the sock. This will help to form your bumble bee. You will also need to paint the toe part of the sock that we set aside earlier. The toe part will be added to the top of your bumble bee.
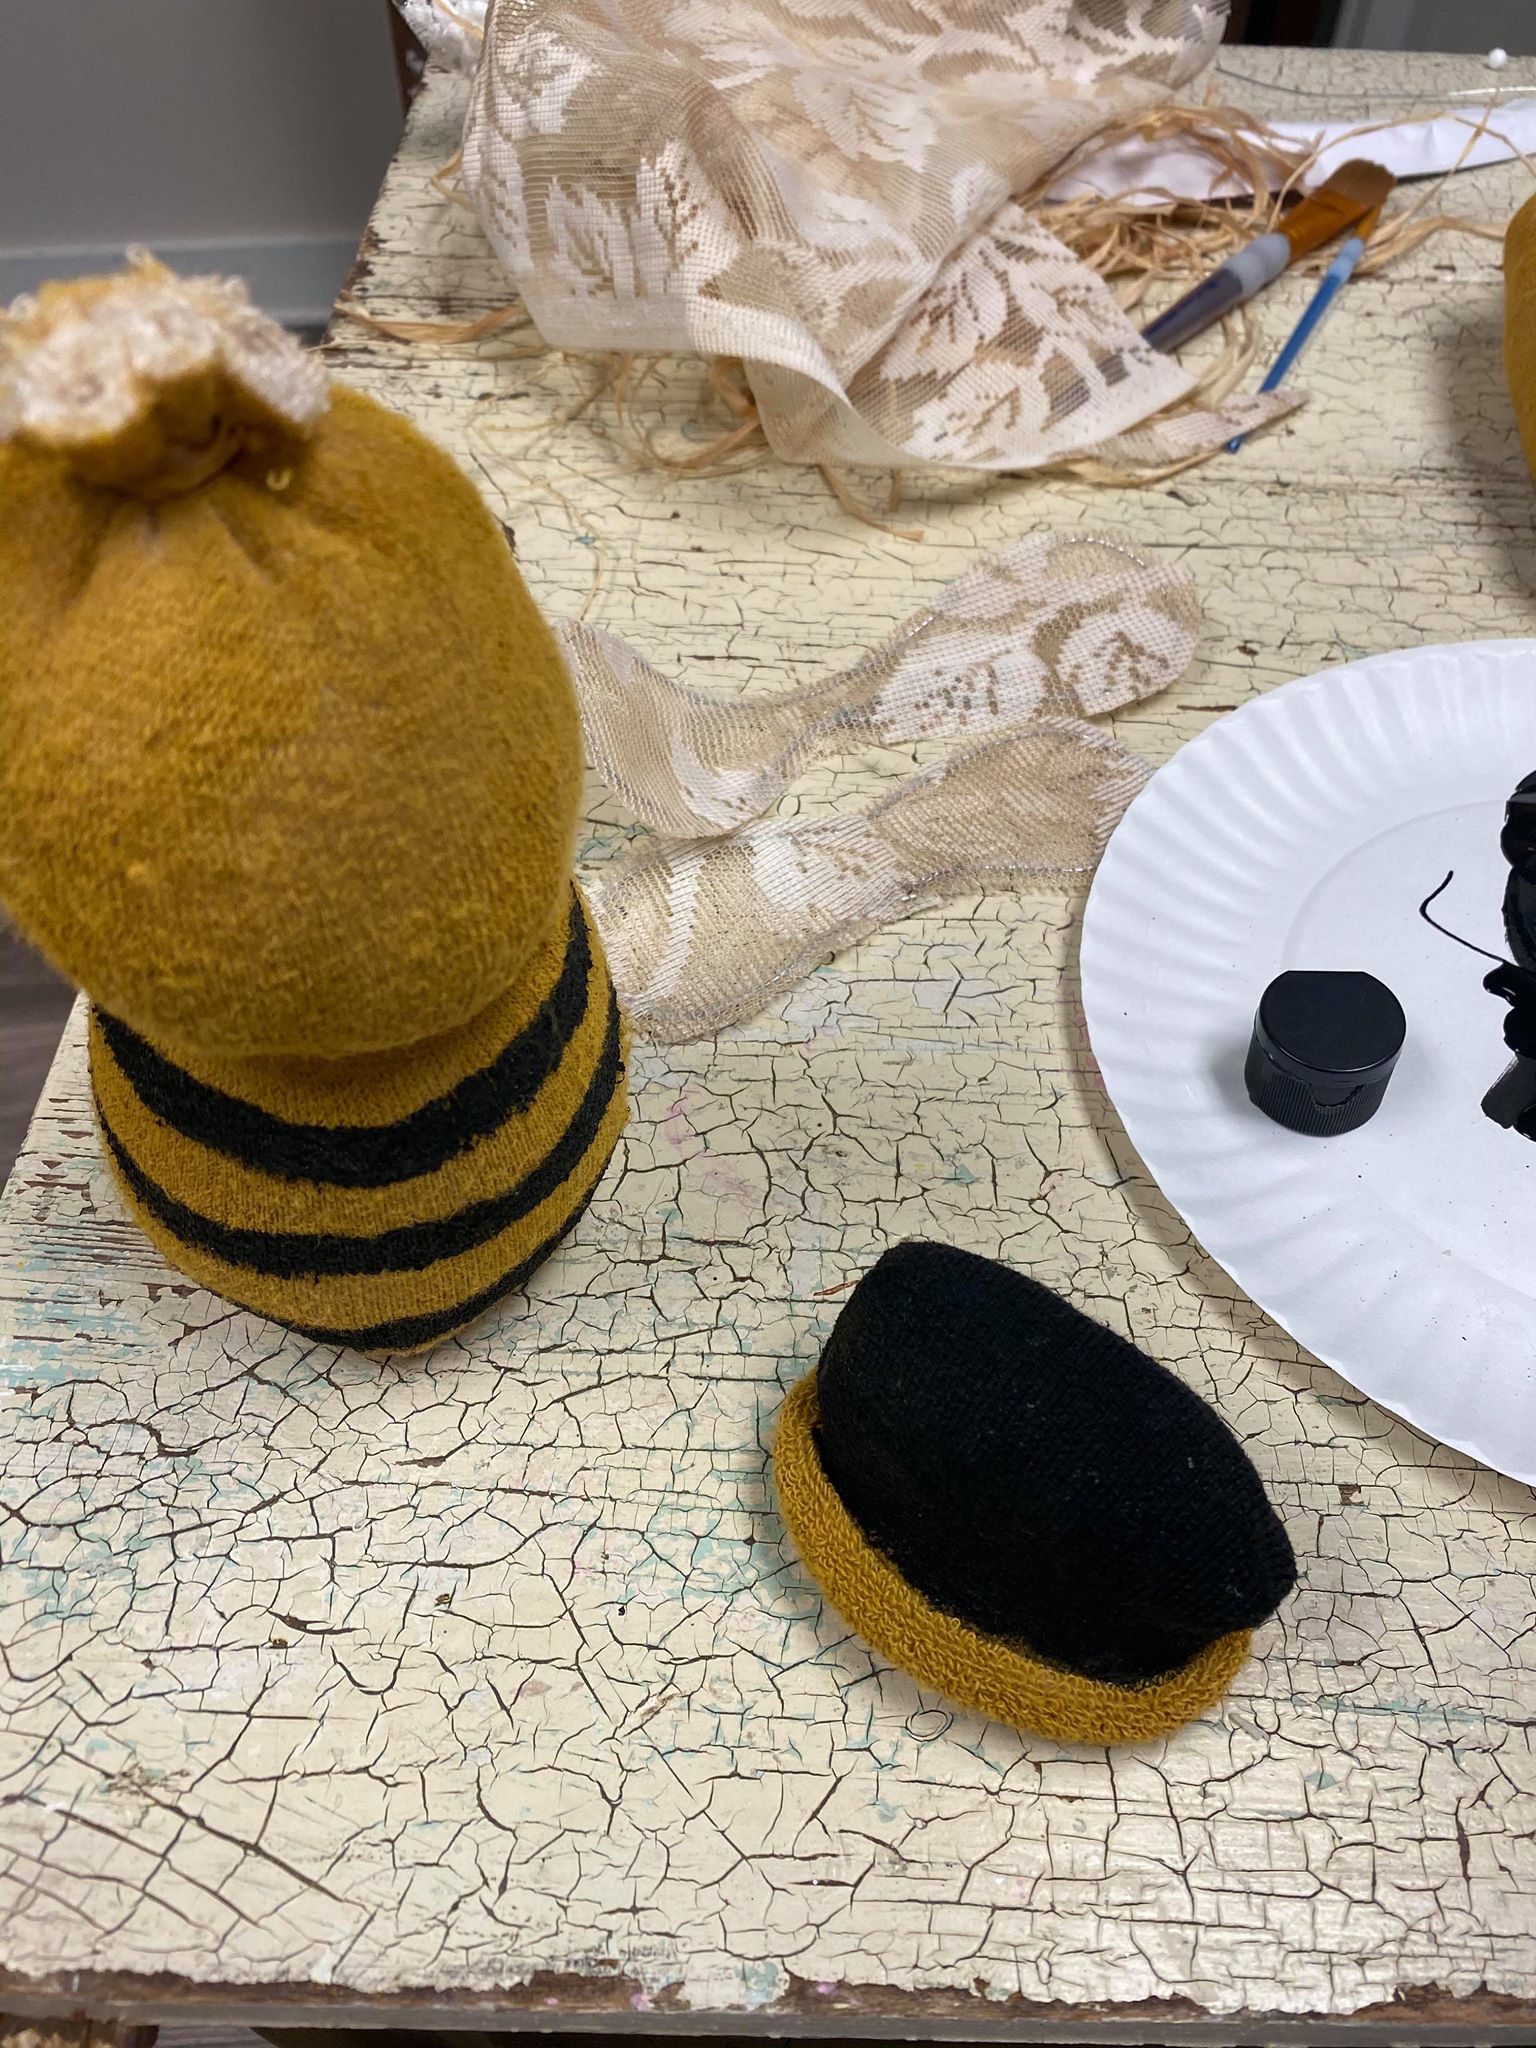
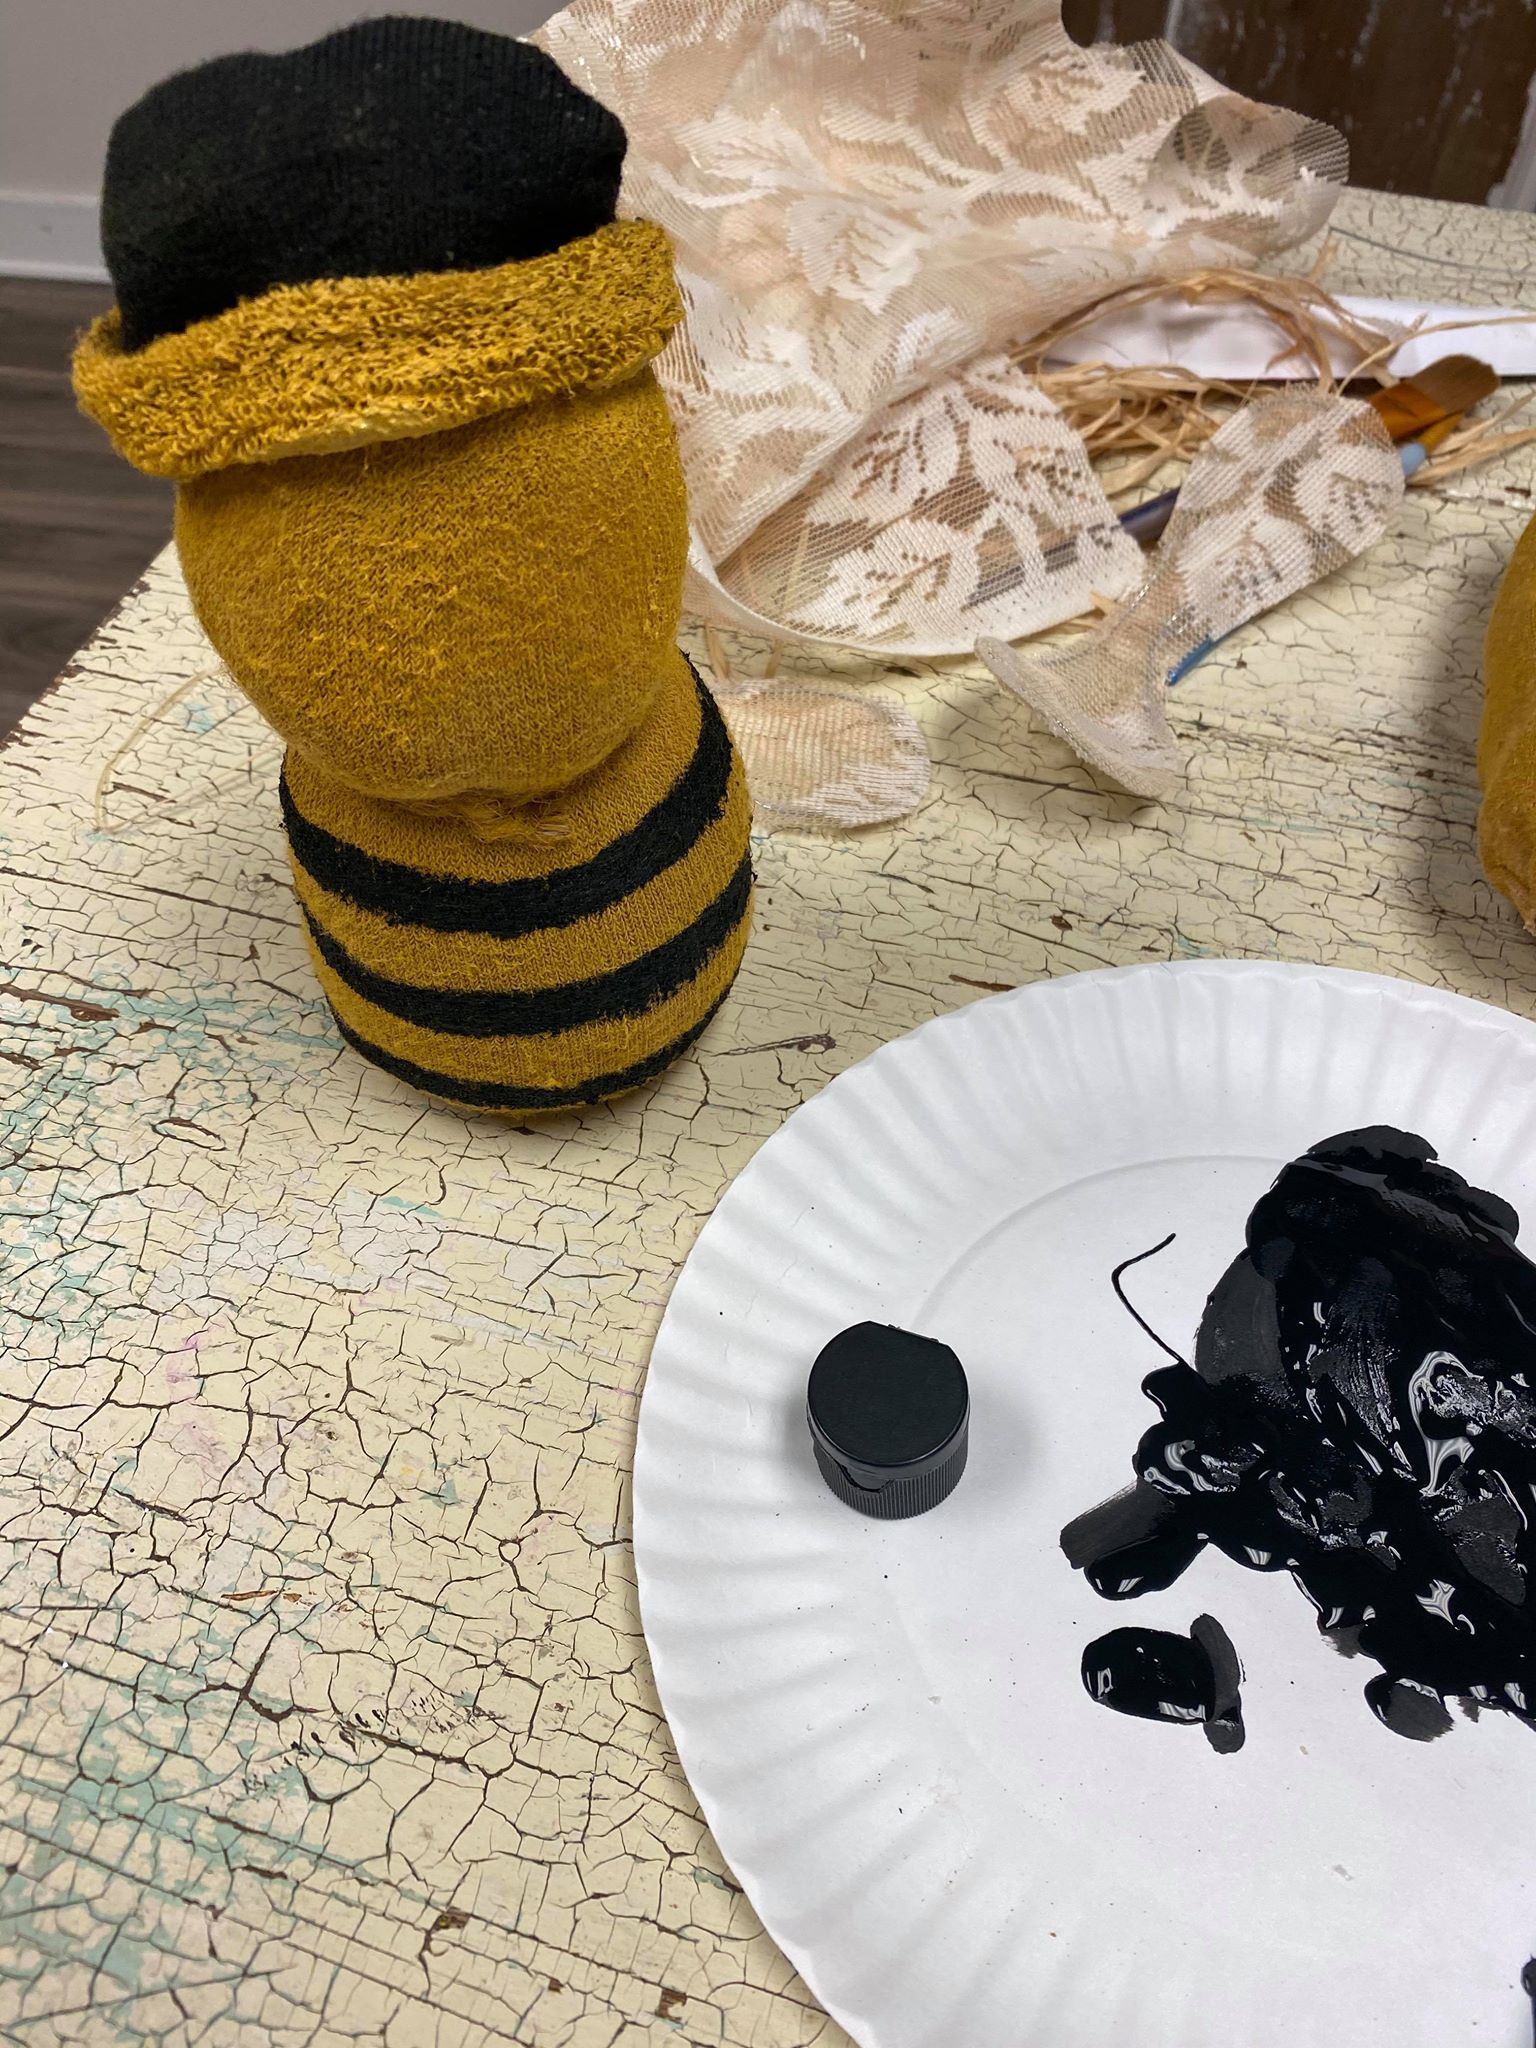
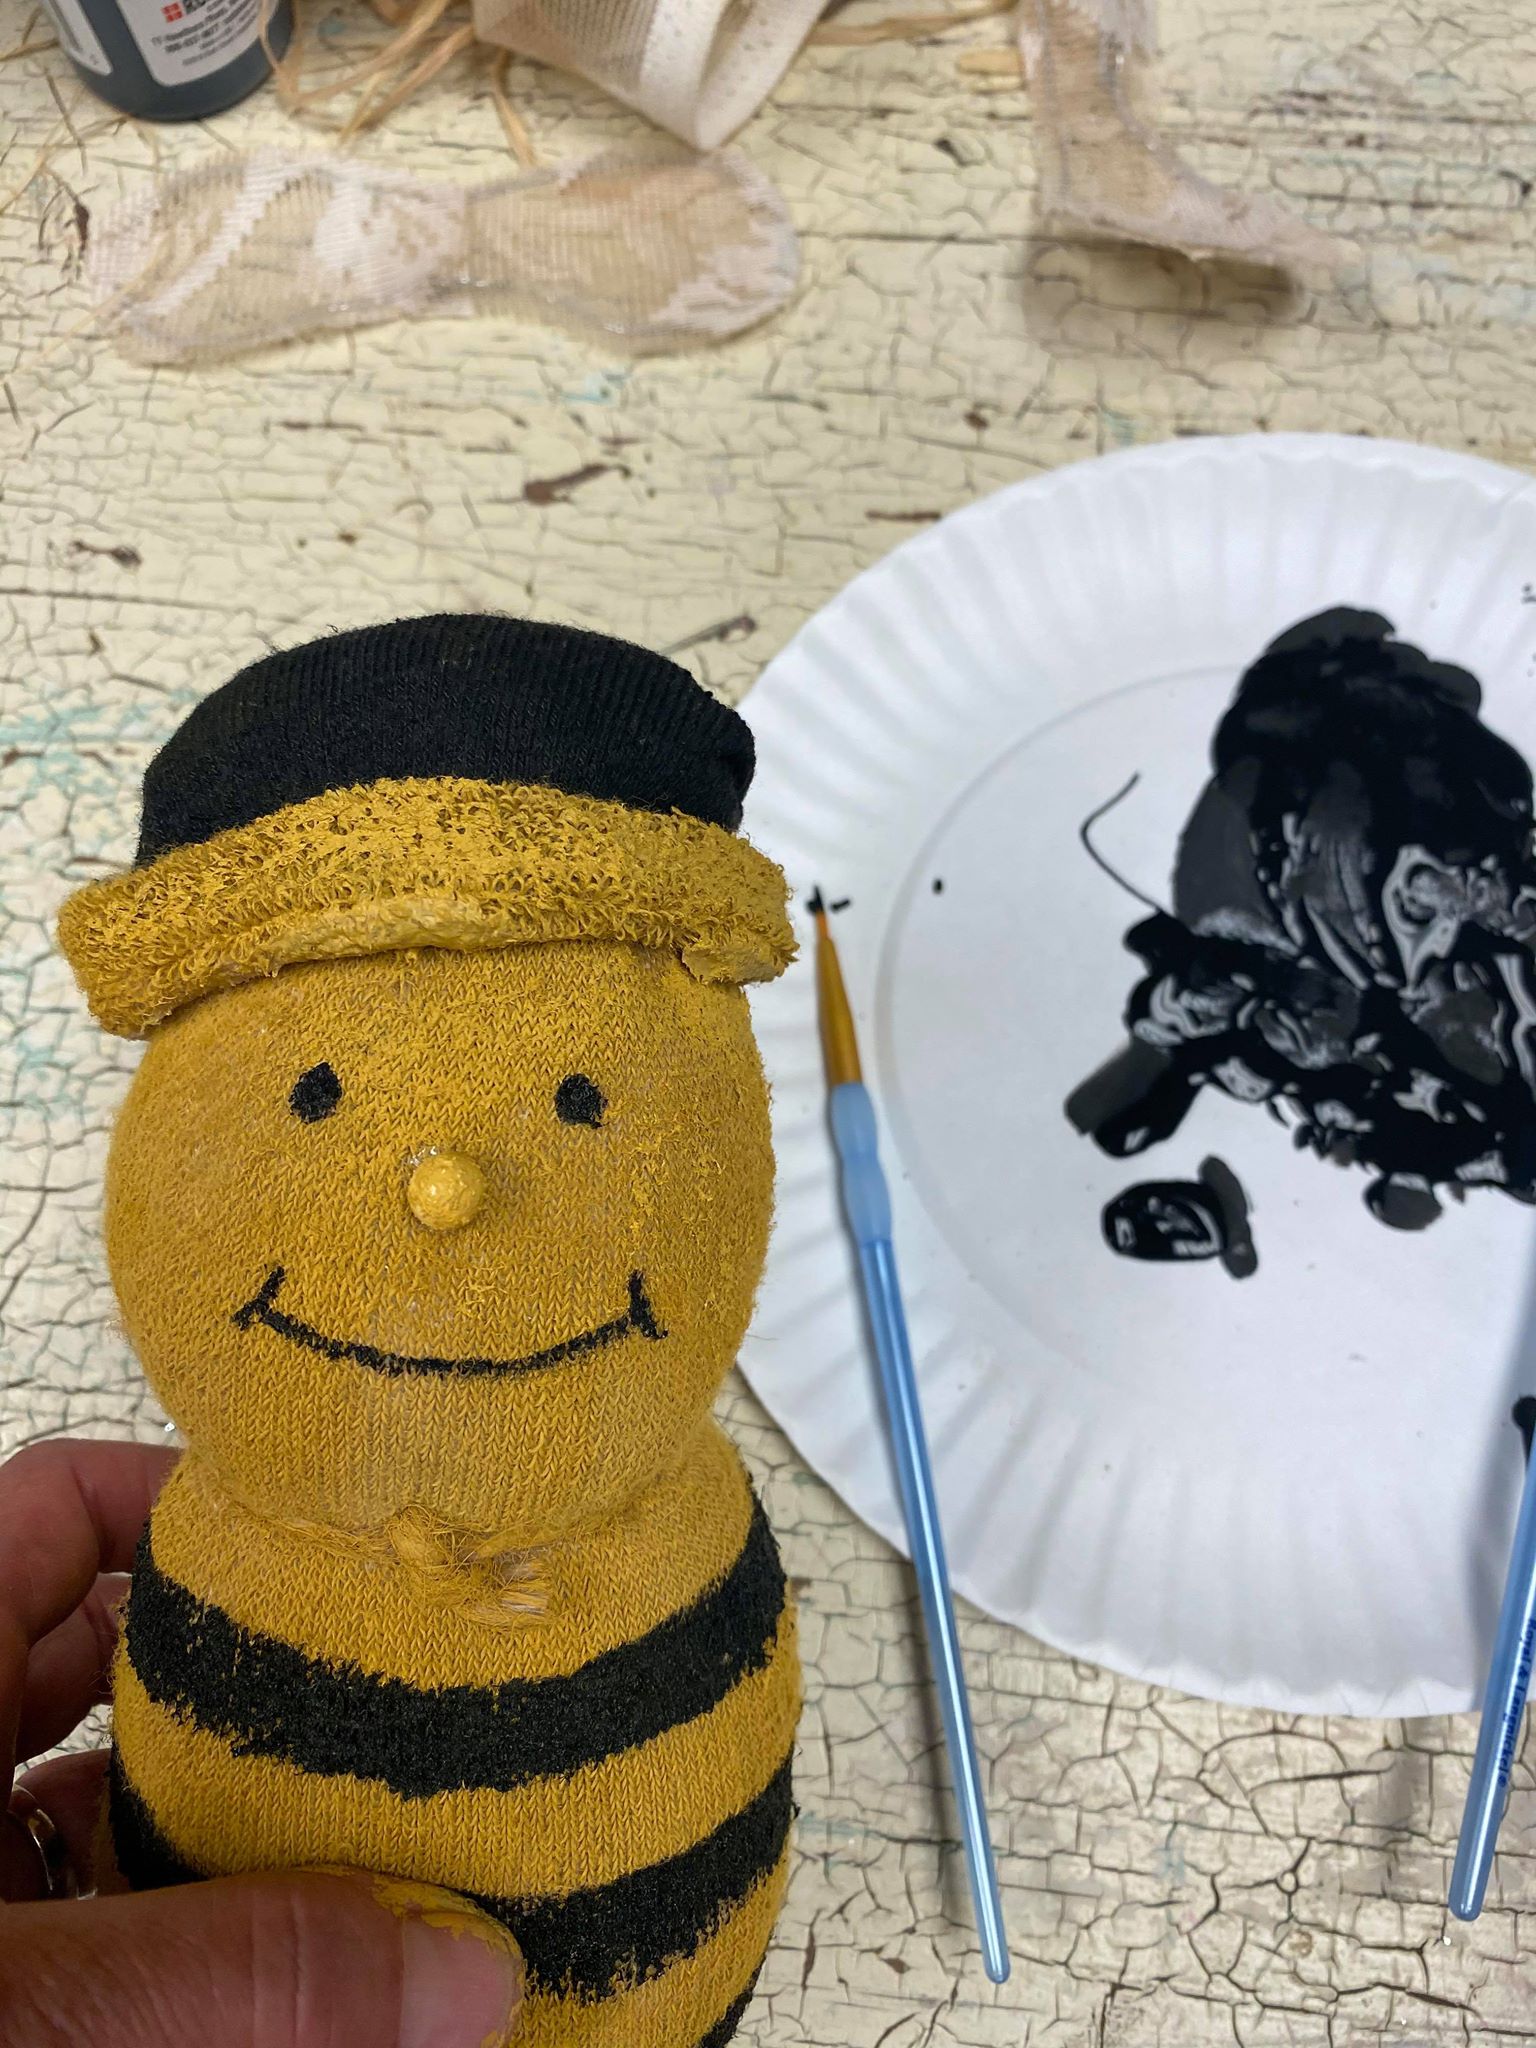
Once the yellow is dried you can add the black stripes and the black to the toe section.
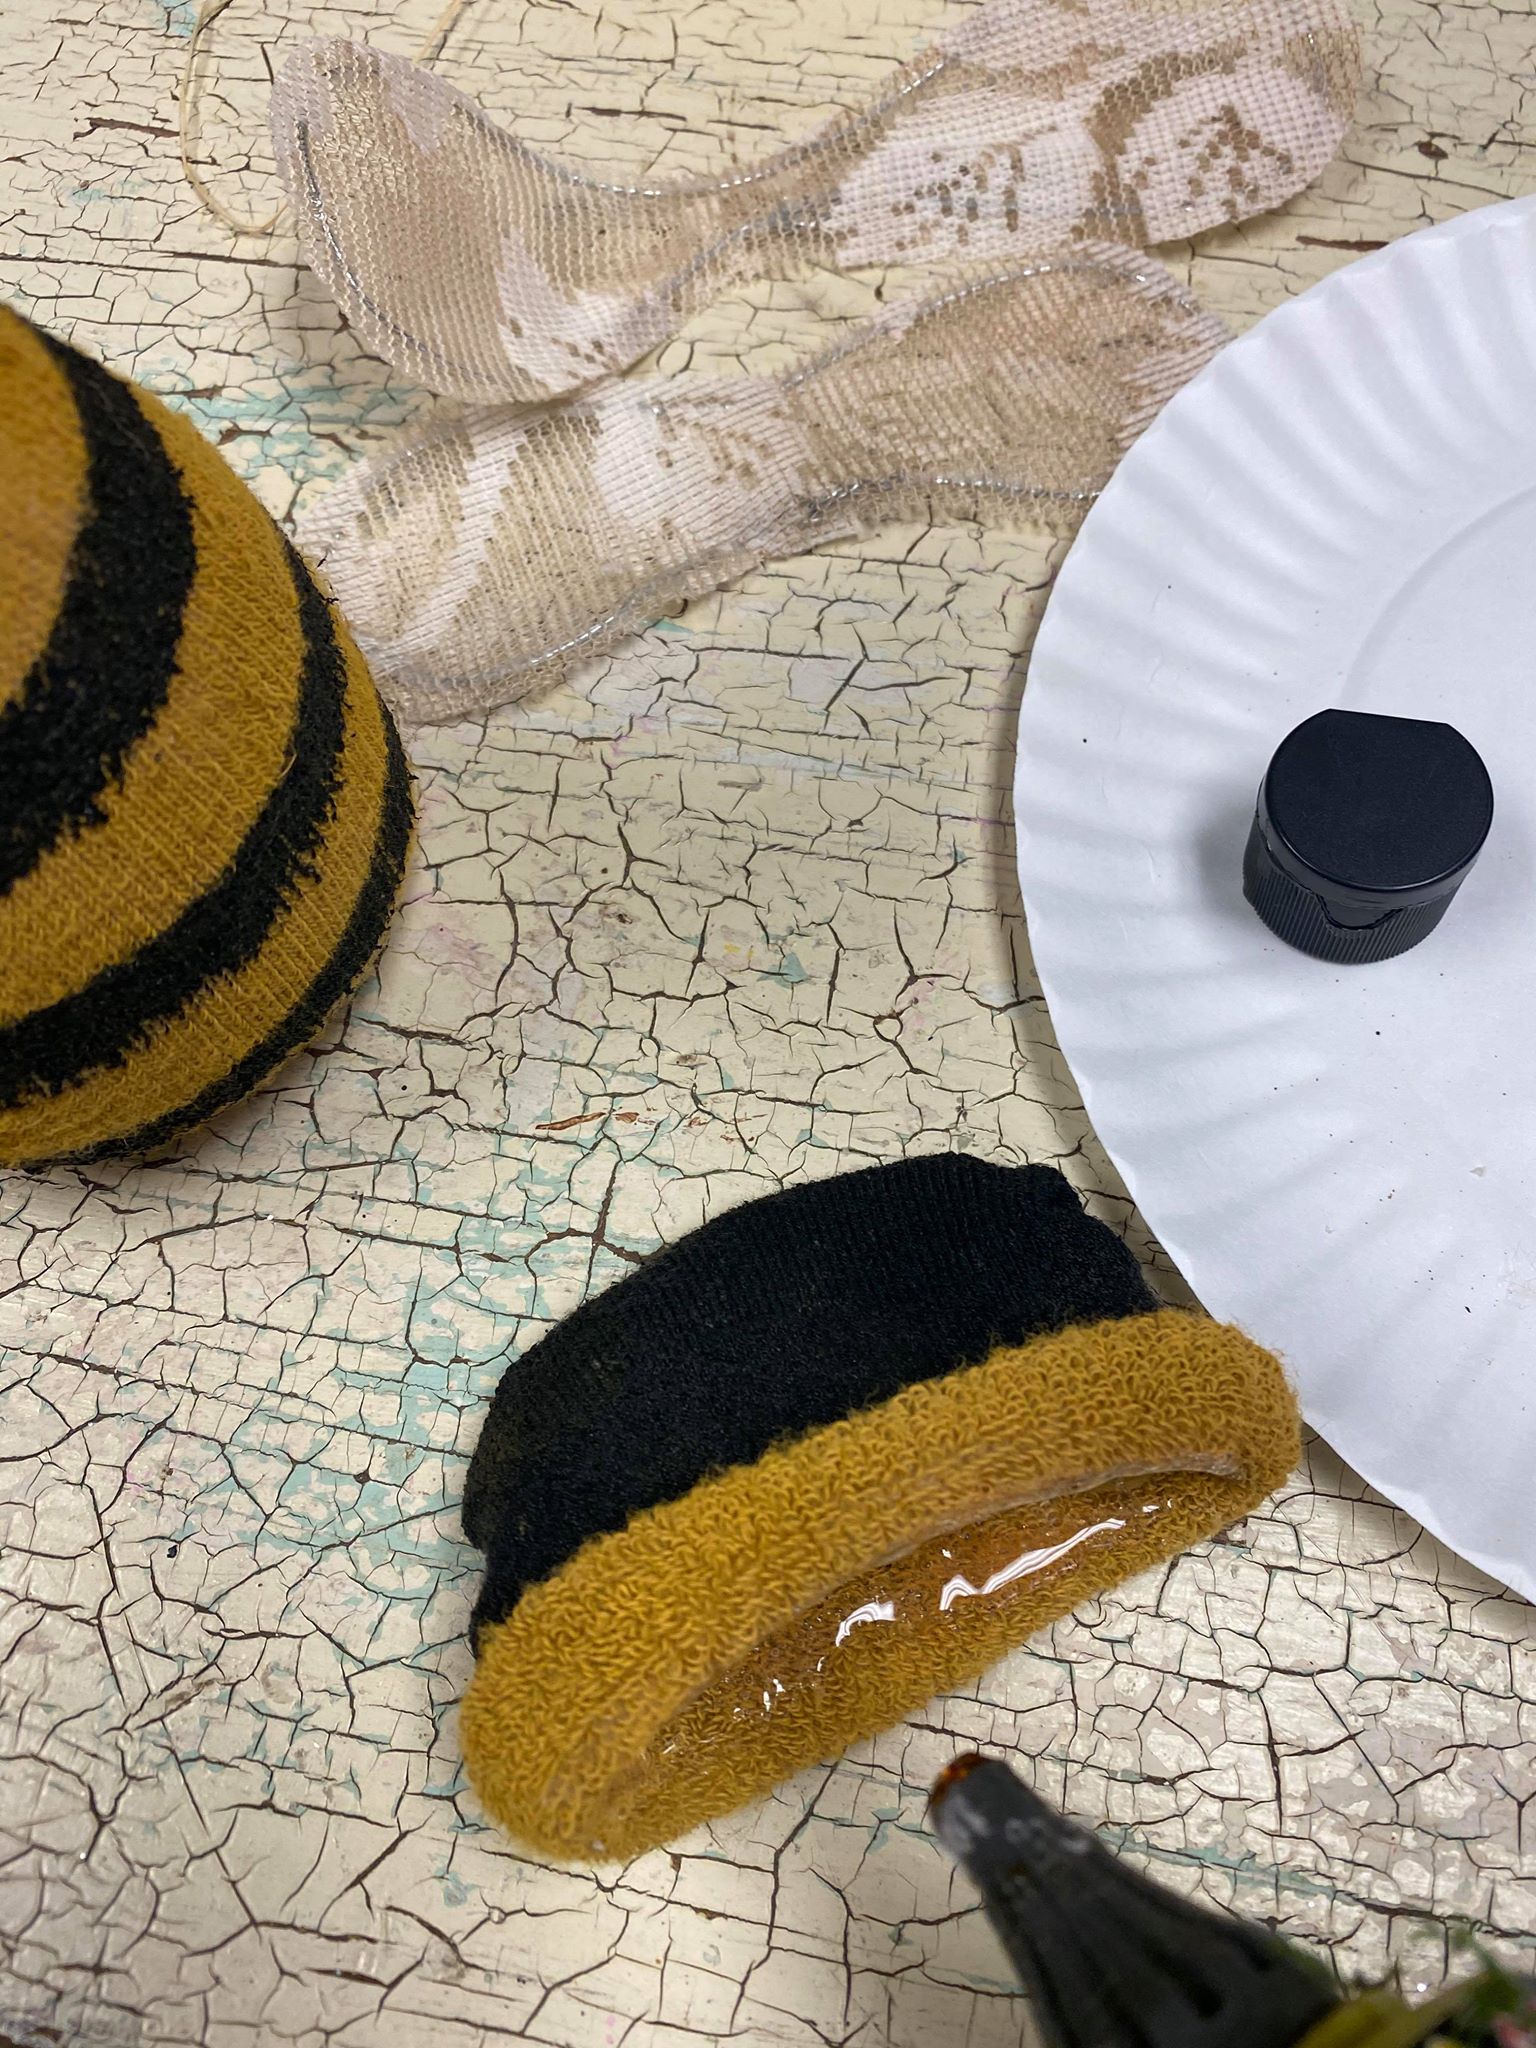
You will need to add glue to the toe section and place it on top of your bumble bee.
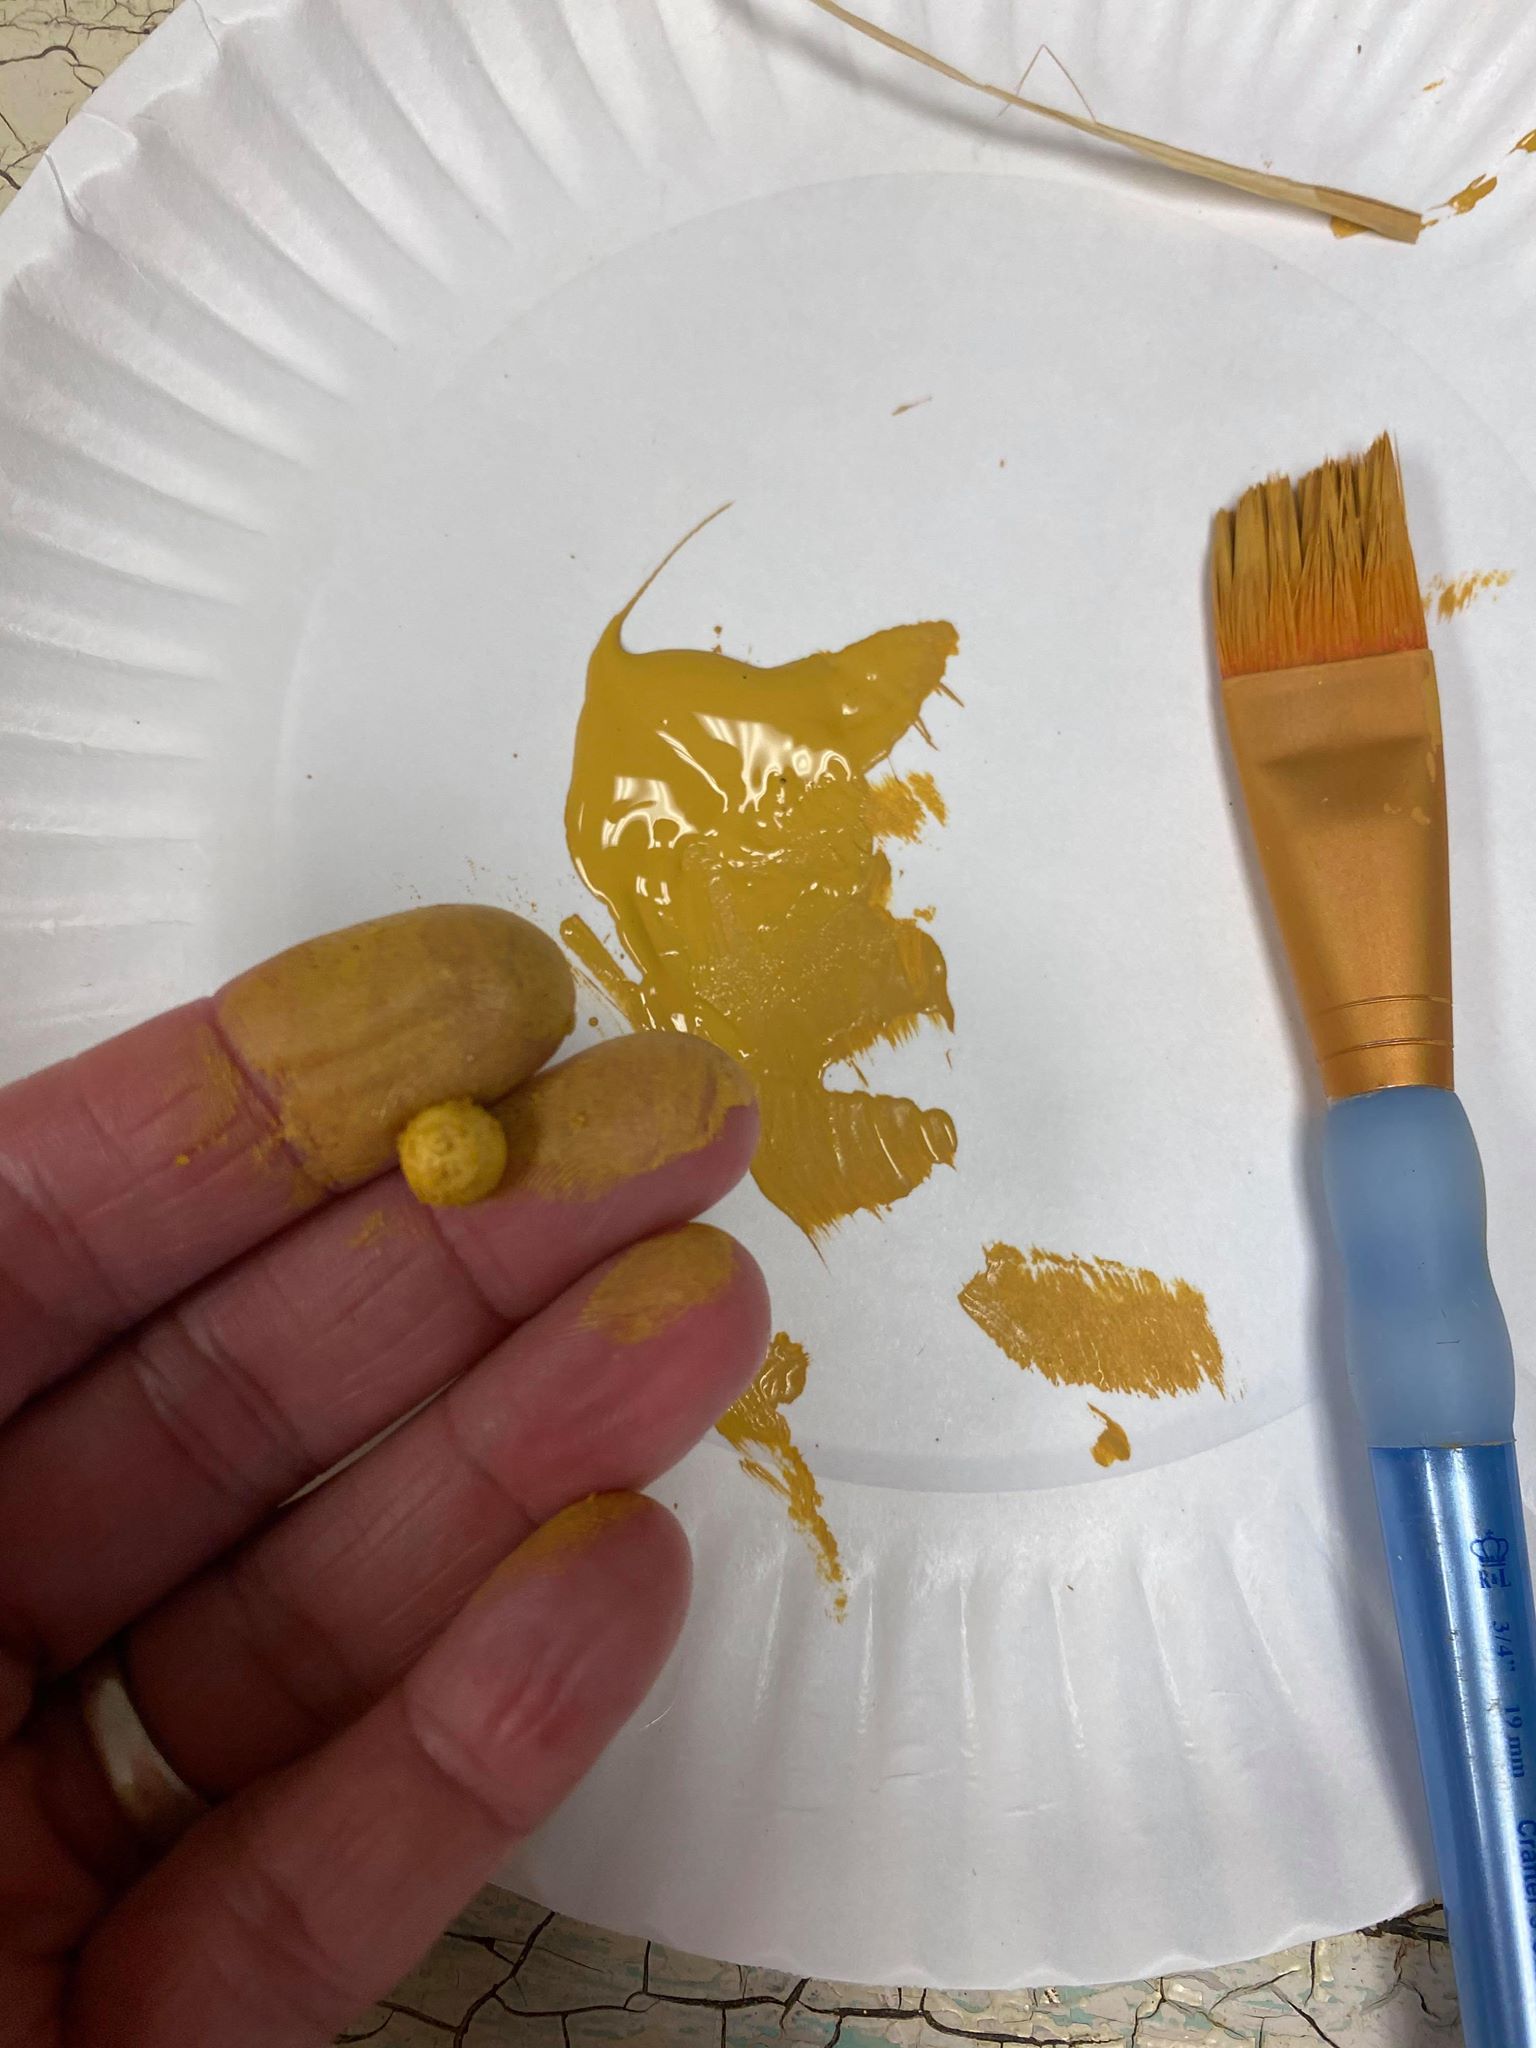
I painted a small styrofoam bead yellow for the nose and glued it on.
You will then use black paint to add eyes and a mouth.
Now it is time to make the wings. I am using floral wire picks.
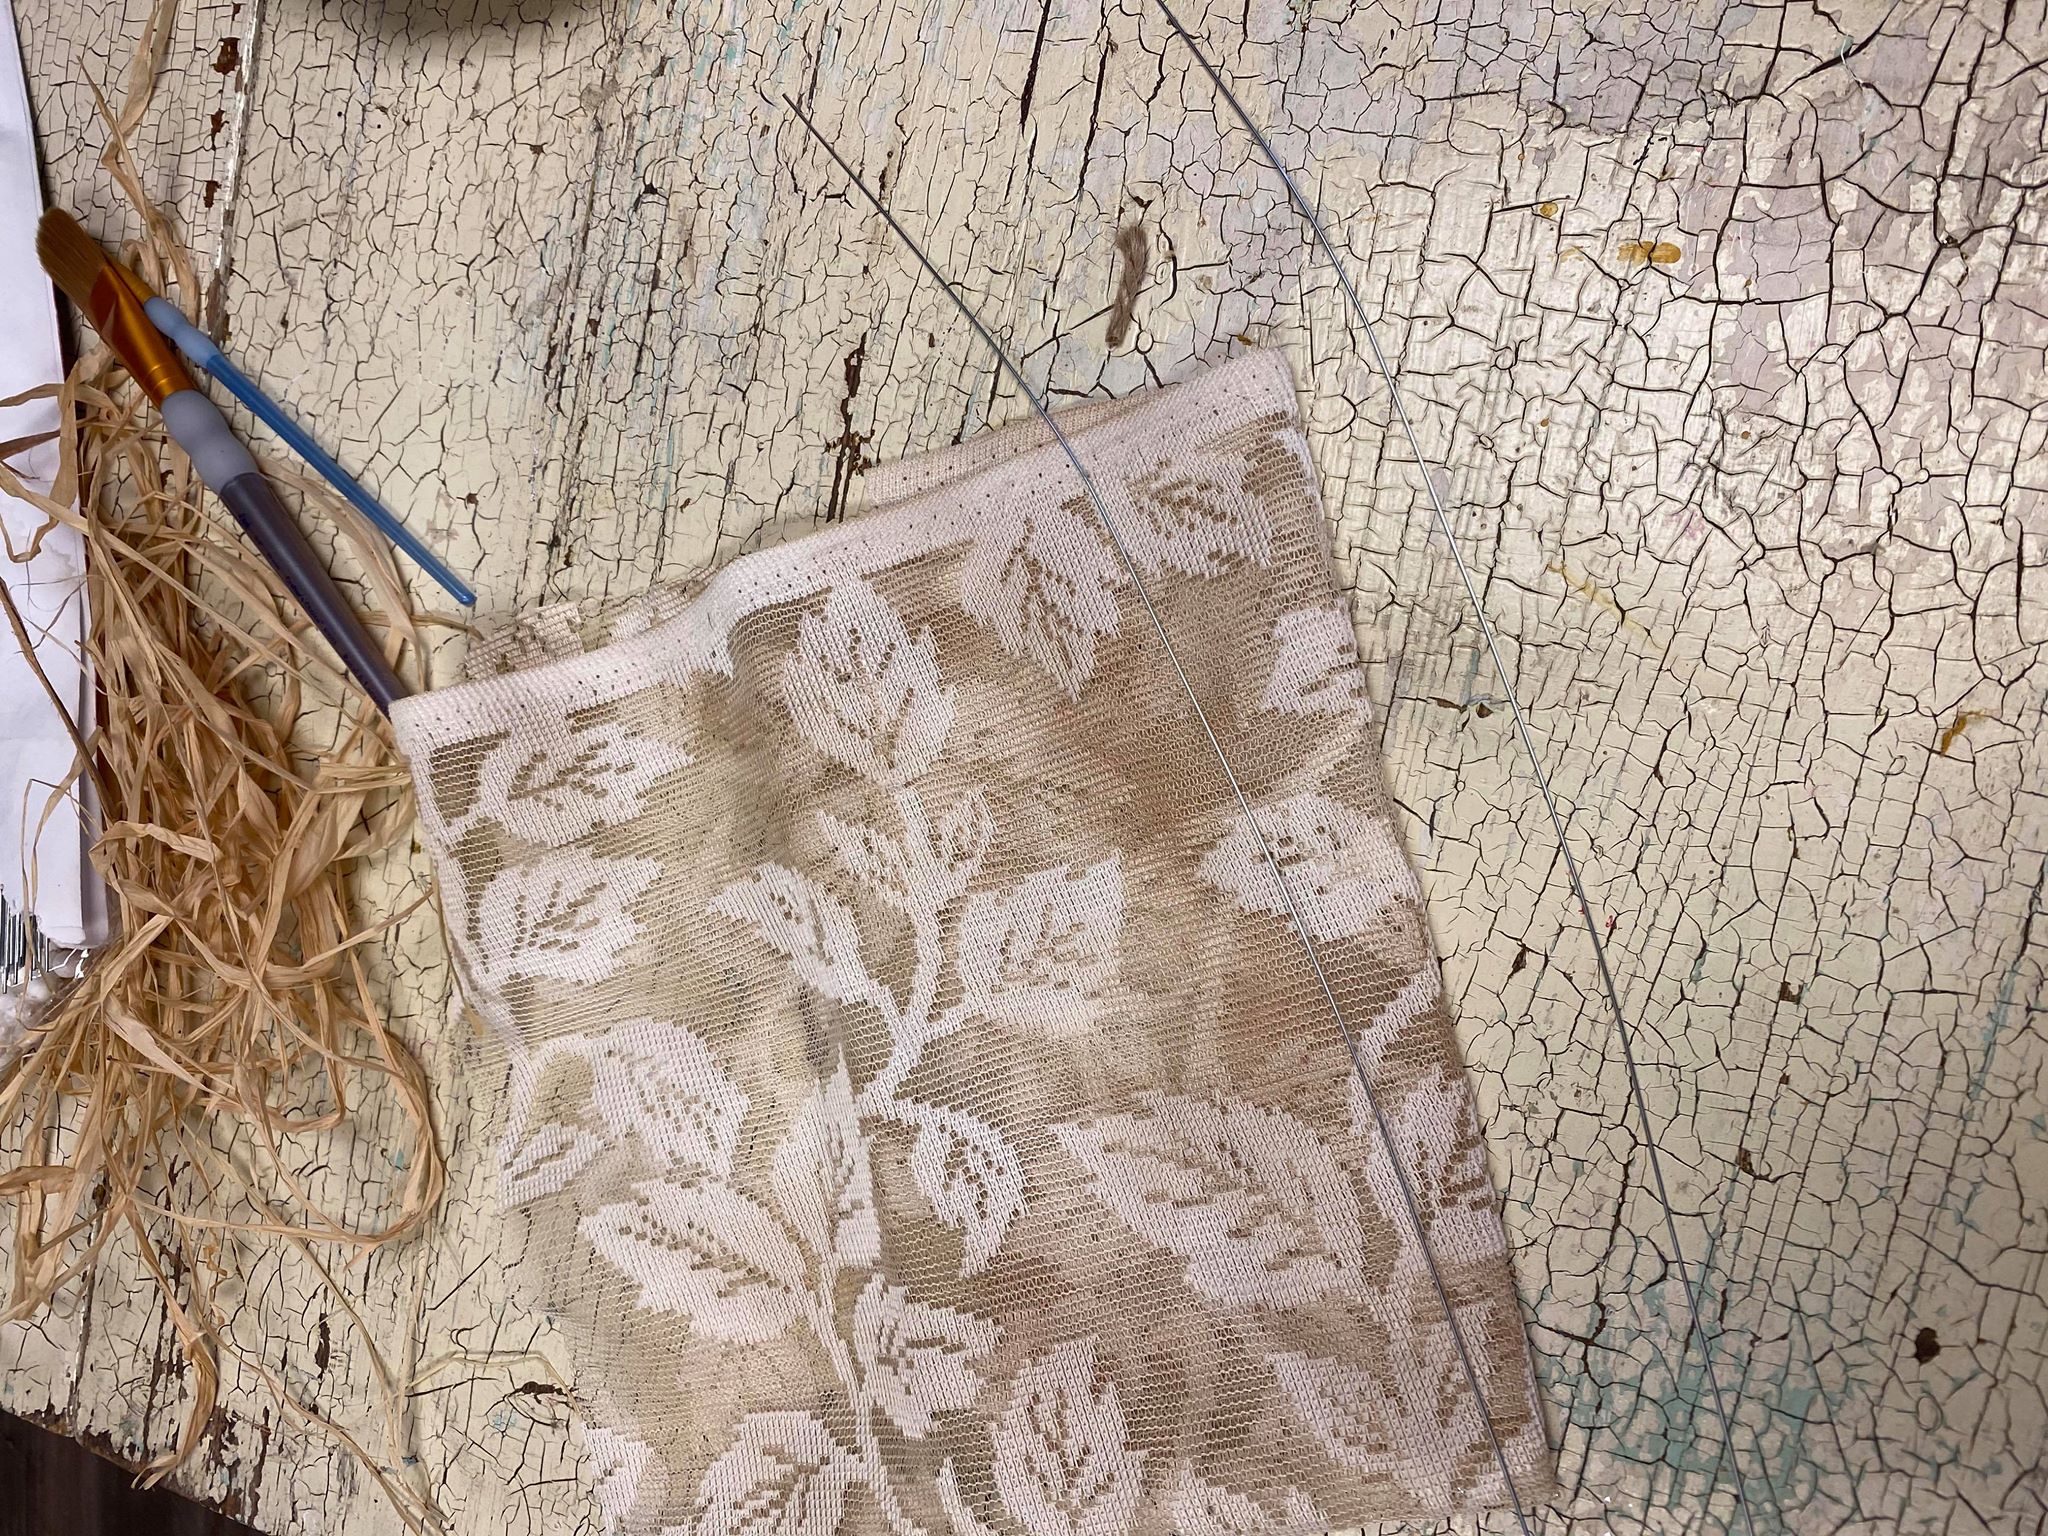
You will need two pieces of wire. I cut one piece shorter then the other so that I can have two different size wings.
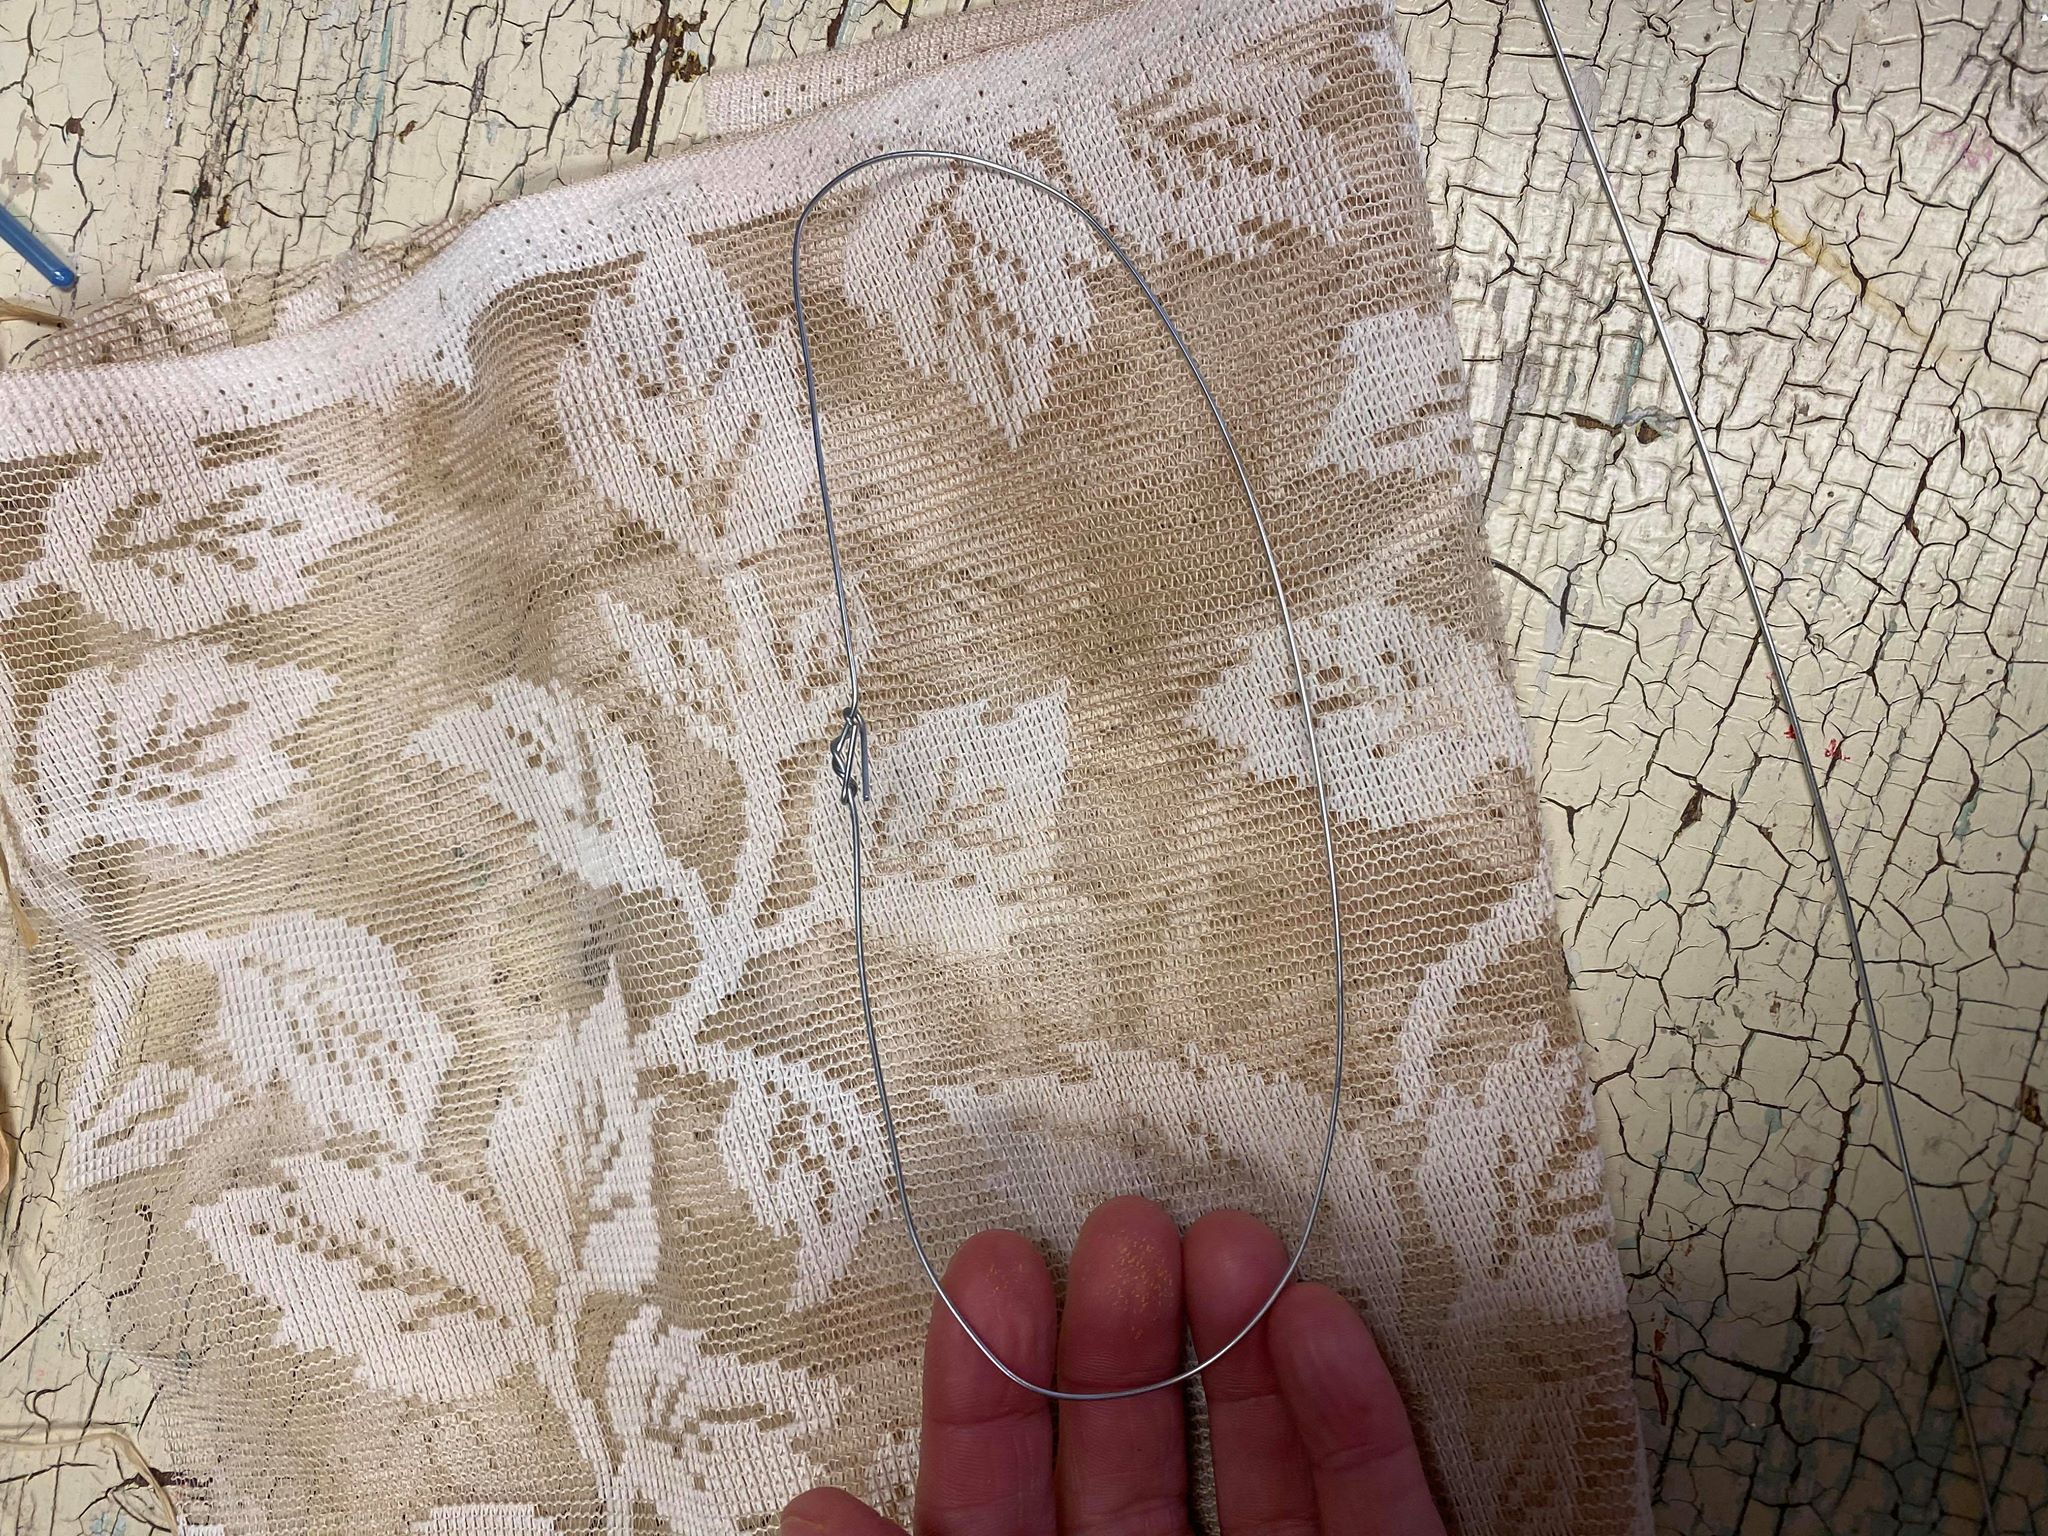
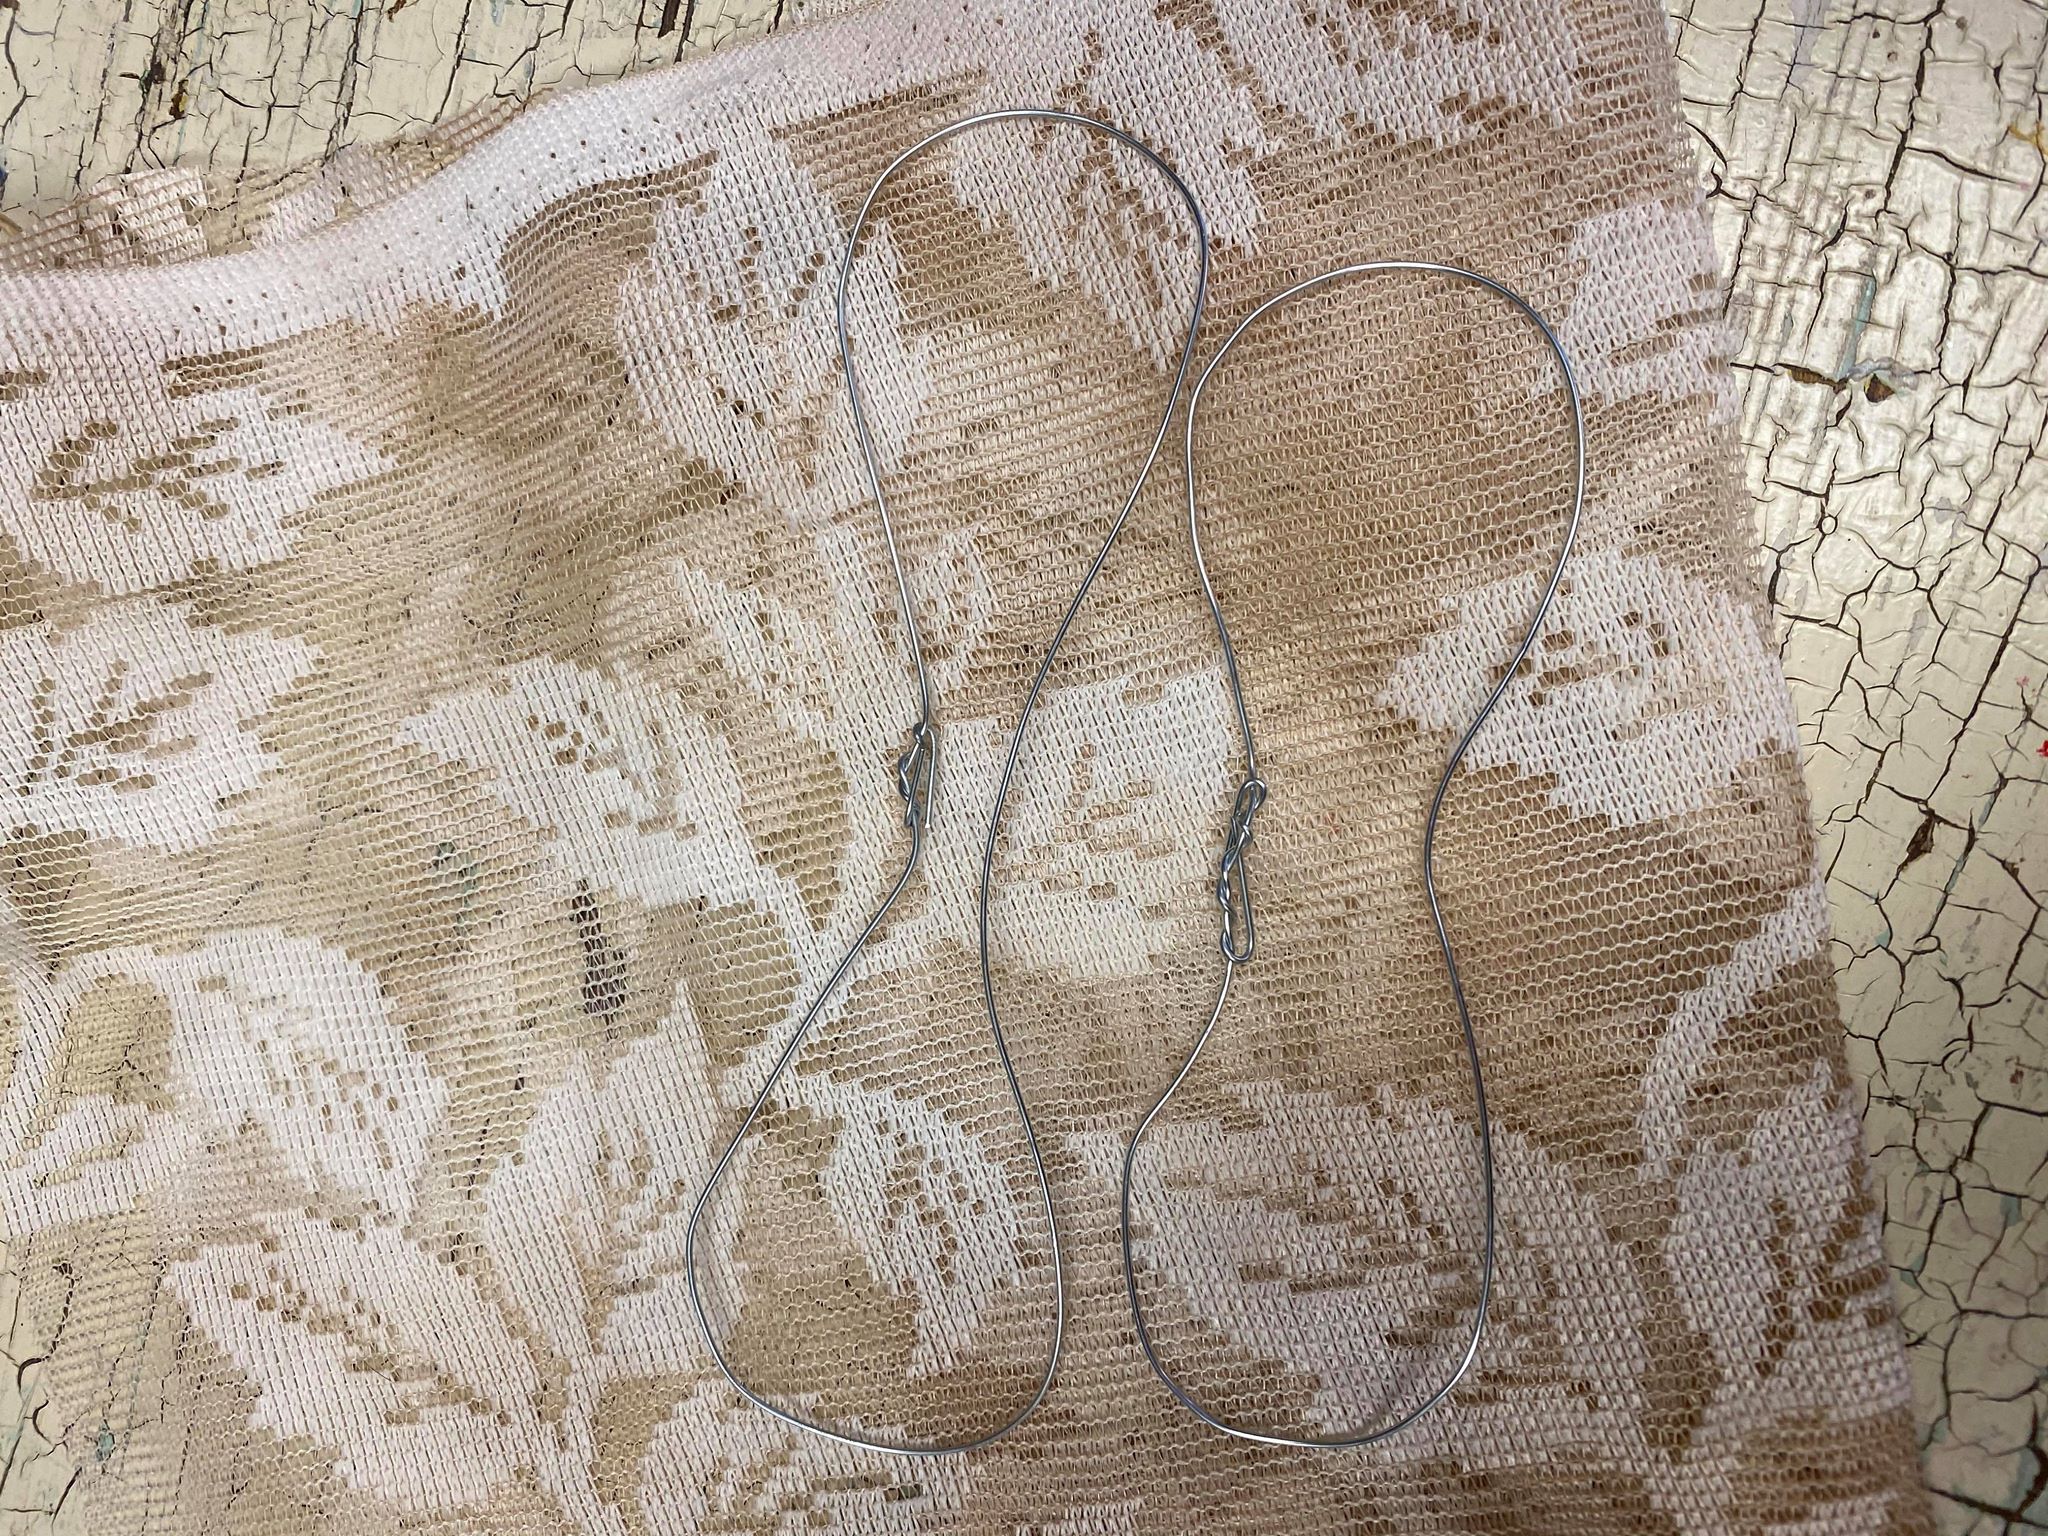
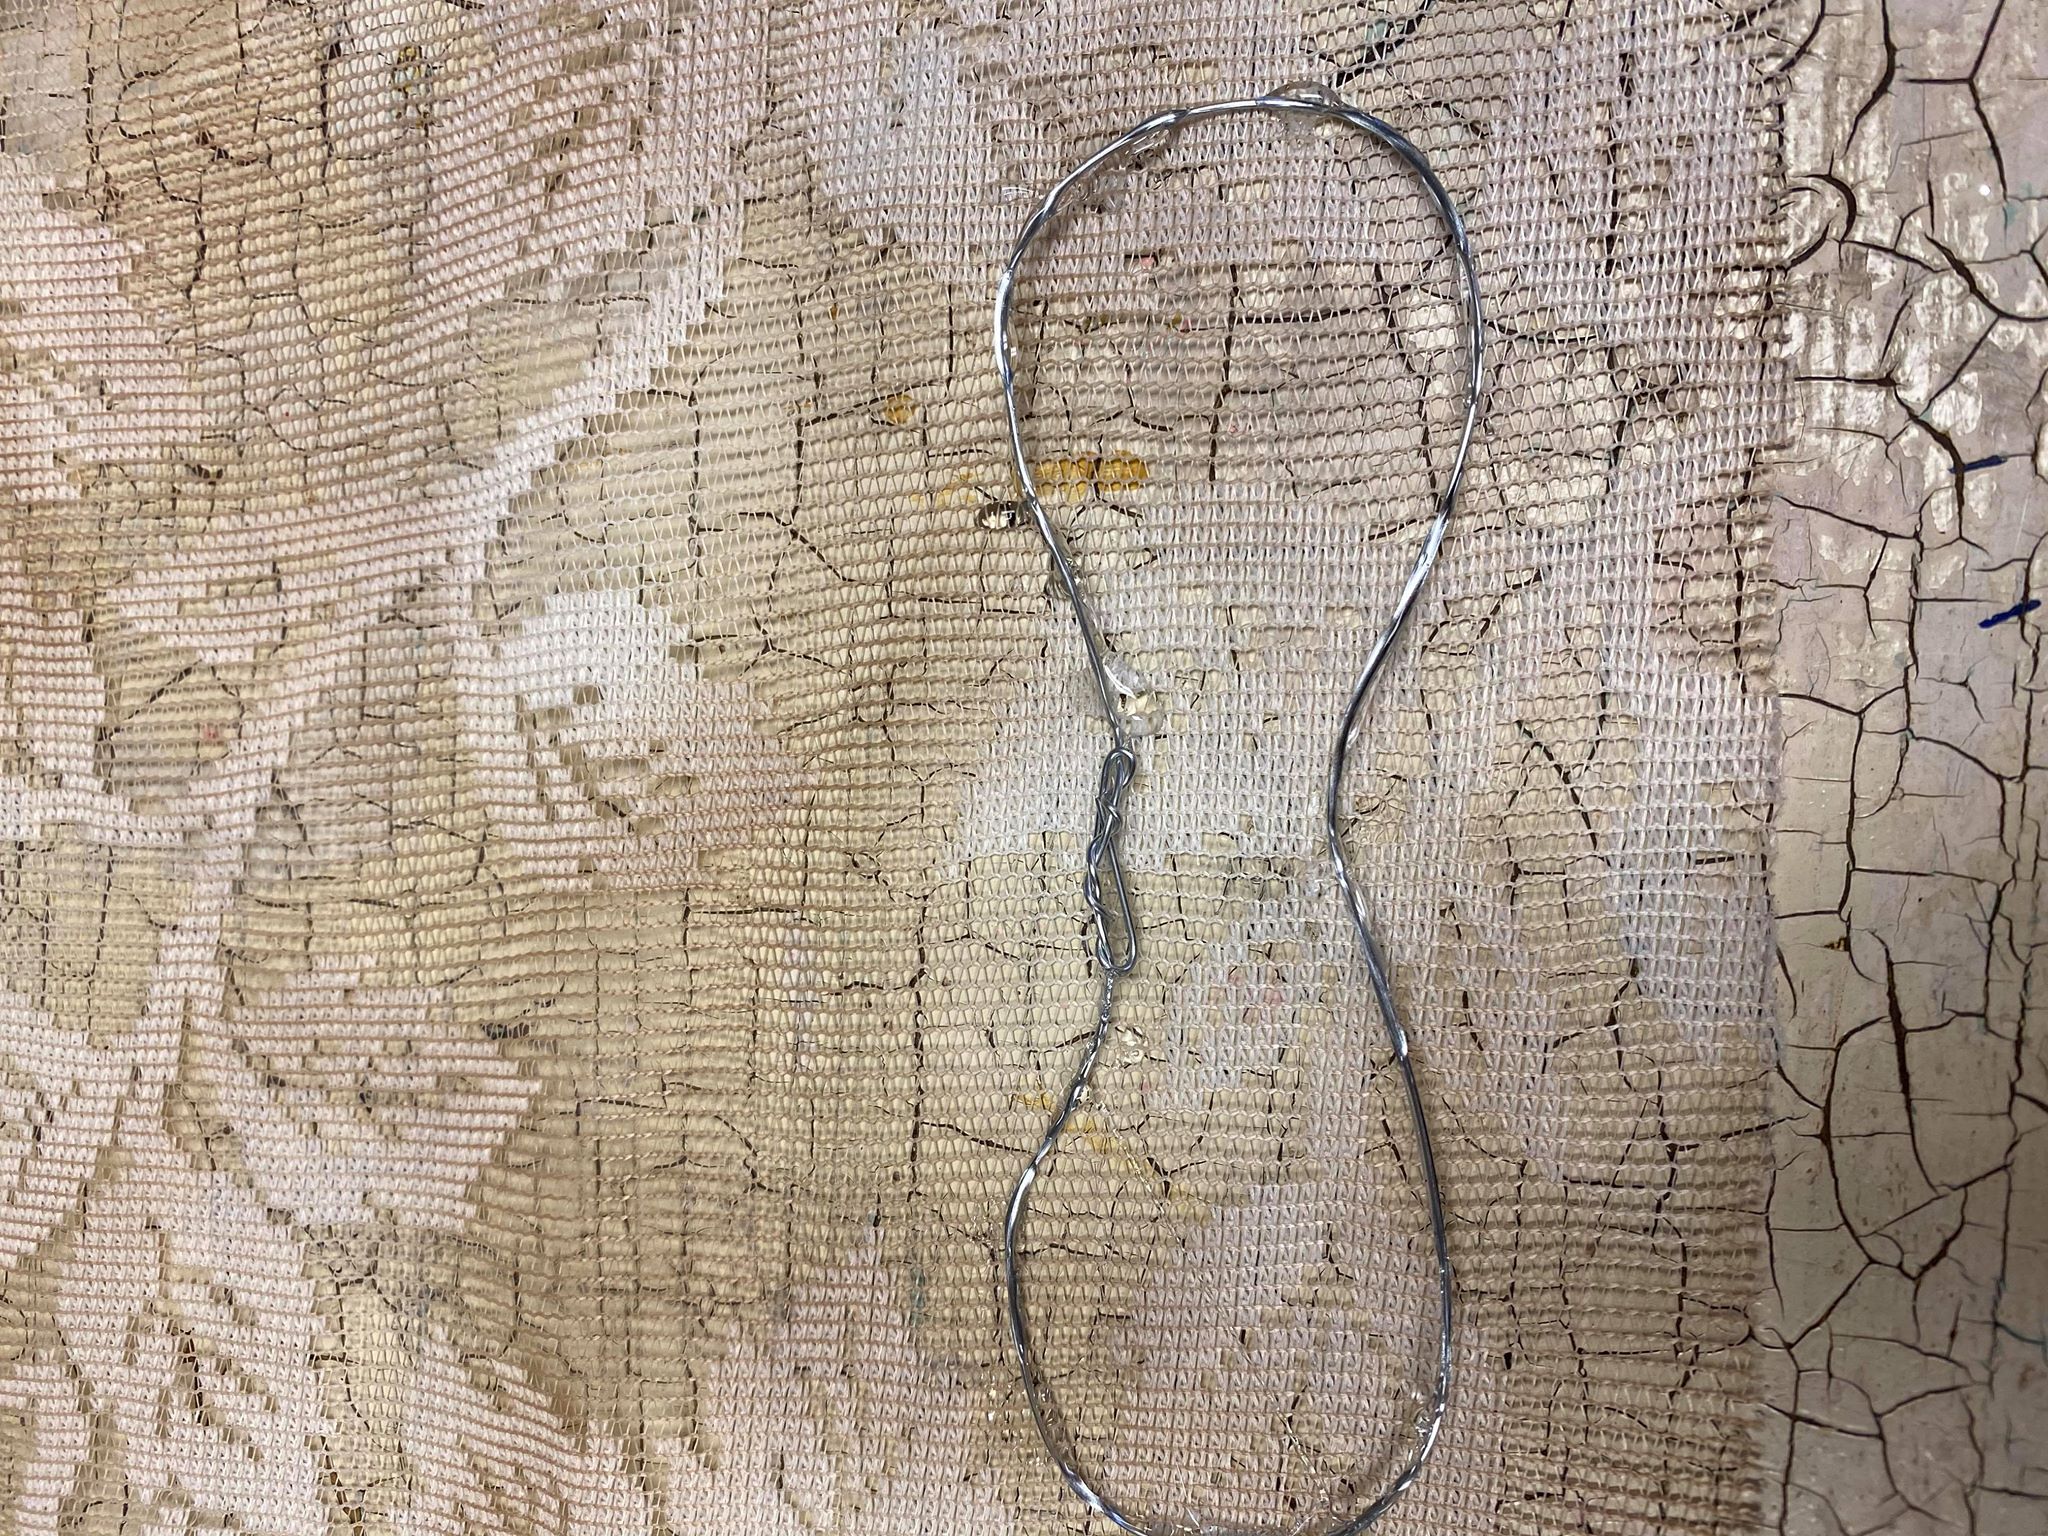
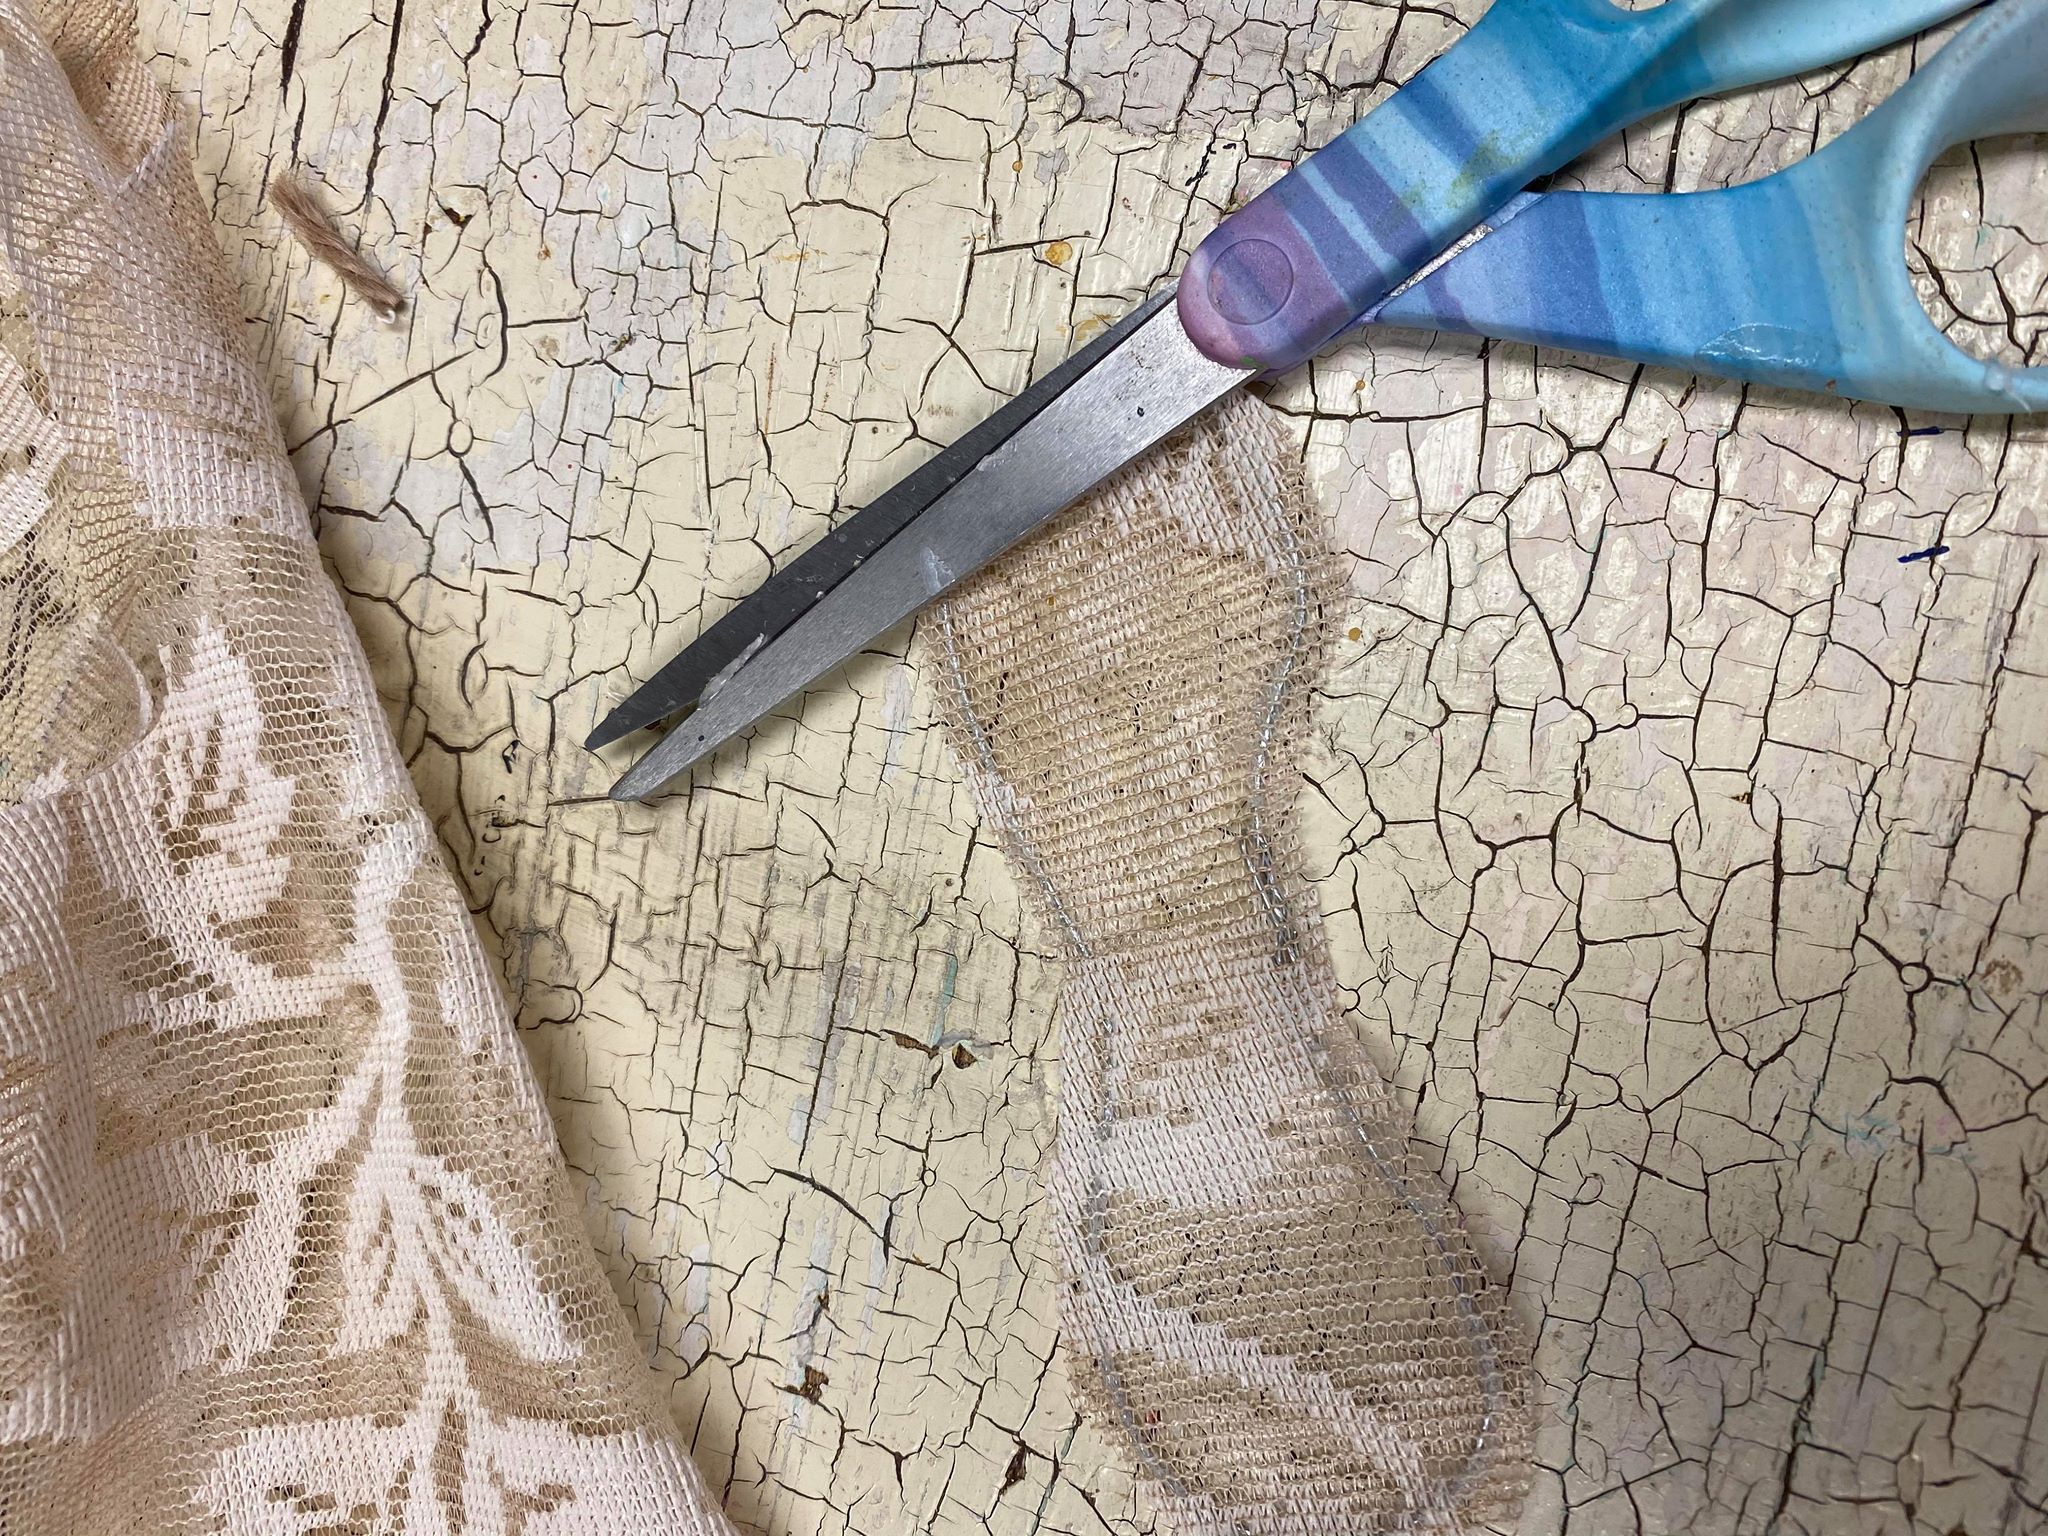
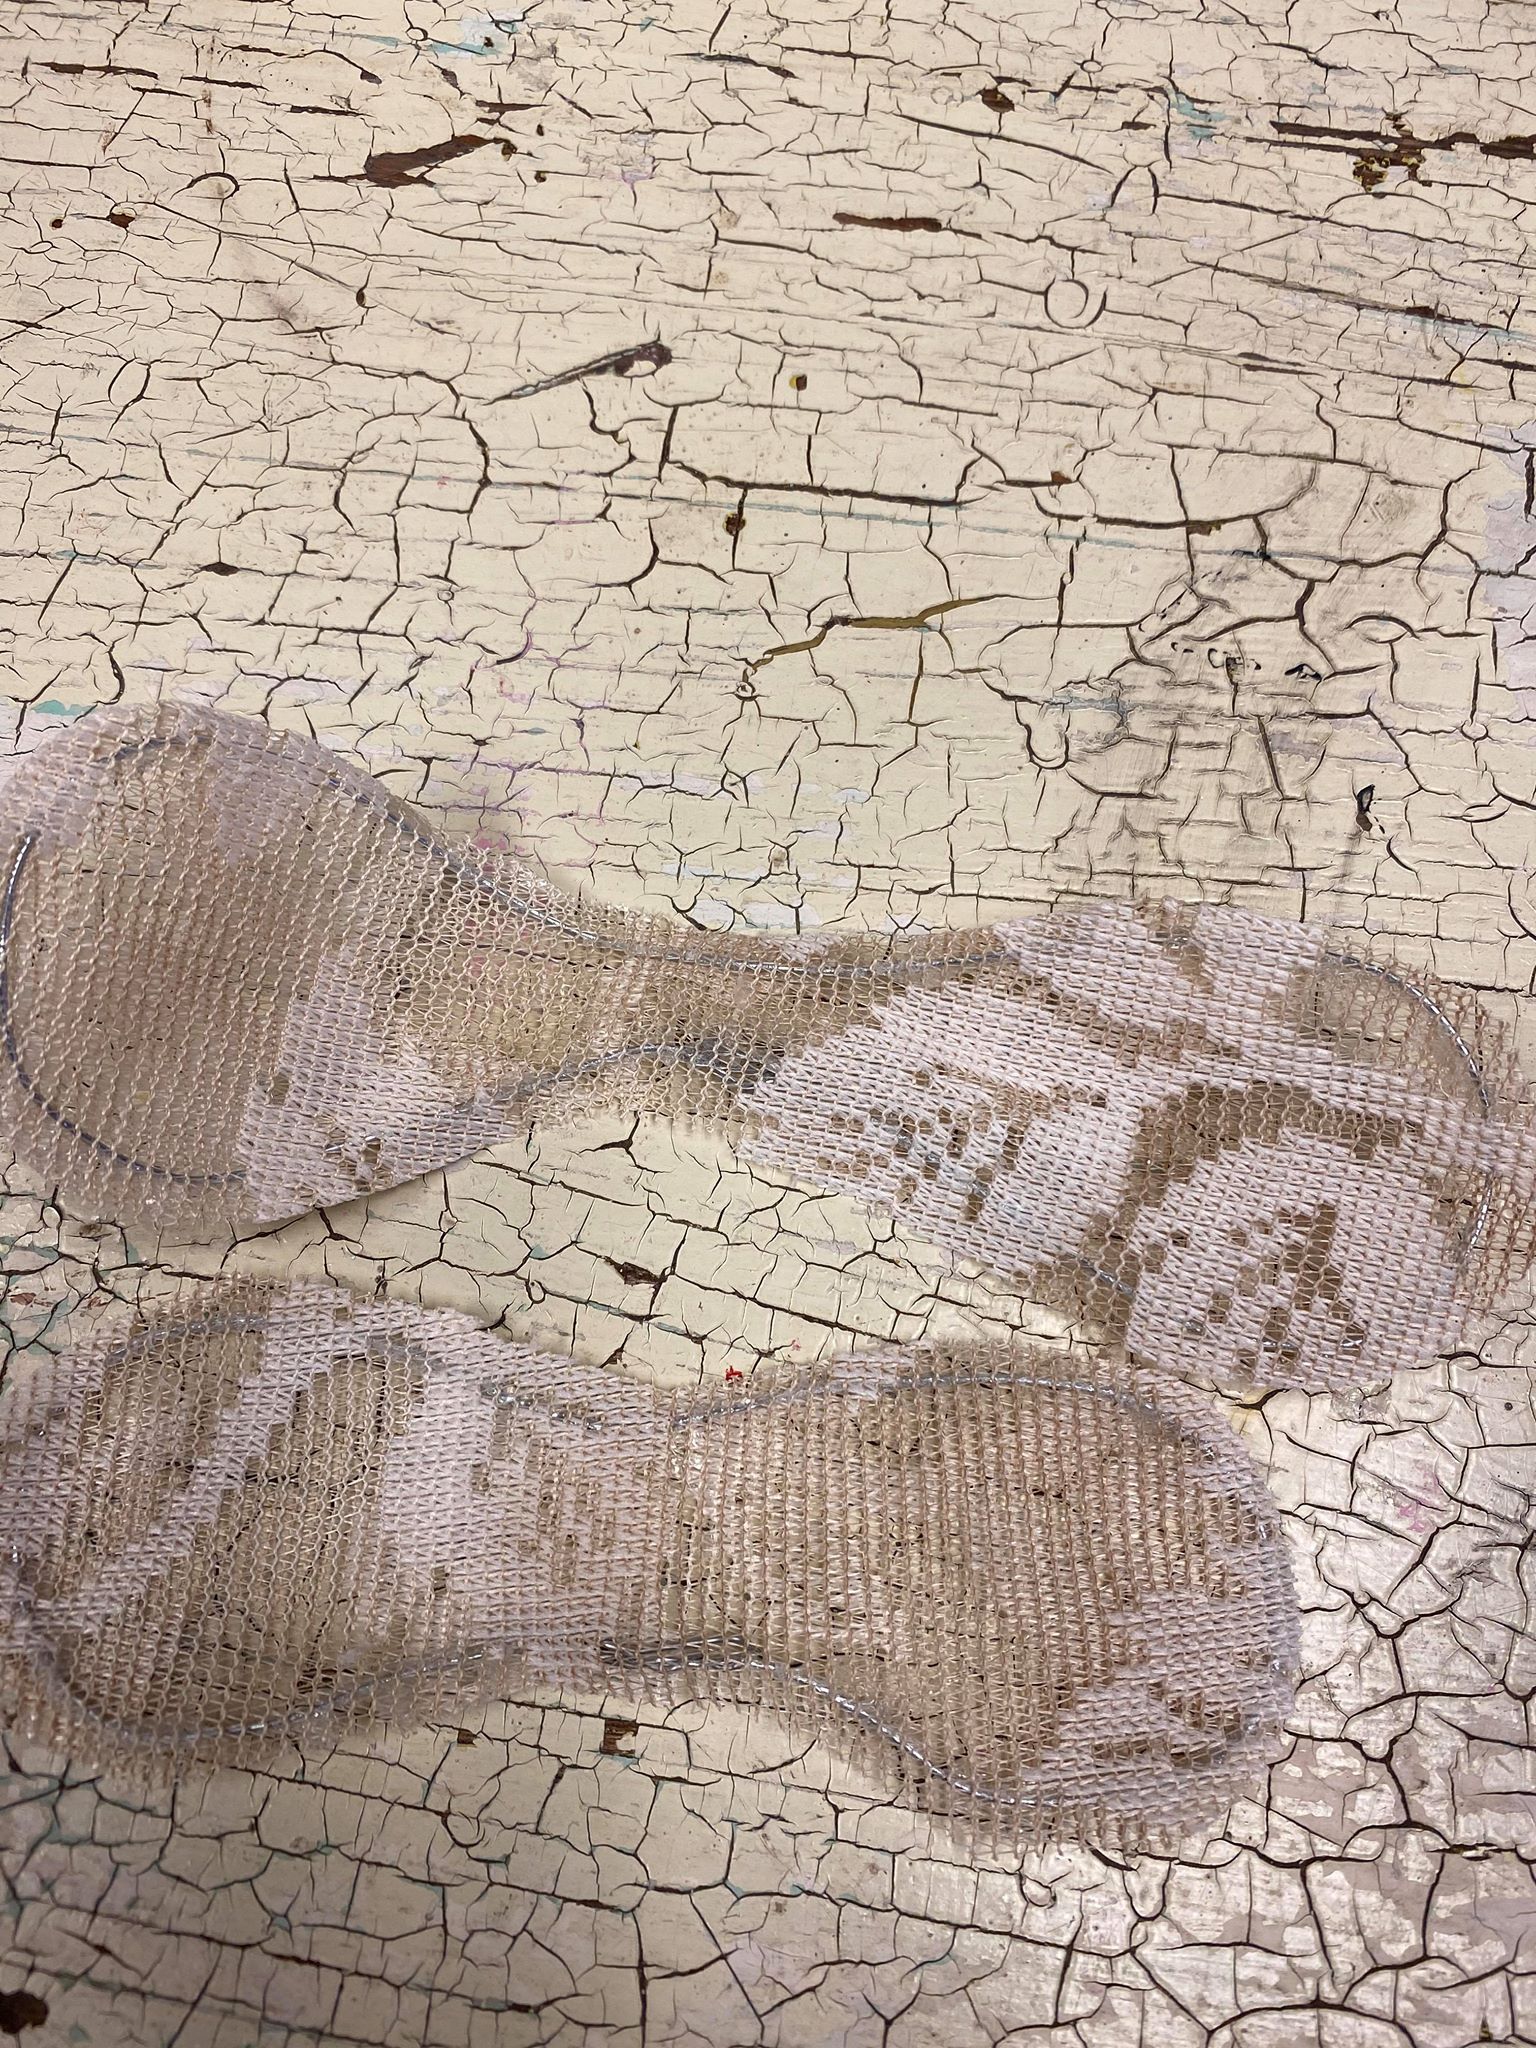
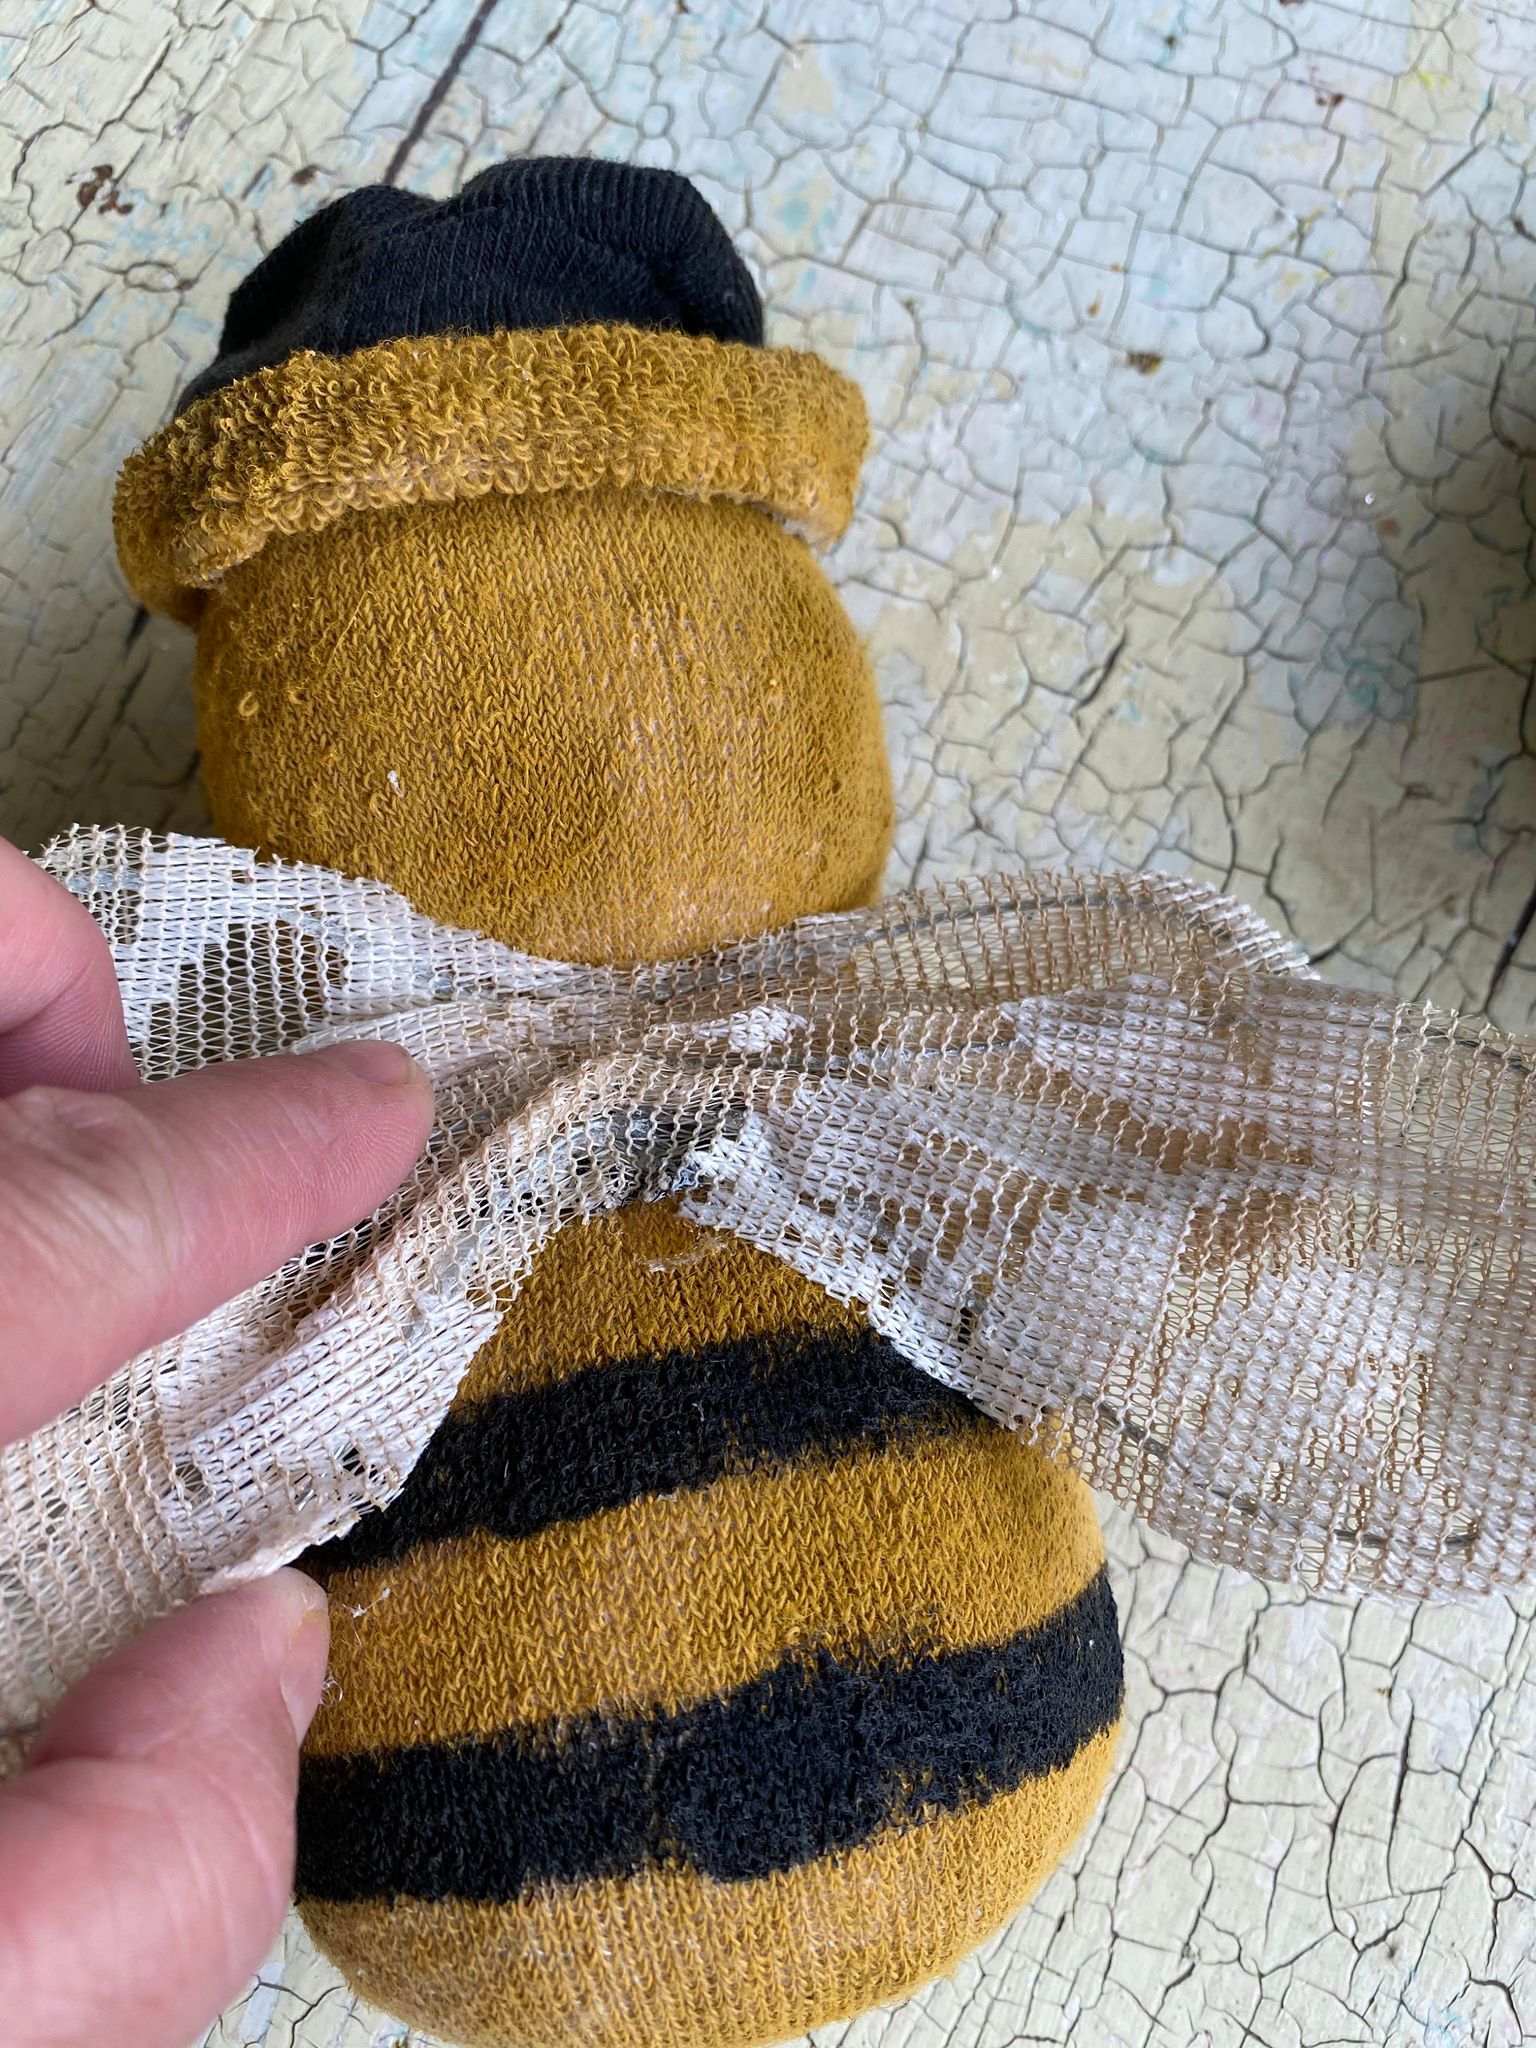
Attach the ends of your wire to form a circle. Once you have the circles formed then shape them into wings. I am using a scrap piece of a lace curtain to cover the wings.
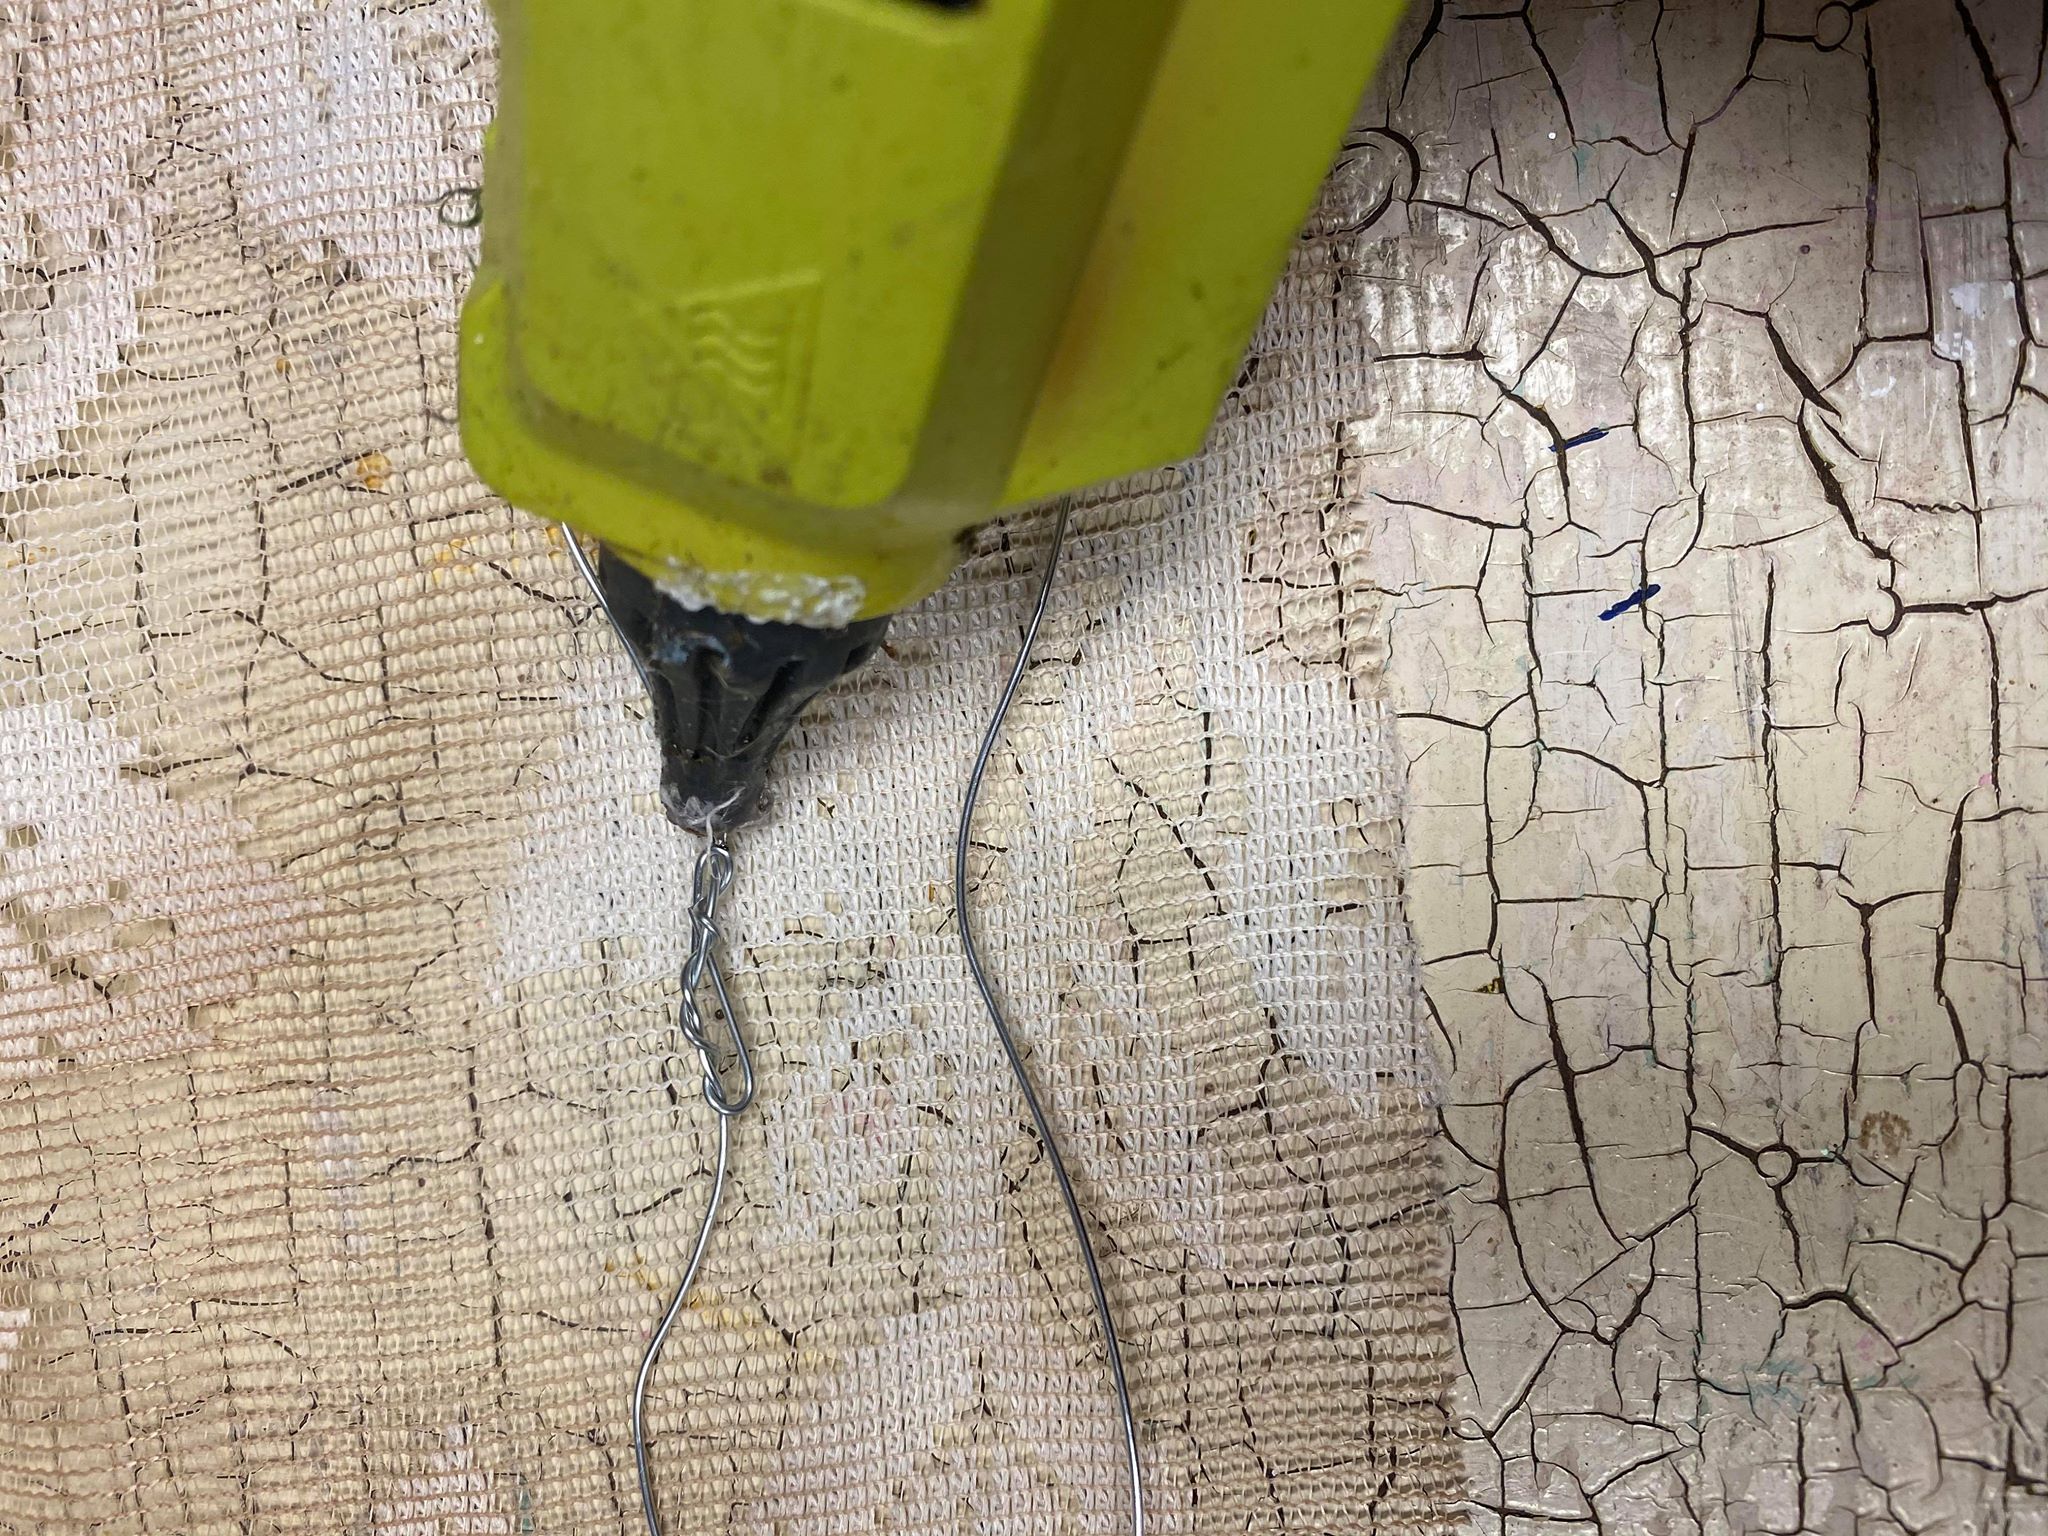
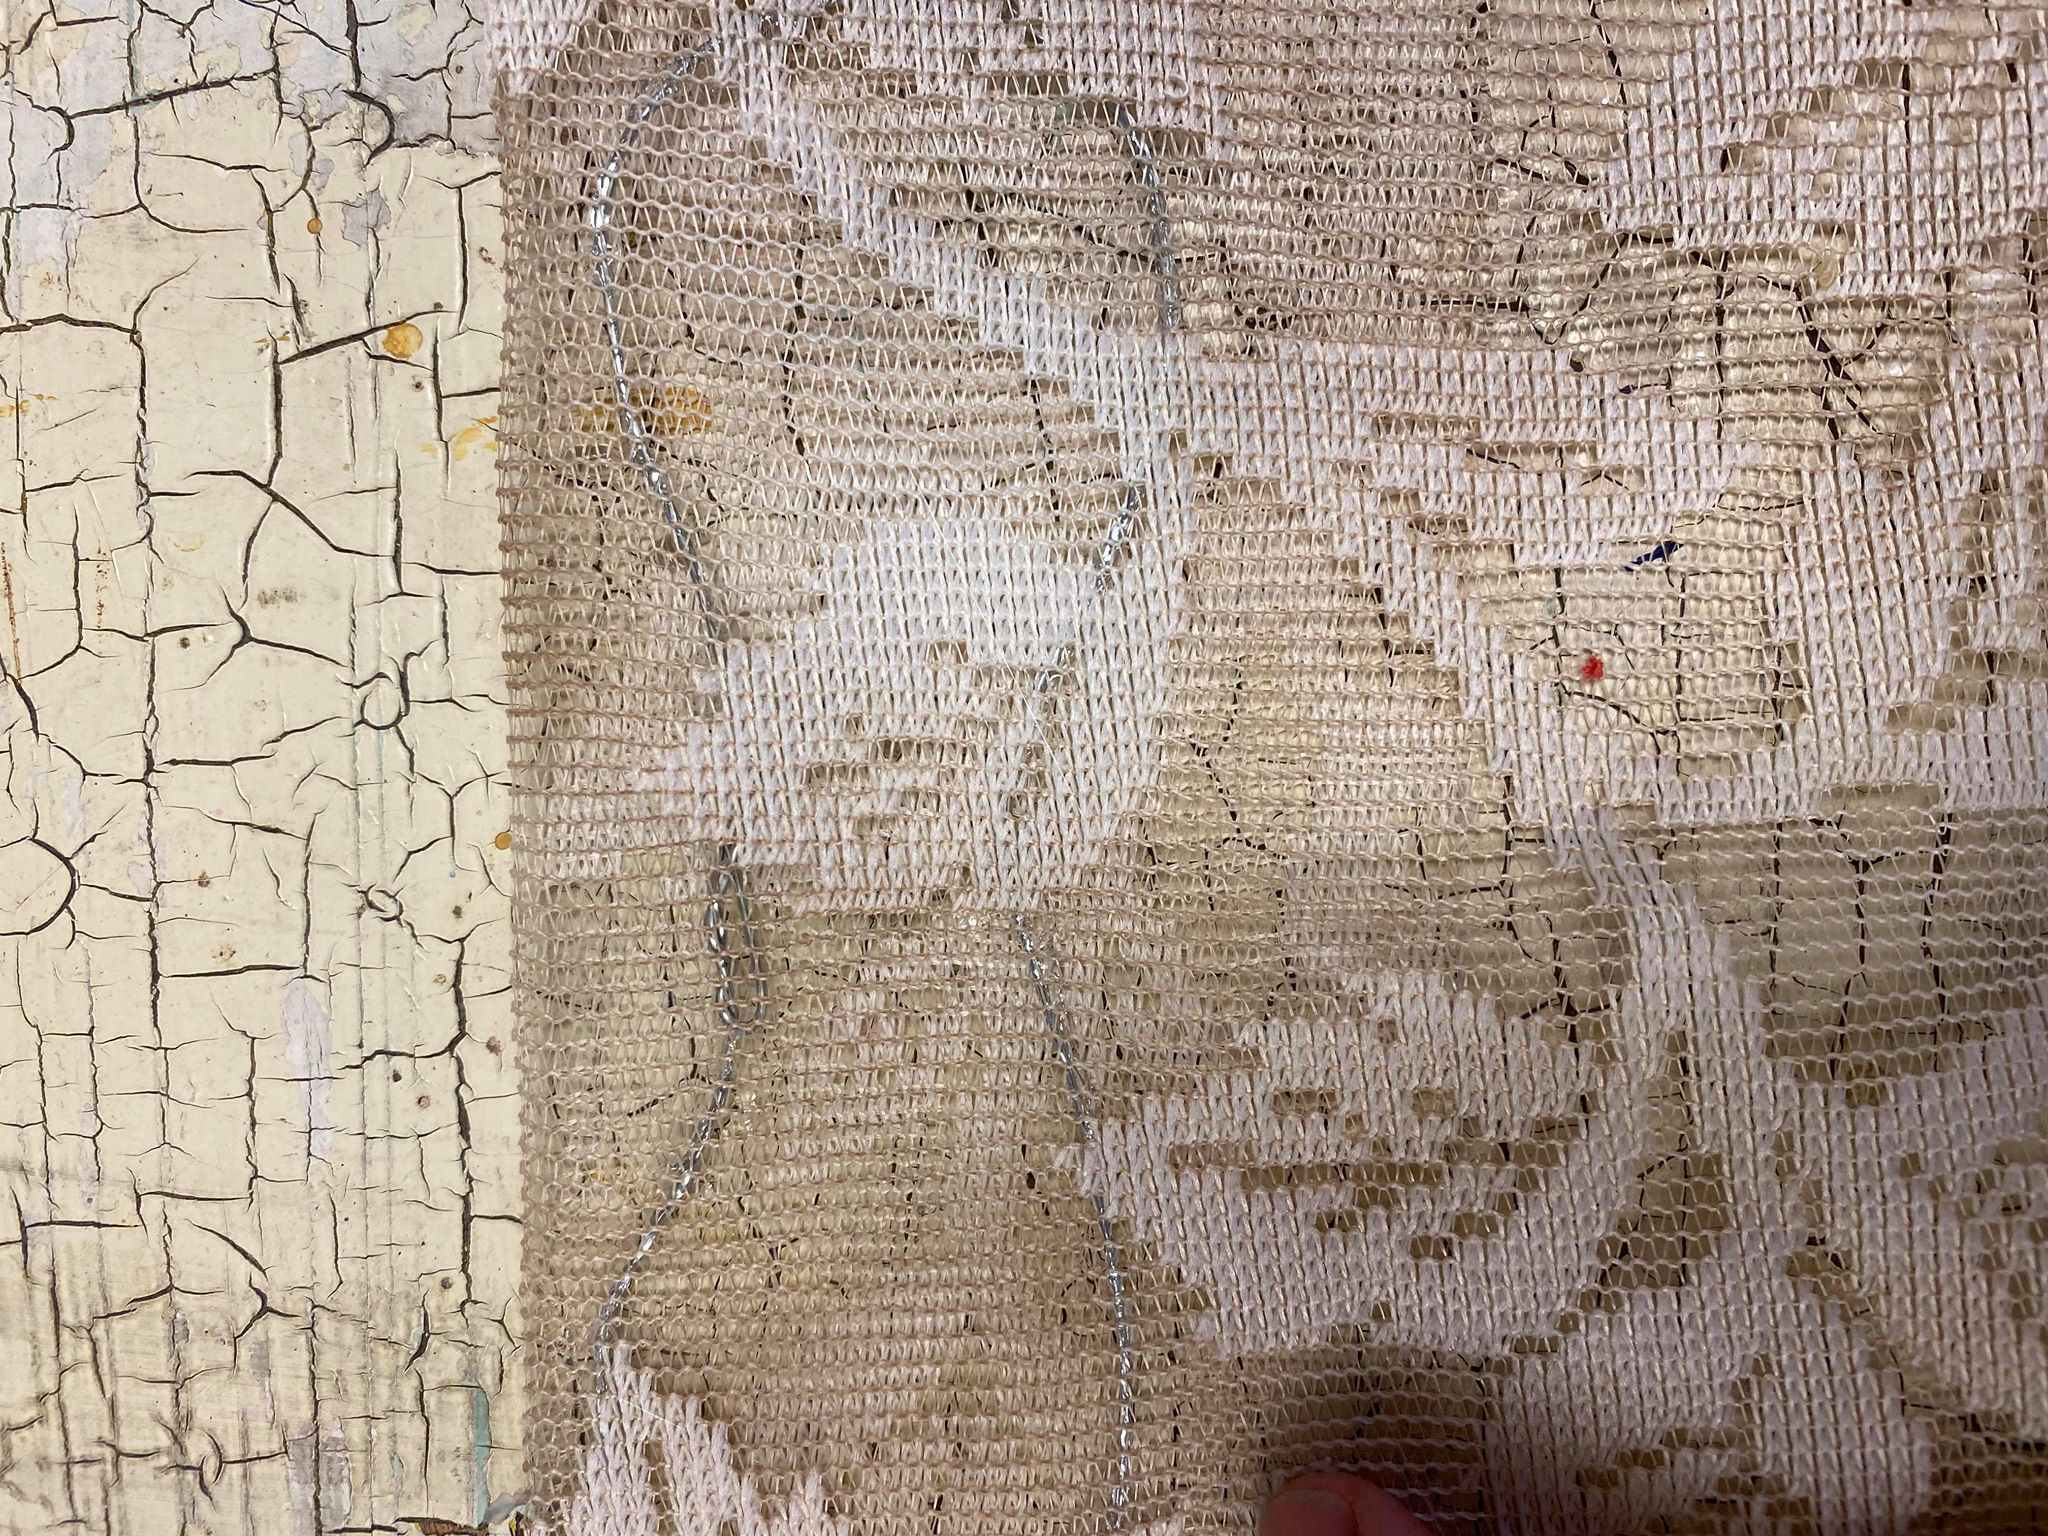
I placed the wire wing onto the lace and added hot glue. I then folded the lace over the top. Once it was all glued together I then cut them out. I cut the wings out but leaving about a half inch from the wire.
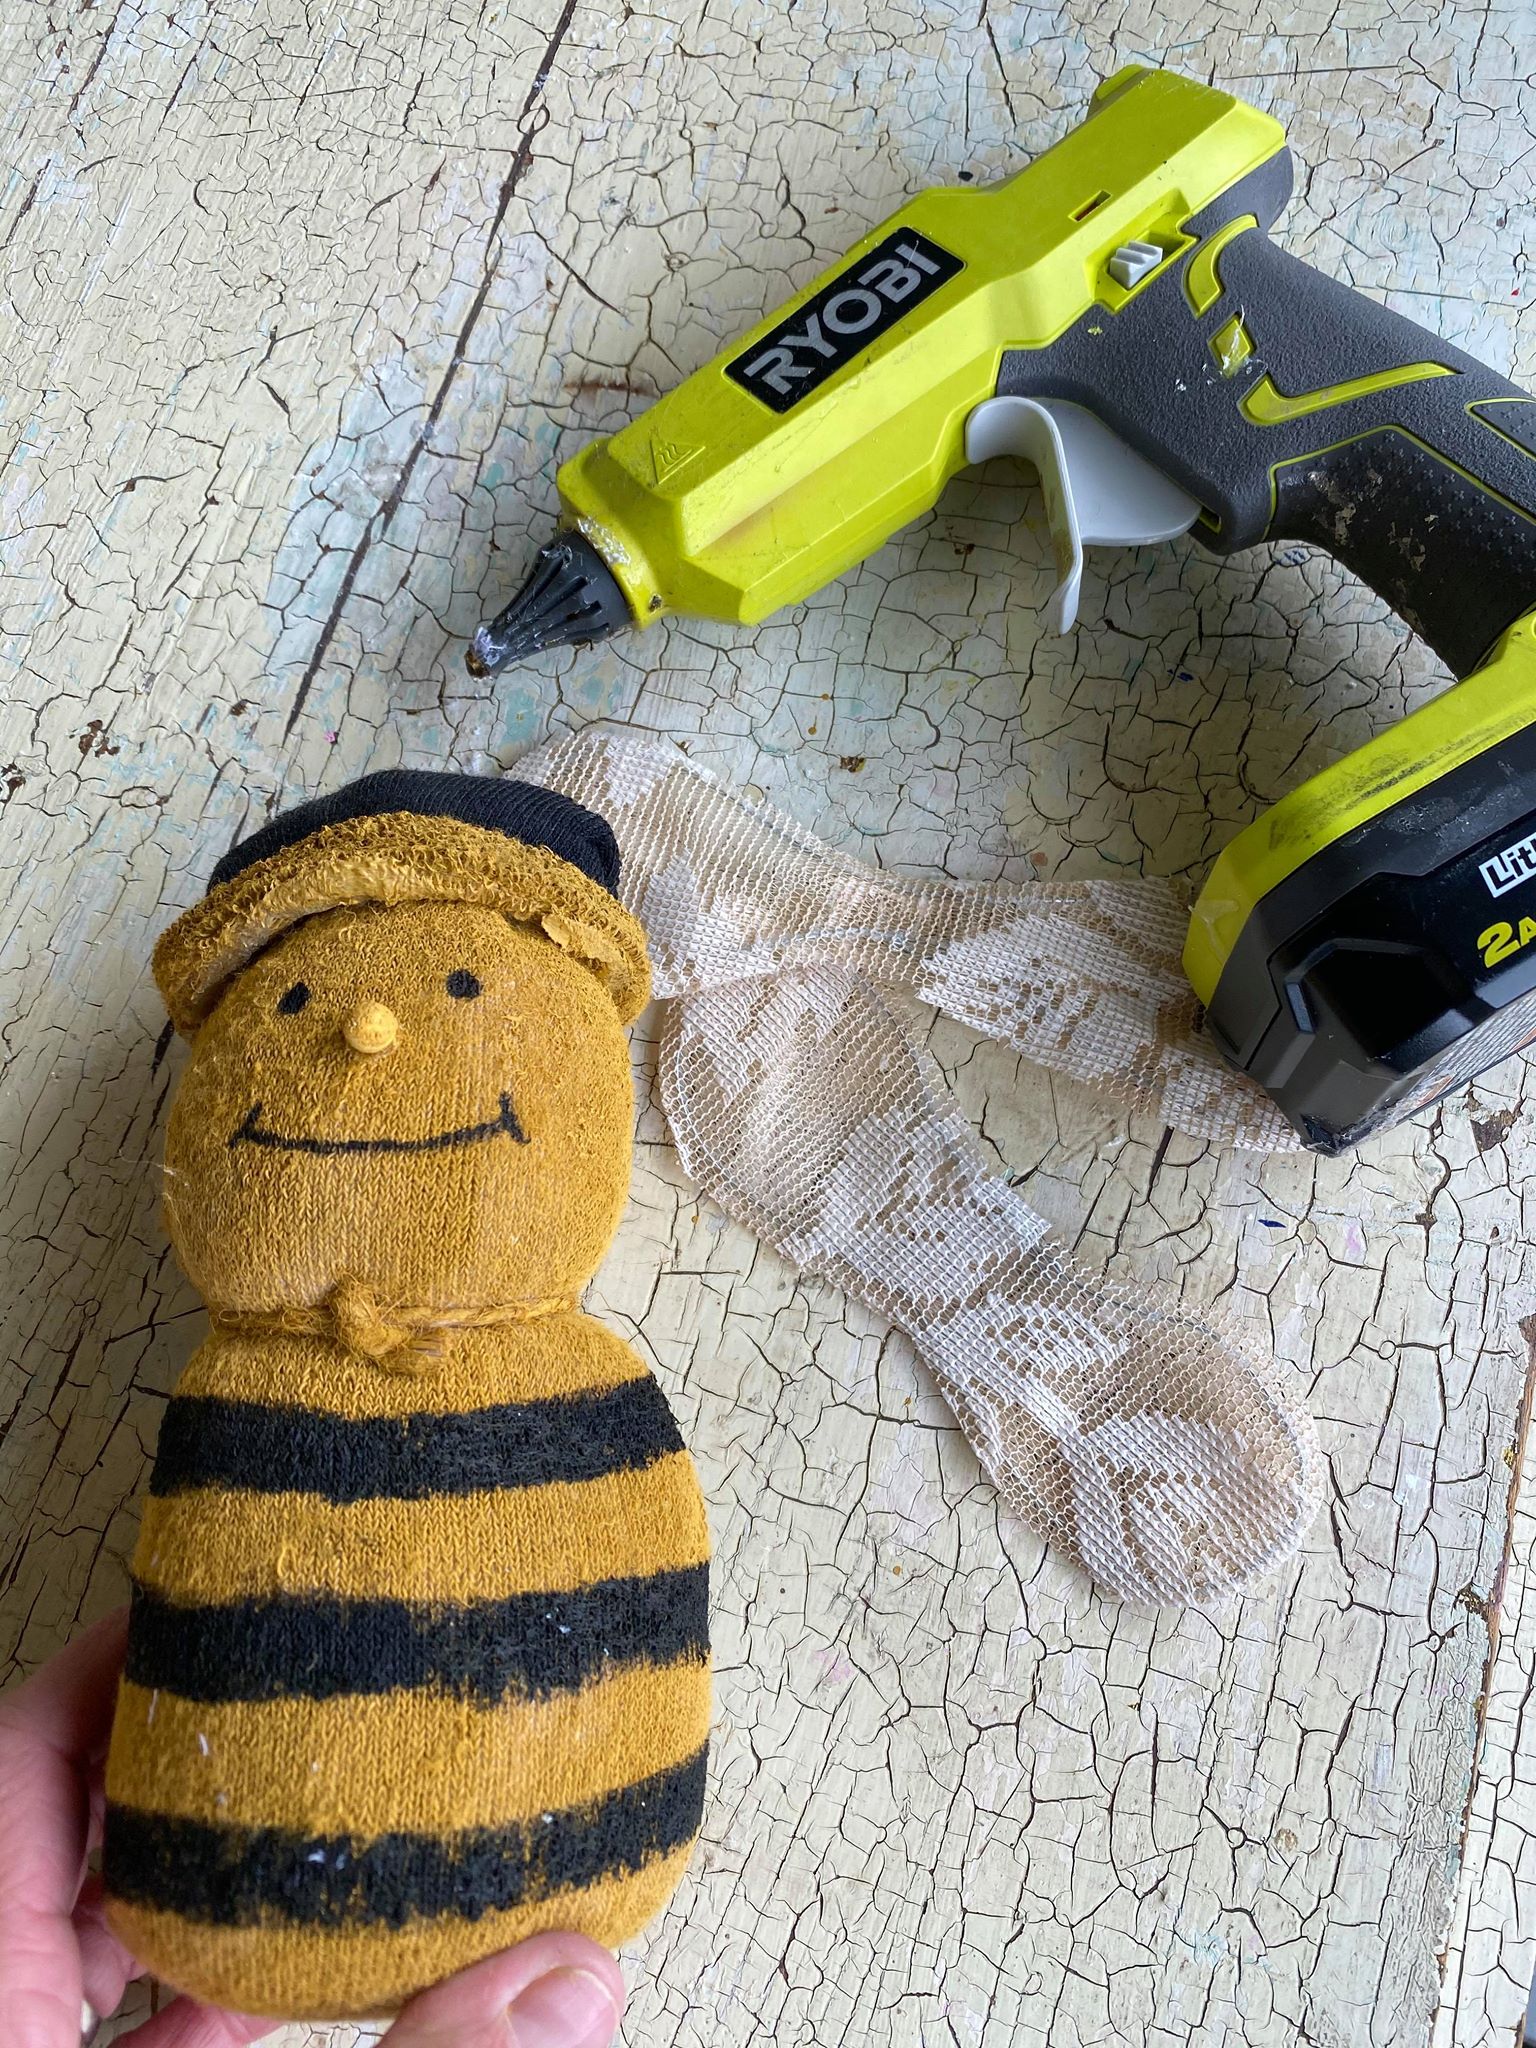
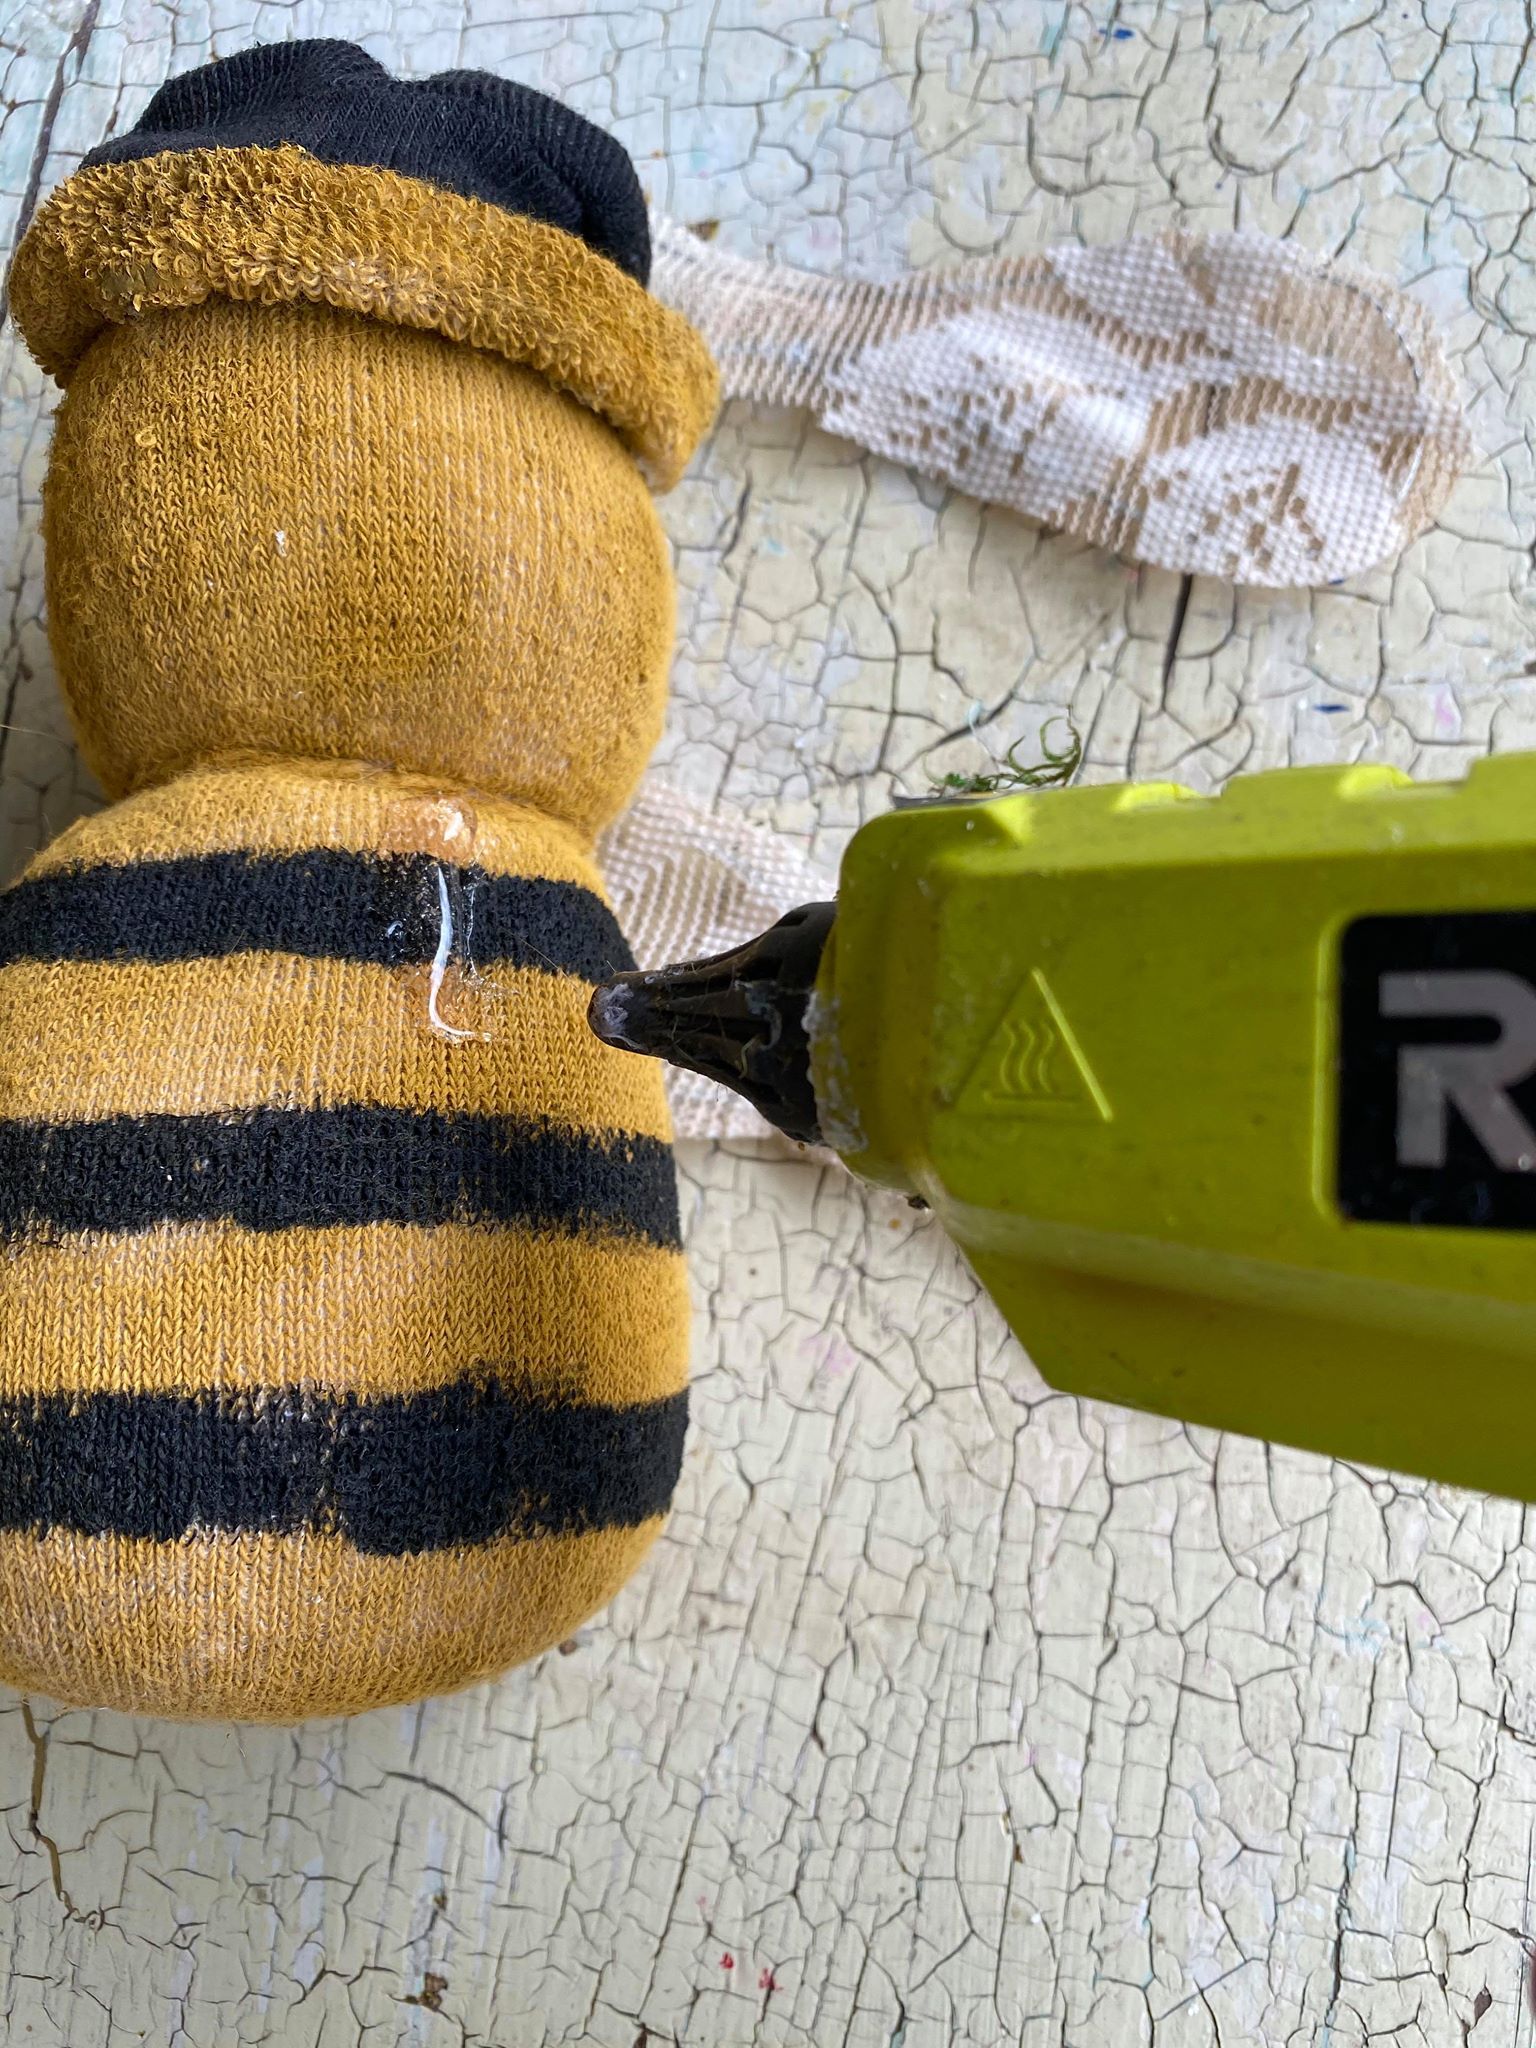
I added hot glue to the back of the bumble bee to attach the wings.
You can add some raffia around the neck for some decoration.

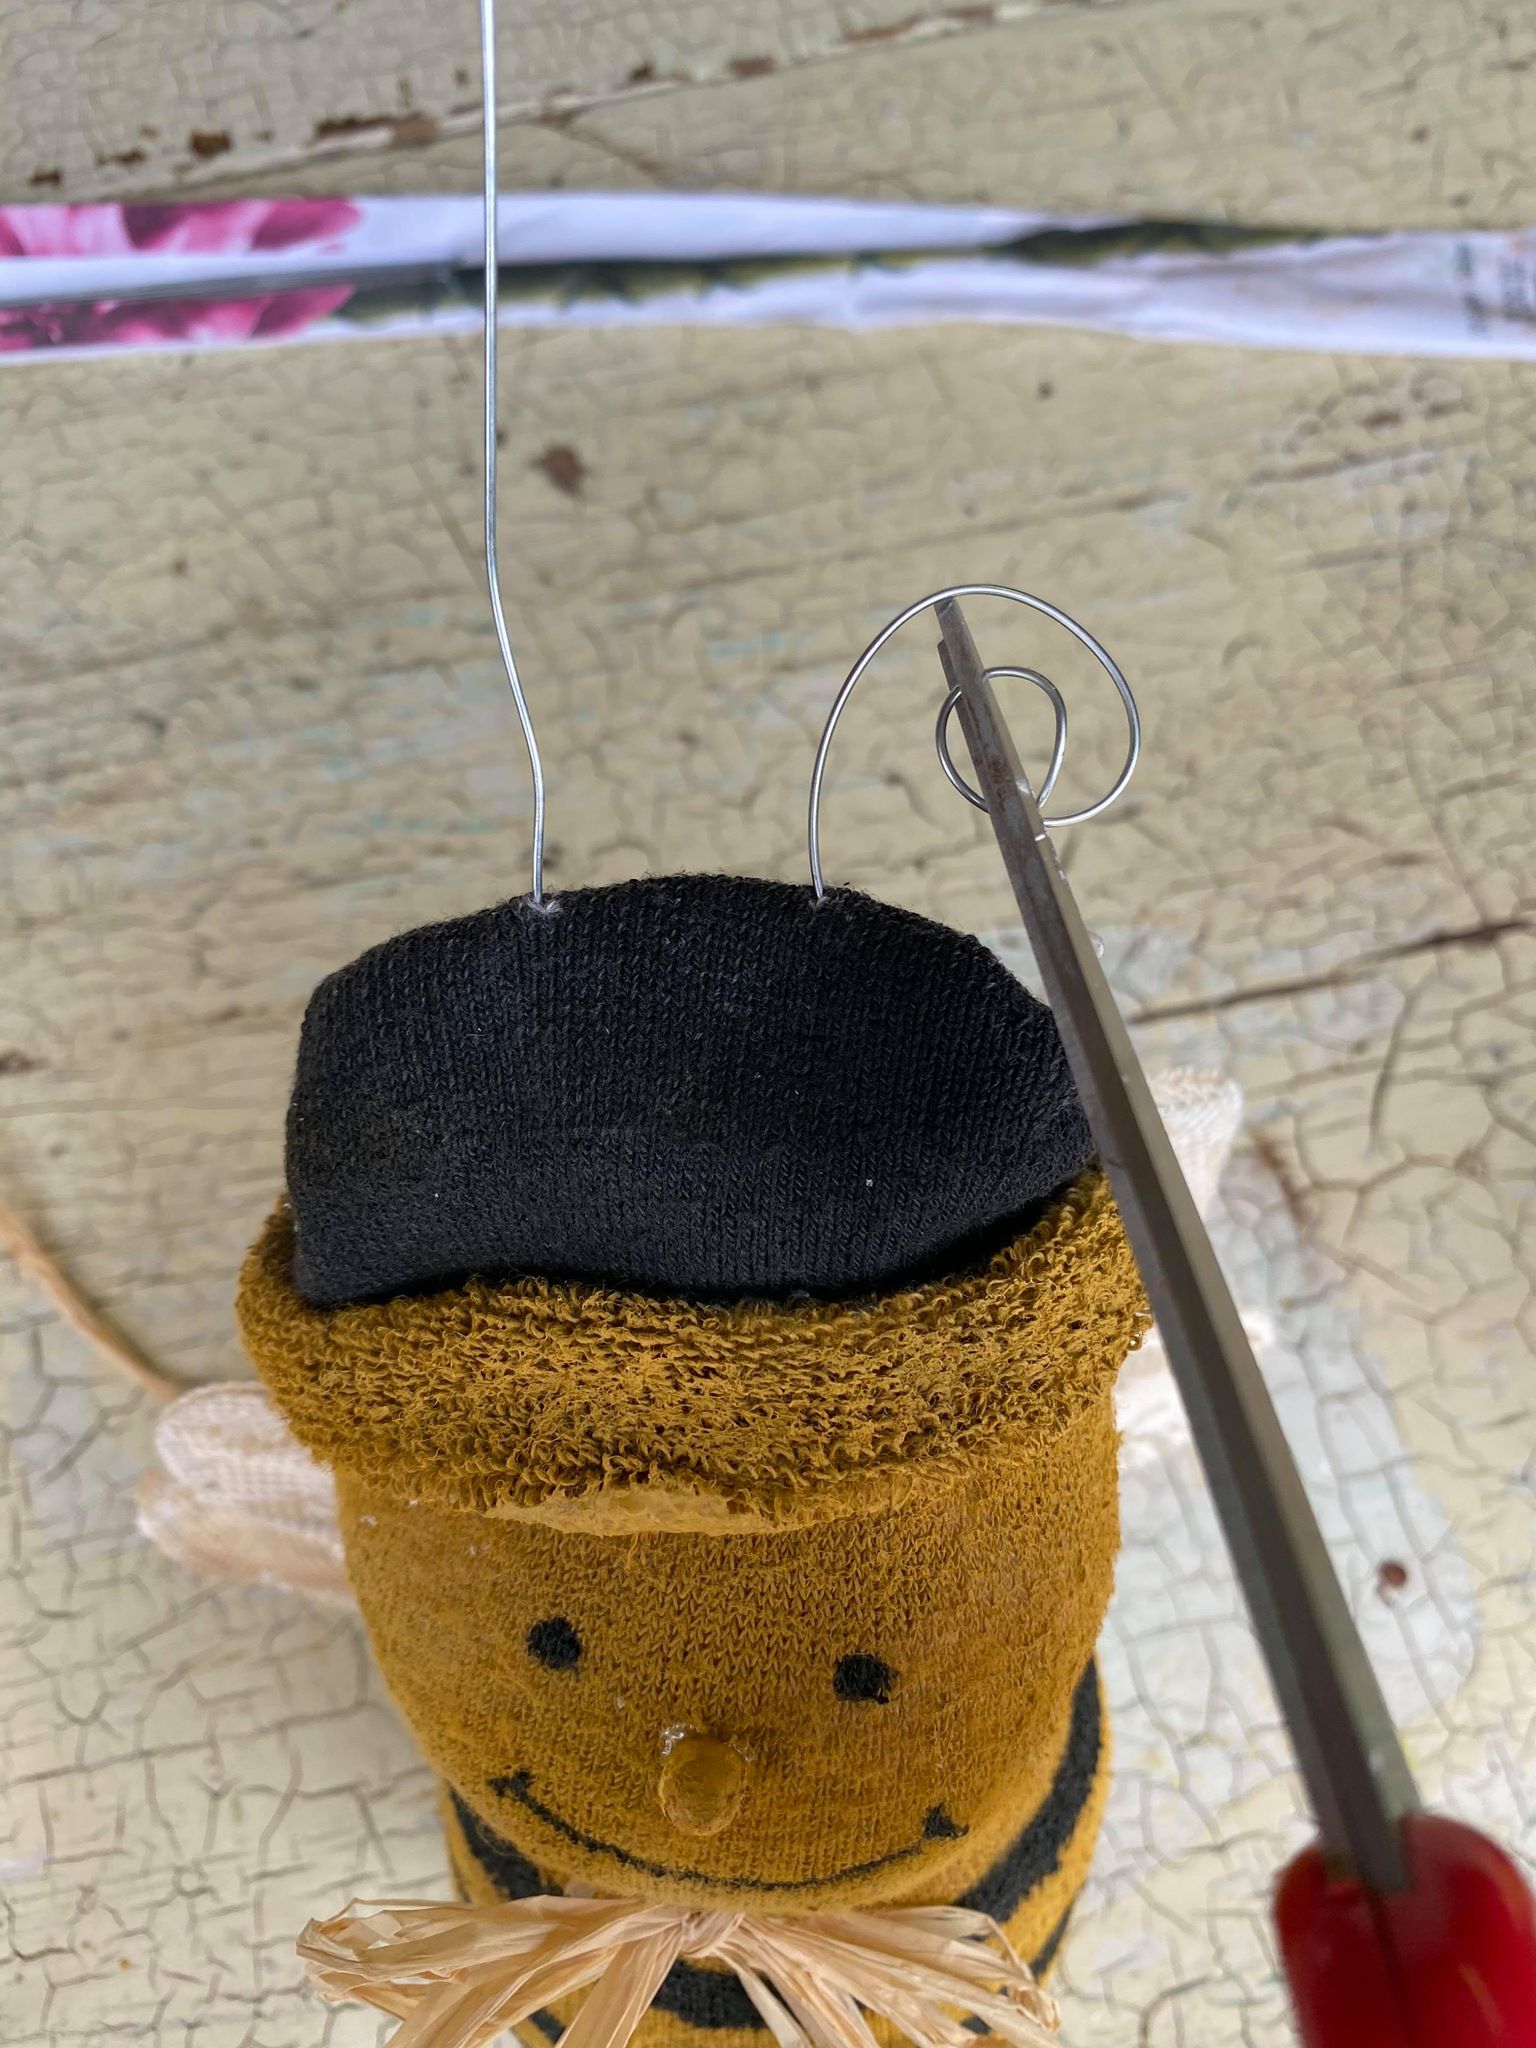
I then added two pieces of wire to the top of the bumble bee. I pushed these down into the head of the bumblebee. You can curl the ends so that they will look like the bumble bees antenna.
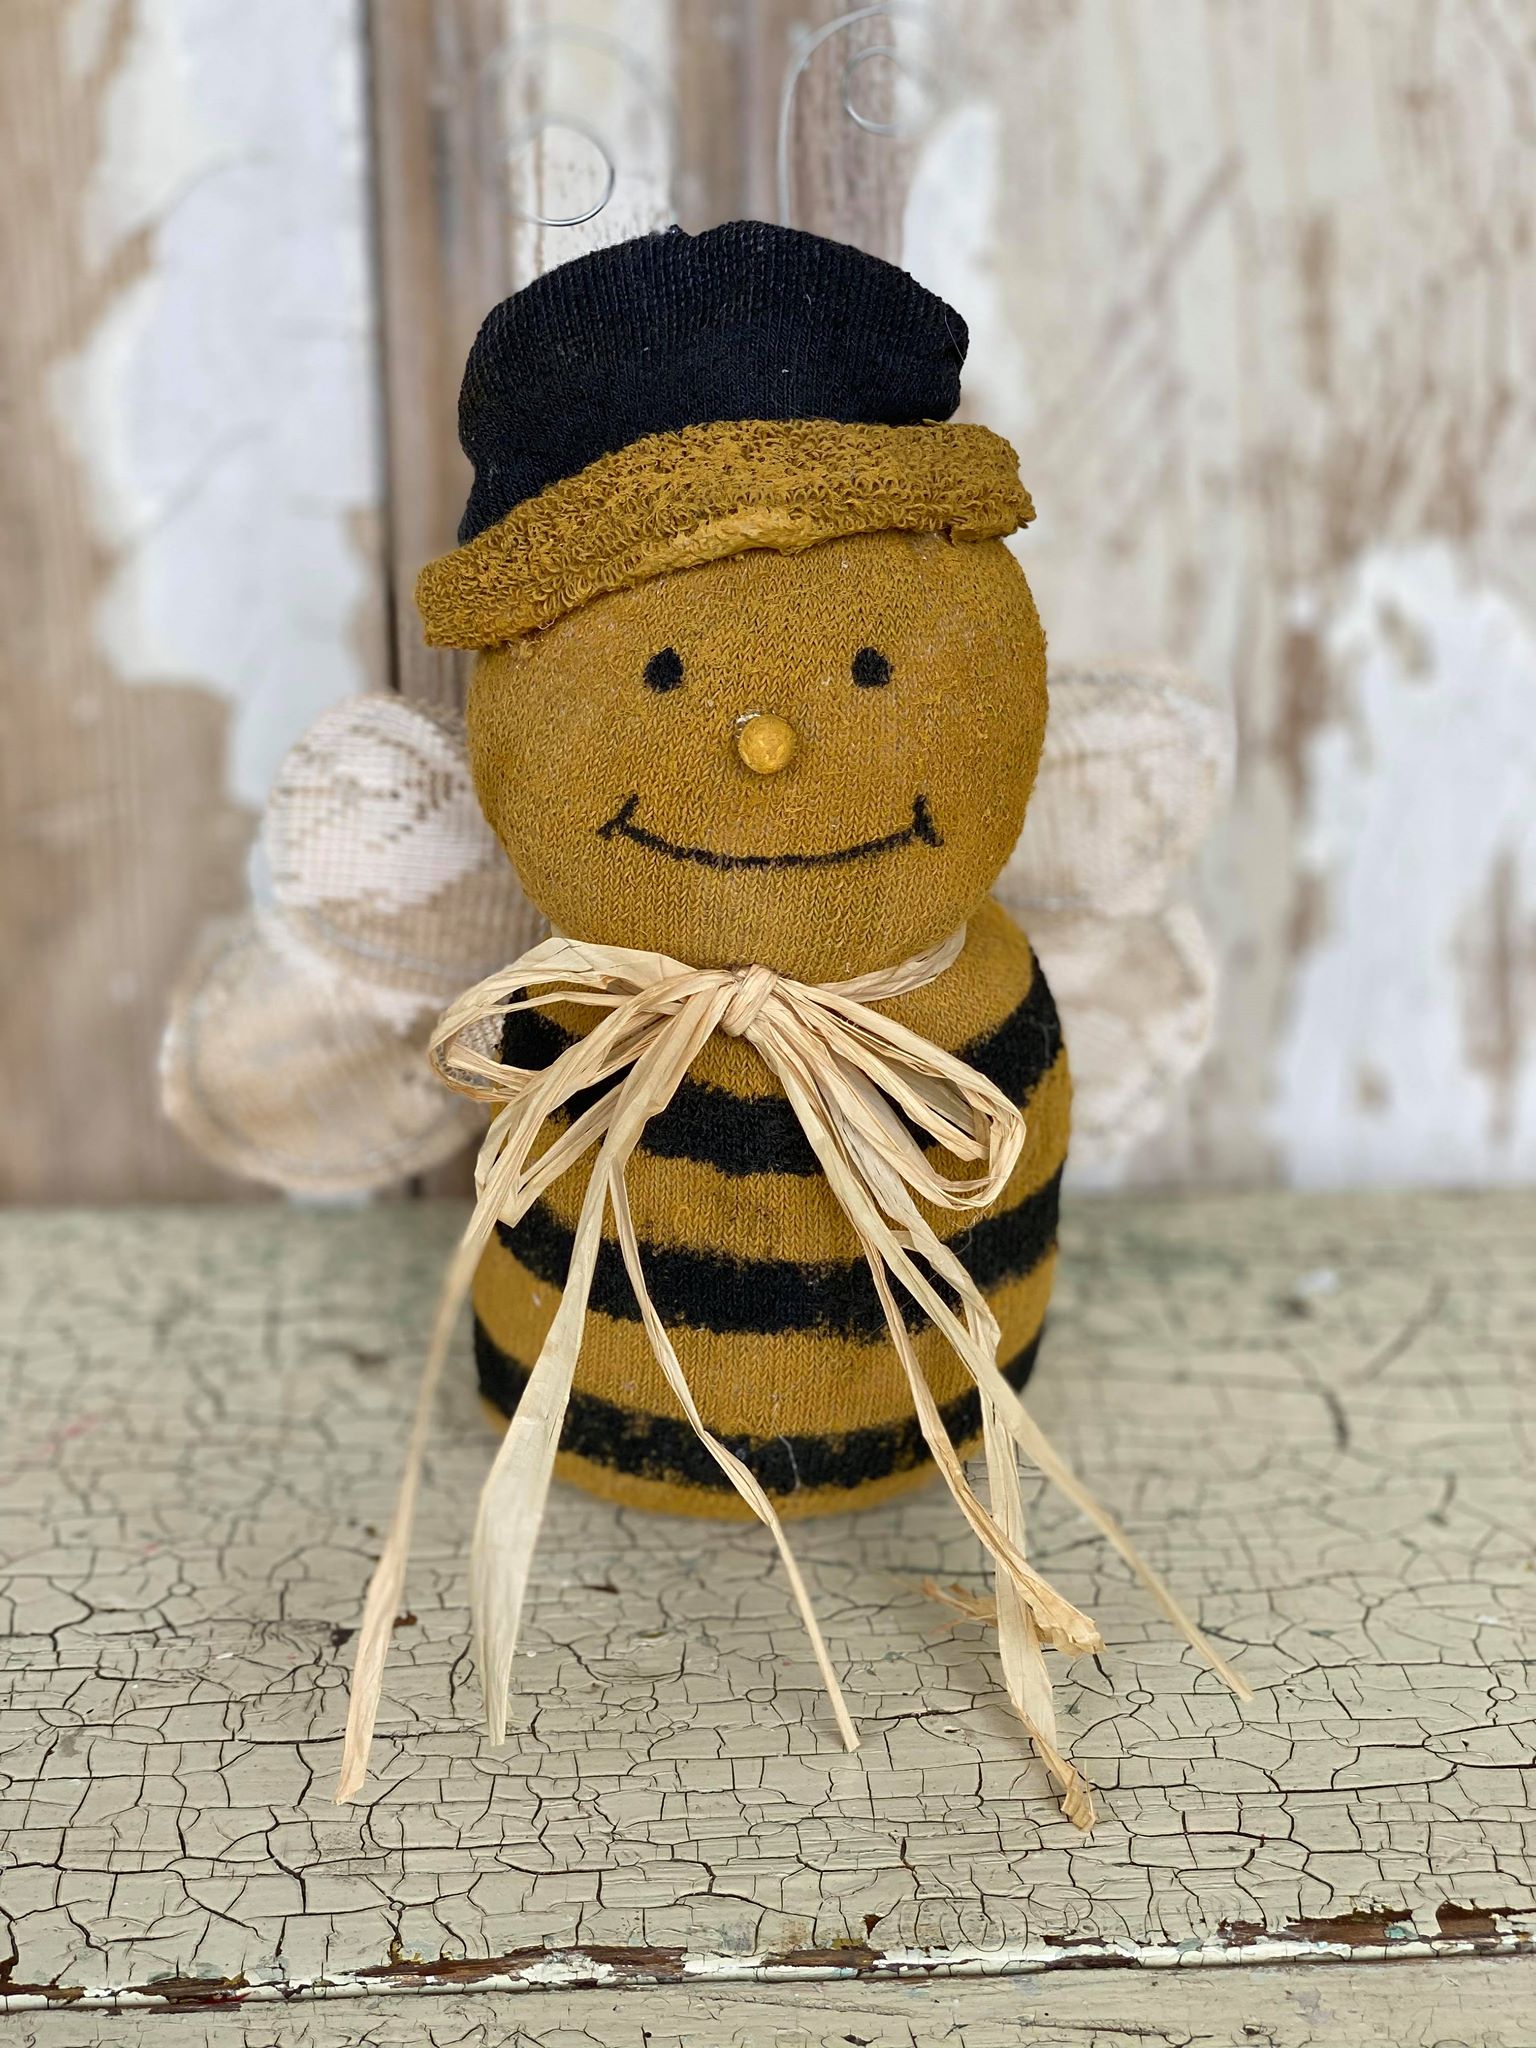
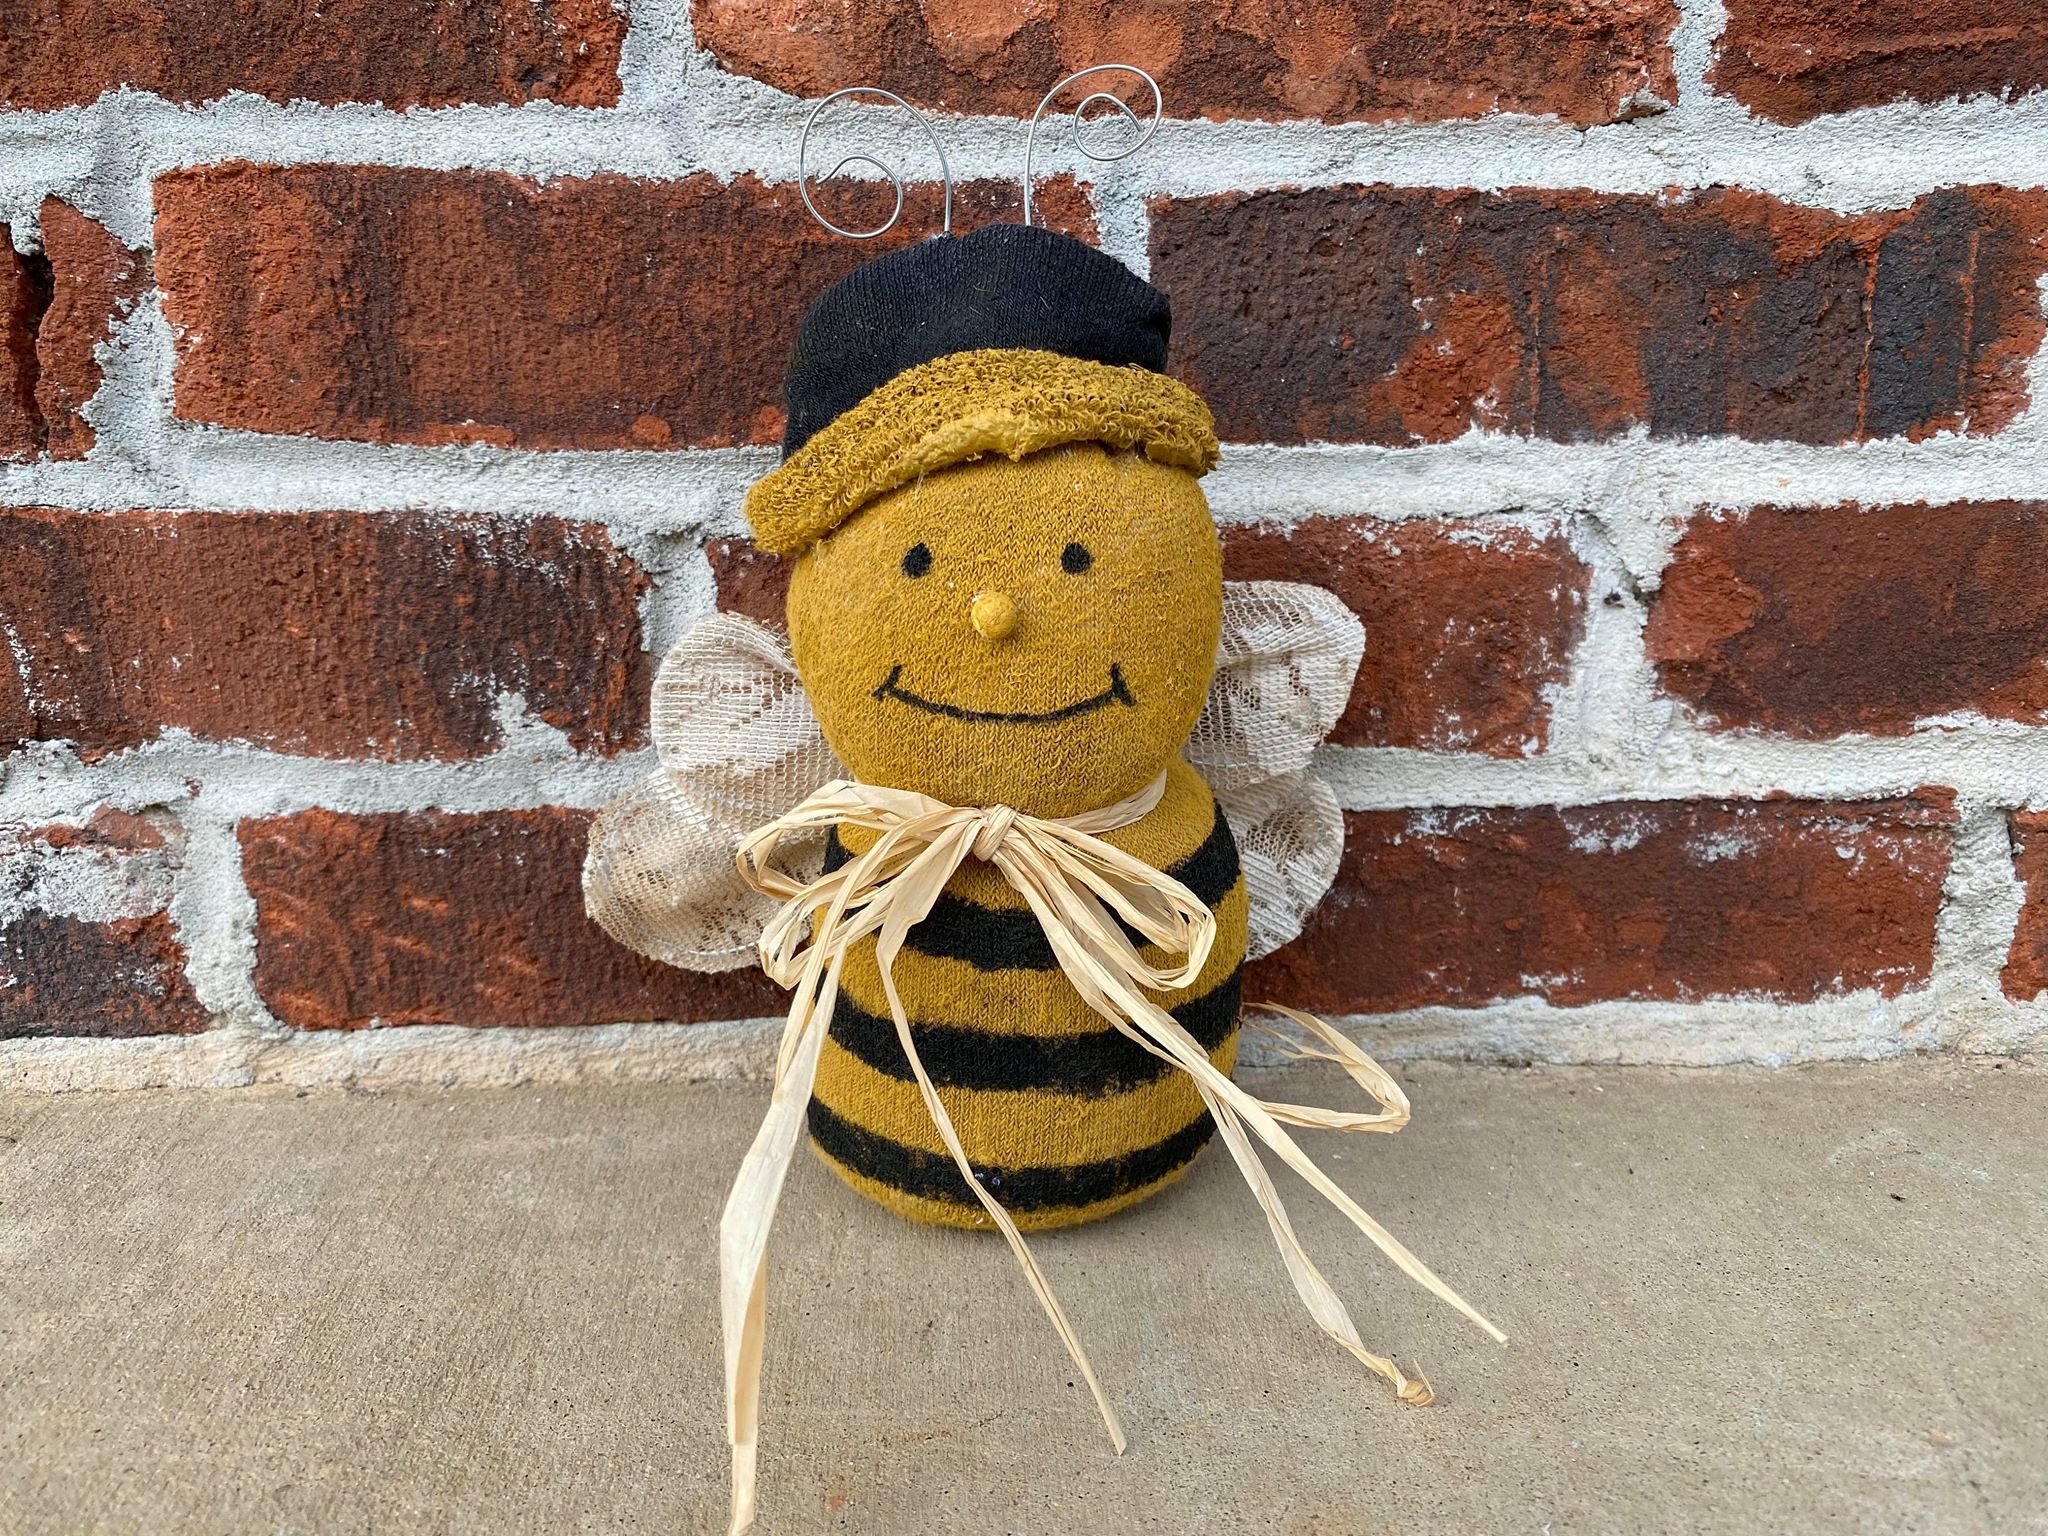
This turned out so cute and can be displayed any where throughout your home. I hope you will get creative and give this a try.