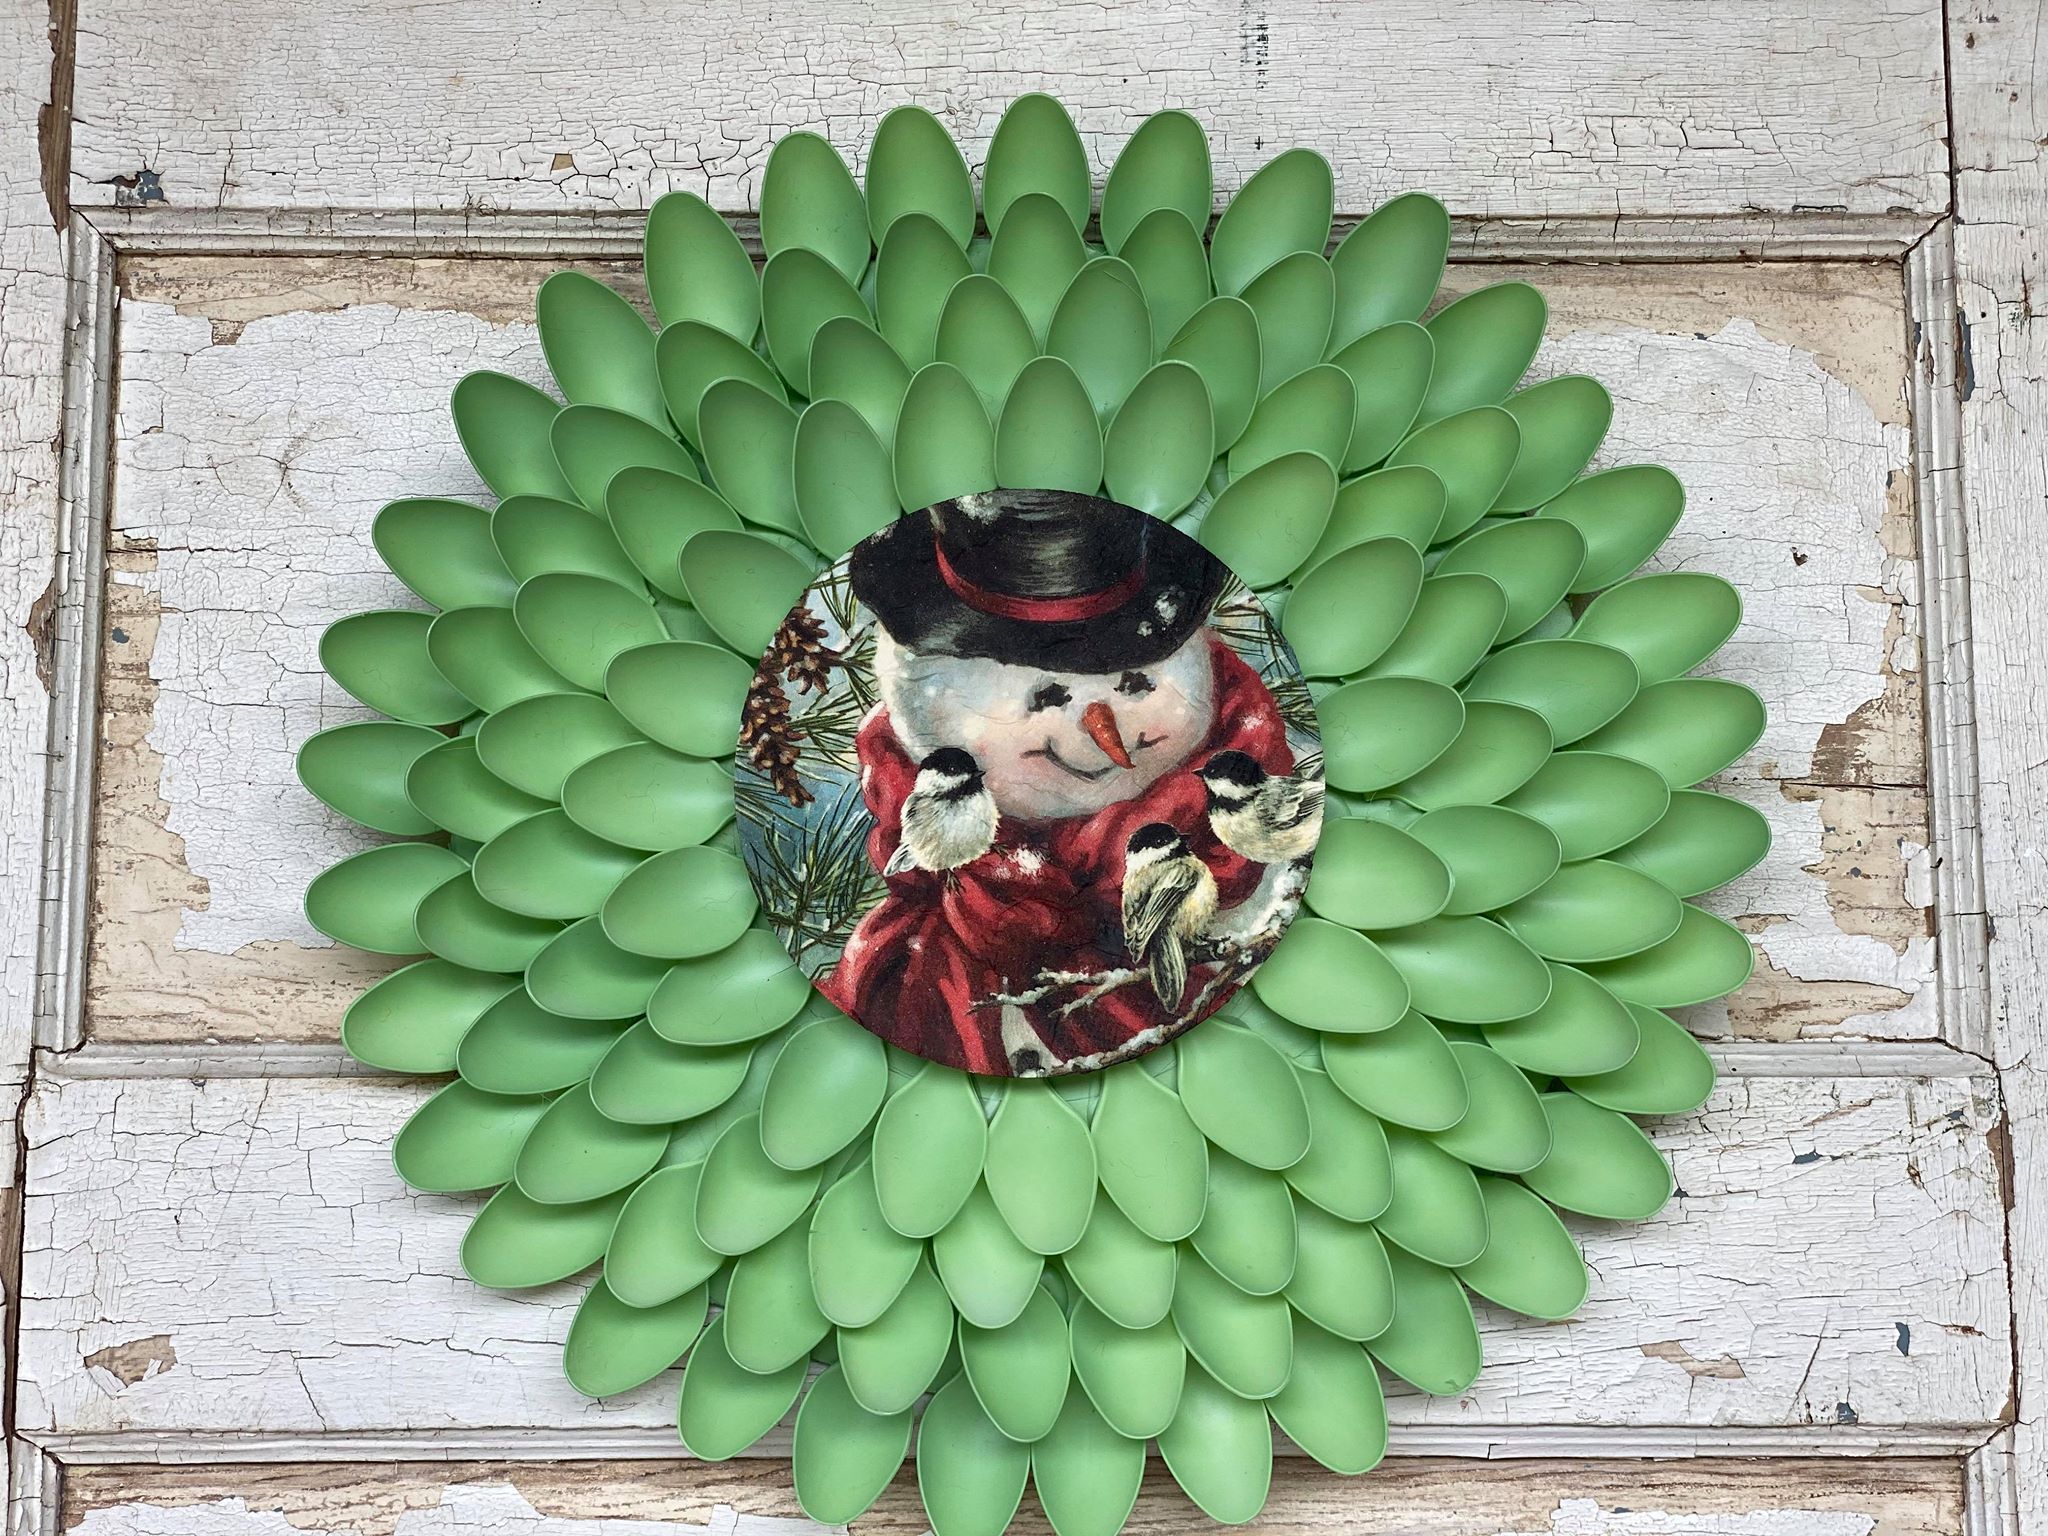
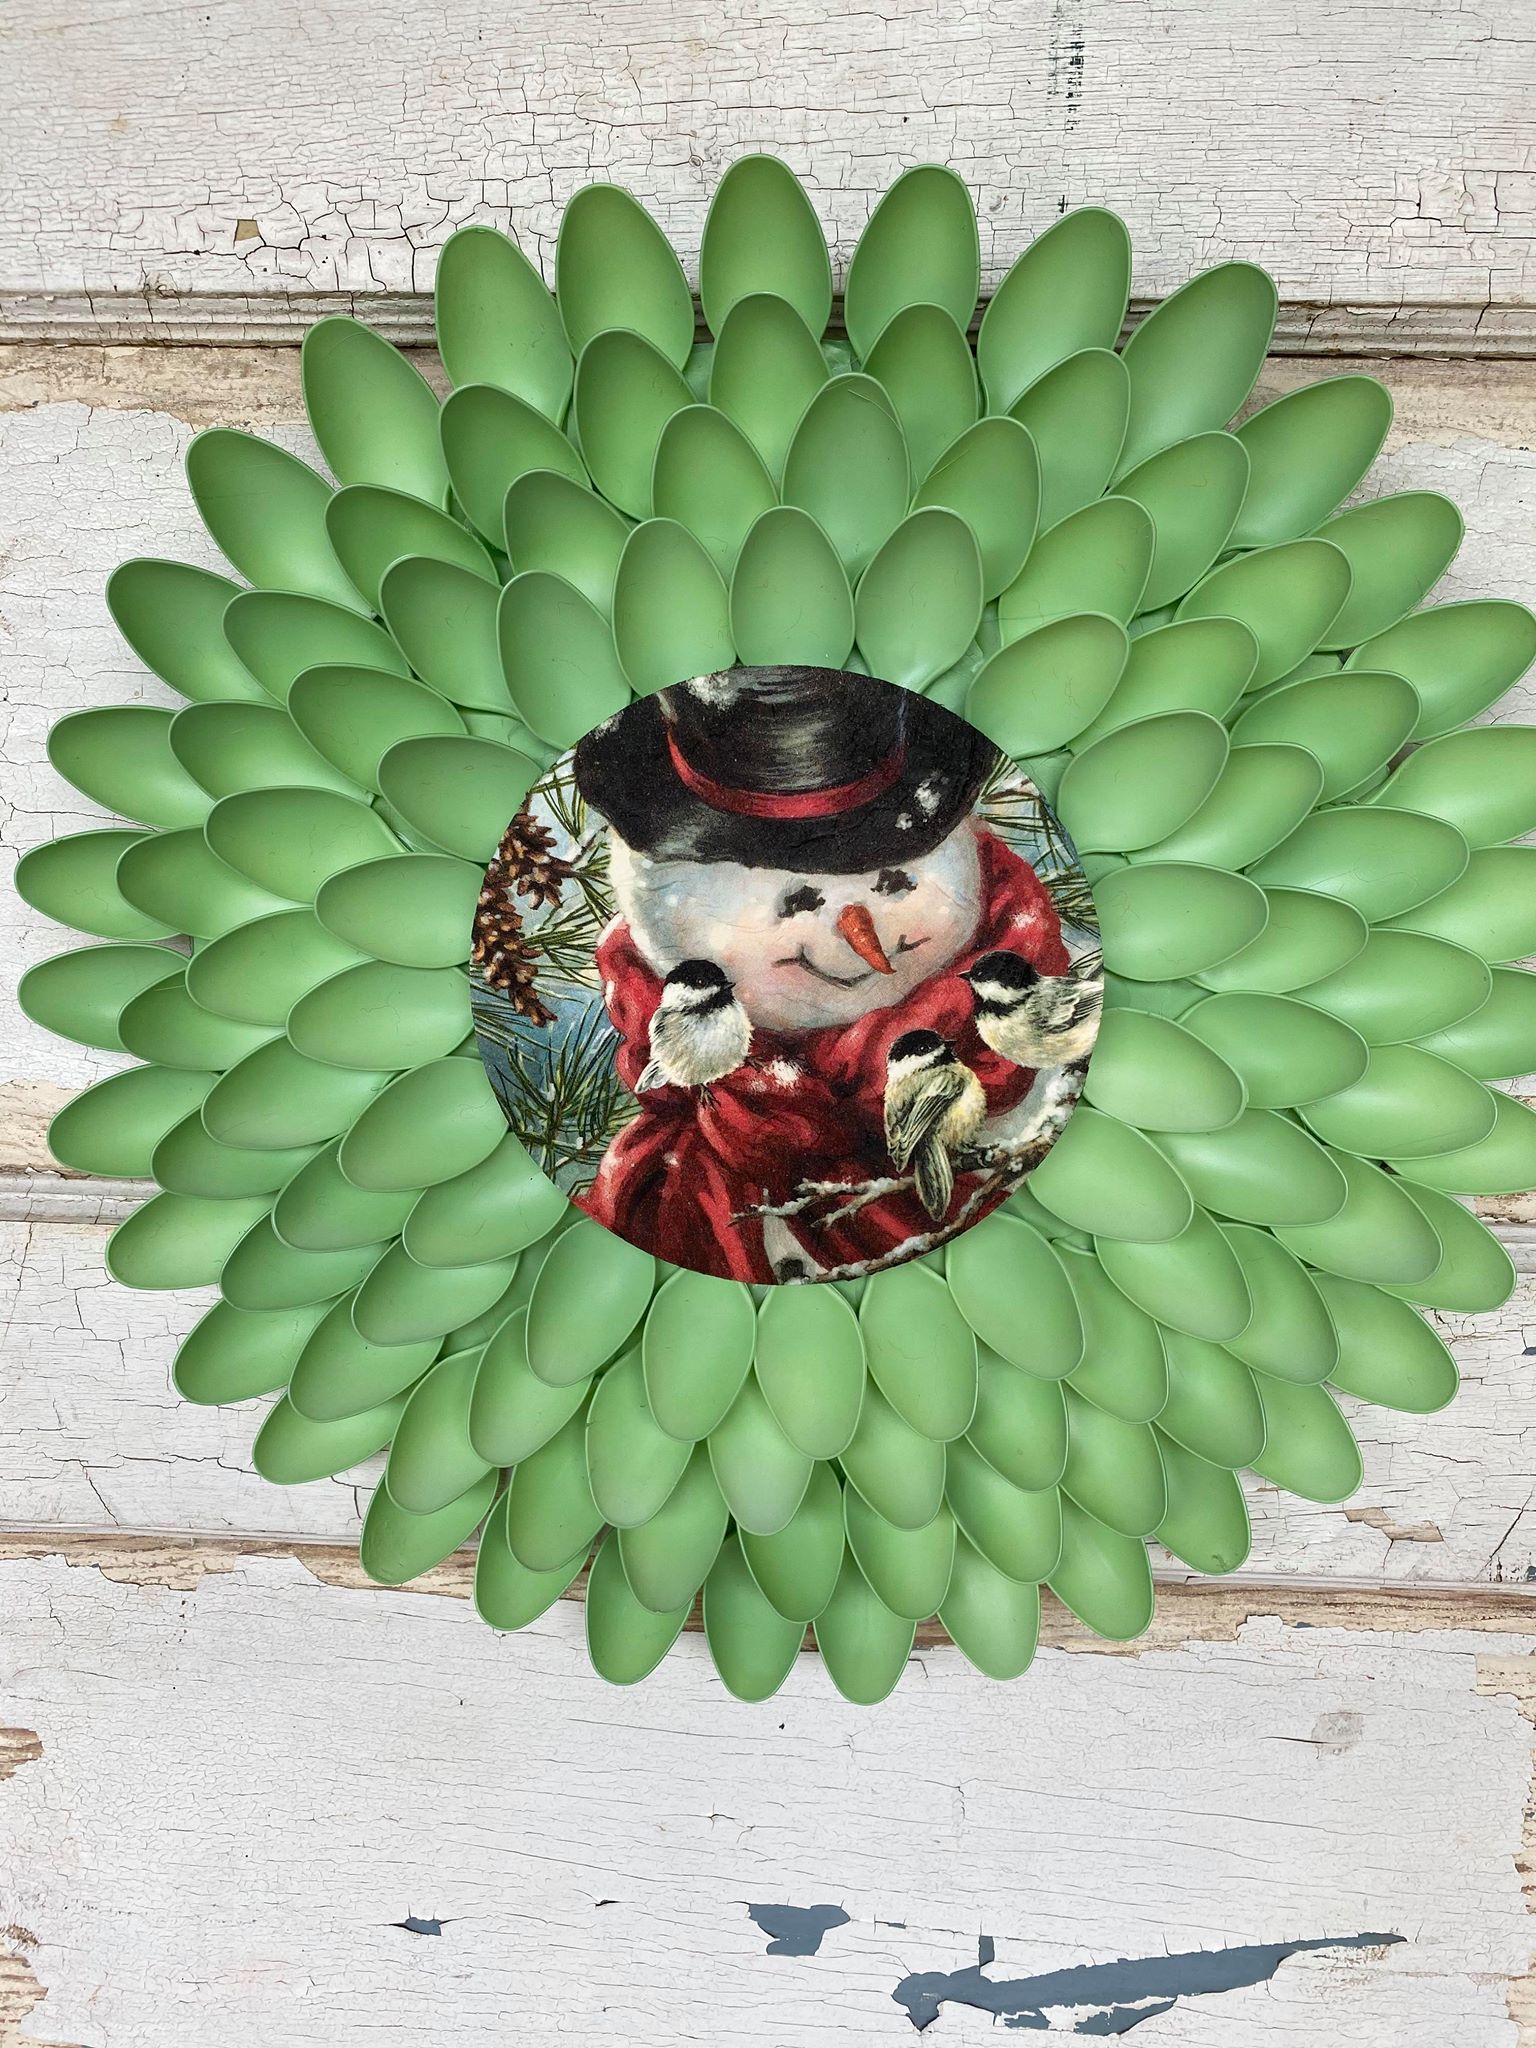
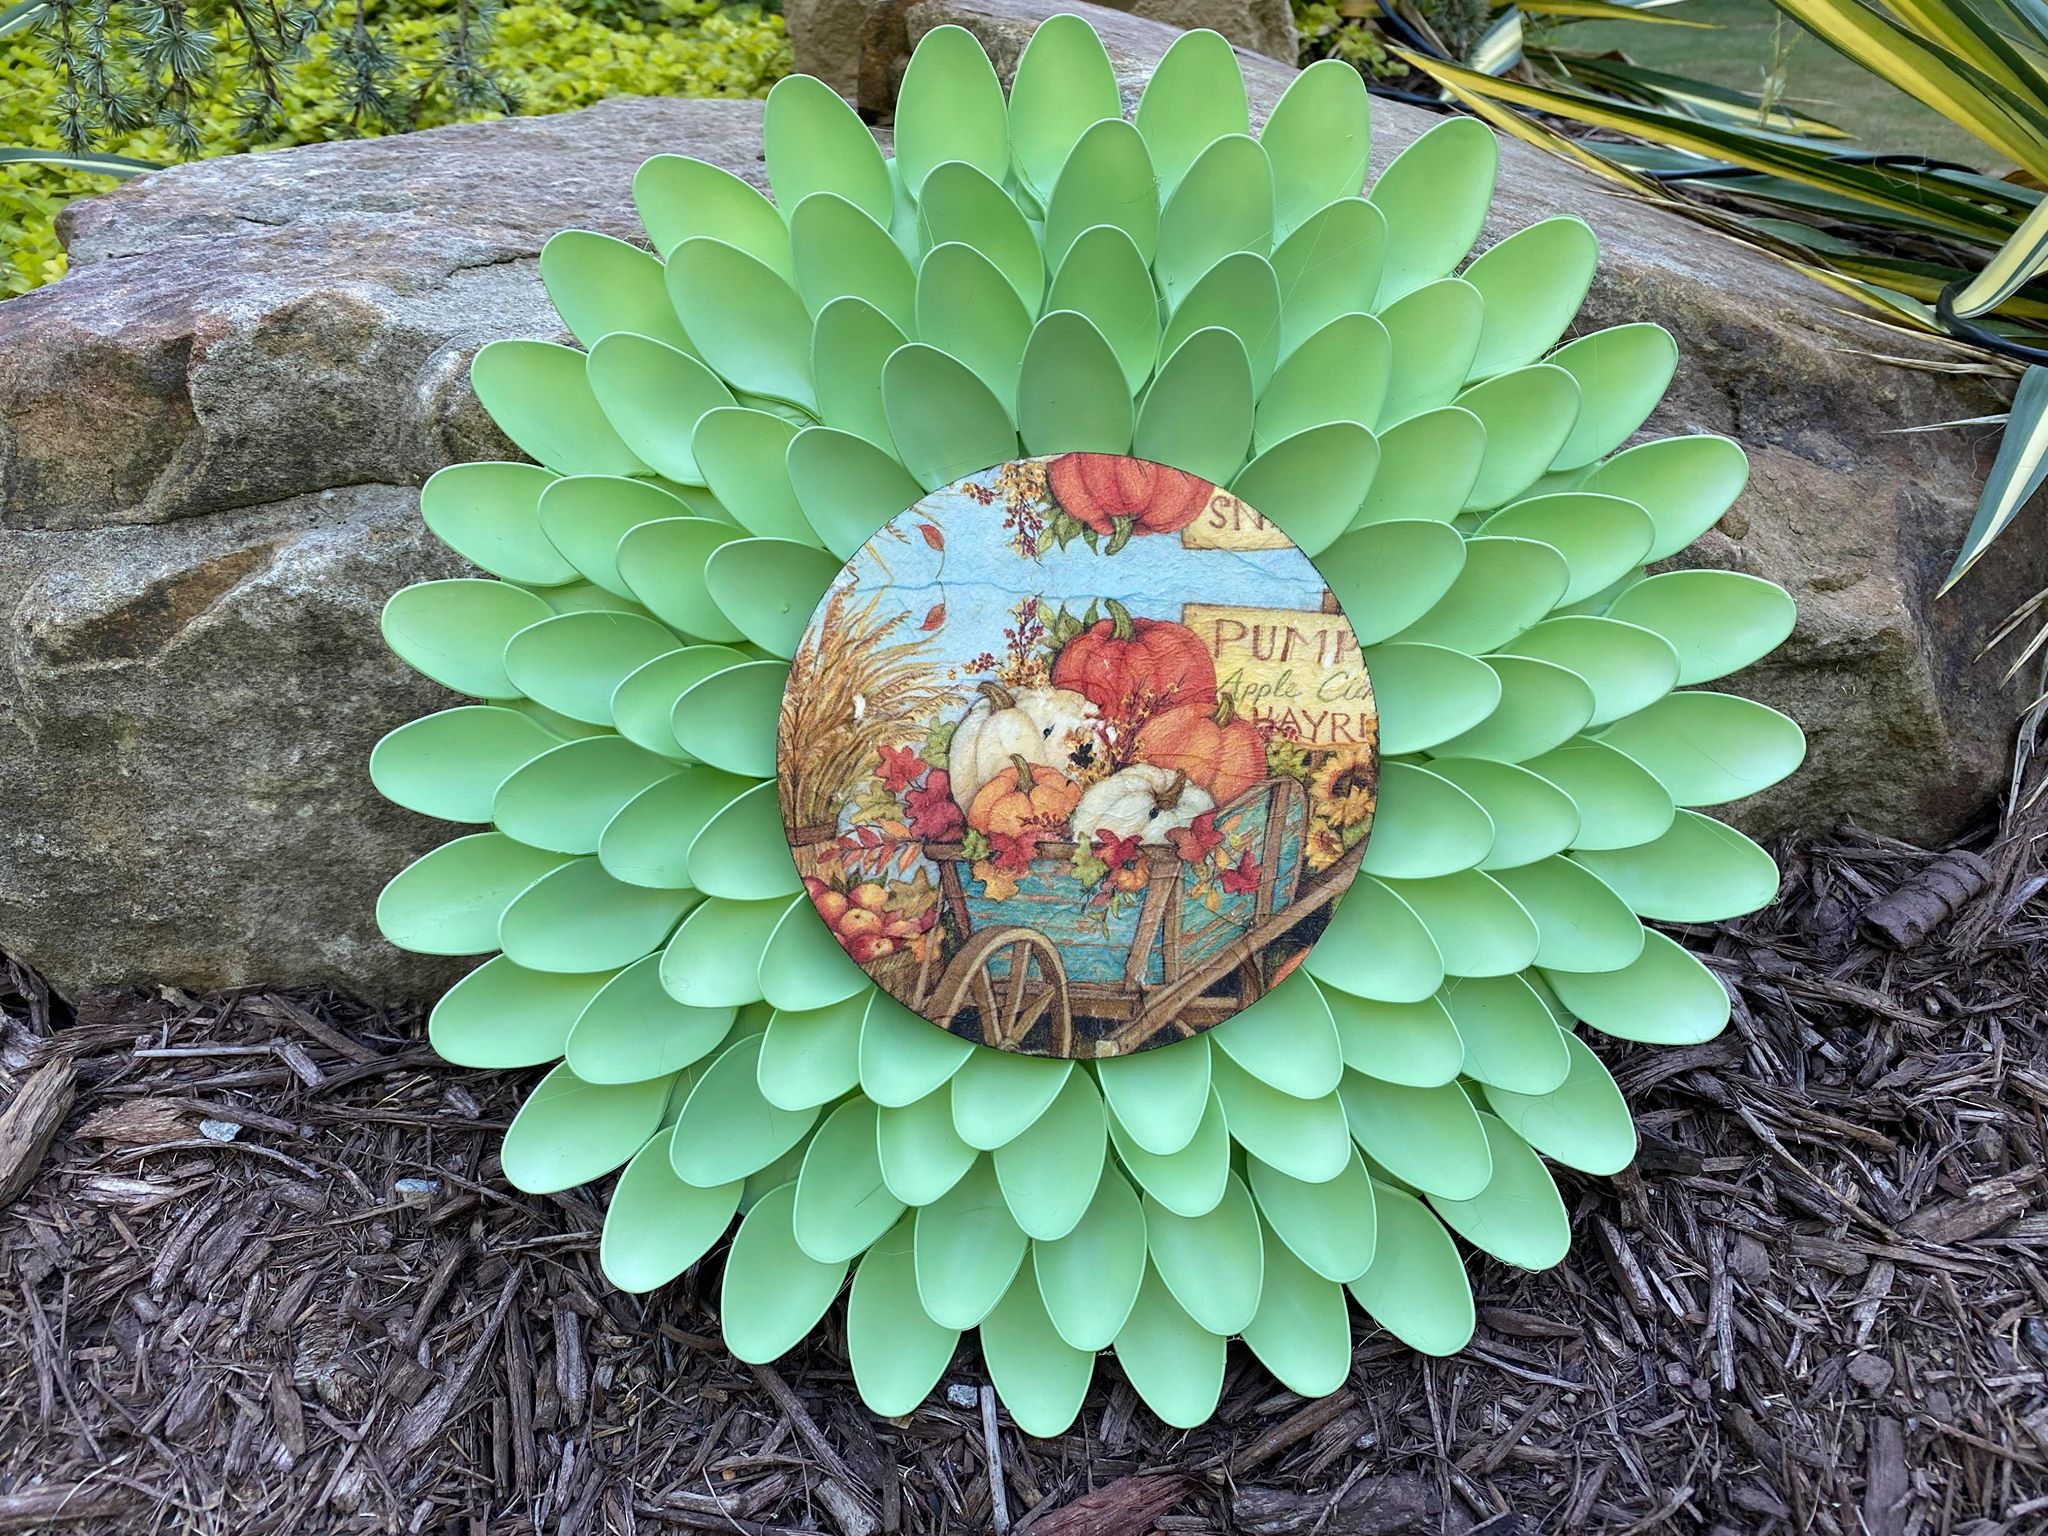
We do so many crafts here at The Shabby Tree and I wanted to create some fun and unique wreaths. We made a fun flower out of plastic spoons a while back and I wanted to see if we could create a wreath using plastic spoons. I love decorating and I think this wreath can either be created for all holidays or just an everyday wreath.
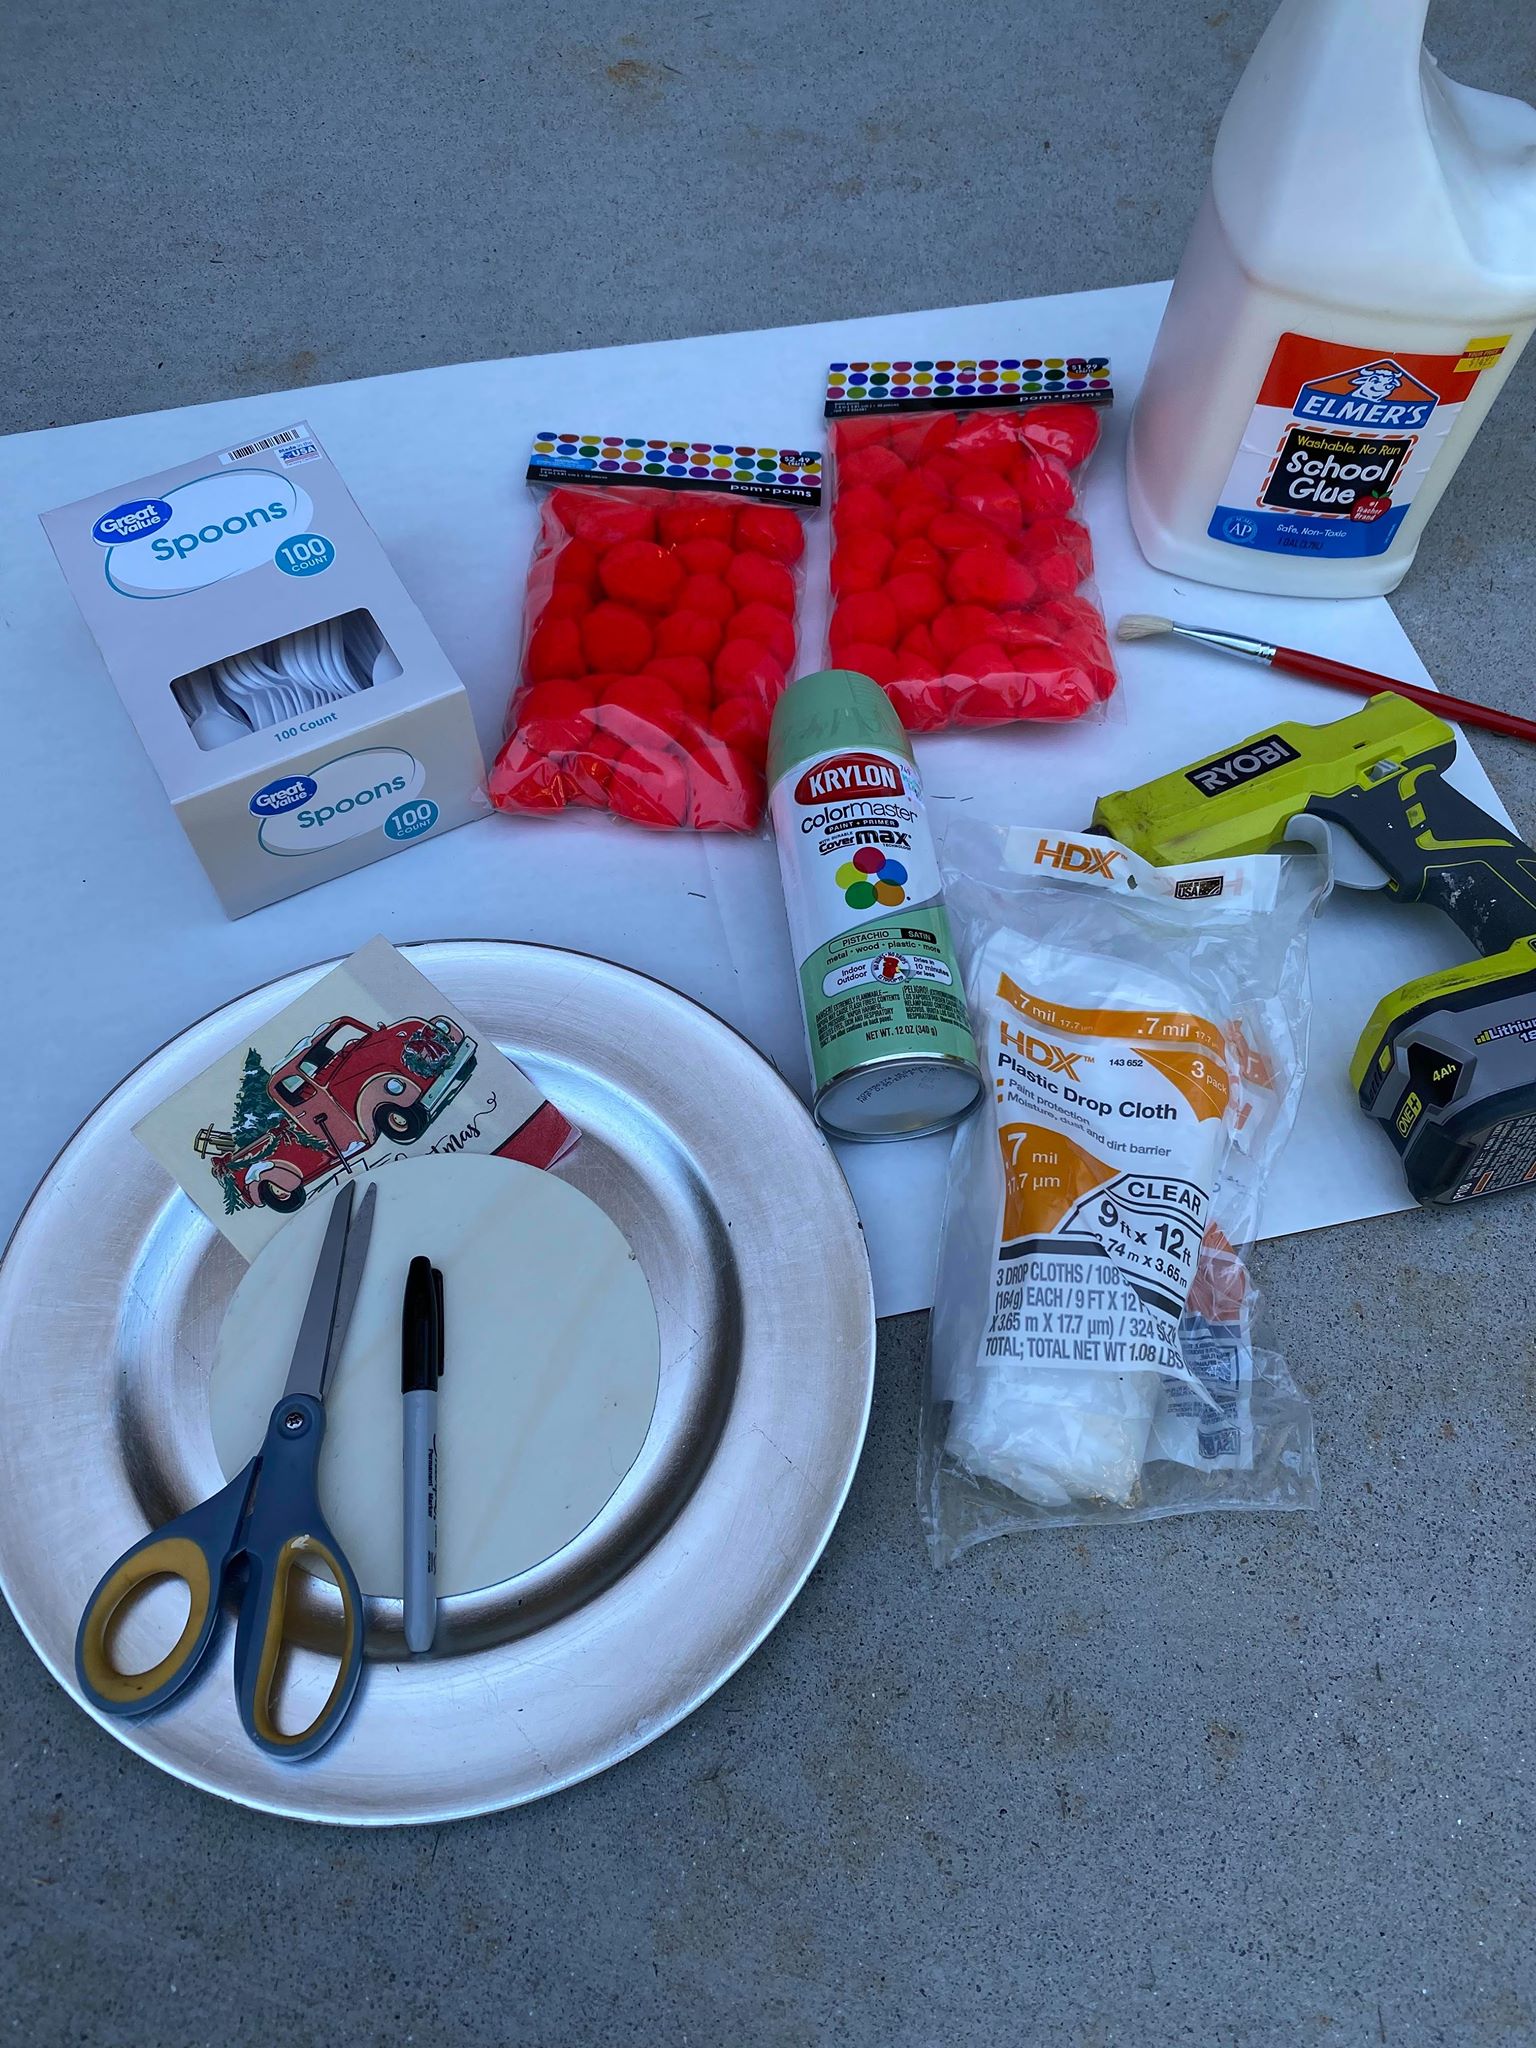
The supplies you will need are:
1. A piece of cardboard
2. A plate or something to trace your circle for your wreath
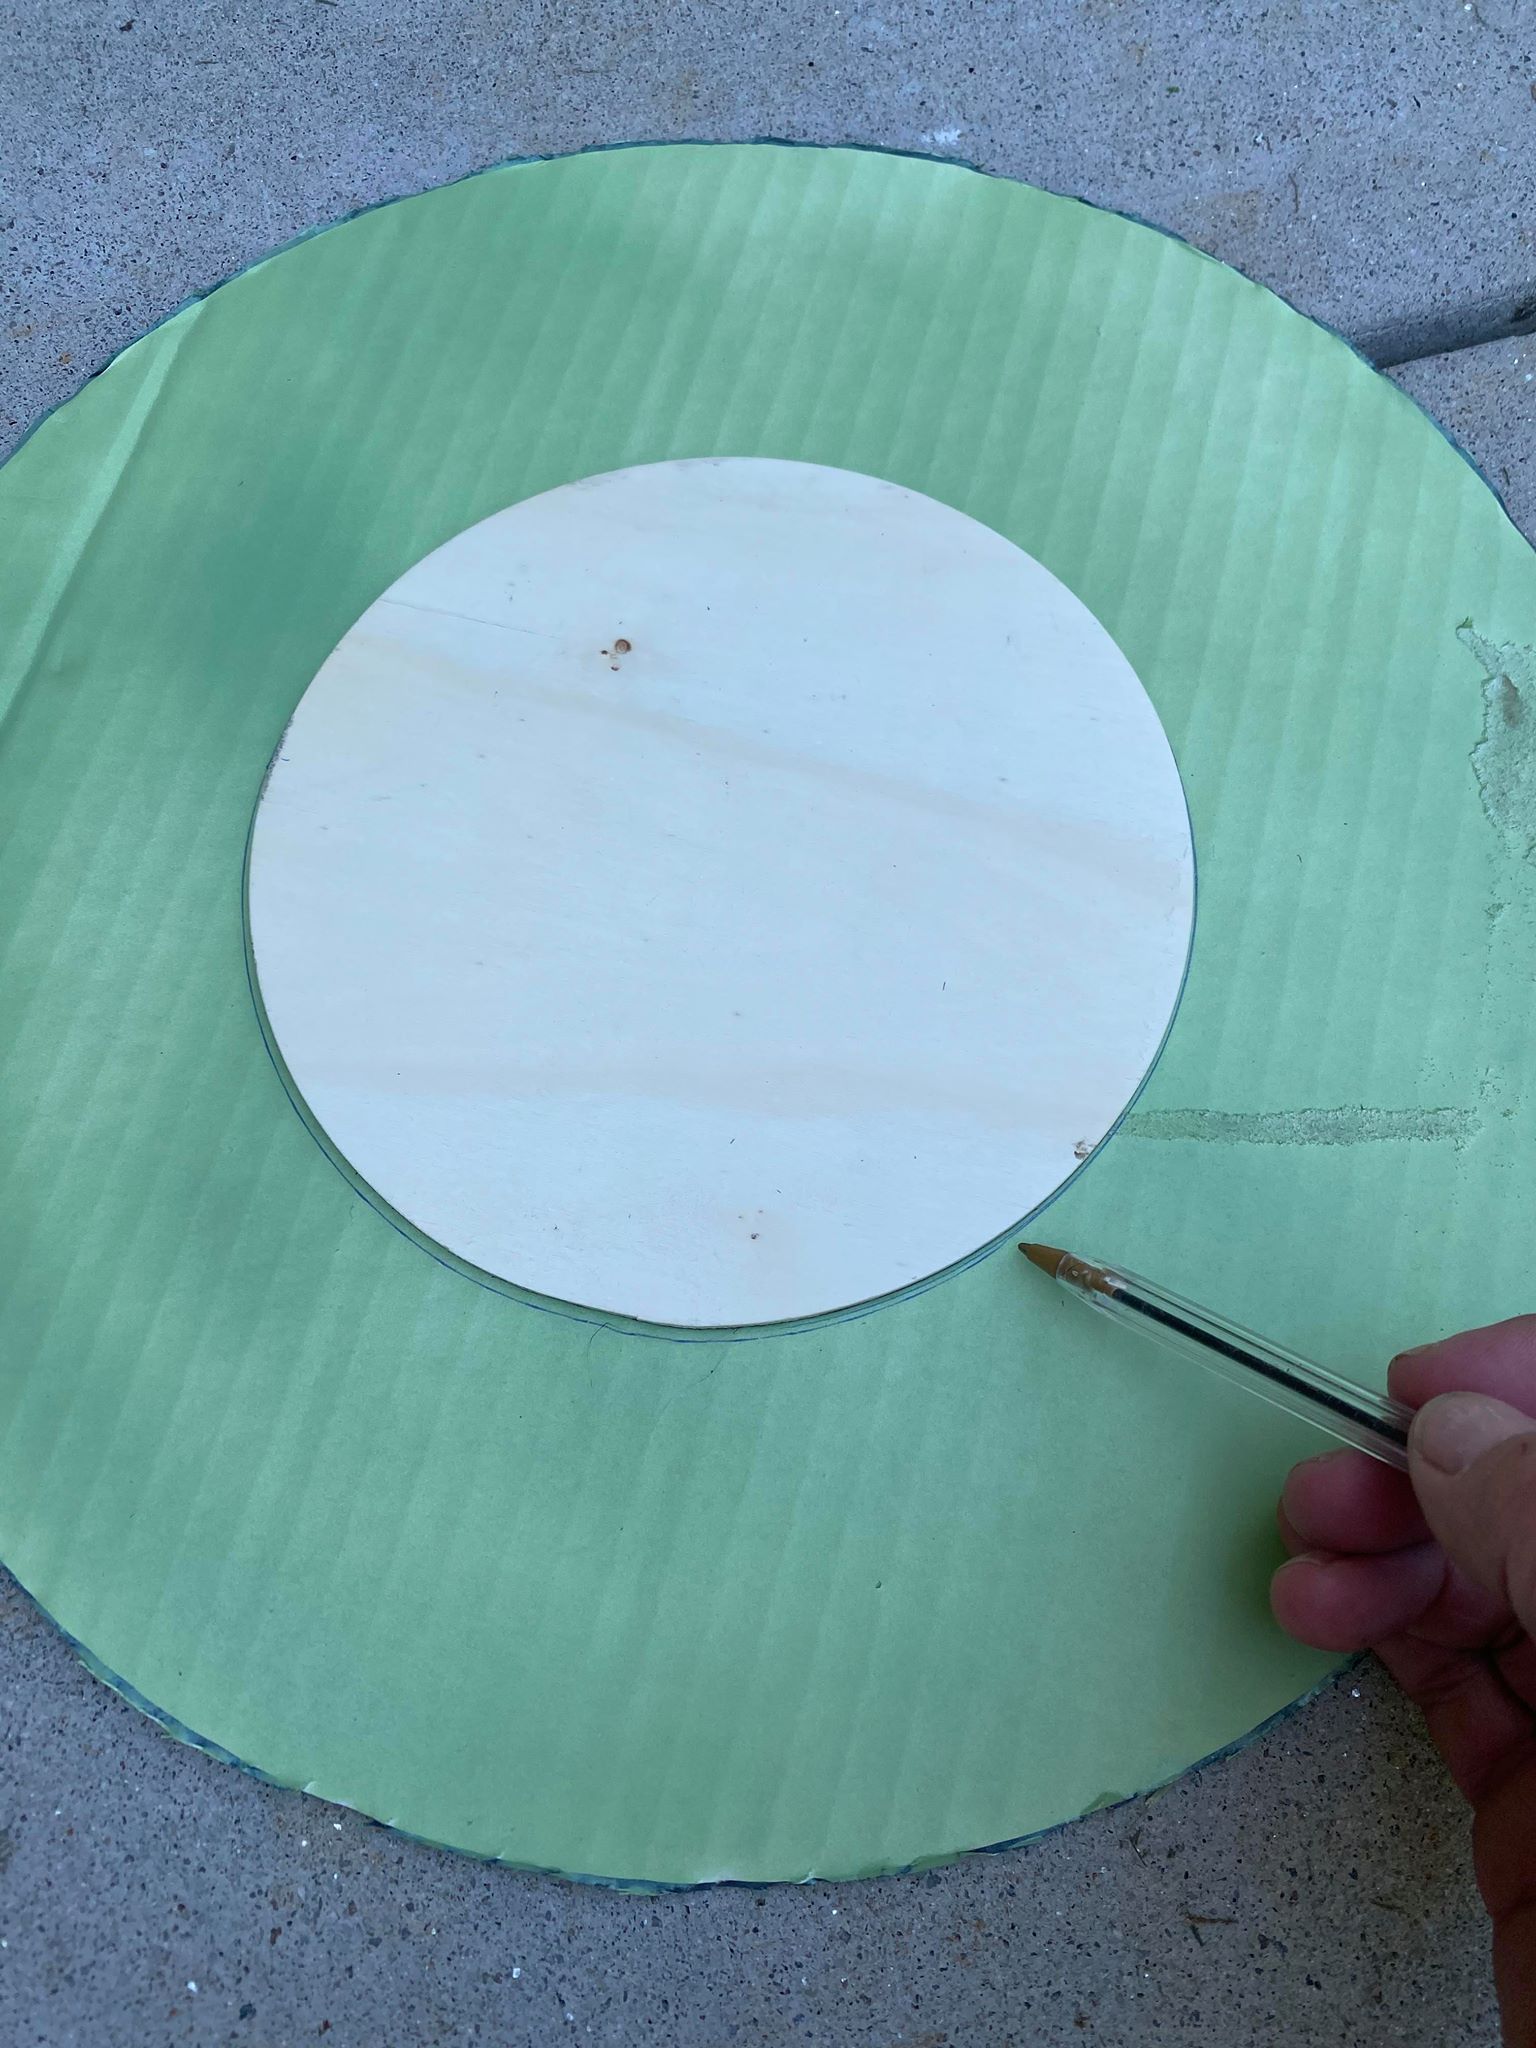
3. Wooden disc (I bought my wooden disc from Hobby Lobby and it is a 61/2 inch diameter)
4. Scissors
5. Hot glue
6. Plastic spoons
7. Elmer’s glue
8. Paint brush
9. Decorative napkin and pom poms
10. Spray paint and plastic drop cloth
11. Marker
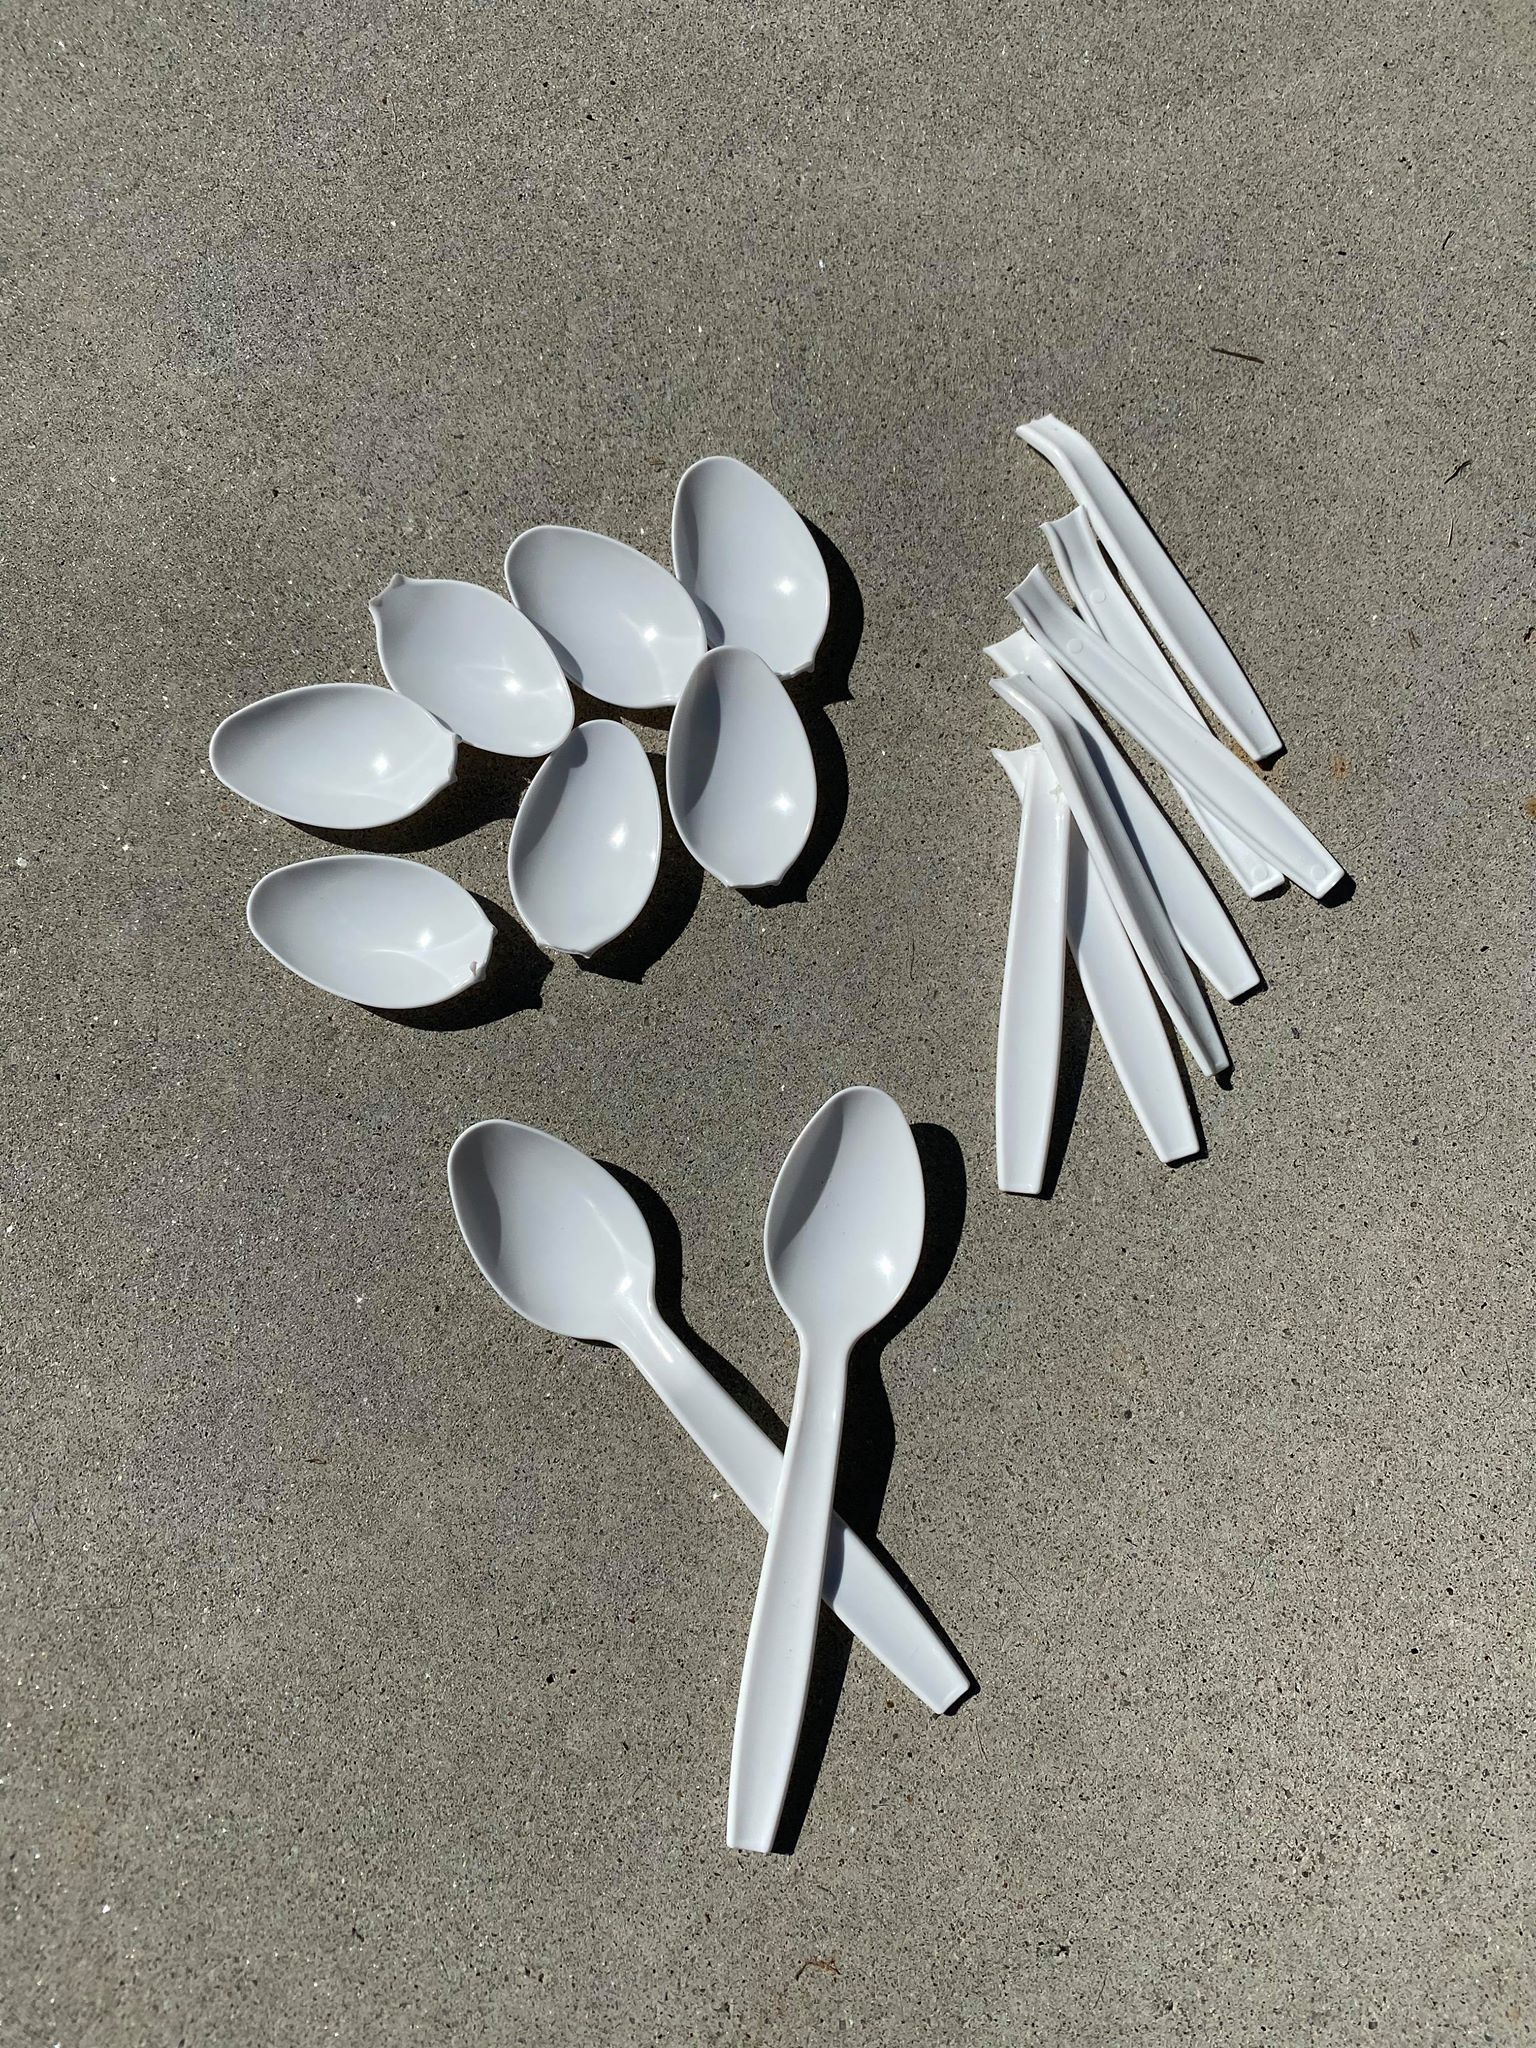
The first step is to break the tip of your spoons off. I am using my hands and snapping the end of the spoon off but you could also use clippers to cut it off.
This wreath is easier to make if you cut the handle of the spoon off as low as you can.
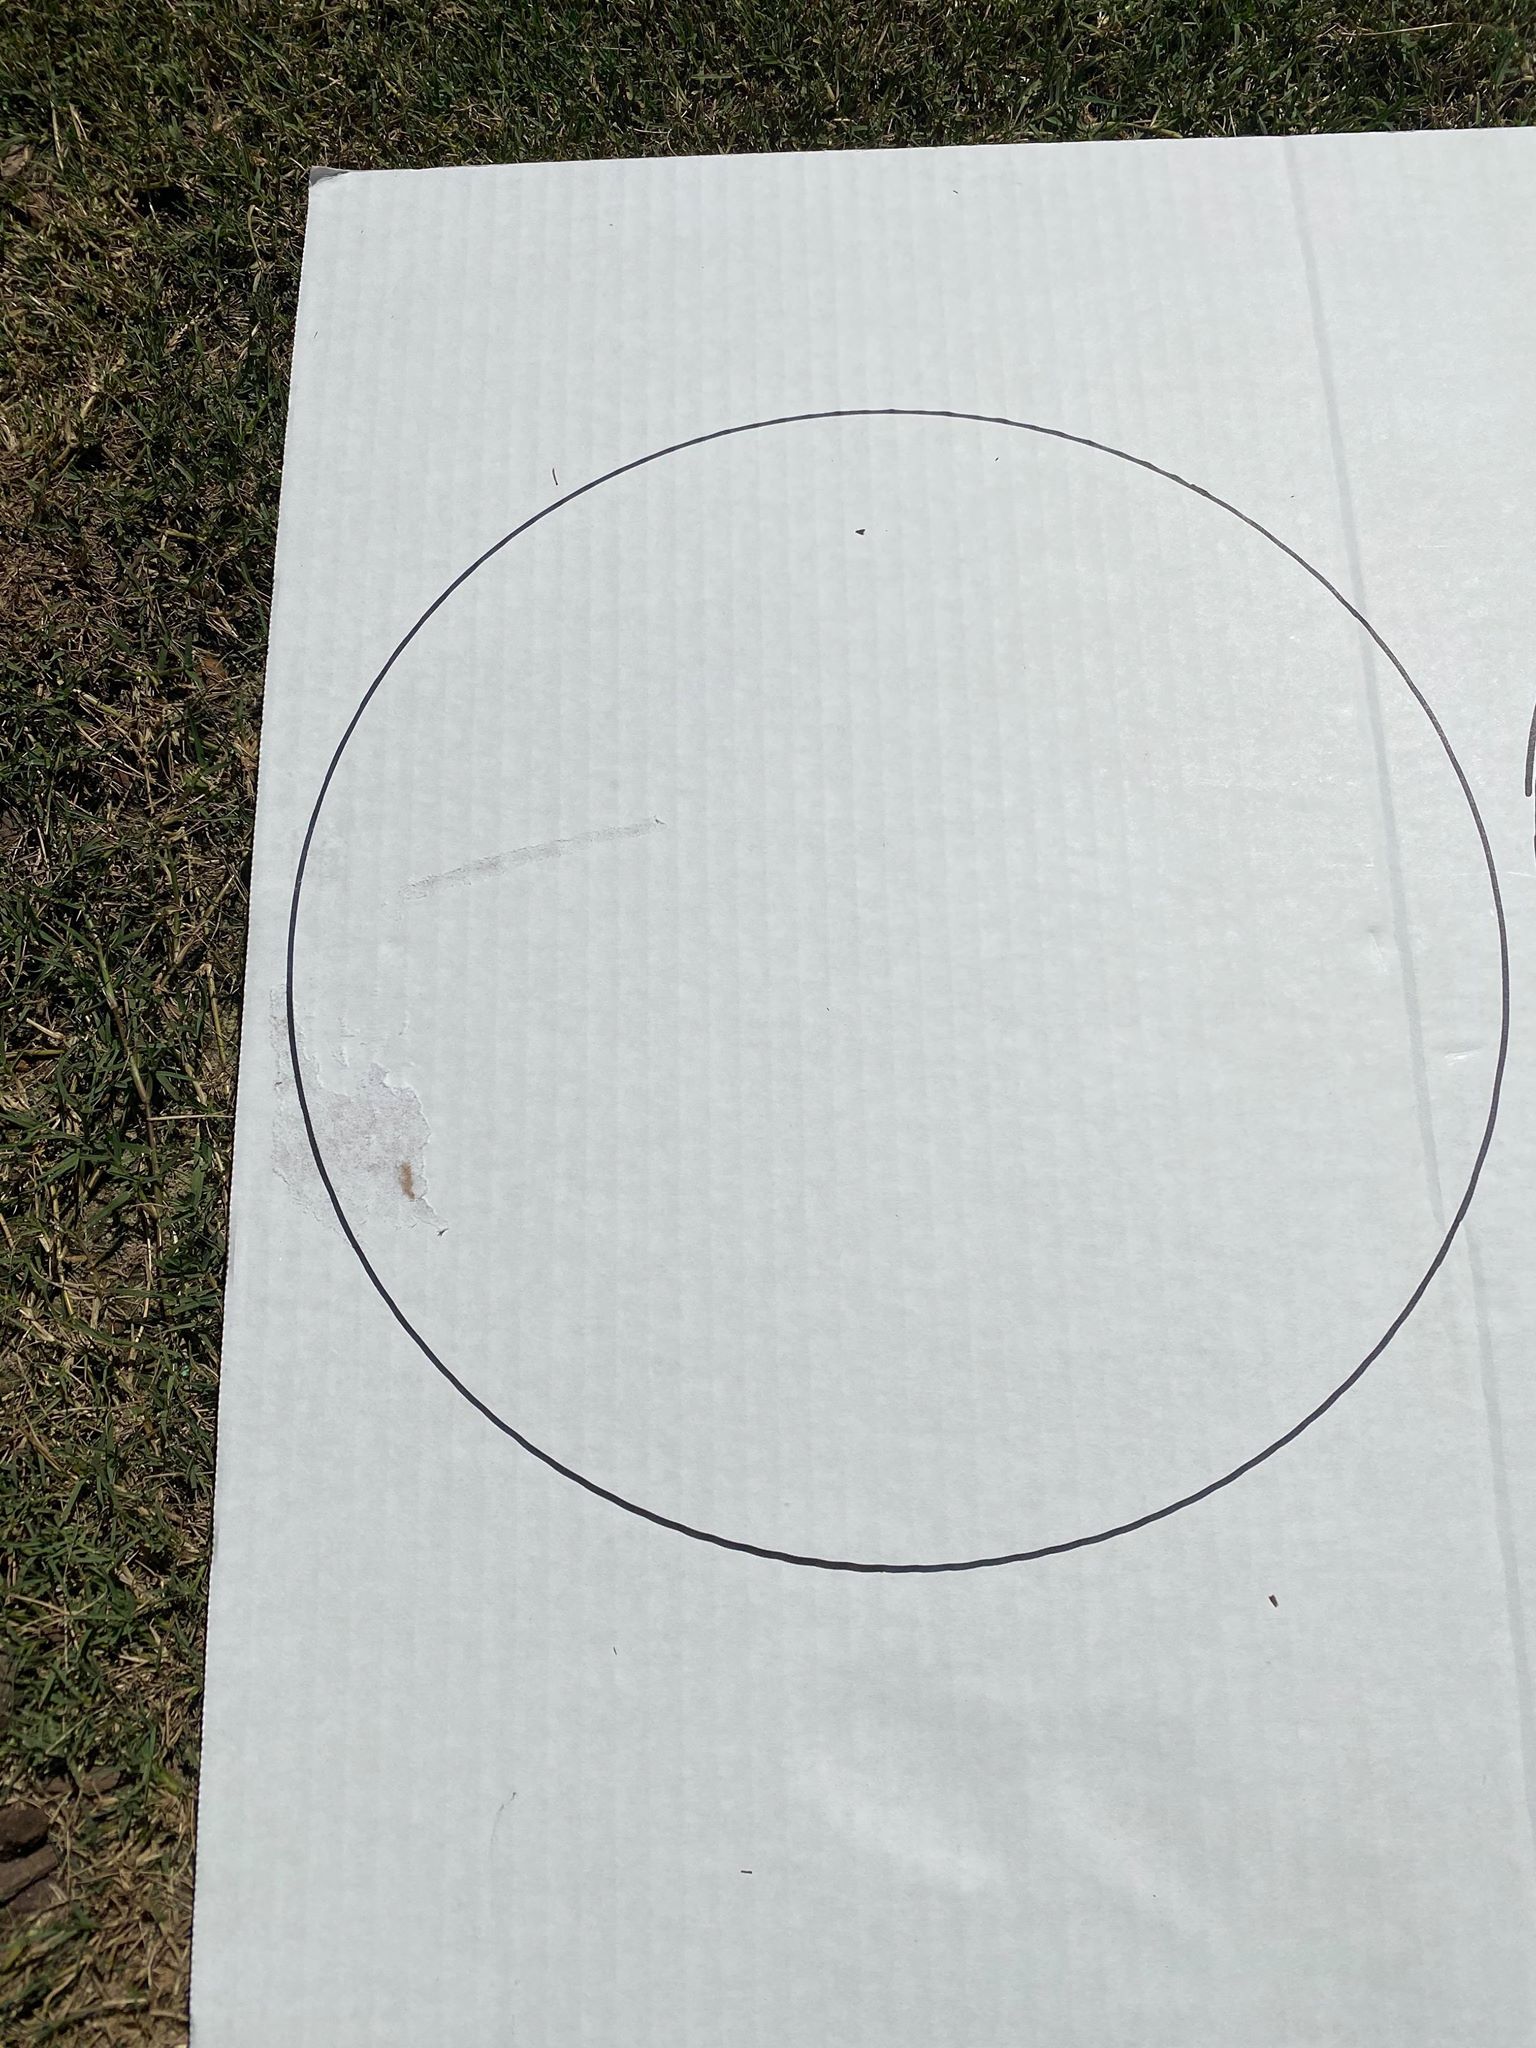
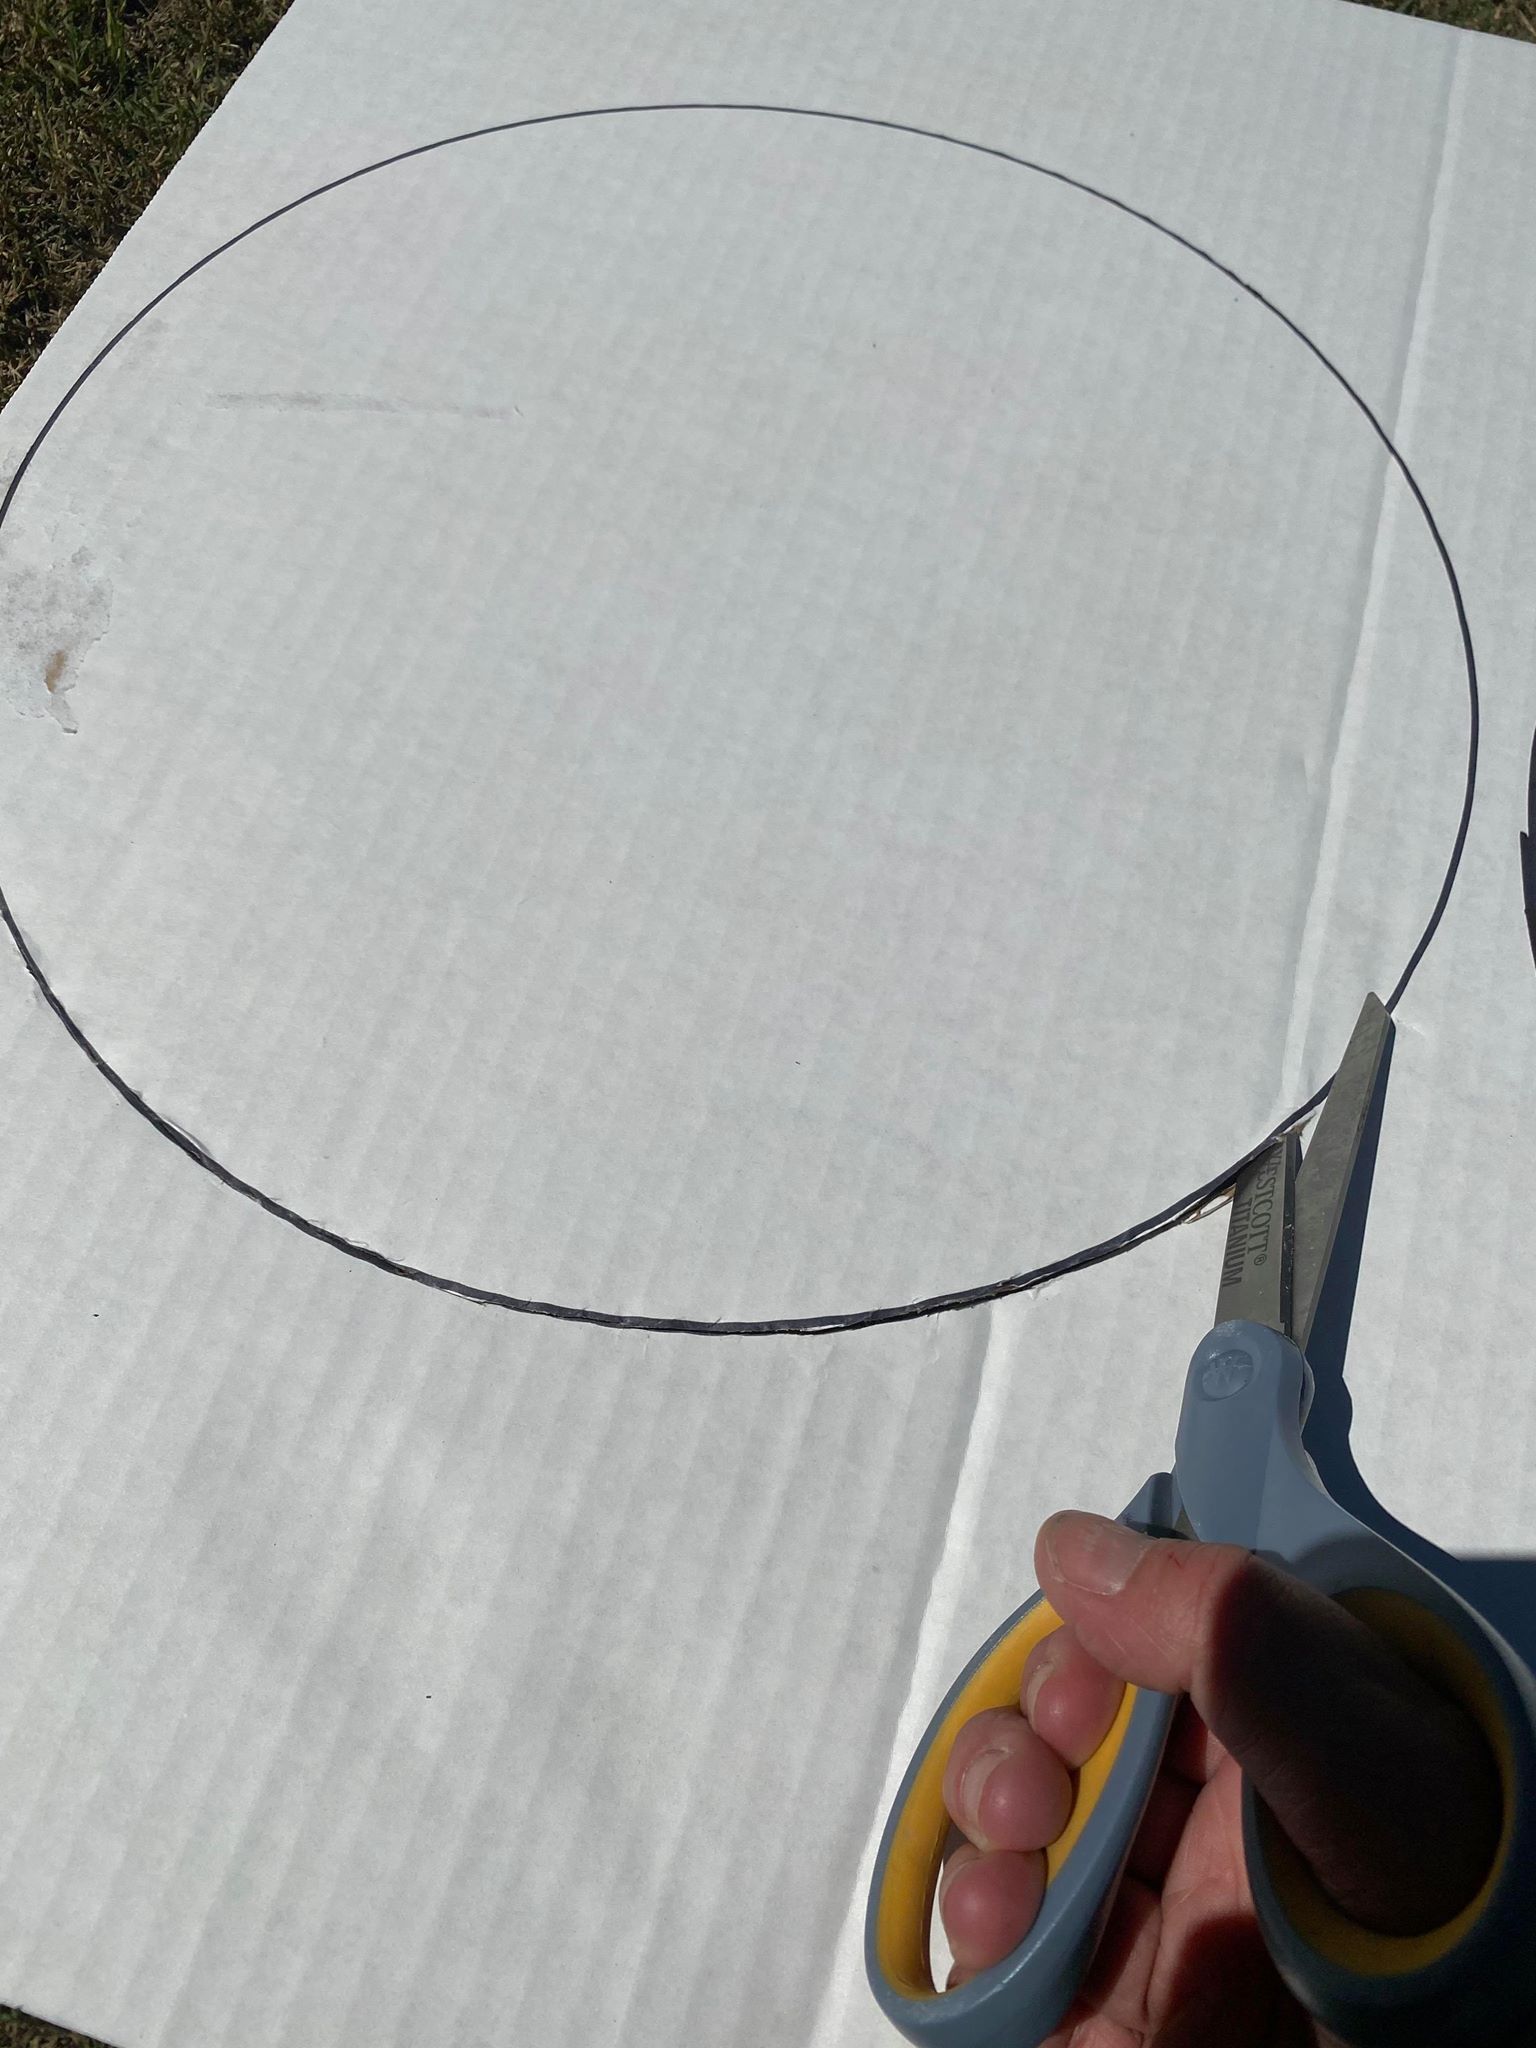
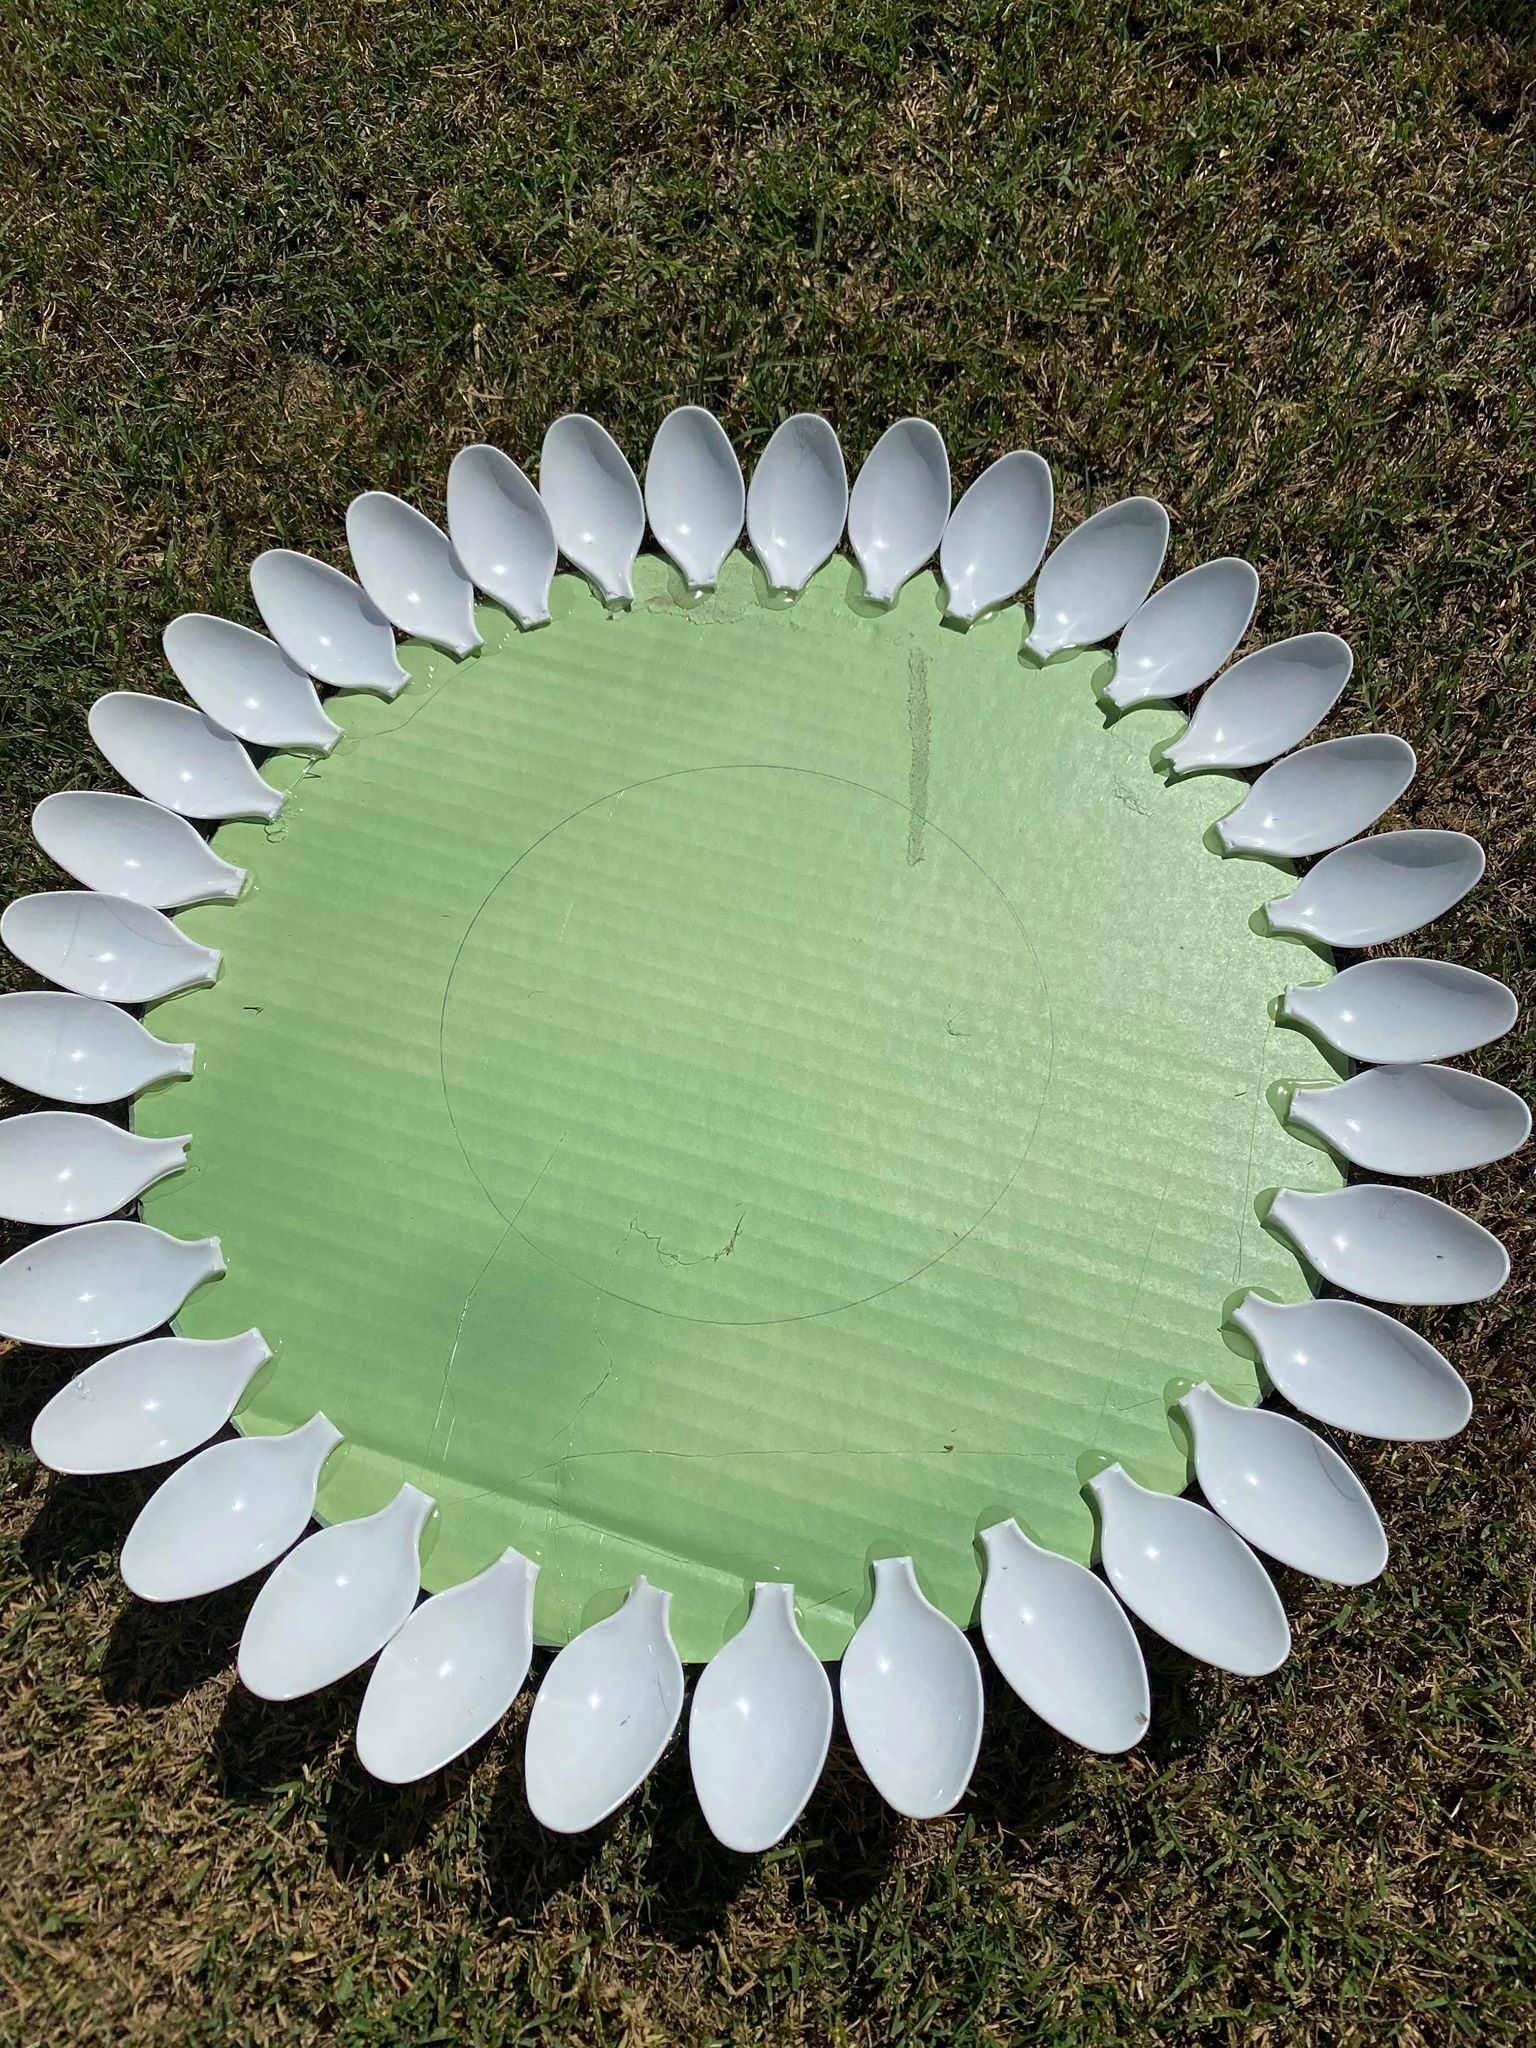
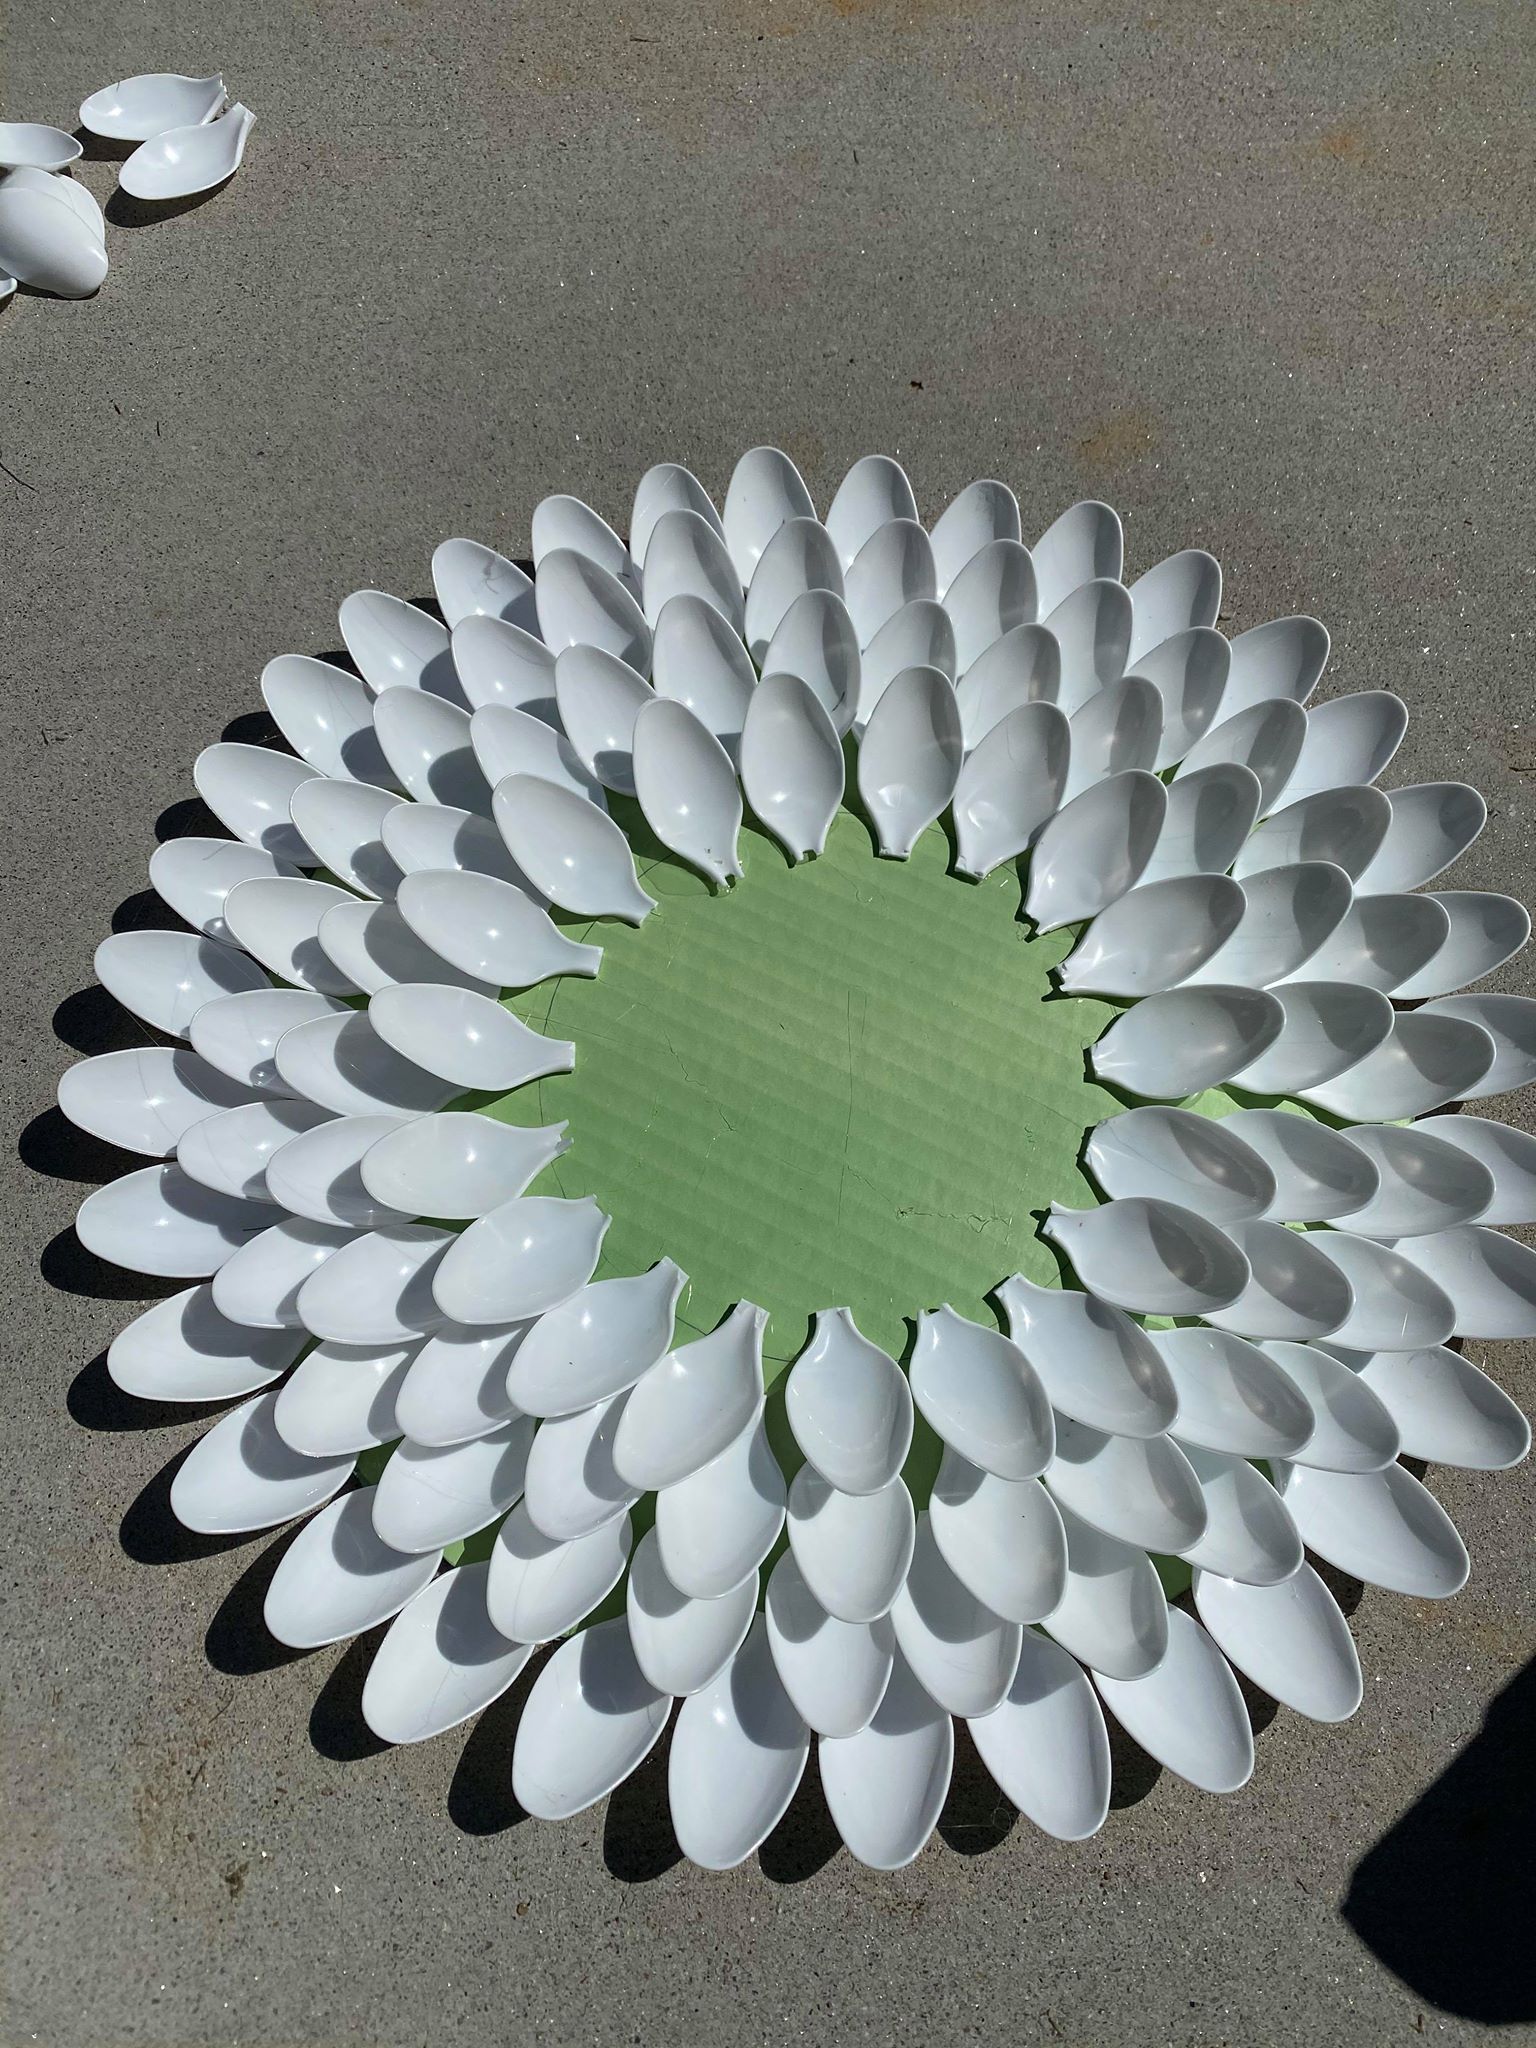
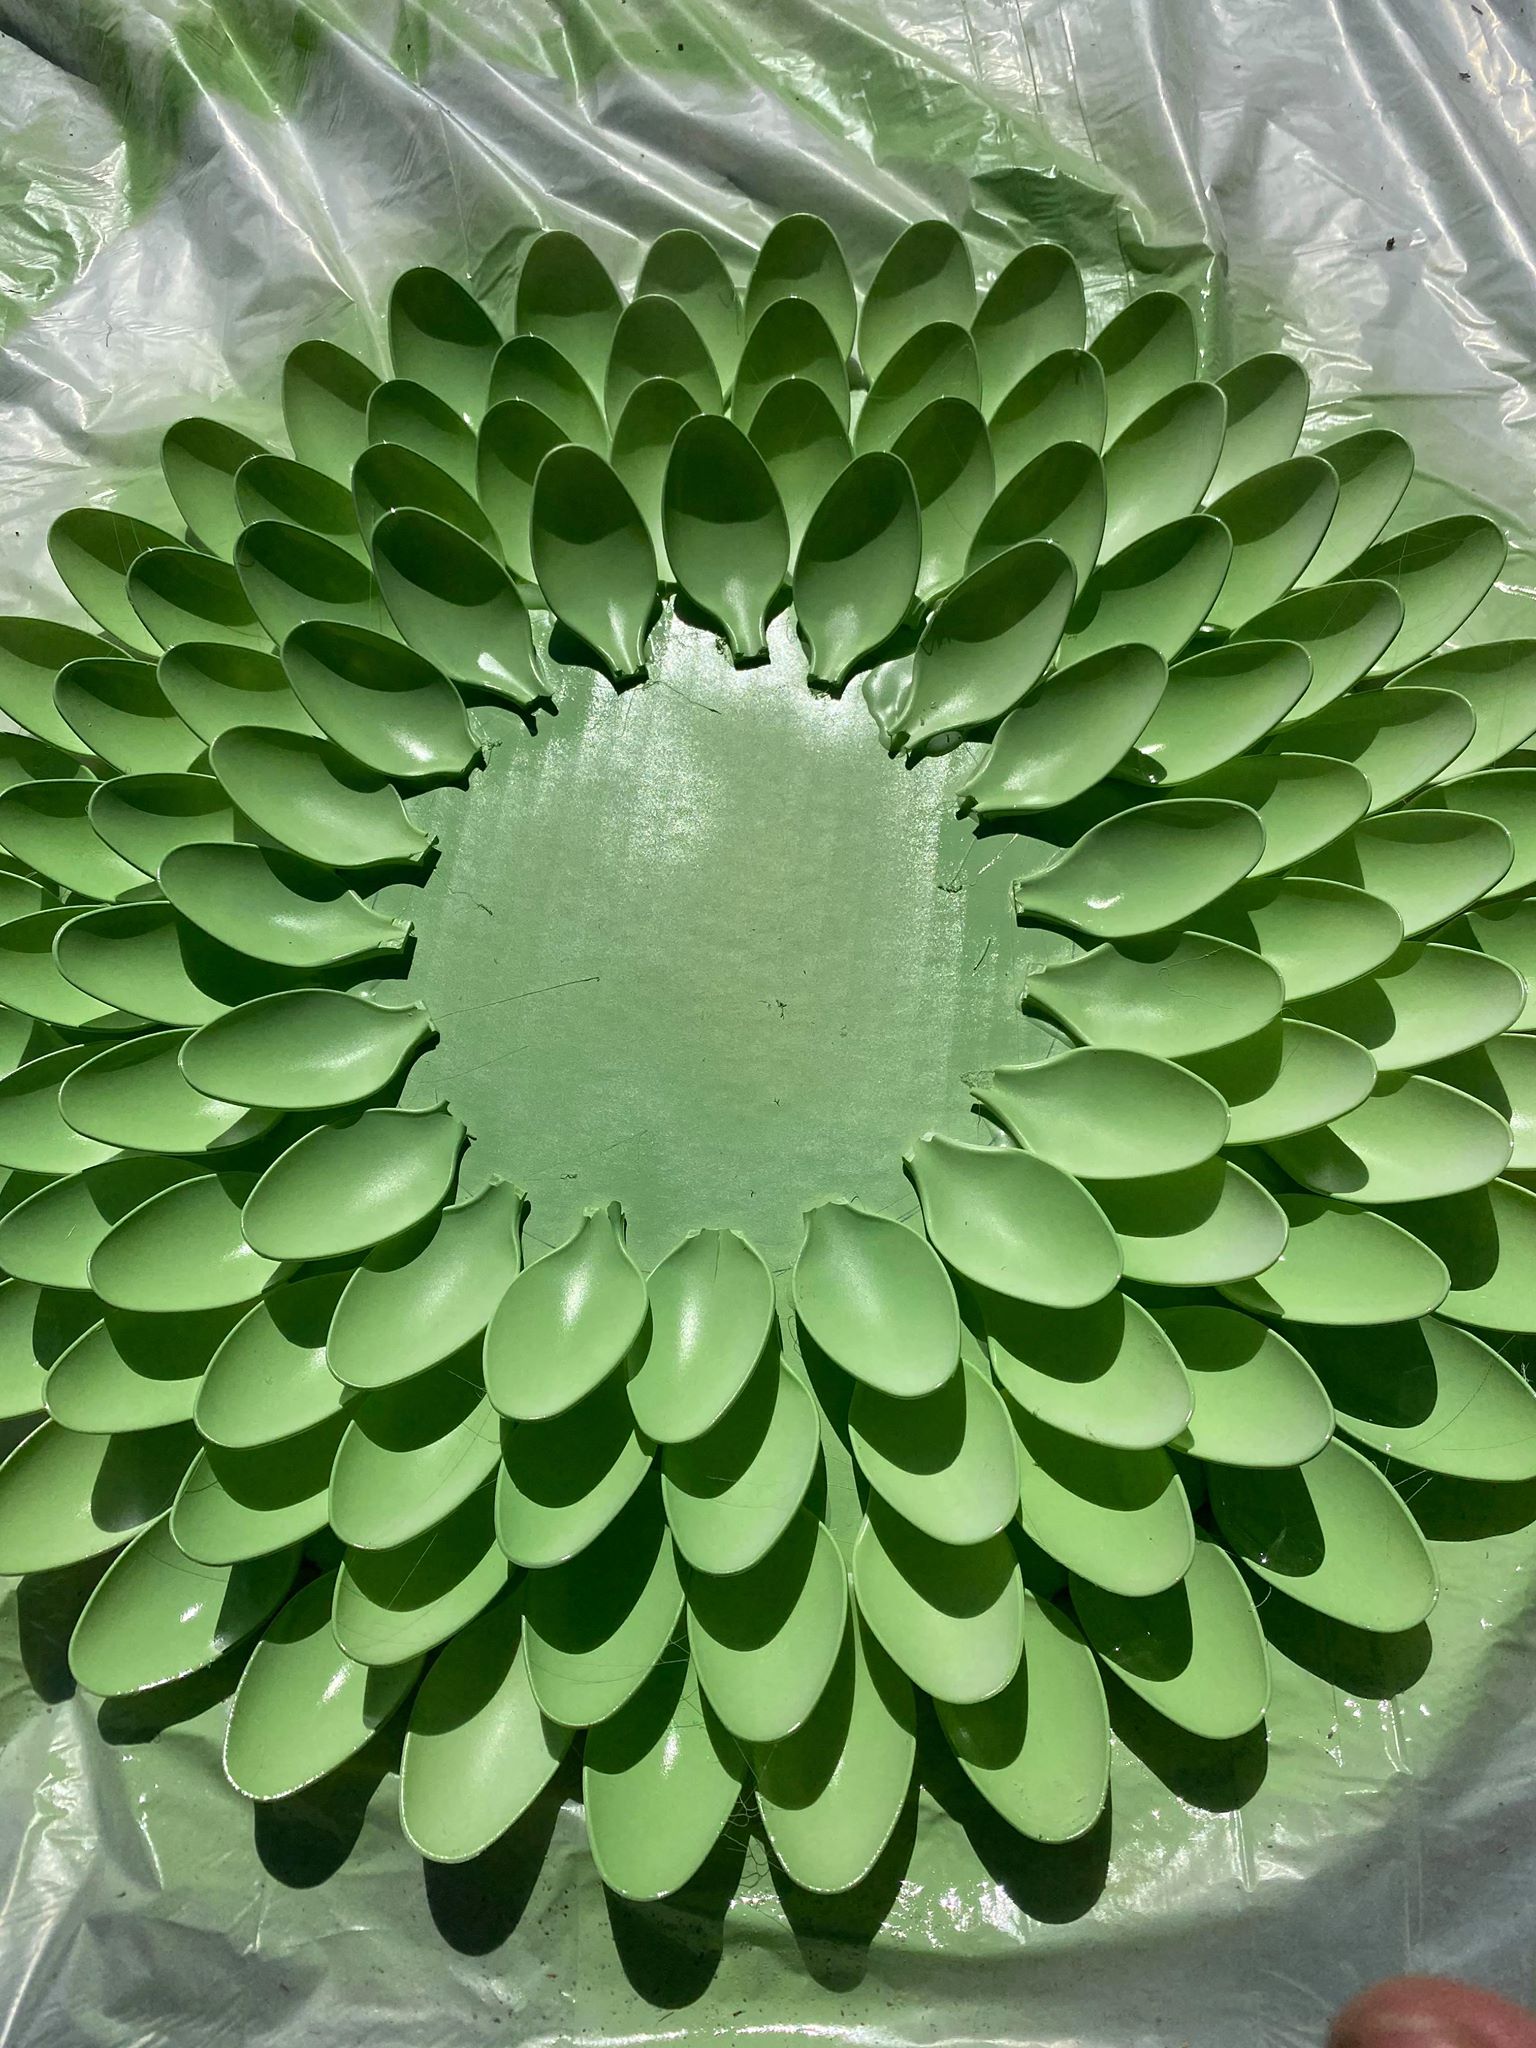
I am using 106 spoons for this particular wreath. Once my spoons are all broke apart I then cut out my cardboard.

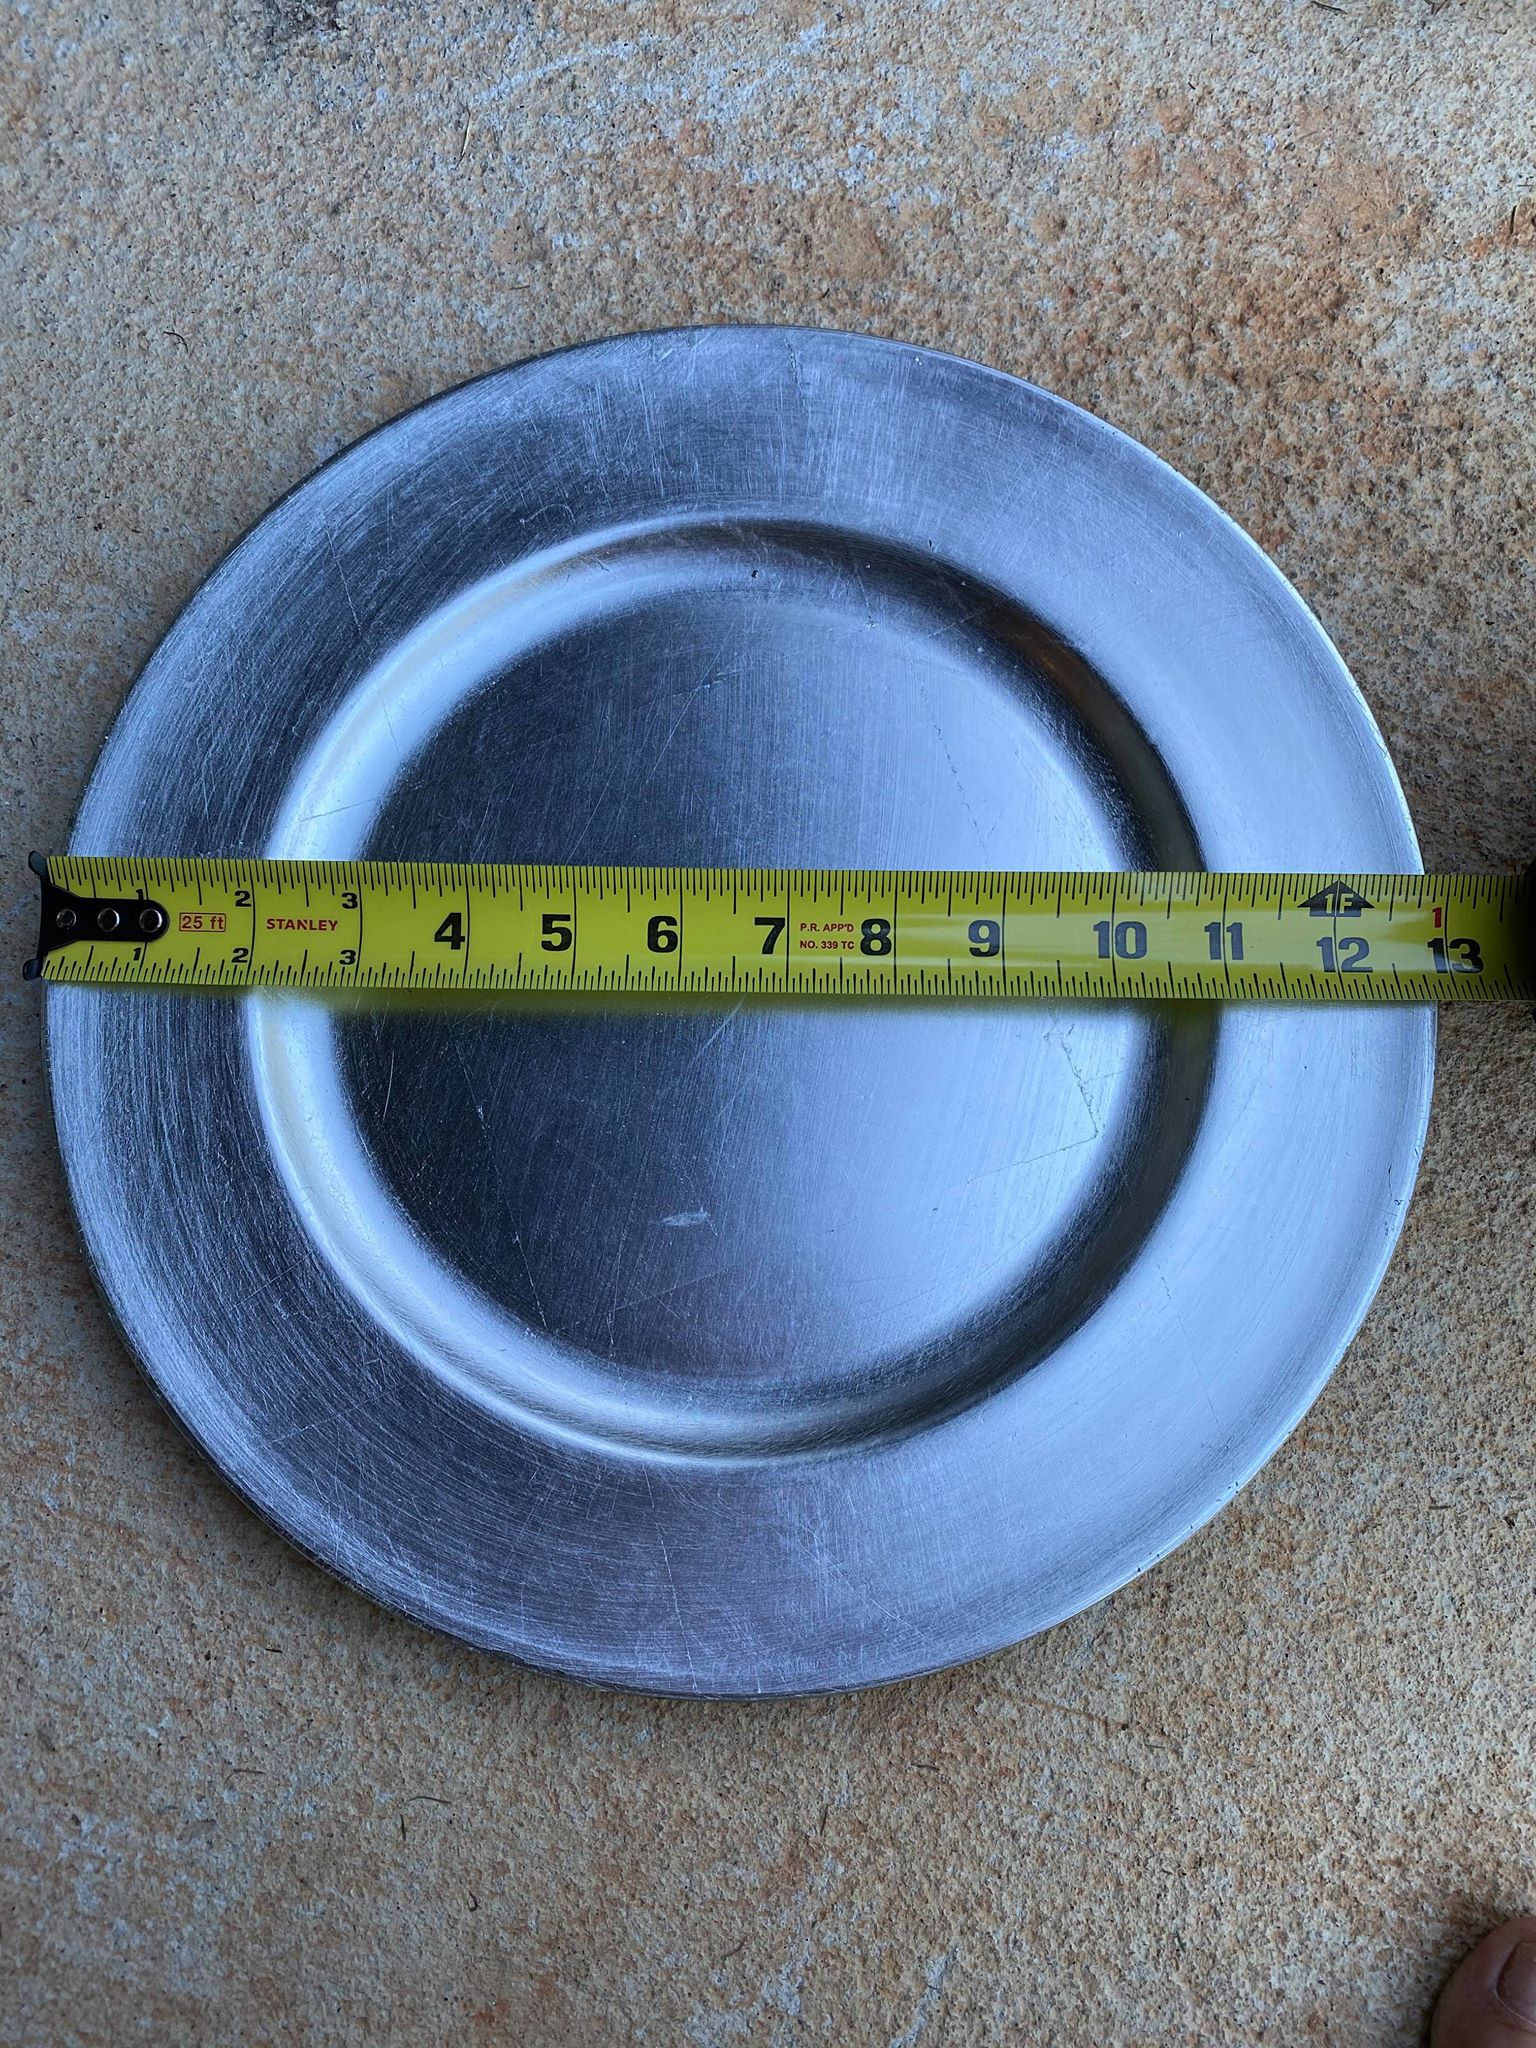
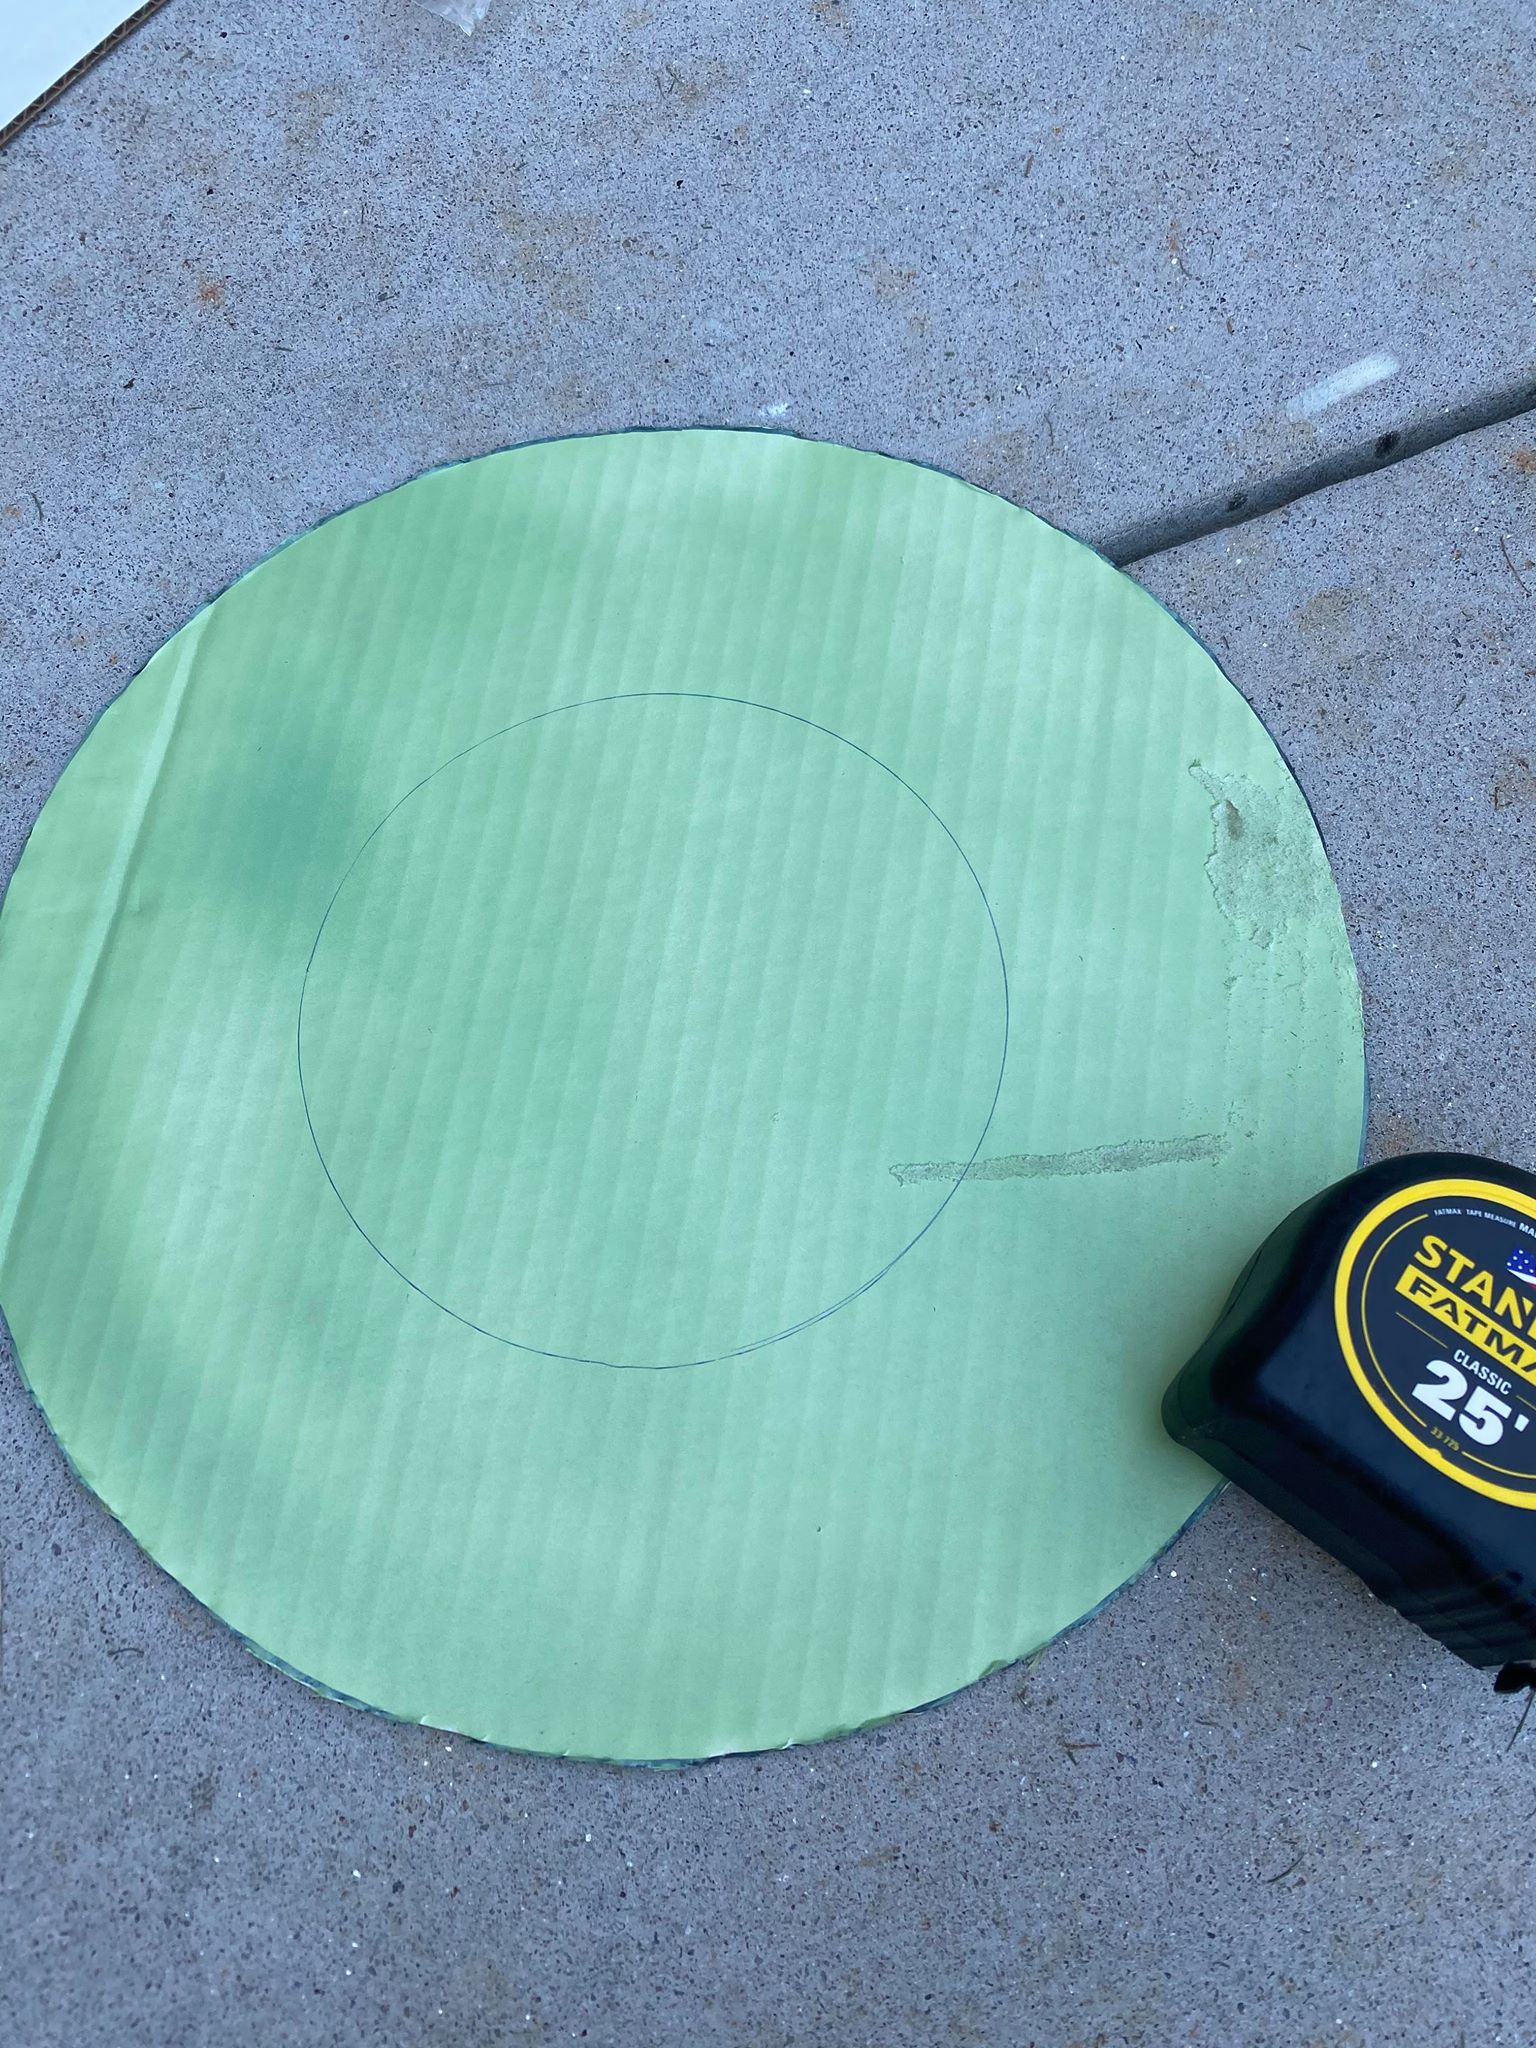
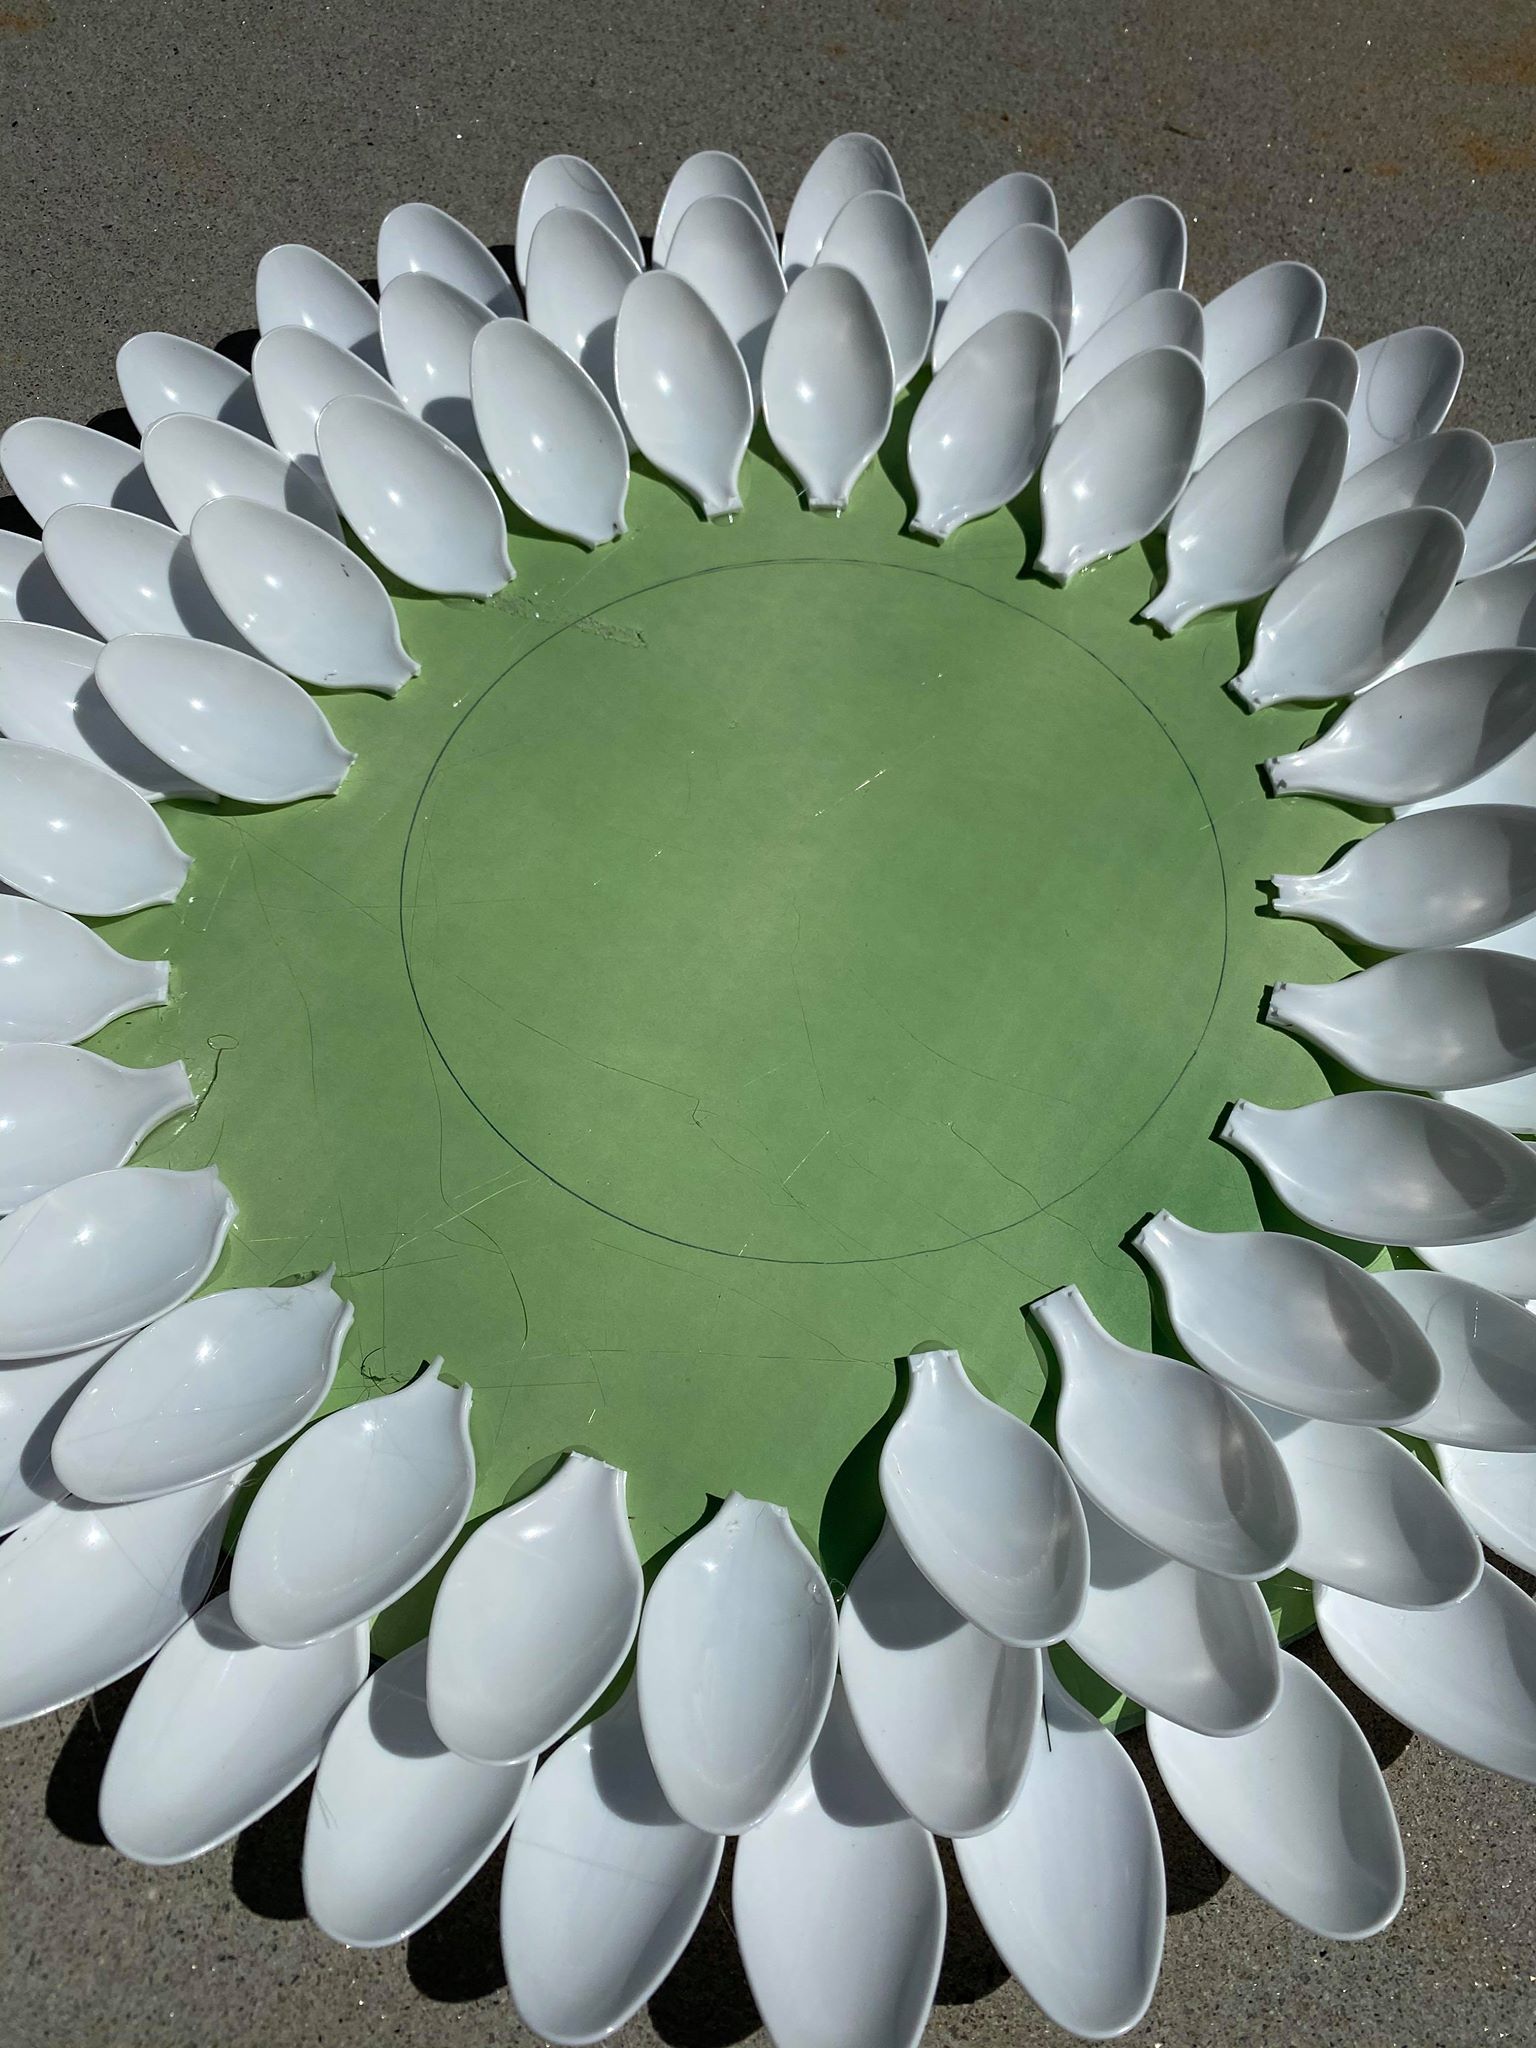
I am tracing a plastic charger plate onto my cardboard. This cardboard circle is what I will be glueing the spoons onto. The plastic charger plate I am using is 13 inches across. You can make your circle as big or as small as you want. I am using this charger to trace my pattern because it was the perfect size for the wreath I want to create.
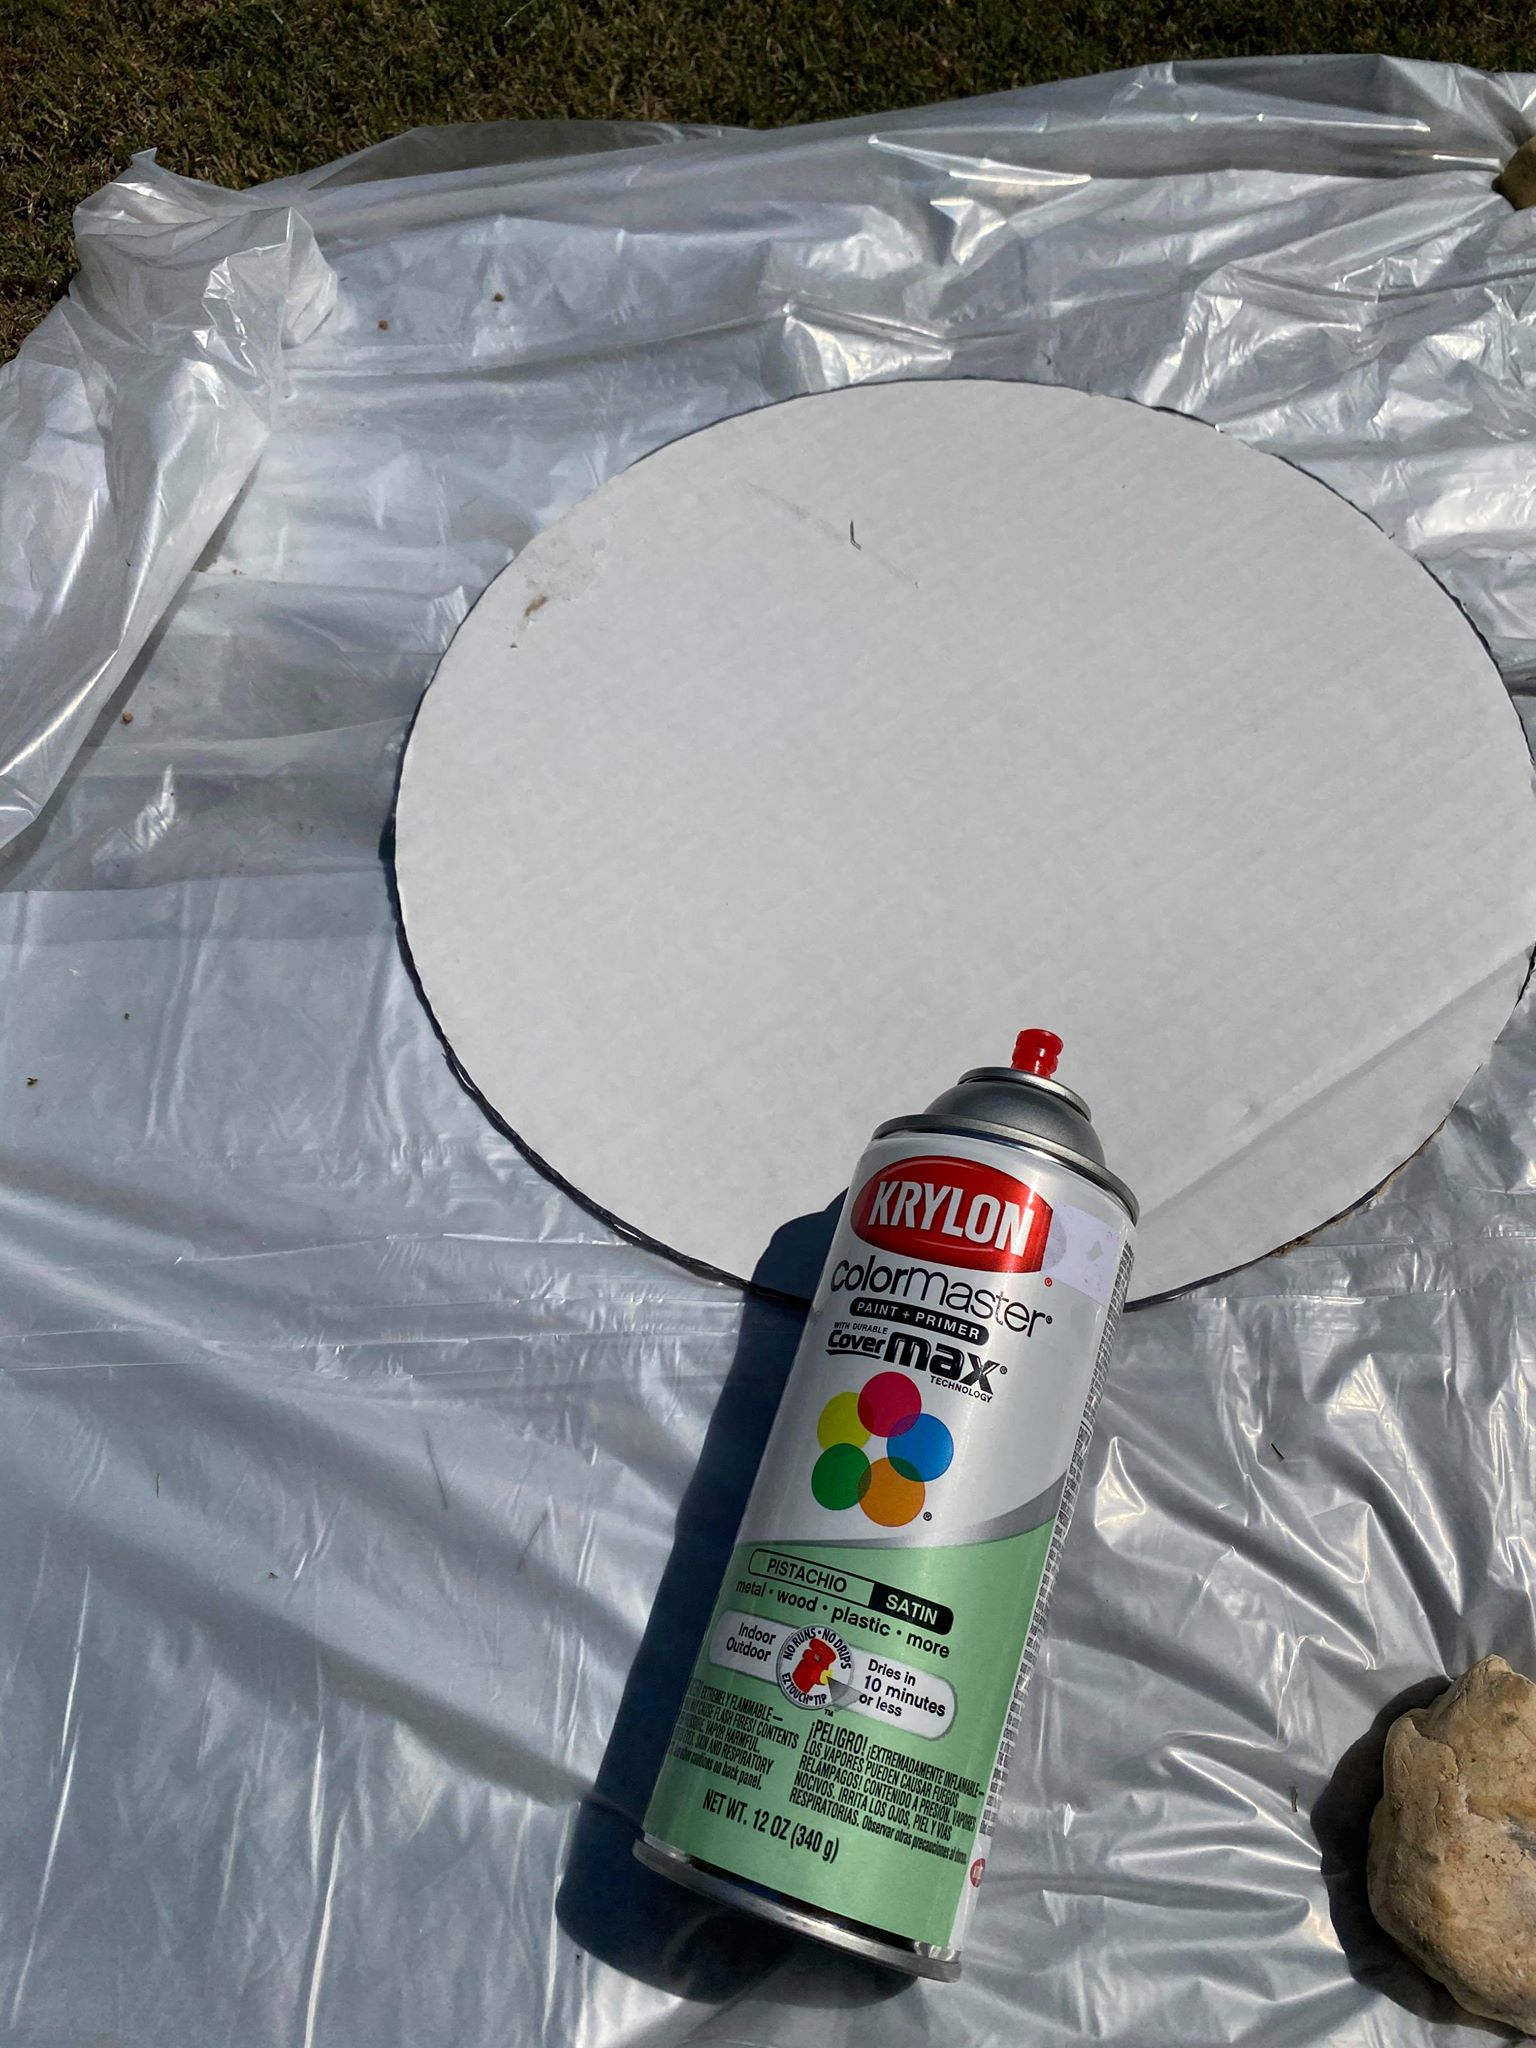
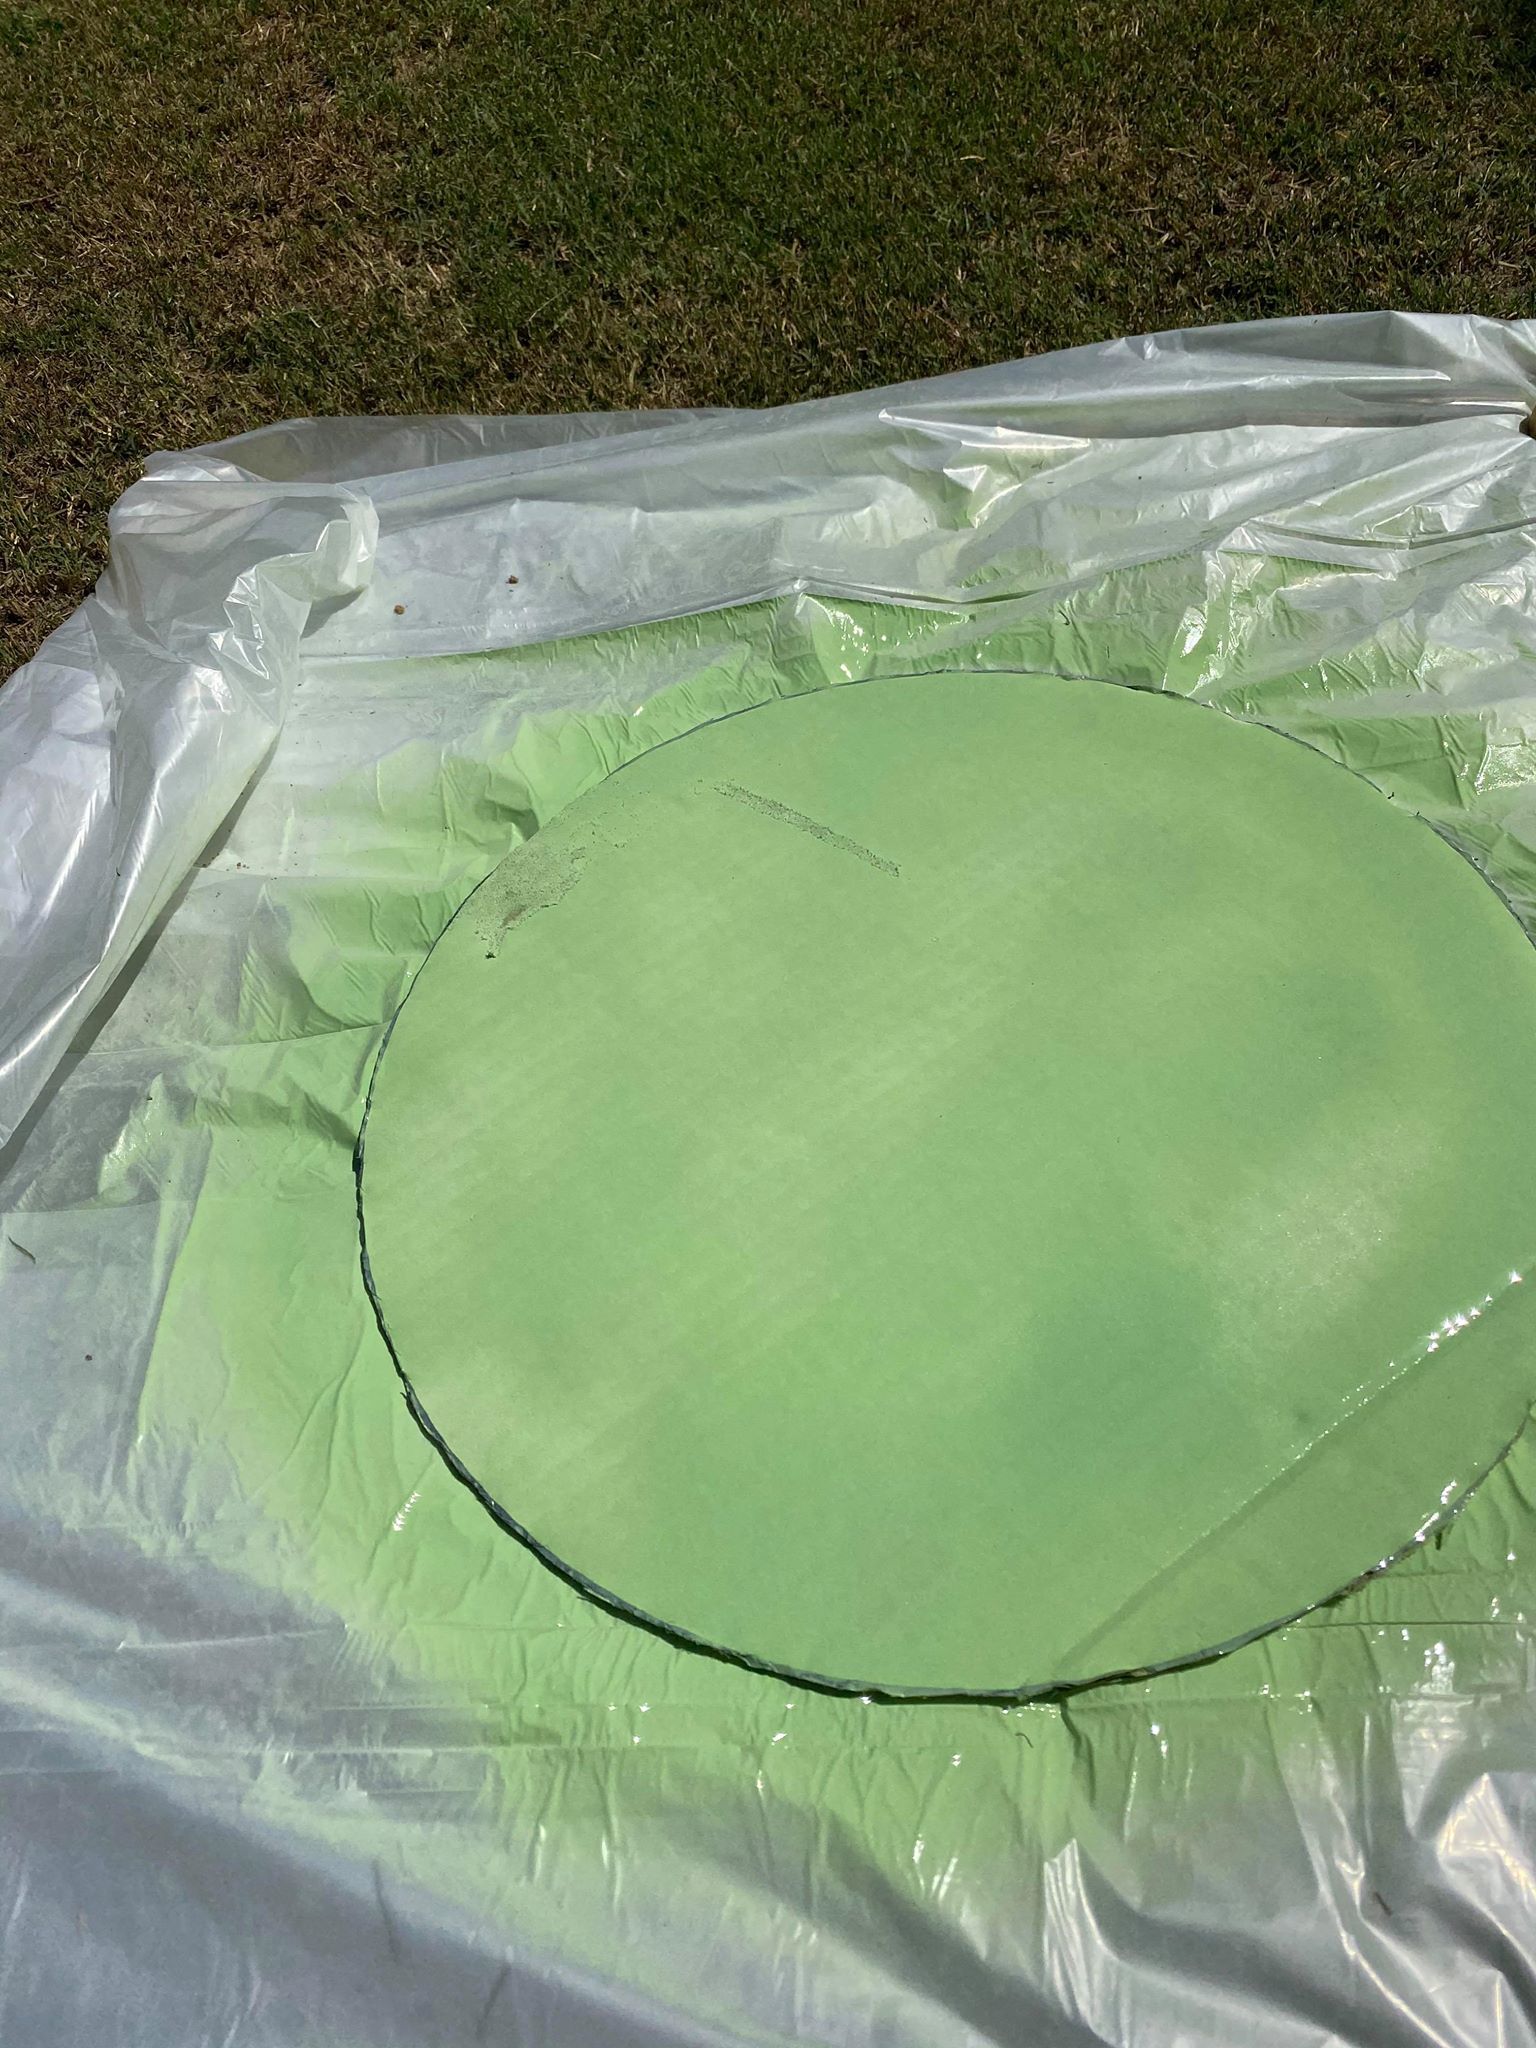
Once you have your cardboard circle cut out you will want to spray paint it.
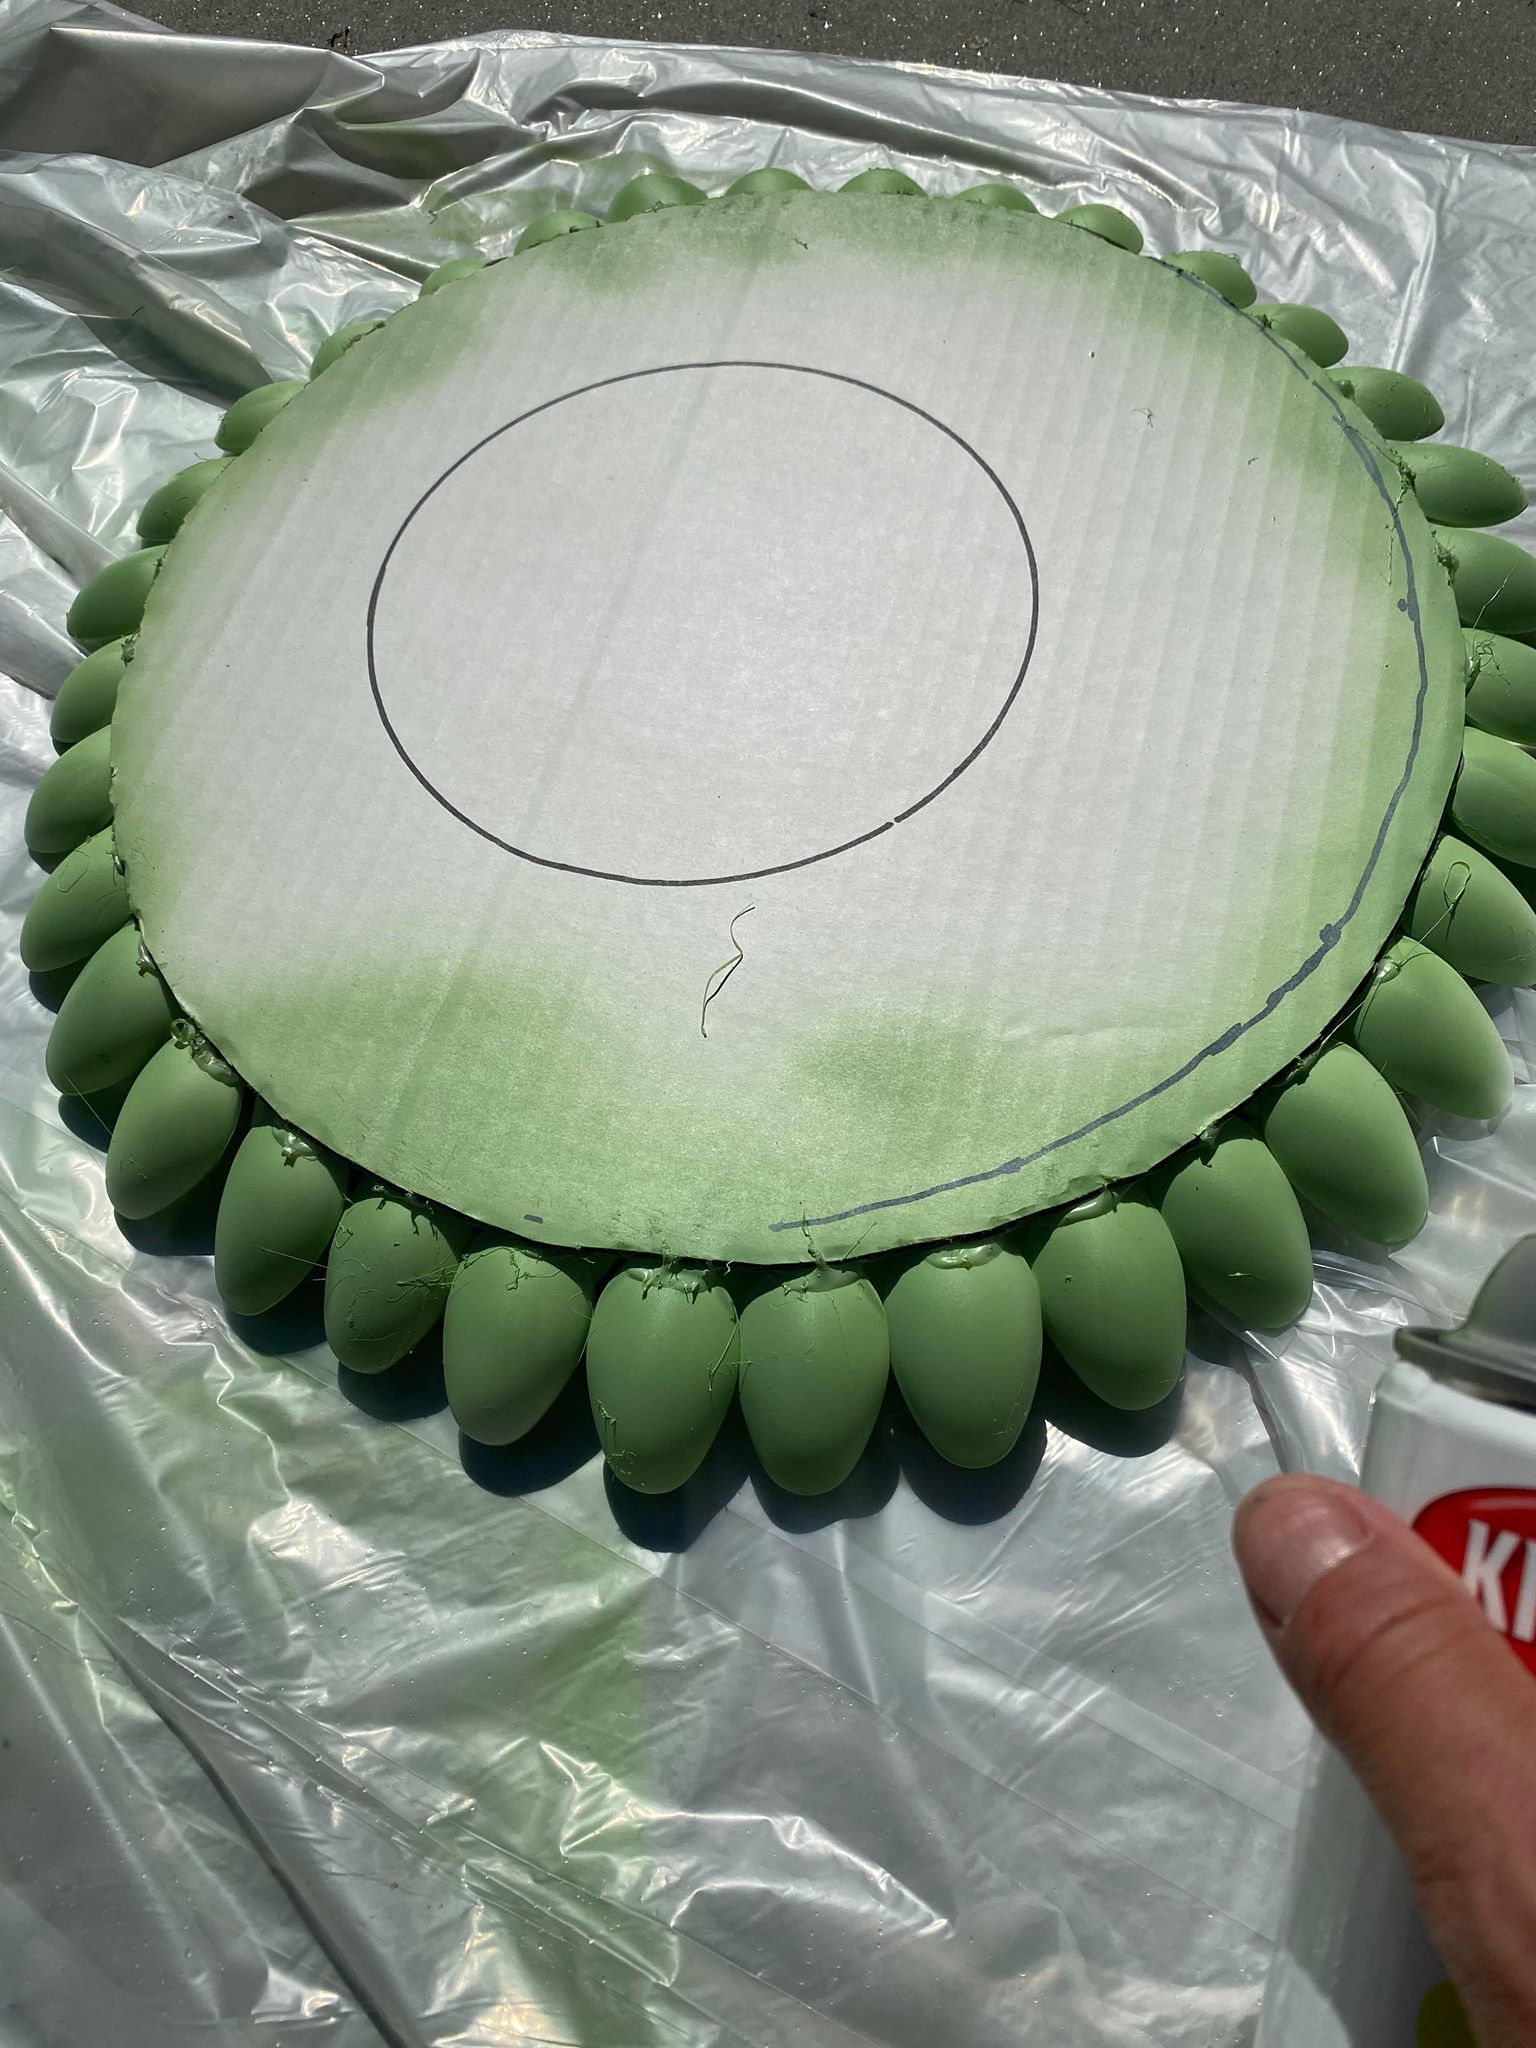
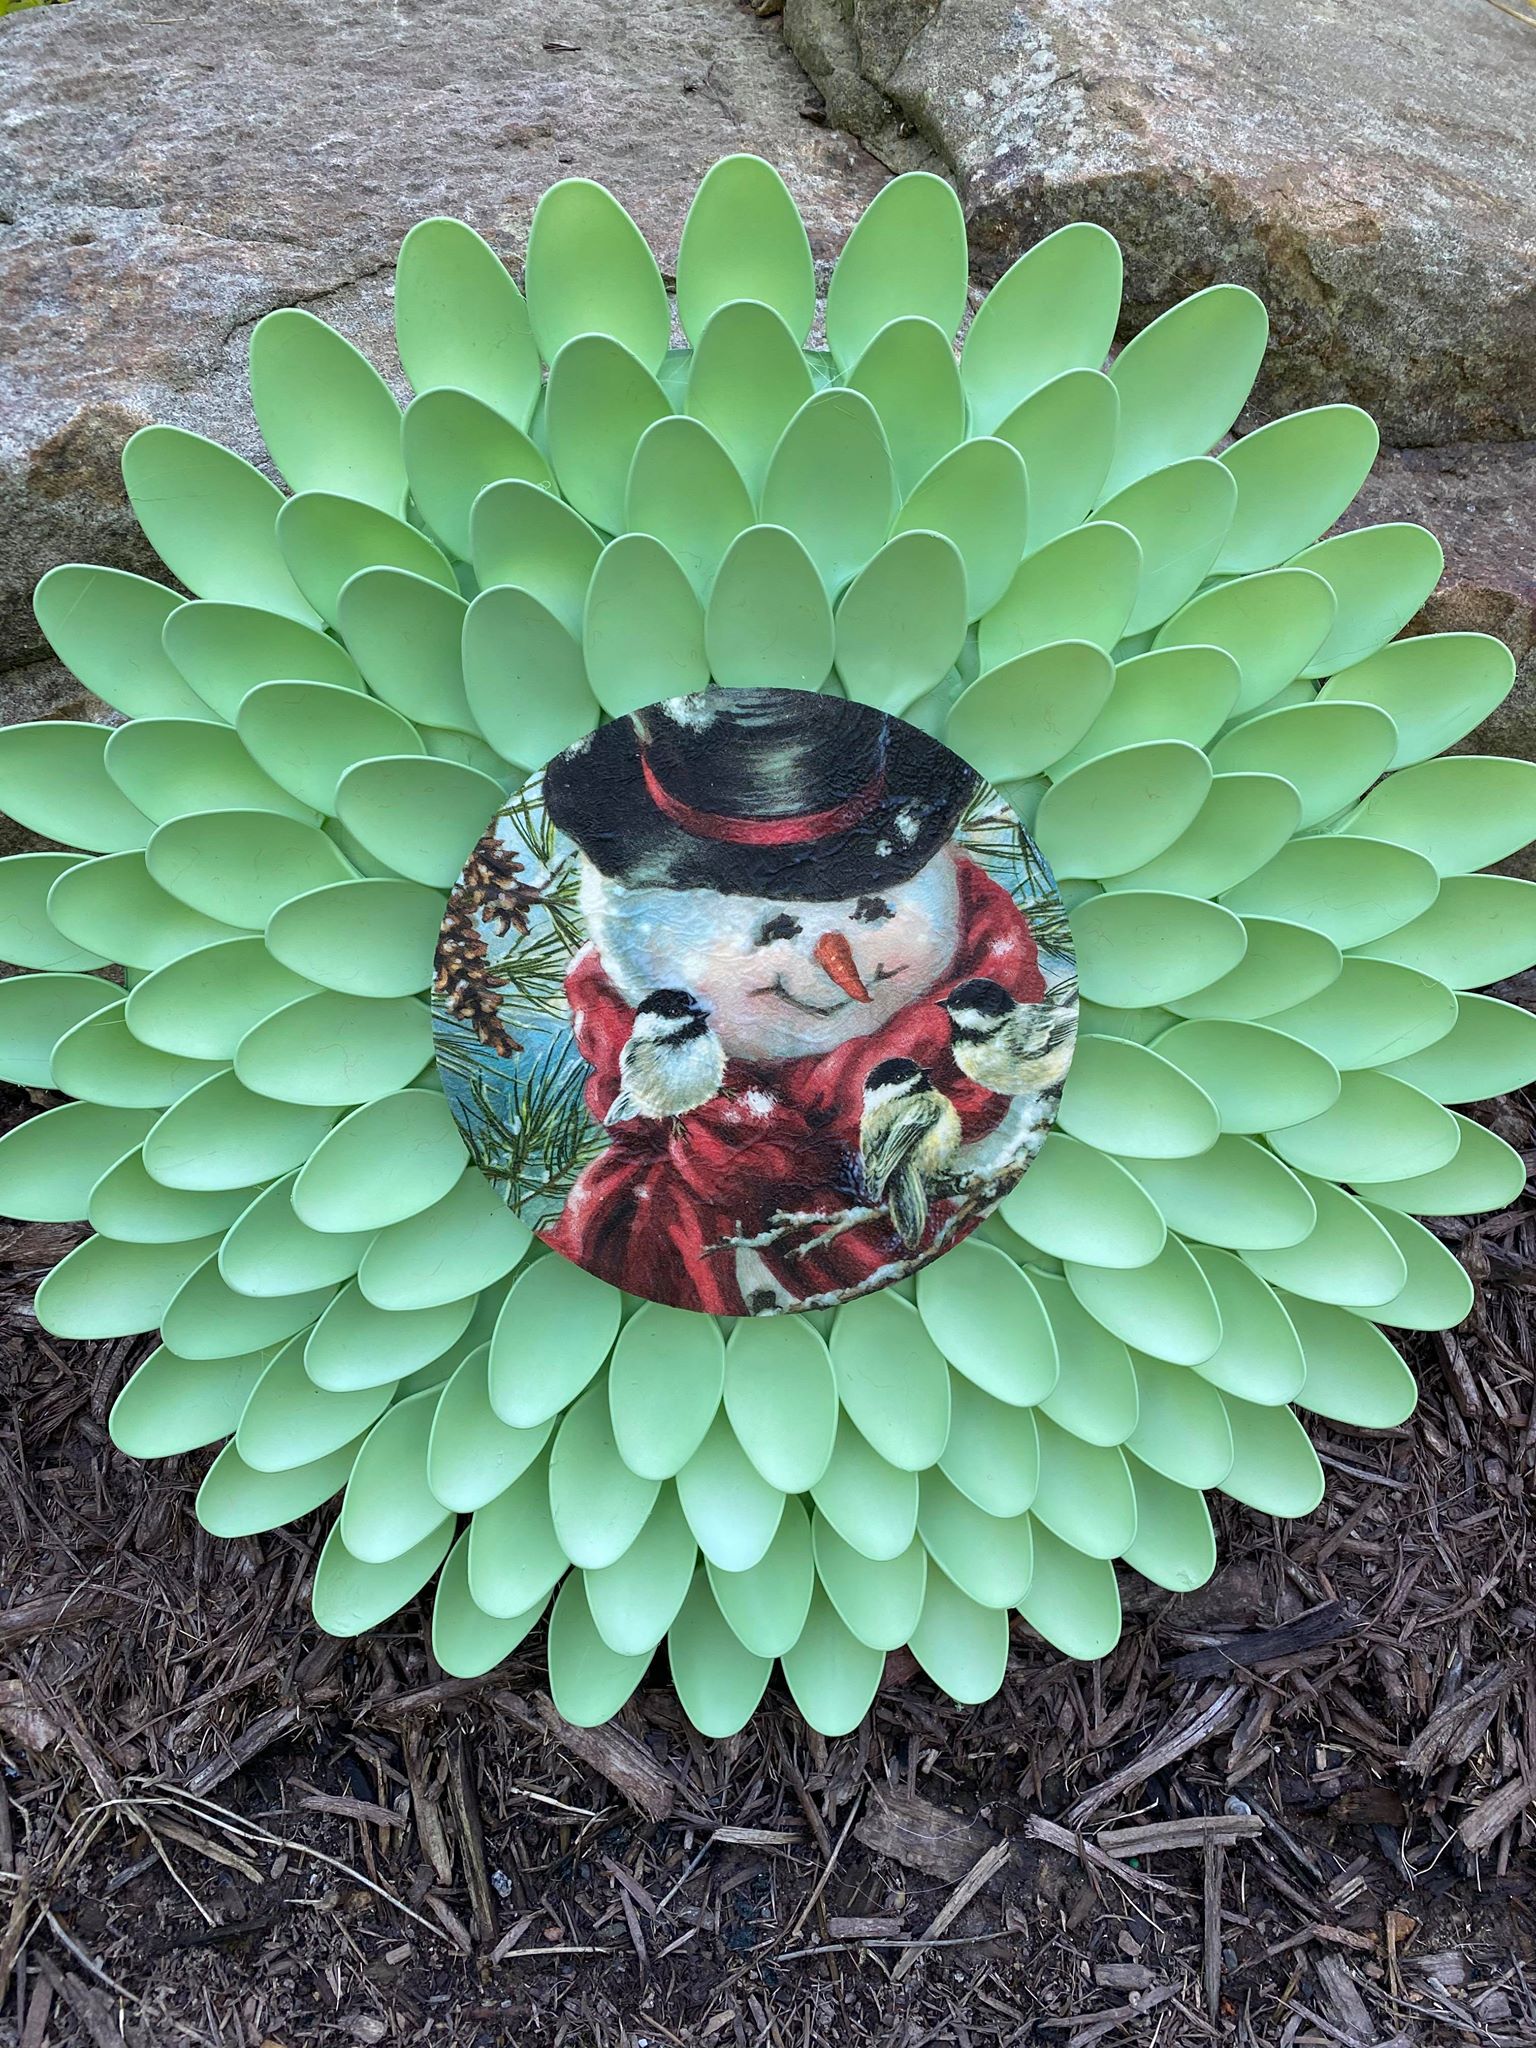
I will be using a 6 1/2 wooden disk in the center of my wreath. I trace the wooden disc in the center of my wreath before I start glueing on my spoons. This will help keep my spoons lined up as I get to the center.
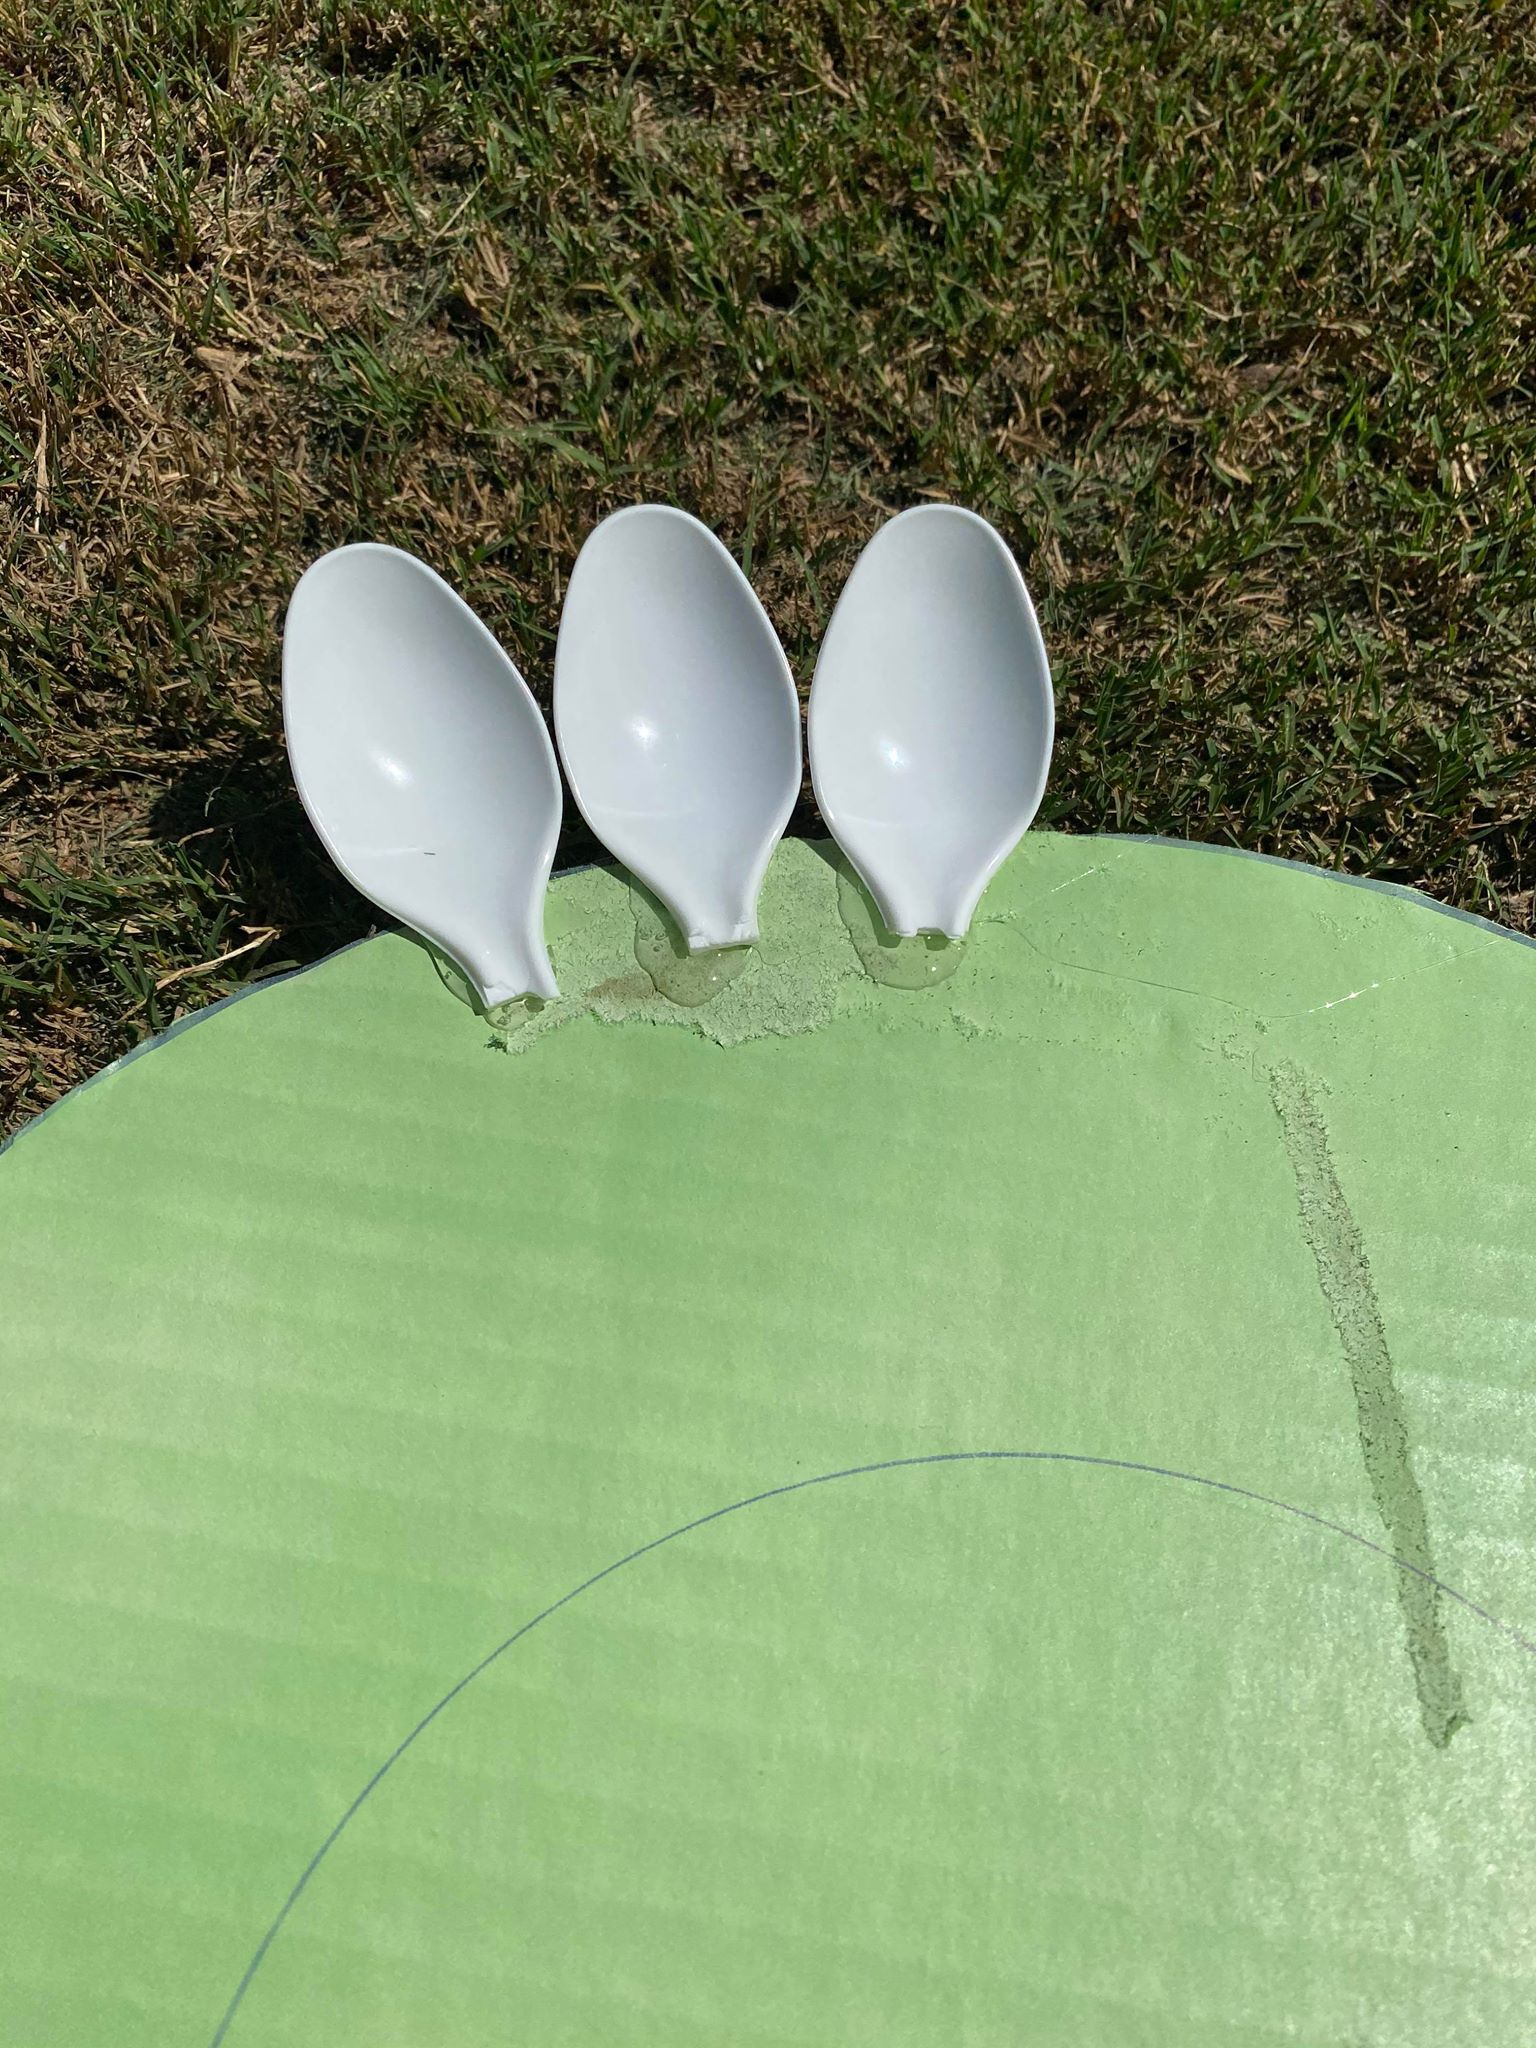
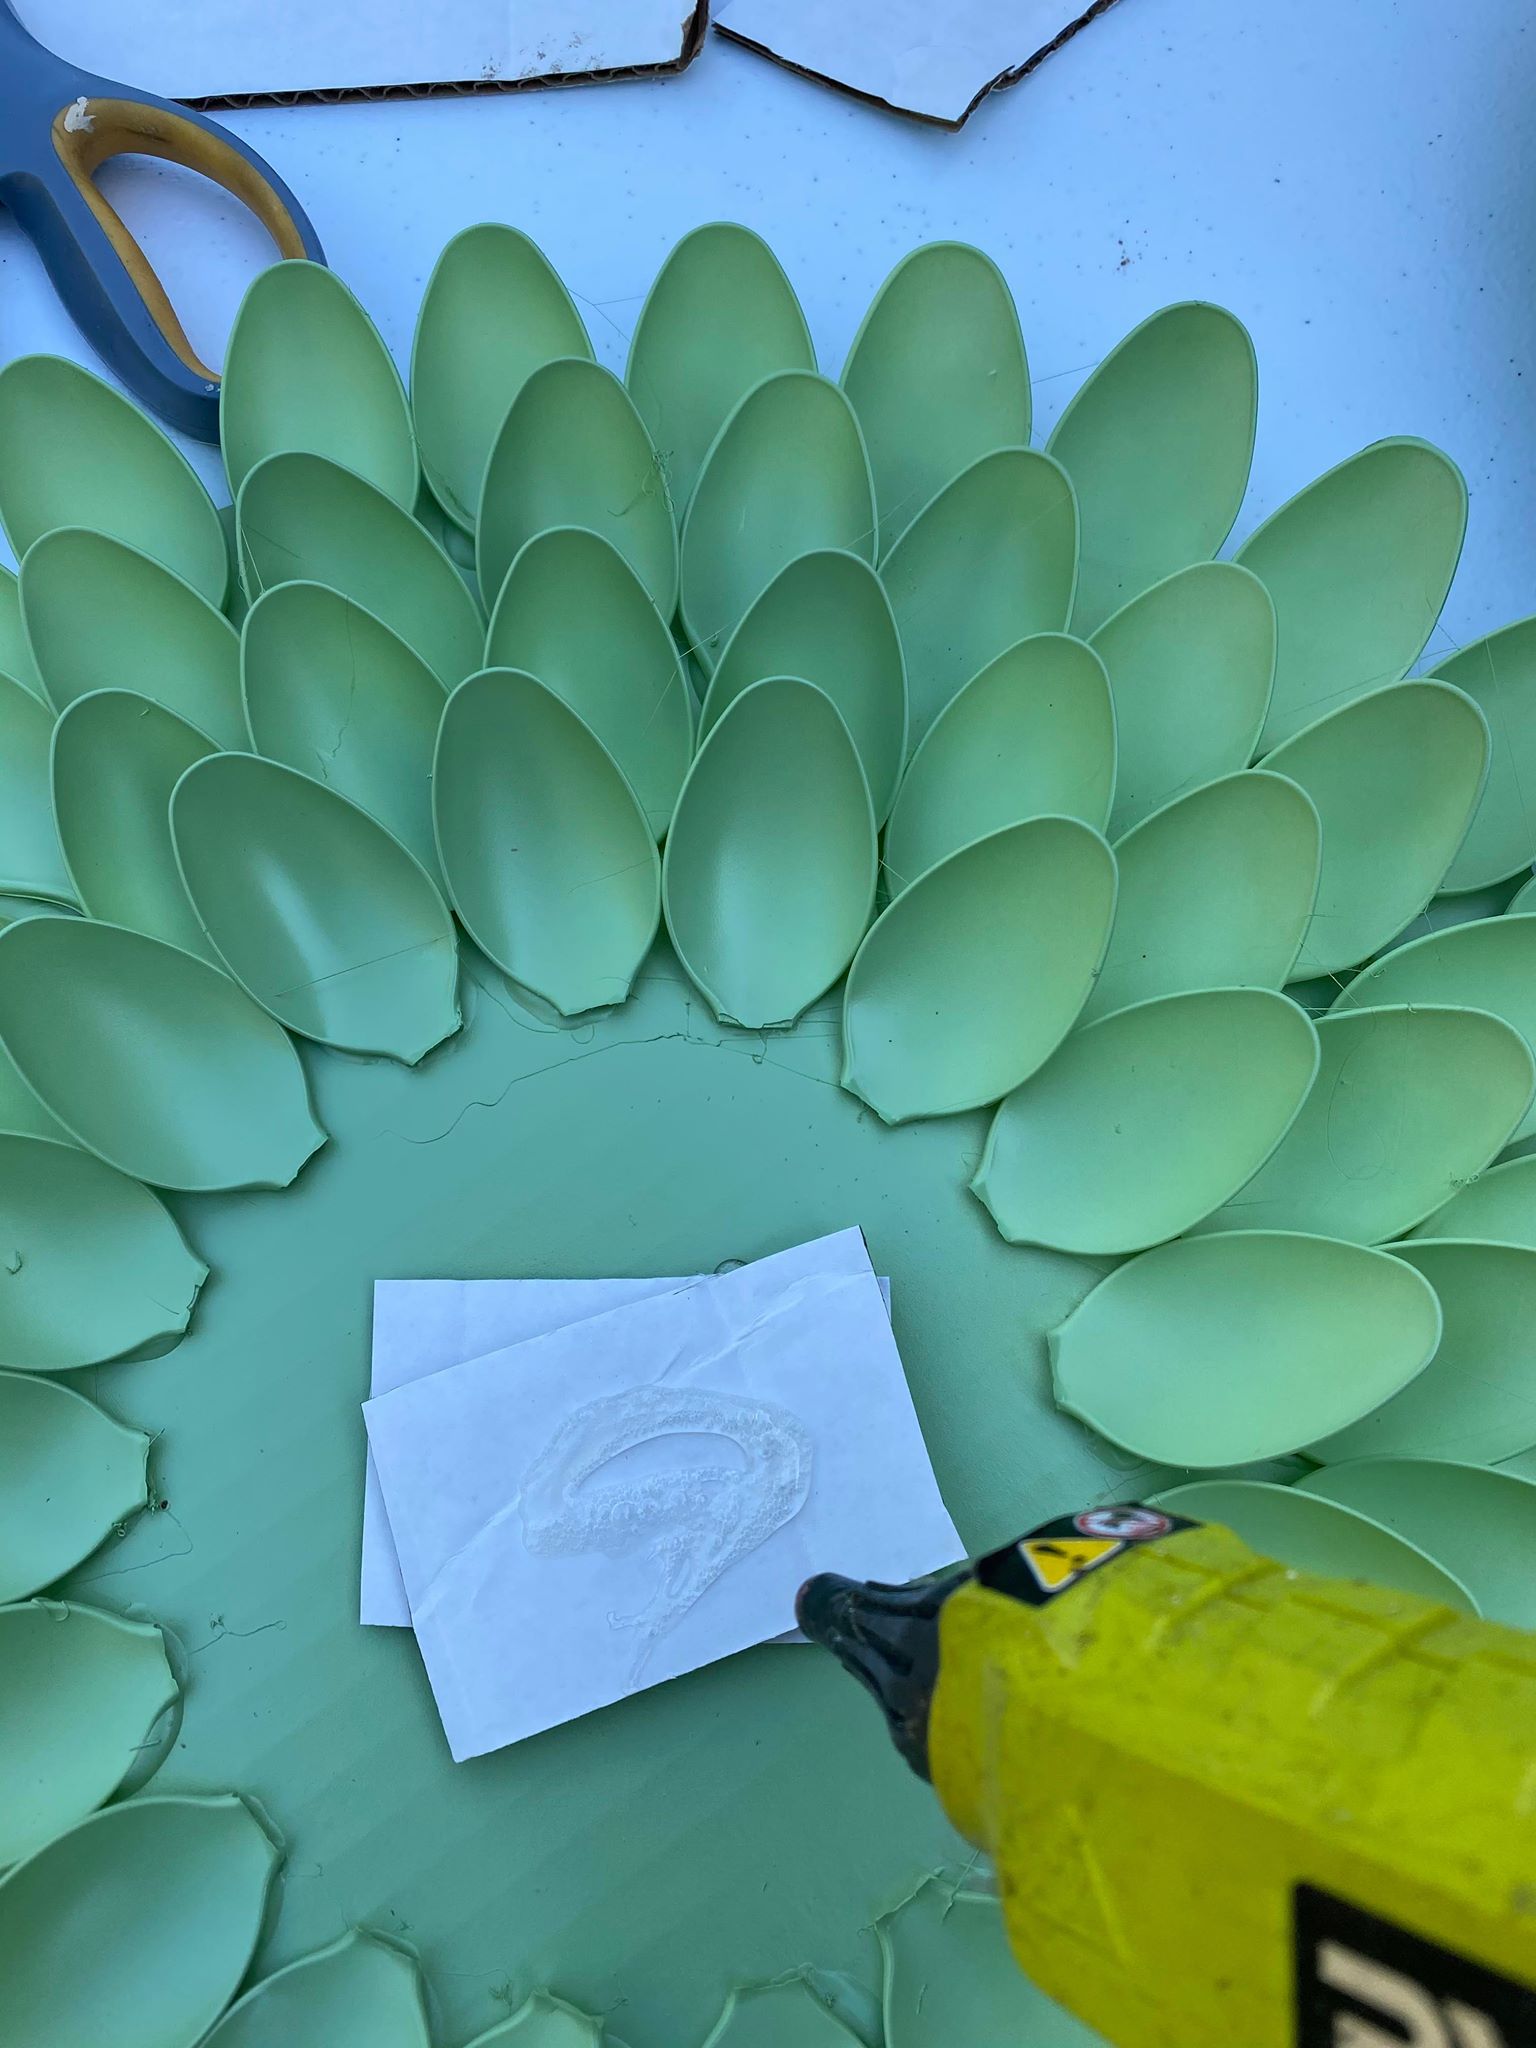
You will start glueing your spoons to the outside edge of your cardboard circle. I came in about an inch from the edge. You will place a good amount of hot glue to the back of the spoon and press it onto the cardboard. I placed my spoons side by side as I went around the circle.
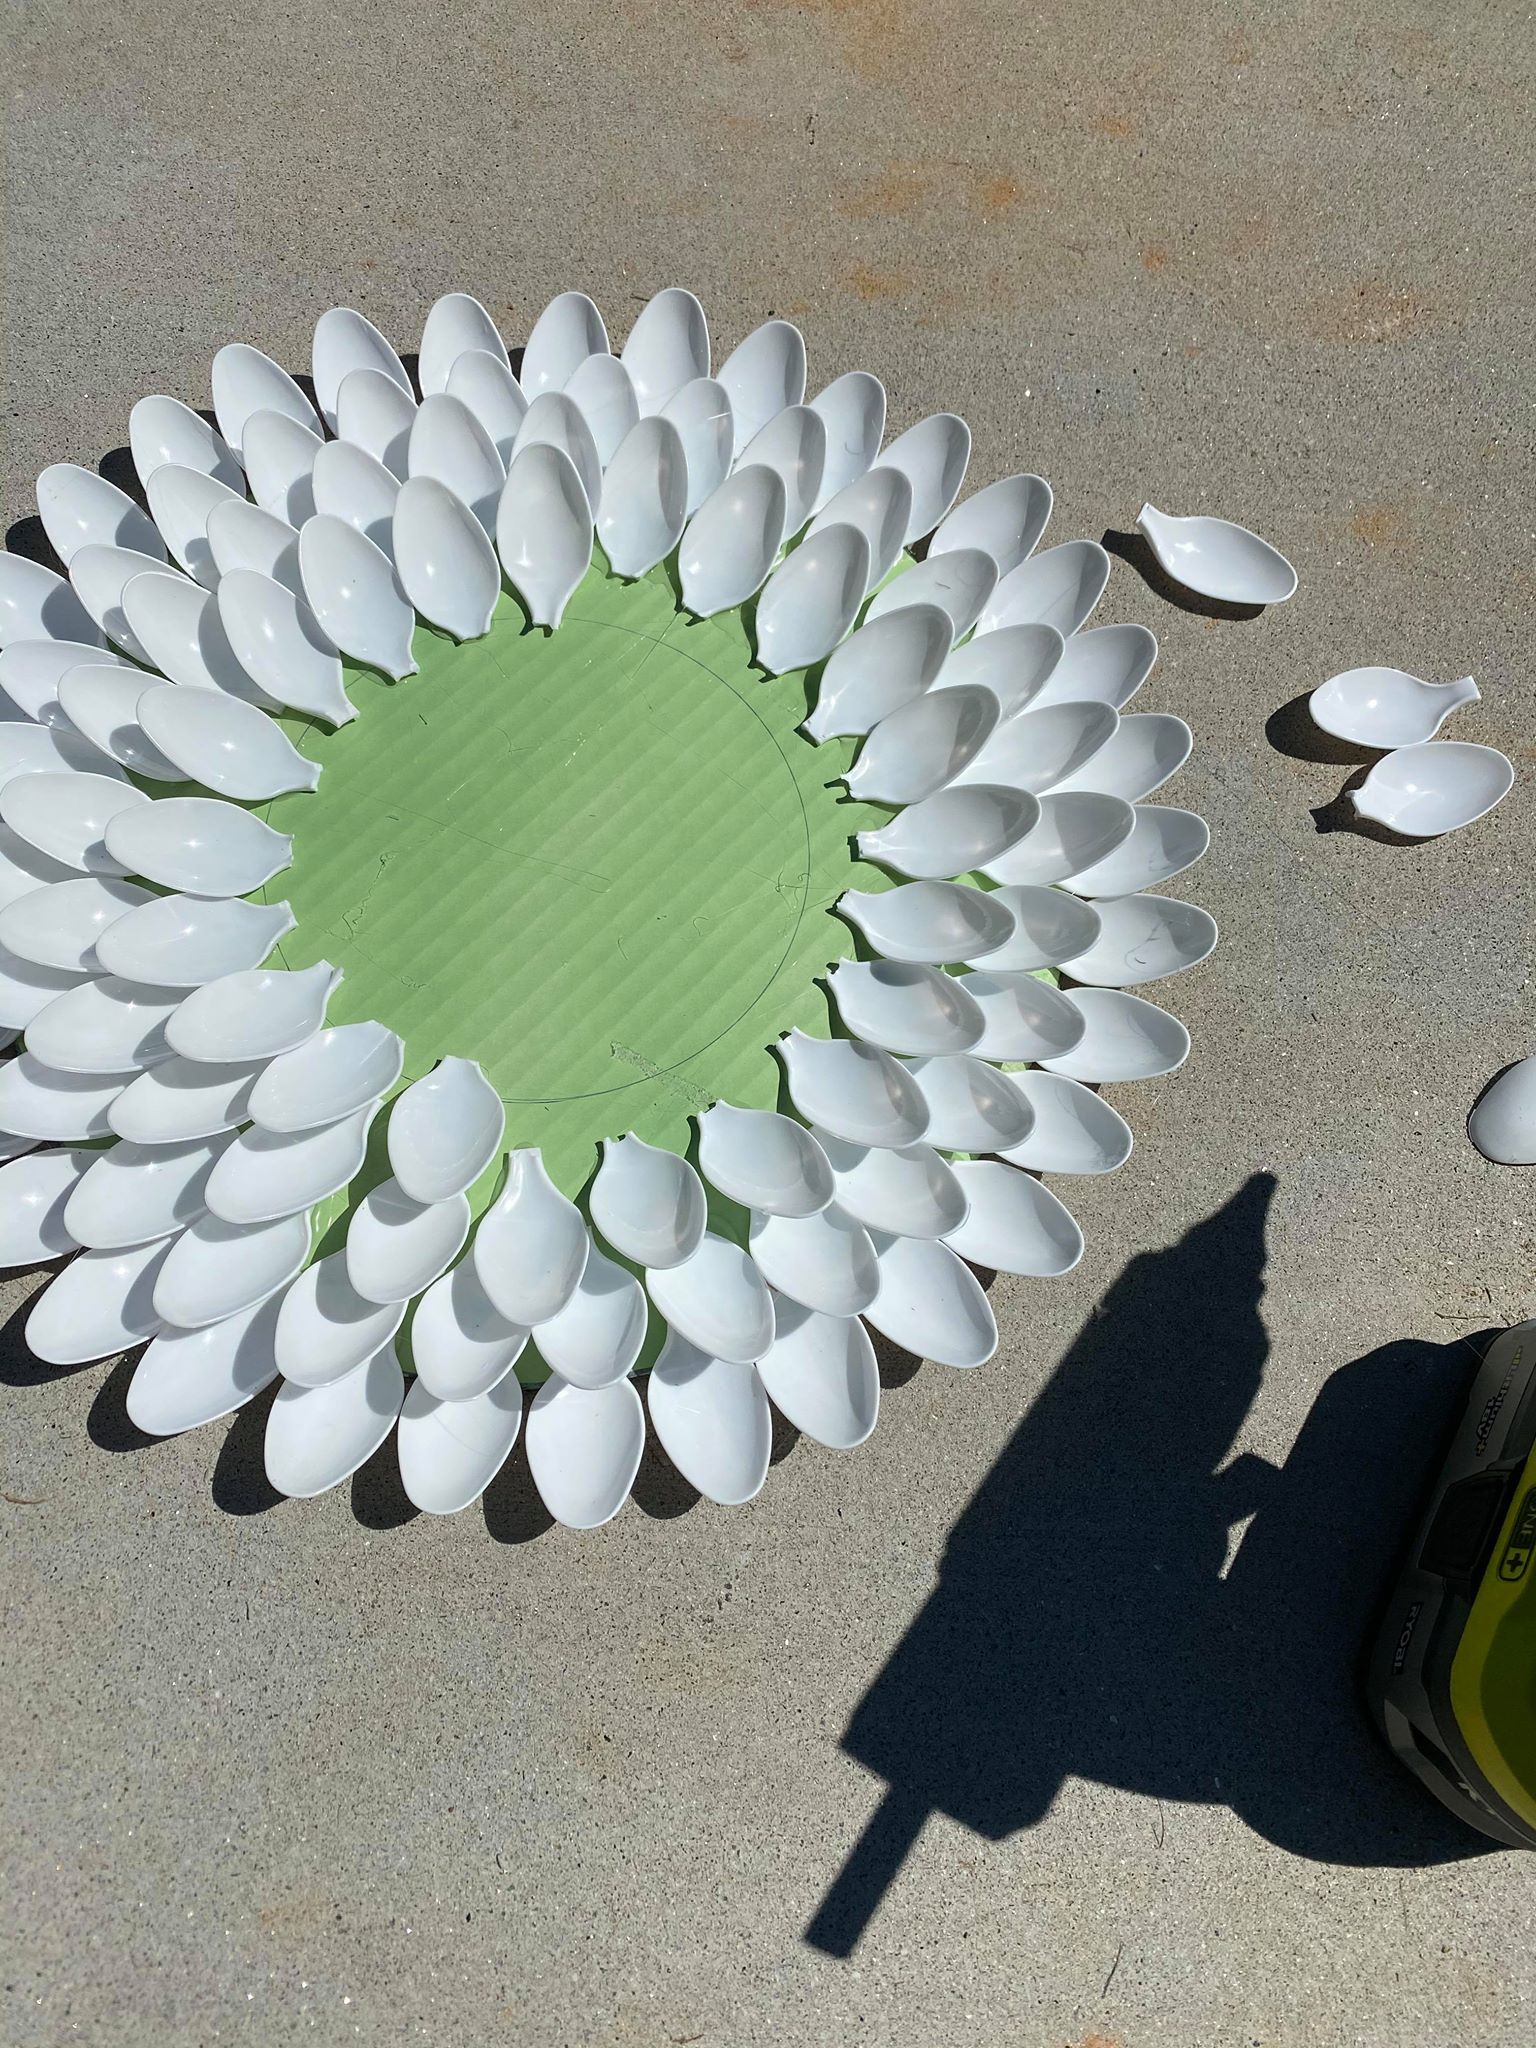
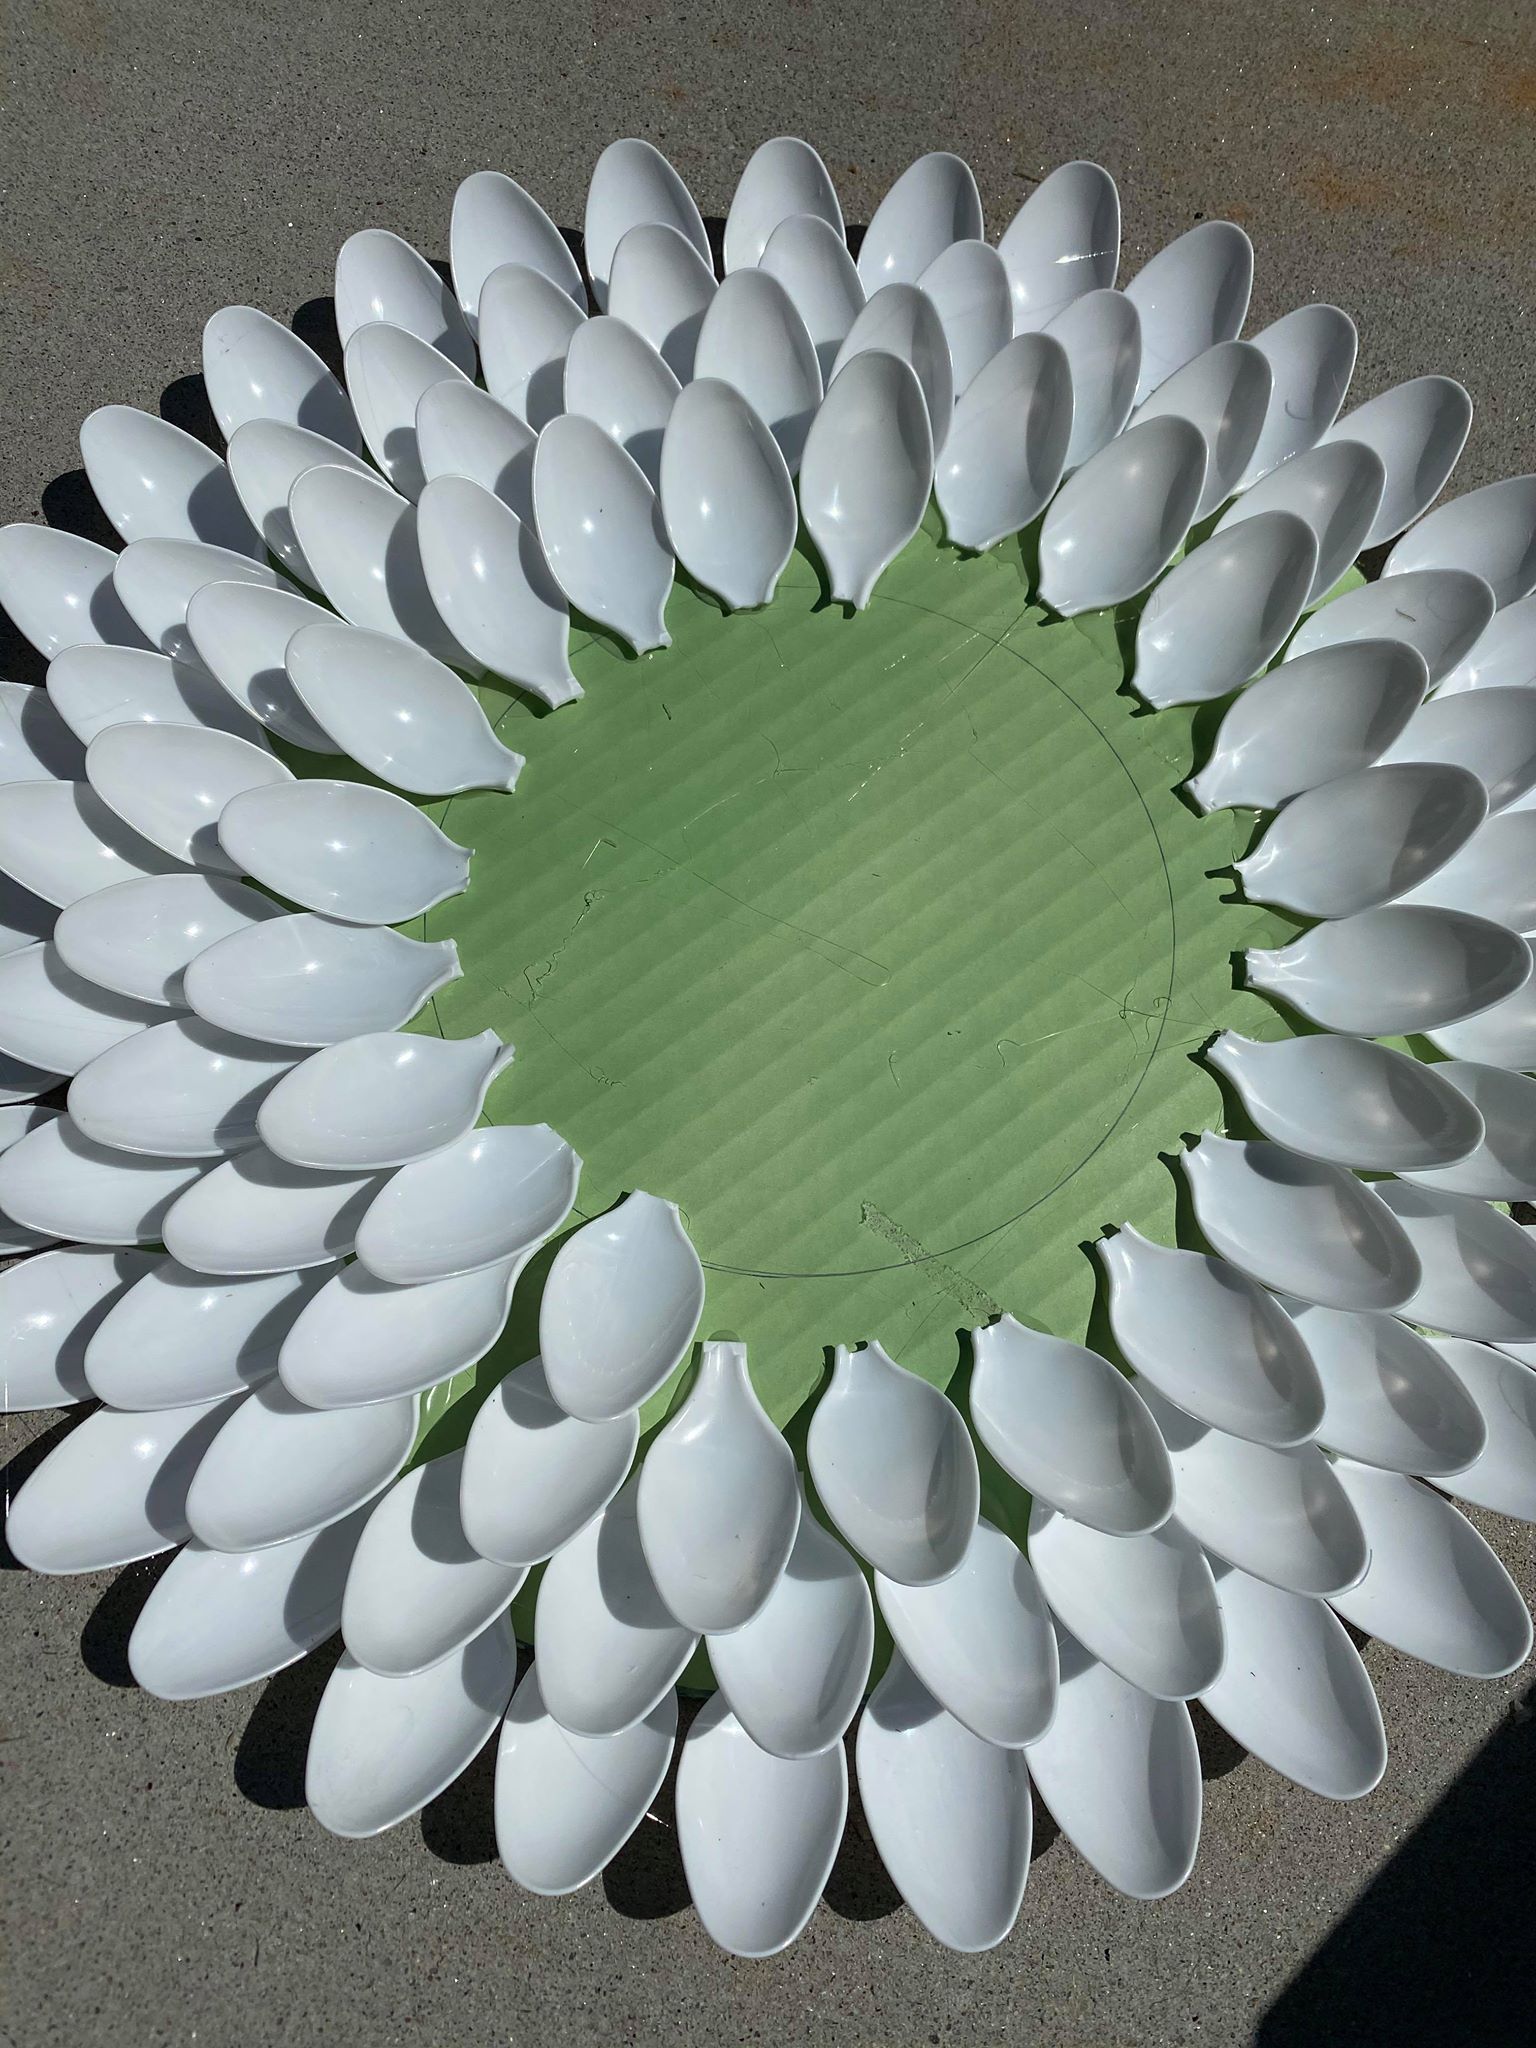
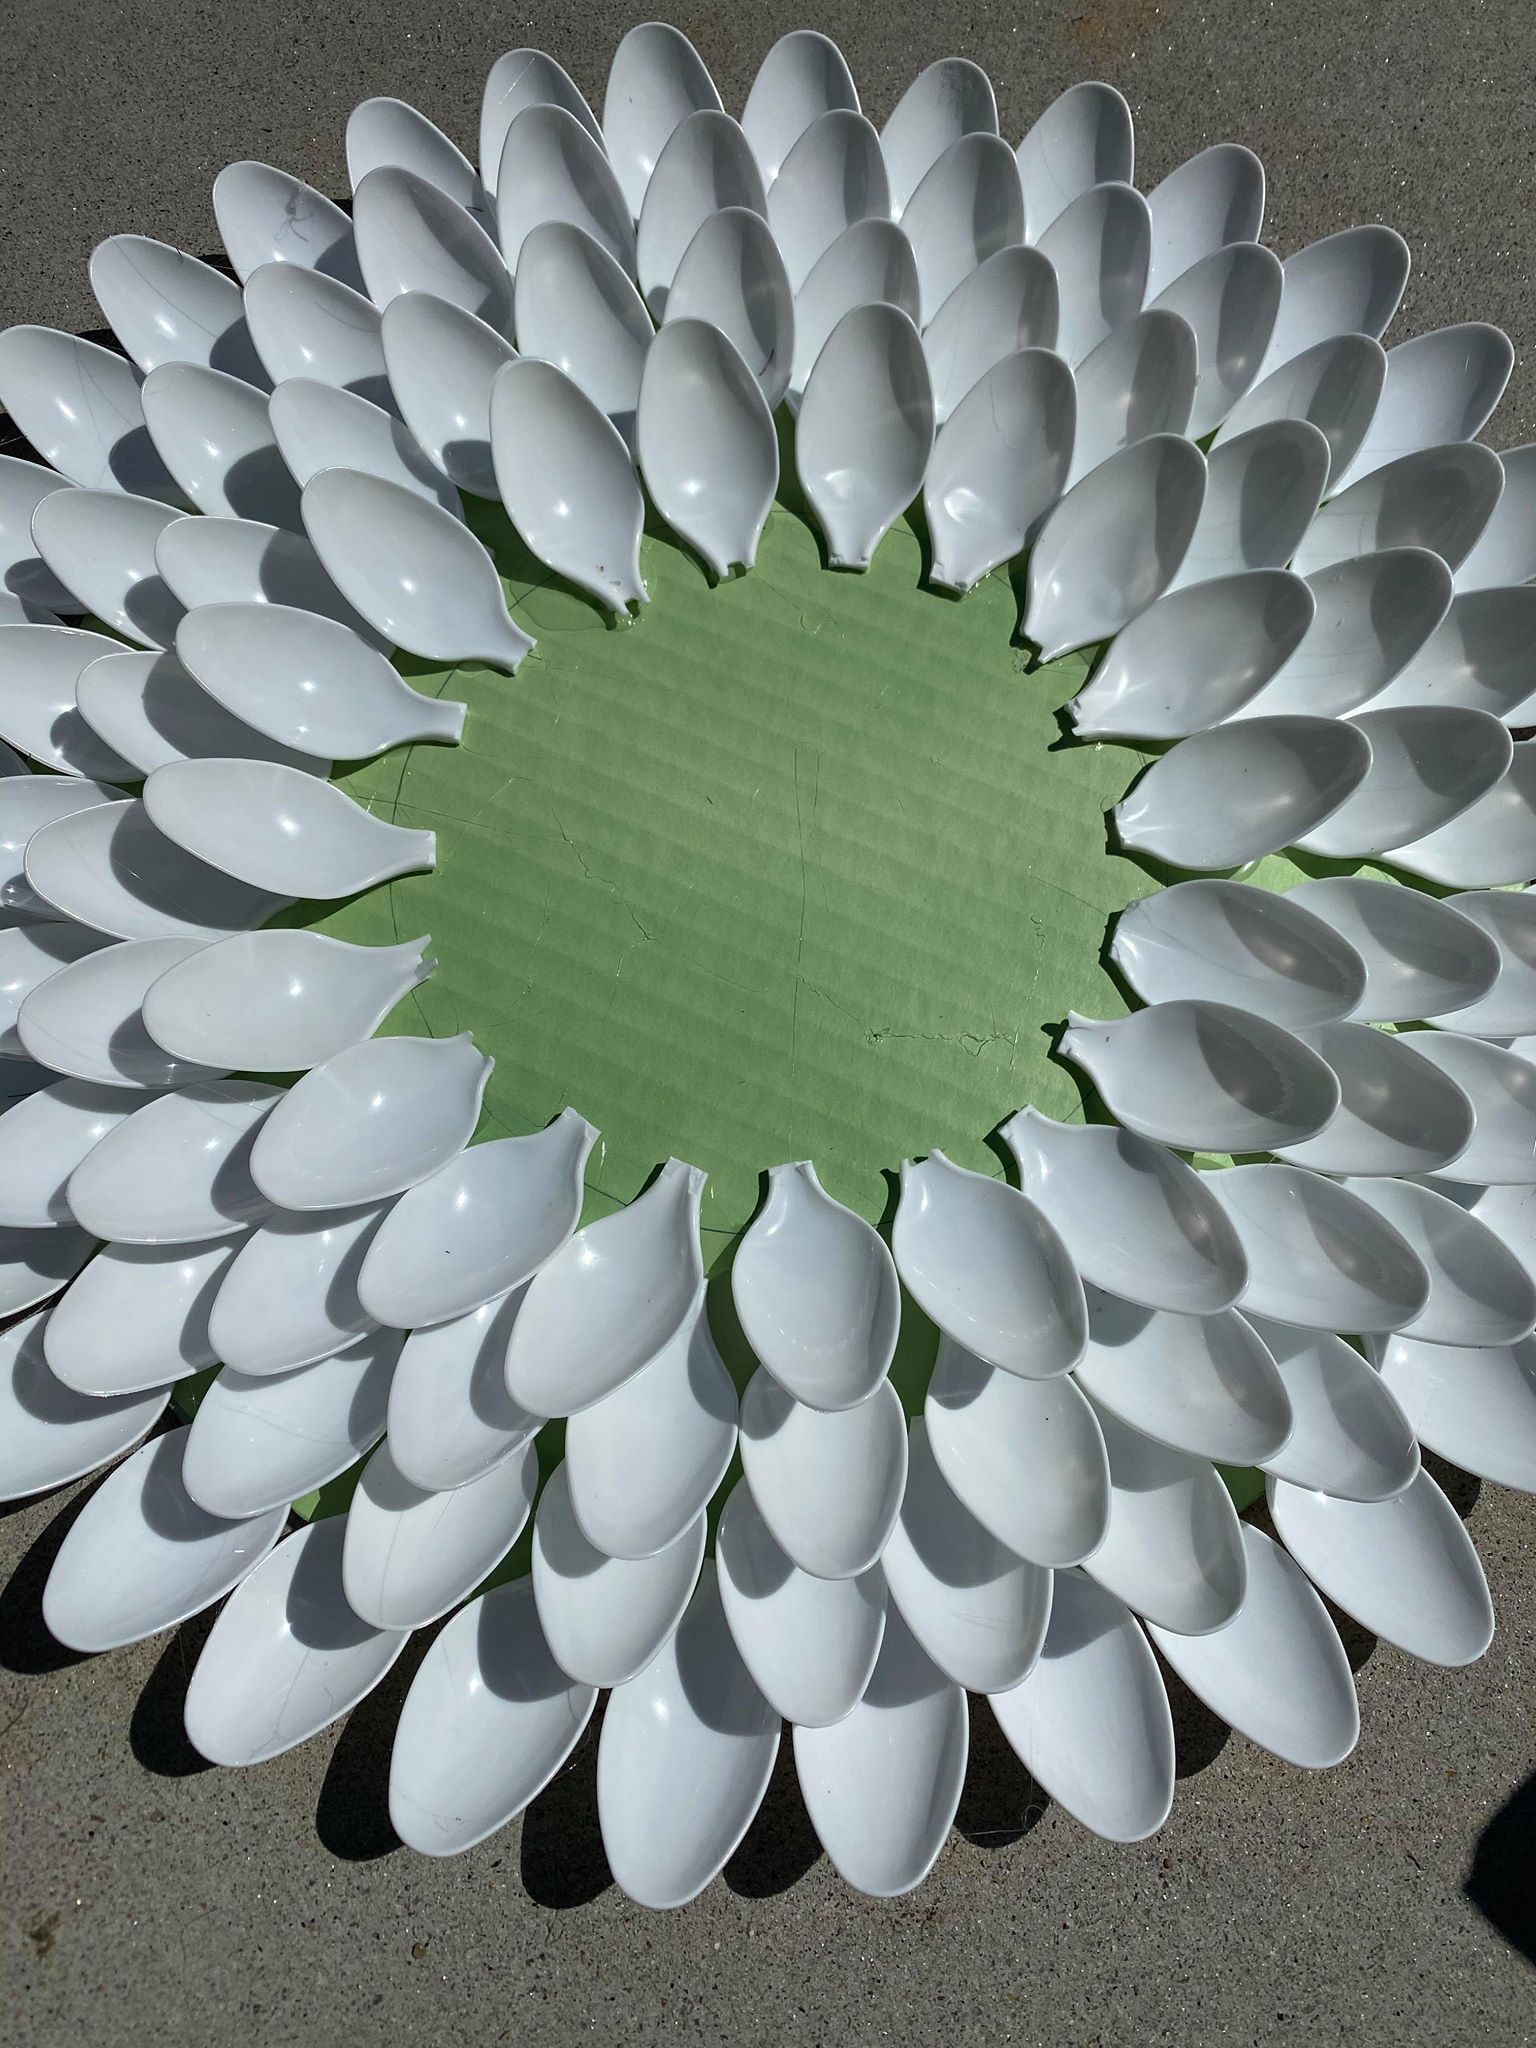
Once you complete the outer edge you then start your second row of spoons. You will go around the same way. I started my first spoon in the center of two spoons from the first row.
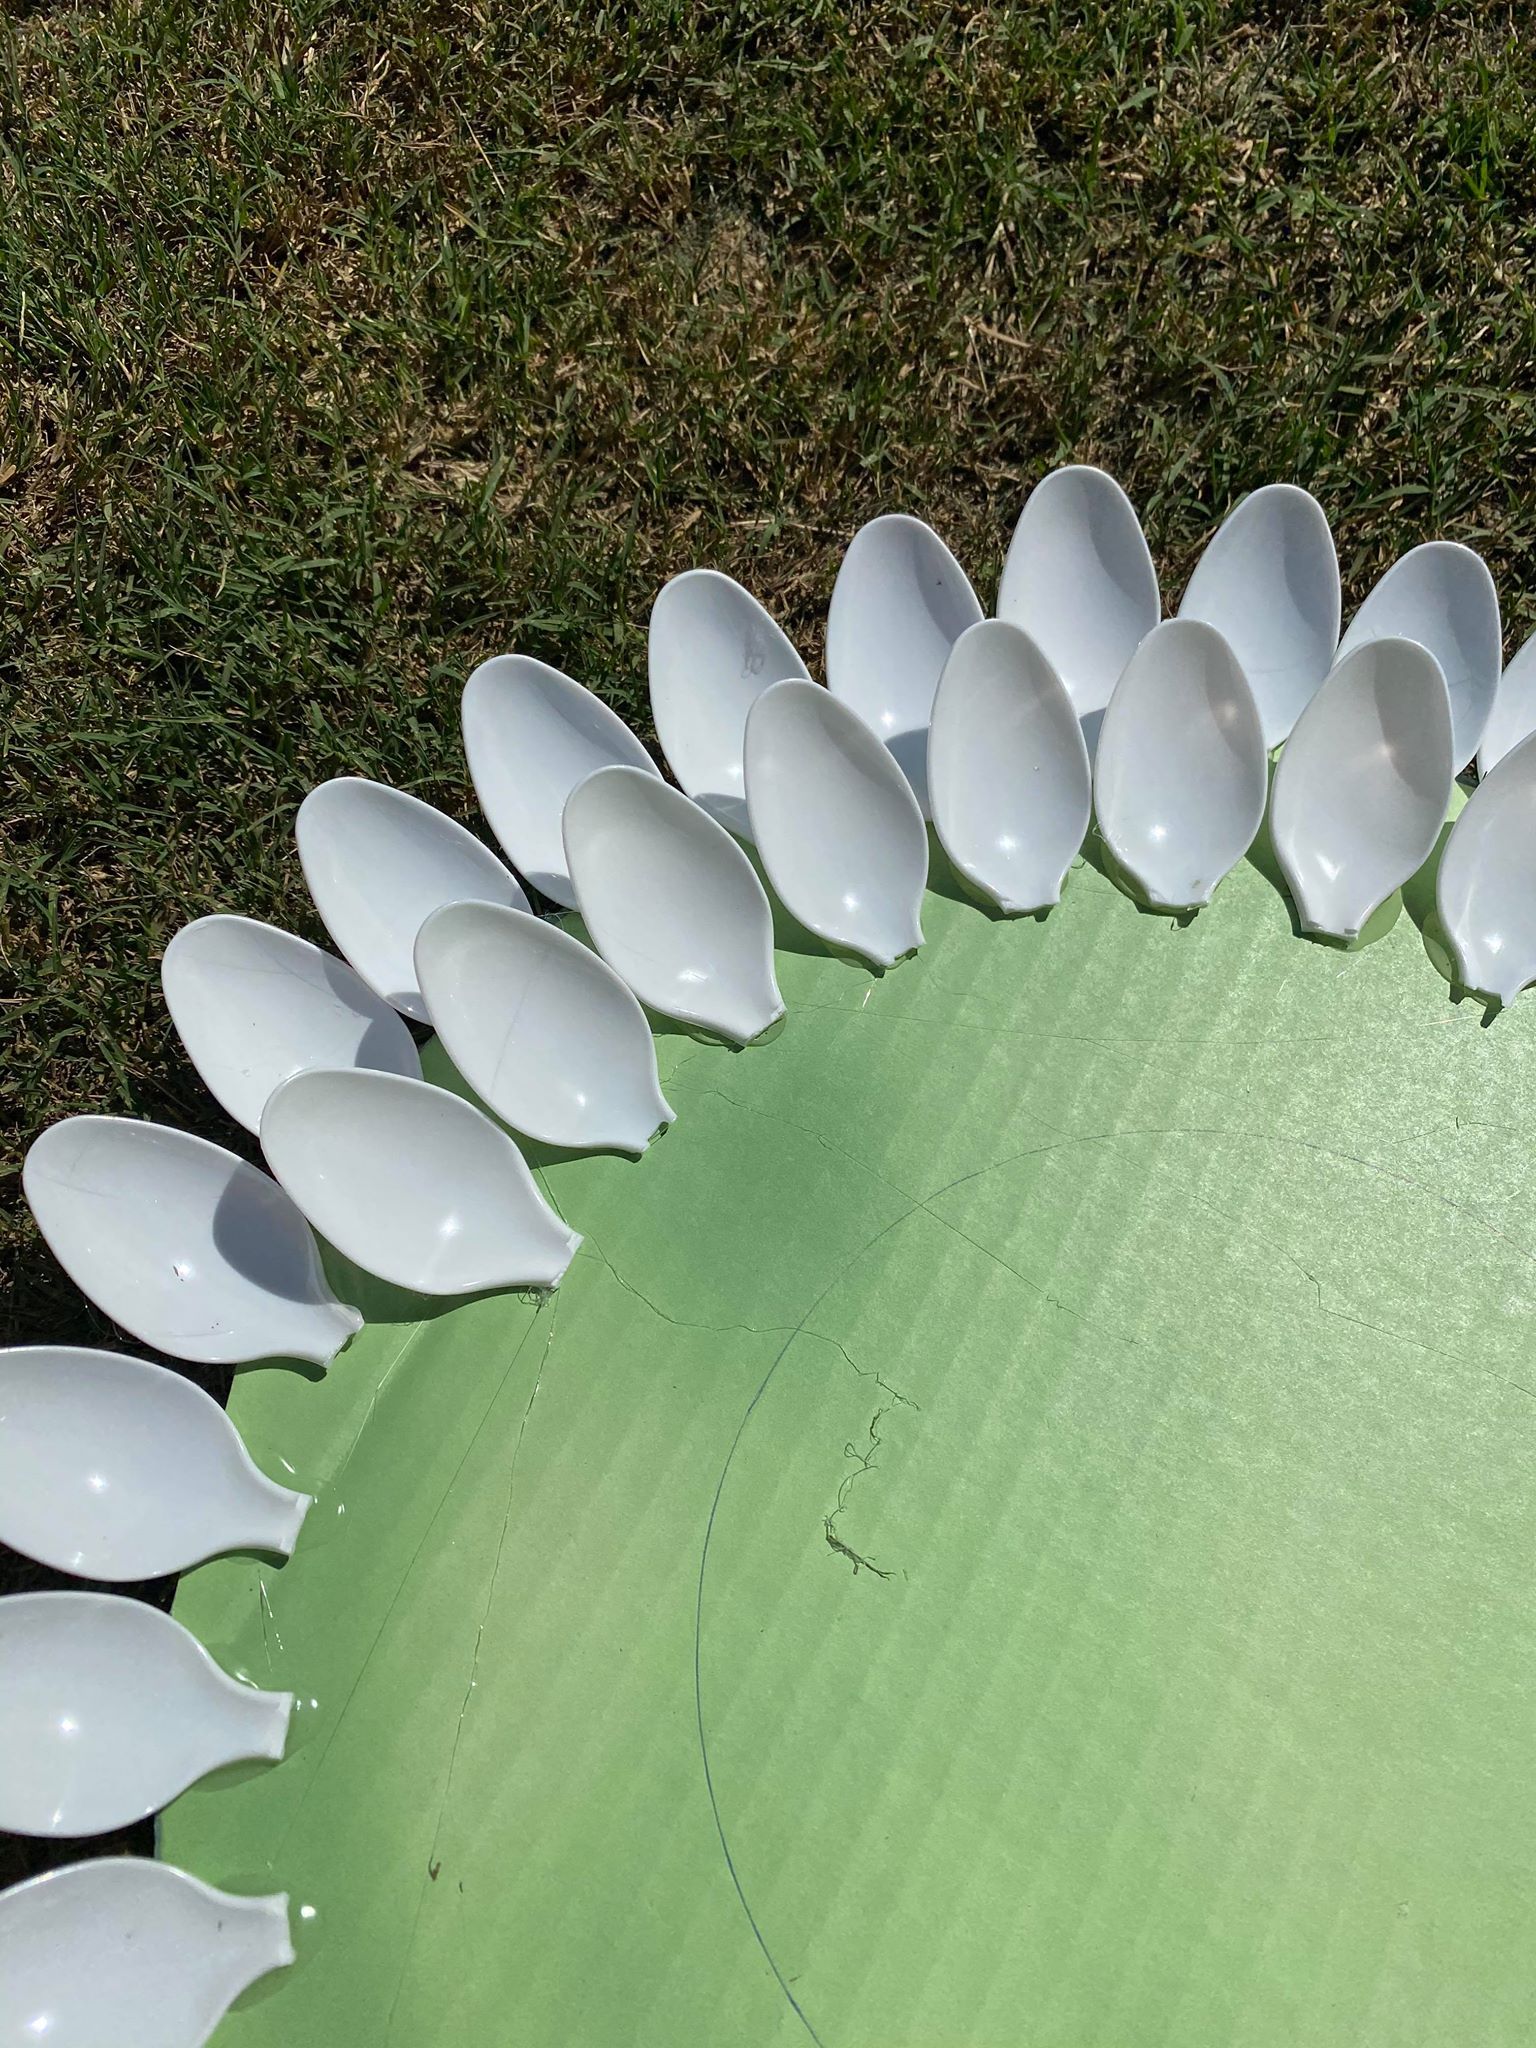
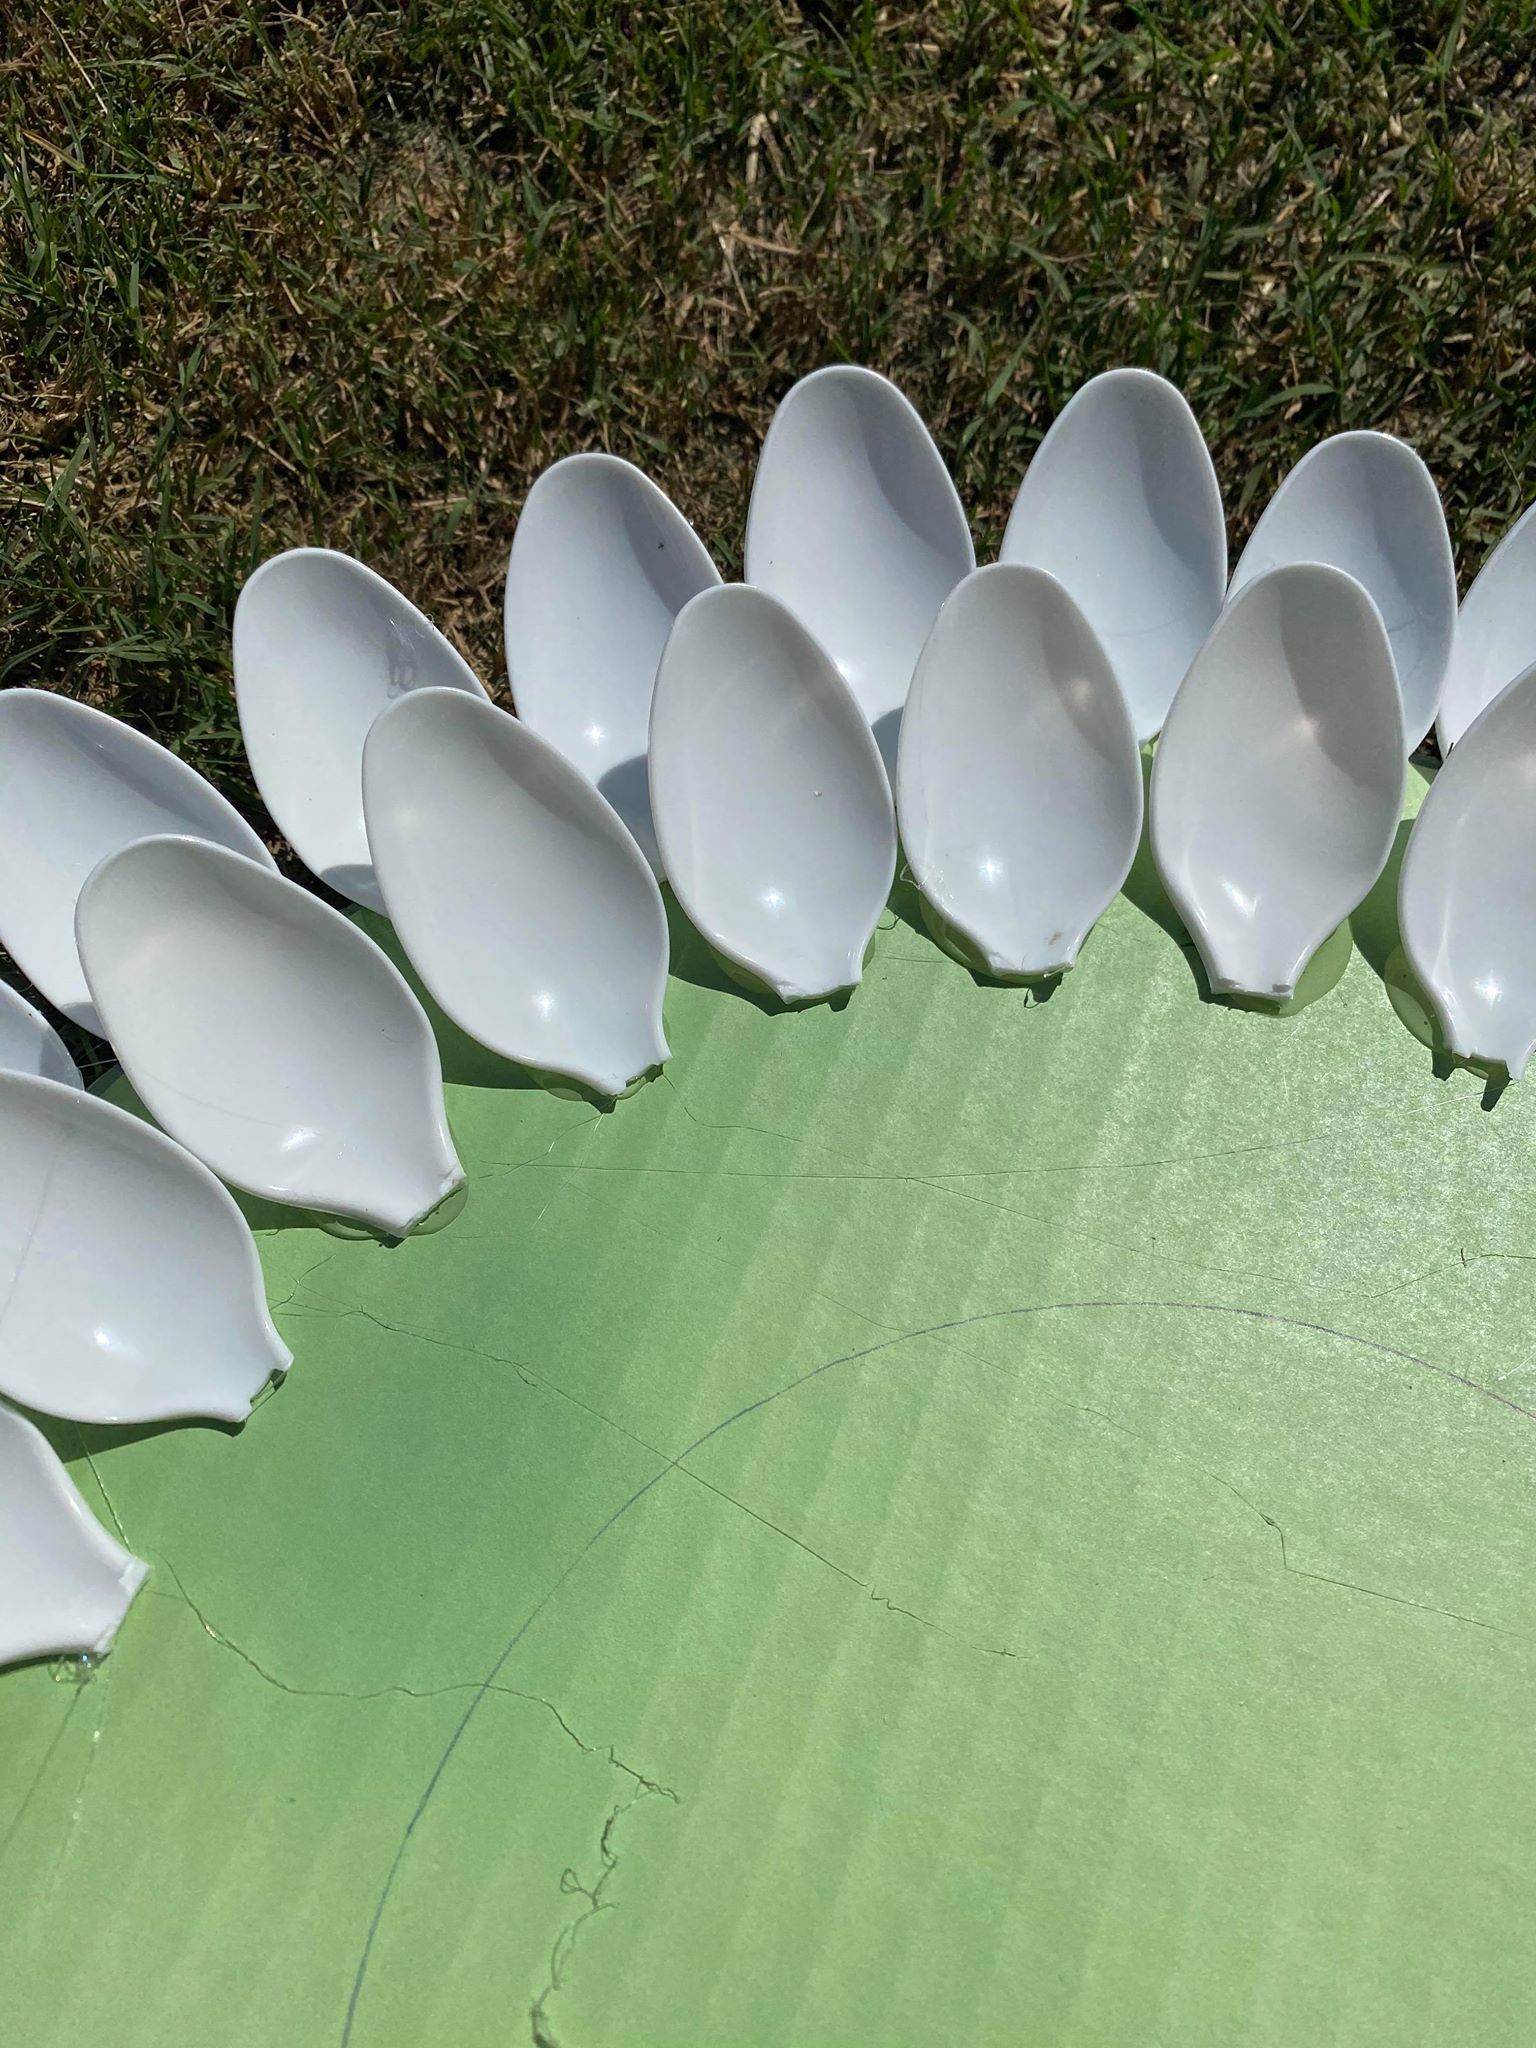
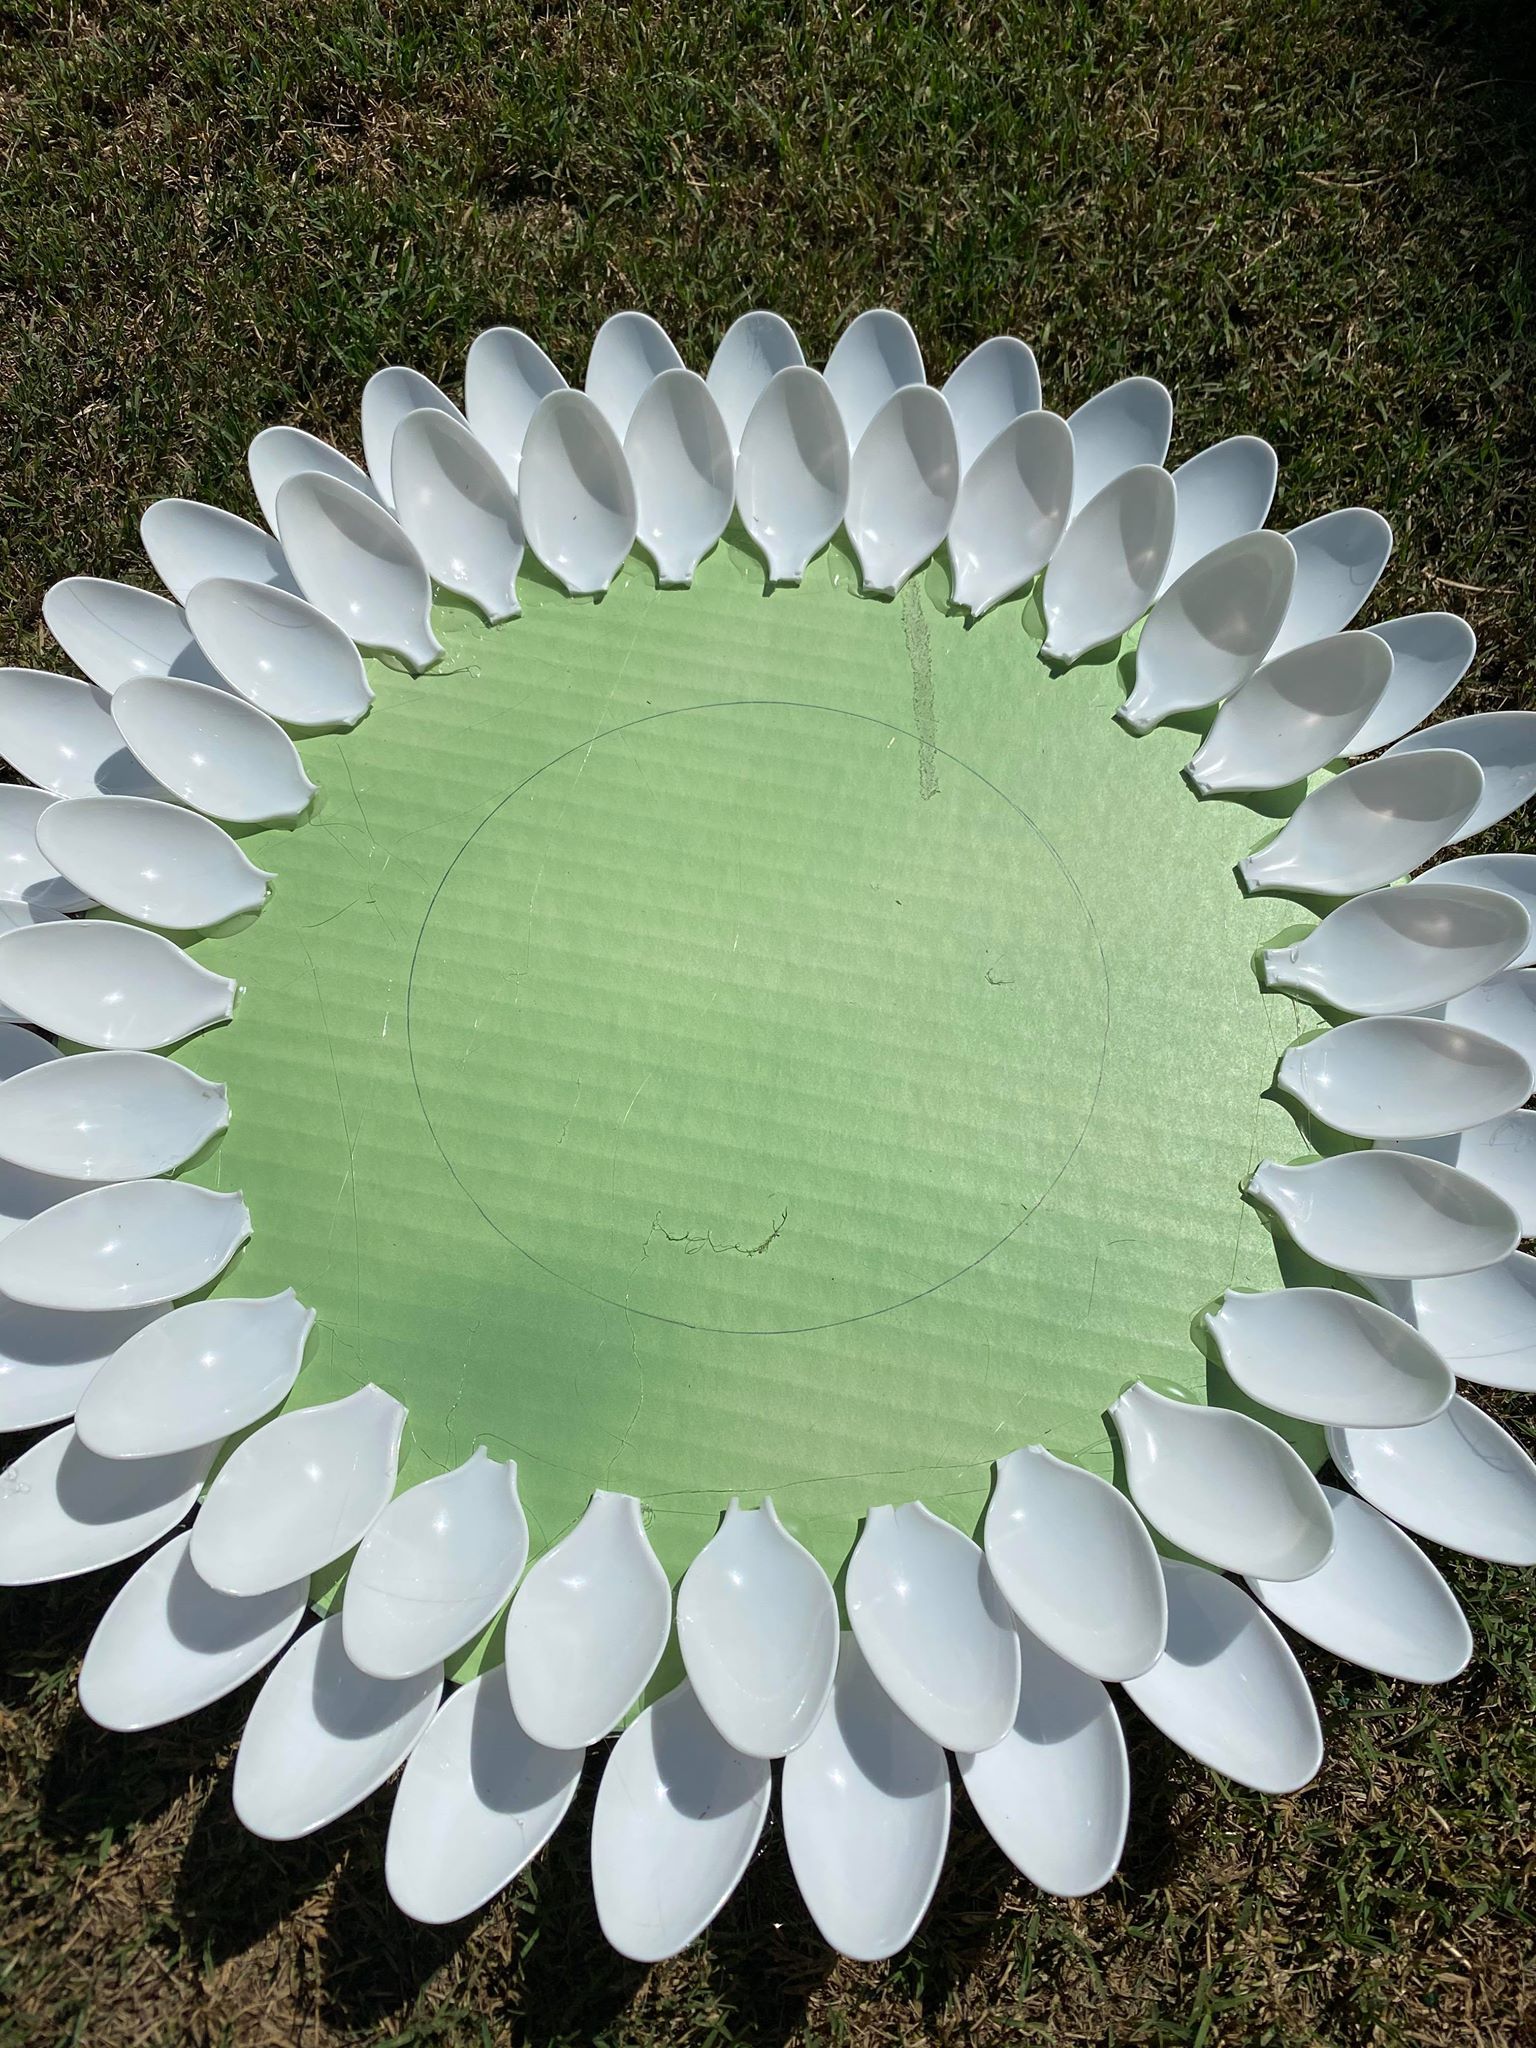
You will continue this same process until you get 4 rows complete.
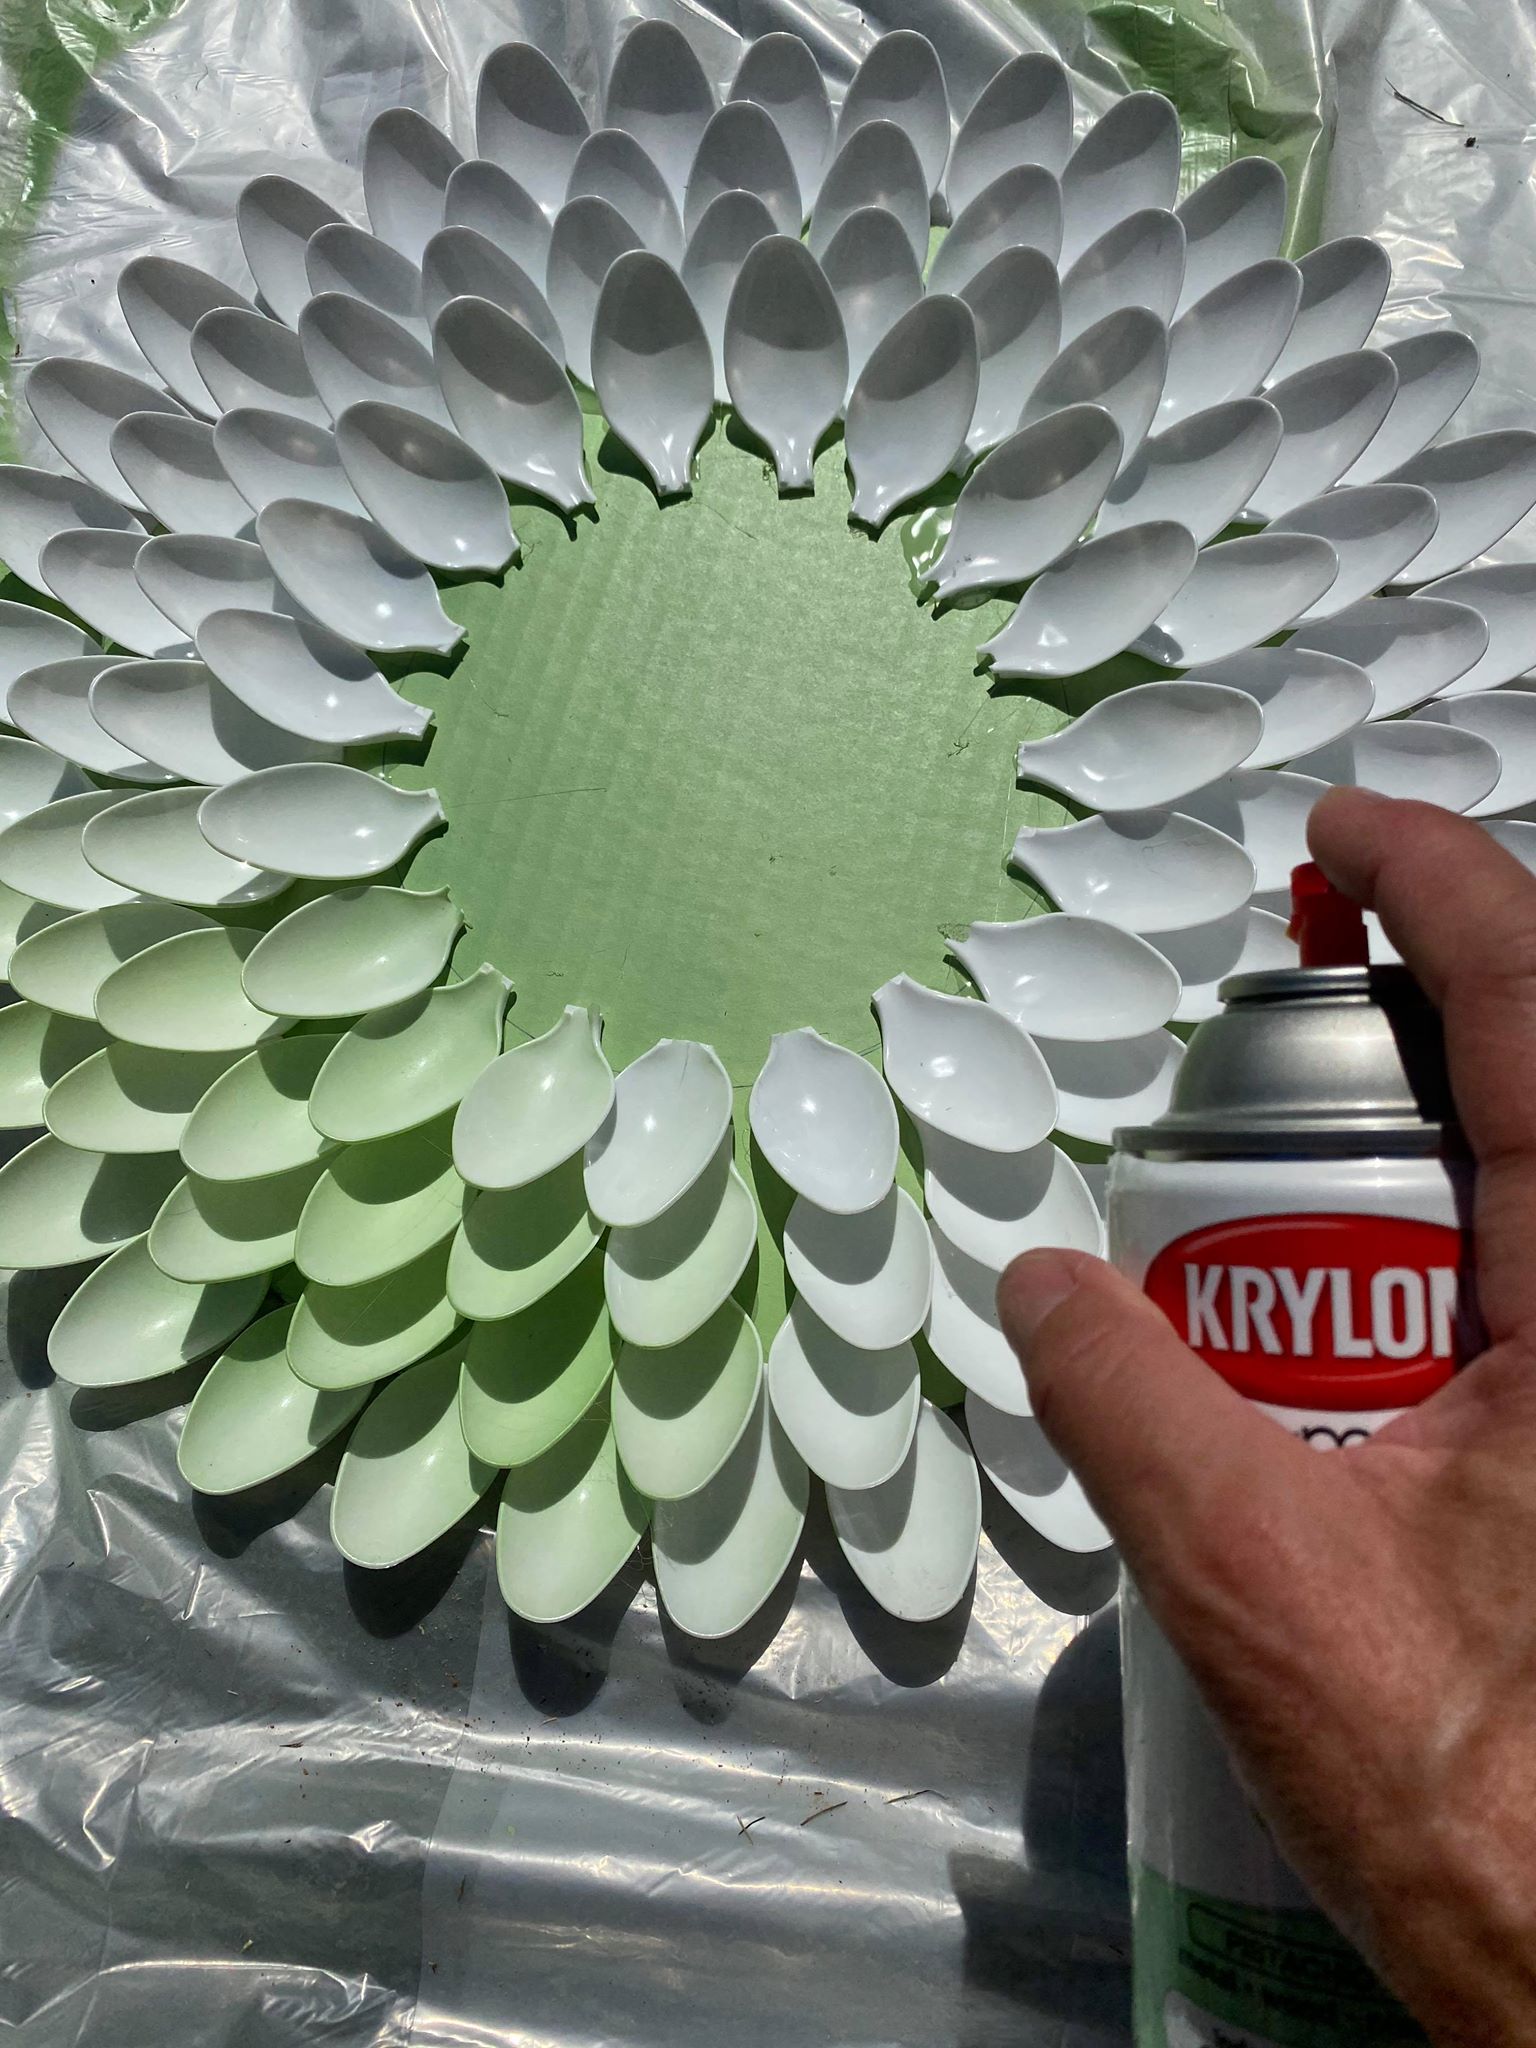
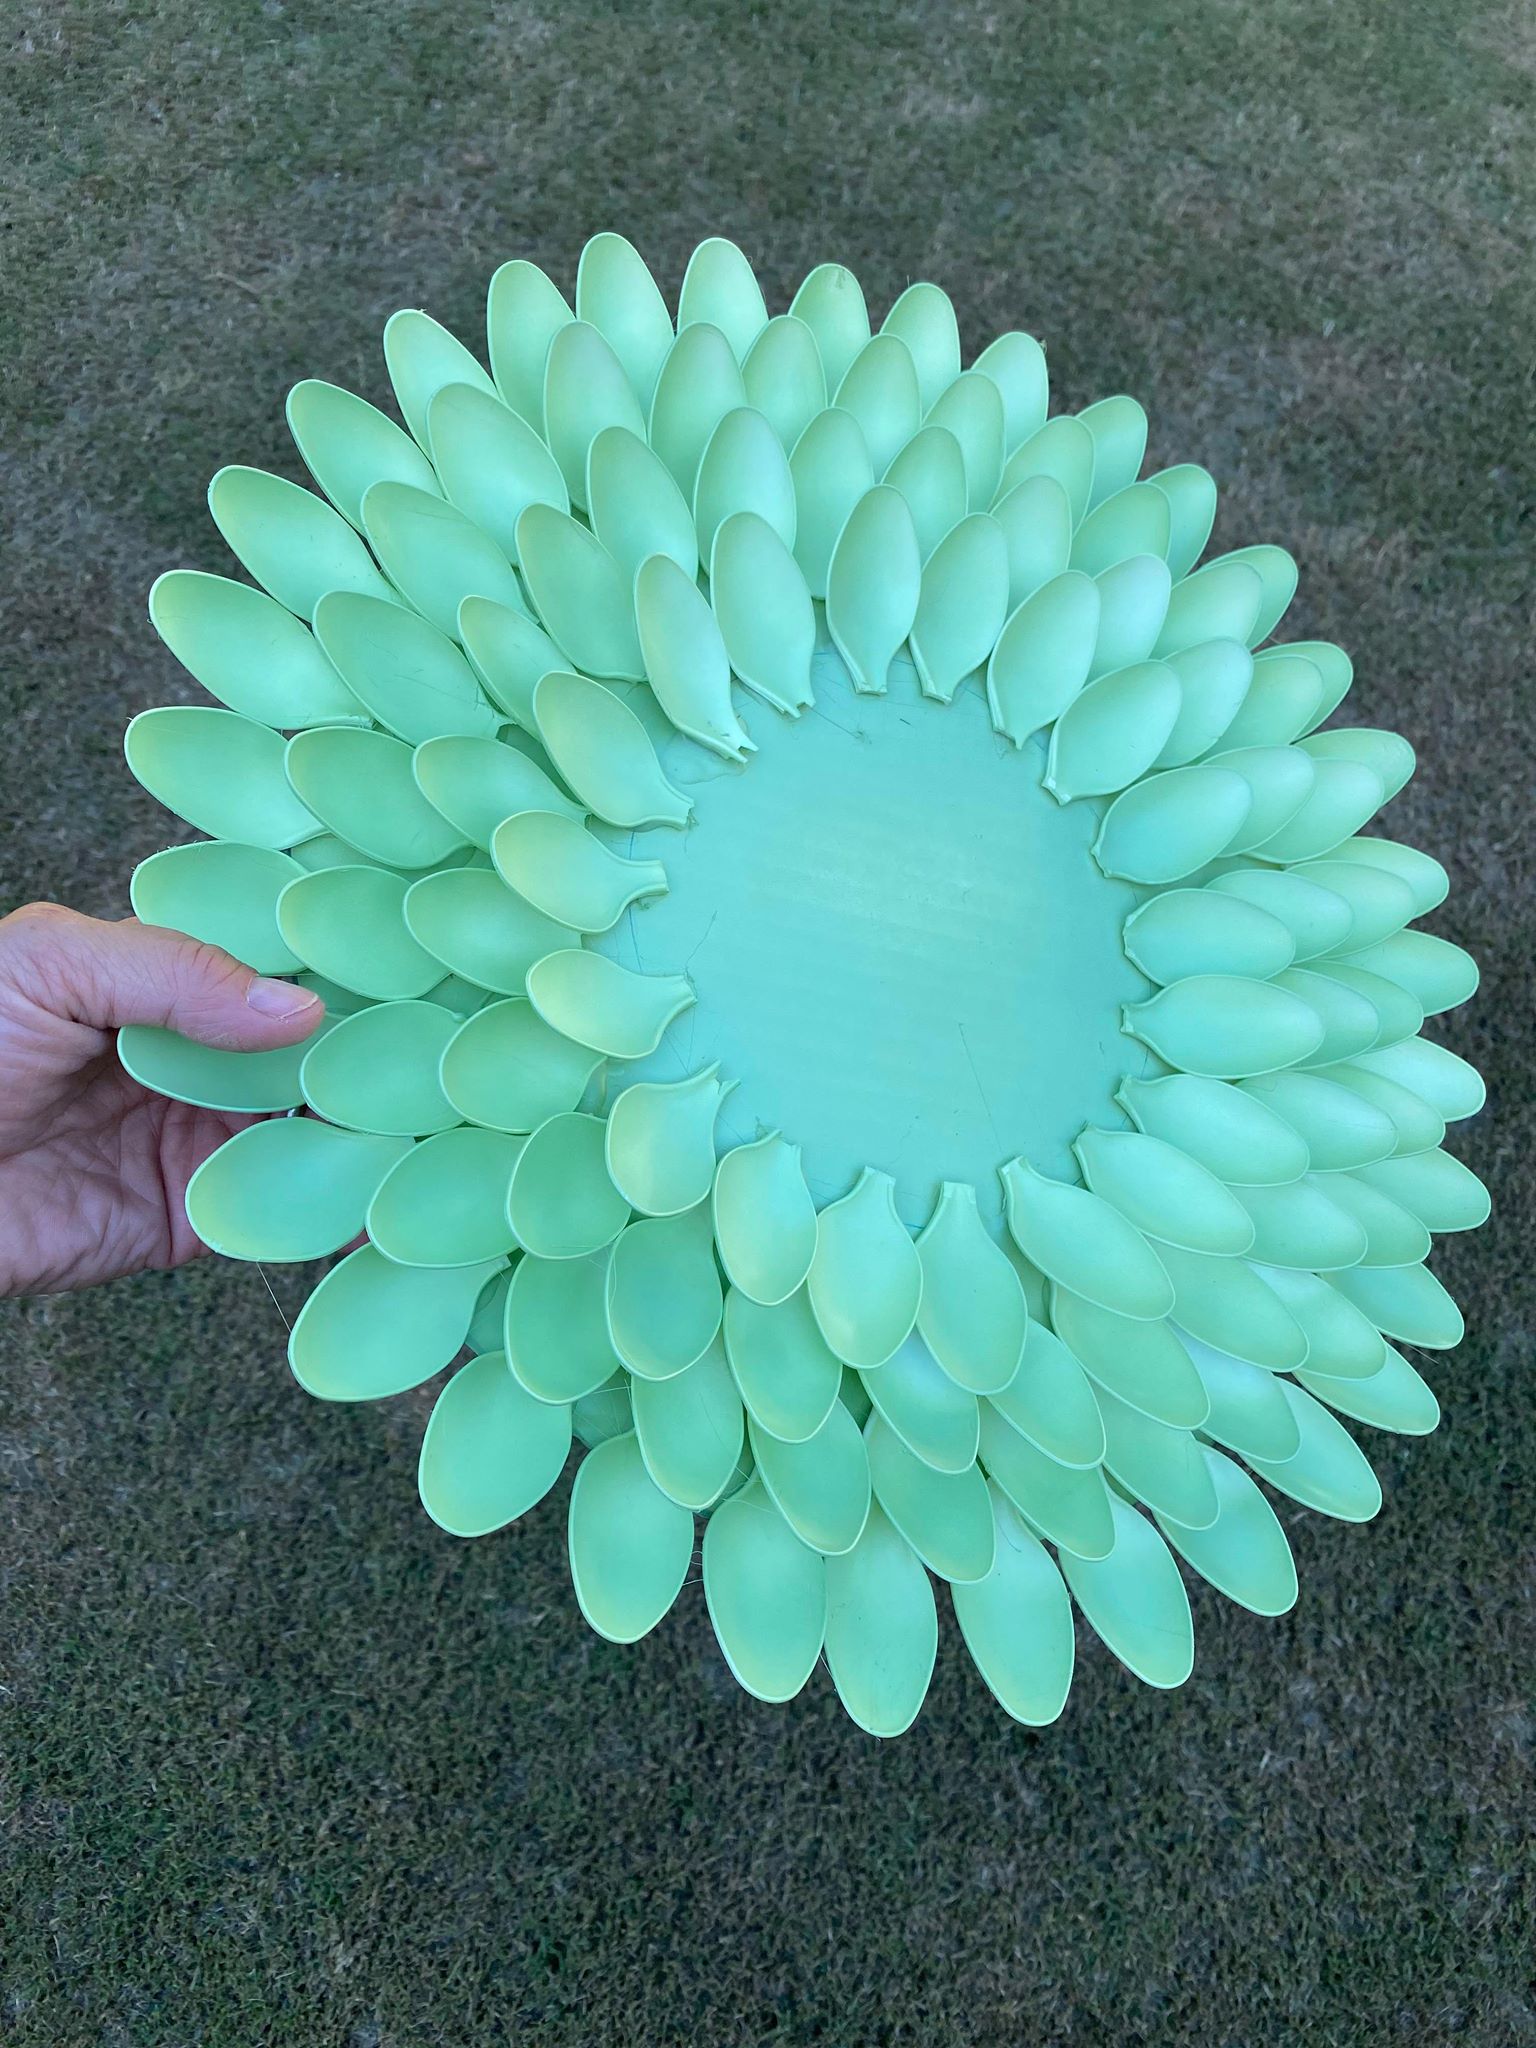
Once your spoons are all glued in place you will then want to spray paint the whole wreath.
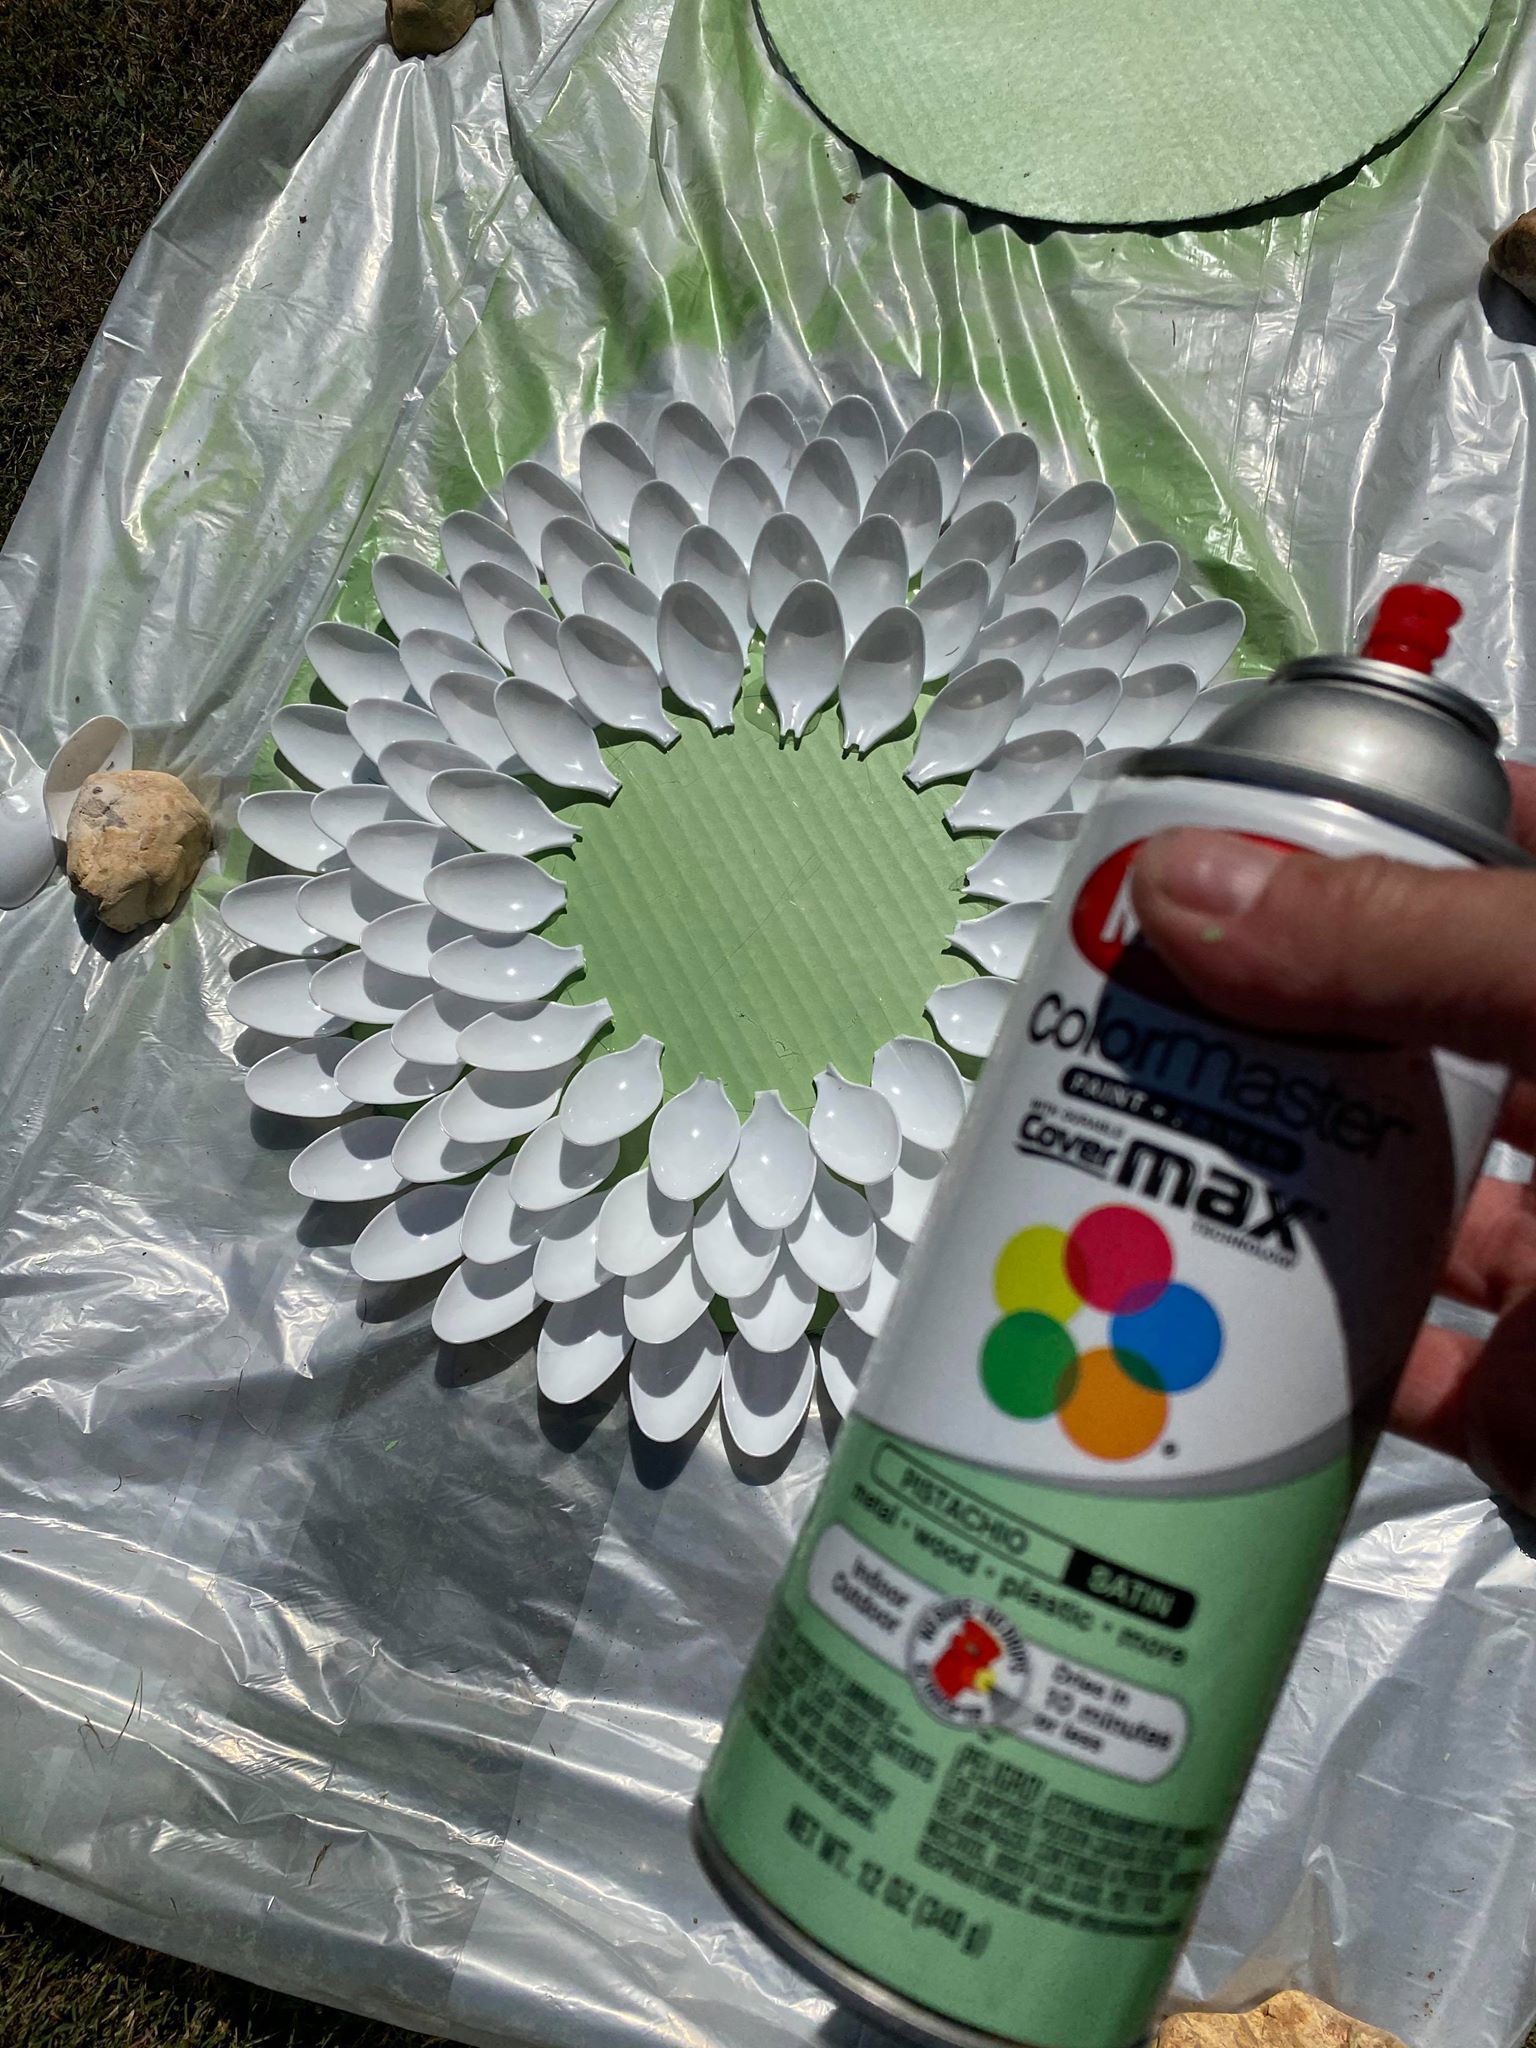
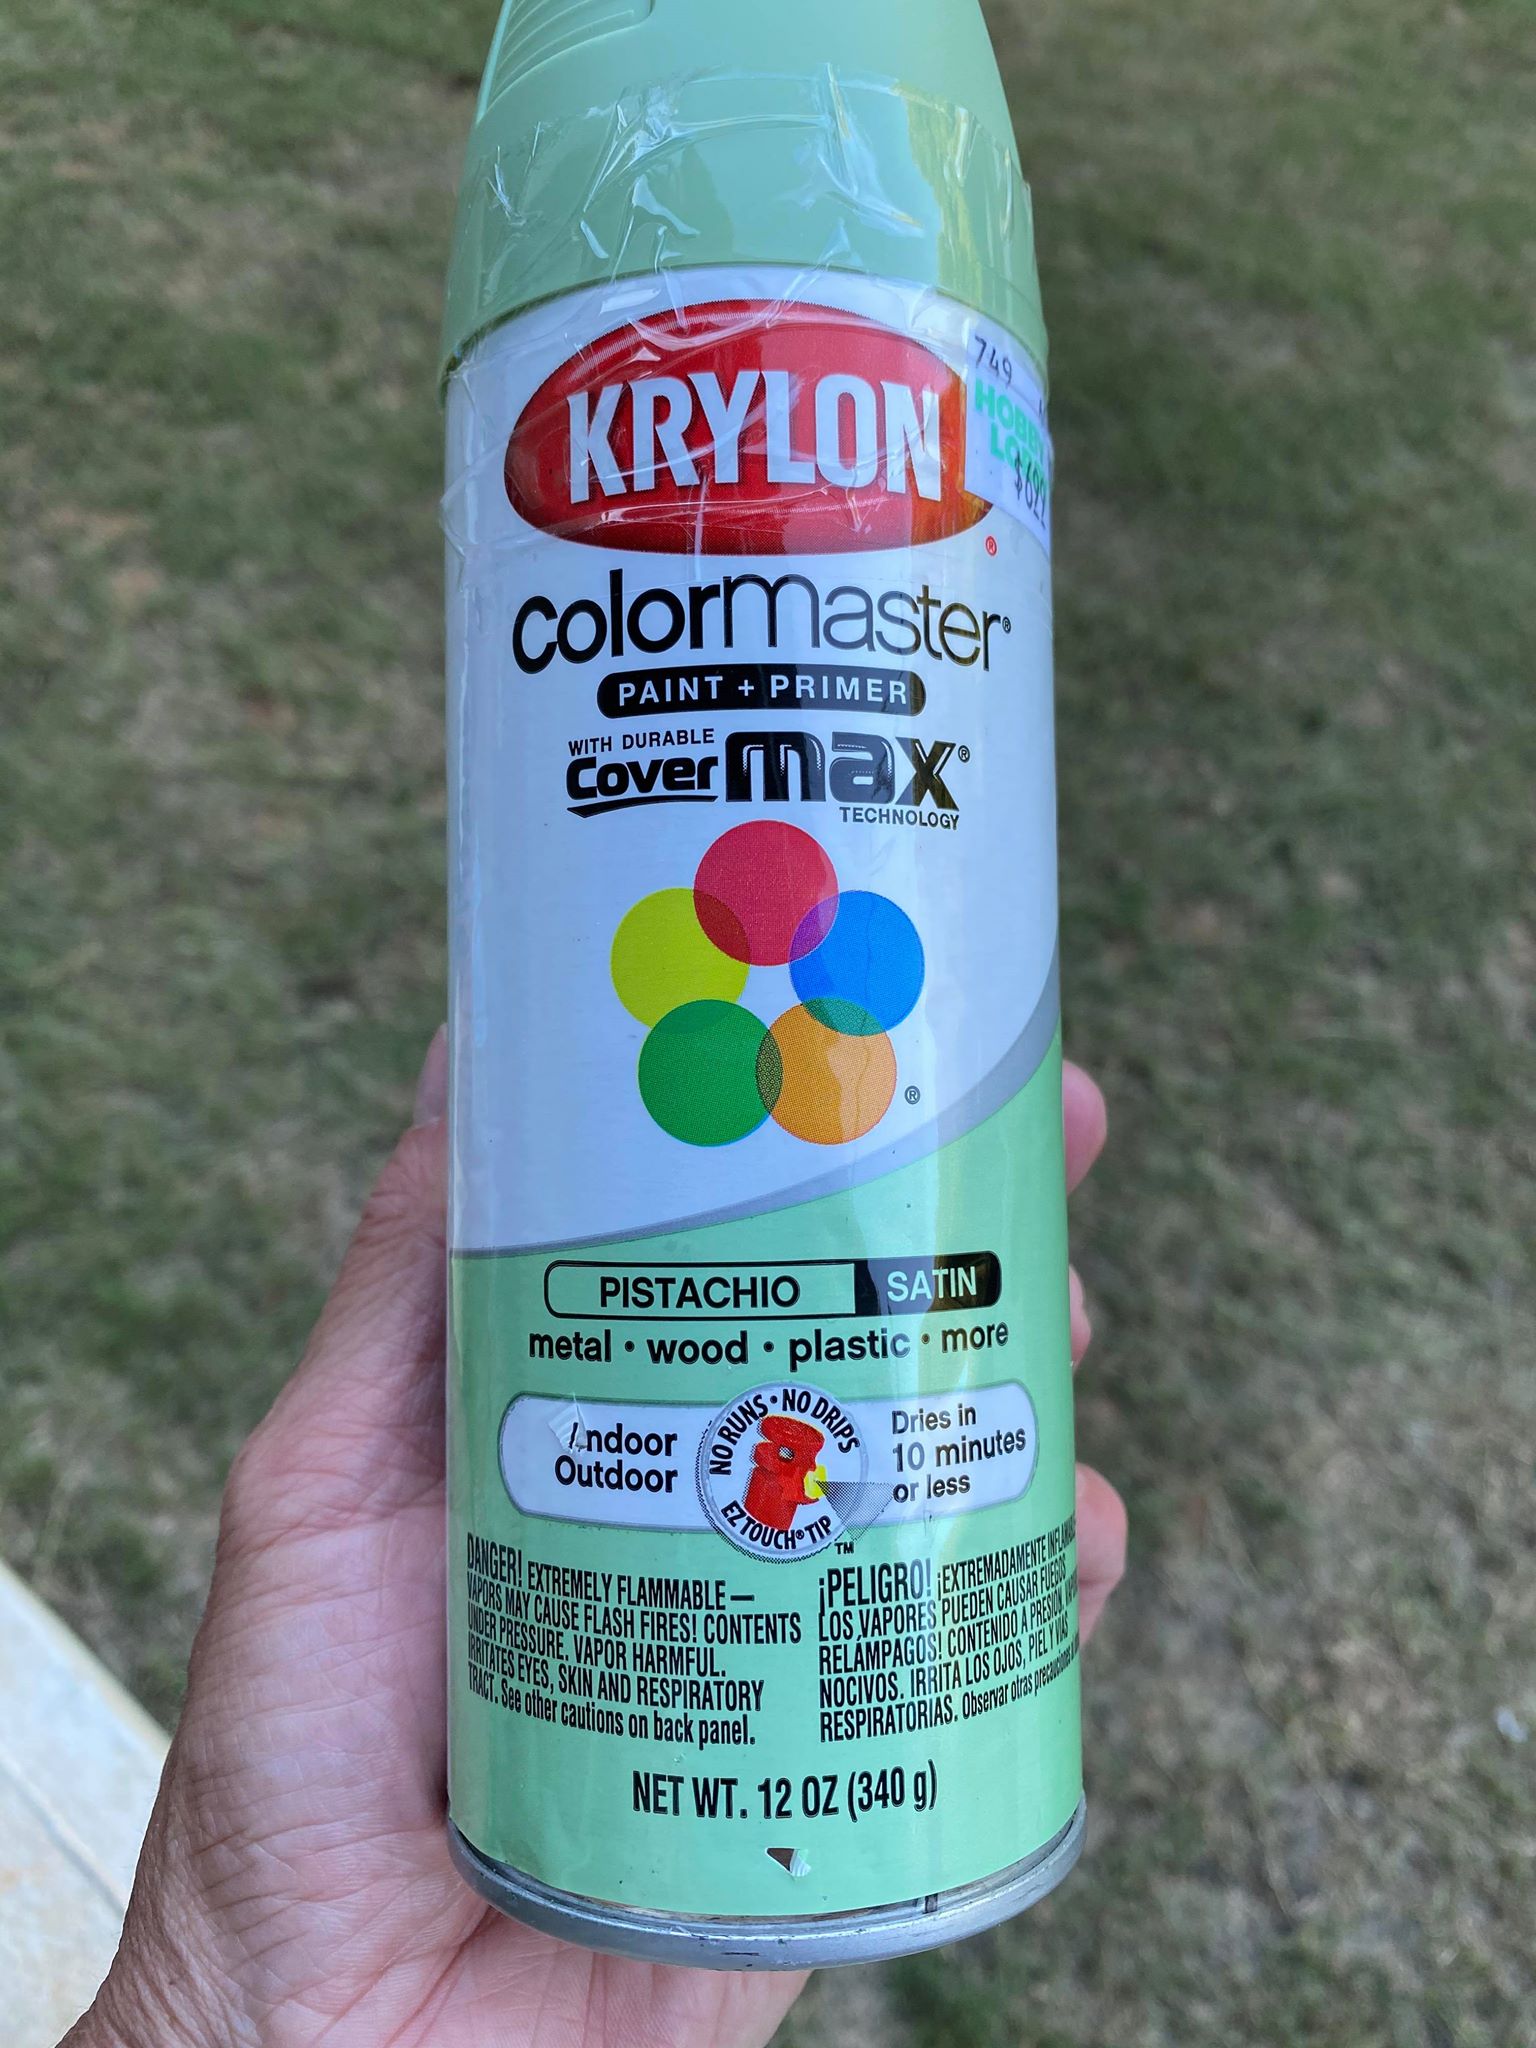
I am using a krylon spray paint and the color is pistachio.
Be sure to spray paint the back.
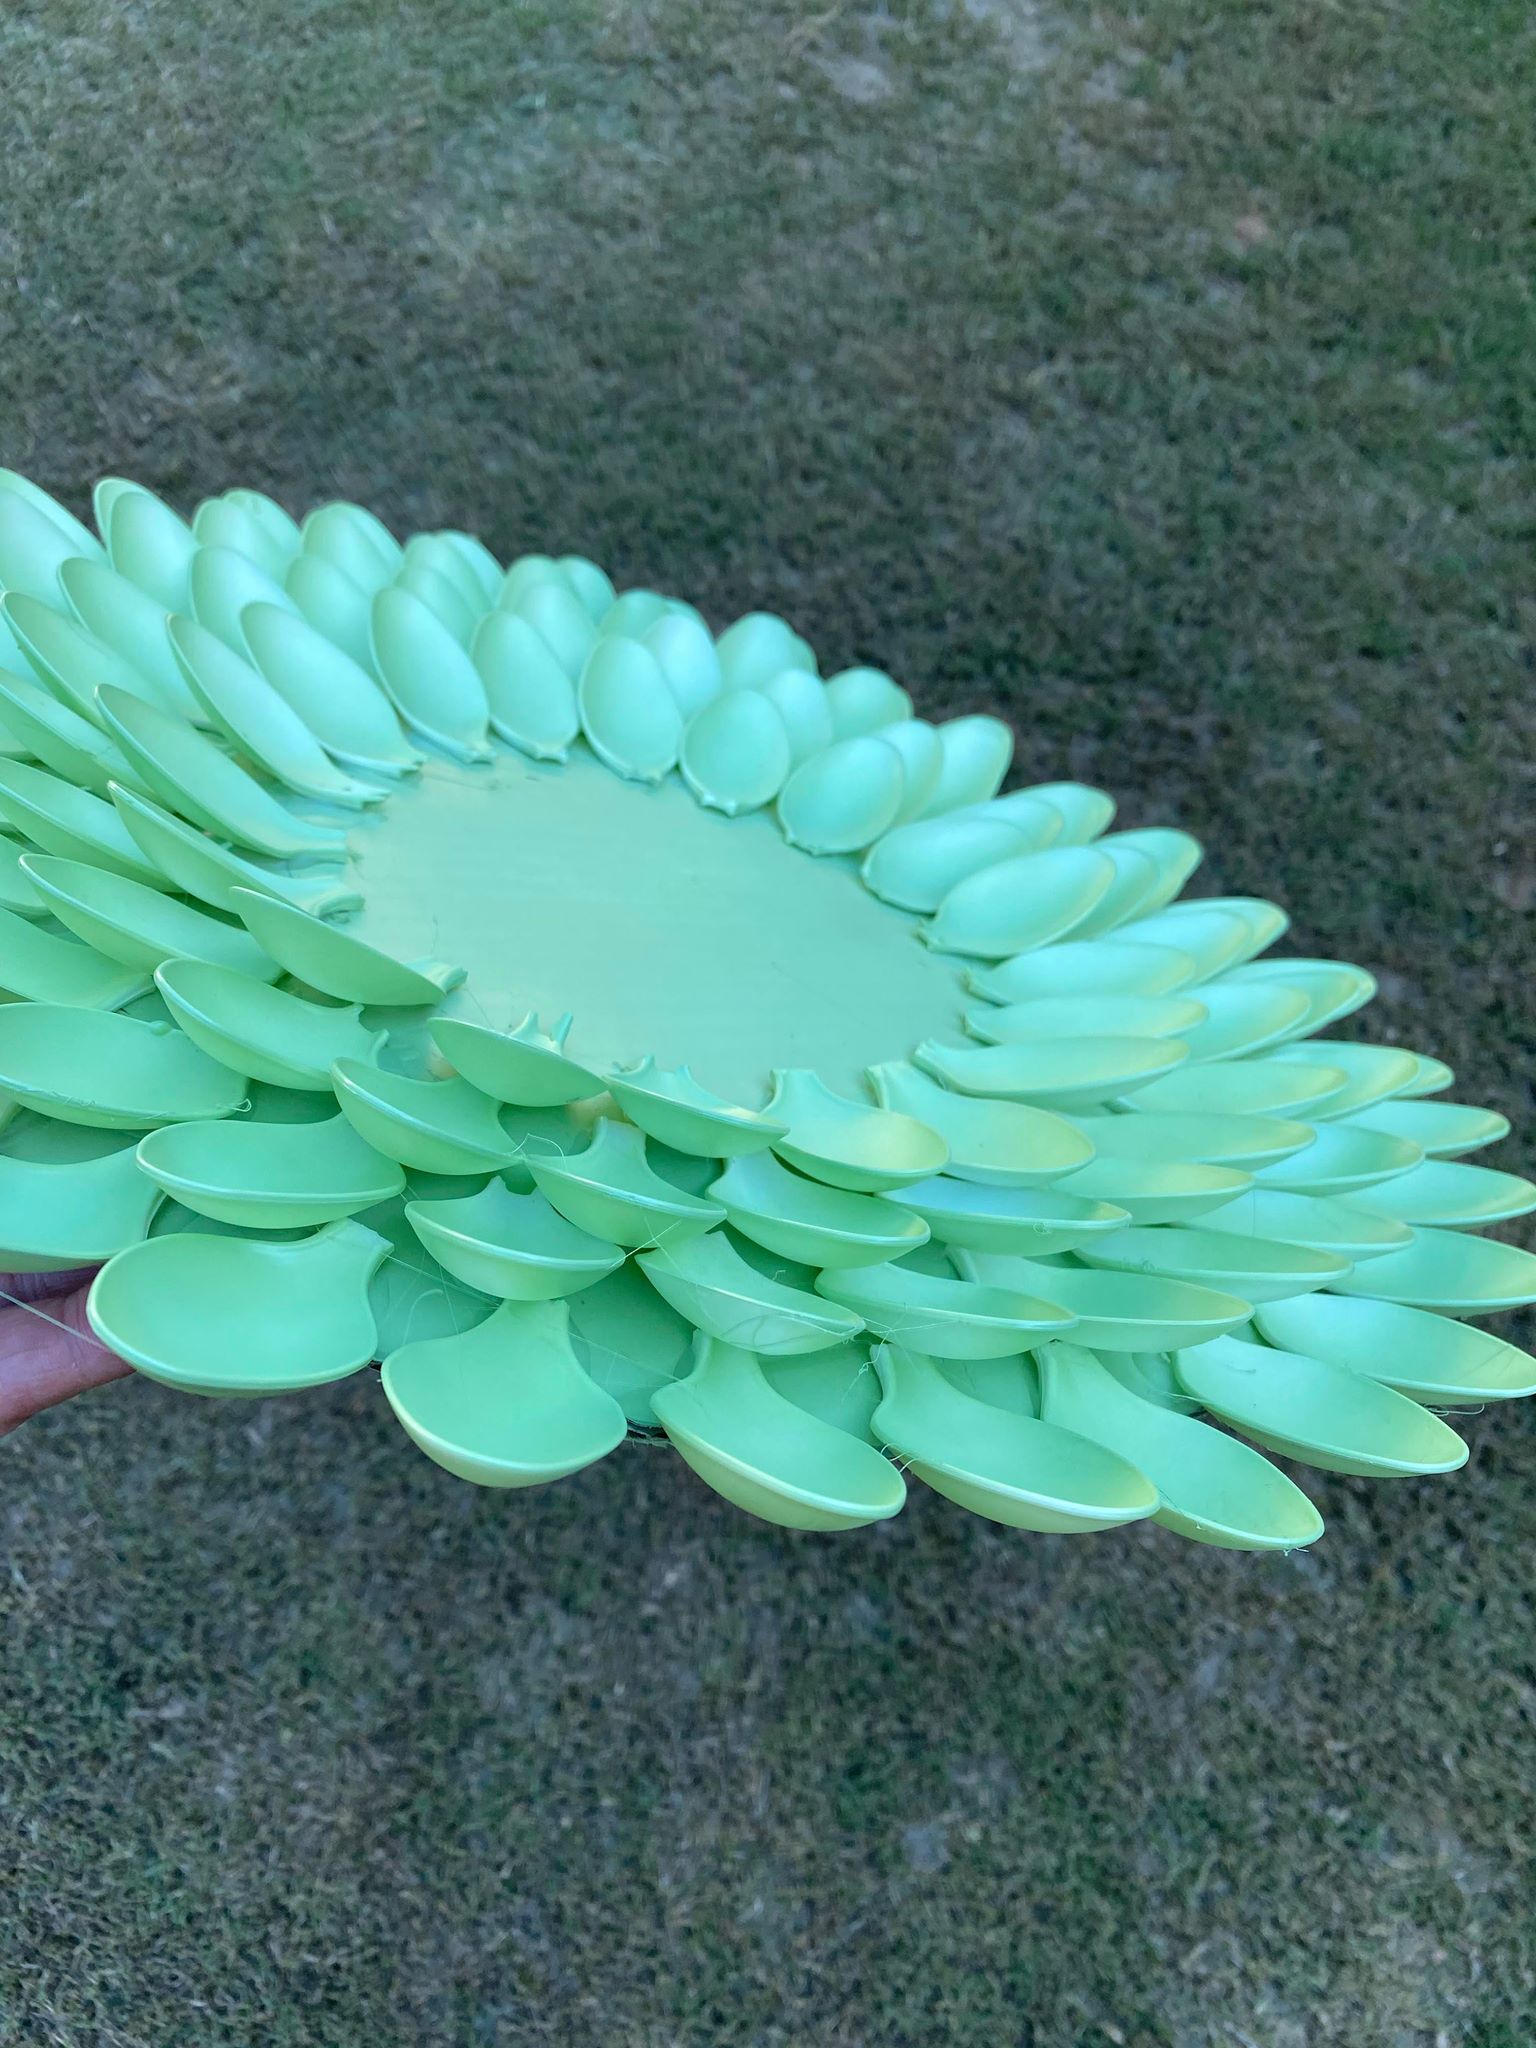
You will want to make sure you get all the layers covered with the spray paint.
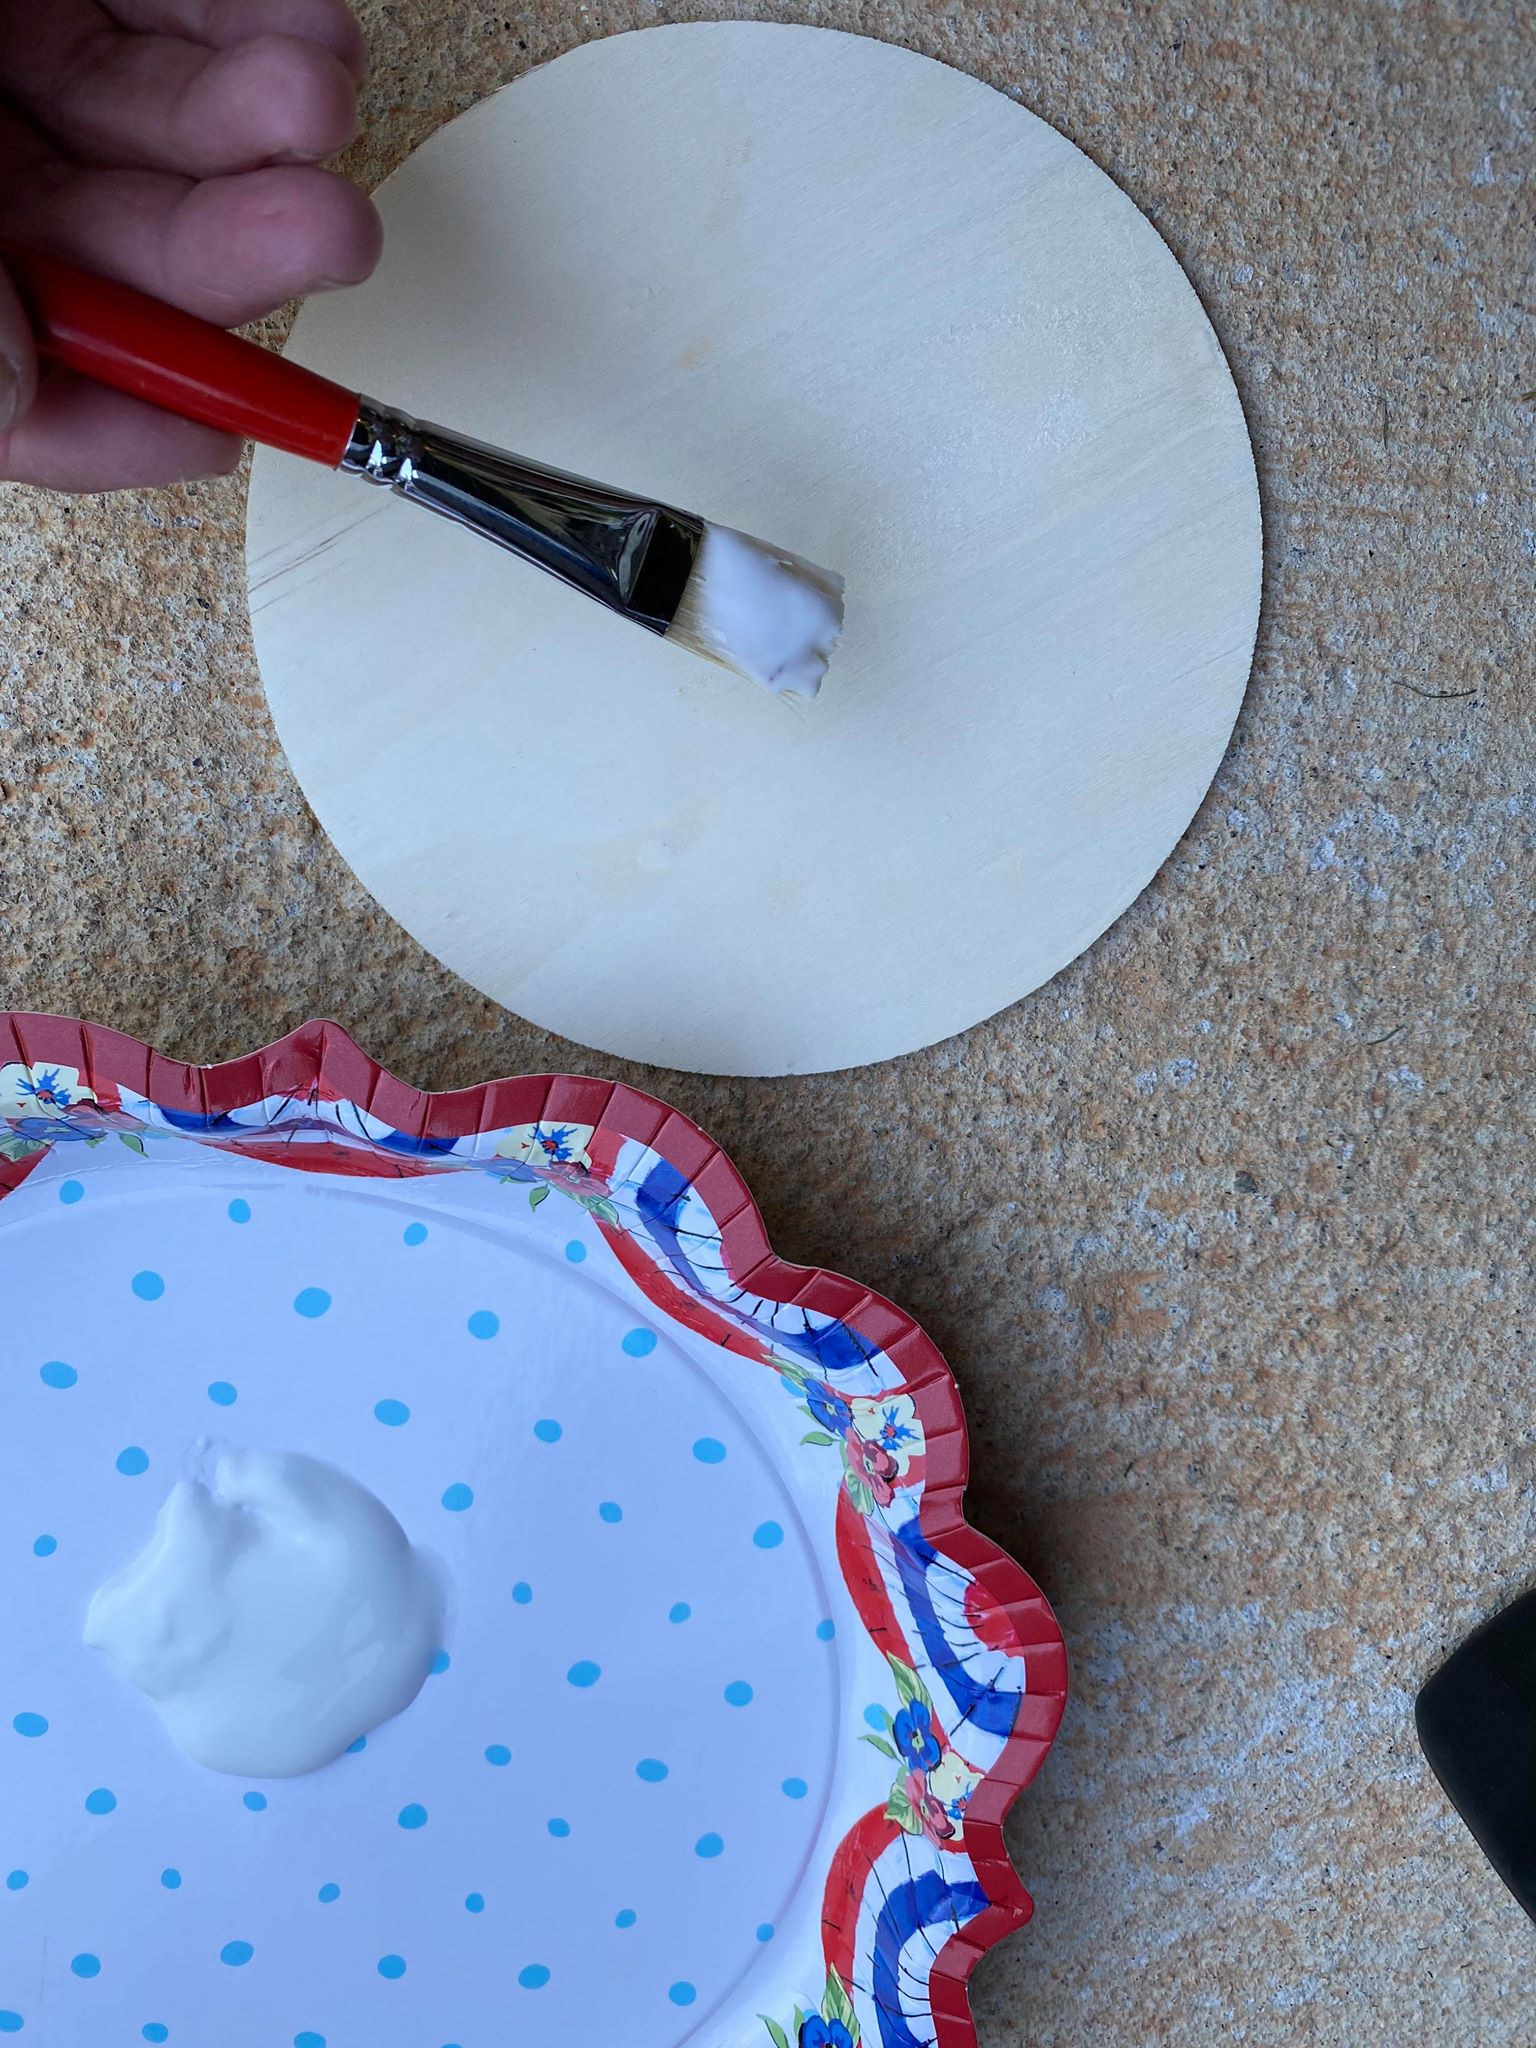
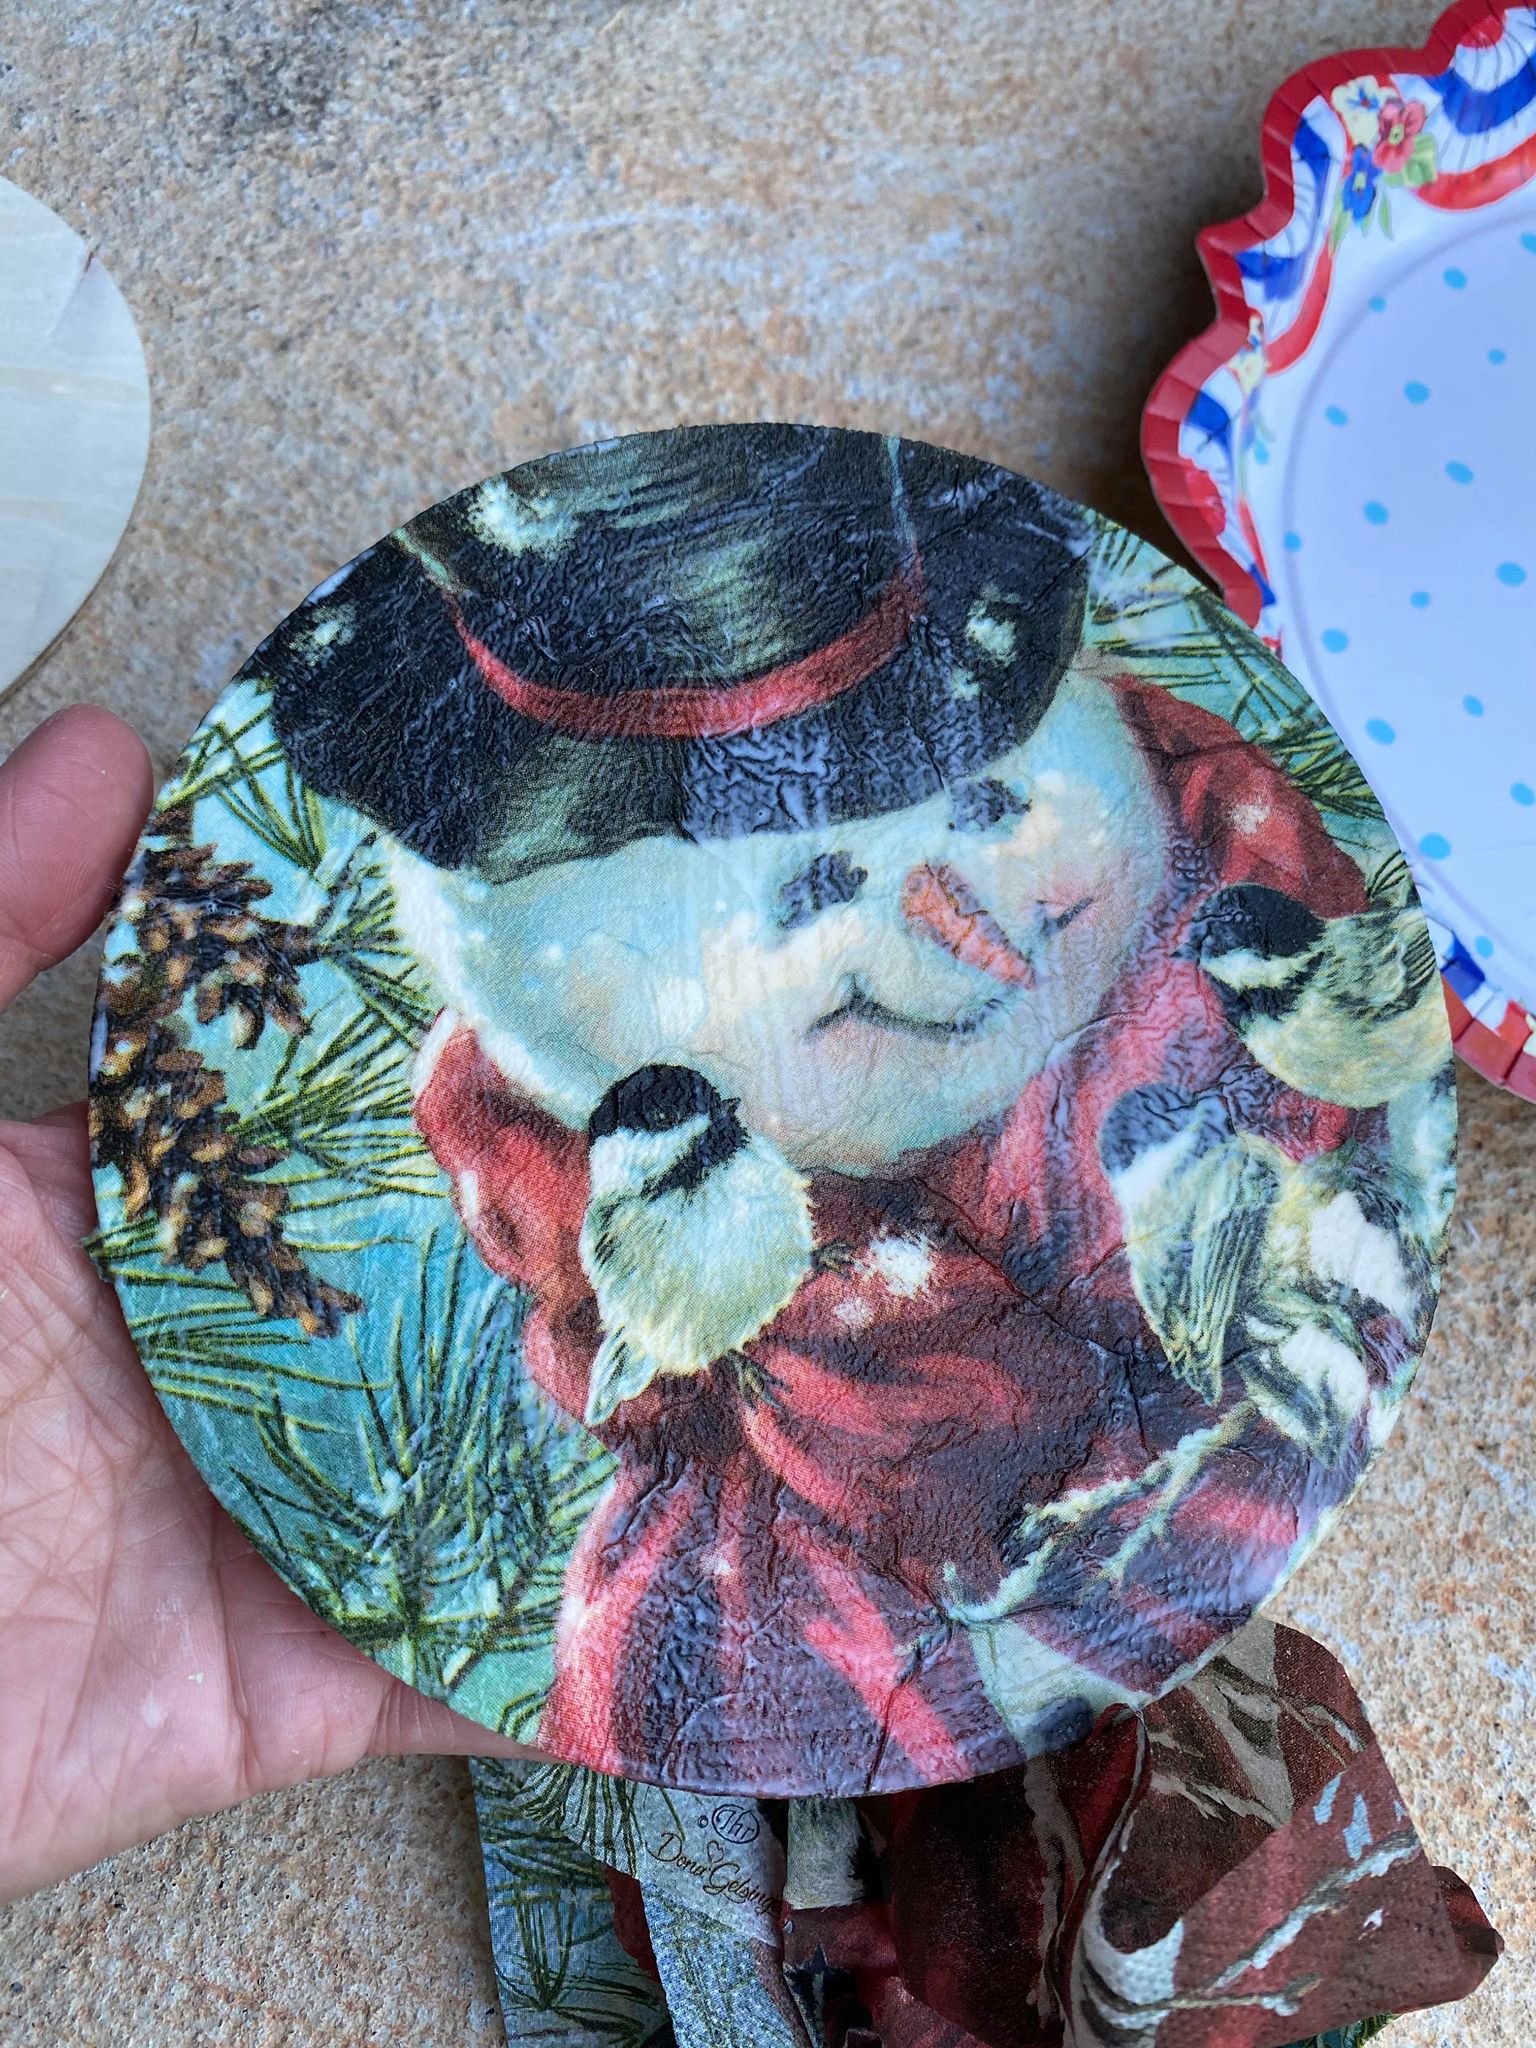
It is now time to decoupage the wooden disk. I decoupaged a napkin onto the wooden disk with Elmer’s glue.
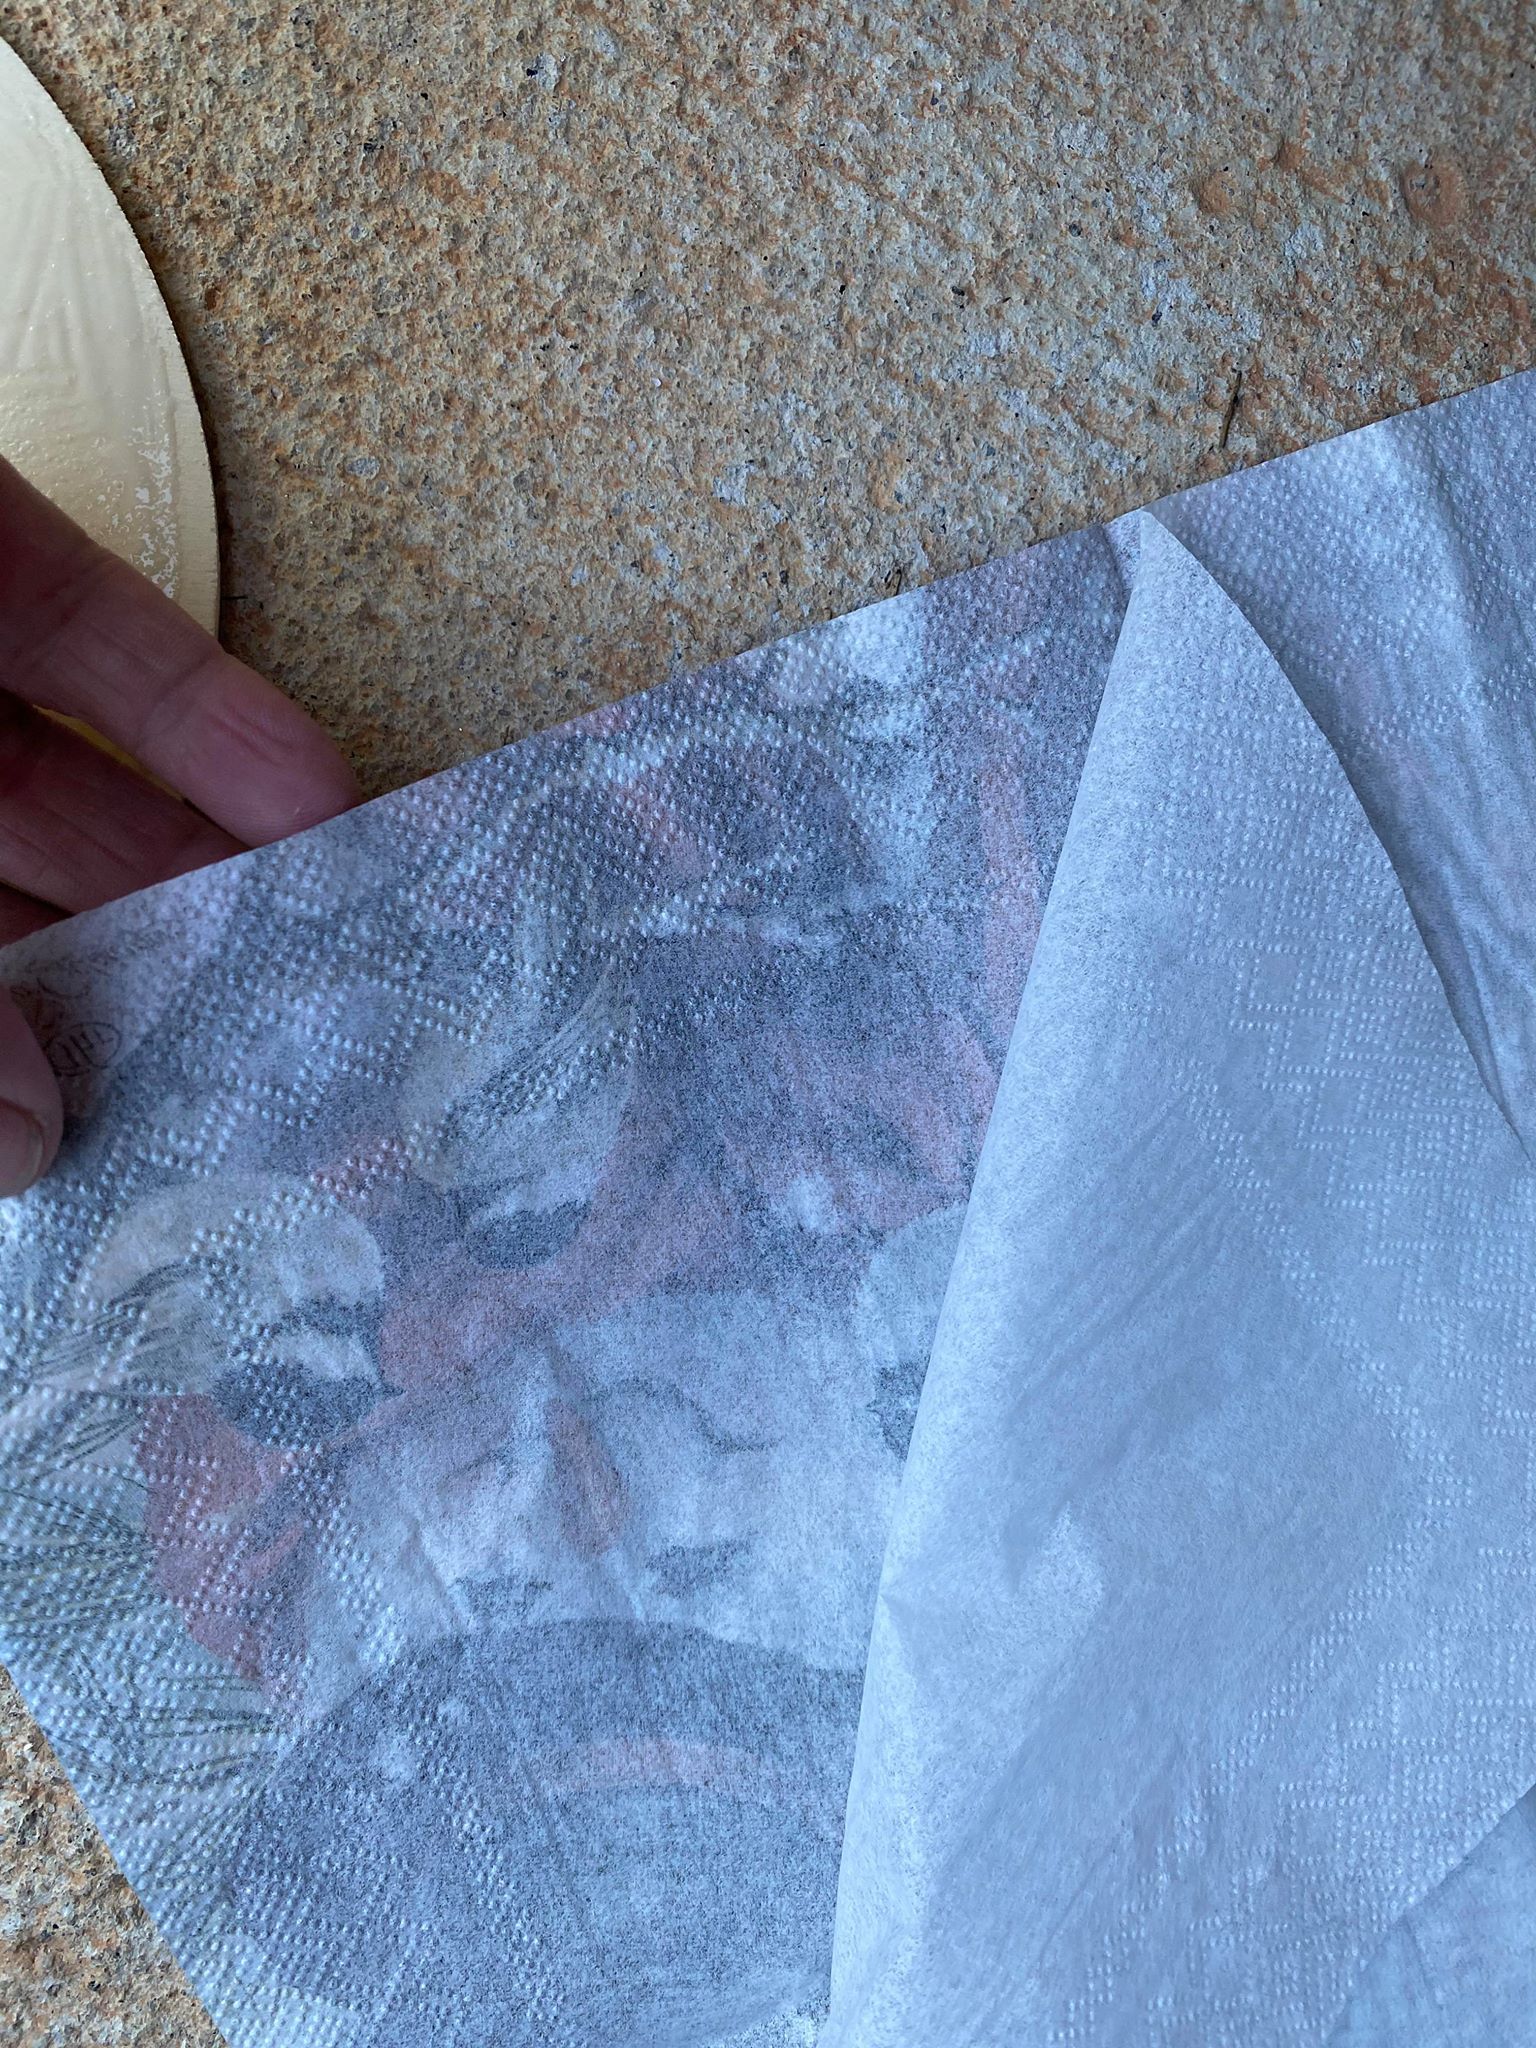
Be sure to pull all the back layers of the napkin off.
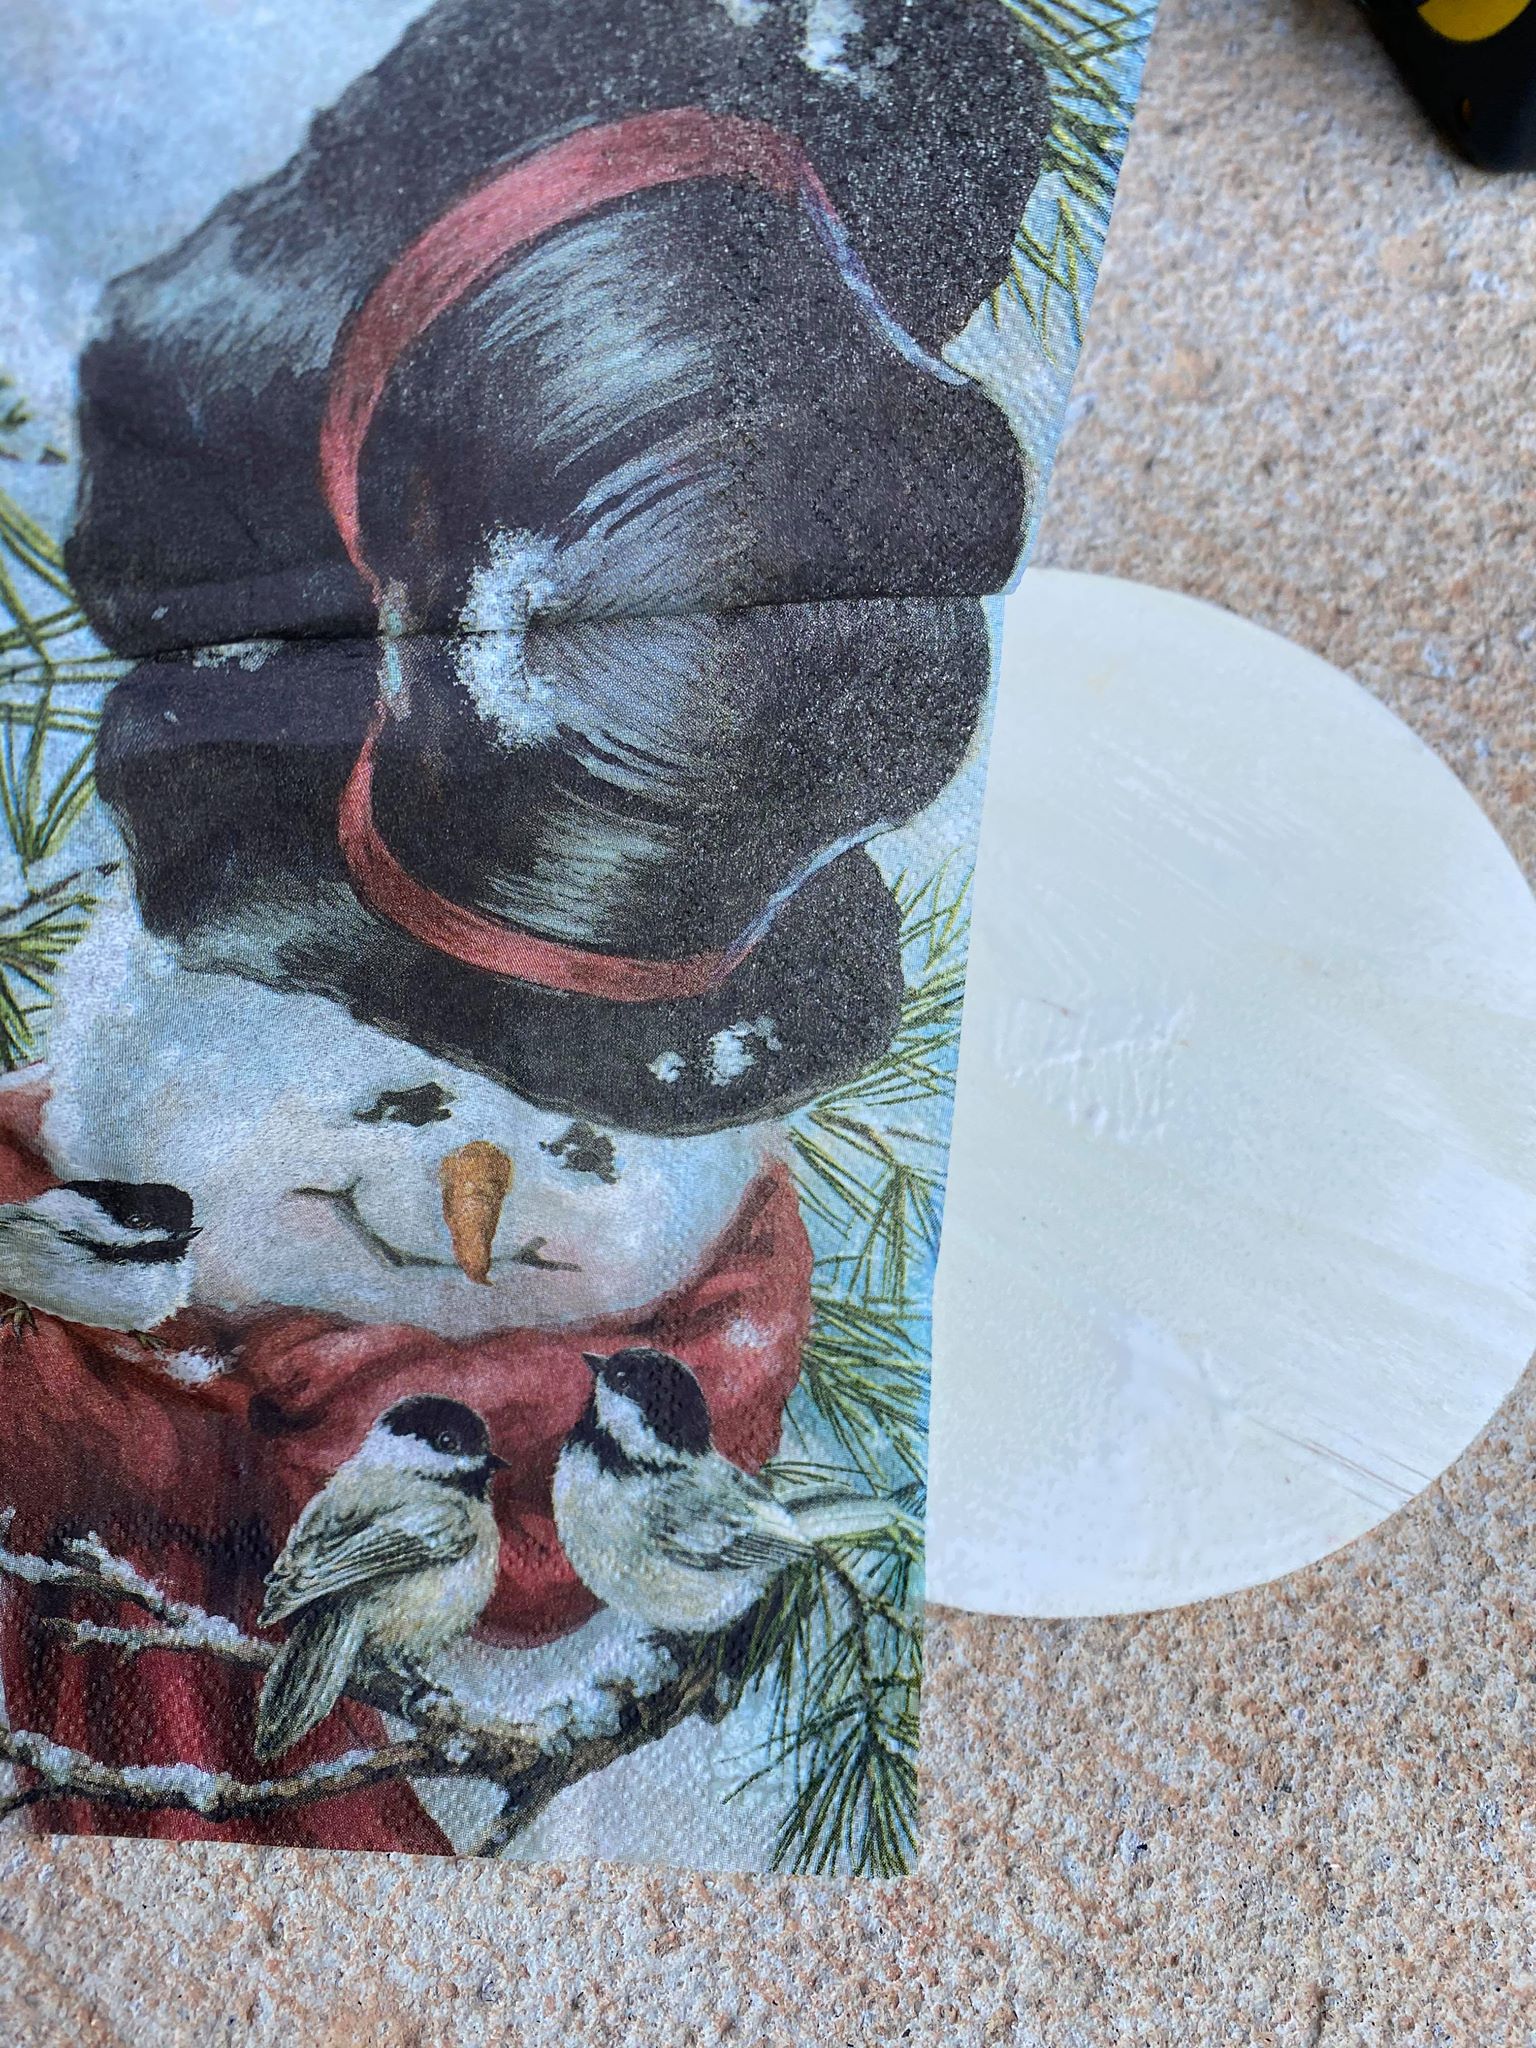
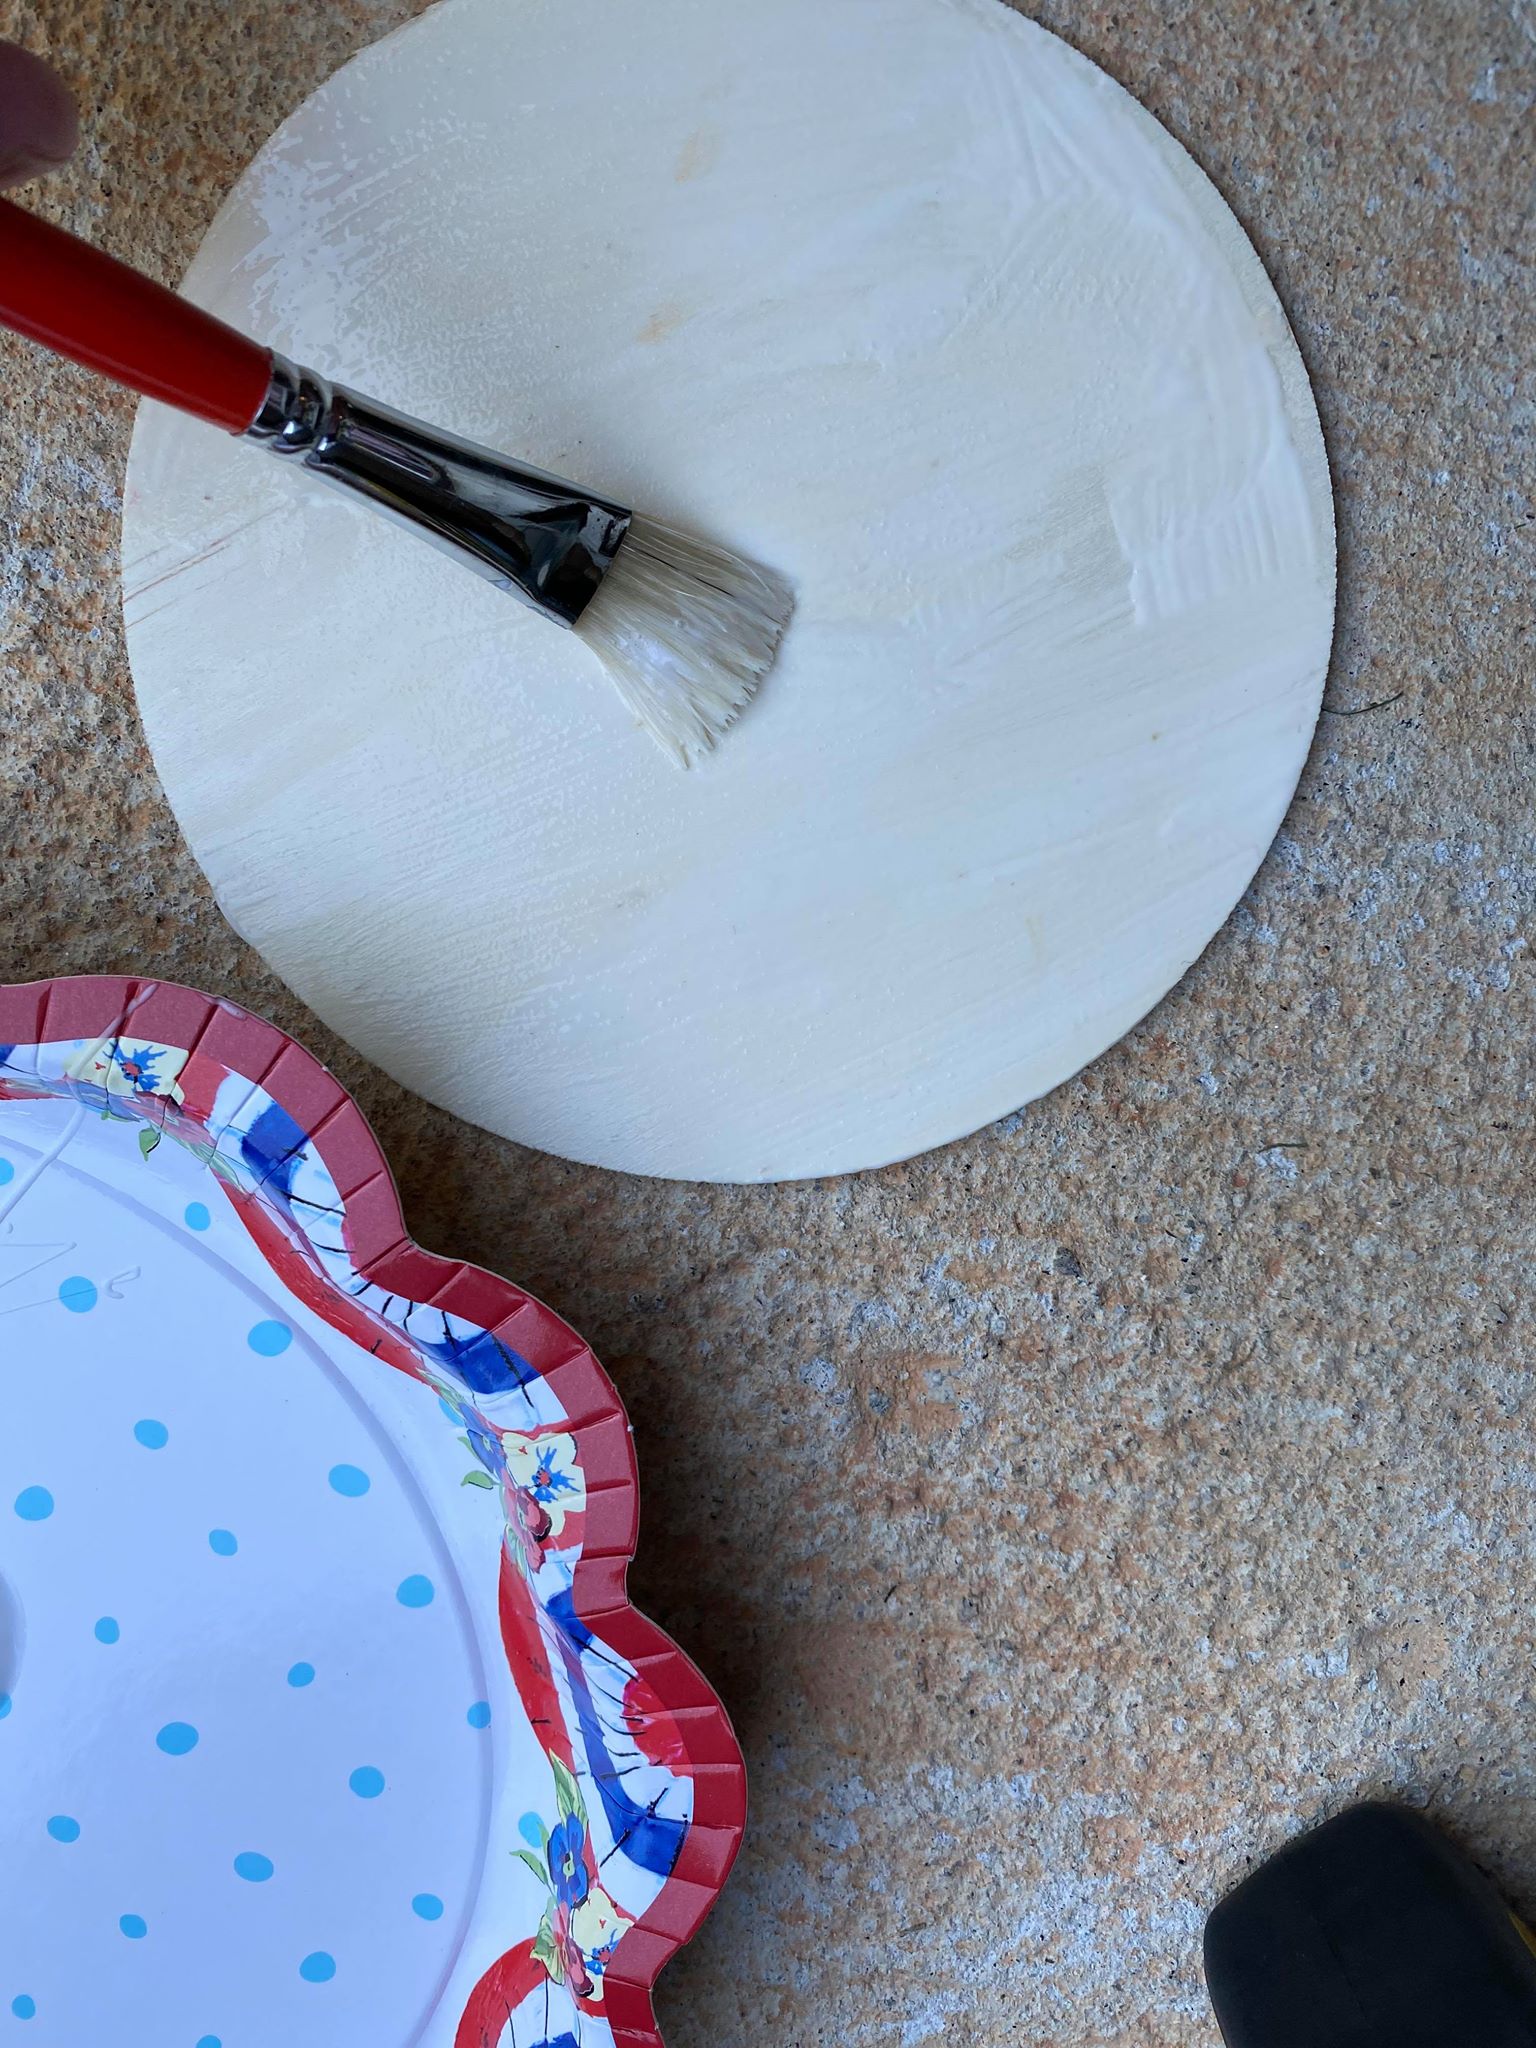
I put a layer of Elmer’s glue onto the wooden disc and then I put Elmer’s glue over the napkin.
I added a few pieces of cardboard to center of the wreath. This will give the center of the wreath a little more height so the wooden disk can be glued to the center.
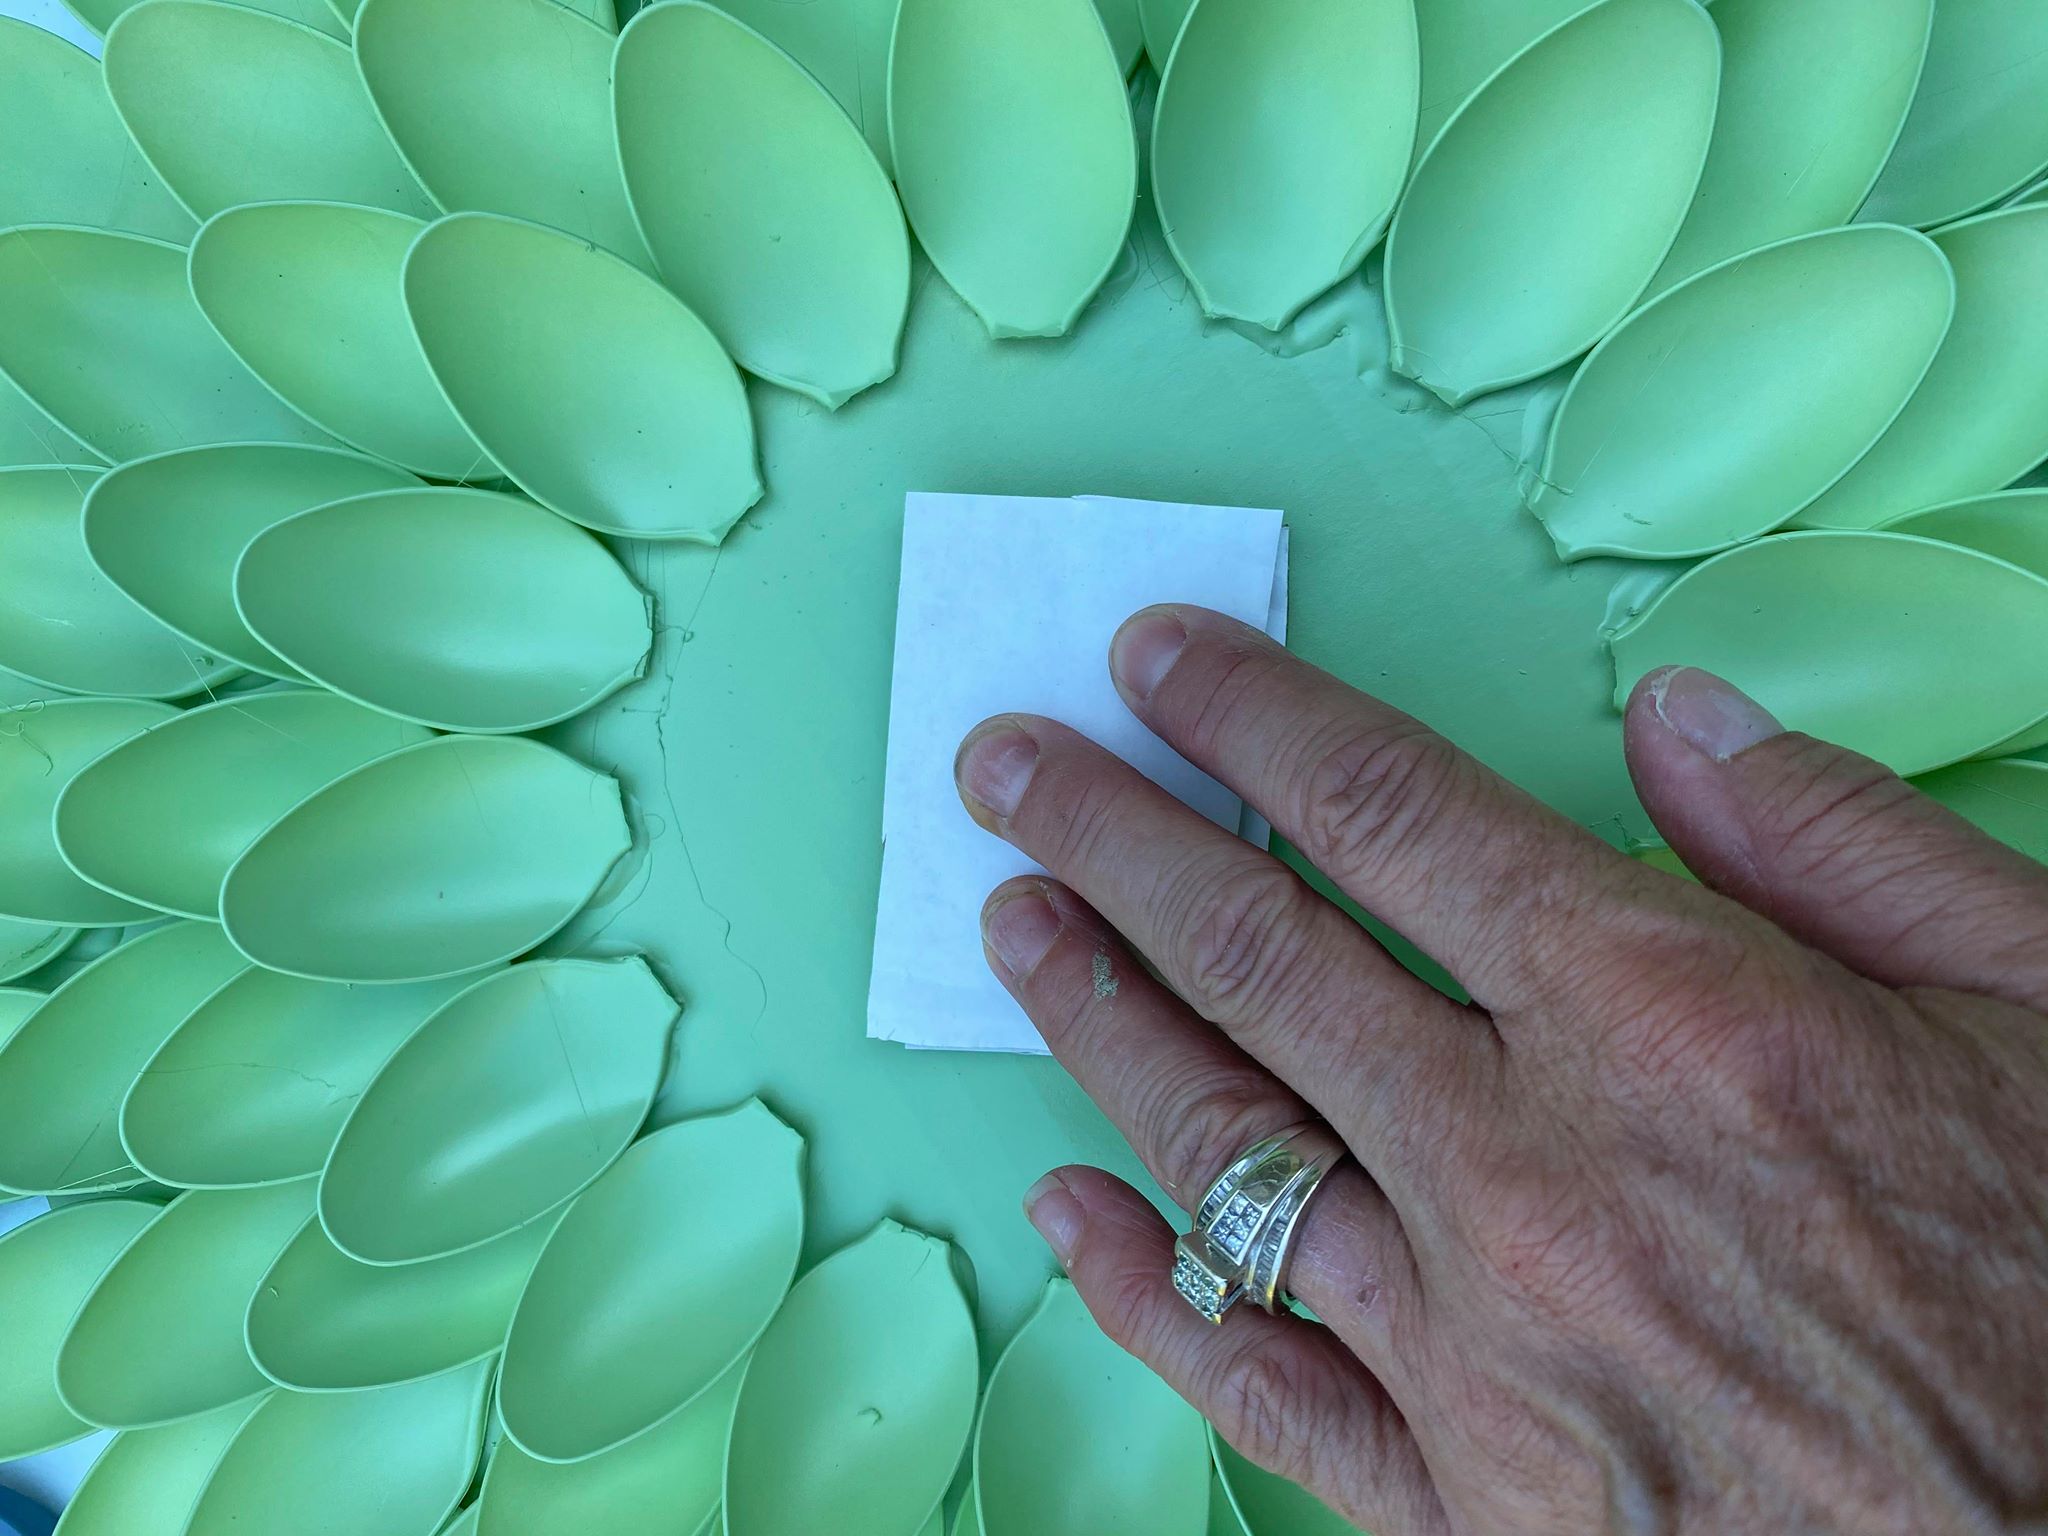
I then added glue to the back of the wooden disk and placed it onto the center of the wreath.
You can put Velcro on the back of the wooden disc and in the center of the wreath so that you can change the disc out for different holidays.
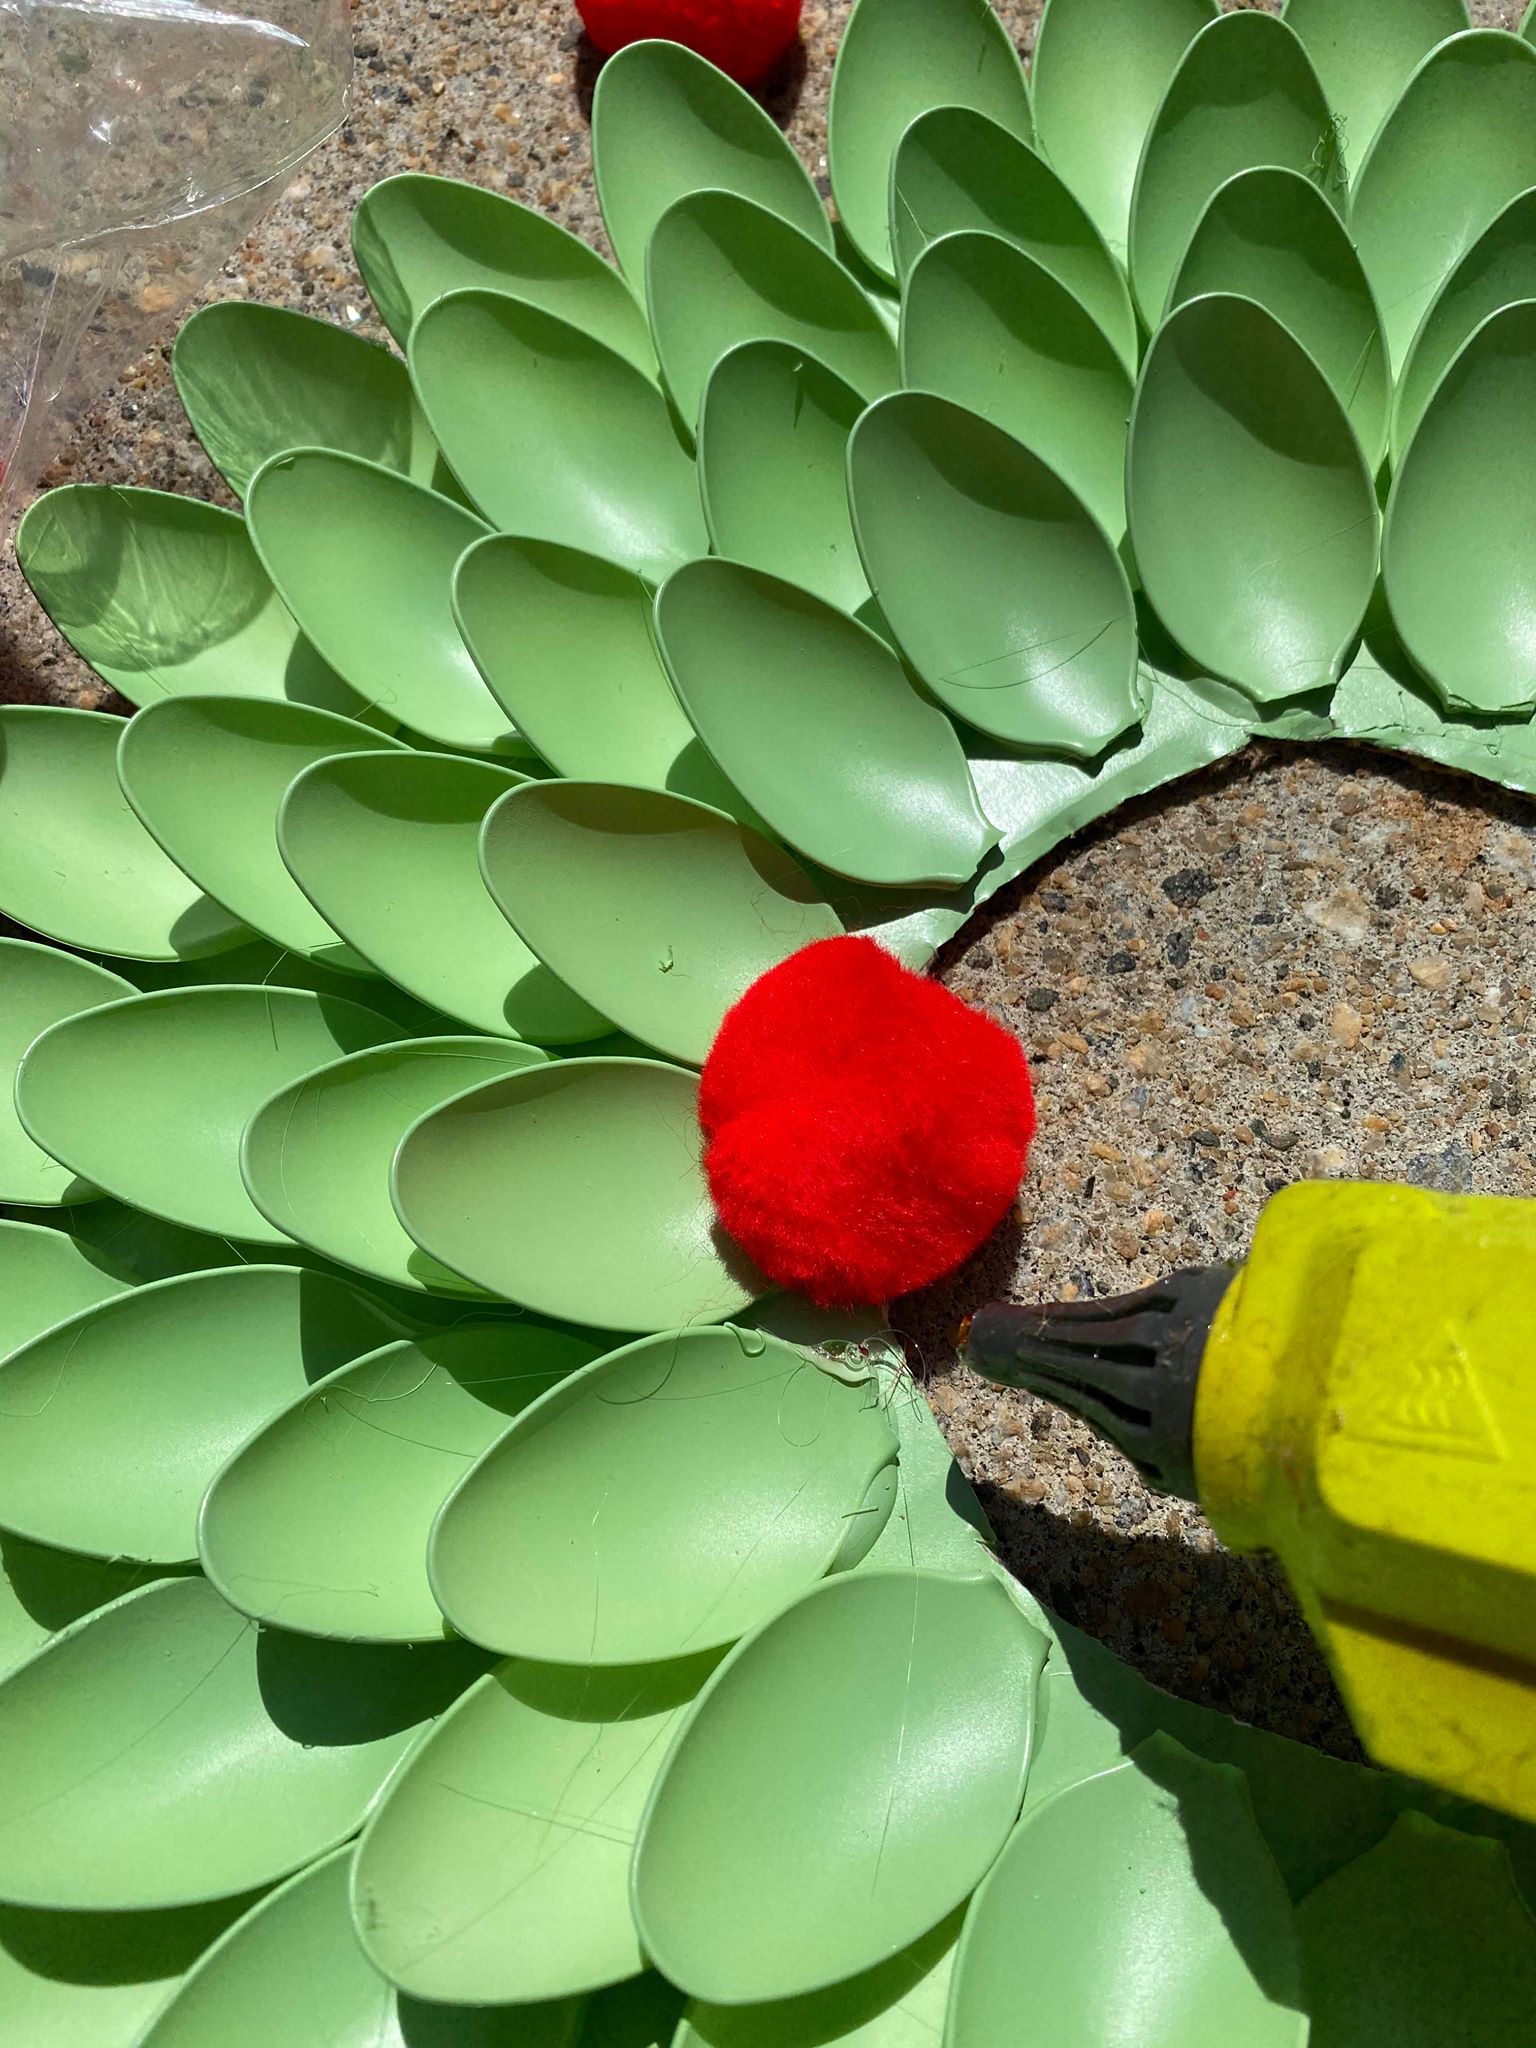
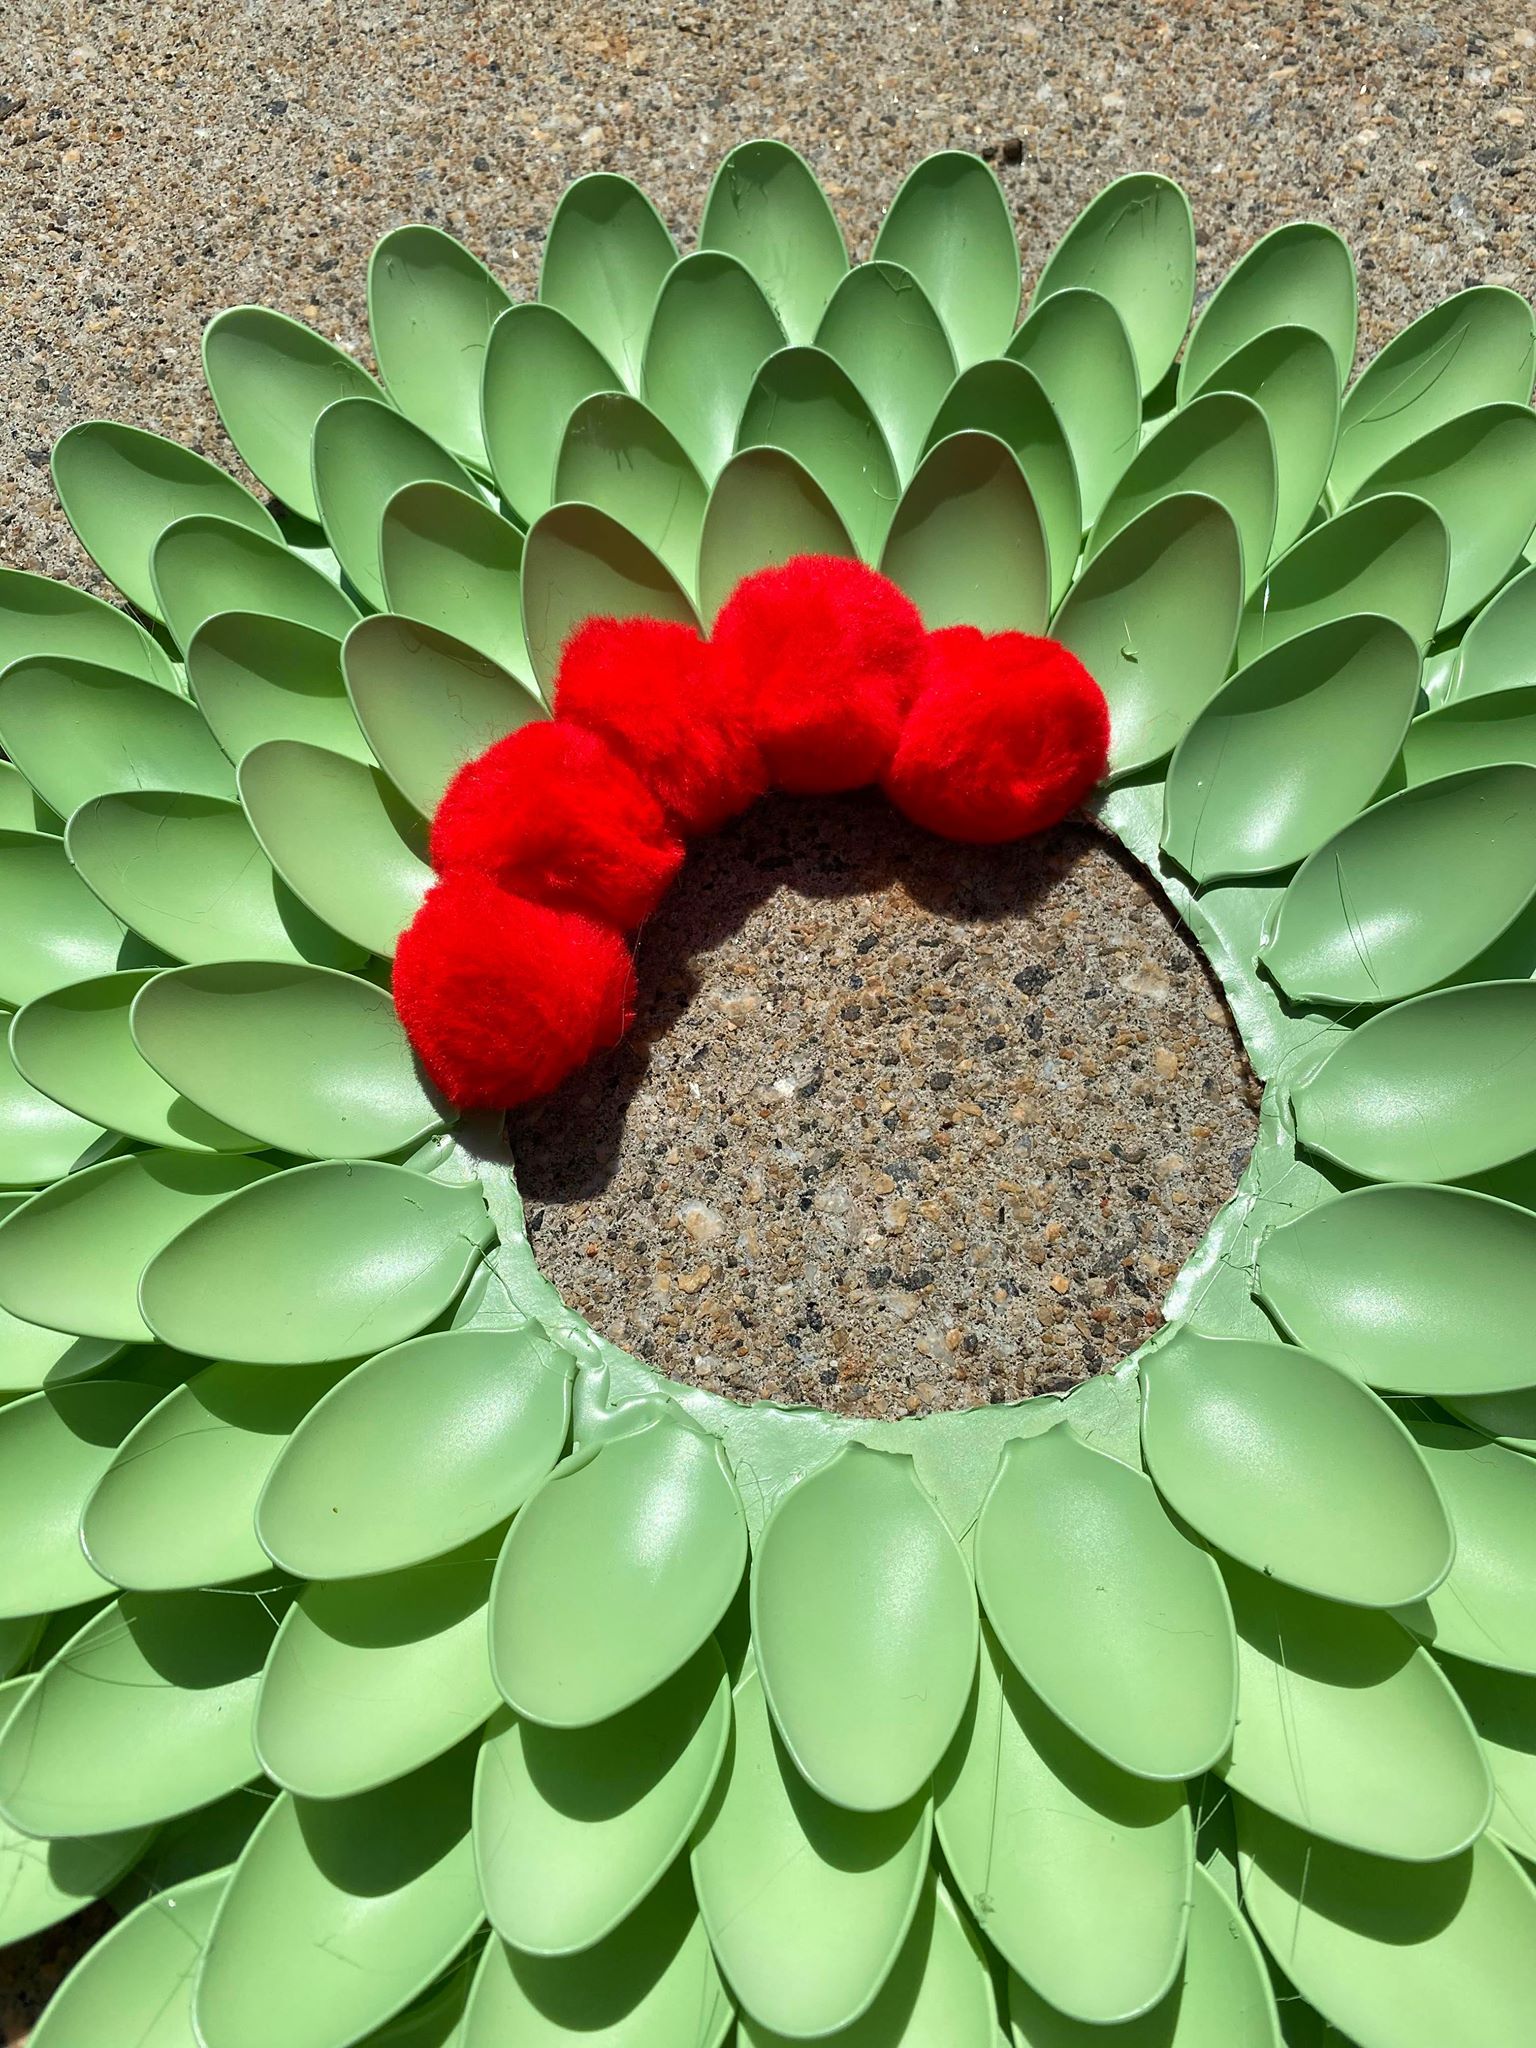
Another way to make this wreath is to cut out the center of the wreath.

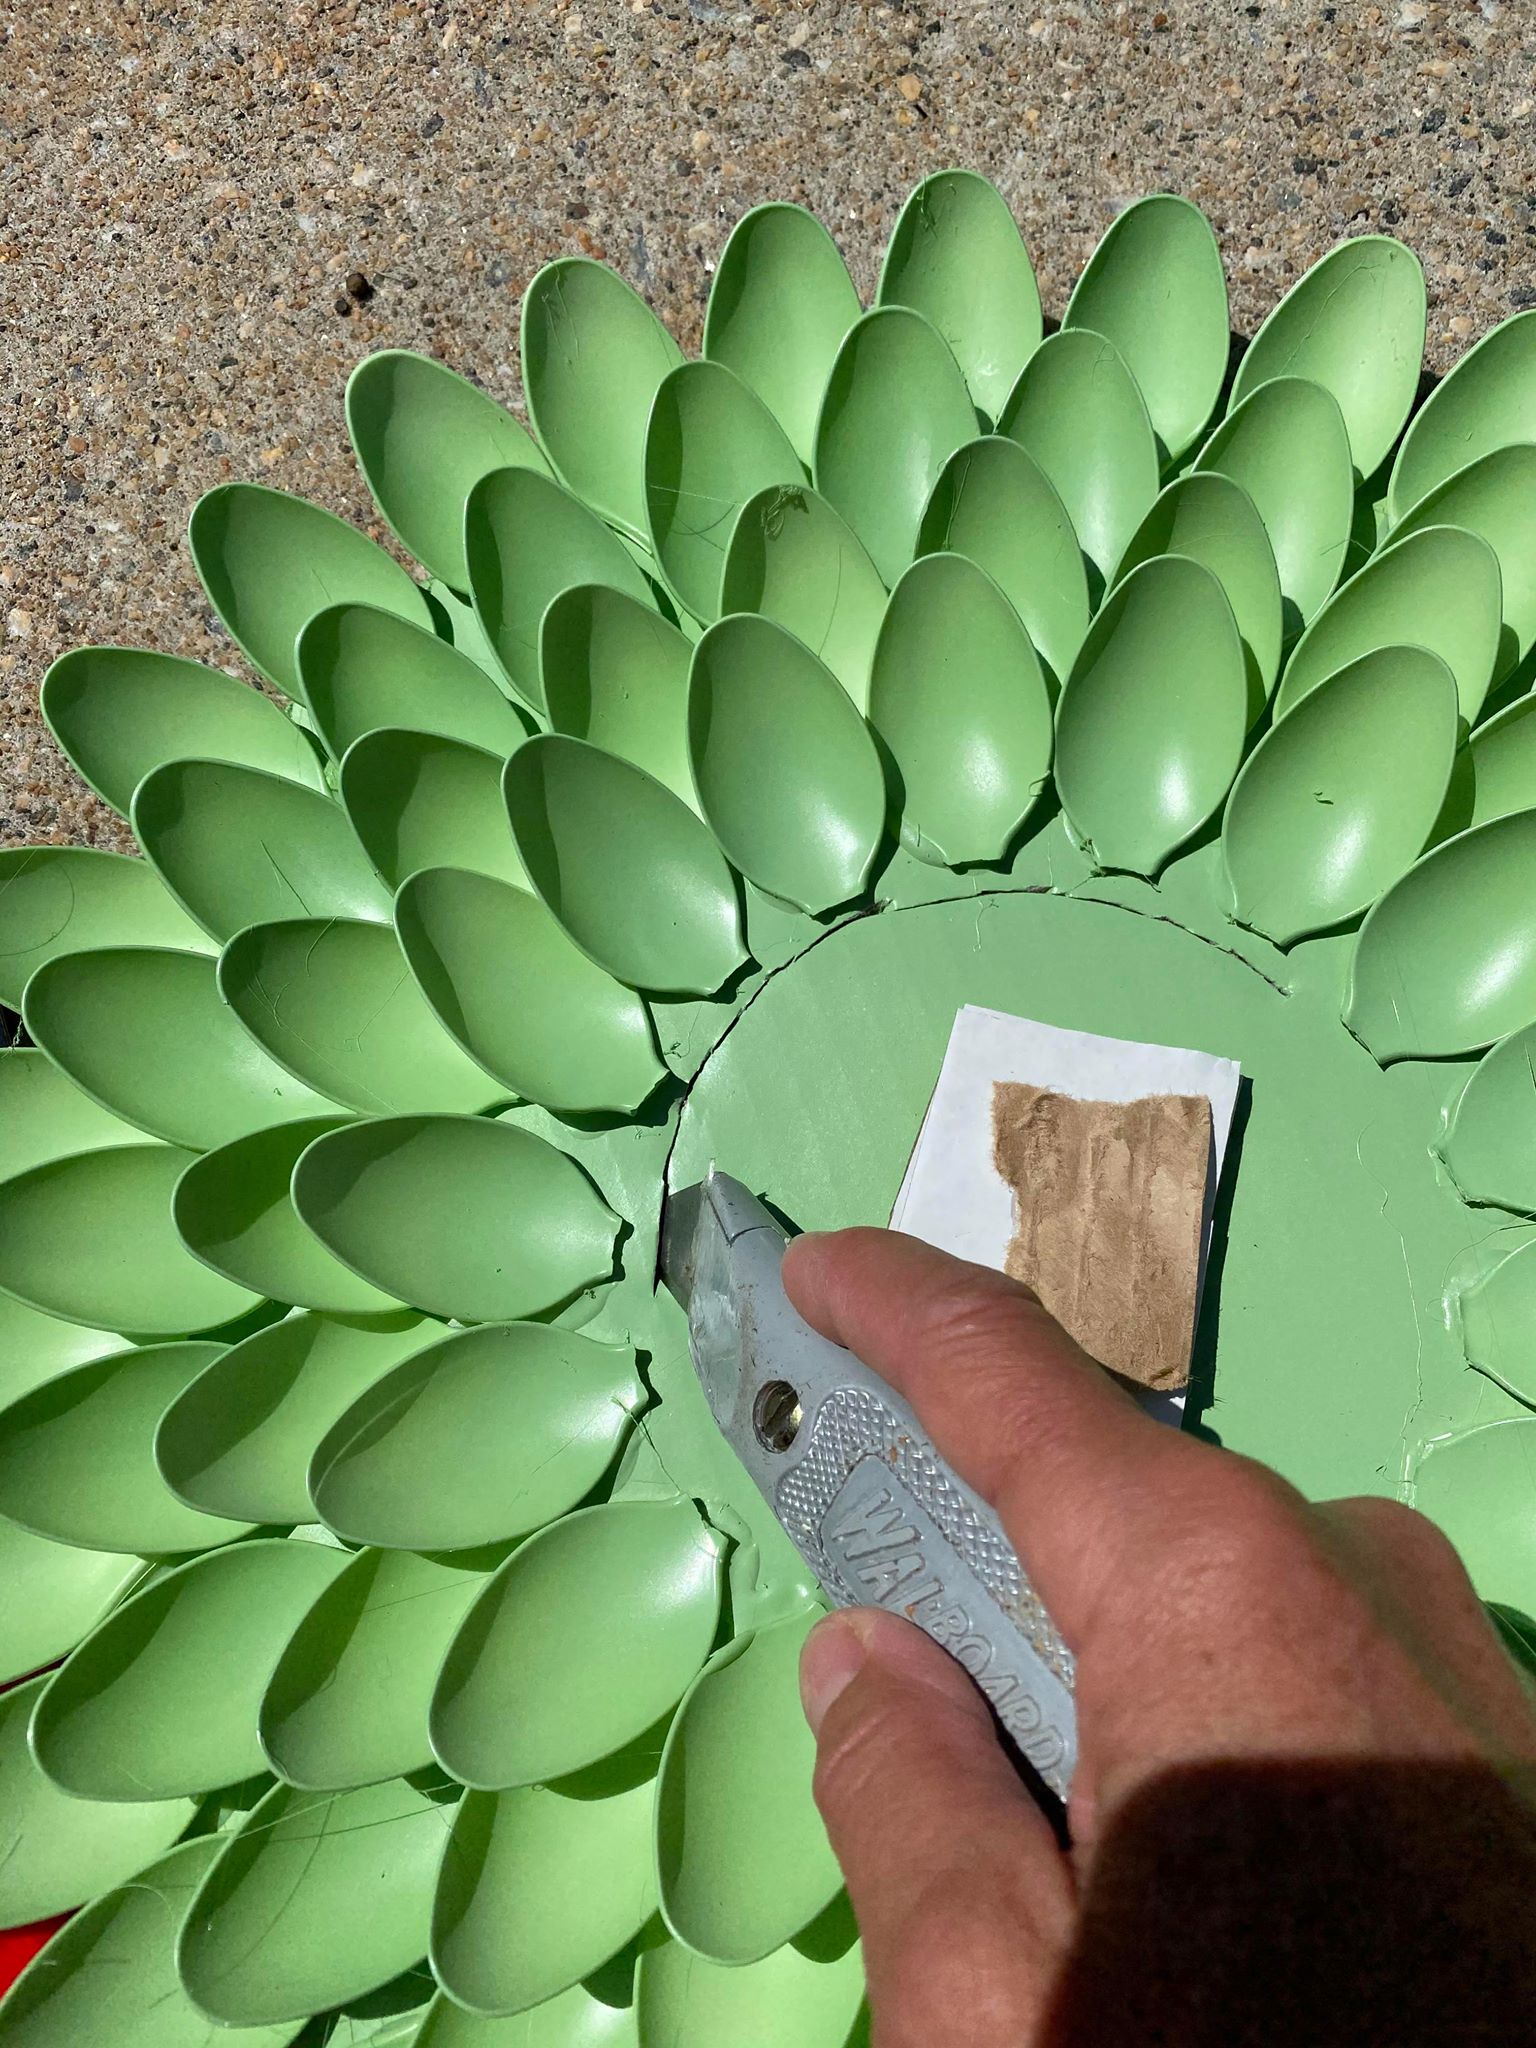
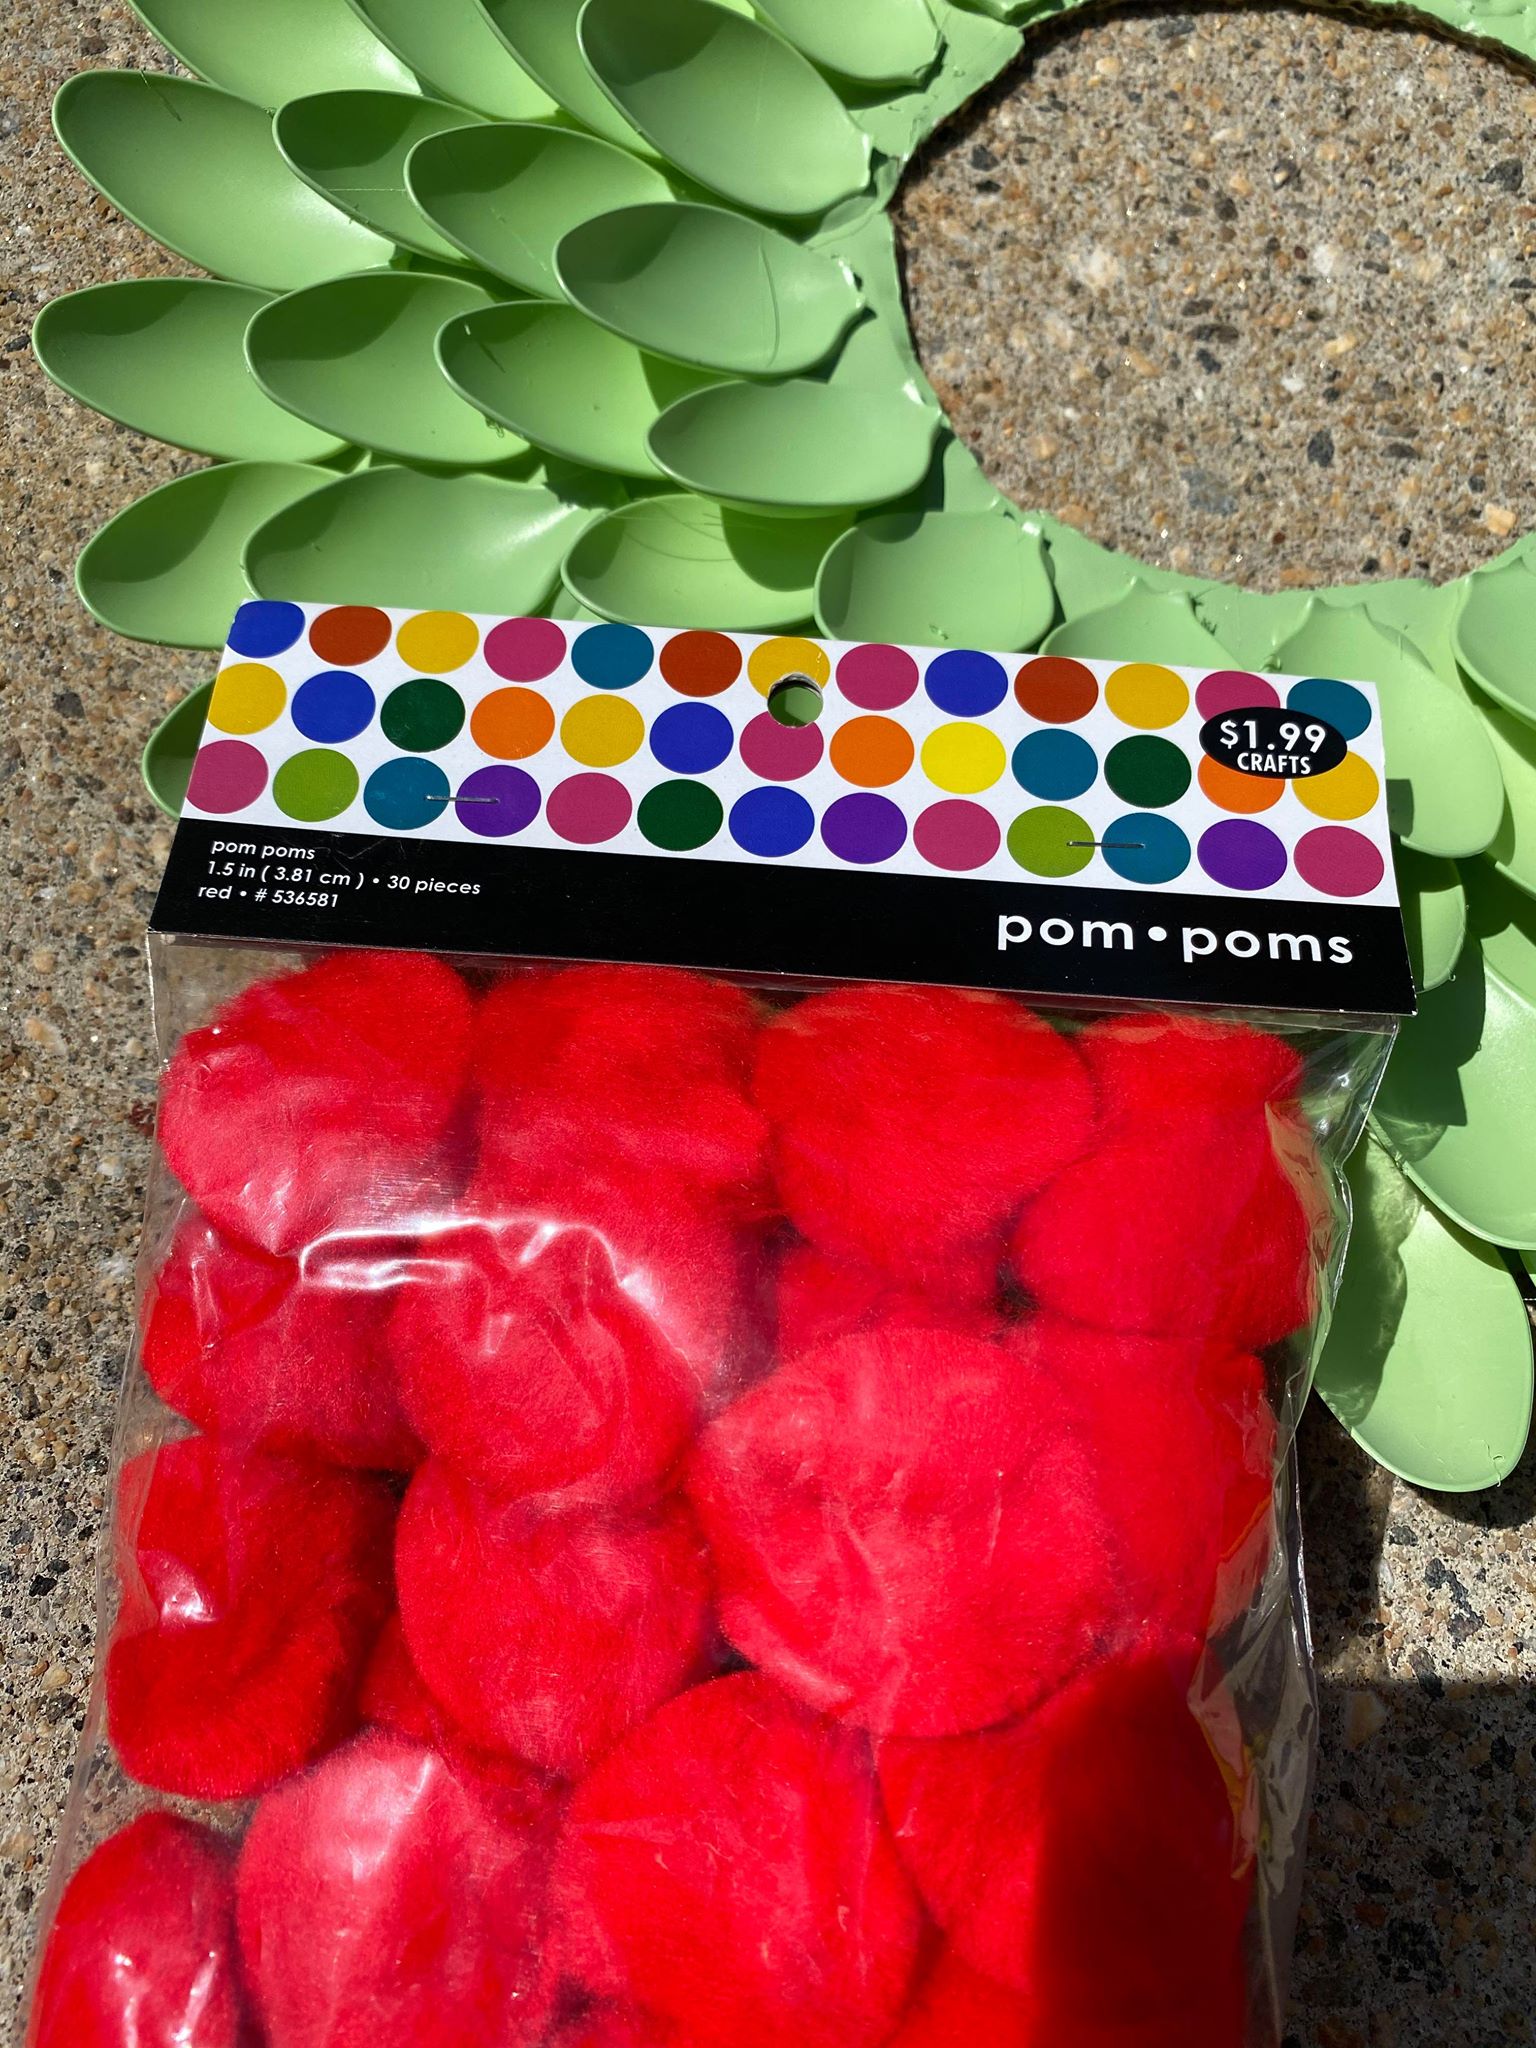
I used a box cutter and cut the center out. I then hit glued some red pom poms around the center of the wreath.
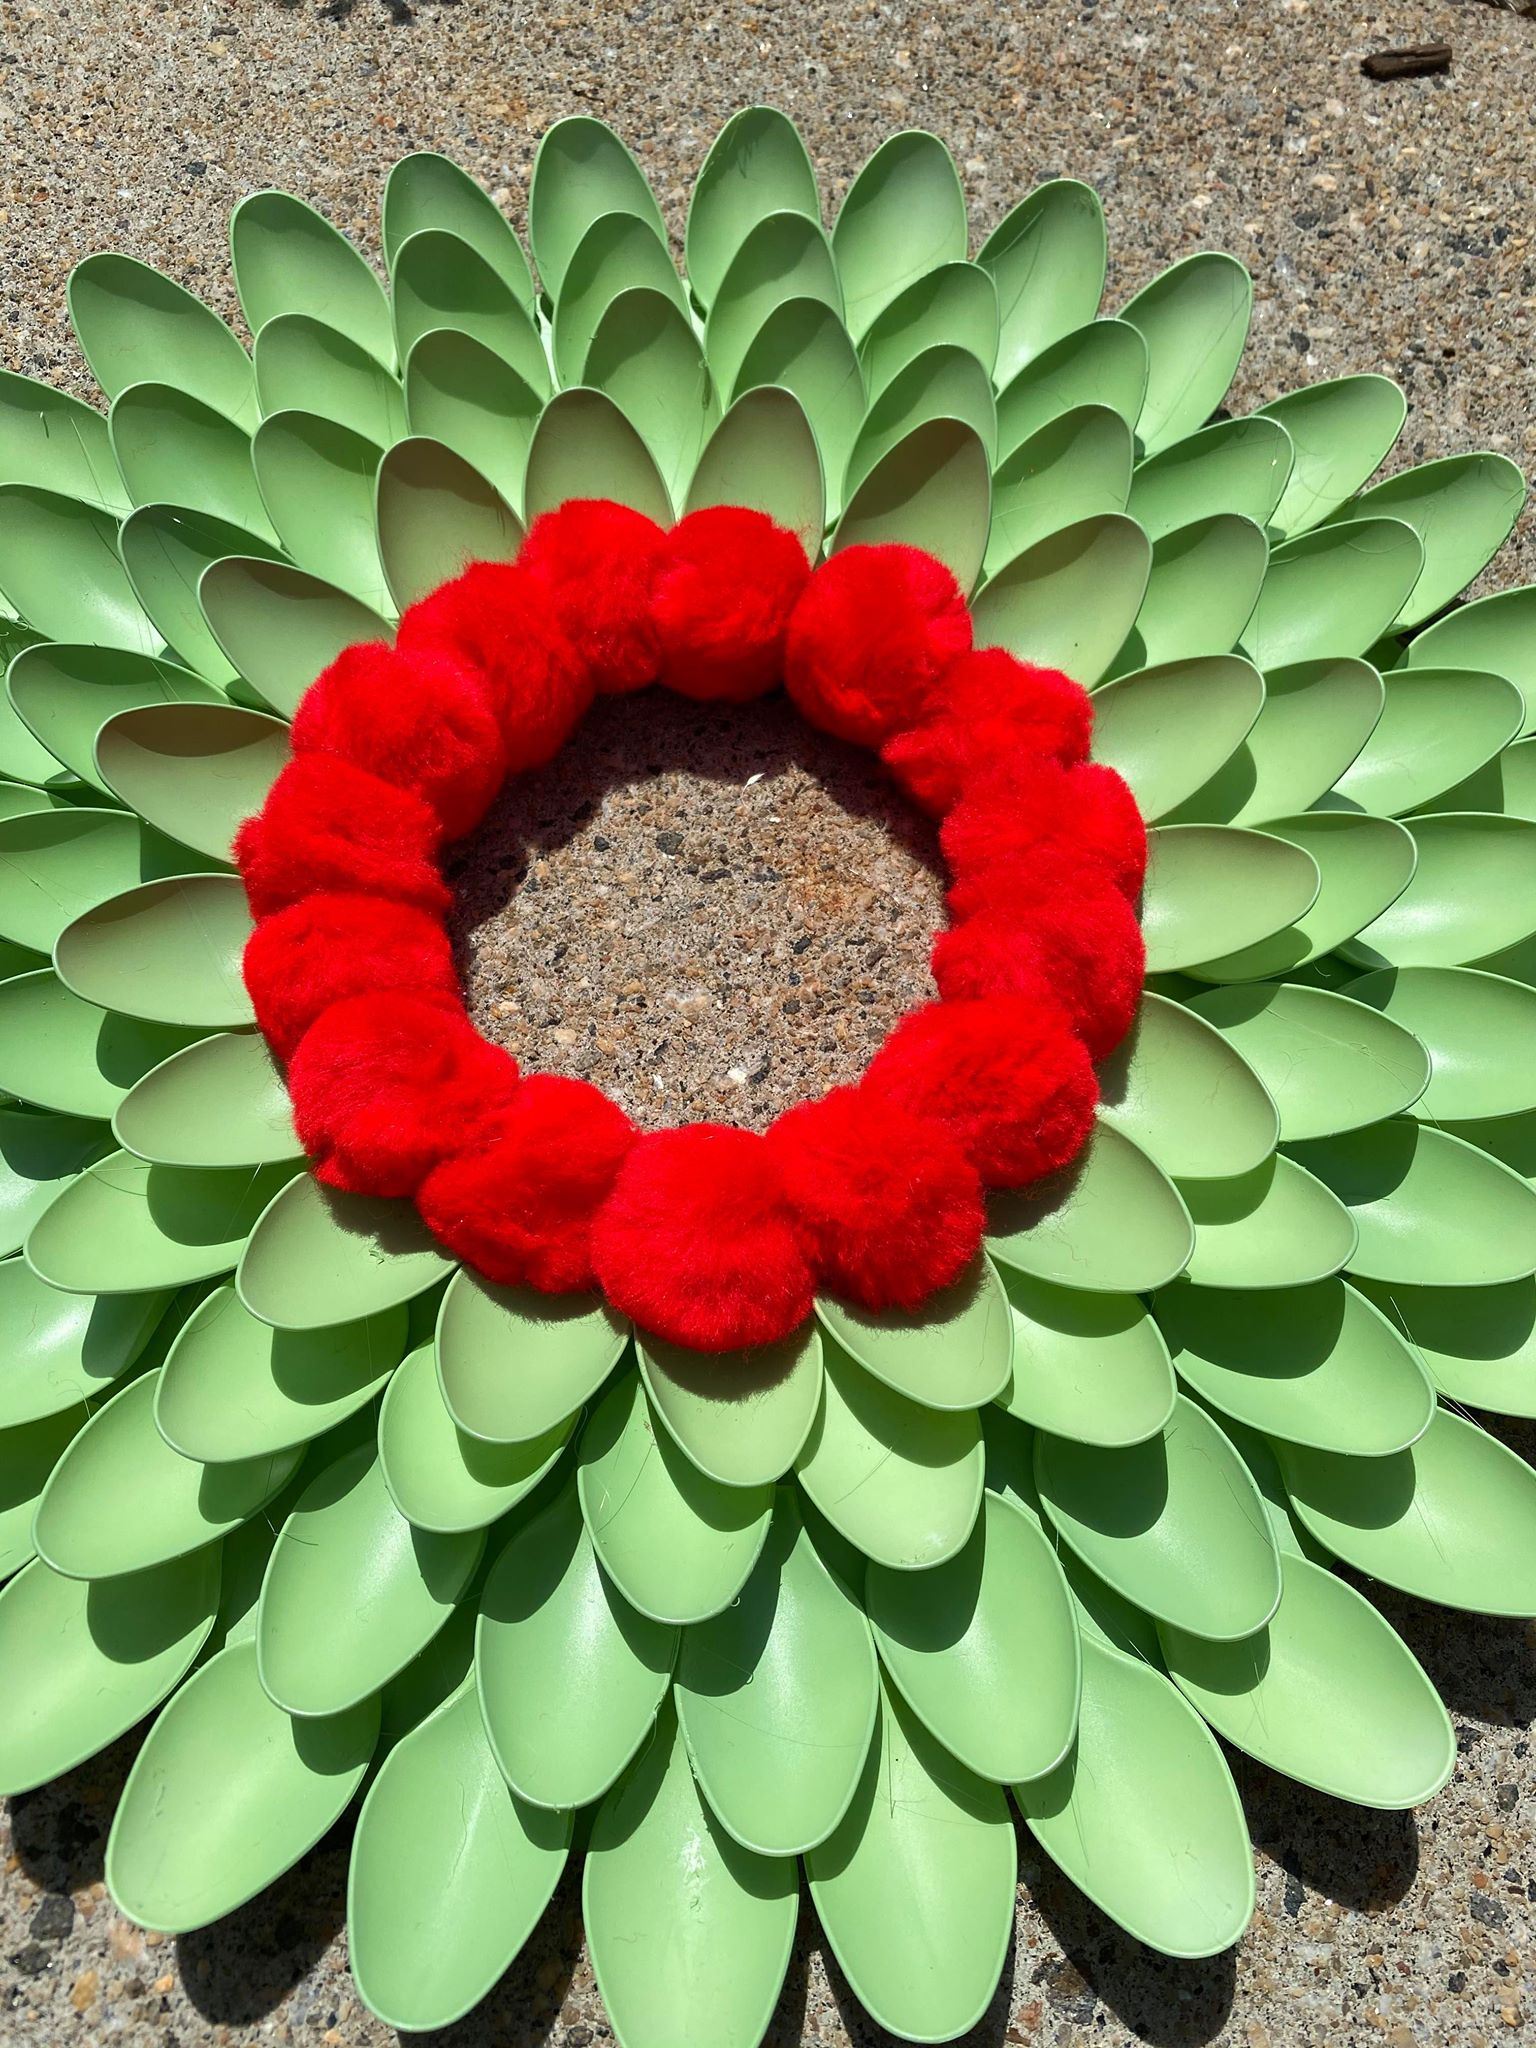
There are so many different ways to get creative with this wreath.
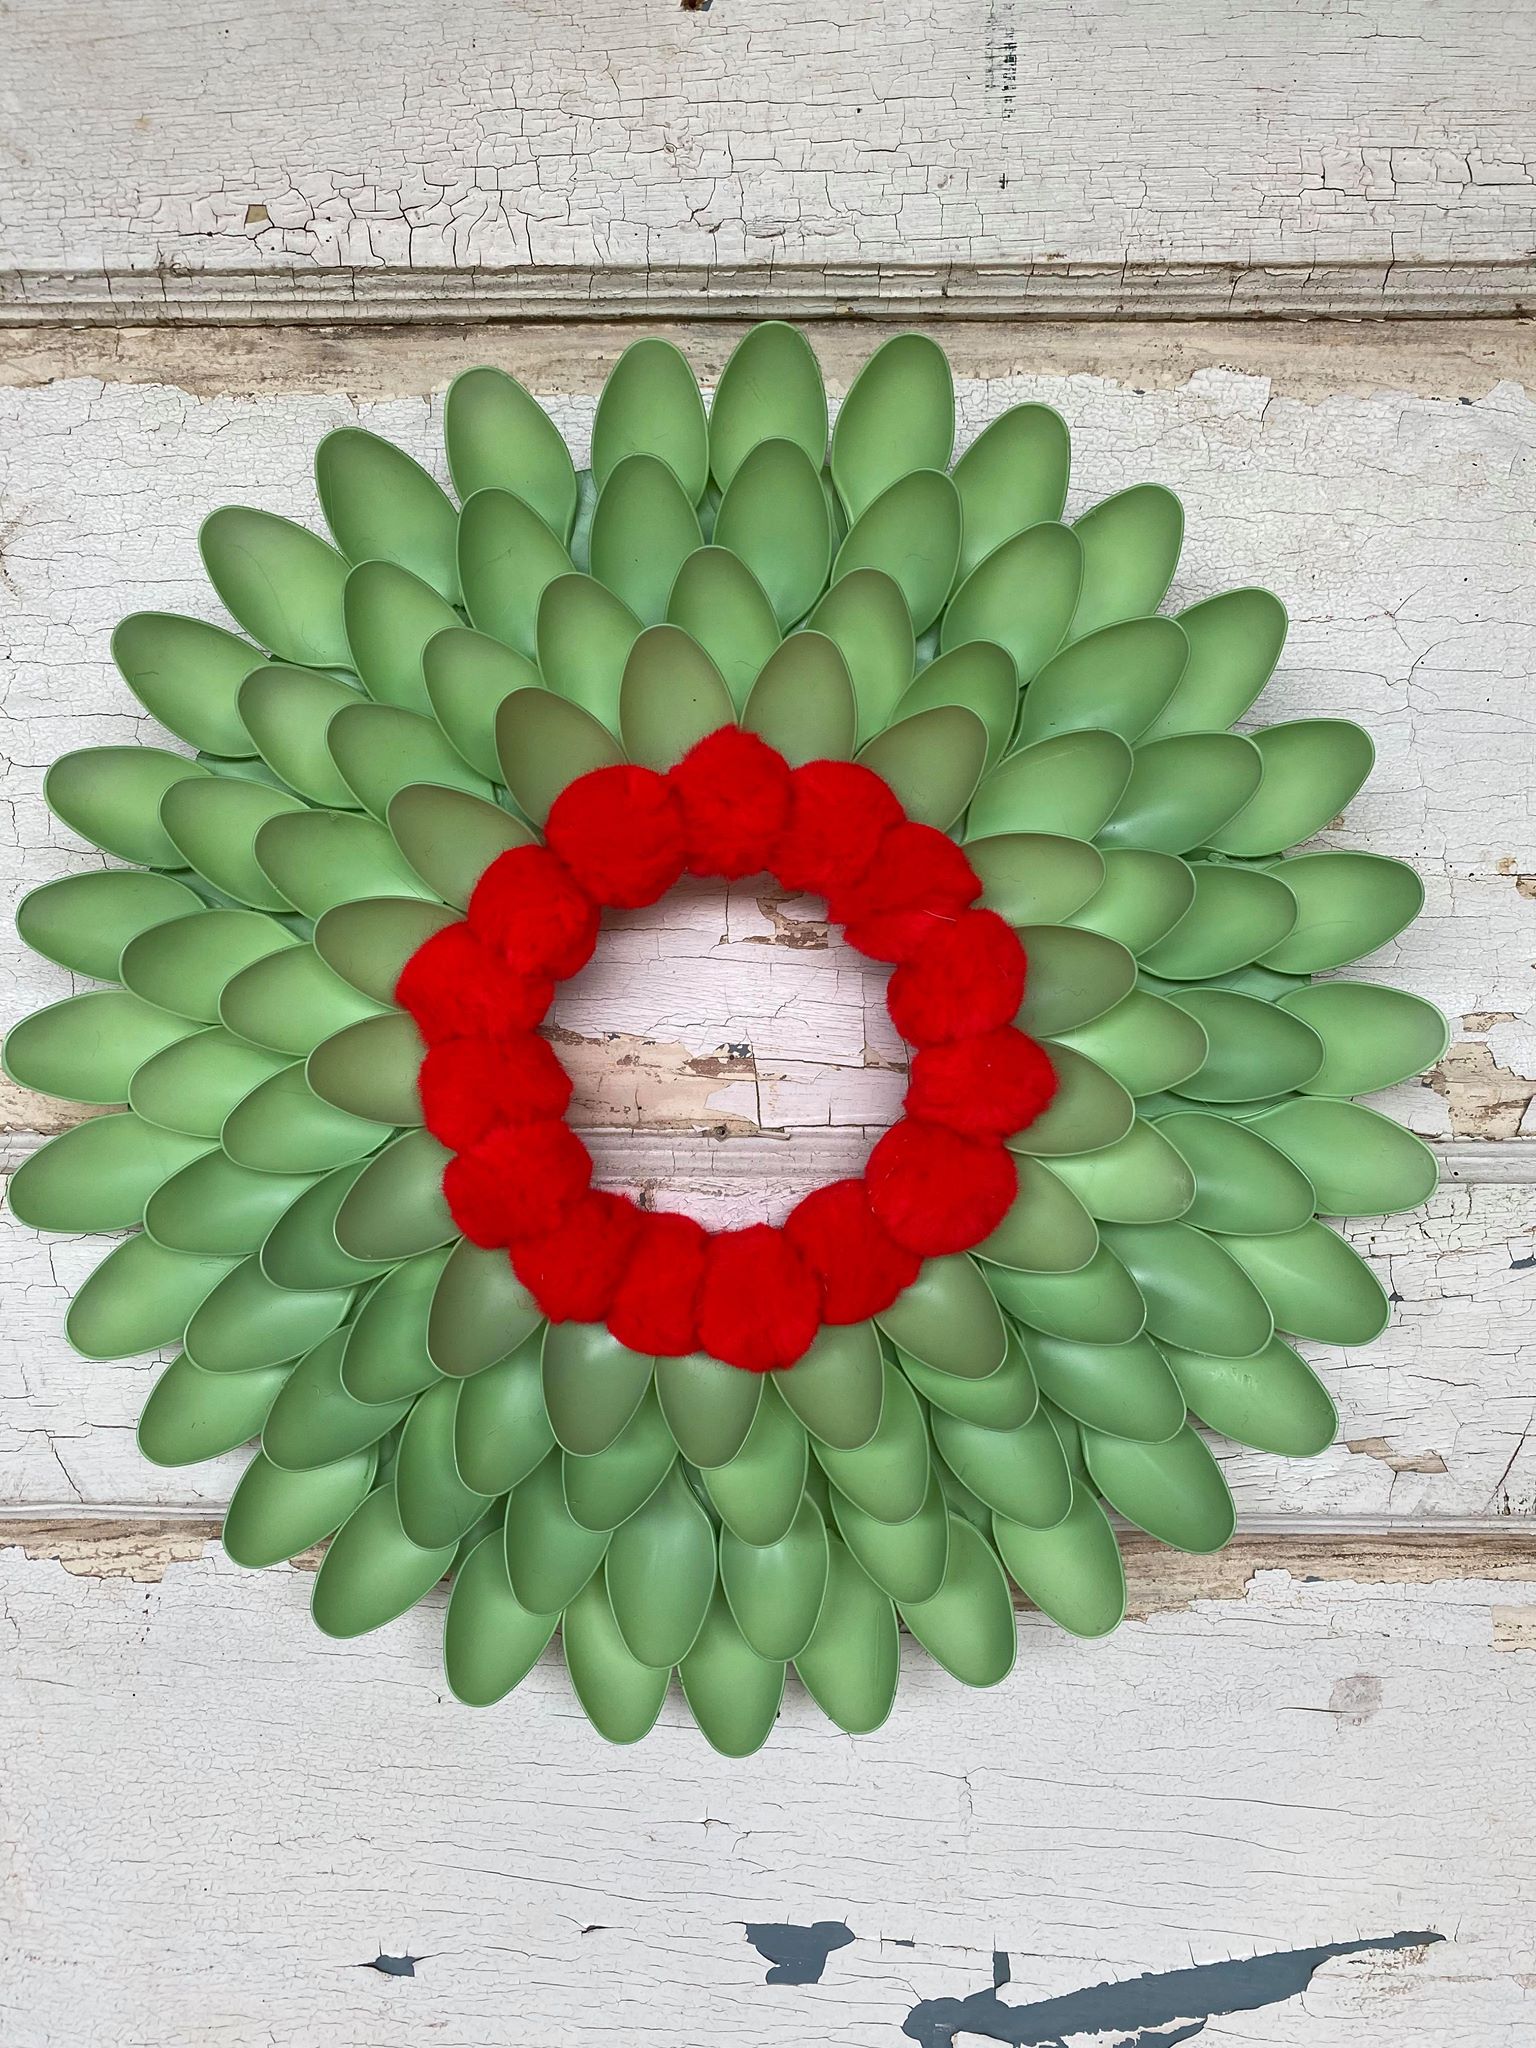
I hope you will all get creative and give this a try! You can create this to be an everyday wreath for your front door or you can make a variety of holiday wreaths.