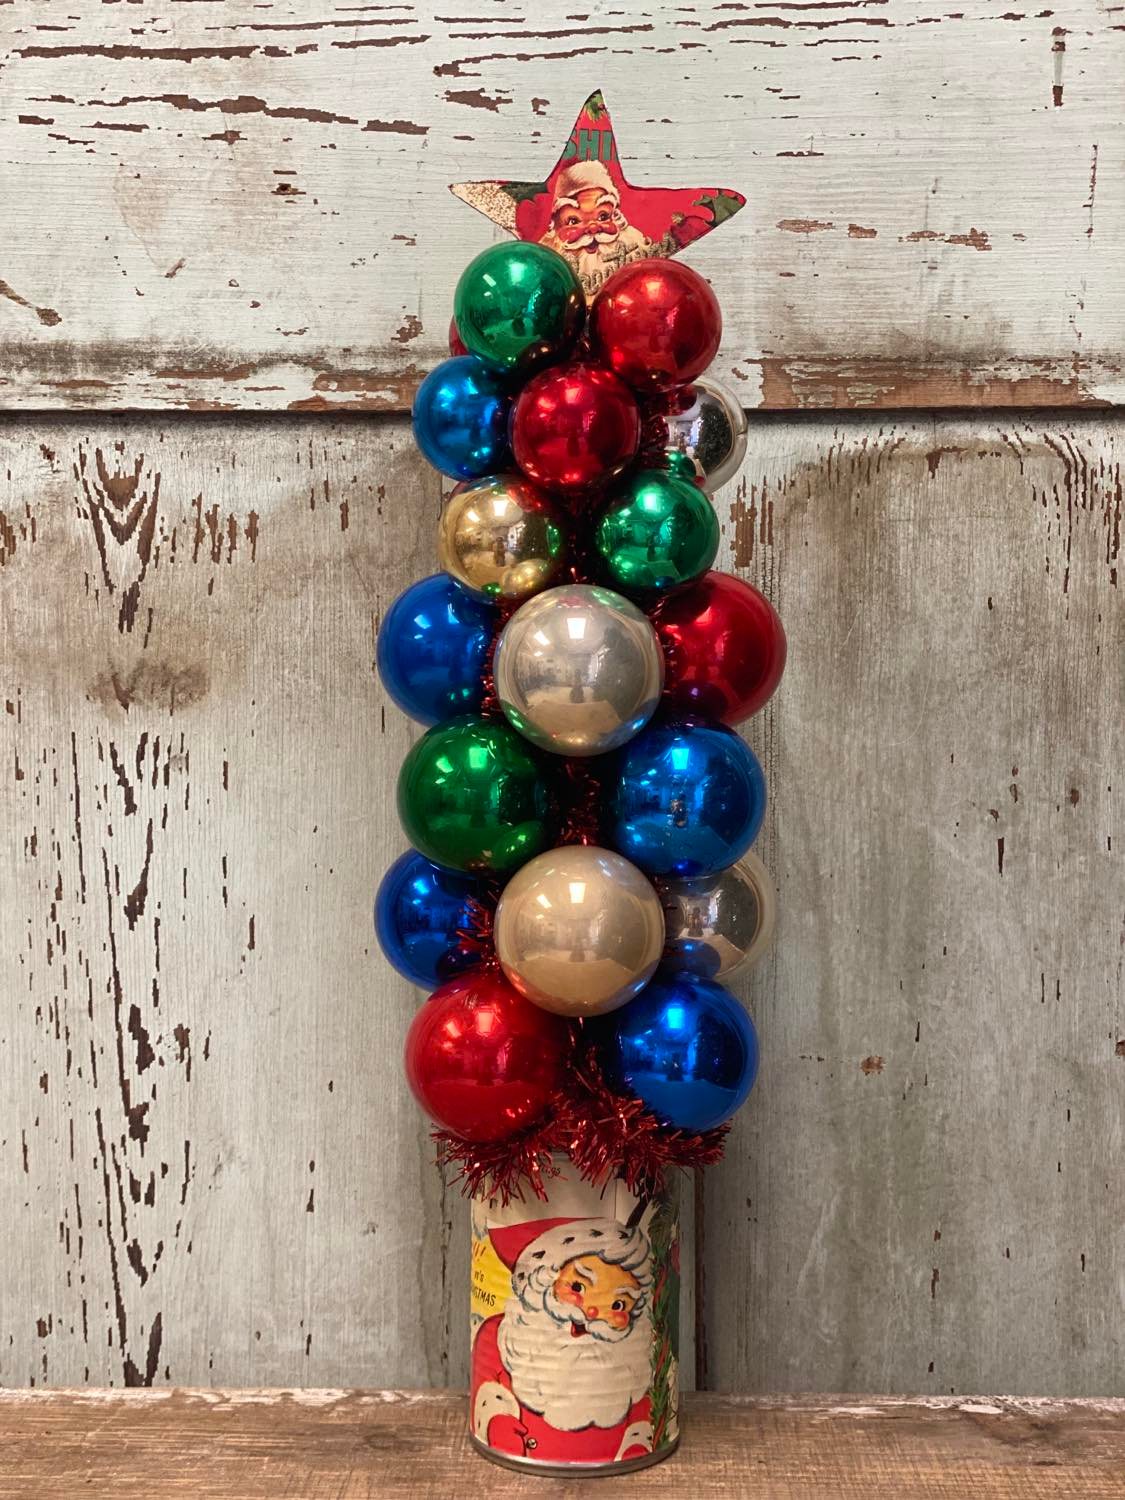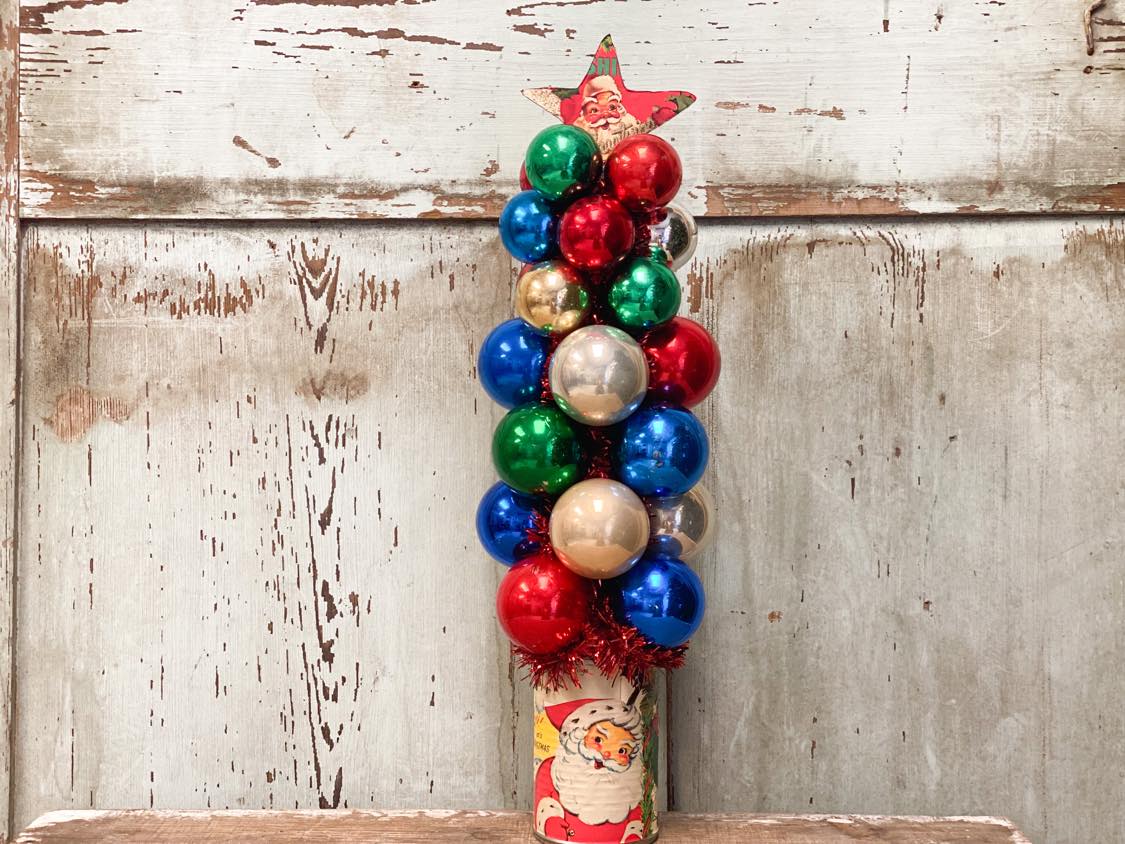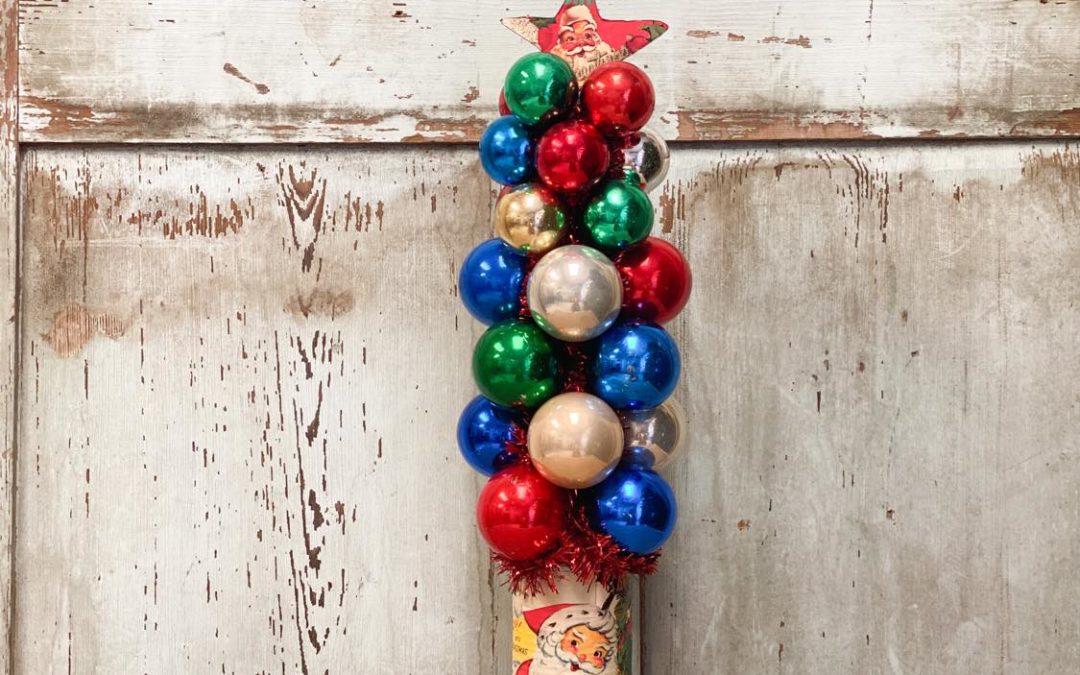
Christmas is right around the corner and I am starting to pull out my decorations. I love vintage Christmas items and I want to create something with a few vintage ball ornaments that I picked up at a local thrift store. We seem to be always creating a variety of trees here at The Shabby Tree so I thought a vintage ball tree would be fun.
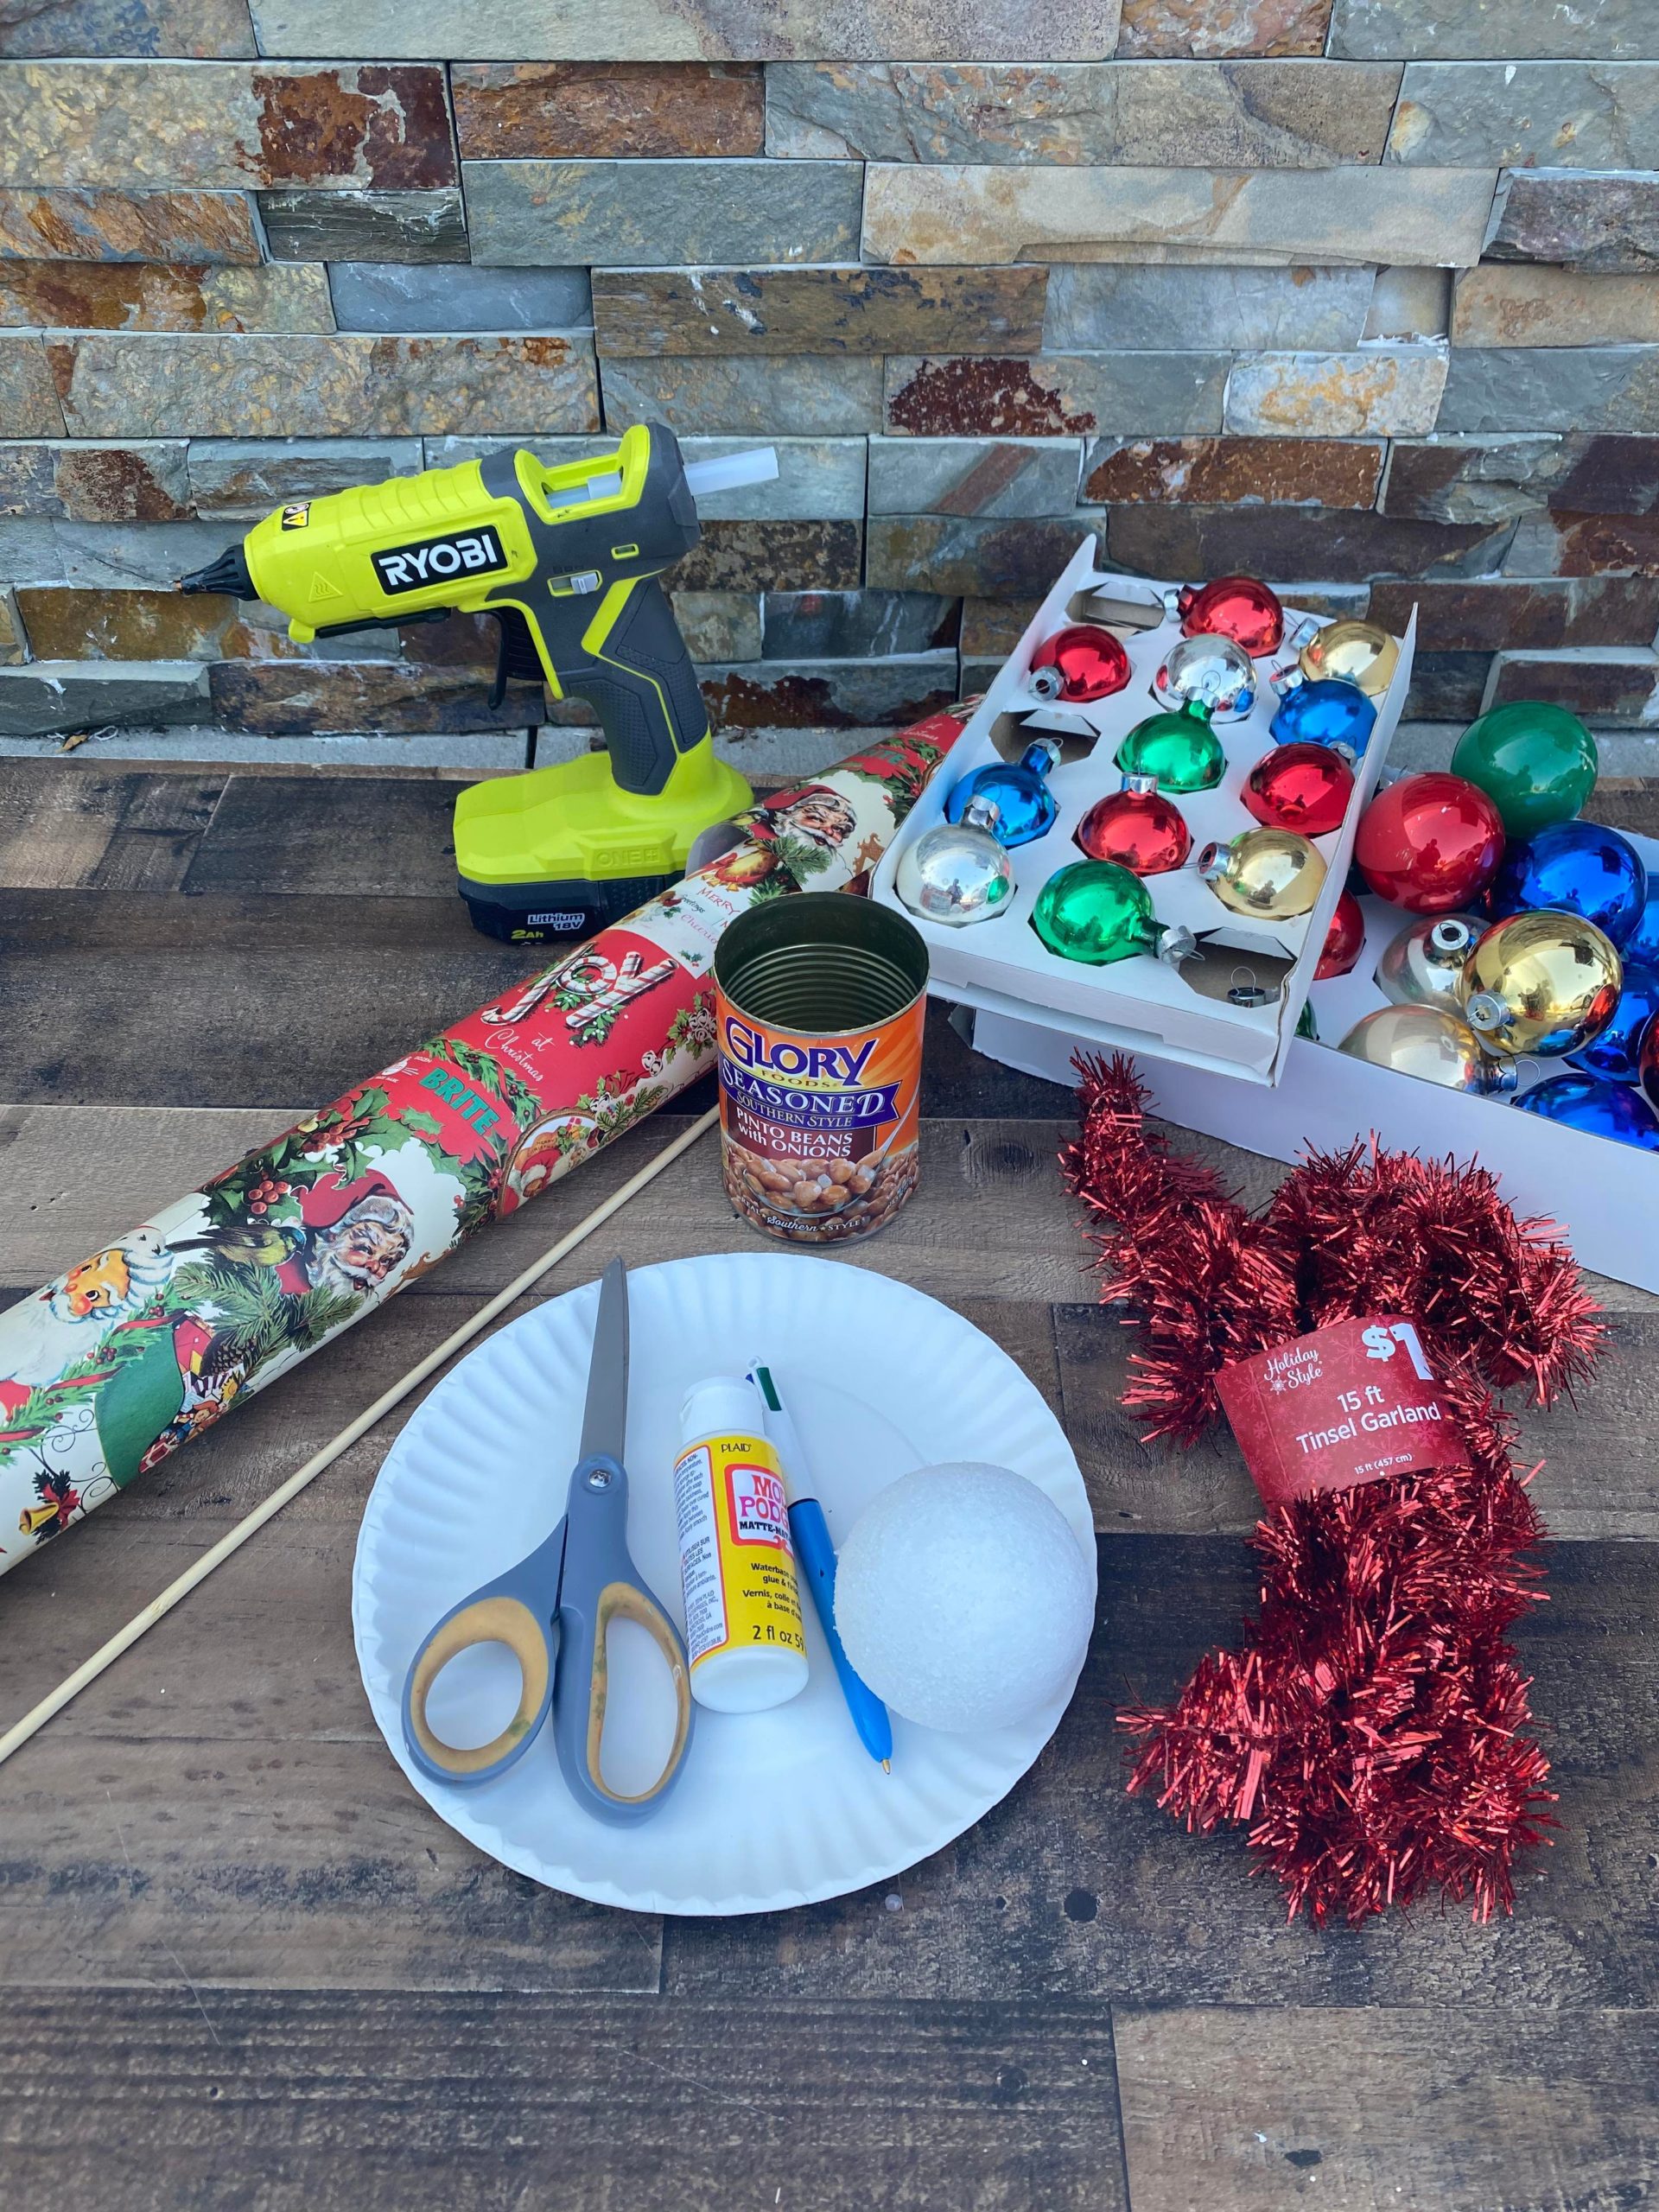
The supplies I will be using are:
1. Large and small vintage ball ornaments
2. Kabob stick
3. Styrofoam
4. Recycled bean can
5. Vintage print Christmas paper from Marshall’s
6. Mod Podge
7. Paint brush
8. Scissors
9. Hot glue
10. Red tinsel
11. Two paper plates
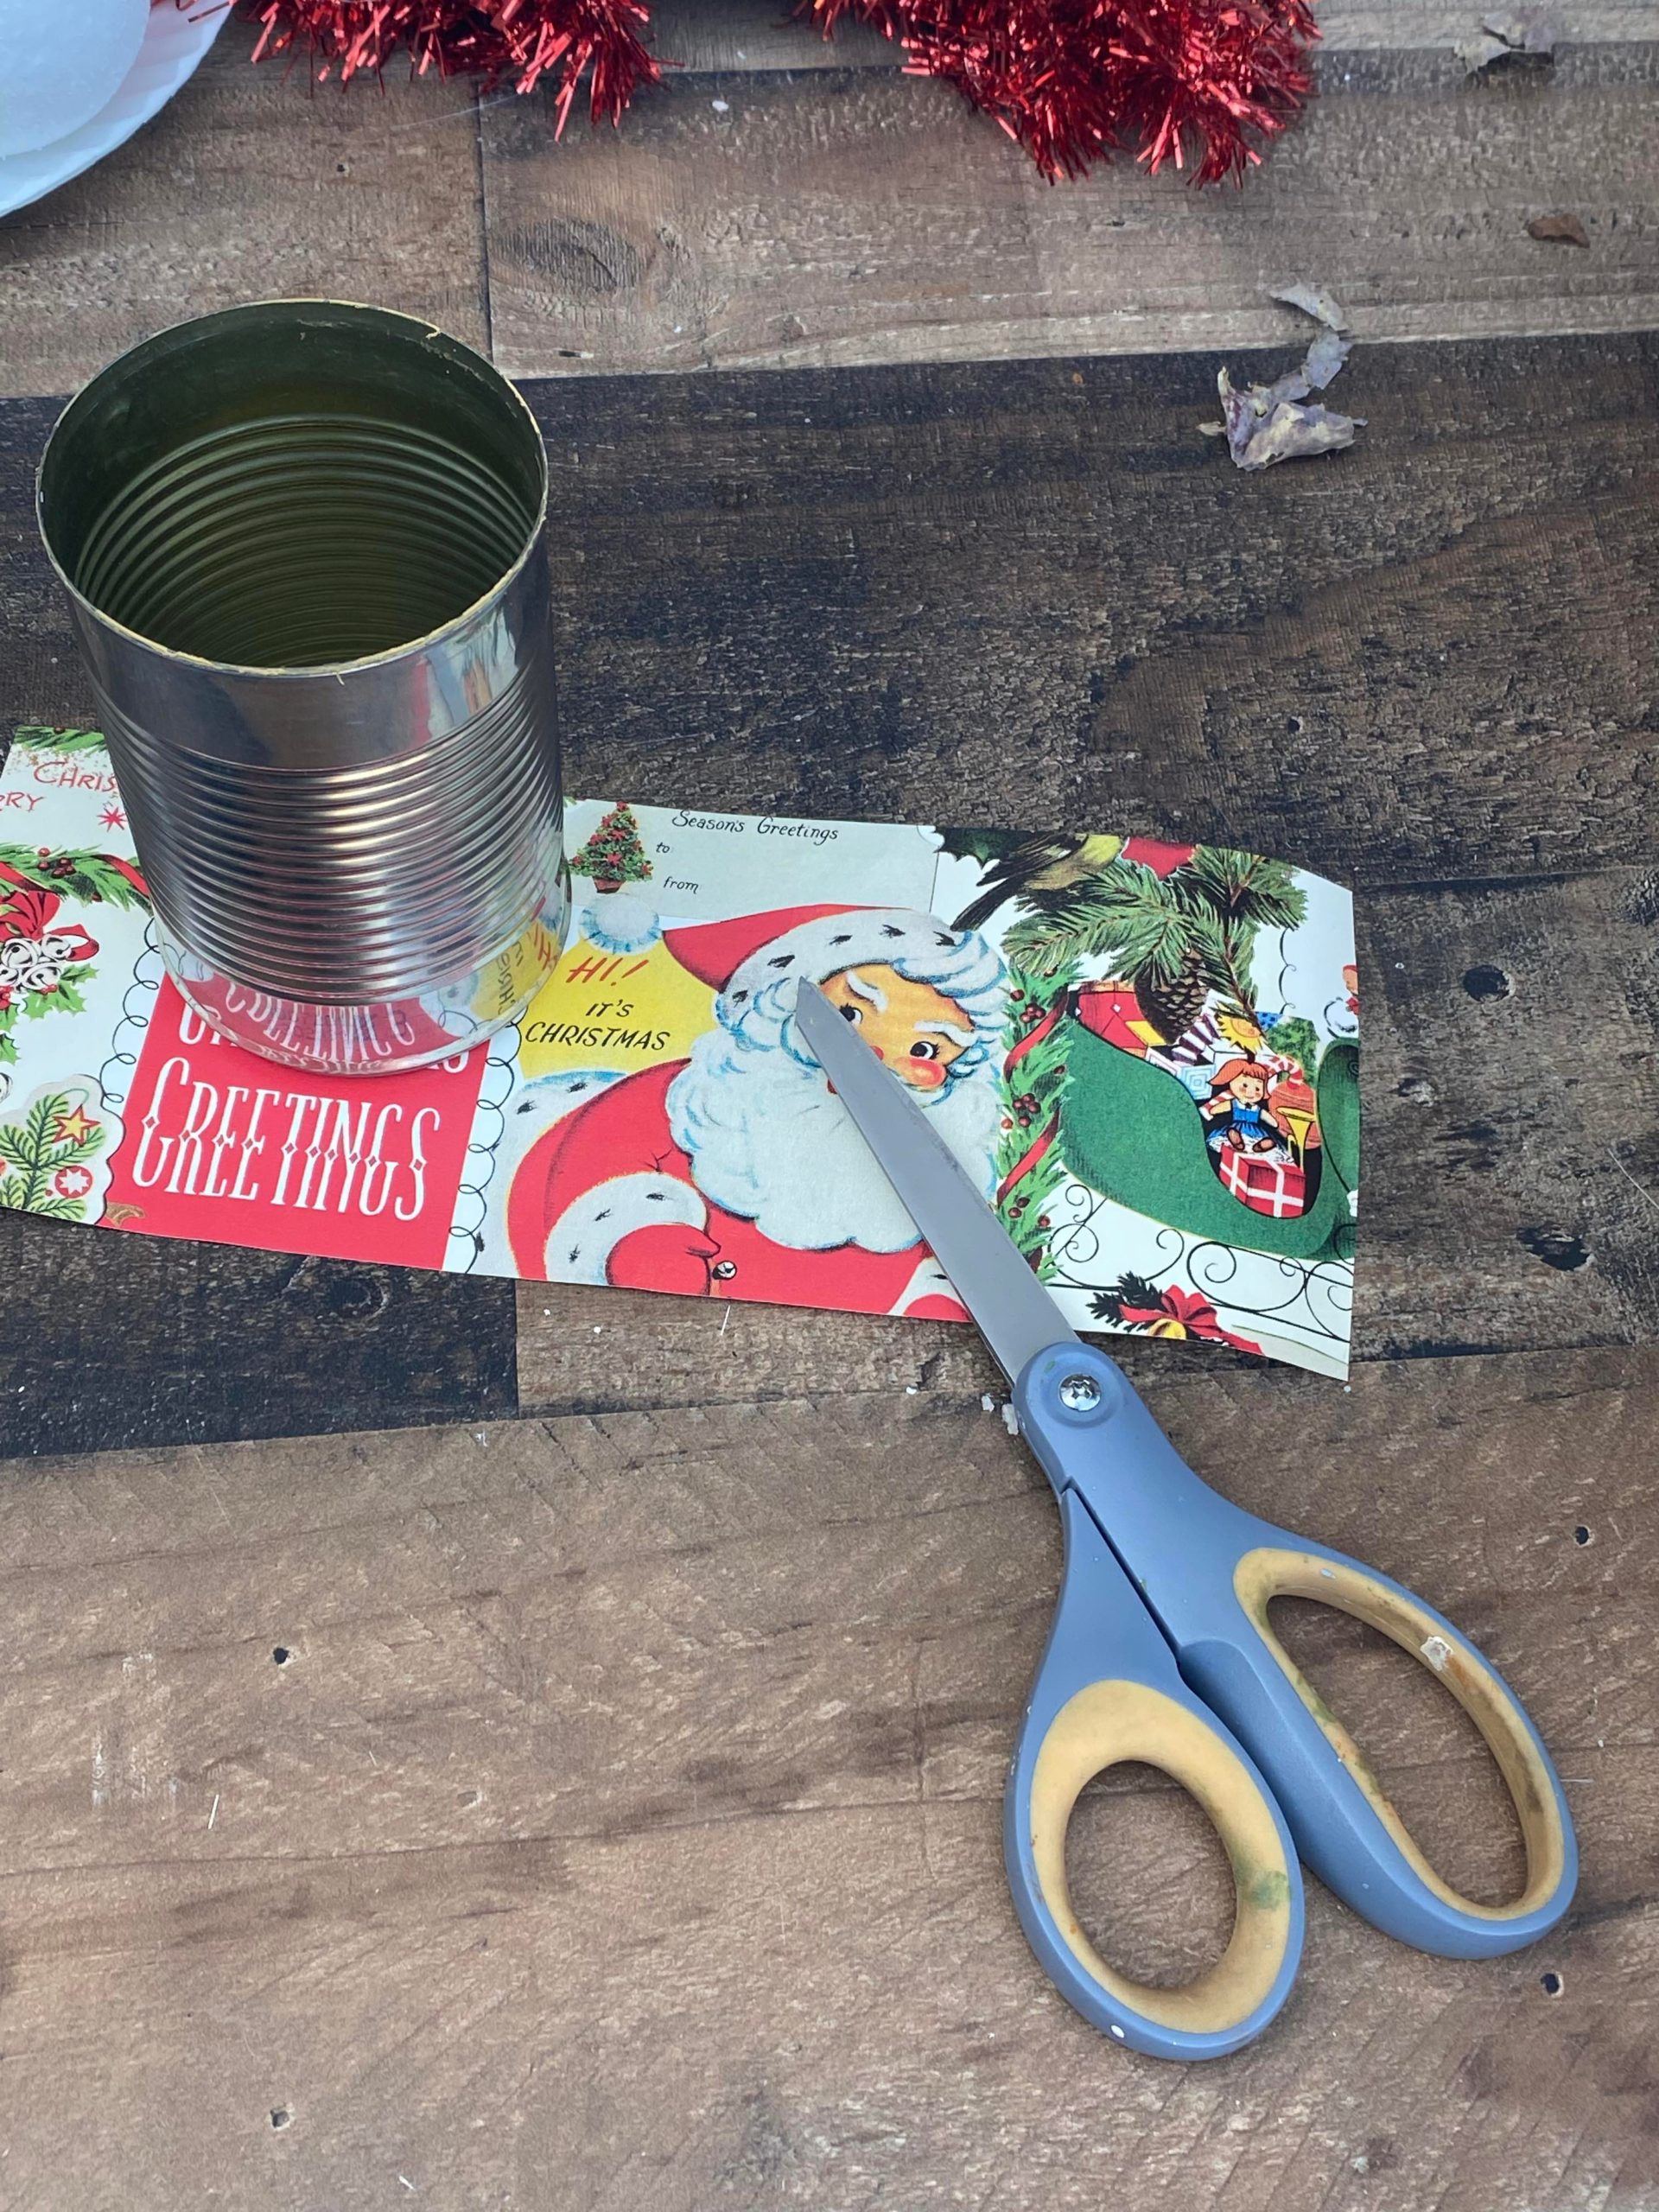
The first step is to remove the label from the tin can. You will cut a strip of the Christmas paper to fit over the tin can.
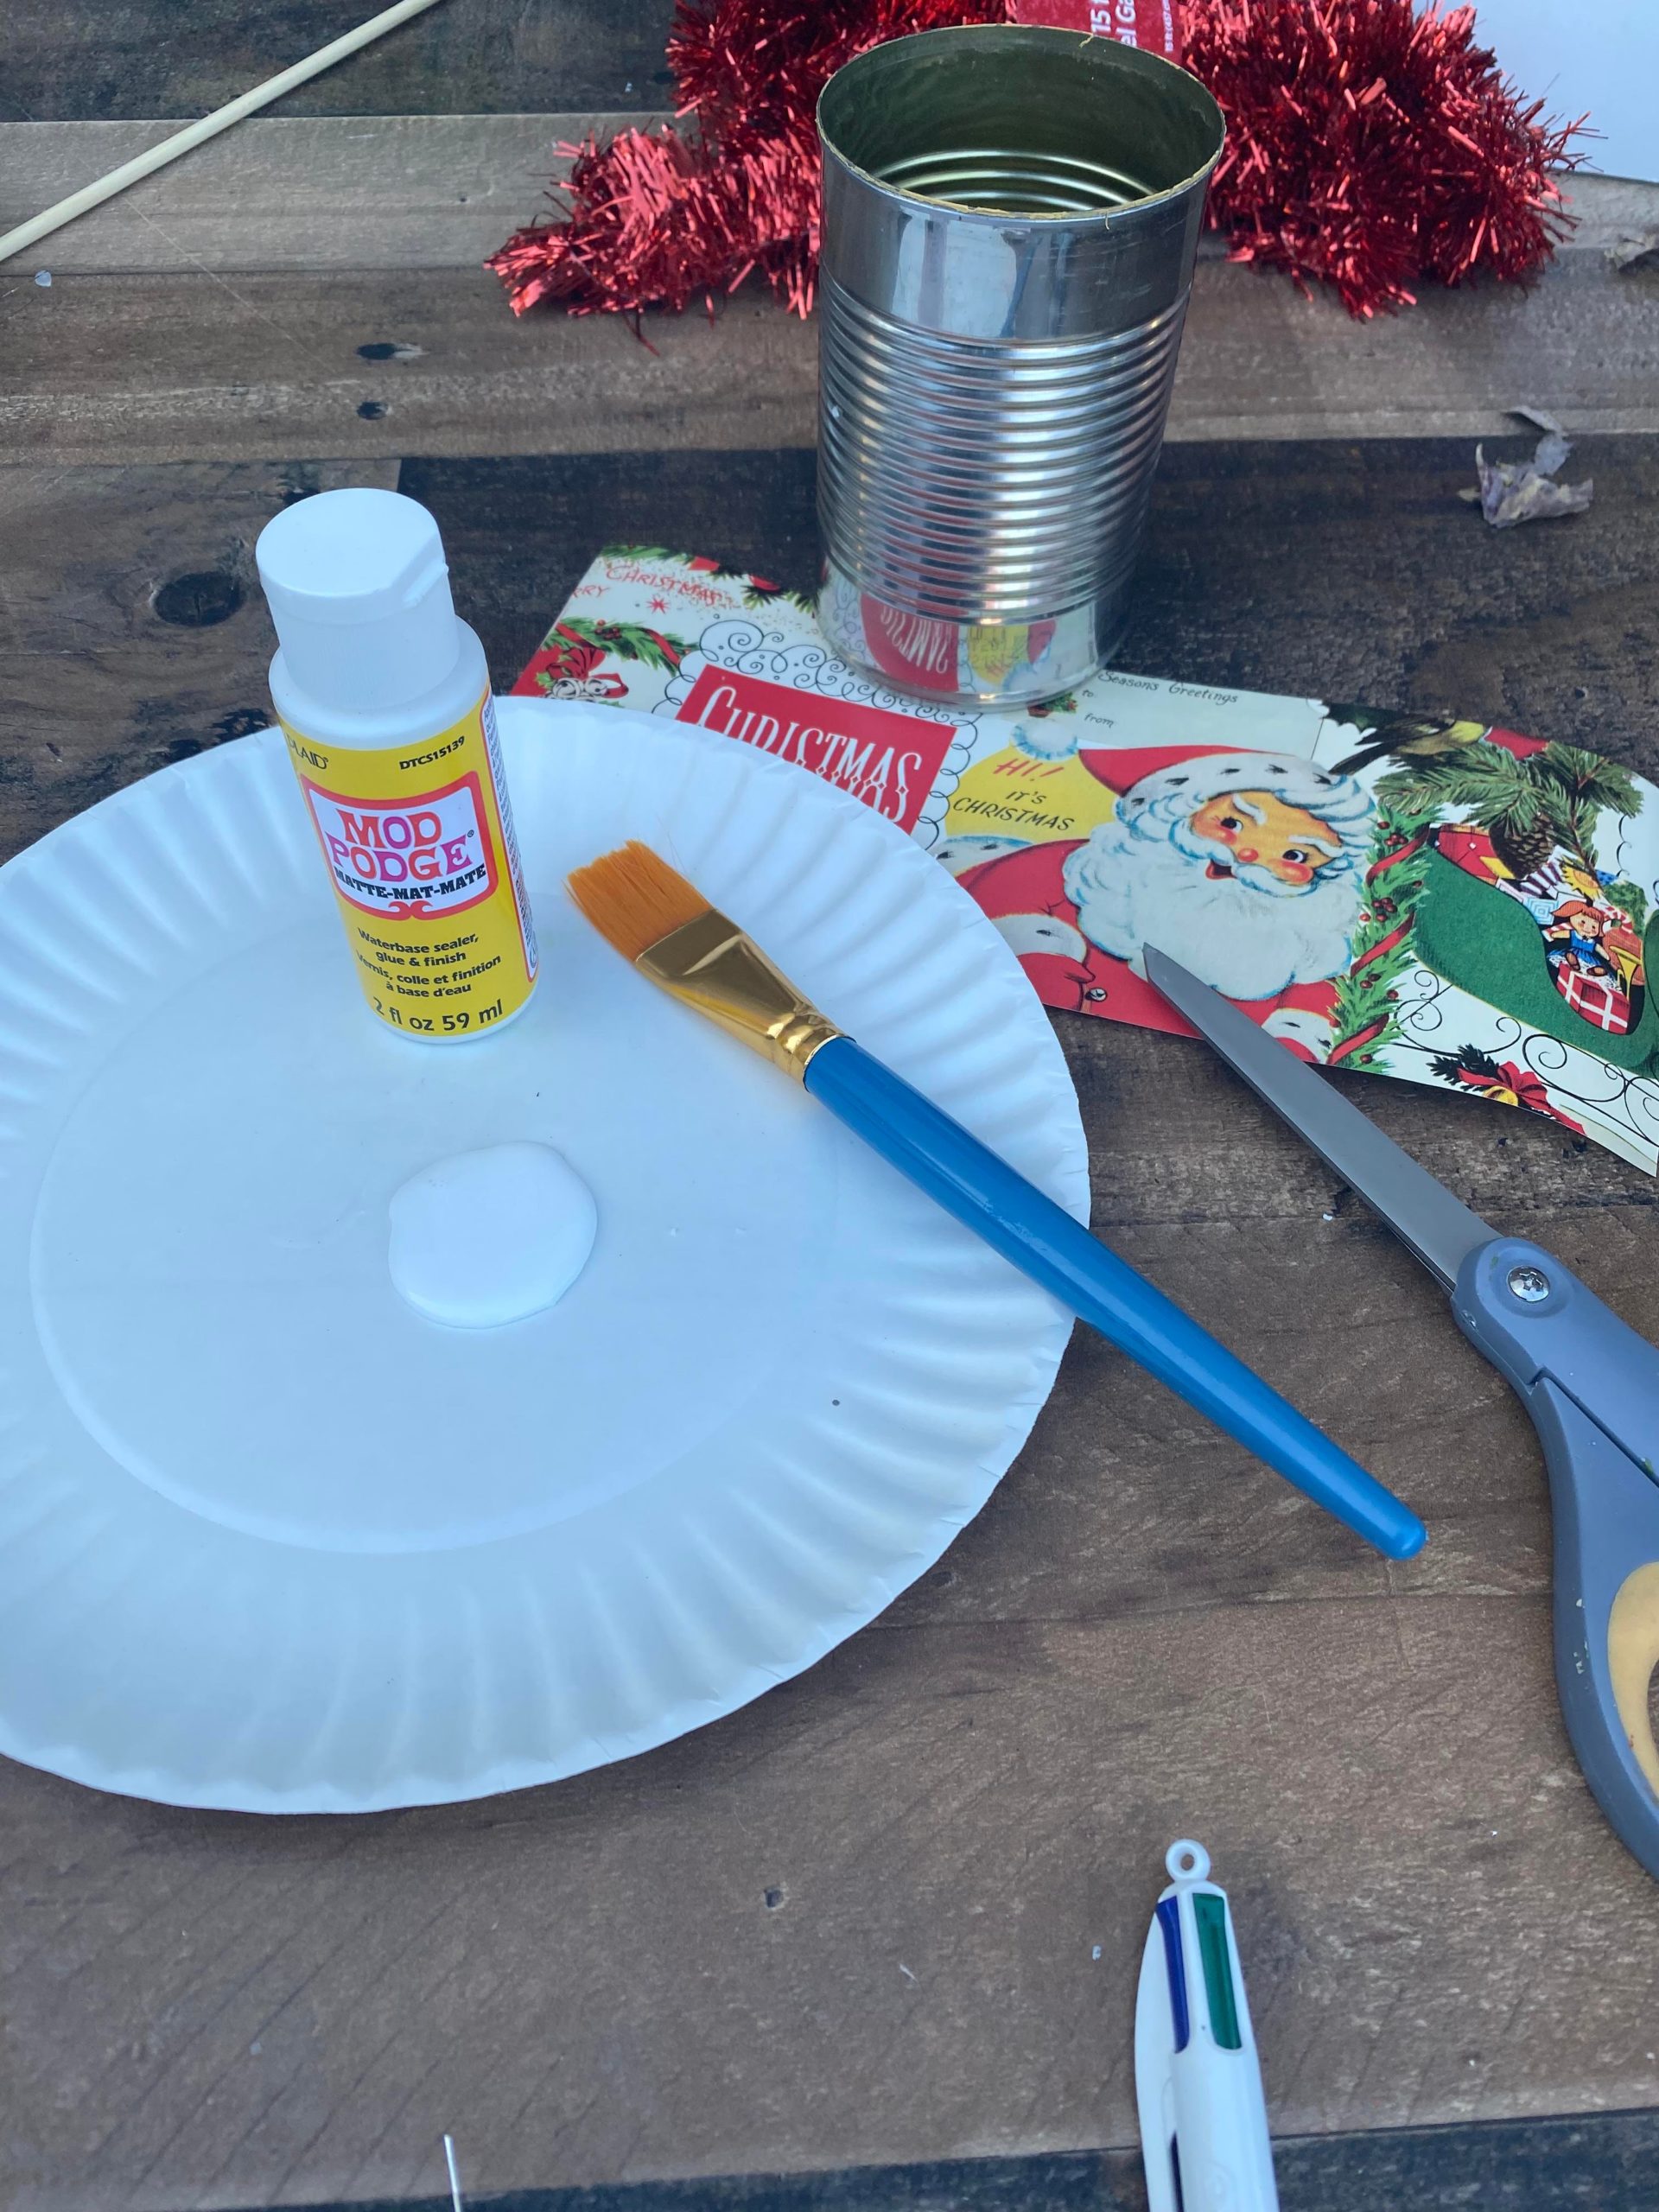
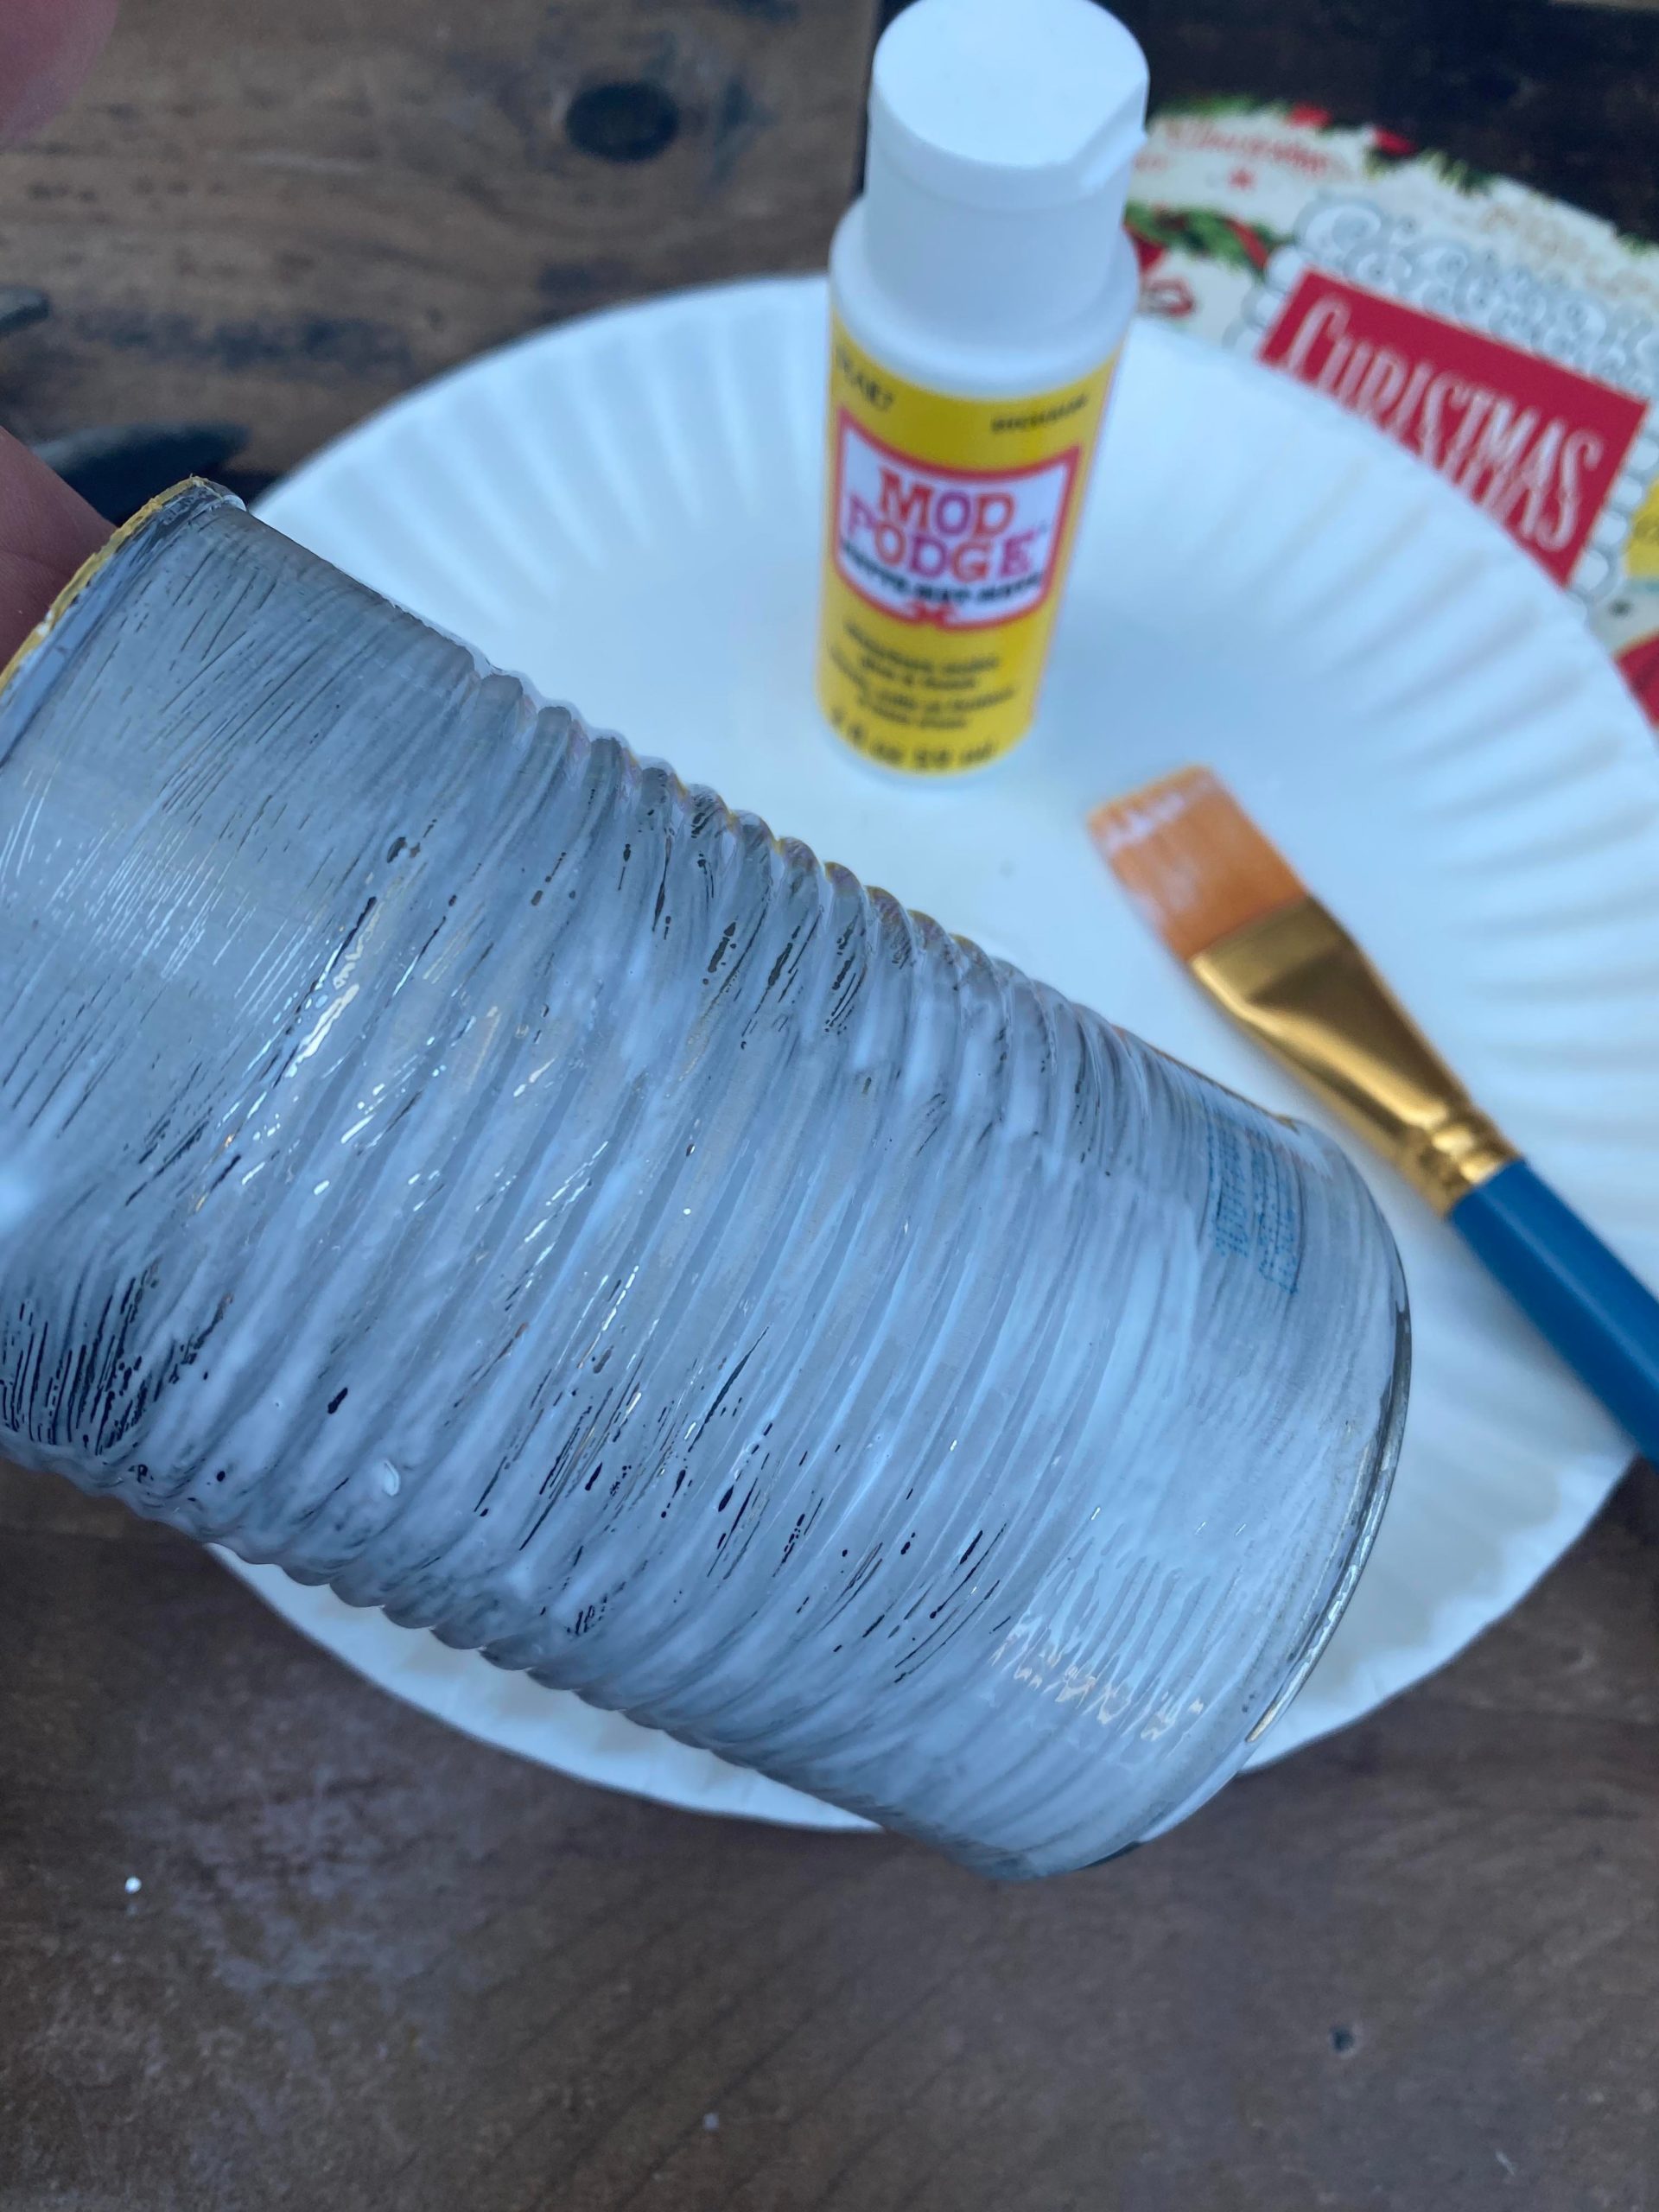
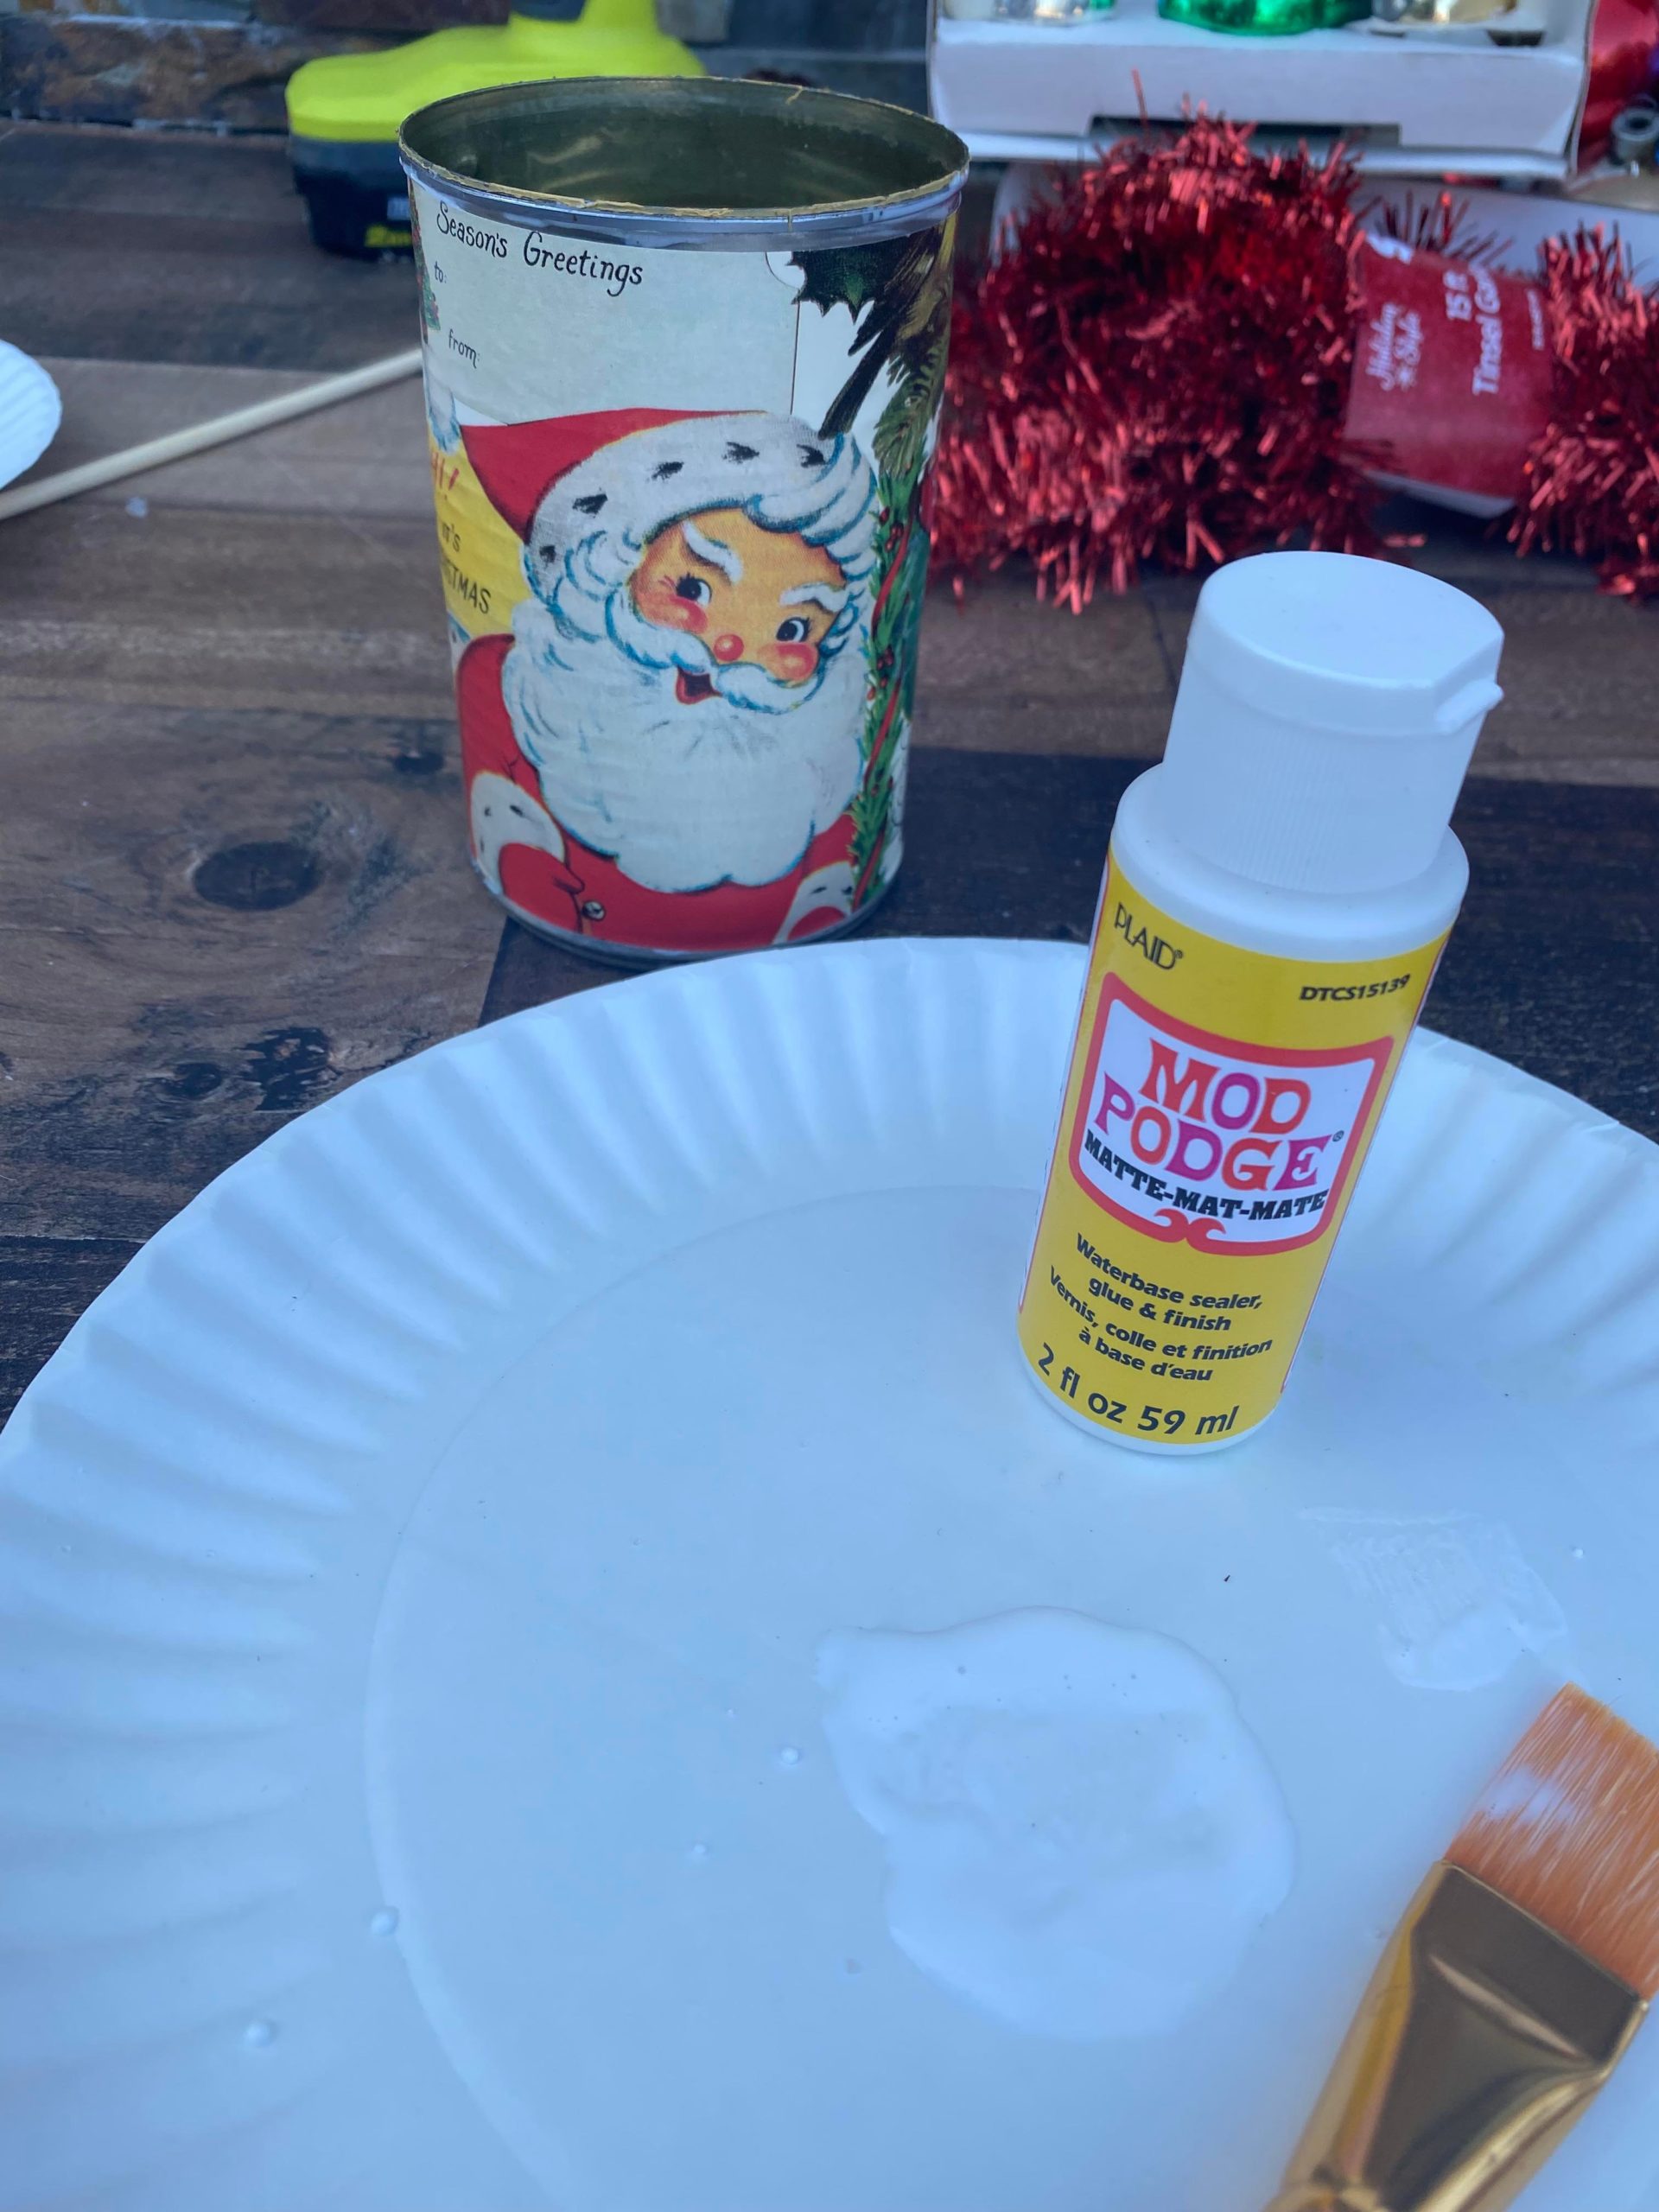
You will cover the can with the mod podge and then place the paper over the mod podge.
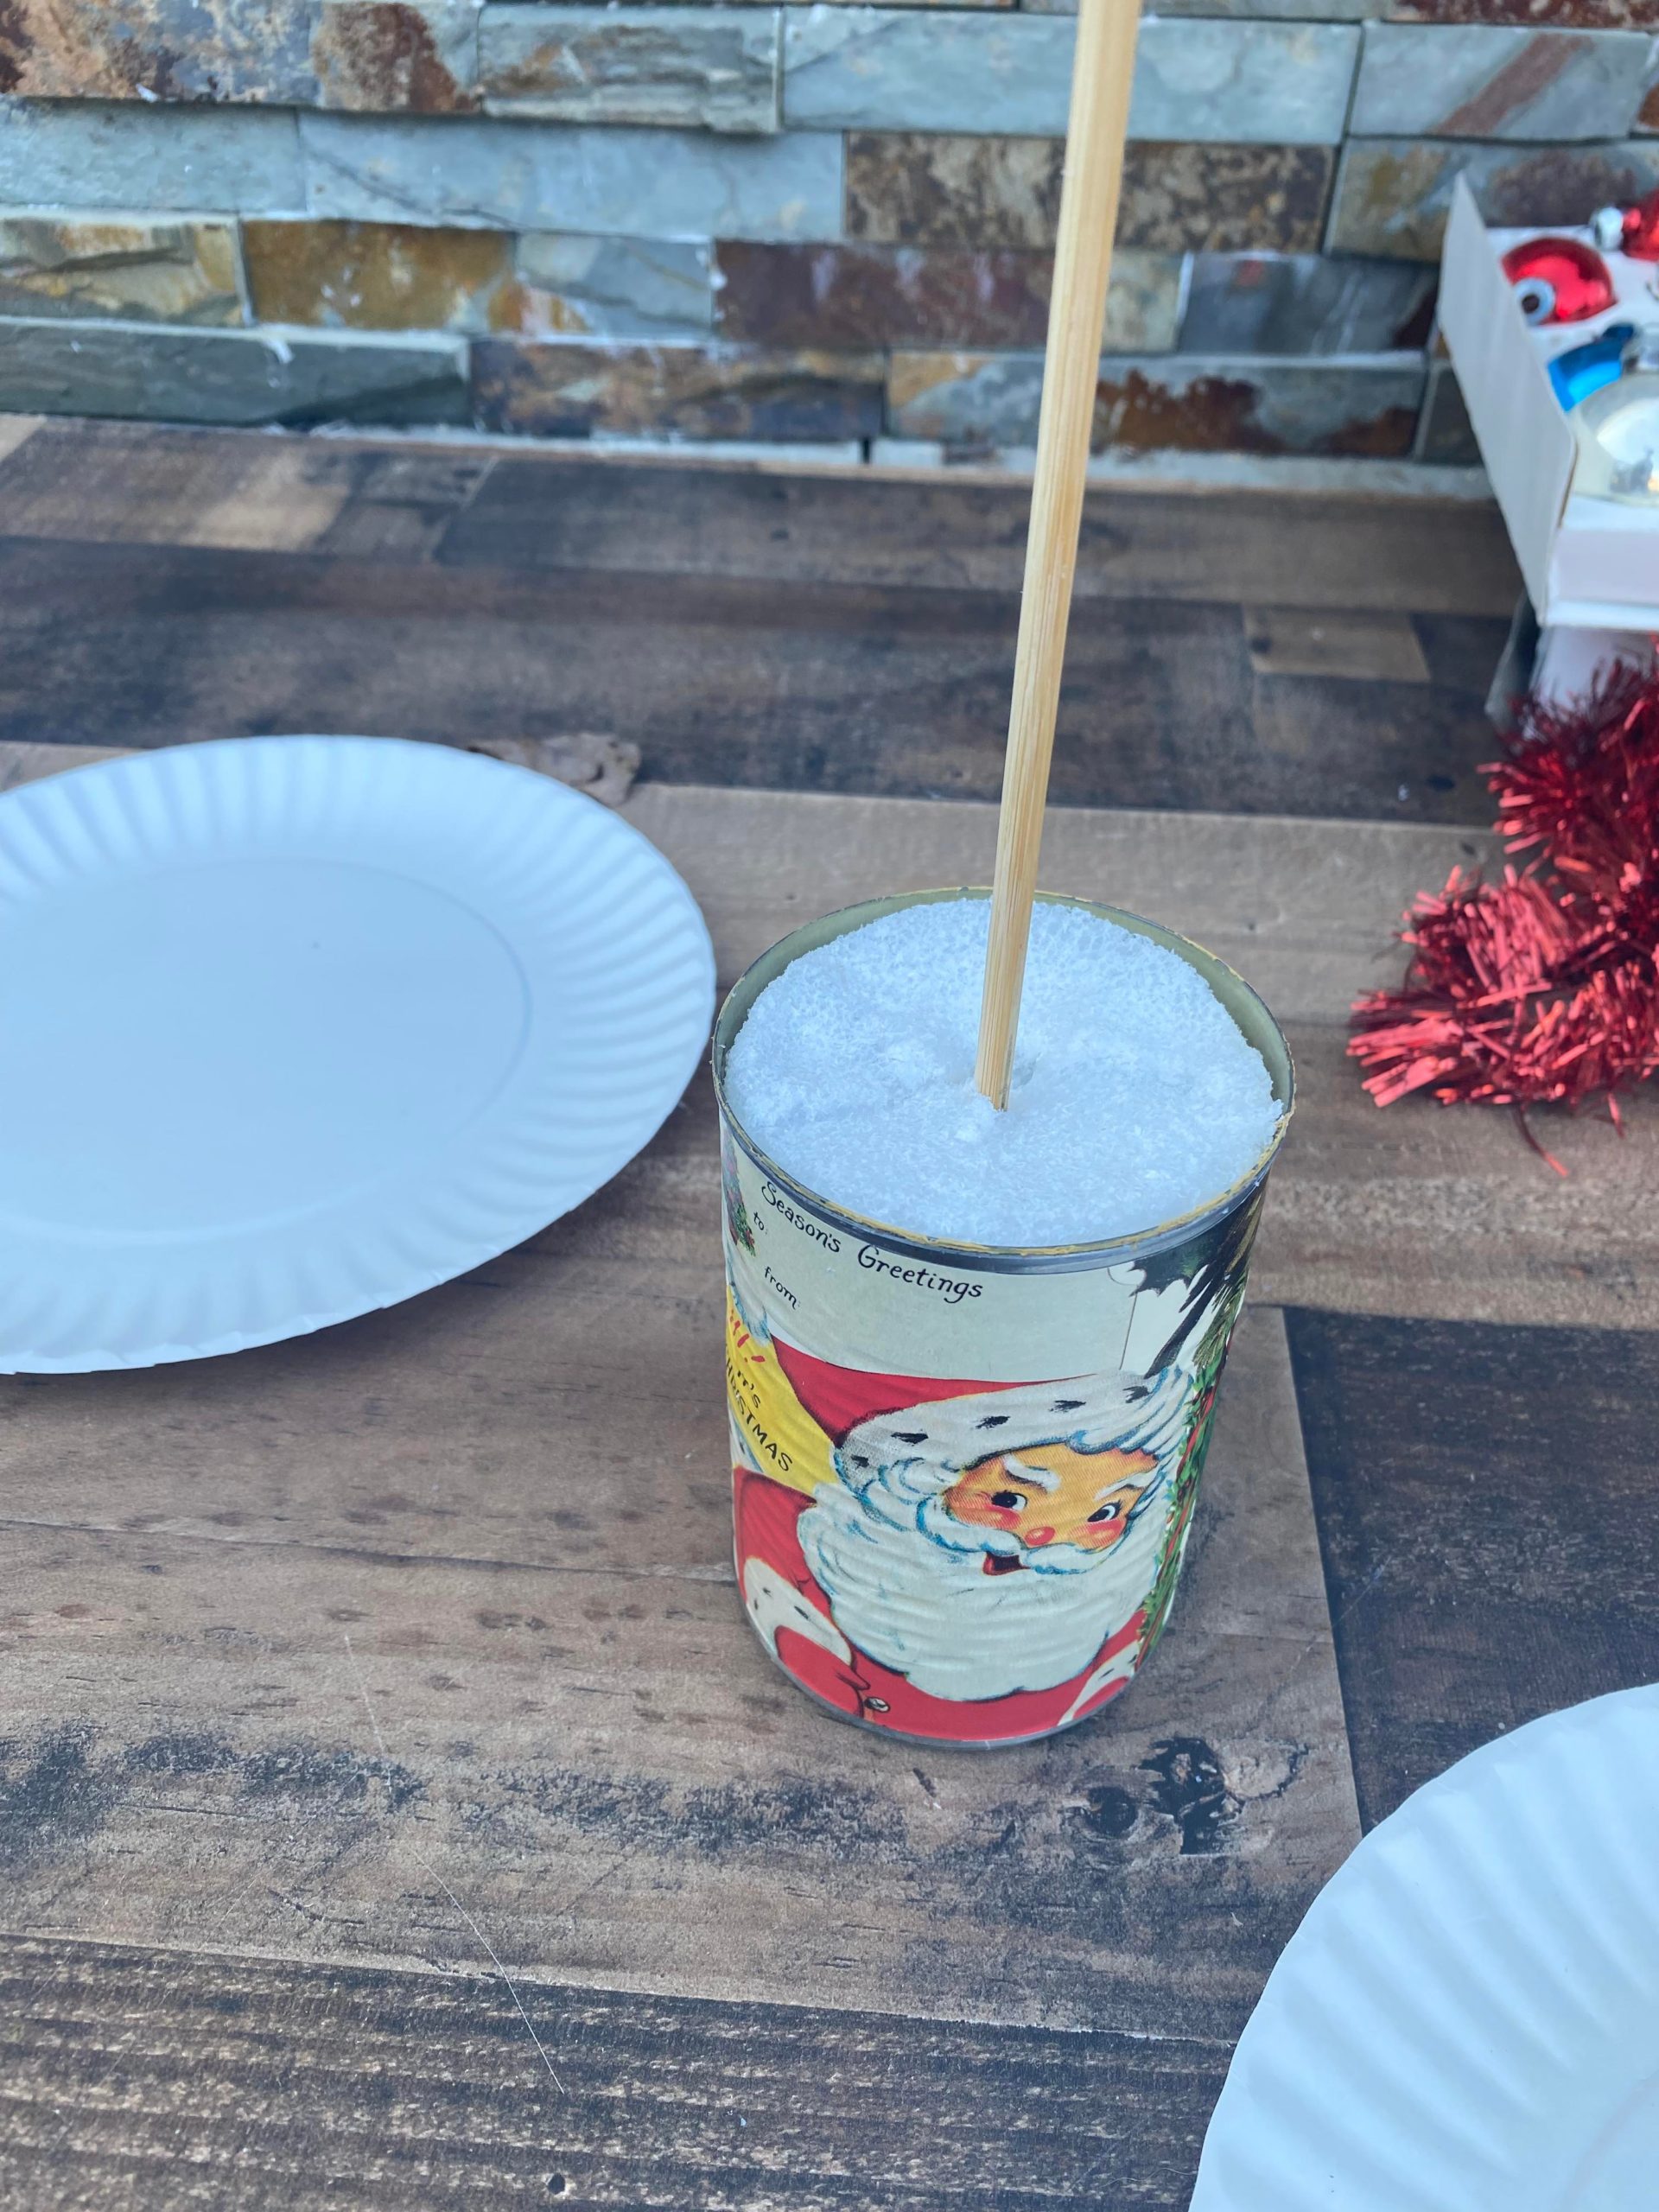
The next step is to add styrofoam to the inside of the can.
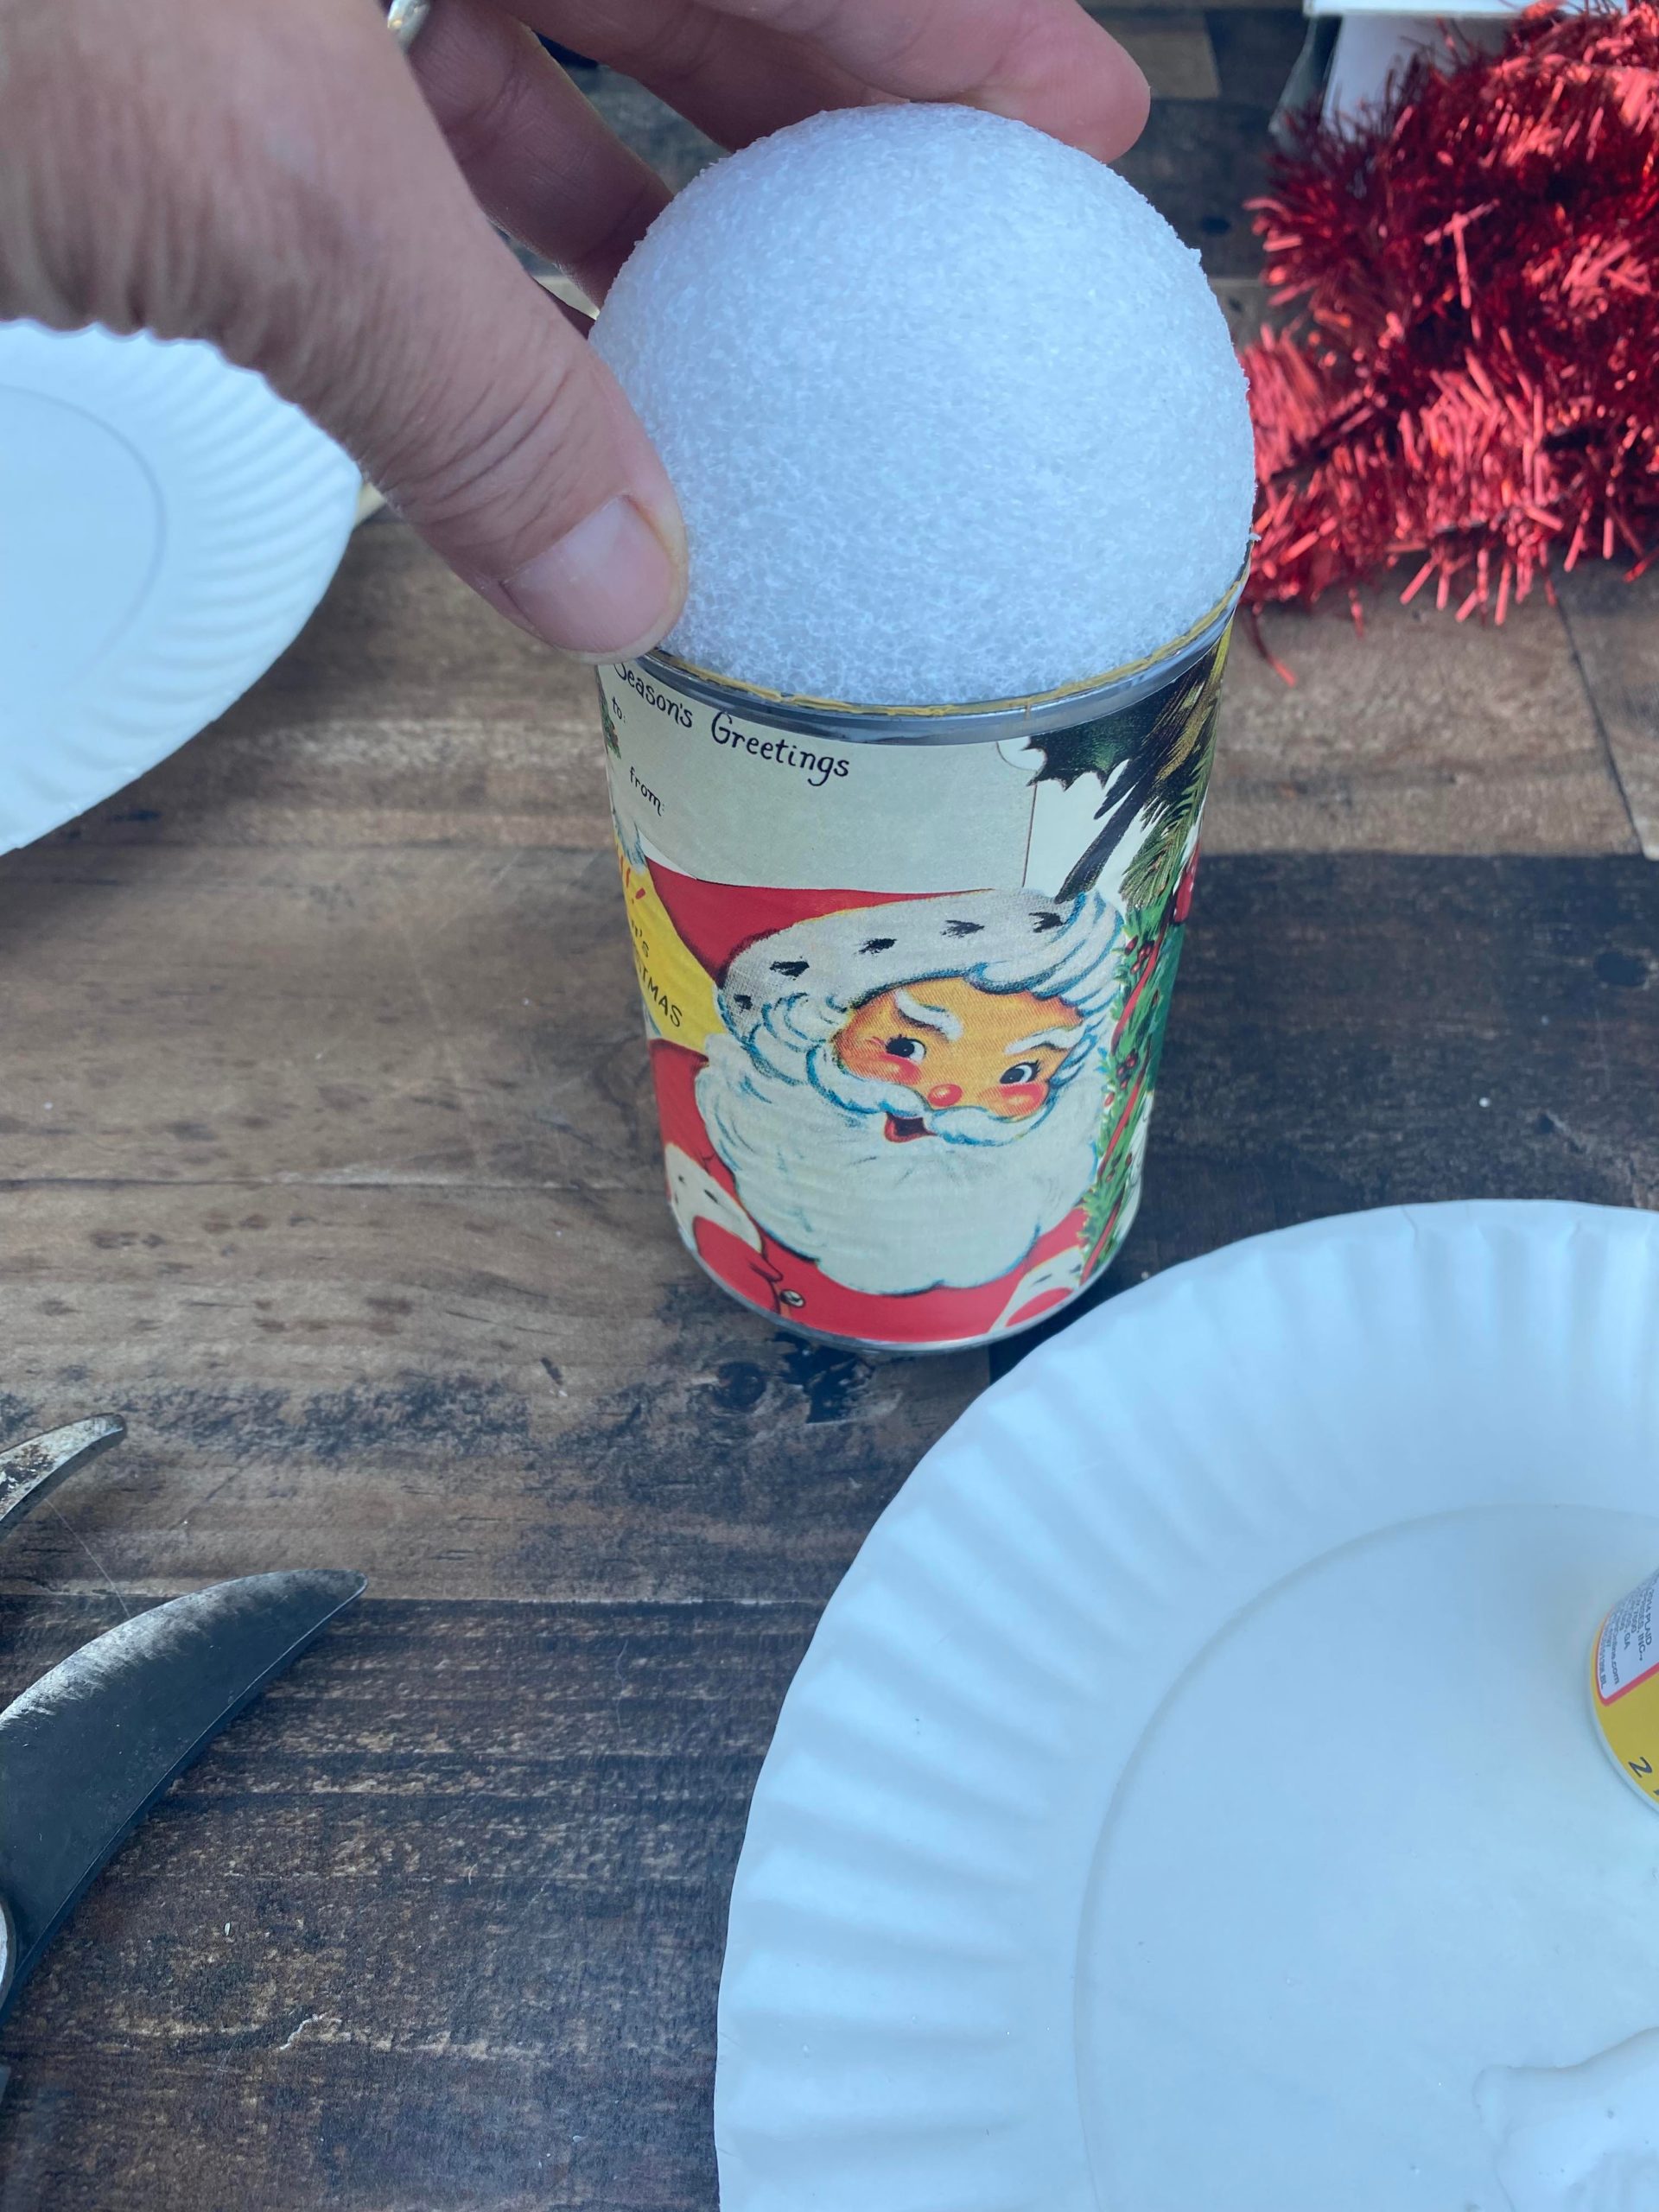
I am placing two styrofoam balls into the can. Once you have the styrofoam in place you will then add the kabob stick.
![]()
You can cut the kabob stick as big or as small as you want.
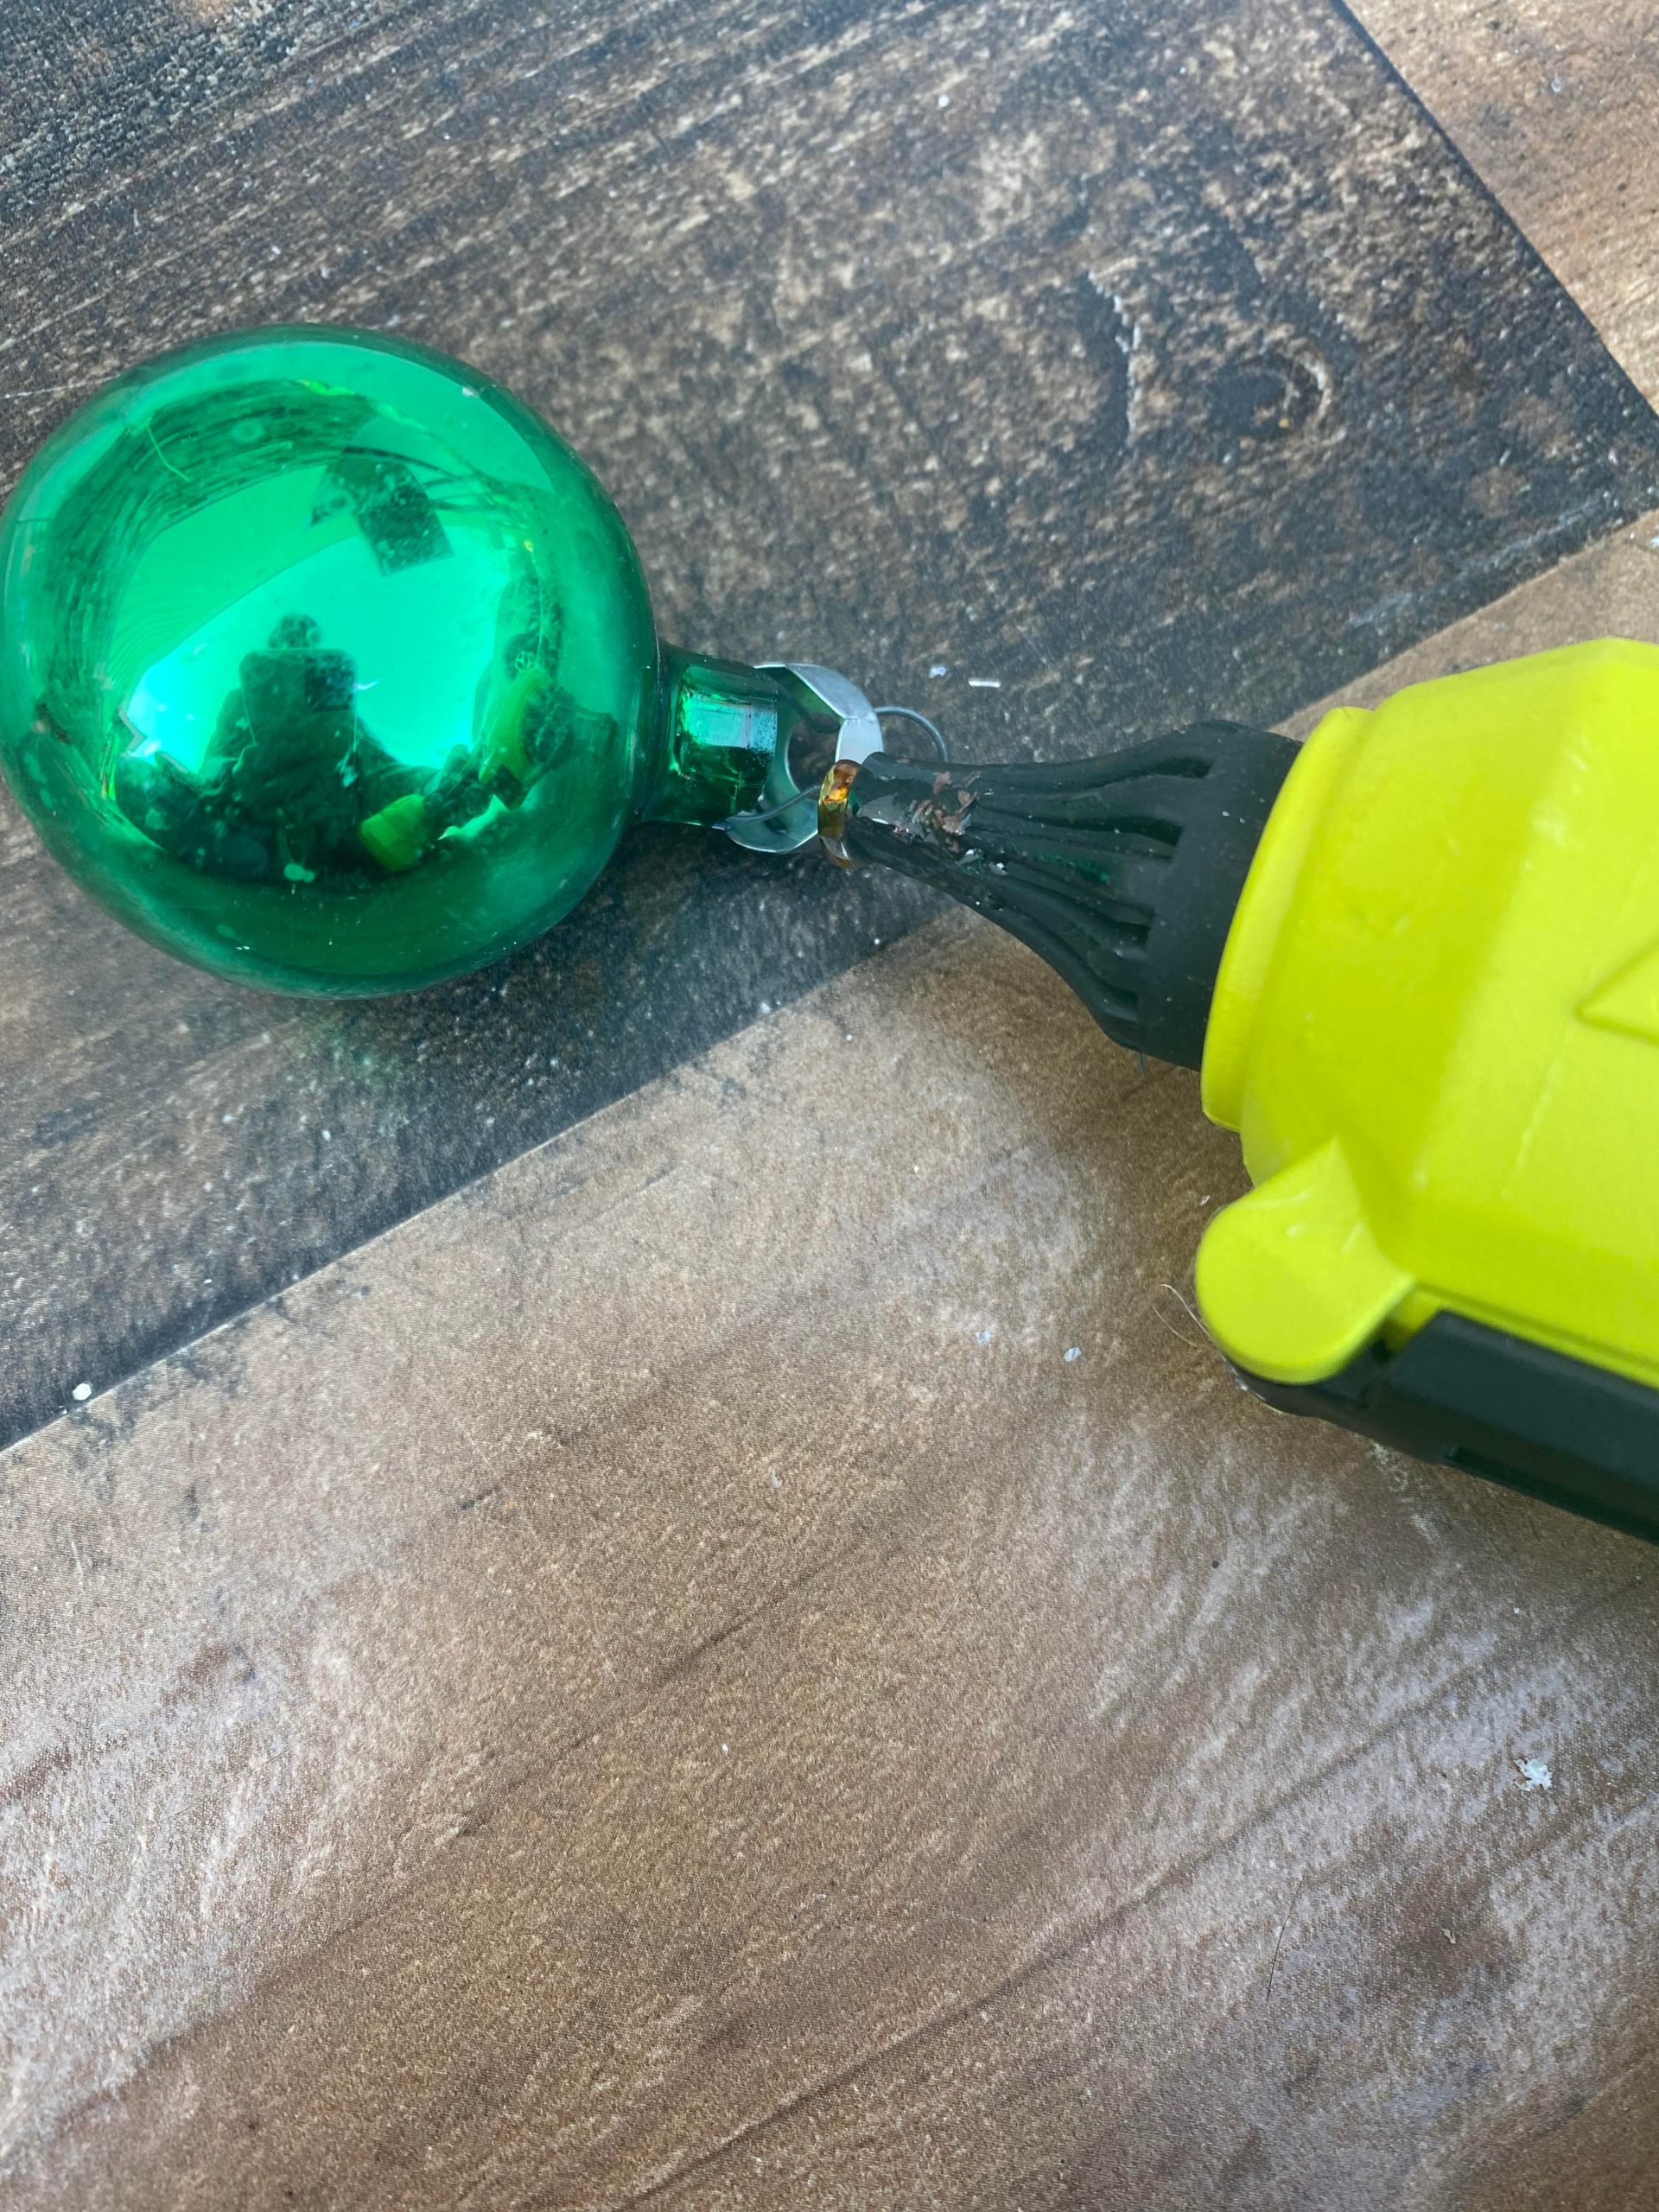
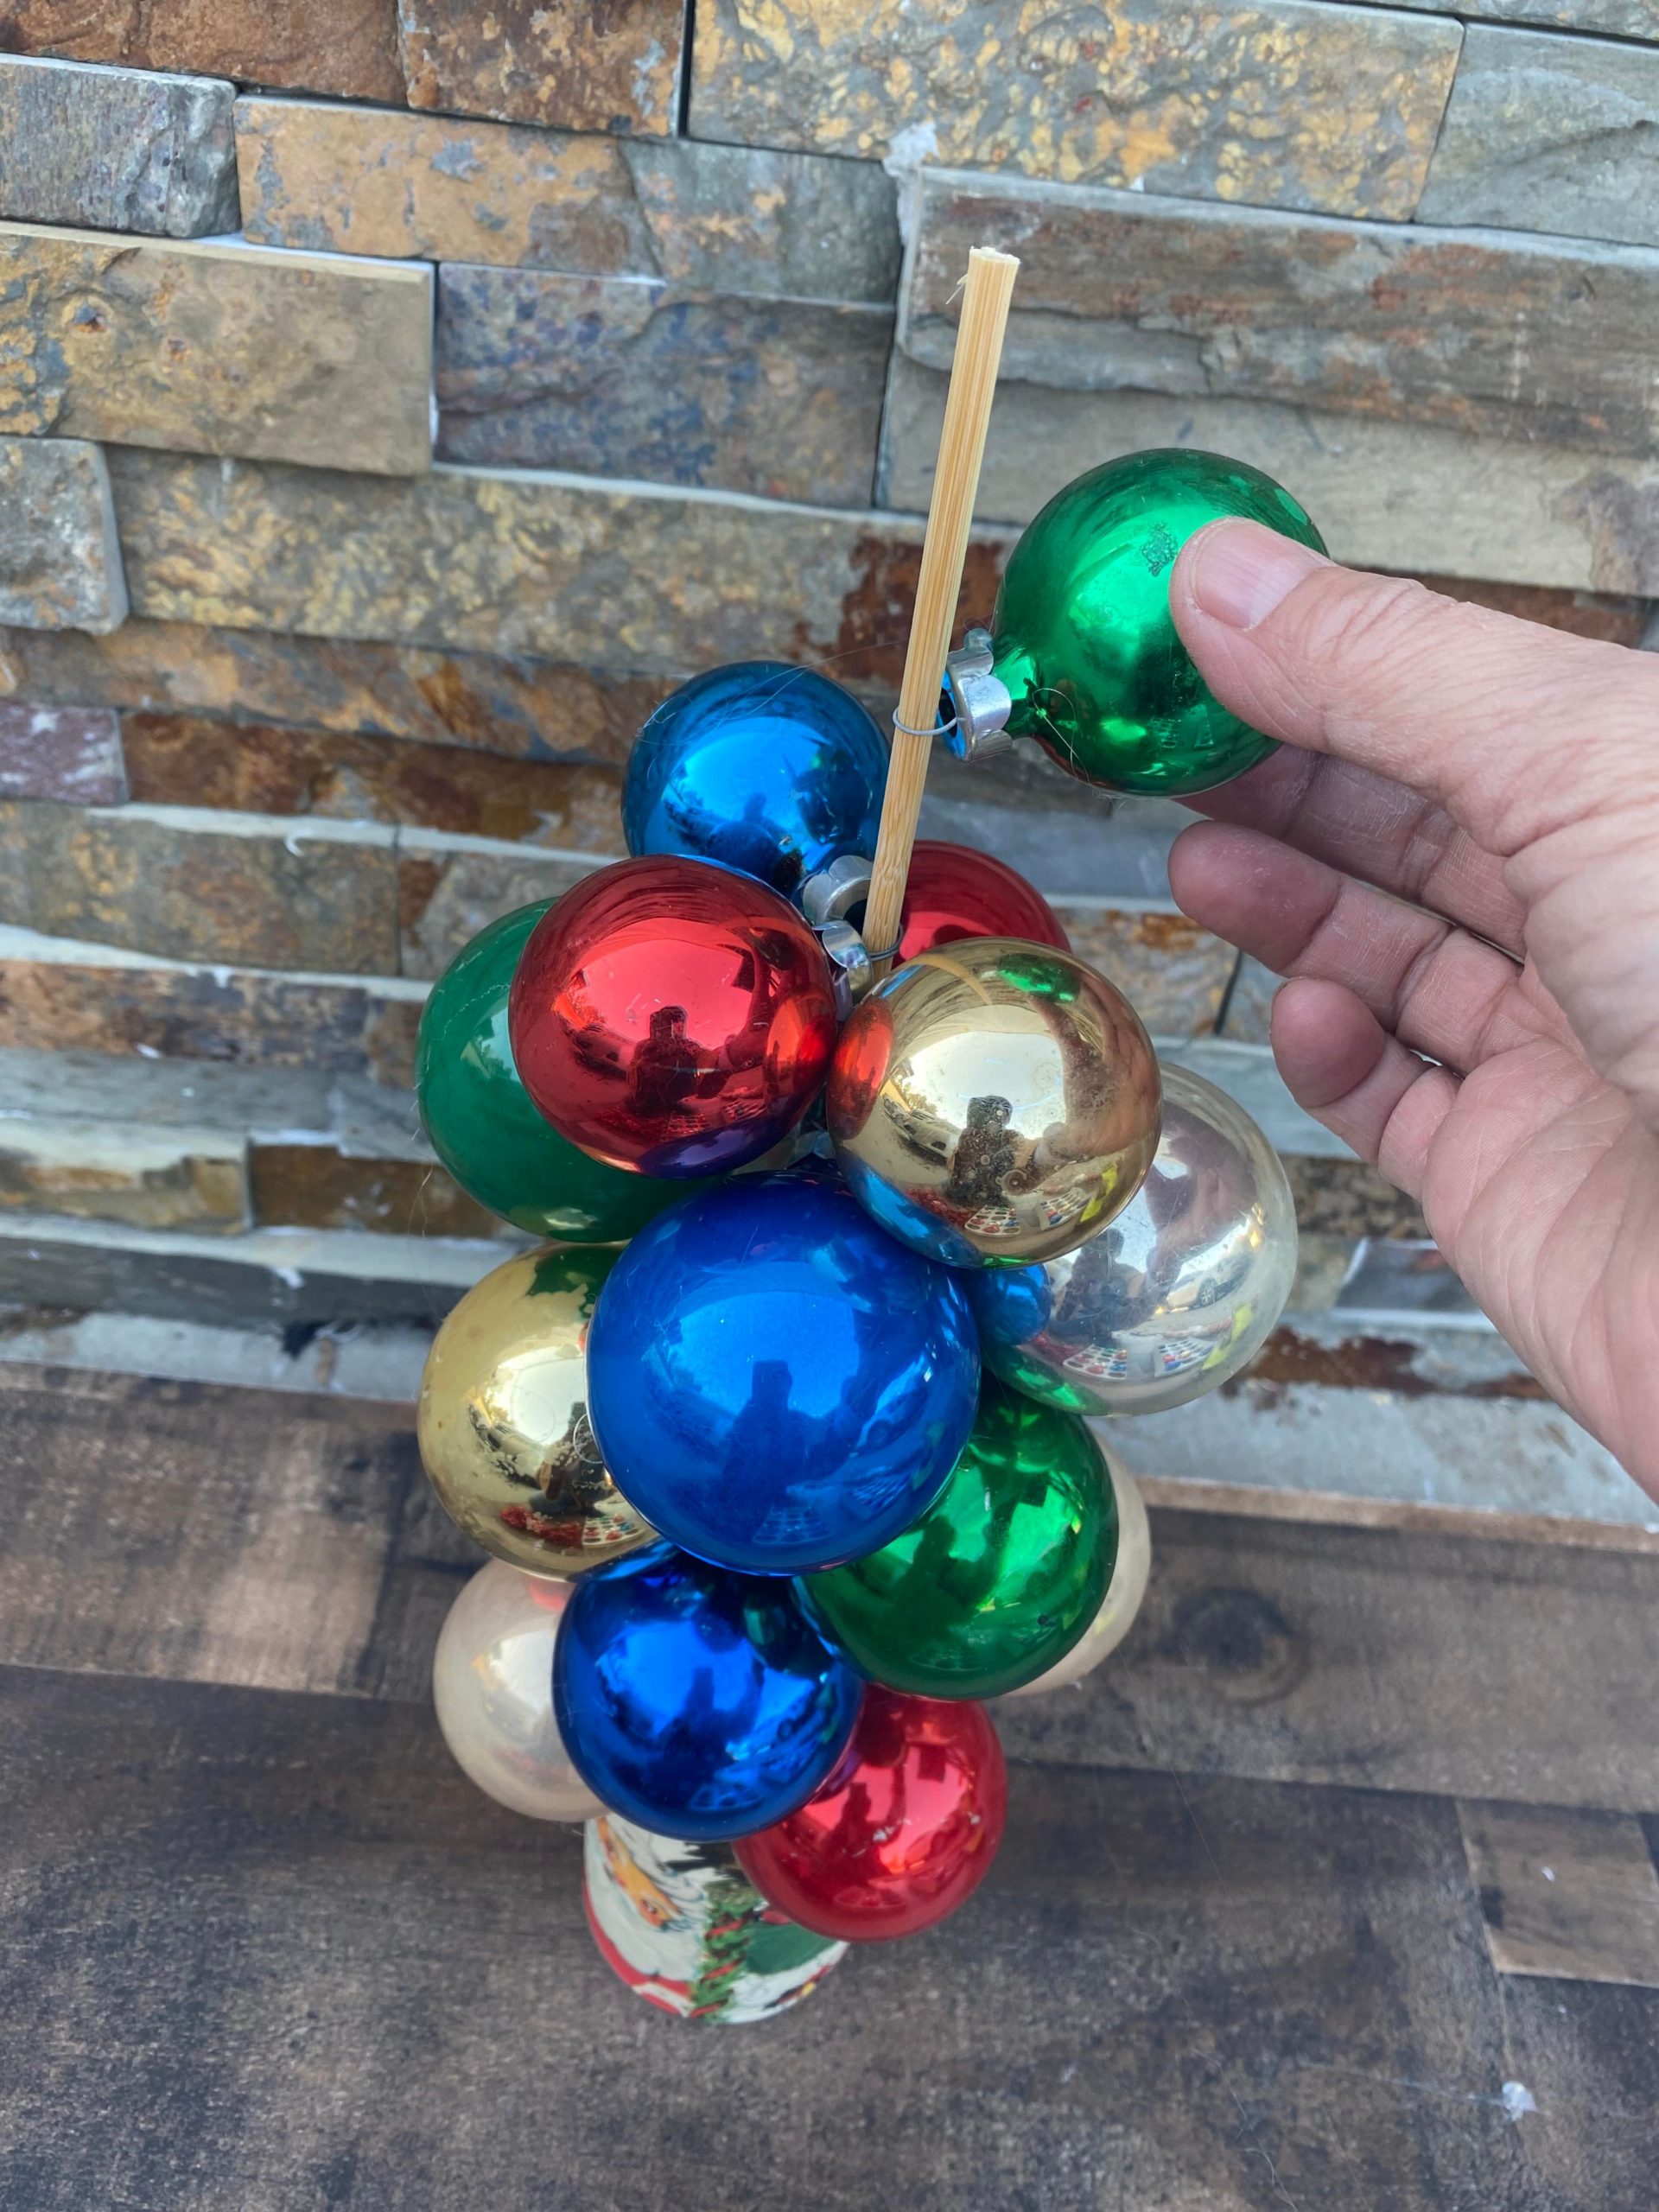
Before adding the ball ornaments onto the kabob stick I added a small amount of glue to the top of the ornament. The hot glue will prevent the top of the ornament from popping off.

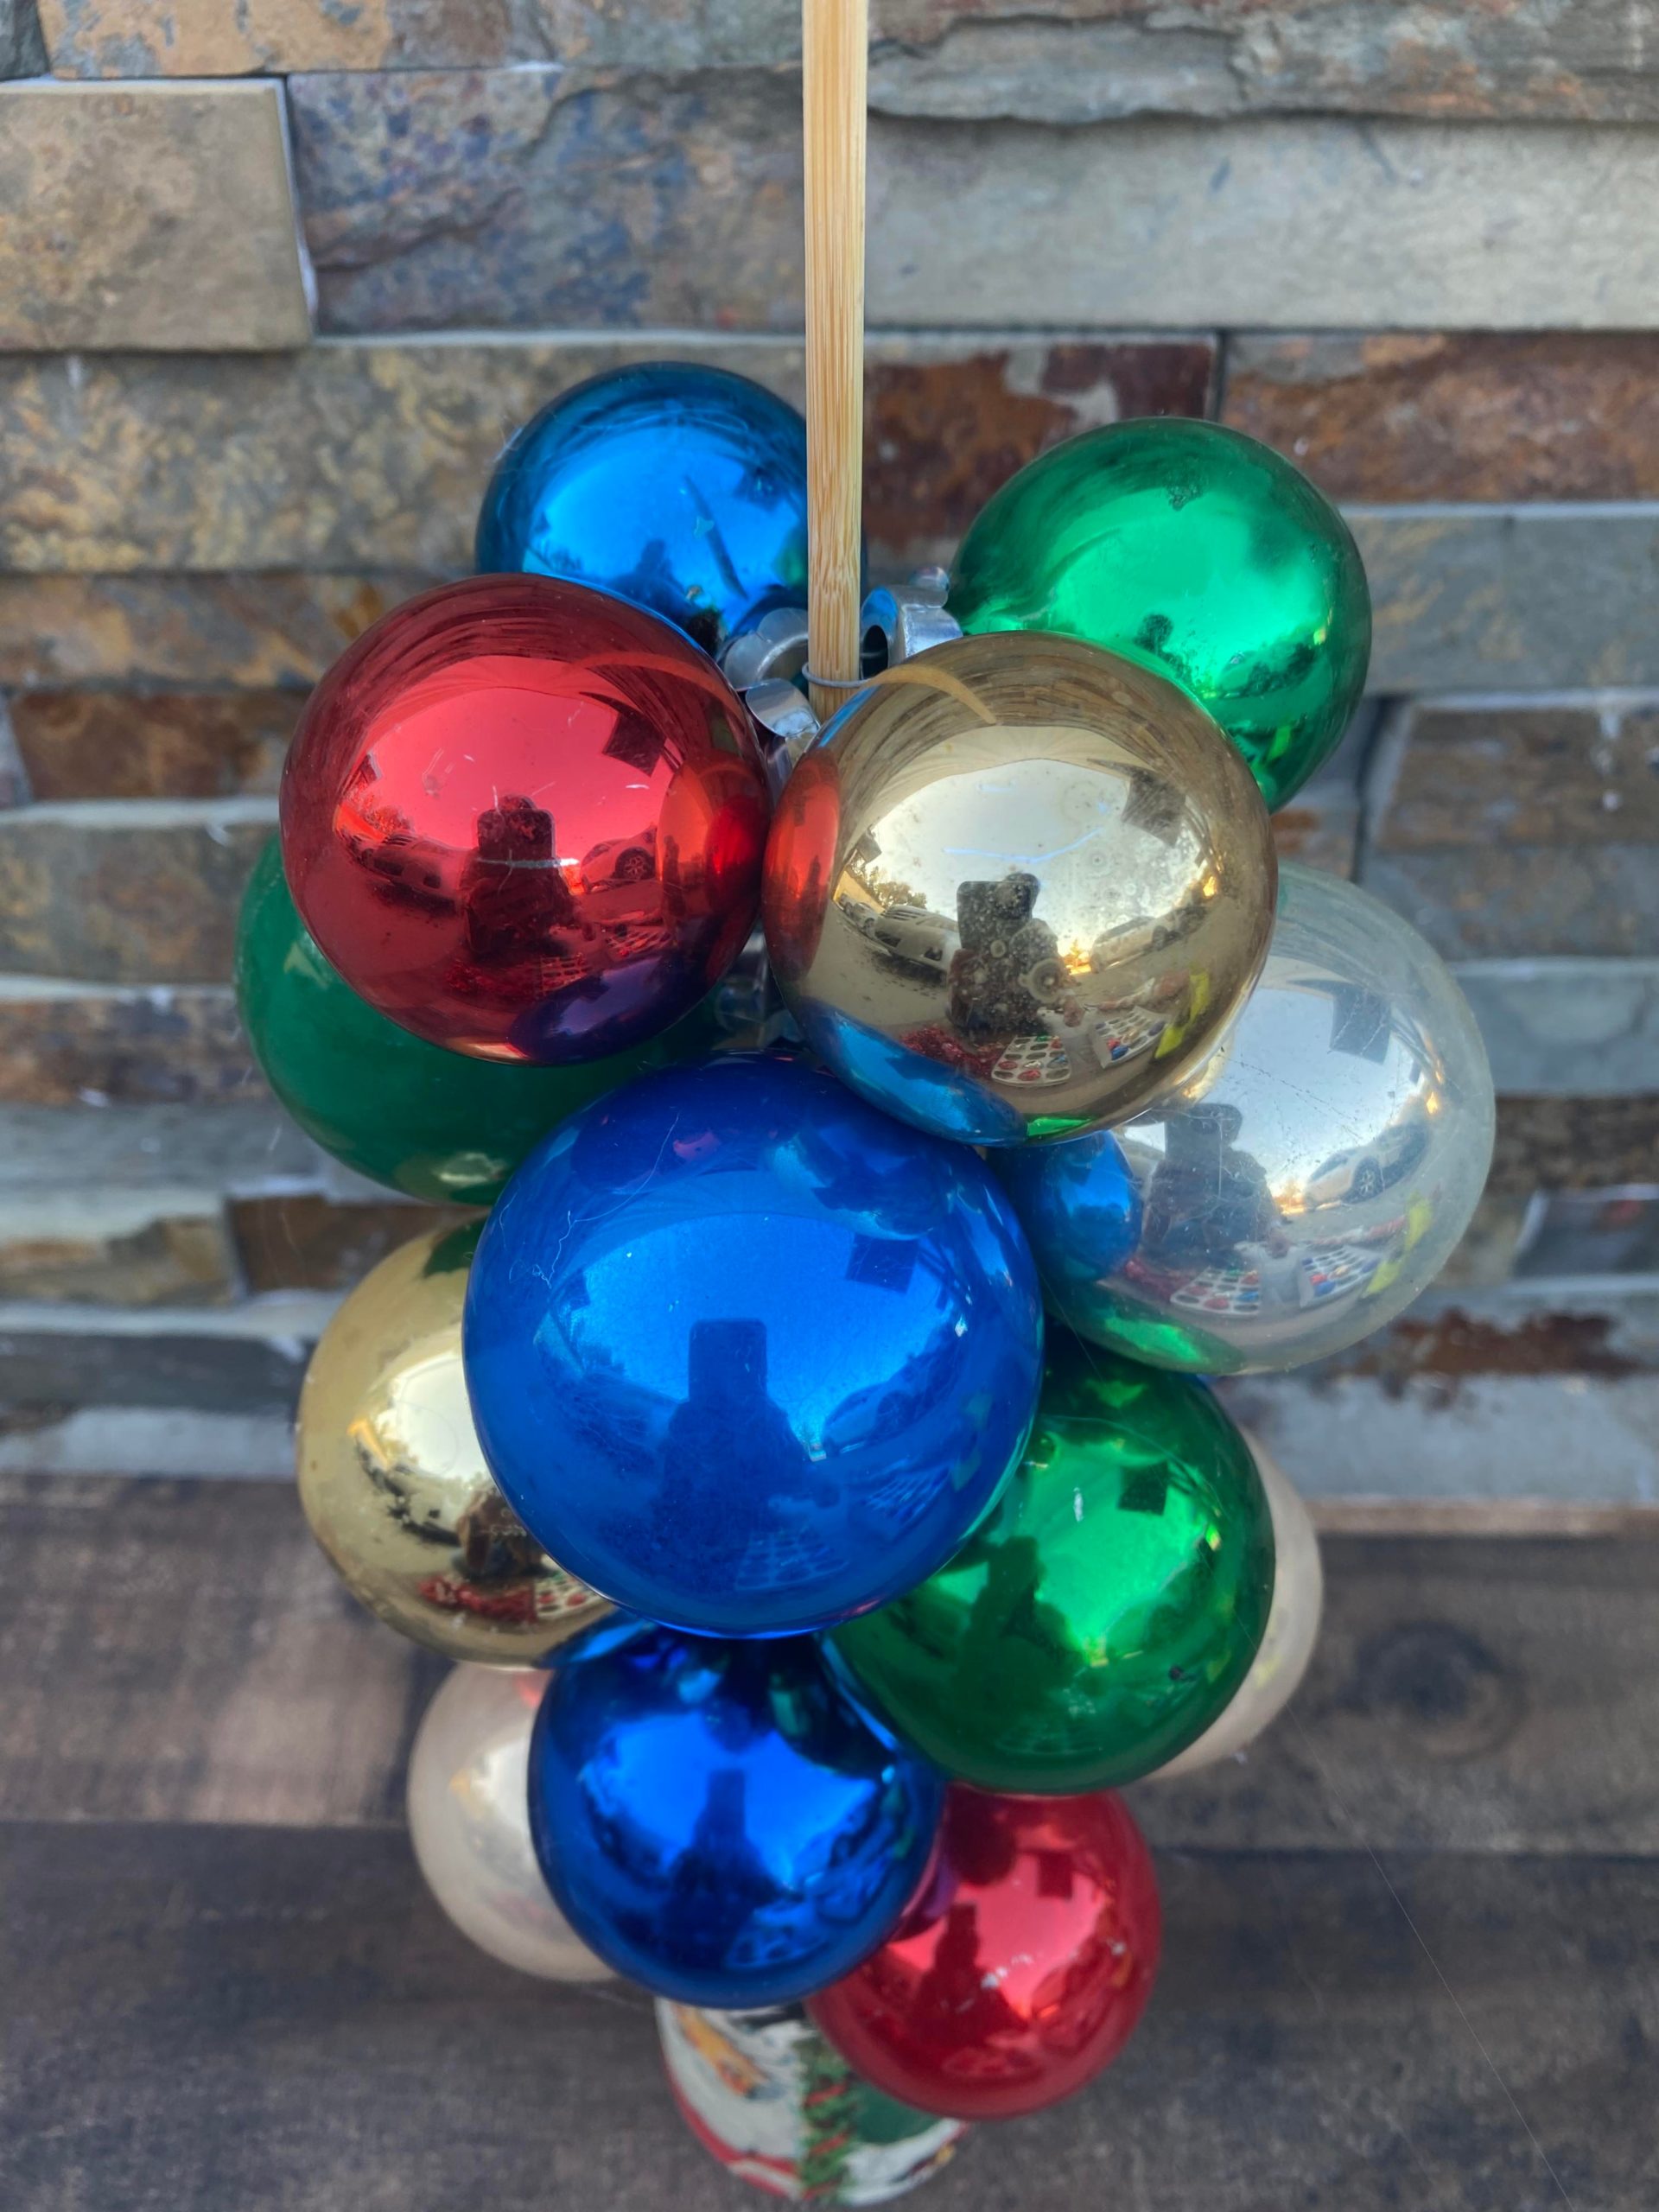
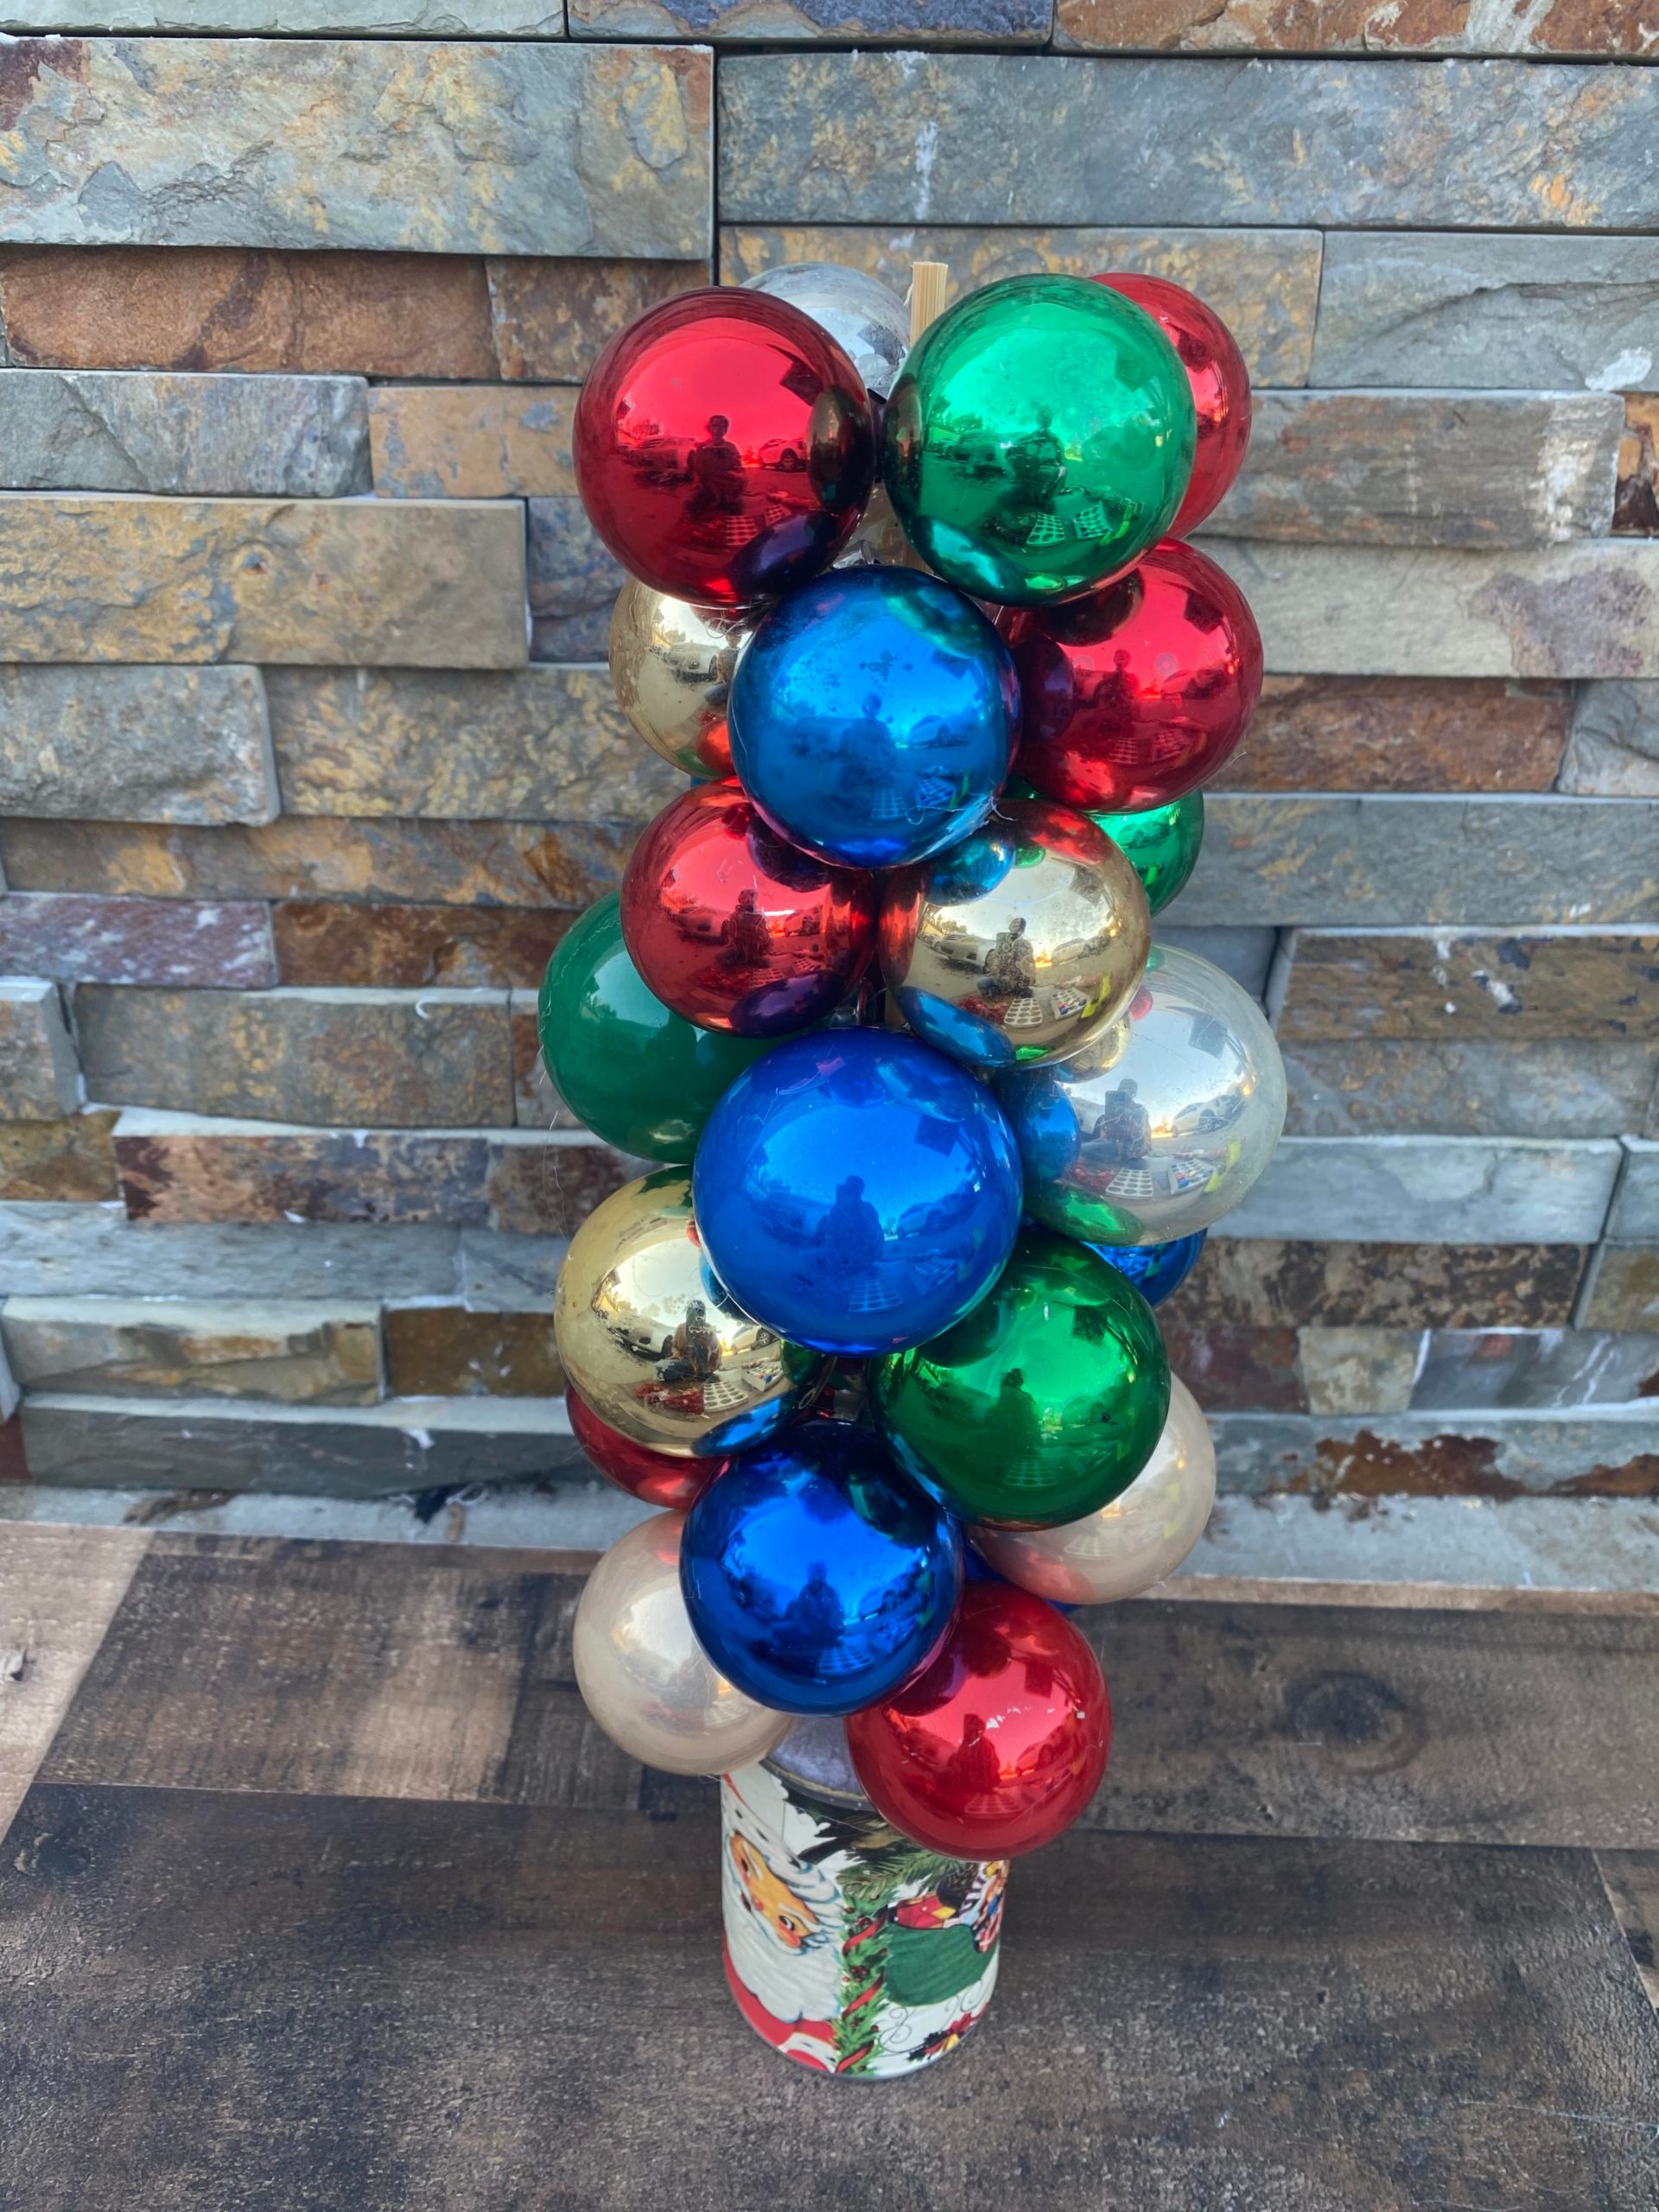
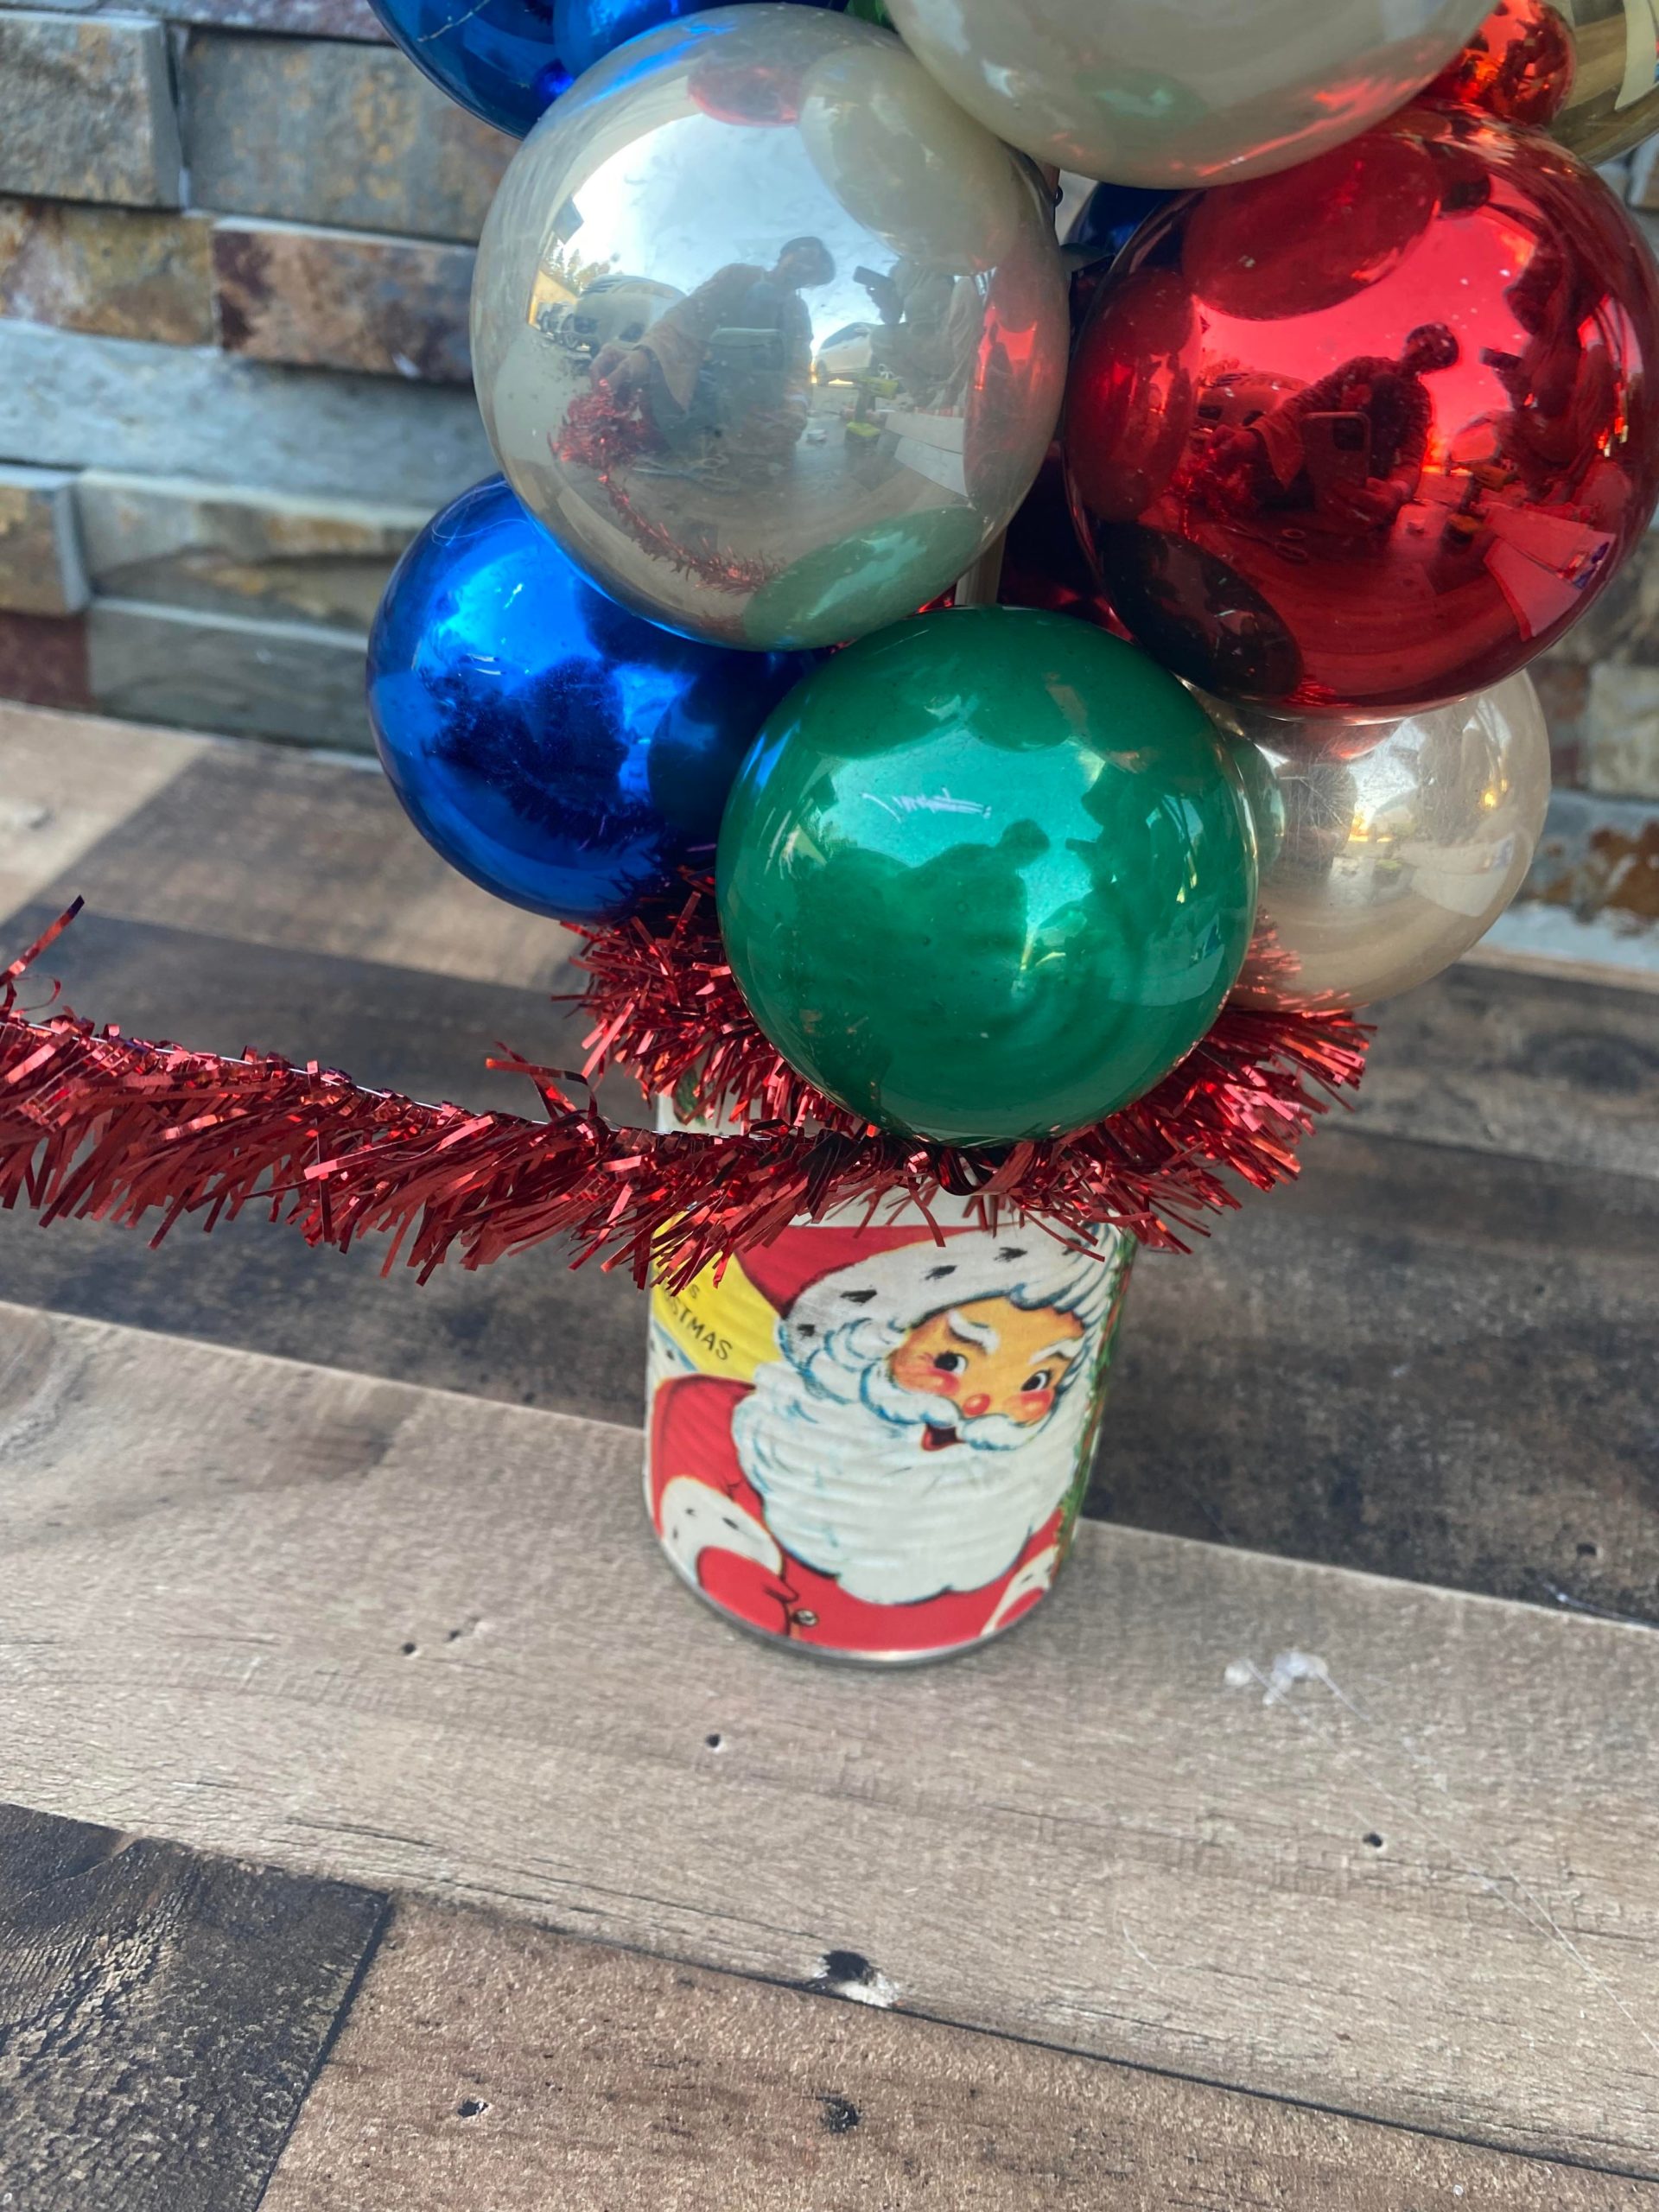
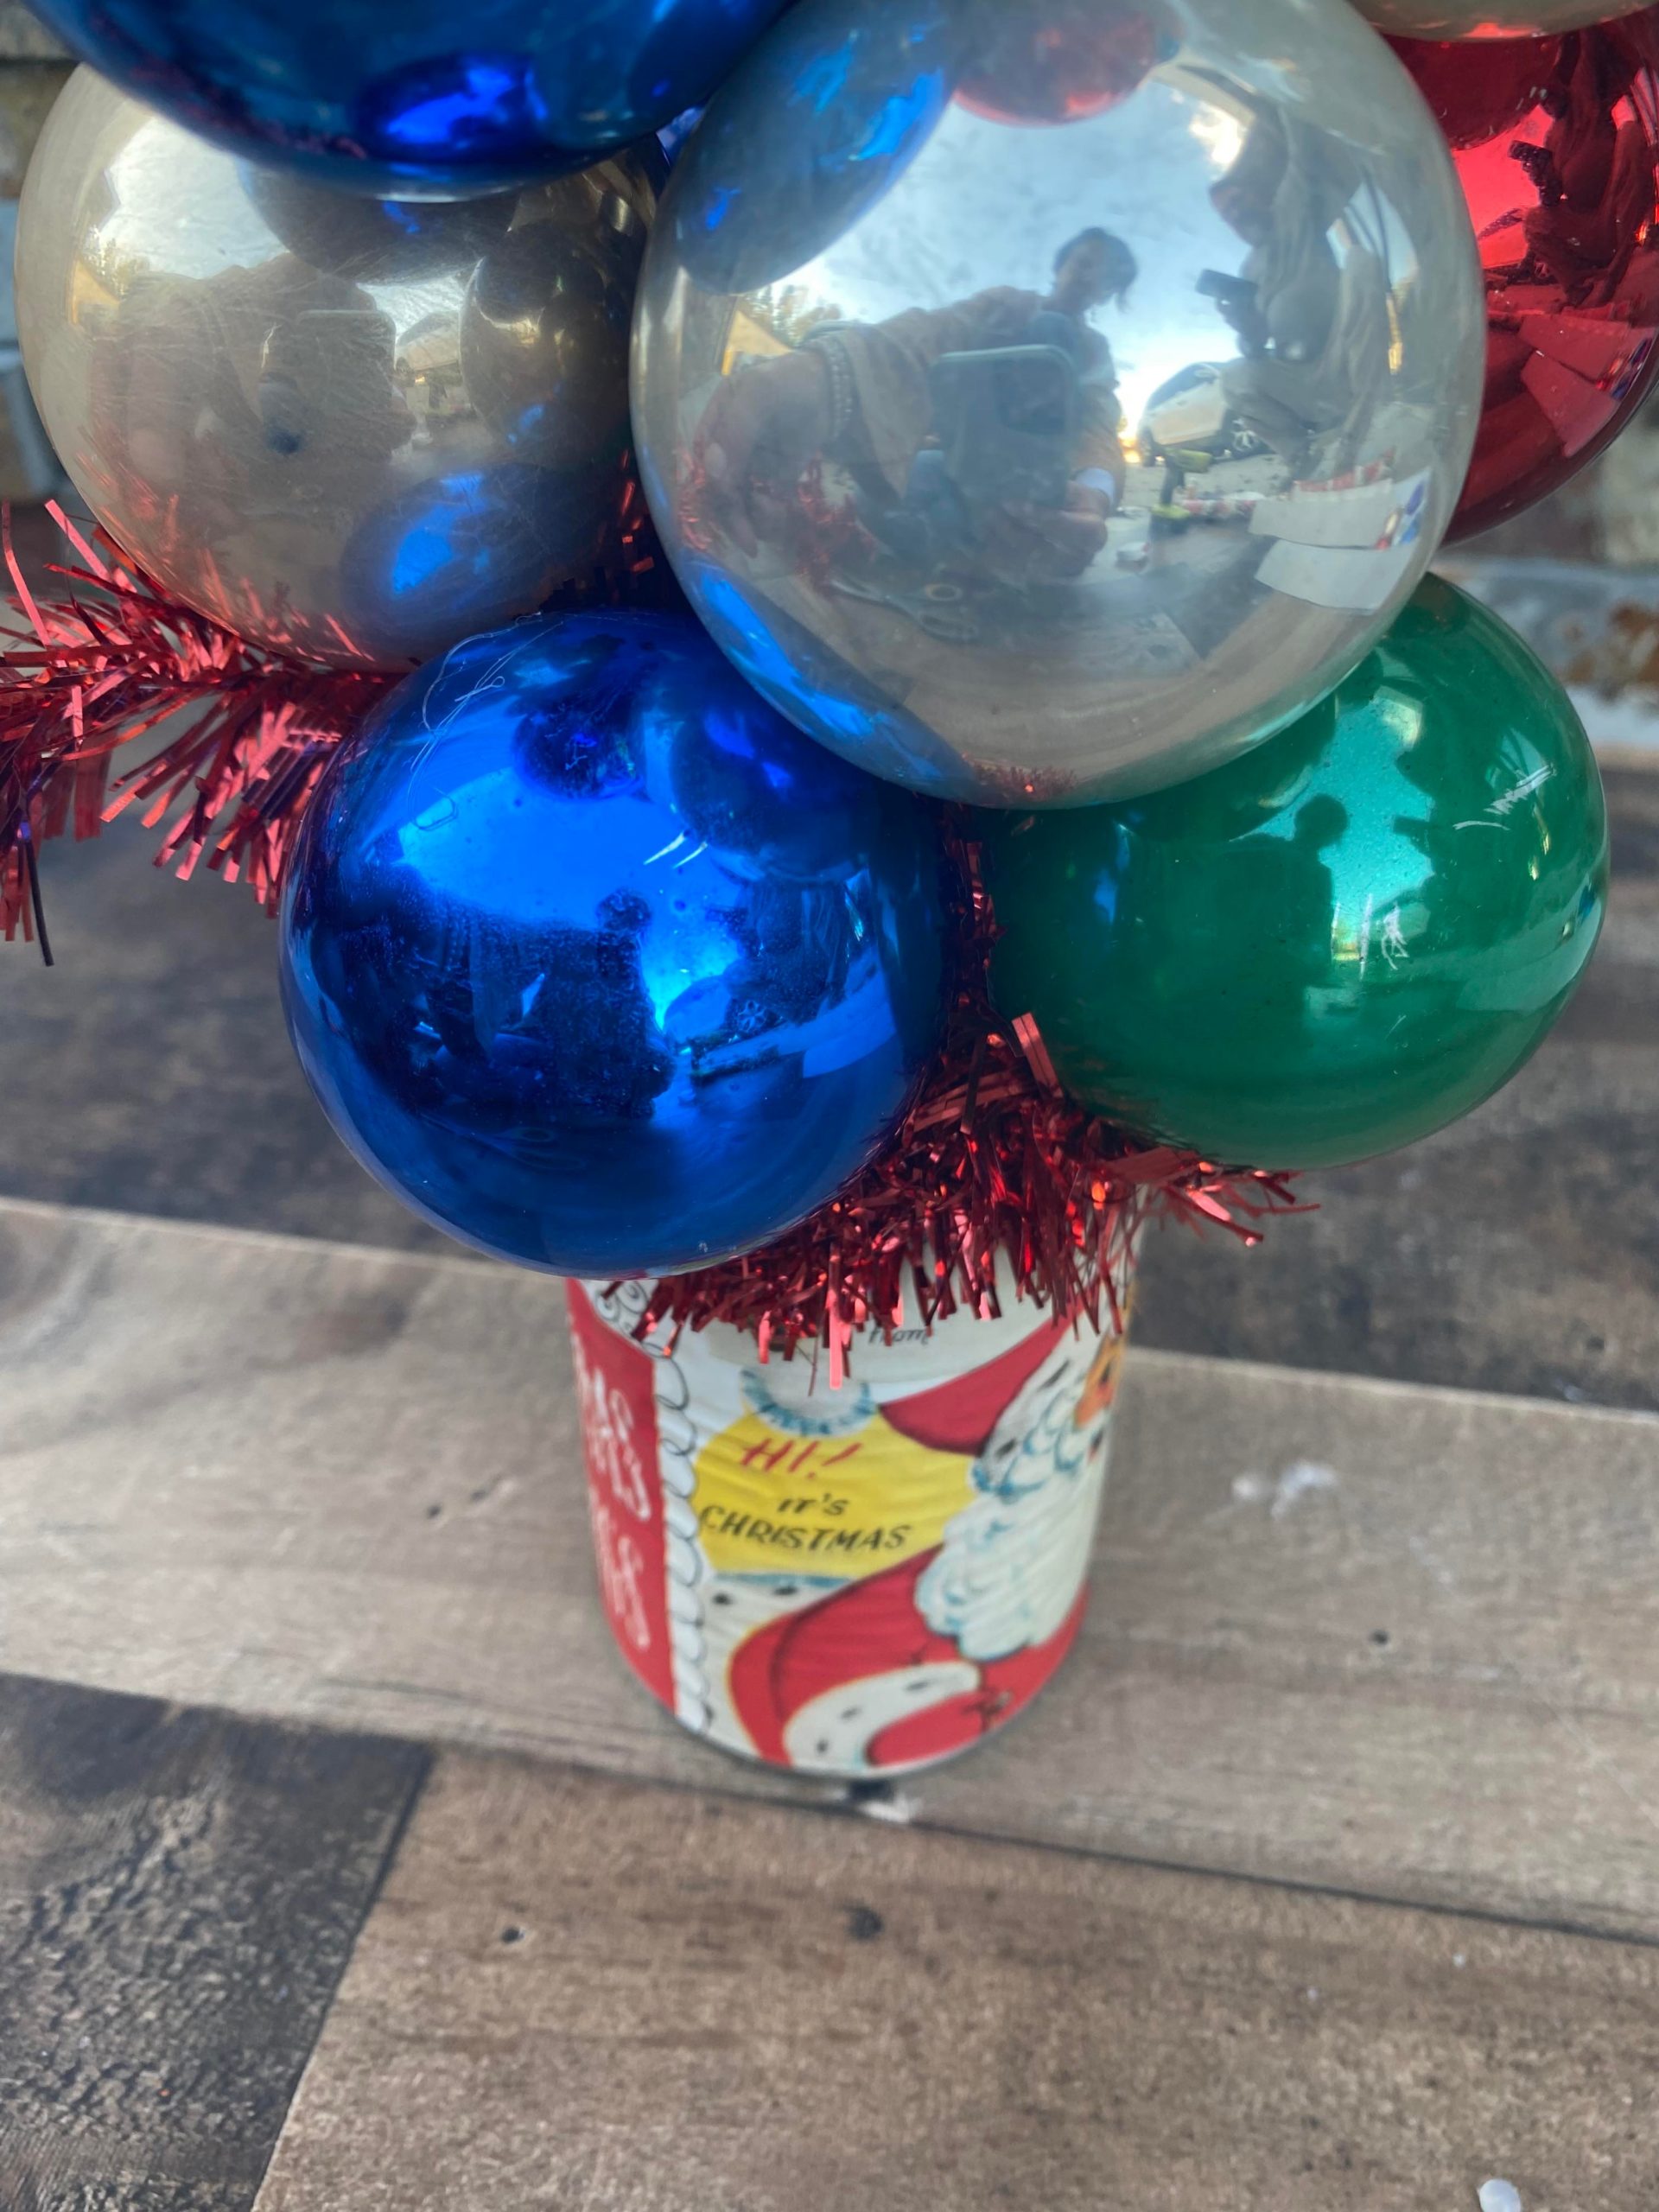
Once you have the tops glued on you will start adding the larger ball ornaments first.
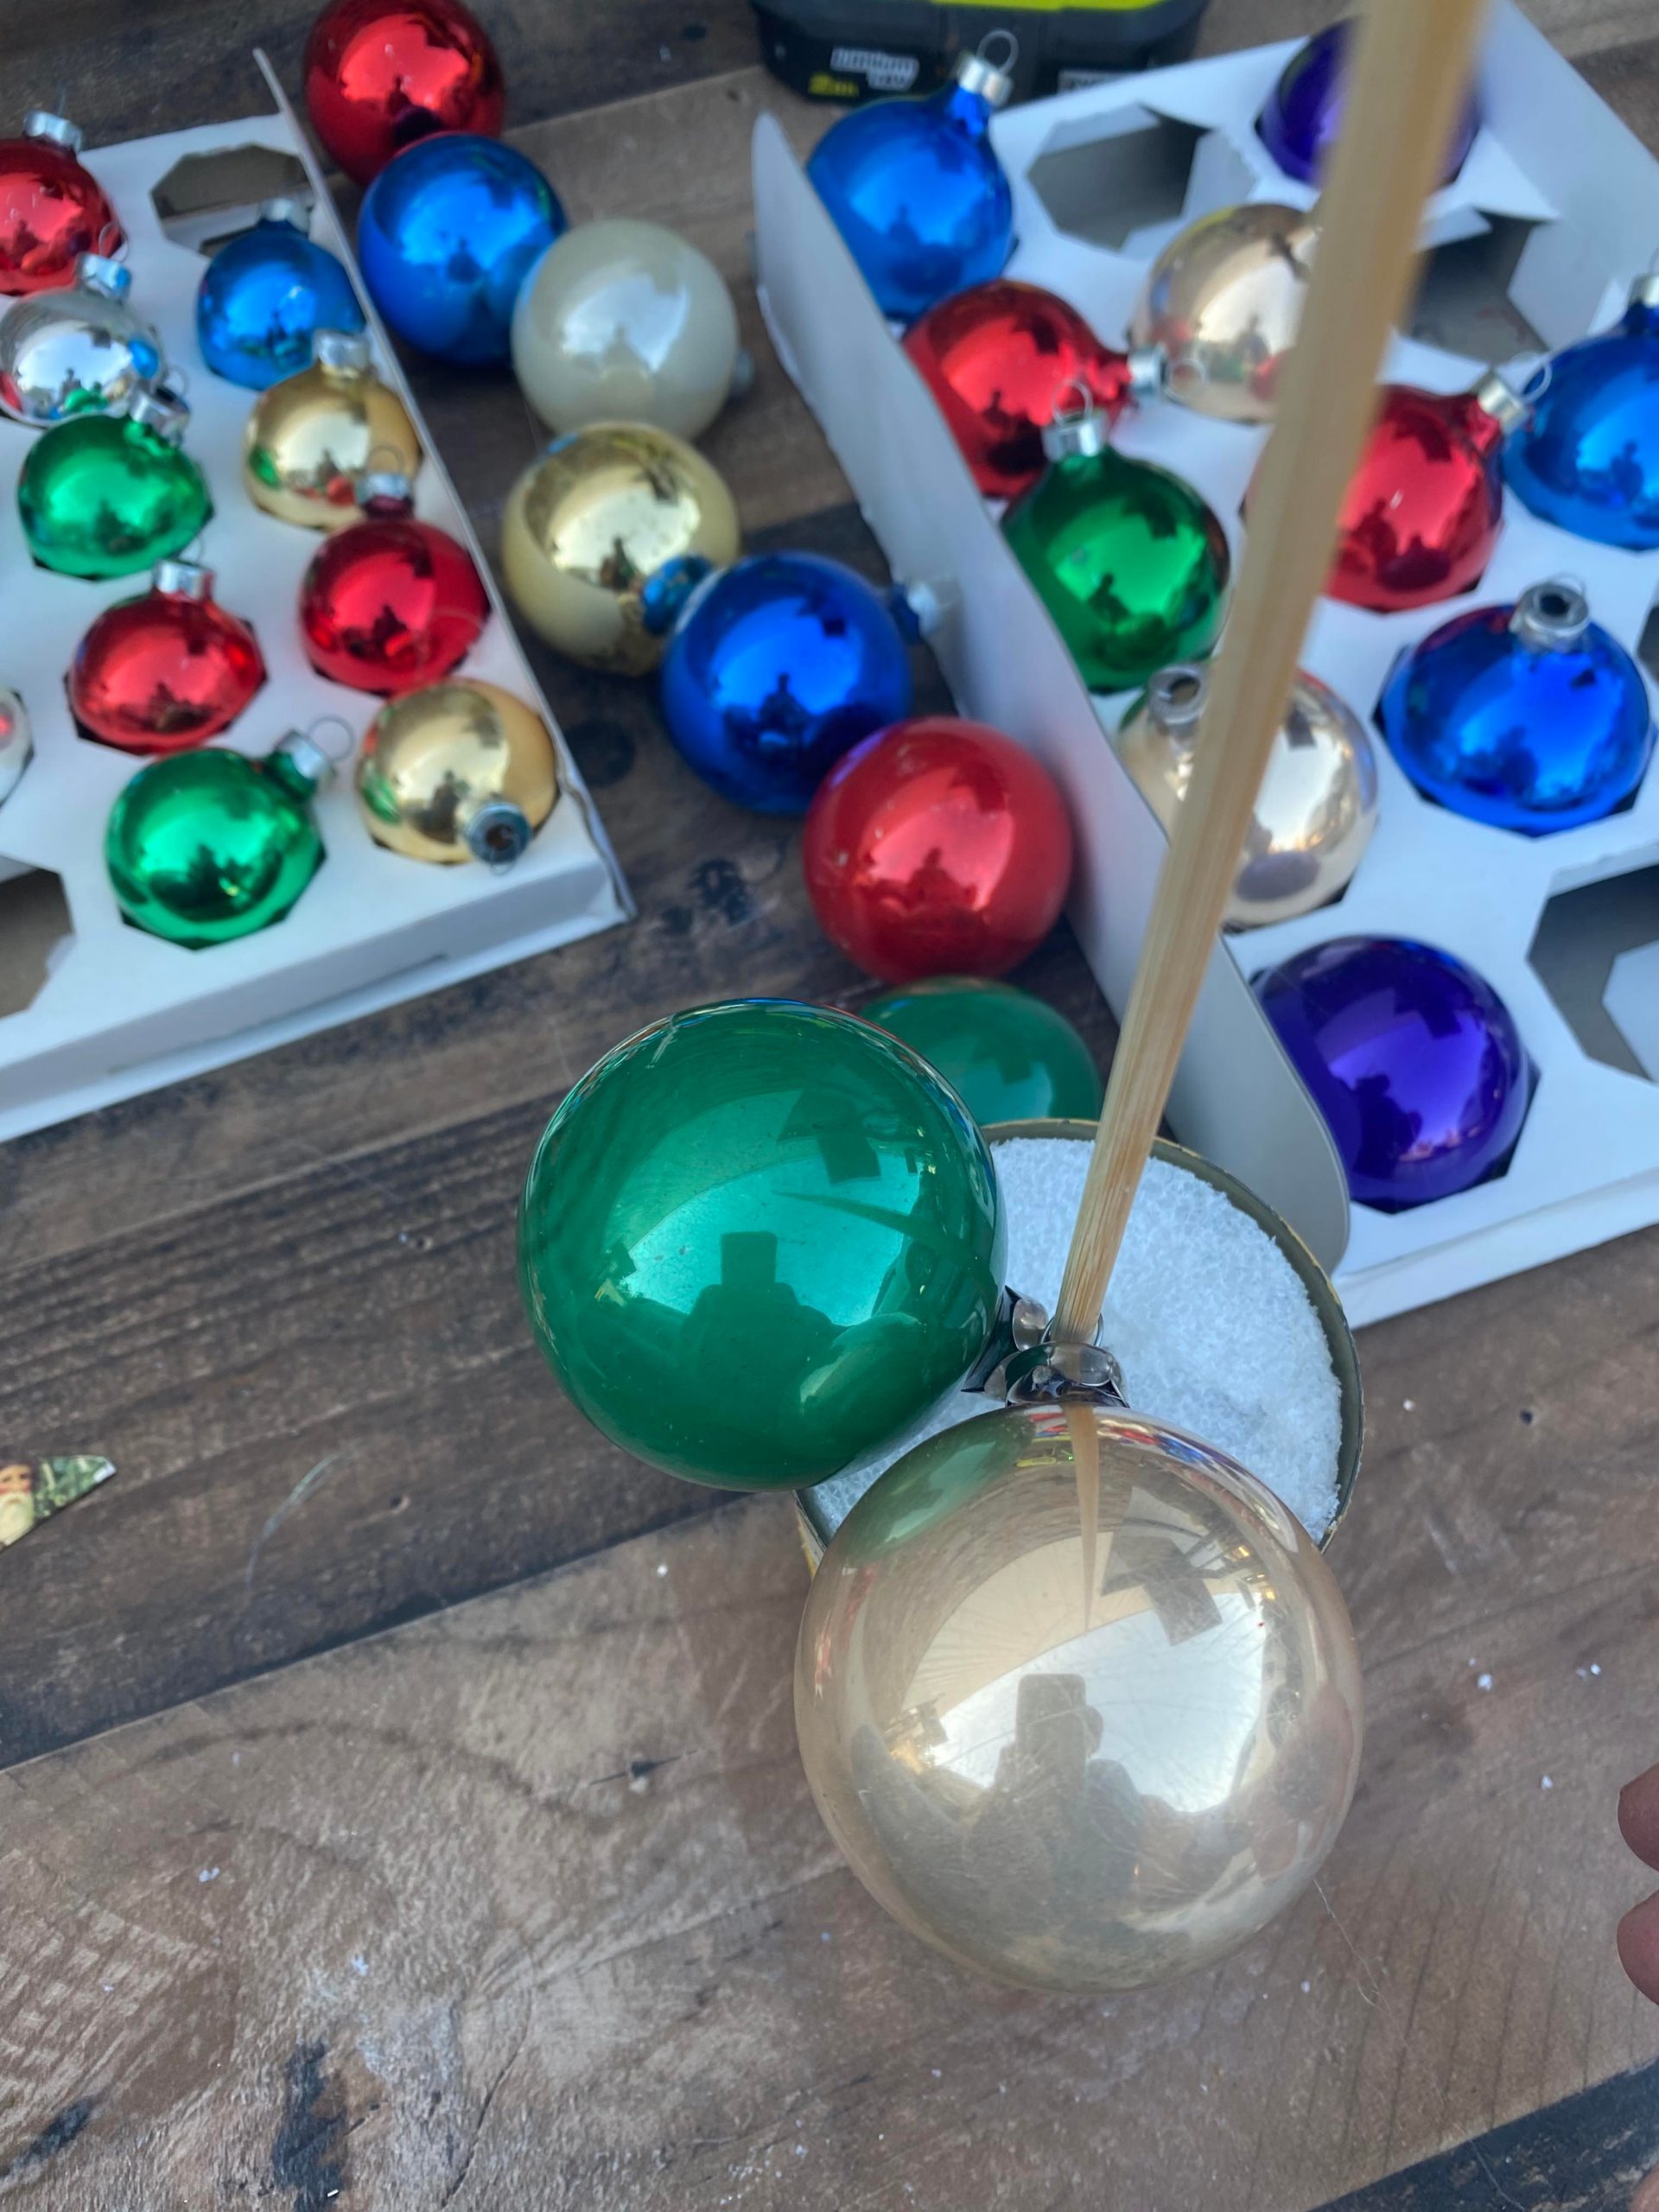
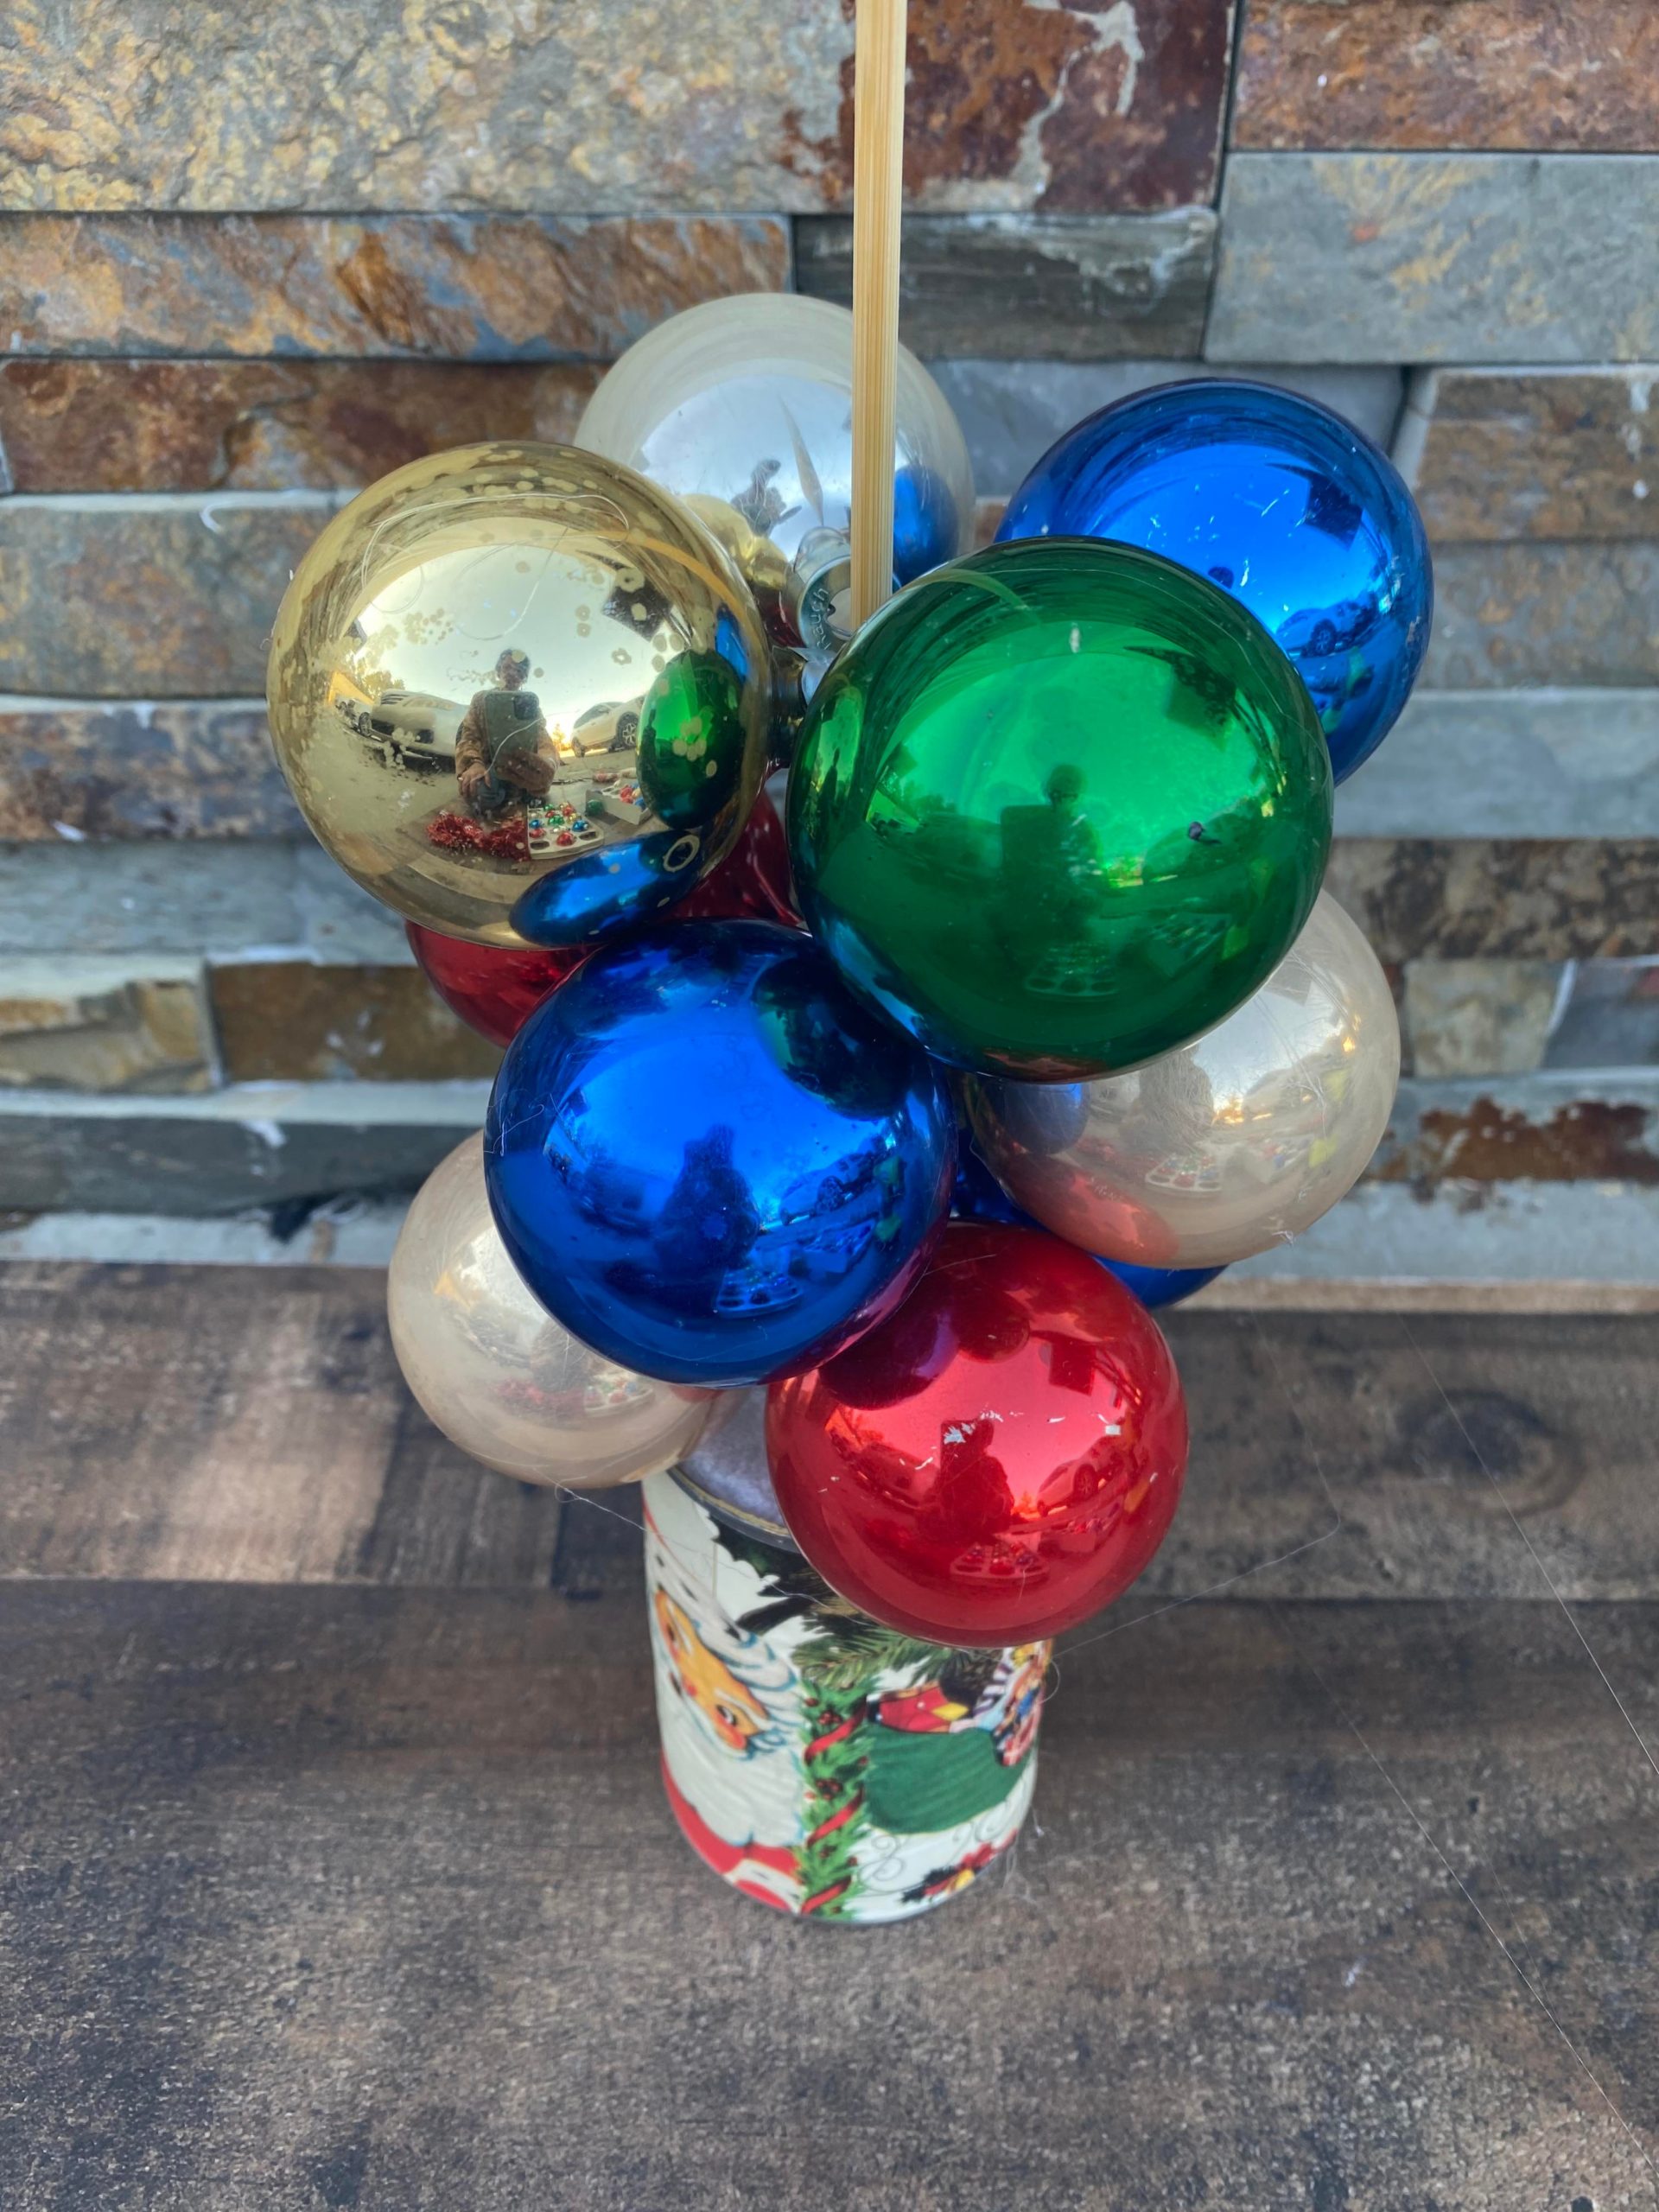
Once you get a little more then half way up you can start adding the smaller ball ornaments.
You will want to make some type of tree topper. I cut out two stars and from a paper plate and used the mod podge to attach the paper.
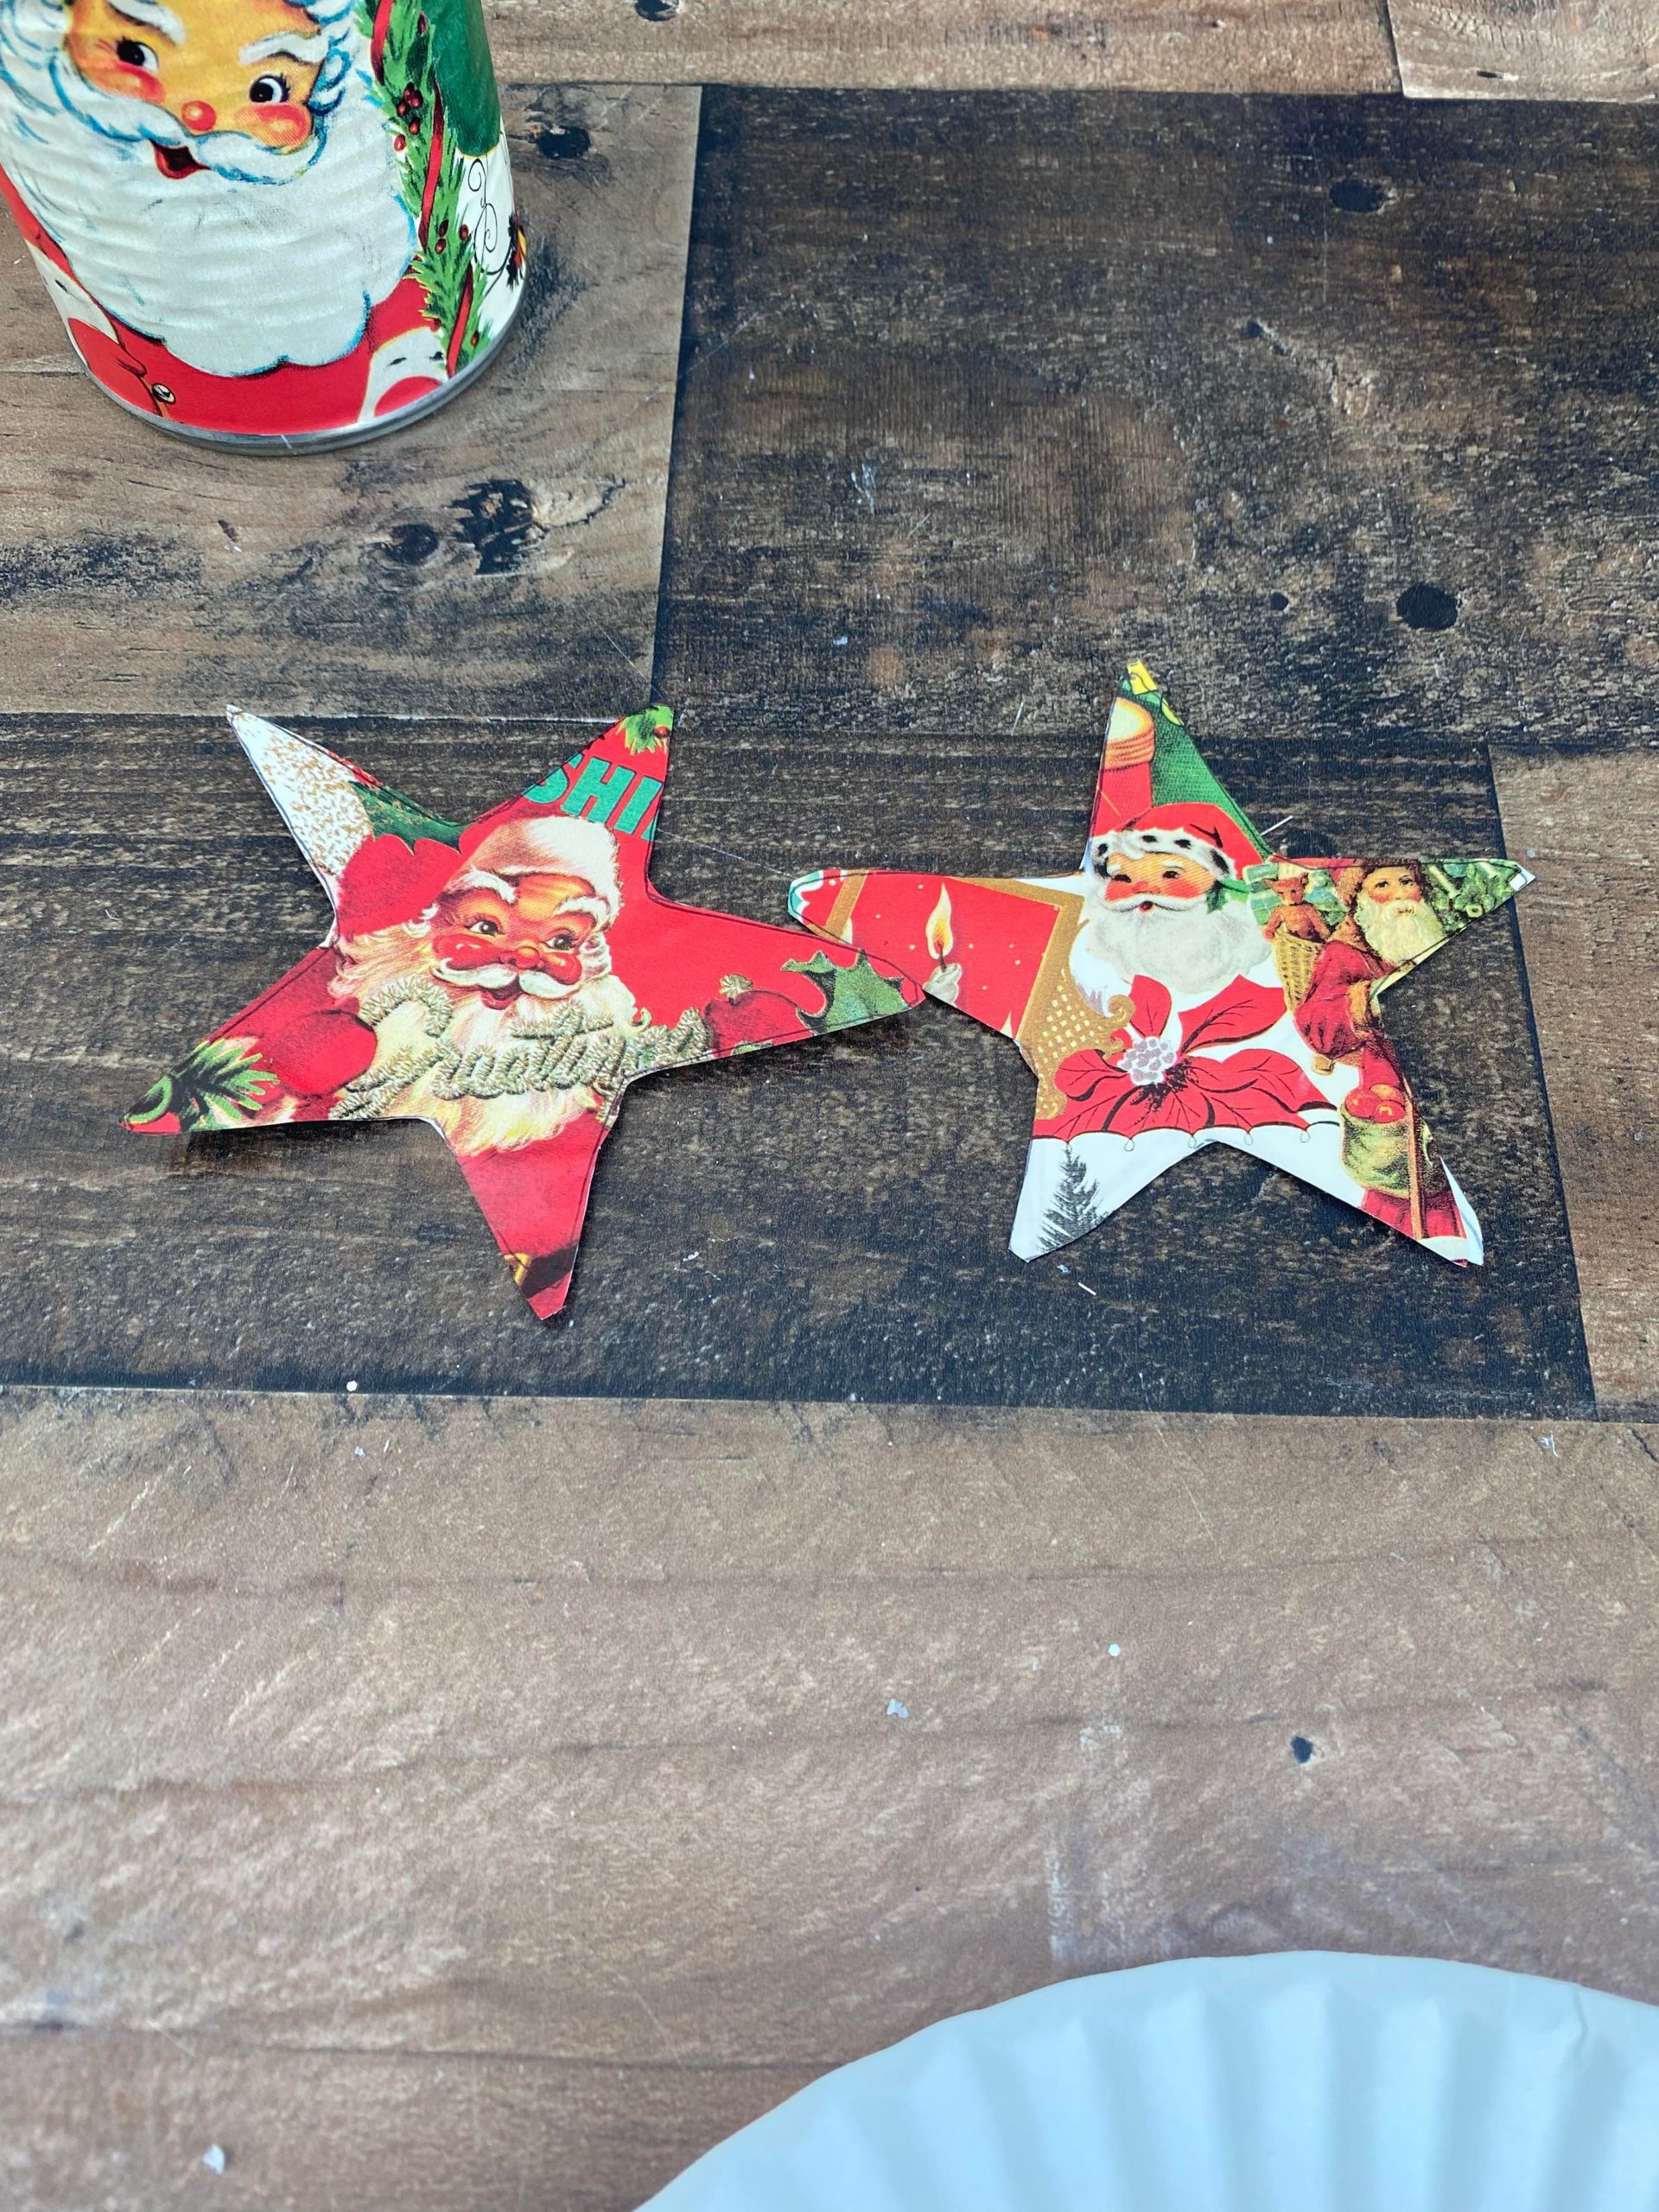
I glued the stars together leaving an opening at the bottom.
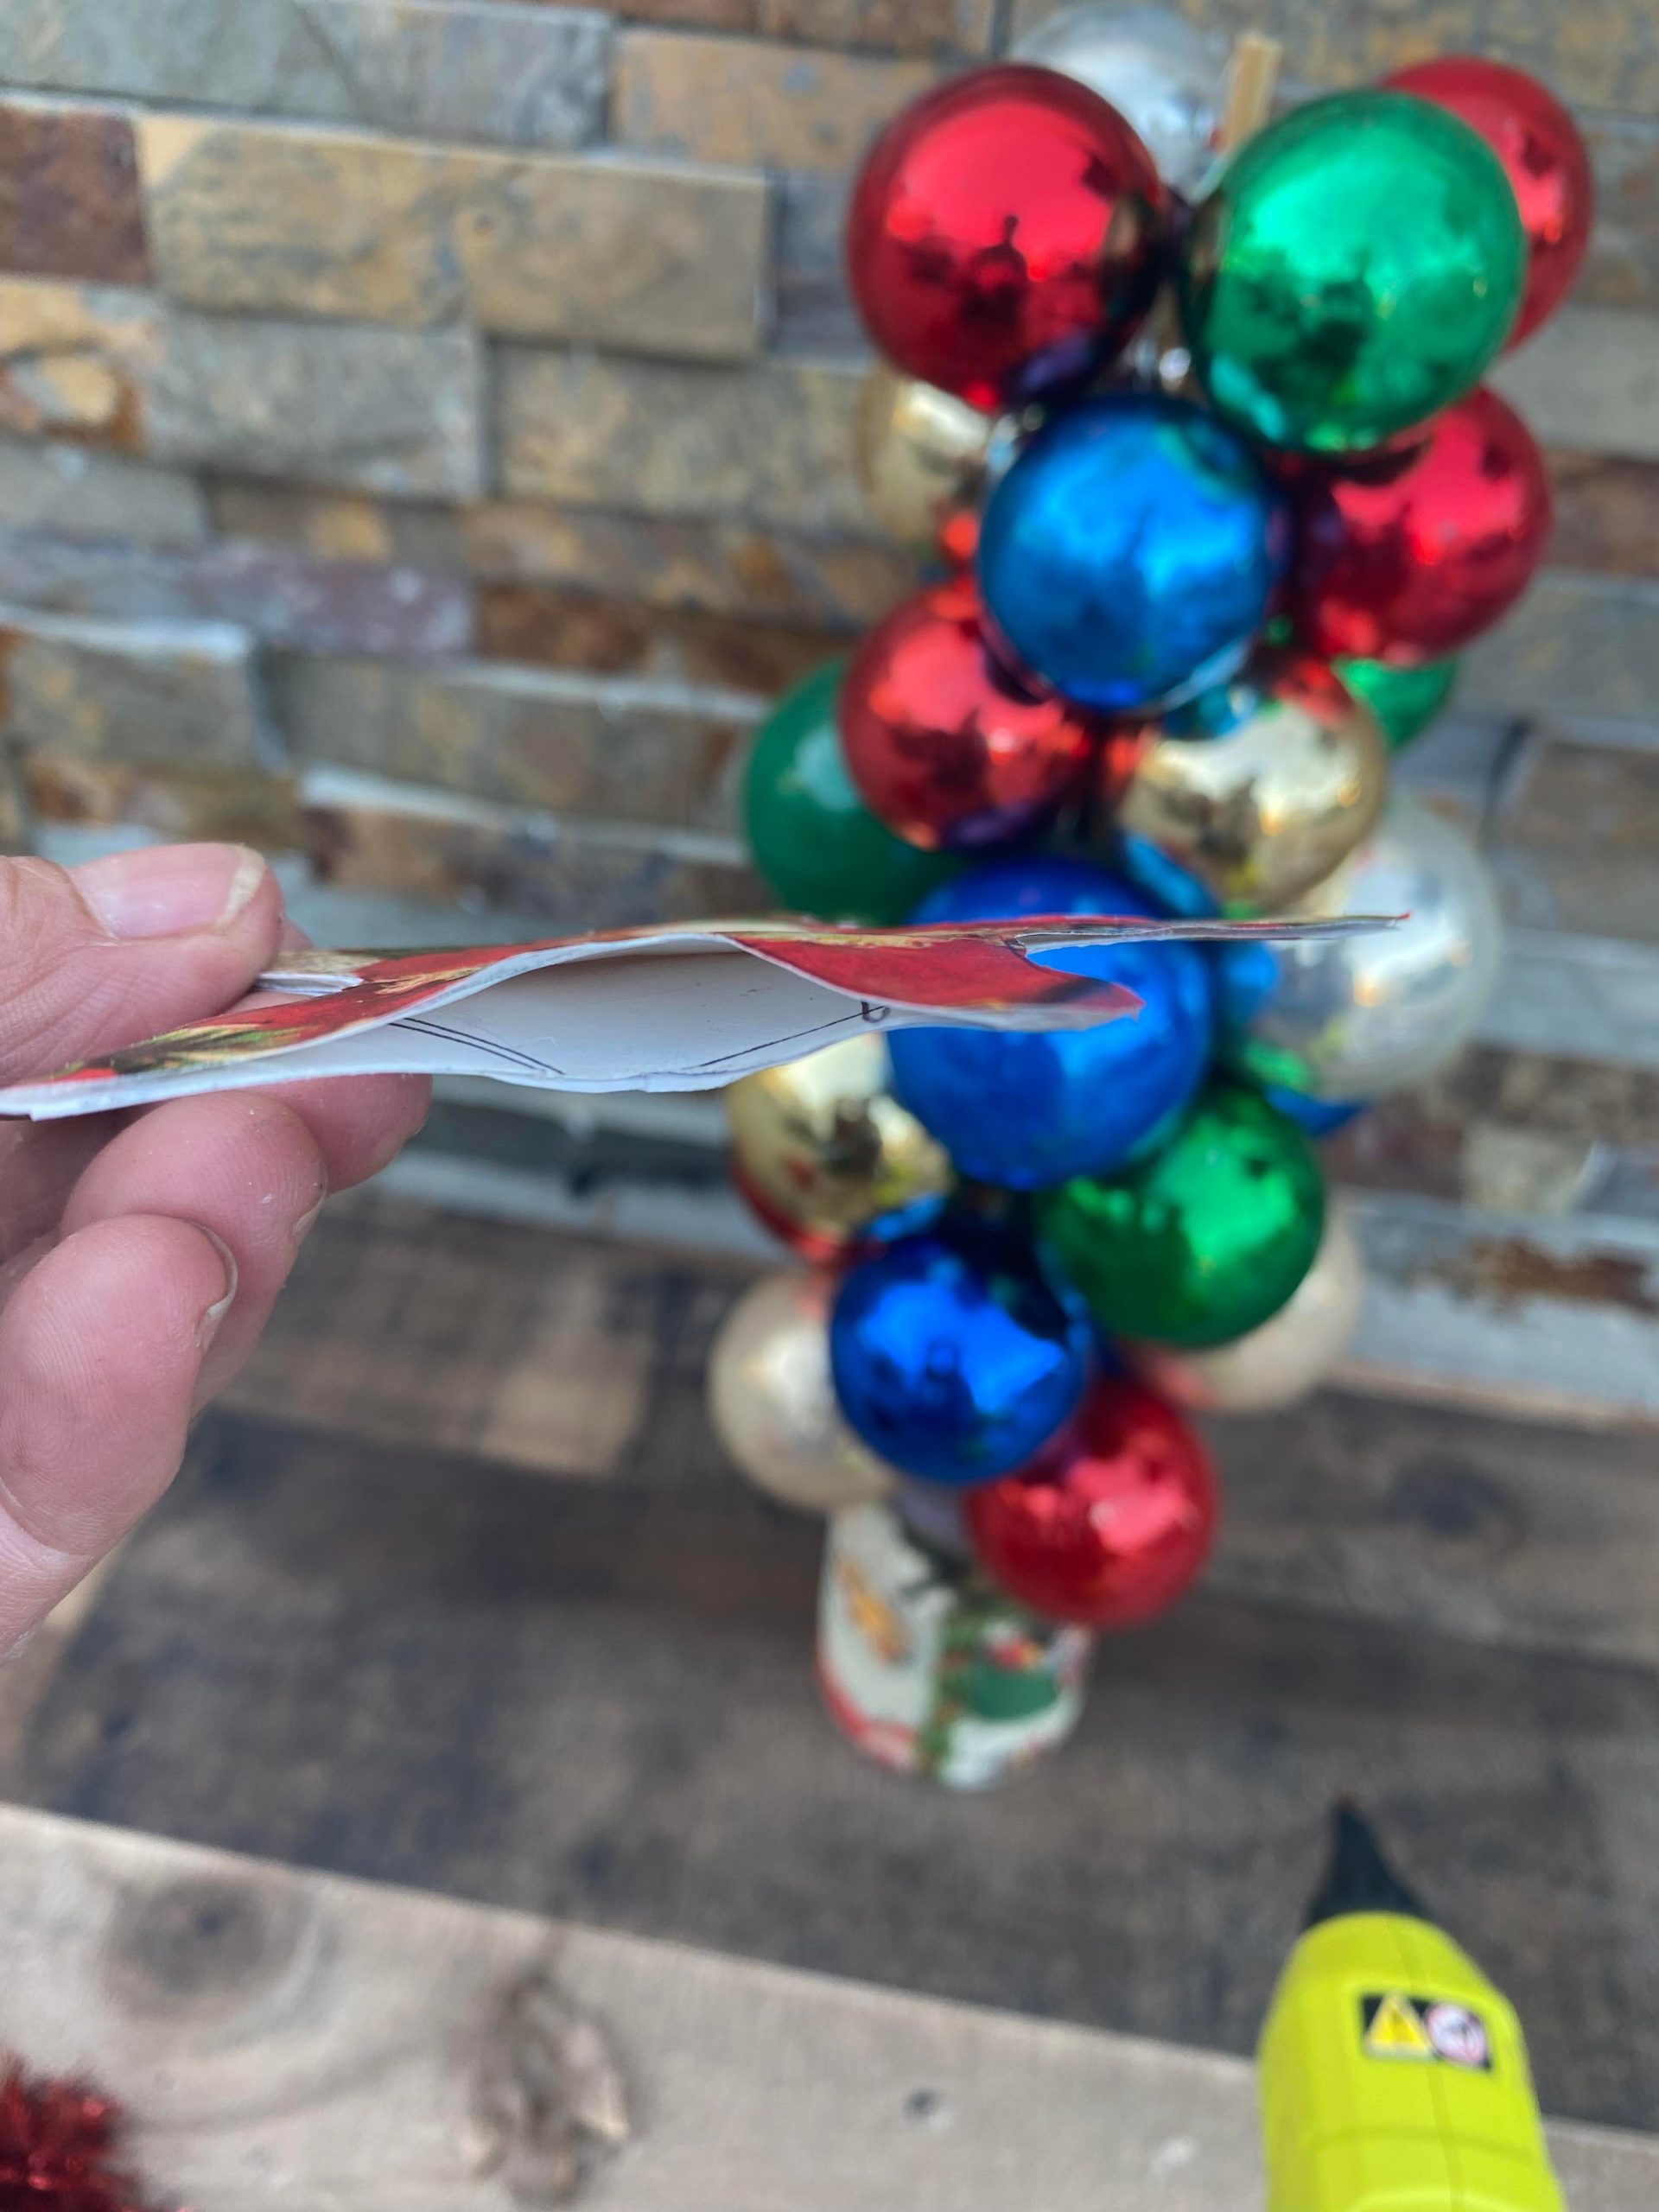
I placed the opening over the kabob stick giving me a star tree topper.

I took the ted tinsel and started wrapping it around the tree starting at the bottom. This tinsel will hide the styrofoam and the kabob stick.
You can weave the tinsel around the ornaments. This tree is so much fun to make and turns out amazing. I hope you will get creative and give this a try.